Handmade with absorbent cotton disks for children - simple master classes and interesting photo ideas
Many people perceive cotton disks as just an accessory for hygienic procedures. But creative natures know how to use them as a handy material in handicrafts. From cotton disks you can make amazing crafts, involving young children.
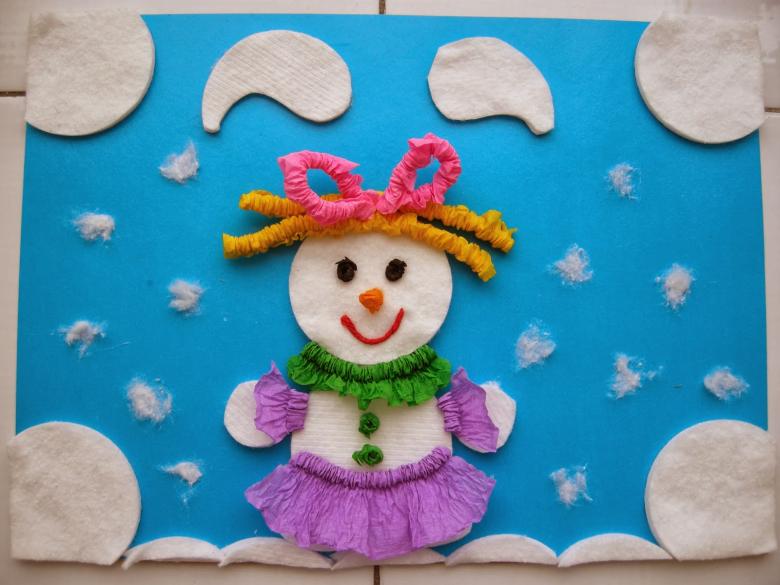
The material is completely harmless, kind and soft. In contact with it, the child learns to see the beauty in ordinary things, develops imagination and fantasy, learns about the world. Some crafts from cotton disks turn out so beautiful that they are not ashamed to decorate the interior of the house.
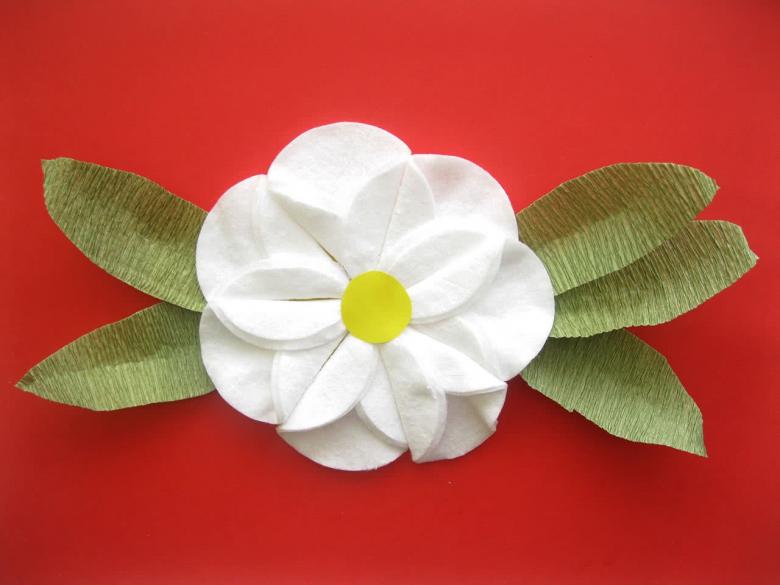
Rose from cotton disks
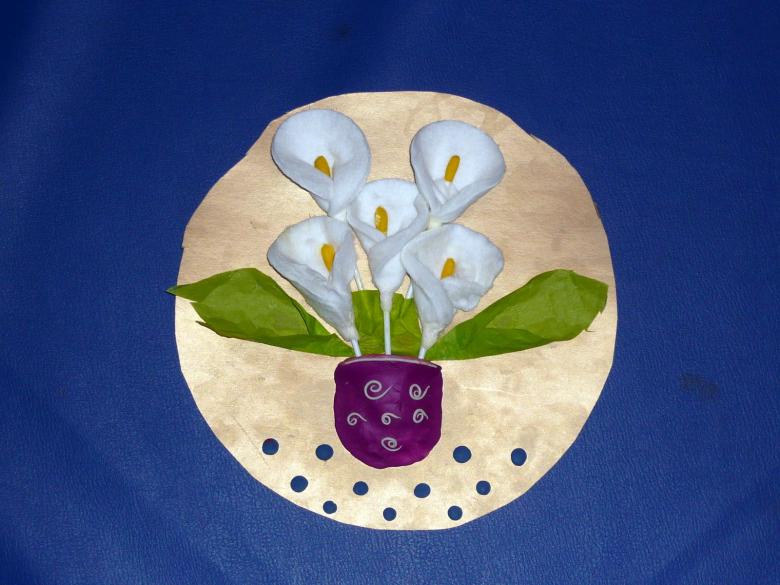
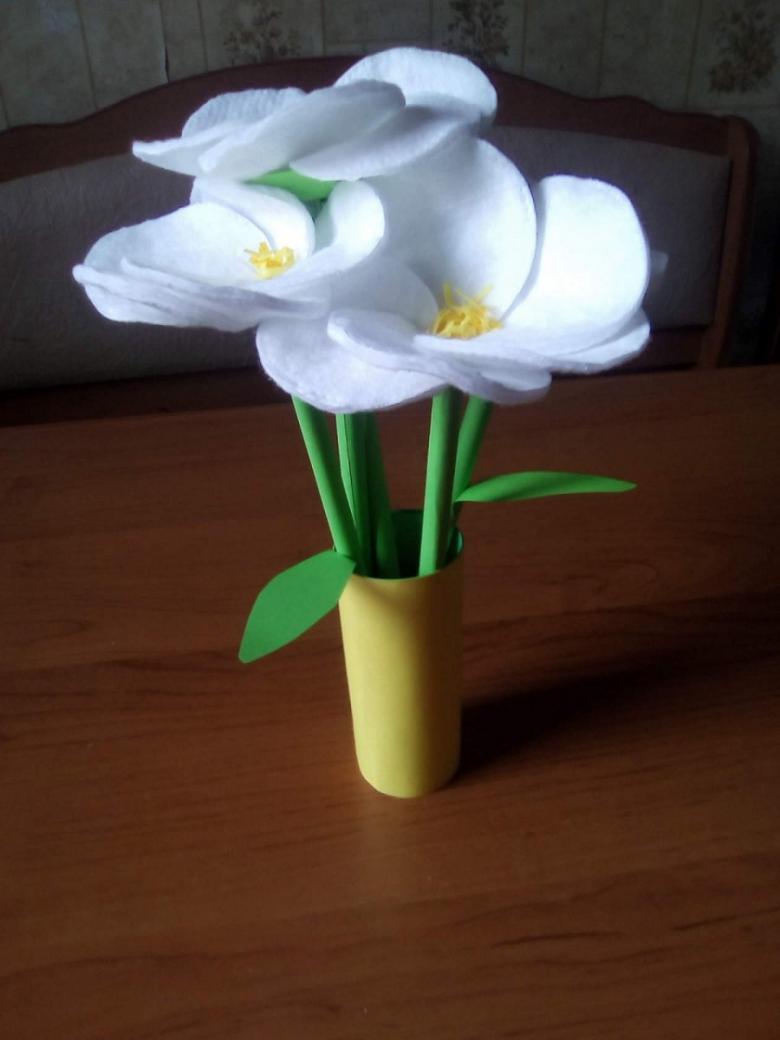
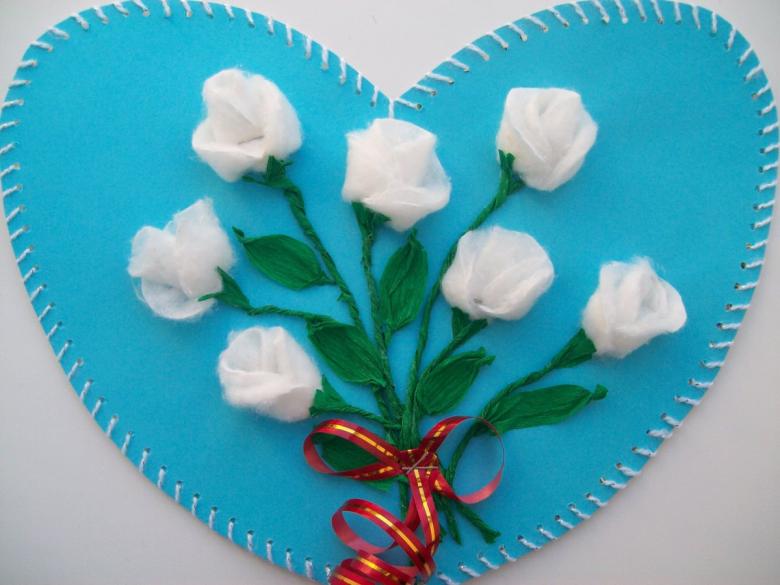
Floral compositions made from unexpected materials always look original. Cotton disks are no exception. Thanks to the soft, multi-layered structure, a flower from them turns out light, airy, like a real one.
To create a rose, you need to find in the house:
- cotton disks;
- wooden sticks 15-20 cm long, with a diameter in the cross section up to 0.5 cm;
- corrugated paper;
- cotton thread;
- PVA glue;
- acrylic paint or gouache.
Before proceeding to work, it is necessary to paint the soft rounds. Masters do it in two proven ways.
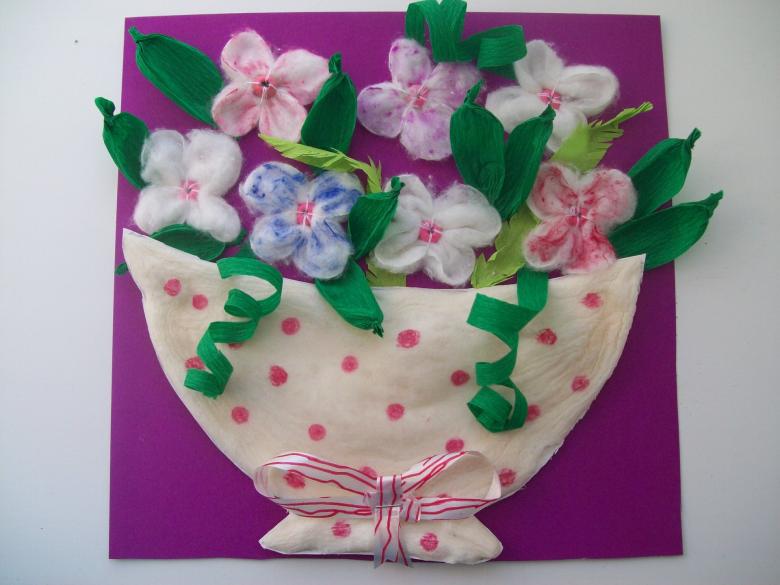
The first way looks like this:
- Acrylic or gouache is diluted in a small amount of water;
- Dip cotton disks in the resulting solution;
- Leave them to soak for 10 minutes;
- Take out and dry.
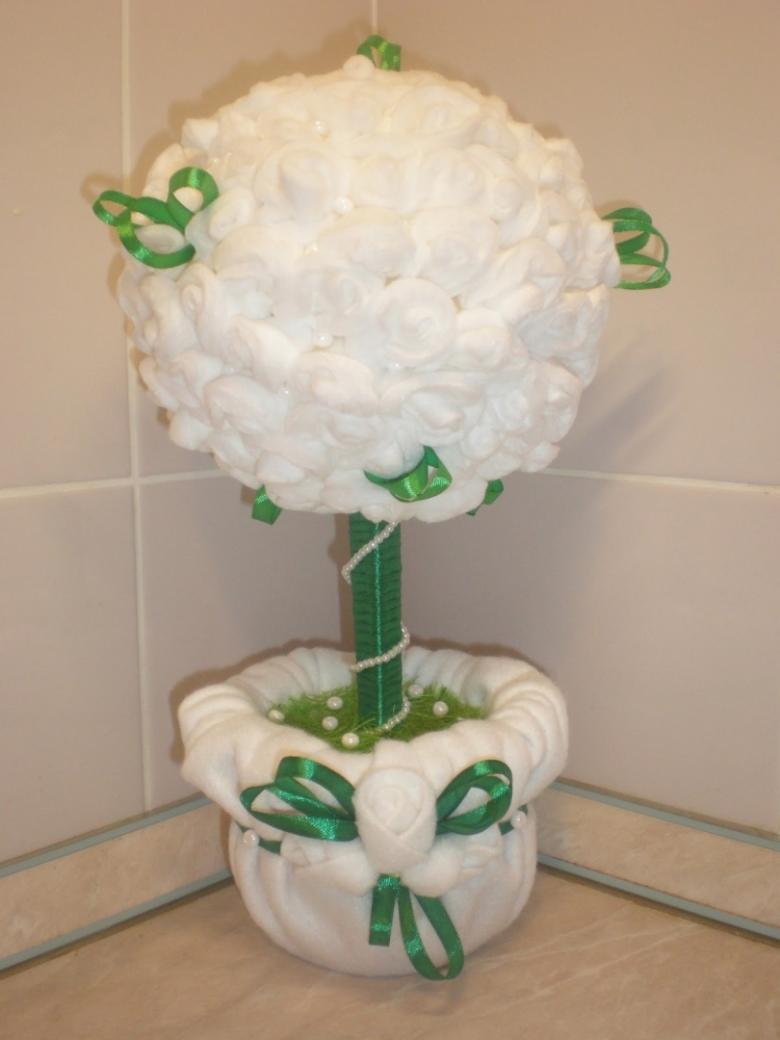
The second method suggests using an ordinary brush and paints. Only the top layer will be colored, the rest will remain white.
Master class for creating a rose:
- Prepare painted discs;
- Roll up the disc with a straw;
- Loosely add another disc to the tube and wrap it around the disc;
- Wrap several layers of cotton rounds in the same way;
- Secure the petals at the base of the bud with PVA glue;
- Plant the bud on a wooden stick with glue;
- In the middle of the bud place a beautiful large bead with a needle and thread;
- Decorate the wooden stick with green corrugated paper, this will be the stem of the flower.
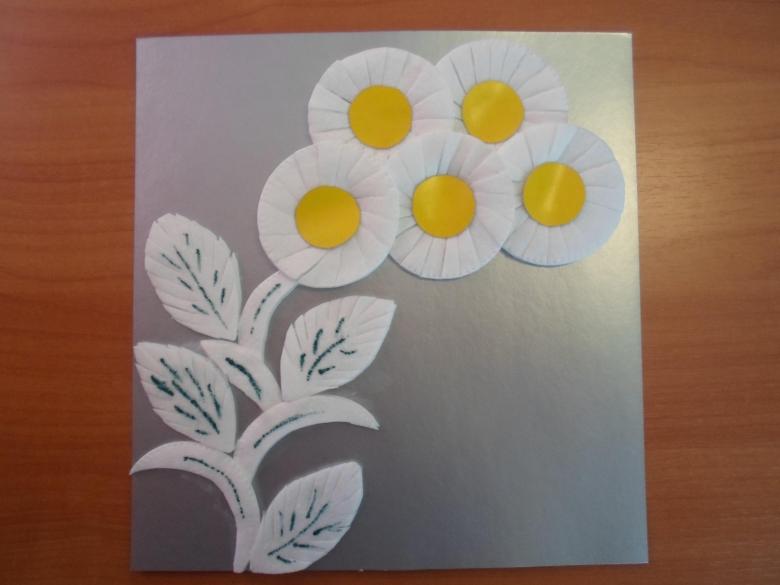
If the idea is that the rose should be elastic, soak the cotton disks in a starch solution and dry them before starting work. In this case, you will have to paint the petals with a brush, the method of dipping in a solution with paint will not work.
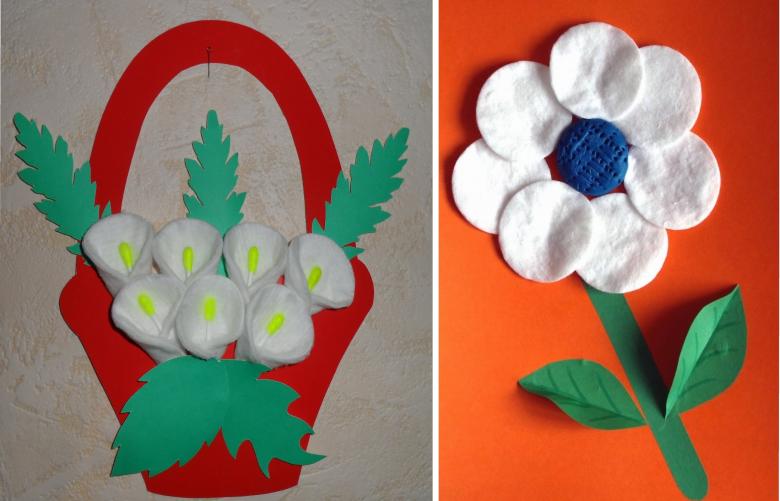
Handicrafts with cotton disks for children 3-4 years old
It is important to involve young preschool children in creative work. This has a positive effect on their development, their fine motor skills improve, their imagination increases, and there is an interest in seeing the results of the work through to the end.
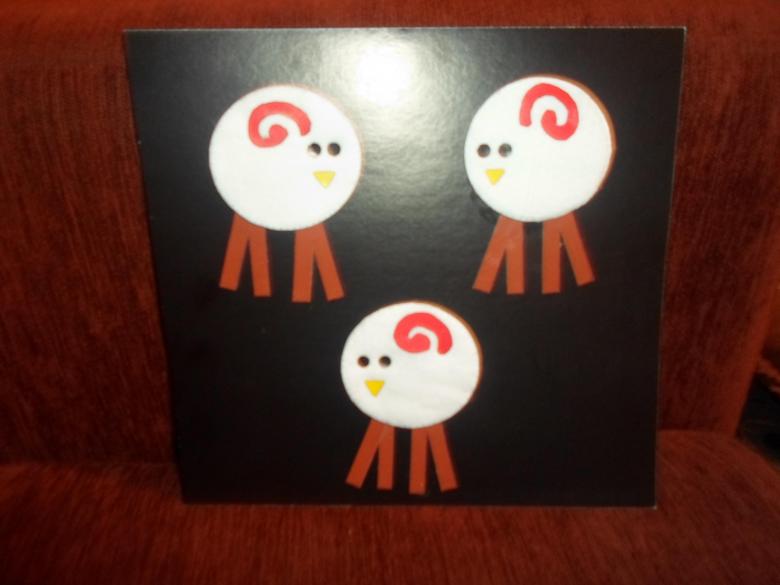
It is hard to find a handy material for children's creativity, which would be as safe as cotton swirls. They can be crumpled, twisted, separated layers, and they will never hurt your baby. The soft texture is pleasant for children's fingers. Children love working with soft discs, so they are often used in classes in kindergartens, developmental centers.
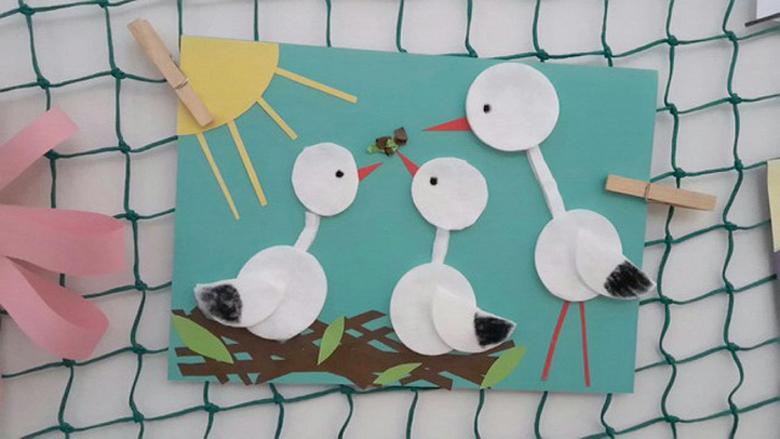
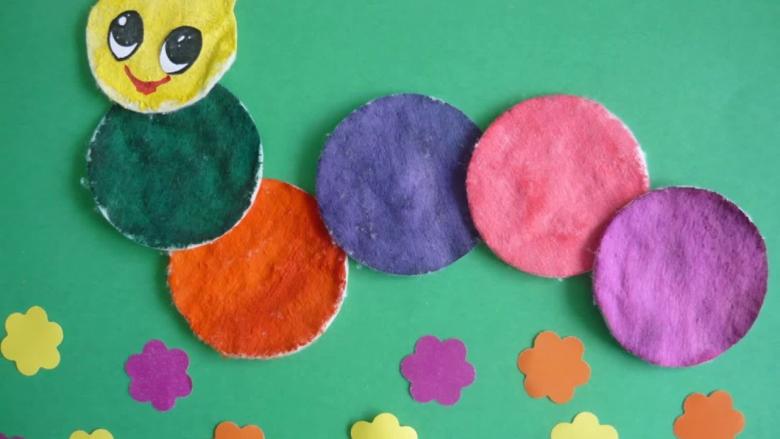
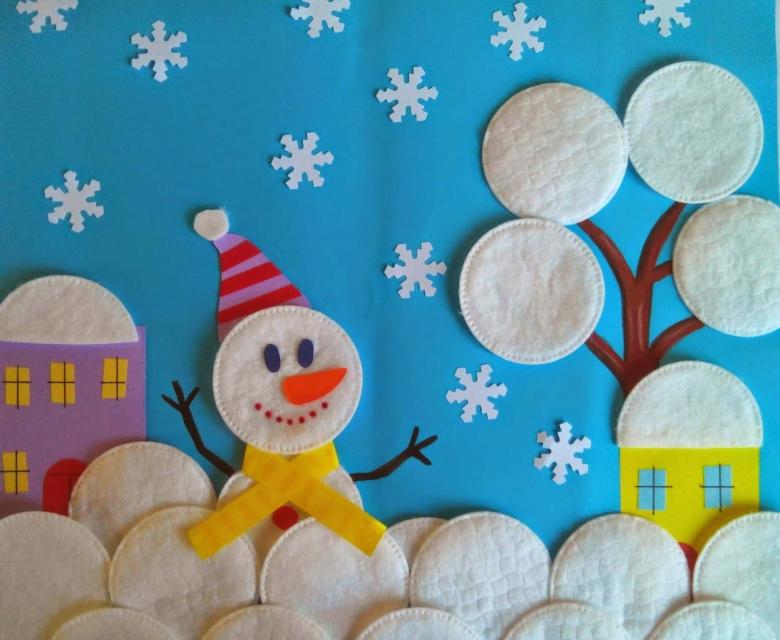
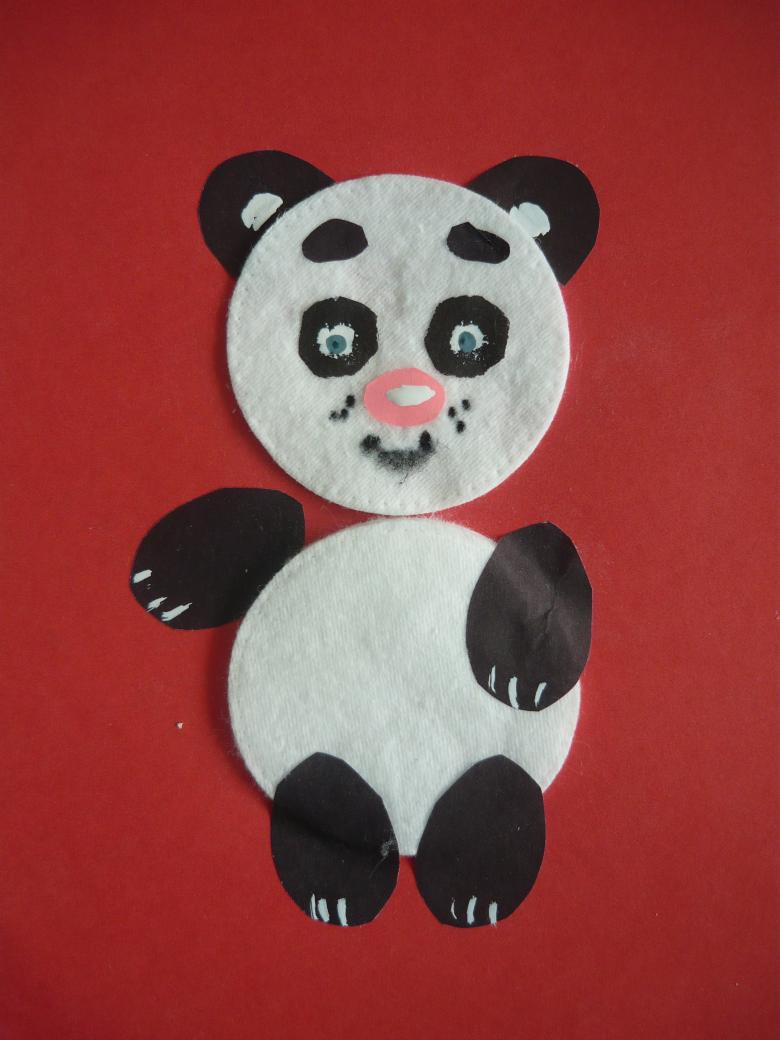
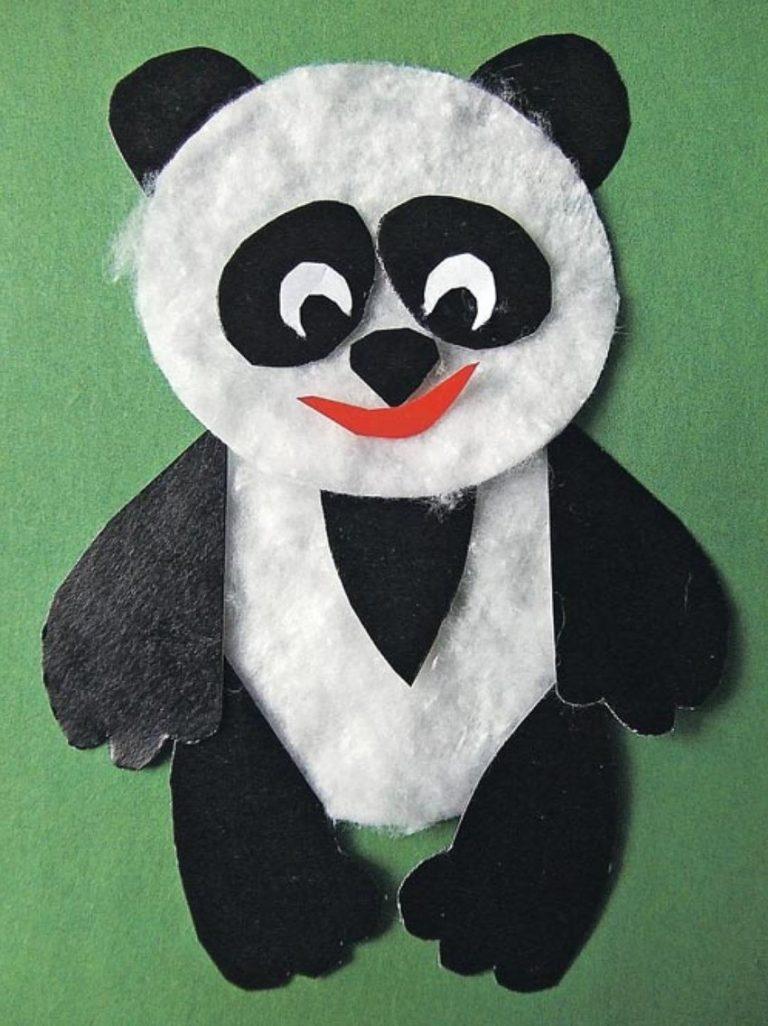
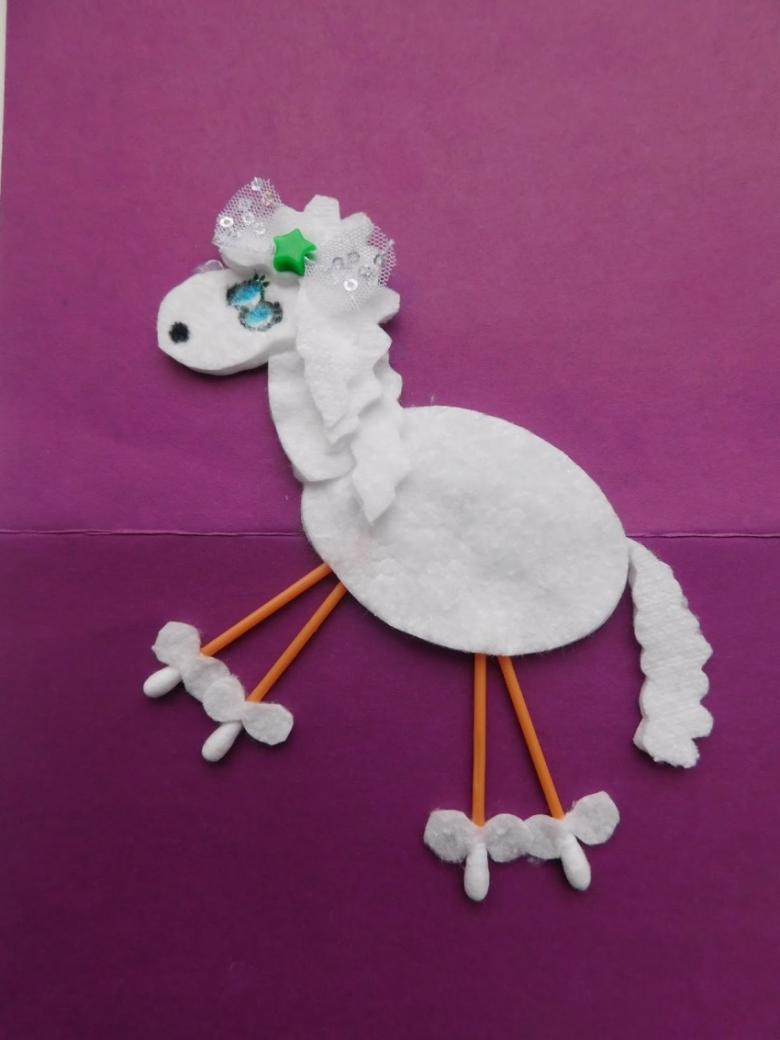
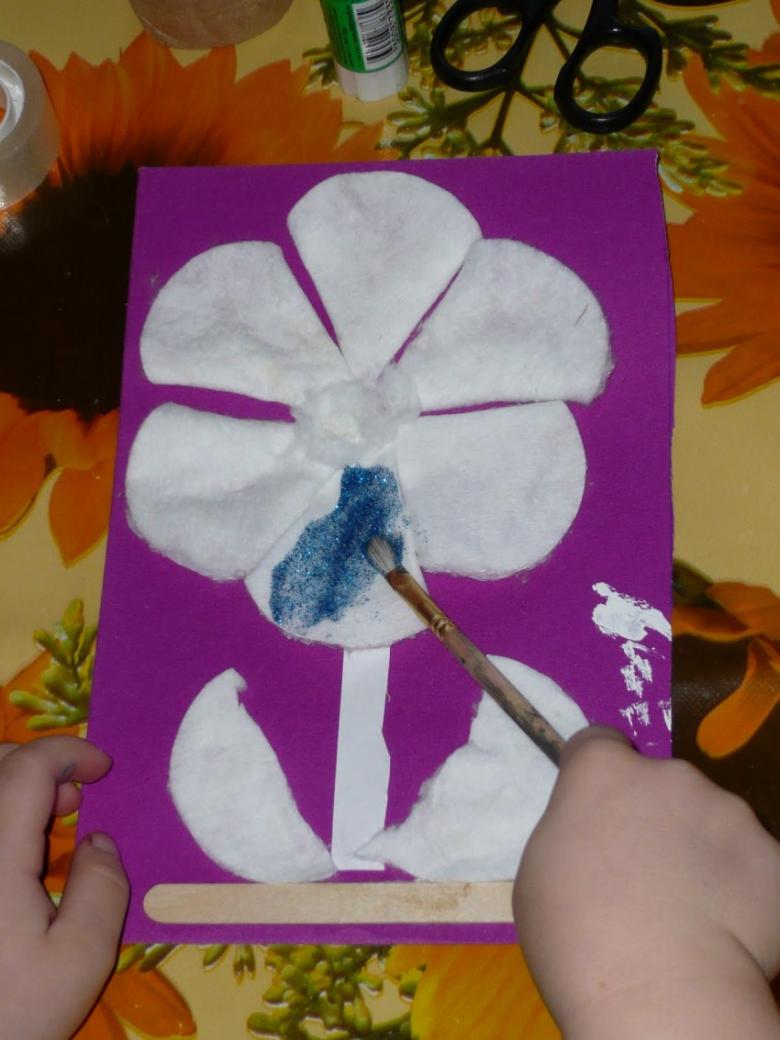
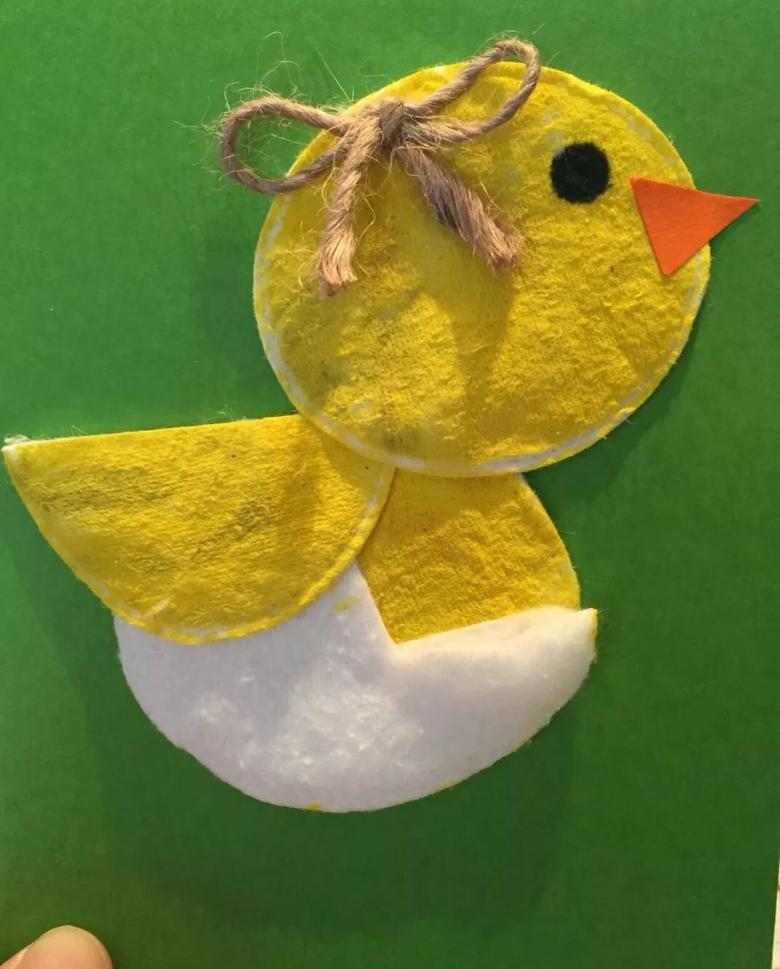
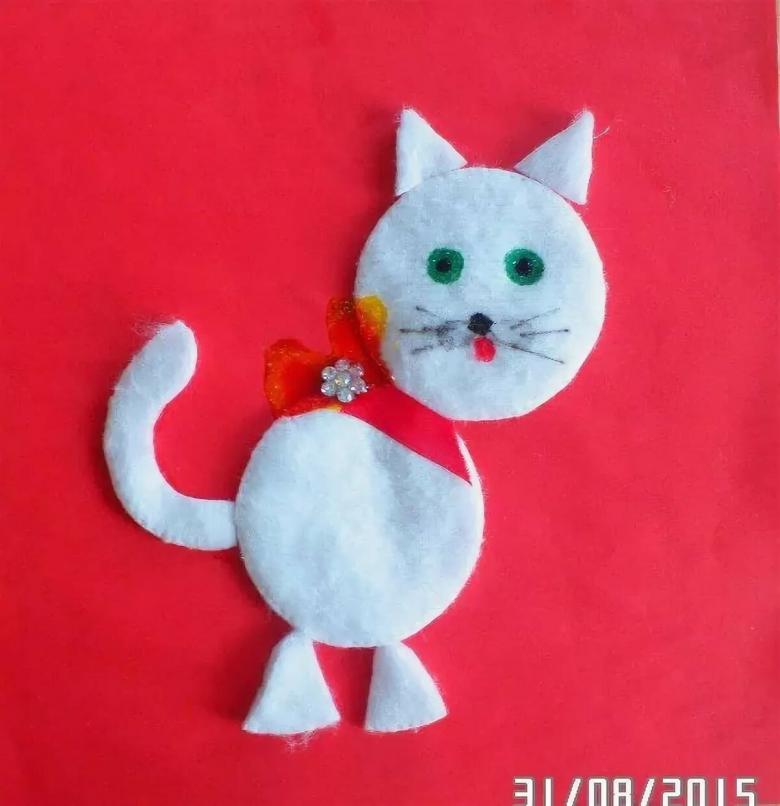
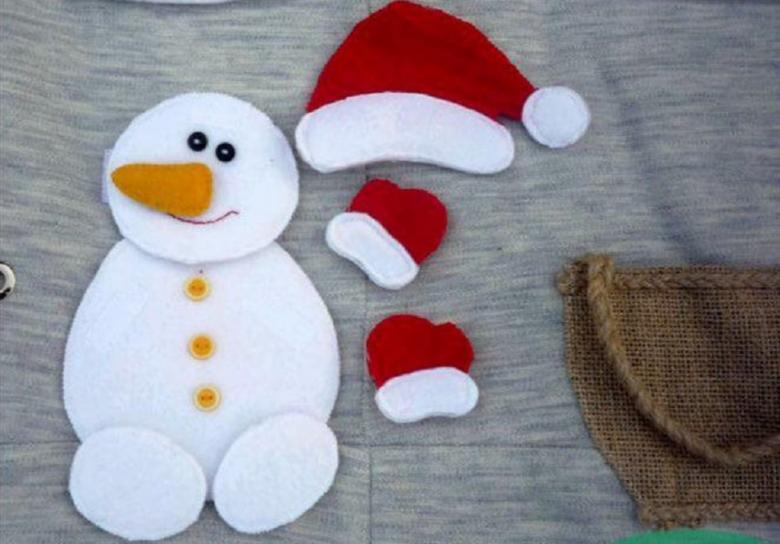
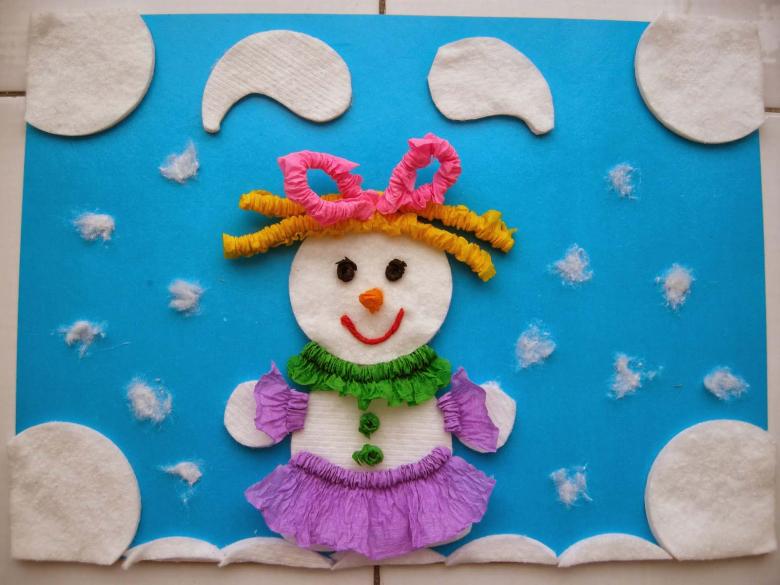
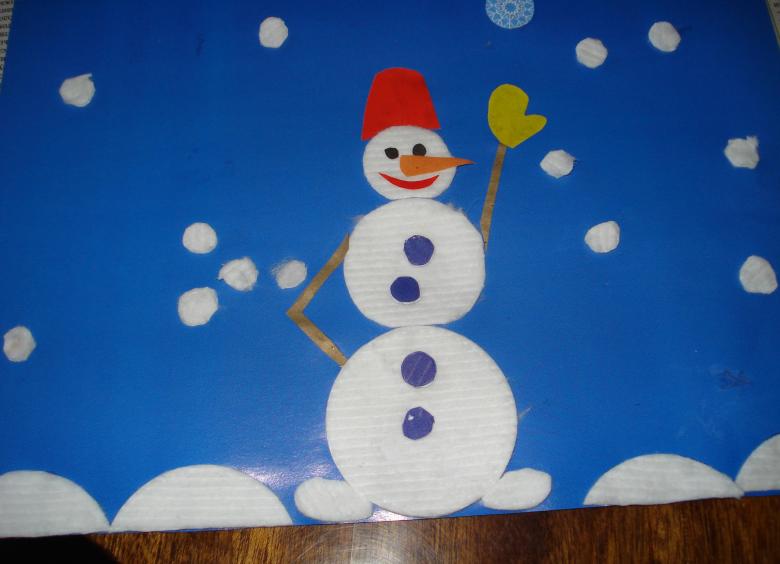
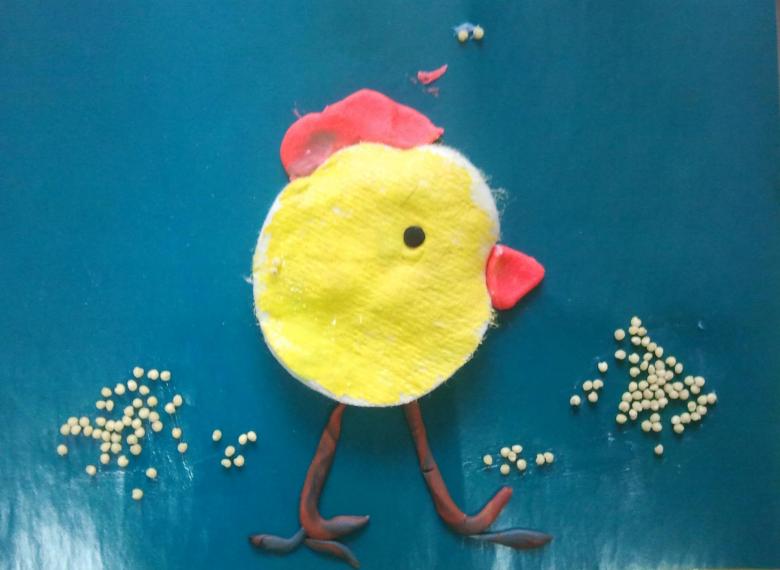
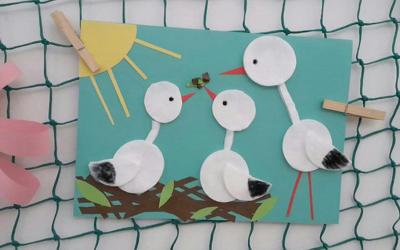
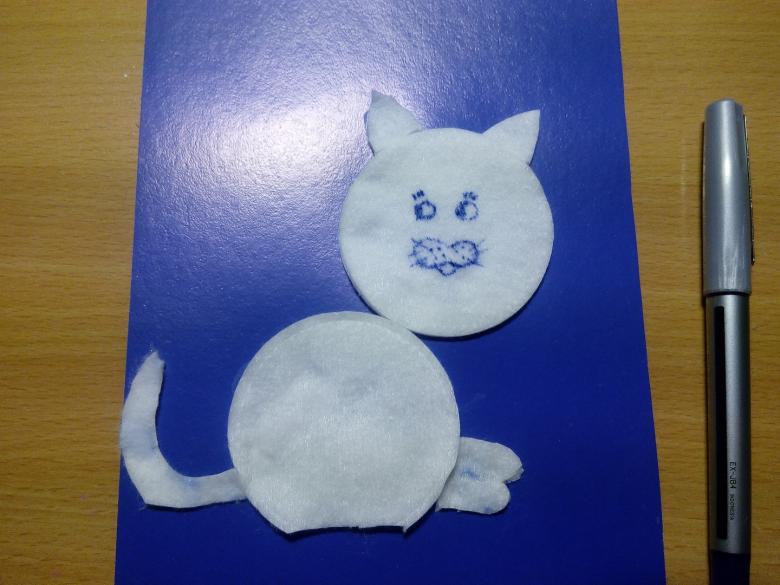
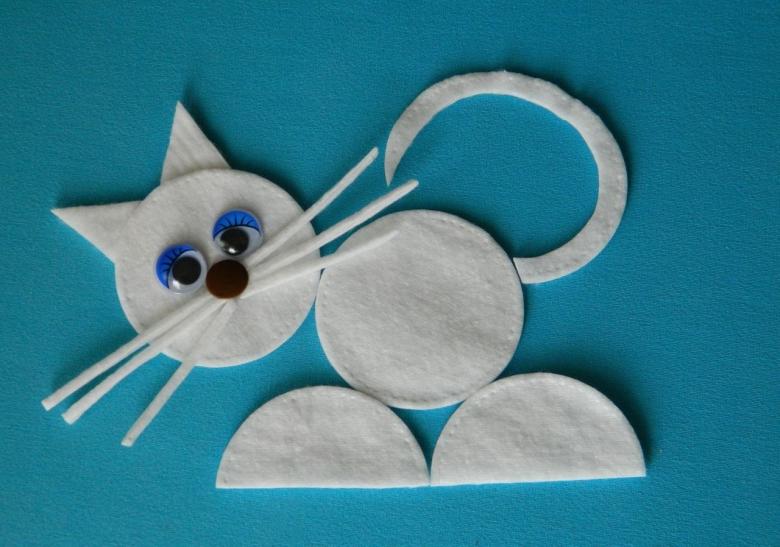
A huge number of compositions can be made out of cotton disks, because the circle is a universal figure. For kids are suitable for the simplest of tasks in the technique of applique. For example, make a sun, a snowman or a simple animal figure. To fix the details use PVA glue, it is recognized as safe and allowed for children's work.
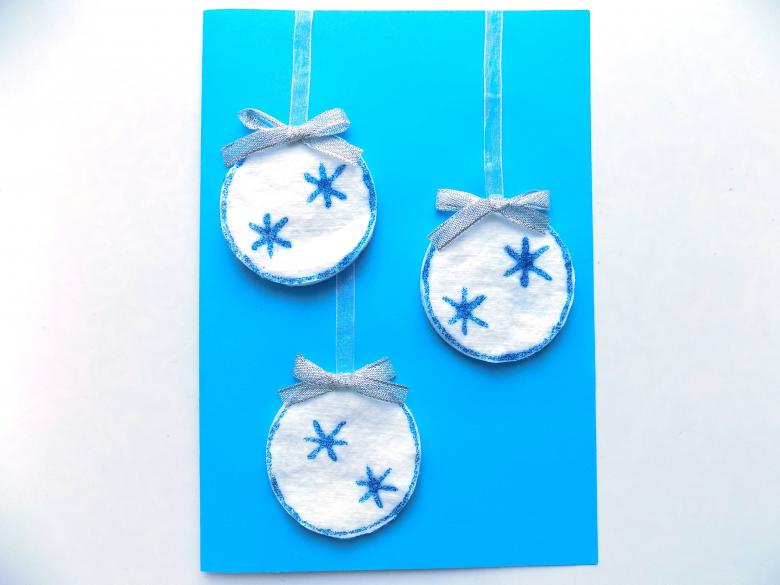
The sun .
The simplest version of a craft from cotton rounds is the sun. It is interesting in that it can be held by the tube and twist in your hands.
For the work you will need:
- two cotton disks;
- Cotton sticks;
- cocktail straw;
- PVA glue;
- Yellow paint, brush.
The step-by-step plan of action is very simple:
- Place one round on the table;
- Drop a large drop of PVA glue in the center and smear it around the circle;
- Cut the cotton buds in half (done by an adult);
- Arrange the cotton buds in a circle like rays of sunshine;
- Drop a little more glue on the tips of the rays that are inside the disk;
- At the bottom of the sun add a tube;
- Put the second cotton disk on top, press to ensure that the construction glued well;
- When the future sunshine dries, paint it with yellow paint, draw eyes, a smile.
Funny toy is ready. The toy evokes positive emotions in the child by the fact that he made it himself, with his own hands.
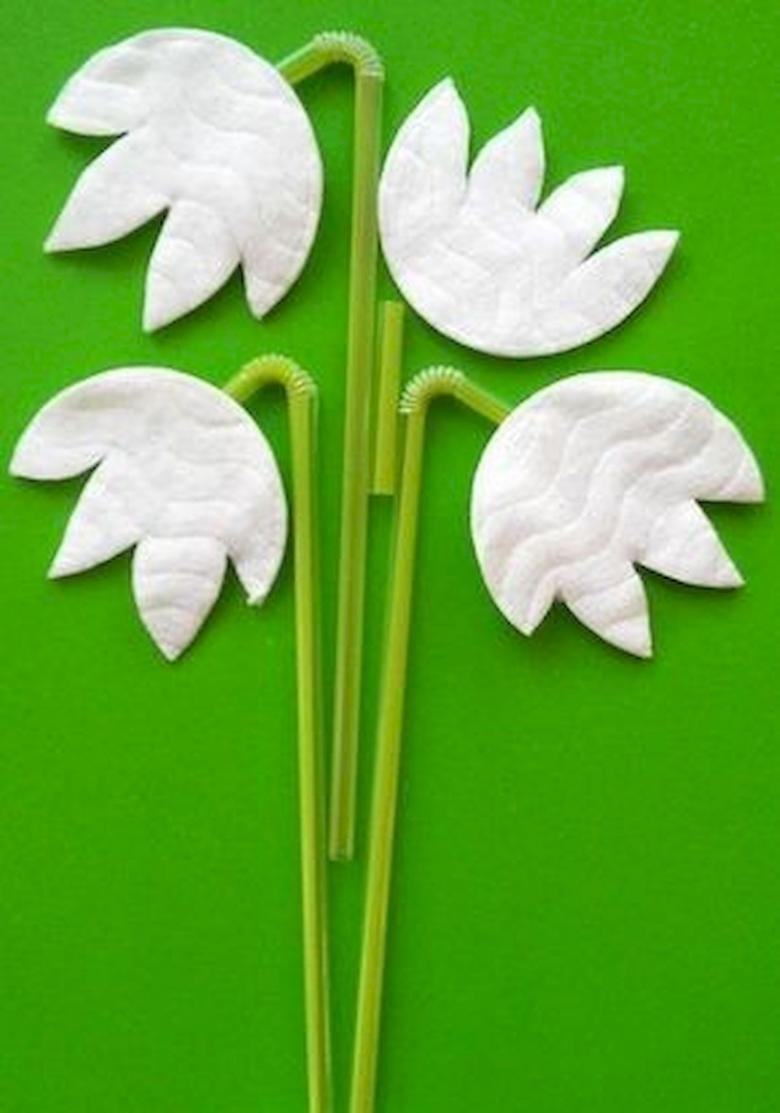
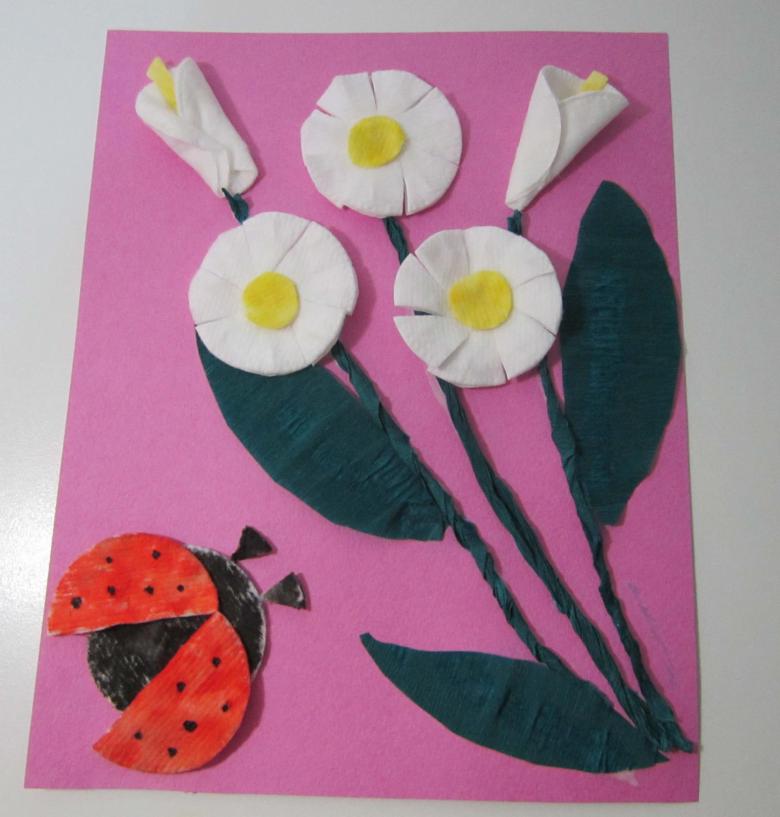
Daisies .
For this handicraft, you will need the help of an adult. Babies are not yet able to wield scissors and cut dense objects. They also need help in laying out the petals in a straight line.
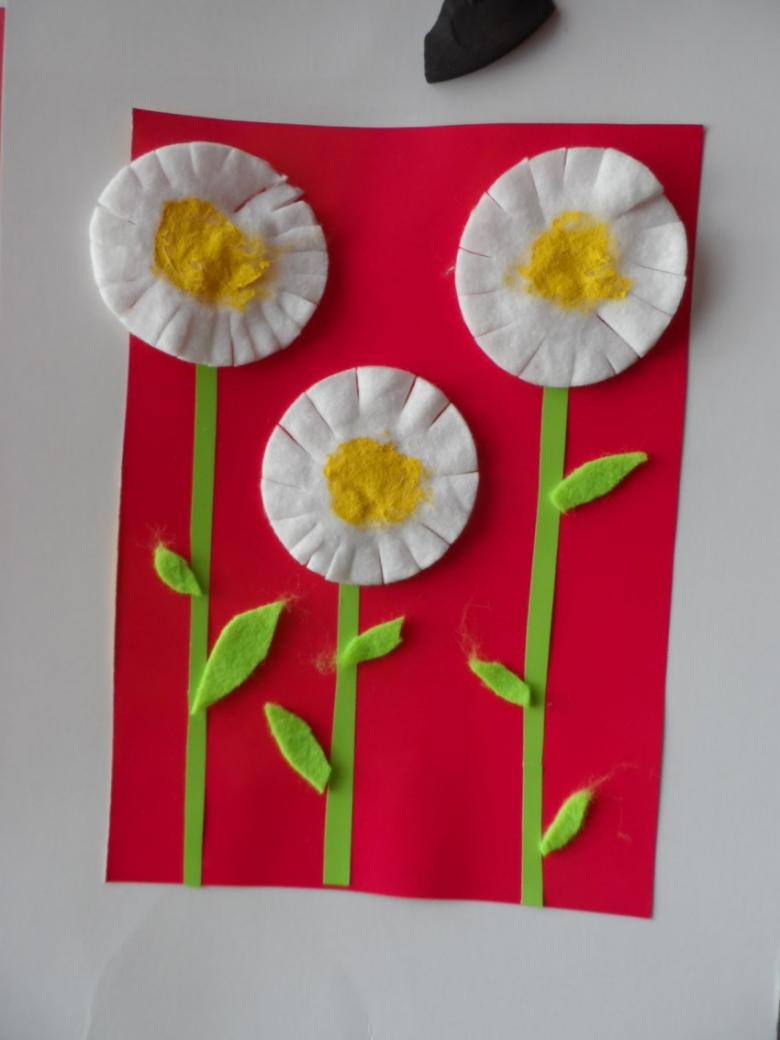
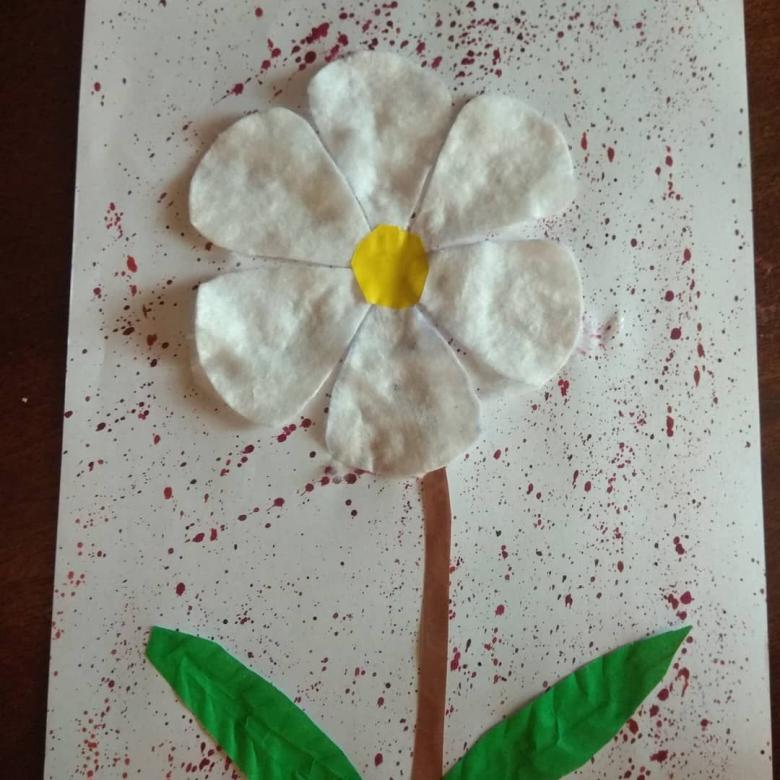
At the beginning of the work, an adult cuts off the tips of the cotton buds with soft material. These will be the petals of a daisy.
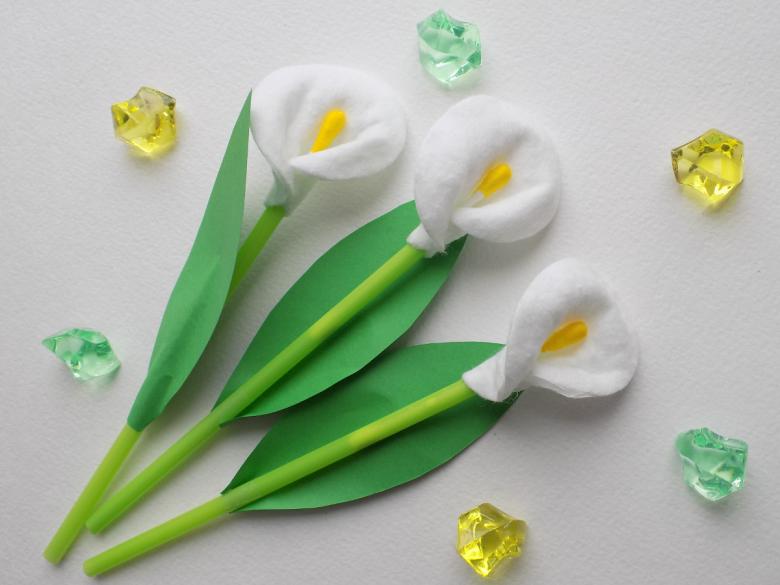
On a sheet of colored paper, glue cocktail tubes, forming the stem of the flower. From yellow paper cut out three small circles (2-3 cm in diameter). At the ends of the stem, yellow hearts are glued, around them, soft petals are attached along the contour. You can use another option and glue the core on top of the petals. In both cases, the daisies turn out equally charming.
Rainbow with clouds
In this handicraft, the child is invited to work with two unlike materials - plasticine and cotton disks. Many children do not succumb to rolling a sausage out of clay, but this skill is necessary to develop fine motor skills, massage the palms, as well as bring up a sense of diligence and willpower.
For the rainbow you need to roll seven sausages of different colors. Then they are attached to a thick sheet of paper or cardboard. This part of the work is not easy, so an adult should help so that the child does not get a feeling of disappointment.
Oval-shaped clouds are cut out of cotton disks and glued over the rainbow or directly to it. The child does a great job with this part and then proudly shows their work to grandma and grandpa.
New Year's Tree
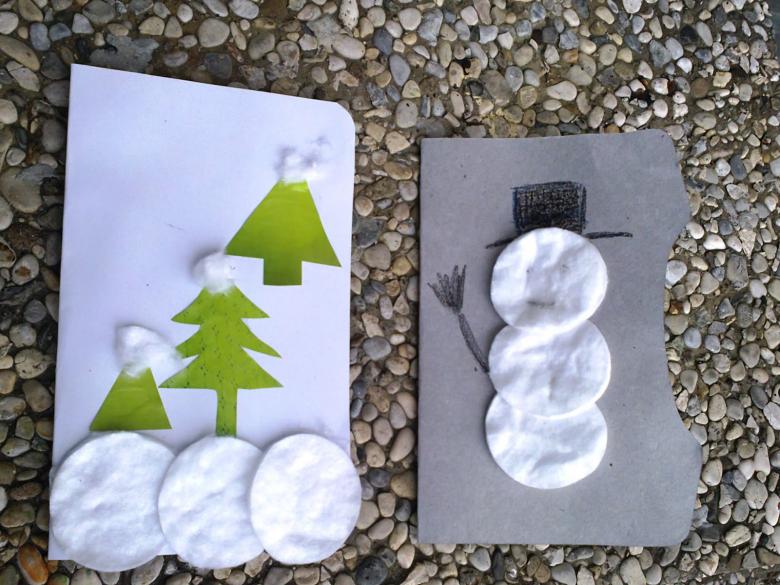
In anticipation of the holiday of the New Year it is important to make themed crafts and new toys. The child can be asked to make a simple Christmas tree by applique. To do this, an adult draws a simple pencil on a sheet of paper the outline of a future tree. The child's task is to glue the cotton disks inside the space and paint them with green paint. Additionally, you can decorate the Christmas tree with shiny sequins or fragments of bright wrappers.
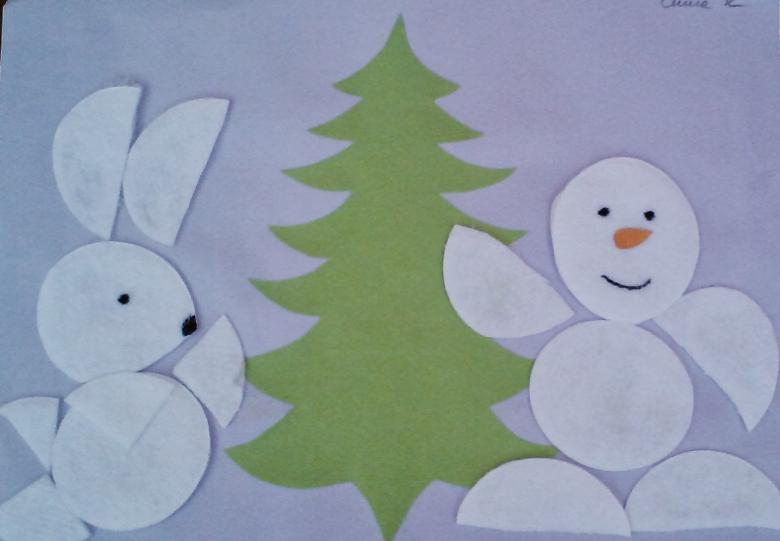
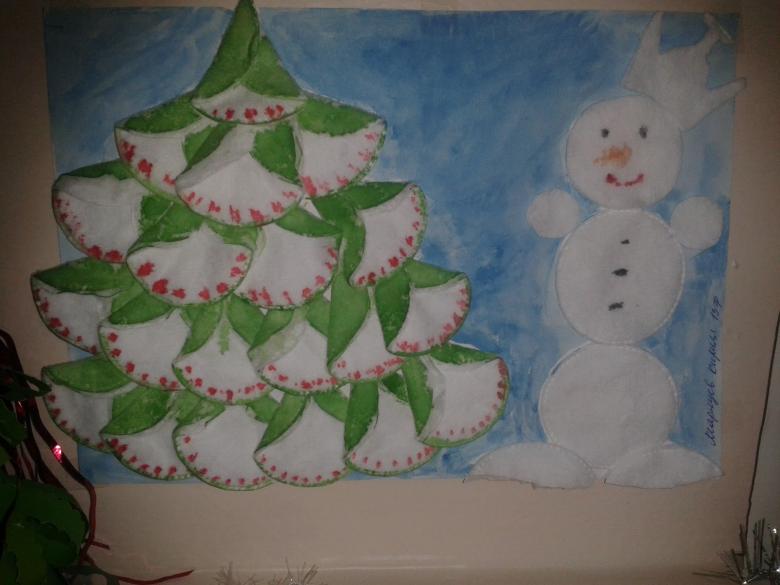
The same principle is used for making a snowman. Children's compositions can decorate the room. This will raise the spirits of the household and the child, who will be proud to show his creativity to the guests.
A Christmas tree, whose branches are formed by halves of soft round balls, turns out interesting. Moreover, the halves can be placed in different ways on the sheet. Such a game with geometric shapes develops spatial thinking. A child can easily handle such a craft, and the result will delight with its originality.
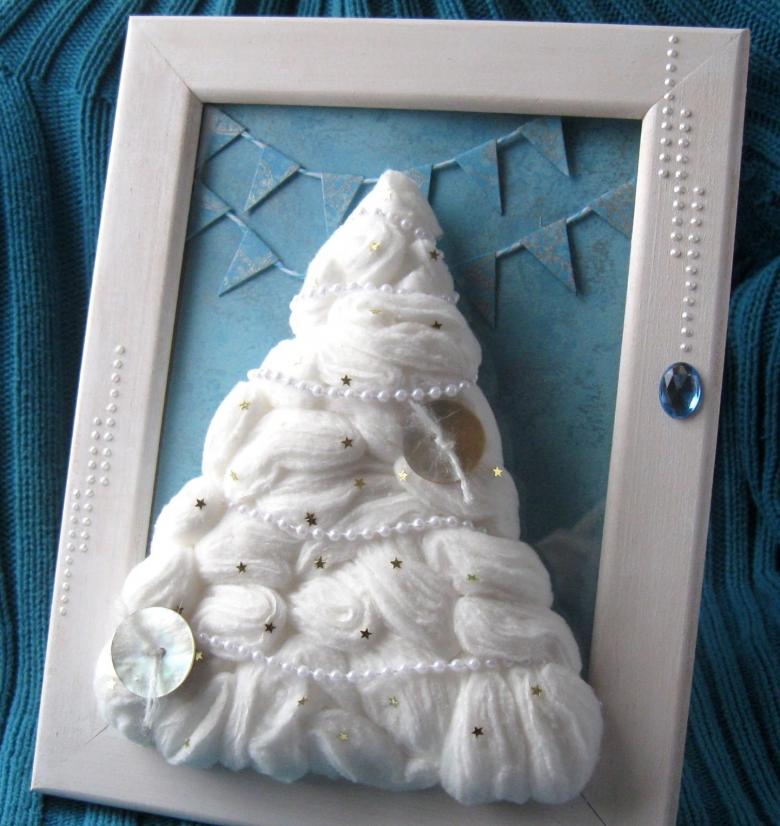
Another option for a Christmas tree involves painstaking work. The result is a cozy beauty, decorating the Christmas interior of the house. Materials will be needed:
- a lot of absorbent cotton disks;
- PVA glue;
- a sheet of heavy paper of A3 format or larger (depending on the wishes to the size of the Christmas tree);
- hardware pins.
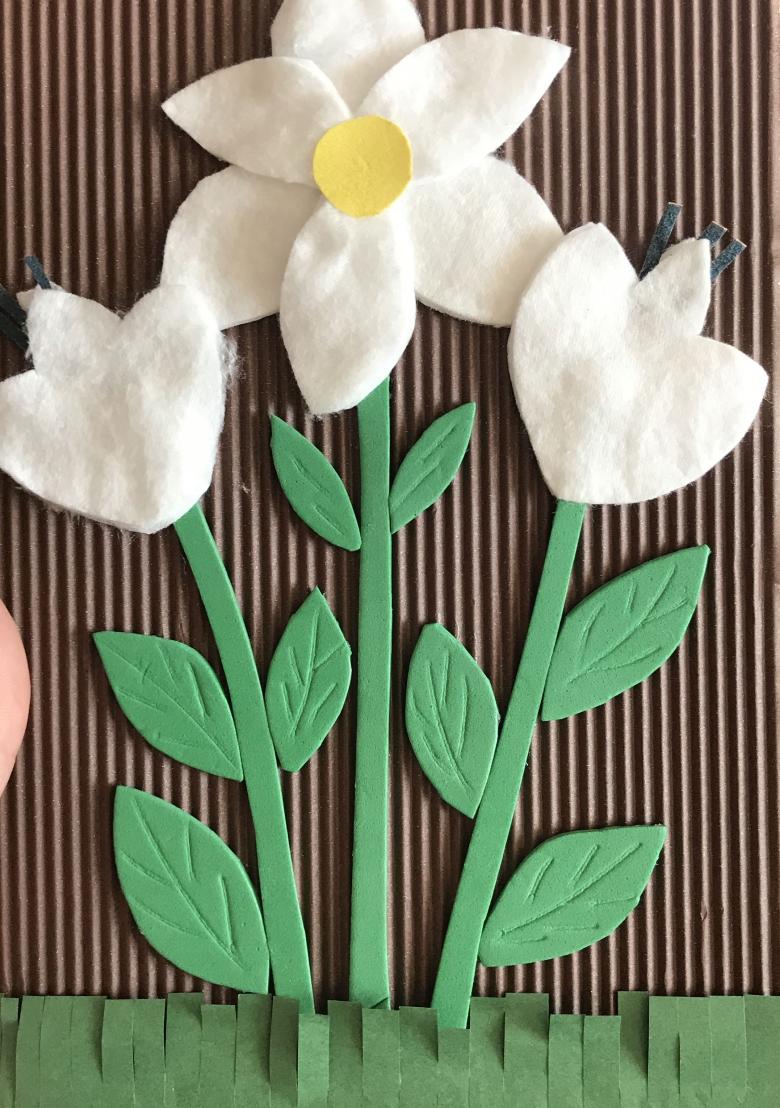
The master class includes the following steps:
- On the sheet, draw a circle with a compass, the radius is equal to the height of the future Christmas tree.
- Divide the circle into four parts, one part to cut out.
- Roll up the paper, forming a cone with a sharp top.
- Glue the edges together, wait until dry.
- Prepare the cotton disks. To do this, each round is folded in half, then again in half. The resulting figure is fixed with a stapler at the base. Hands slightly flatten the curled discs, giving them volume.
- Prefabricated circles attached to a cardboard cone pins.
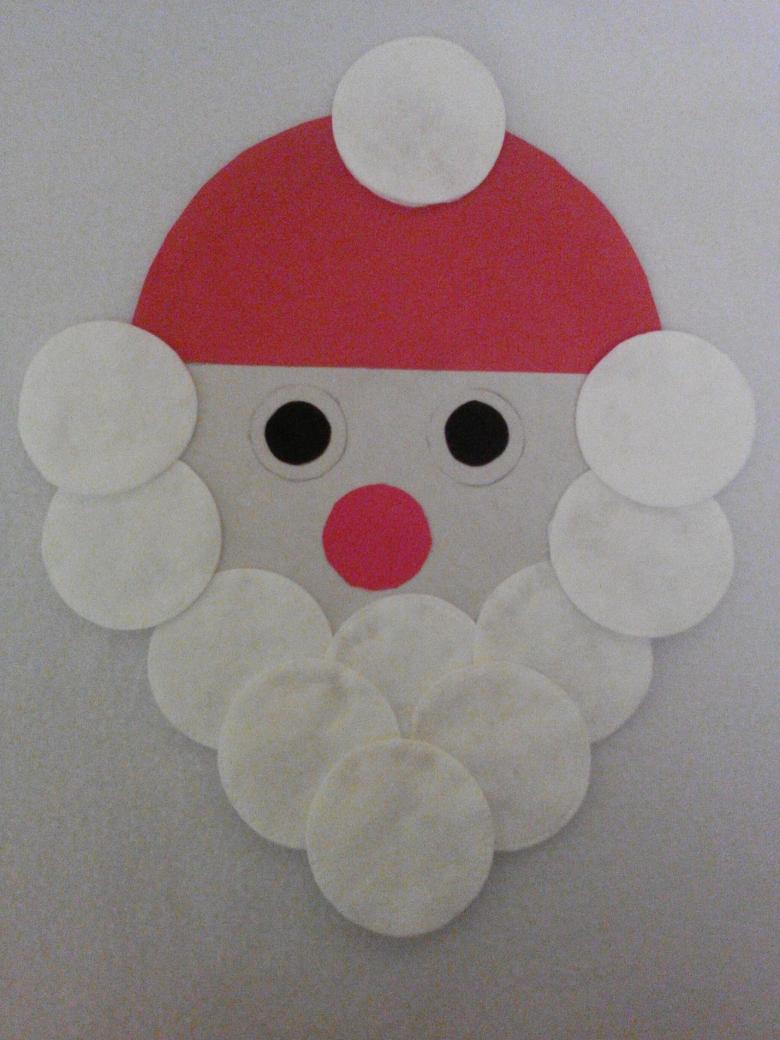
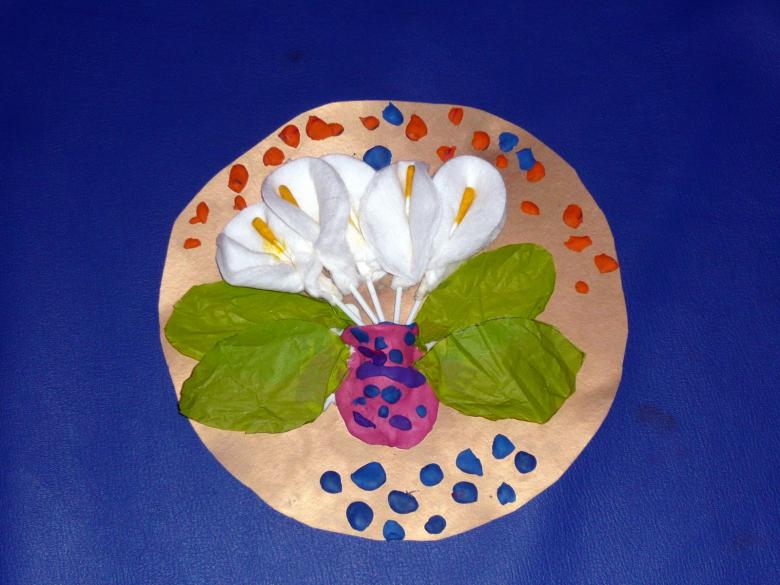
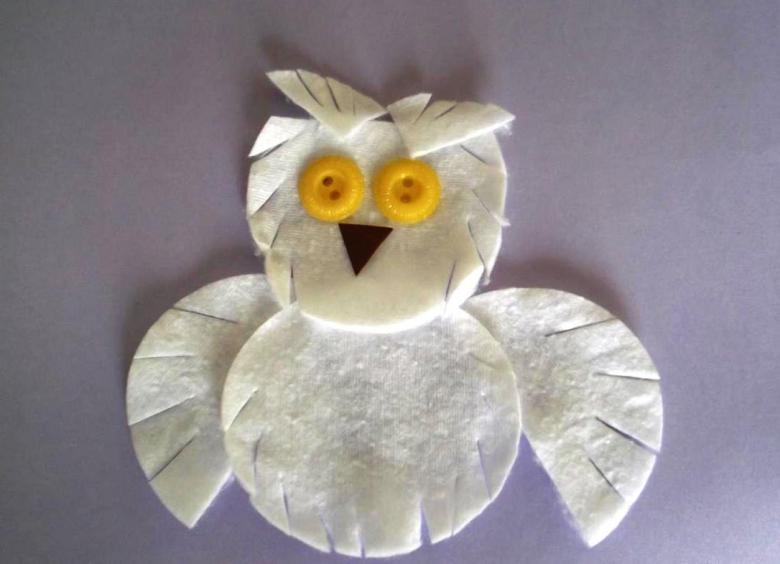
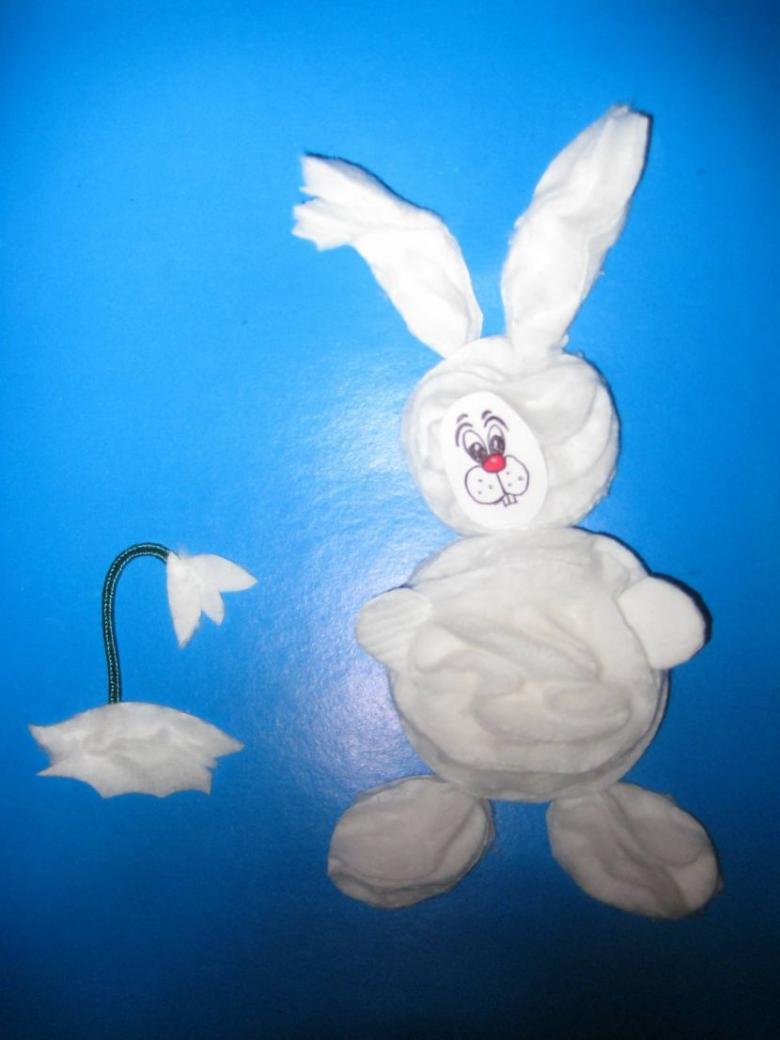
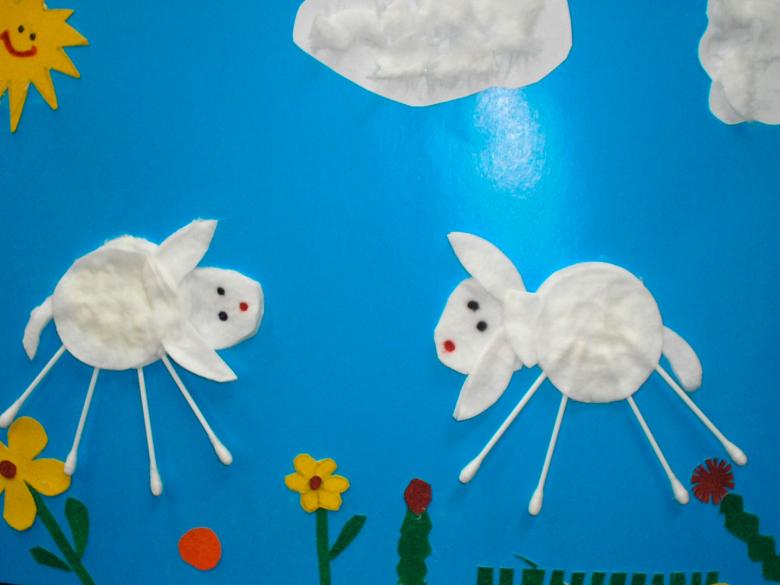
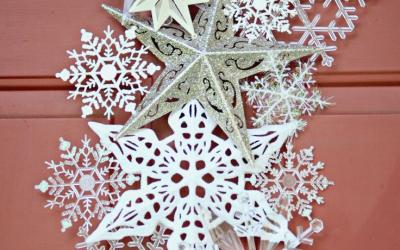
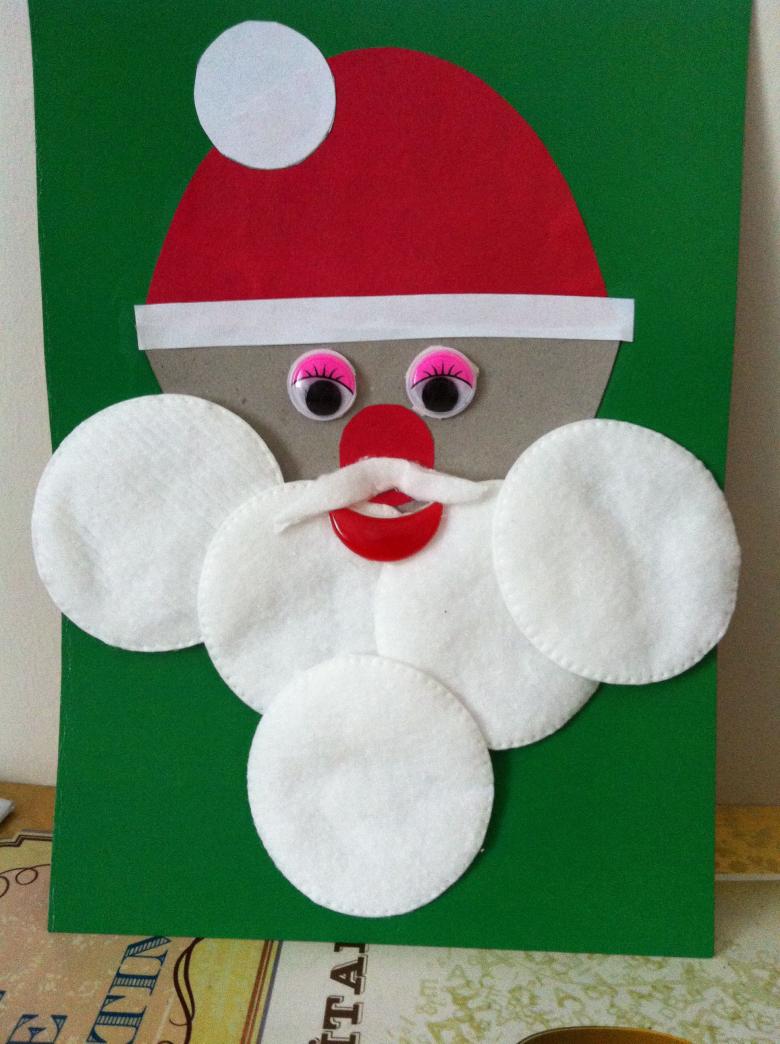
The resulting tree is decorated with artificial snow, garlands, beads, sequins. At the tip of the tree is placed a traditional star, prepared in advance from foil. On the Internet on thematic resources published many photos of crafts from soft rounds.
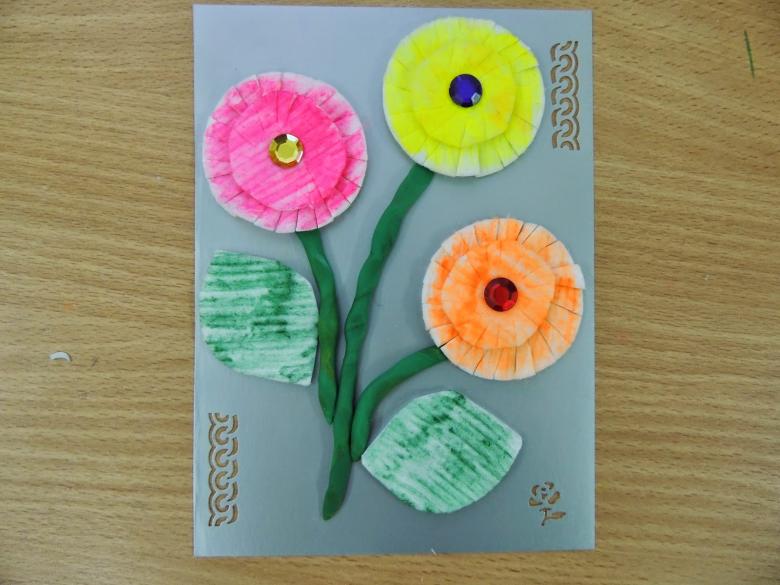
Cotton disks are great for creative activities with children. The round shape allows you to create unusual crafts, attracting the whole family to the fun work.

