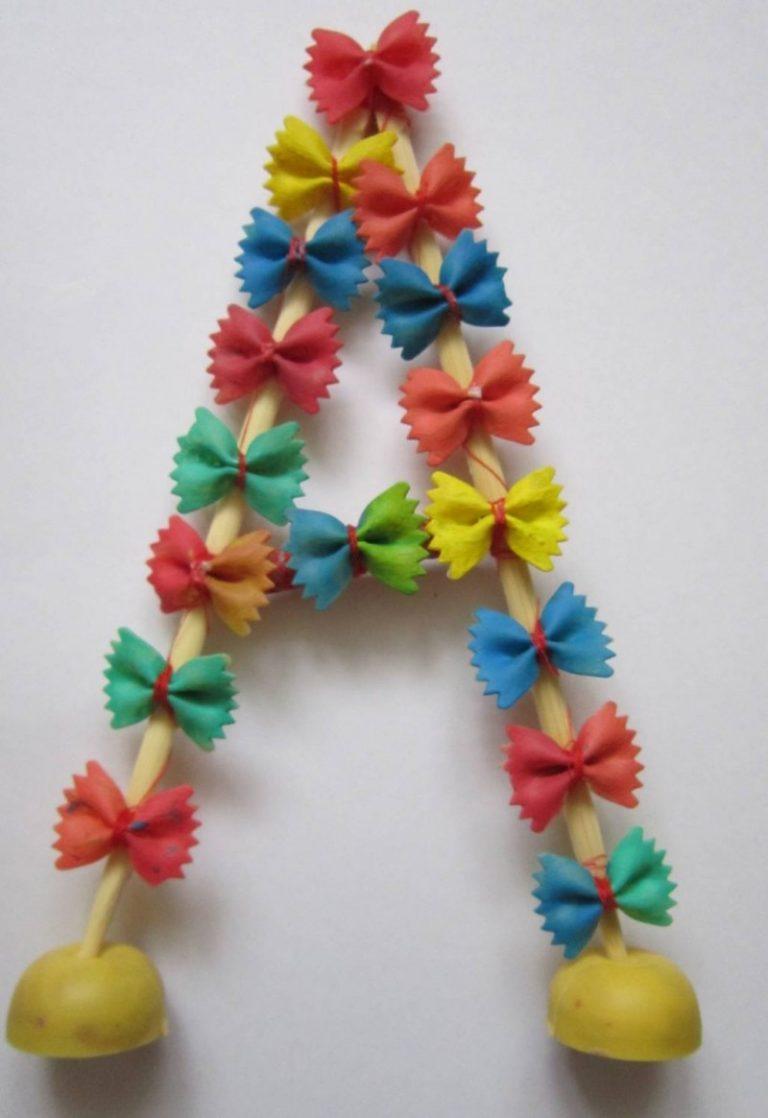
Handmade letter craft - patterns, choice of templates, photo ideas and examples
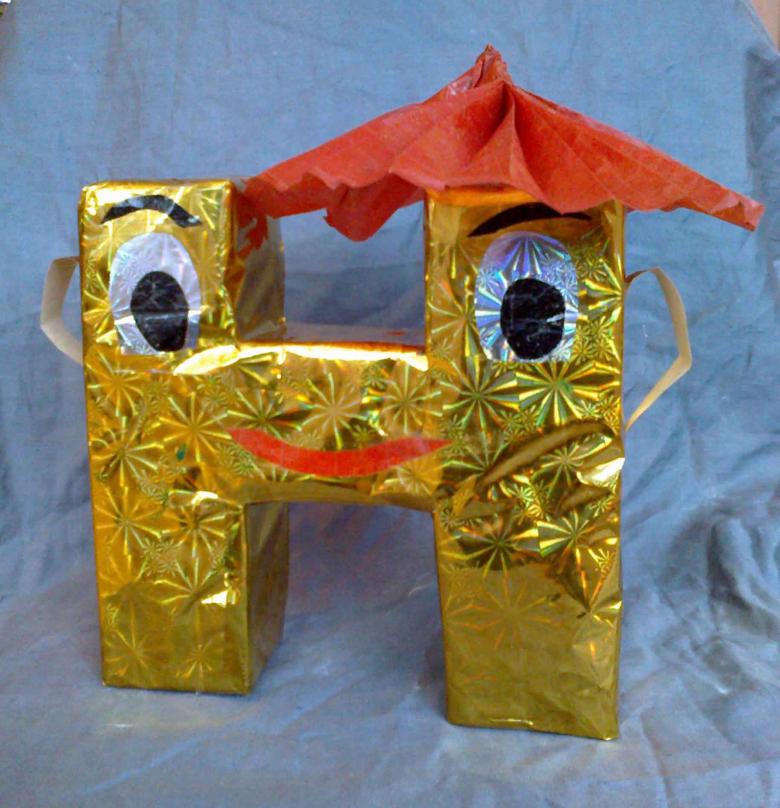
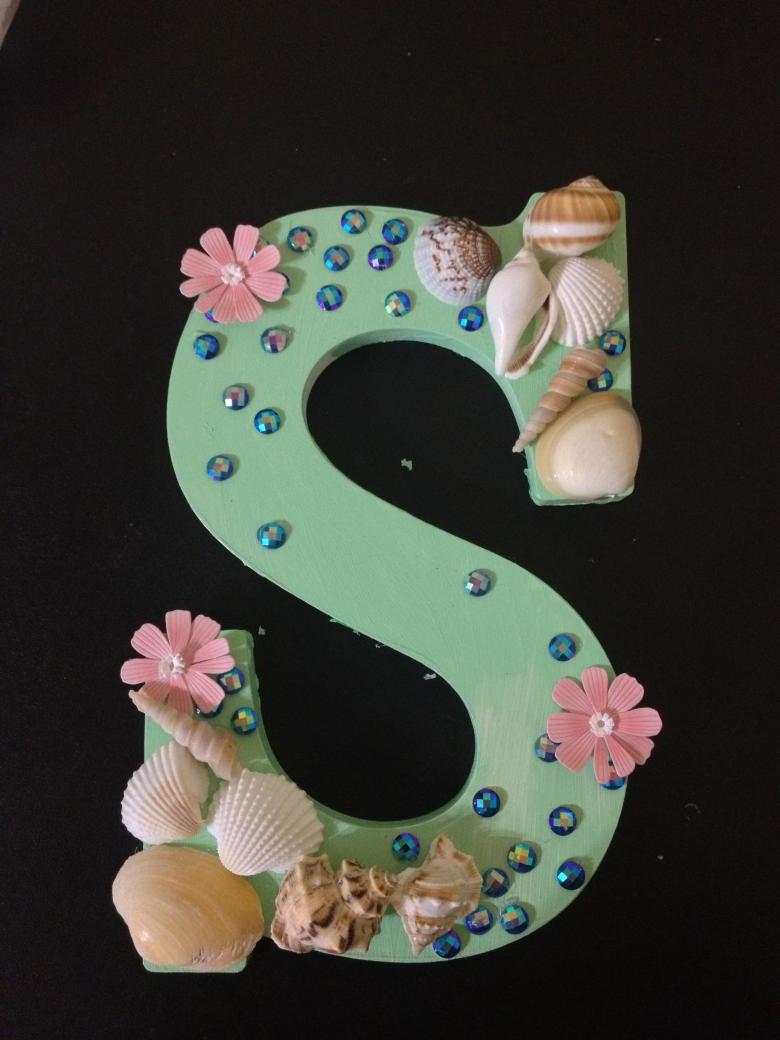
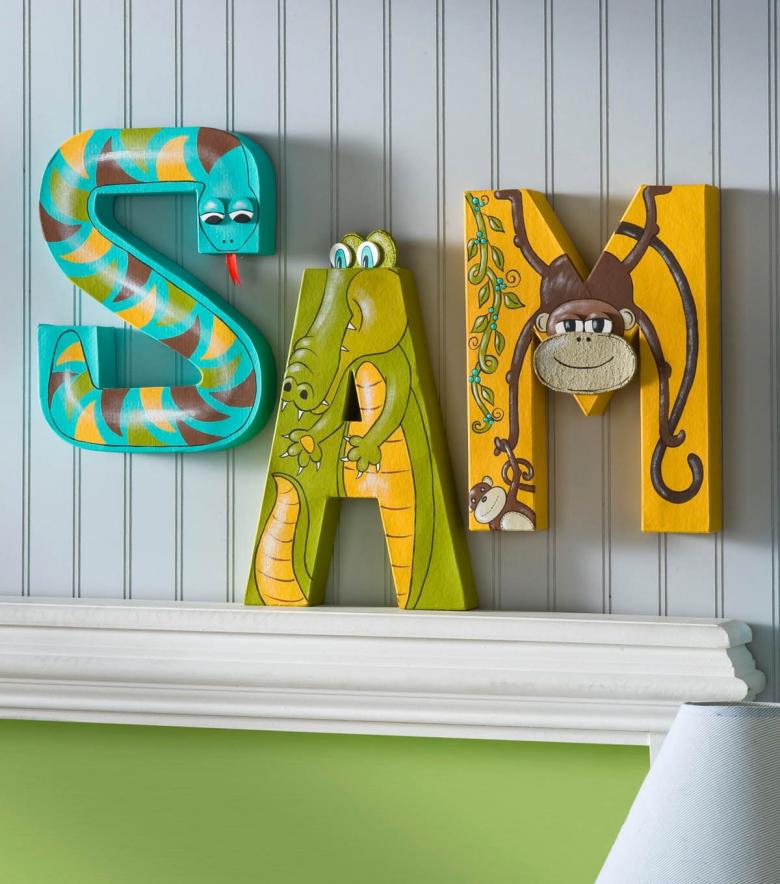
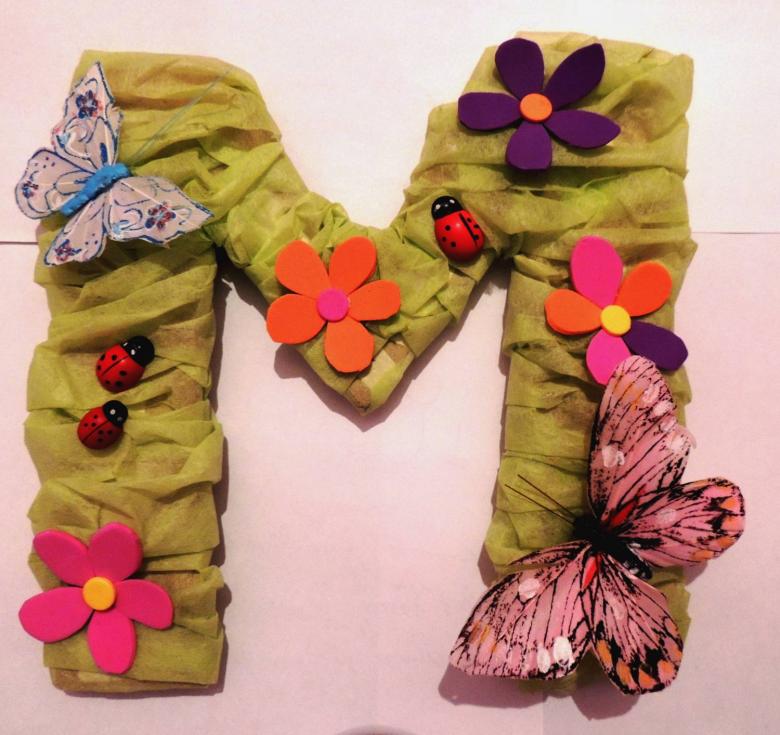
Decorated letters in different styles are gaining popularity among the population. This is a great gift or decoration for an important holiday. Such products in stationery shops cost quite a lot, which sometimes limits the possibilities of the buyer. We, however, will tell you how you can make amazing letter-shaped crafts yourself, what fonts and layouts can be used, what paints and ajurs exist today.
How and what can we make letters from?
Choosing the material to create our product:
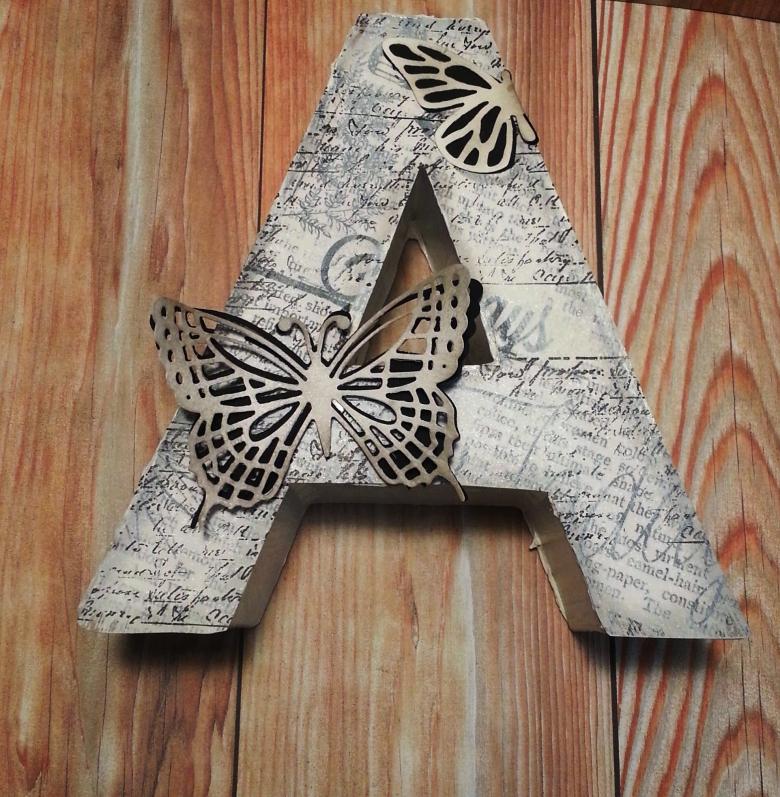
- It can be an ordinary cardboard. Do not think that the letter will look too simple - a neat and well-chosen decoration will turn it into a real miracle.
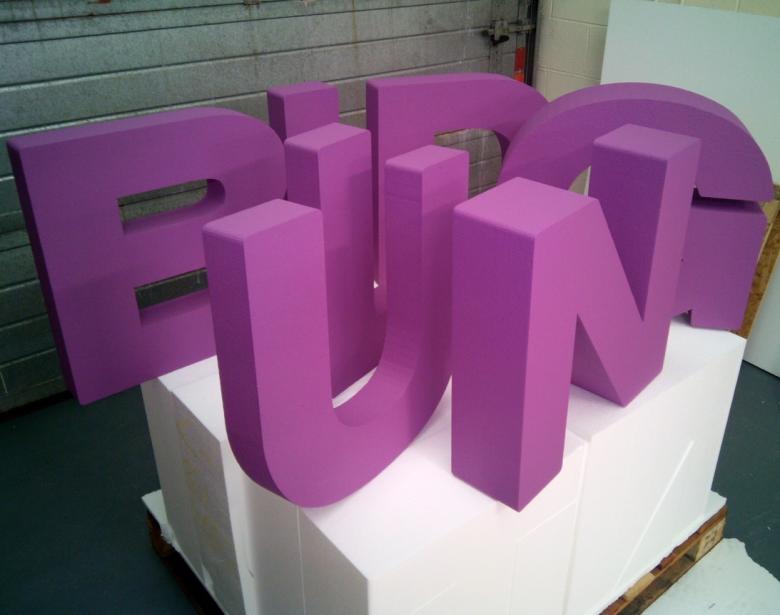
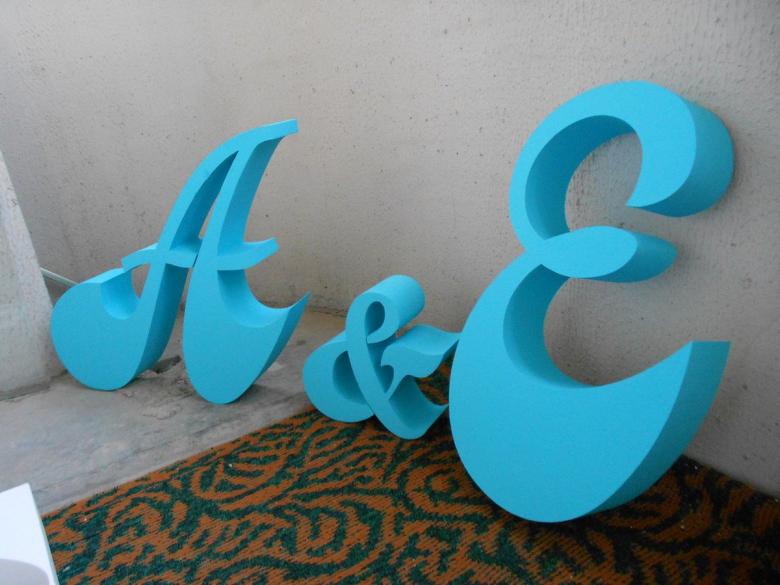
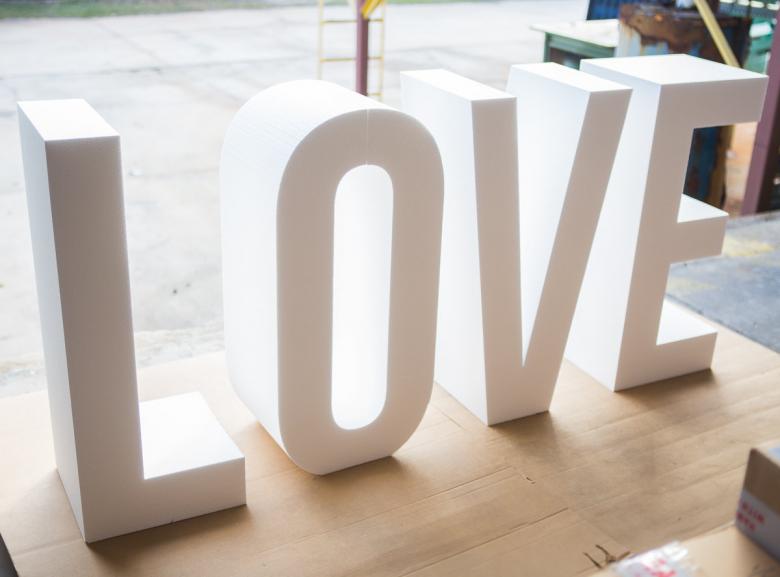
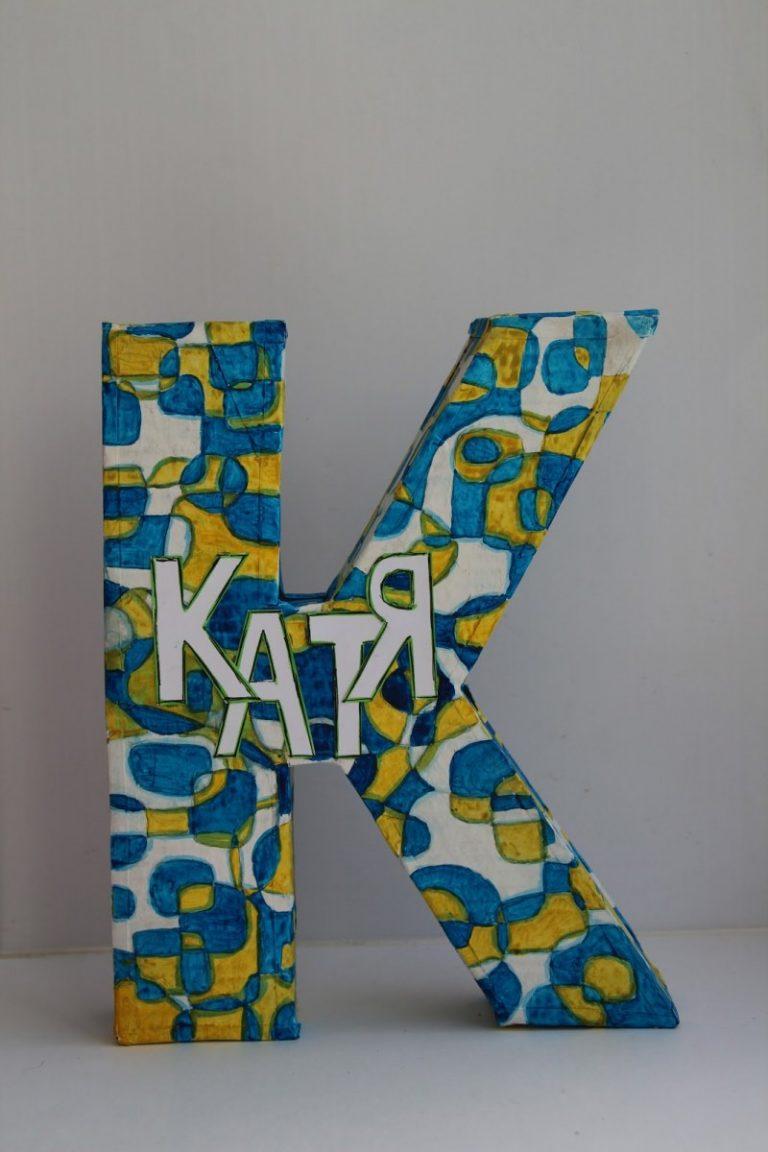
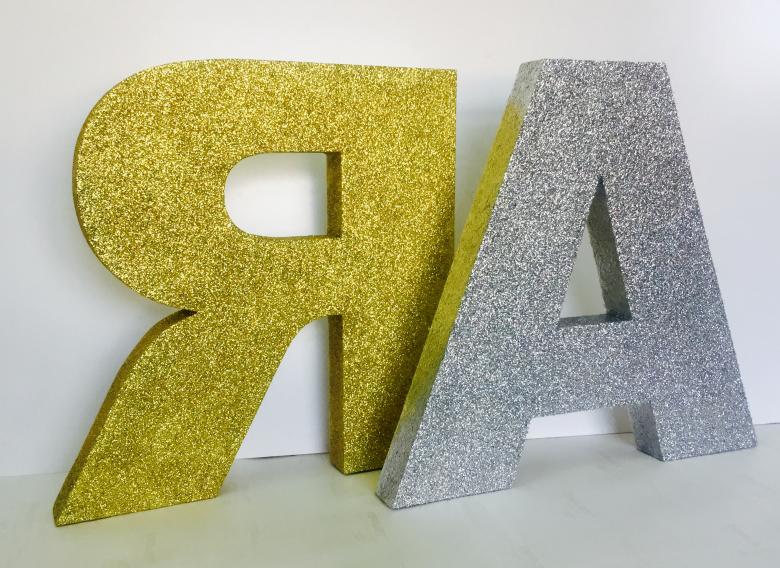
- Styrofoam: the best basis for making three-dimensional words and elements. The material is light and easy to work with.
- Paper napkins. There is a whole school of art of forming patterned napkins. More often they make up compositions on holiday tables. But who prevents us from using napkins to create letters?
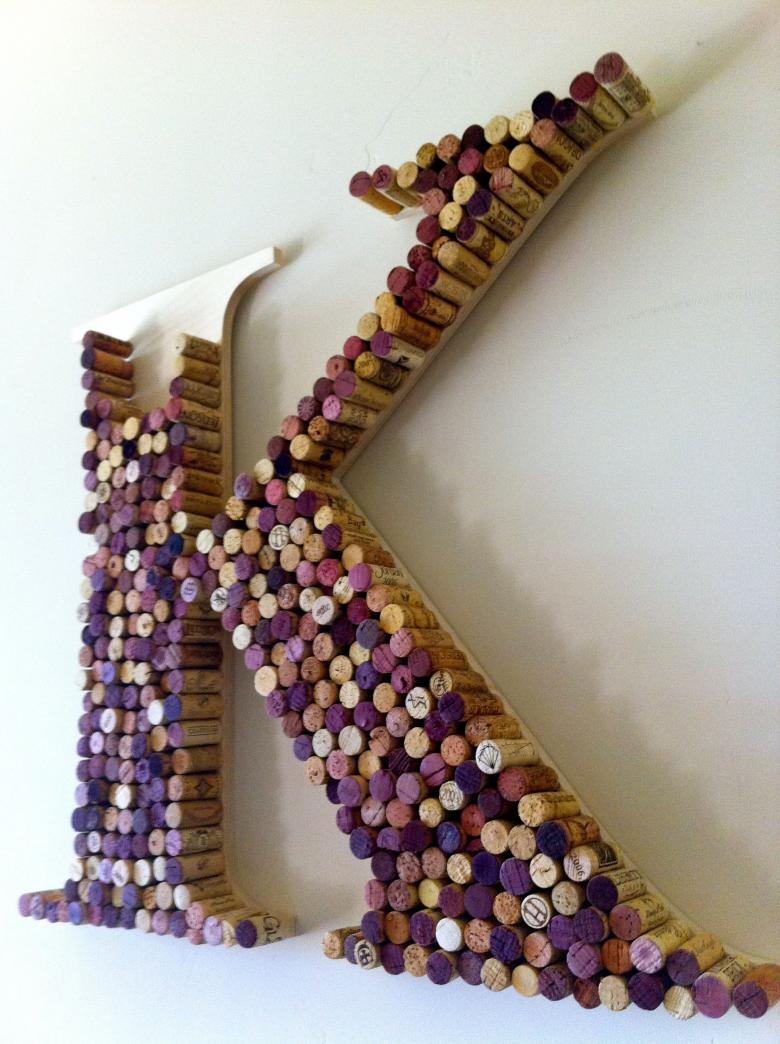
- Wooden letters. This option is suitable for those who love and know how to work with wood, have enough experience and the necessary tools. Making the letter will take time and effort of the master, but the result will surpass all expectations - it will be a work of art.
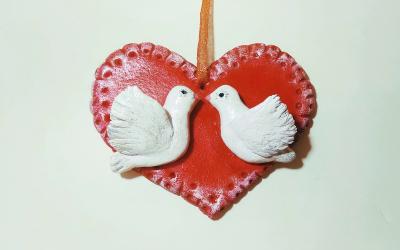
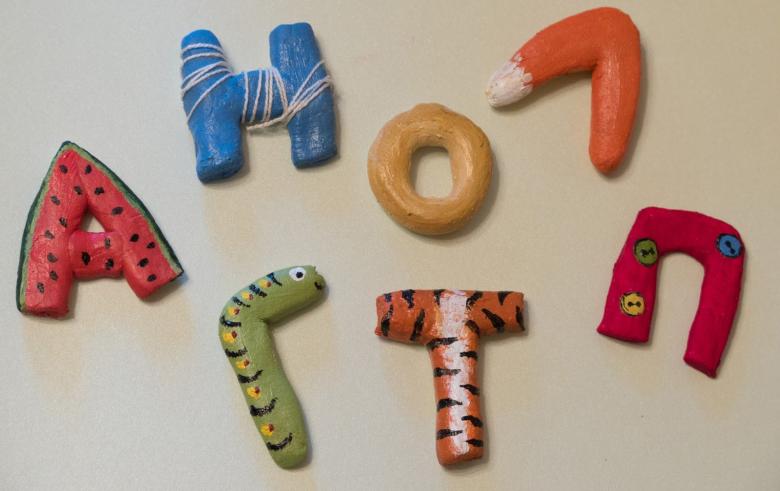
- Letters made of salt dough. In order to equip a child for a school exhibition, all you need to do is knead the dough according to a well-known technology, and get busy decorating it. It's beautiful, convenient, and practical.

In cases where you are going to decorate a party for guests or originally congratulate the birthday boy, these methods may not work. Why not? We did not take into account the font. The letter is ready, decorated, but the expected effect is not there. To avoid such a situation, let's see what fonts are used to create natural volumetric letters:
- Fonts with serifs: in the corners of such products masters cut "anchors", which add contrast to the letter.
- Chopped fonts: edges without serifs and sharp corners are used. This is best used when working with foam, as the foam itself will create a volume effect.
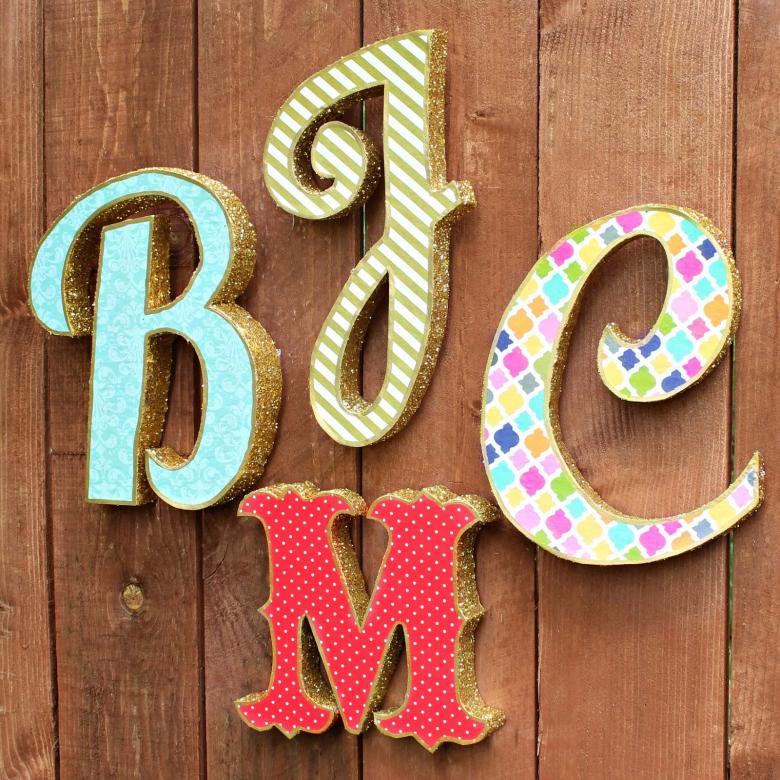
- Handwritten fonts: the most difficult level of craftsmanship. Can be made when working with wood or cardboard, but you can't do without a template.
How to make a template
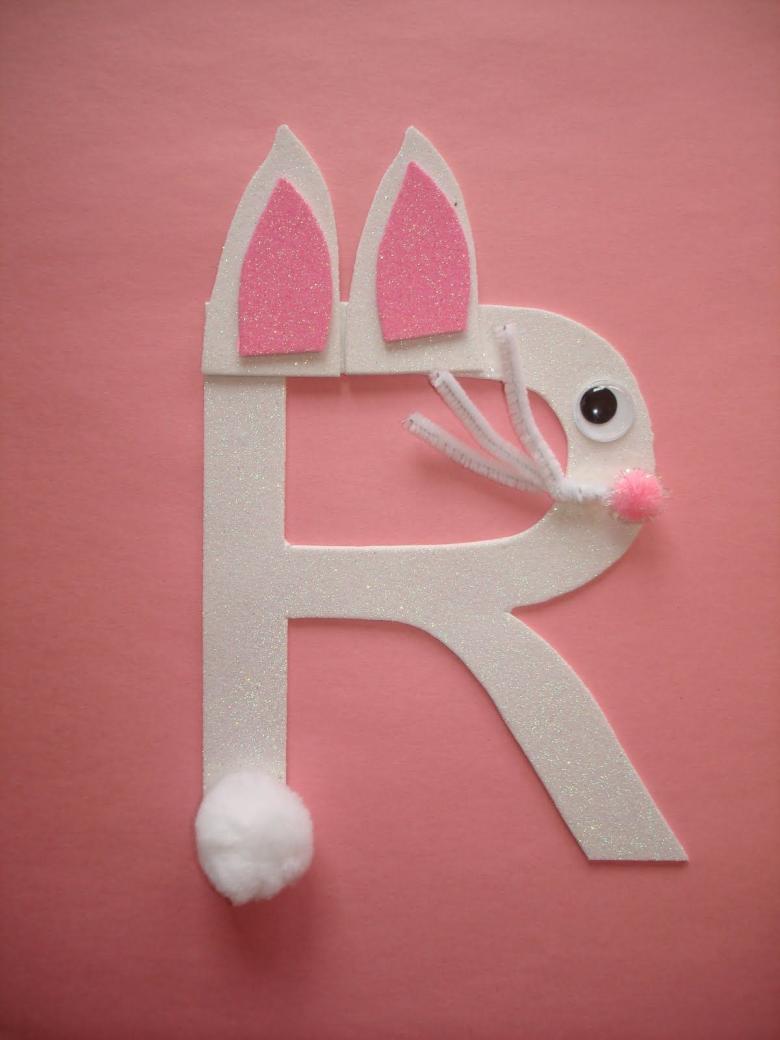
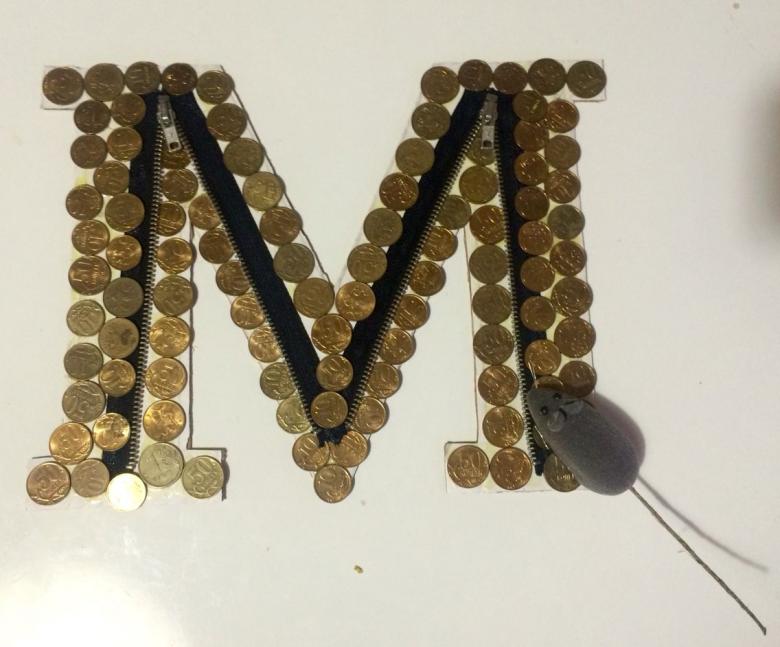
The easiest way, of course, is to use a ready-made pattern. Print the selected layout on a printer and cut to the contour. Transfer the pattern to a thicker base to be able to work with the pattern more than once. Your pattern is ready and you can bring your idea to life!
Making letter crafts with detailed schemes
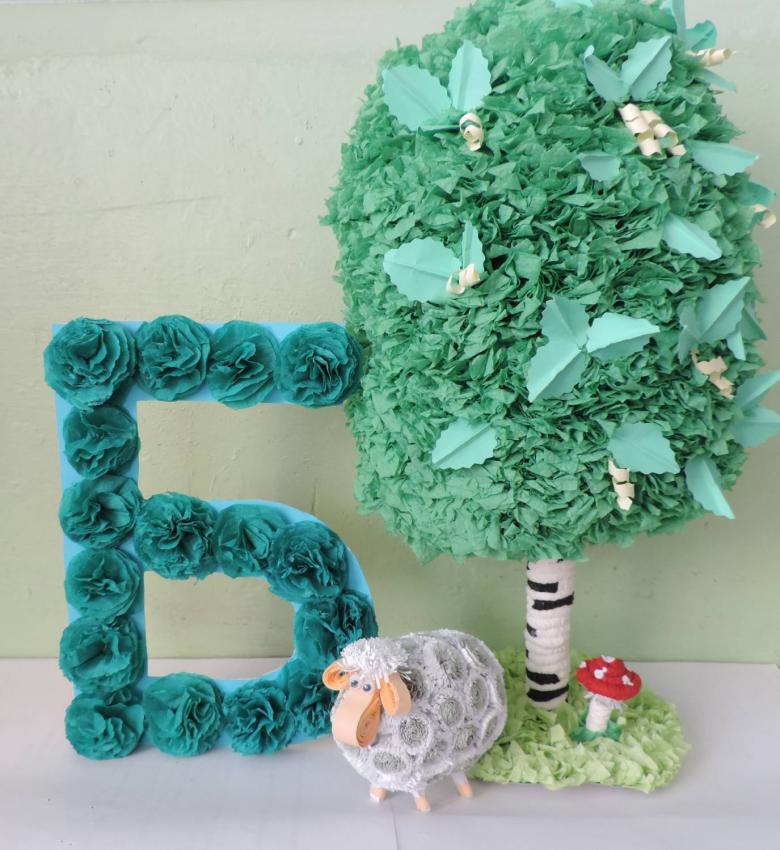
Modular letter out of paper napkins
We are going to prepare the following materials for work:
- Paper napkins of the desired color;
- Glue;
- Threads;
- Layout of the letters you are going to make.
Layout is needed to accurately place our modules from napkins strictly according to the contour.
Let's begin to work:
- Each napkin is tightly rolled up like a bandage.
- In the center of the roll we tie the module with a thread or ribbon. The ribbon will look more elegant, and the product will be stronger.
- Place ready modules in a vertical position on the template. Fix each napkin with glue to the neighboring napkin.
- Give your letter additional volume: use several napkins instead of one when creating the module.
Letter from foam plastic: easy and comfortable
Step by step instructions for the master:
- We choose the piece of Styrofoam we need.
- We prepare a template or use a ready-made one.
- We outline the selected shape, and begin to isolate the letter from the base material. Styrofoam has the only disadvantage - it crumbles when pressed hard. Therefore, to cut the letter, use a very sharp knife, which will allow you to accurately form both the outer and inner edges of the product.
- In case the edges are cut unevenly or have jagged edges, use sandpaper - sanding the edges will achieve the desired result.
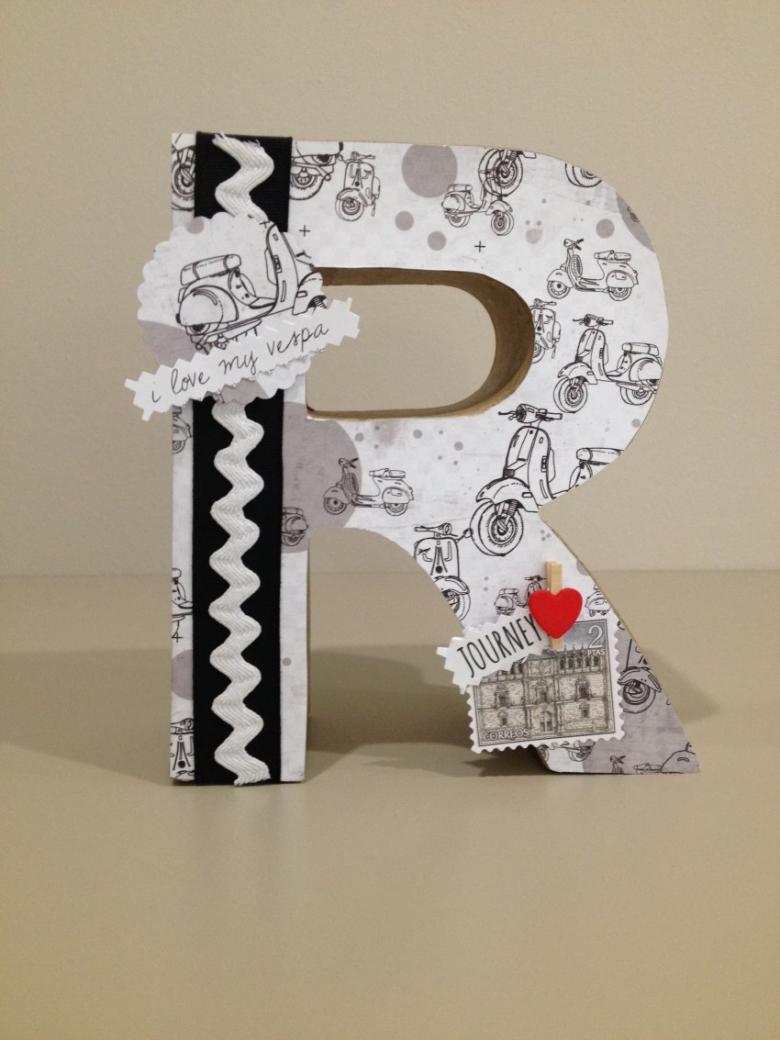
- Using acrylic paint, give our product the desired color. If desired, you can wrap the letters with illustrated paper.
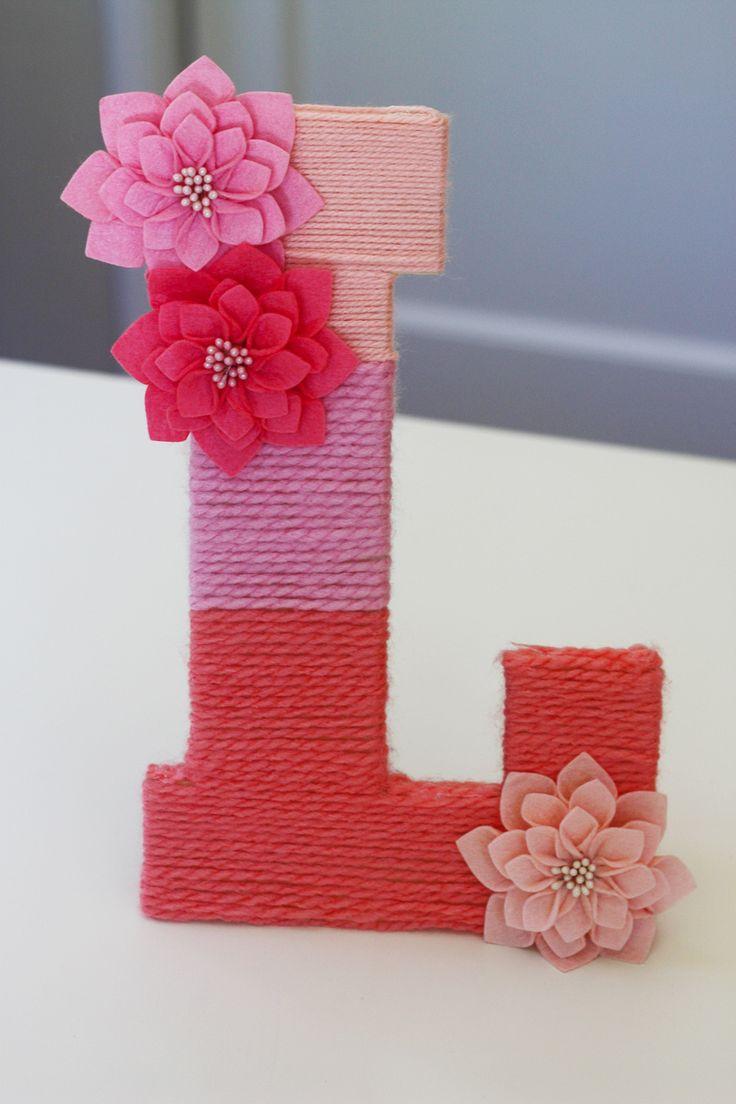
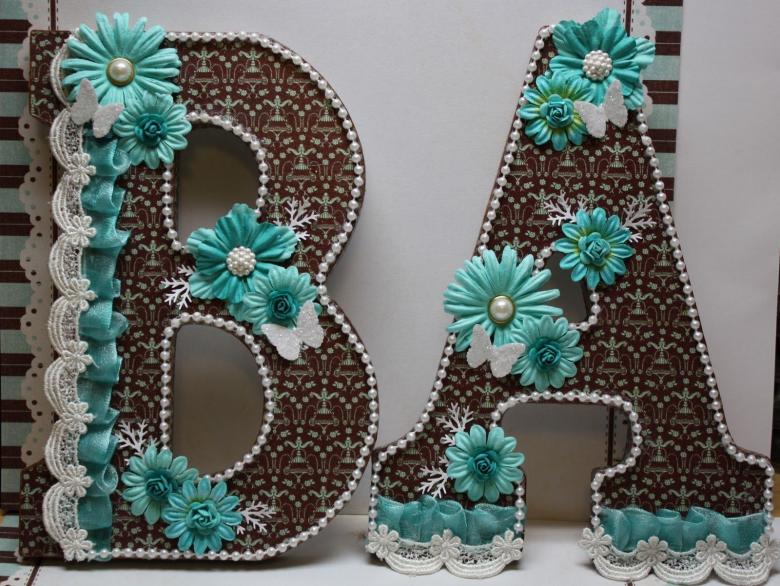
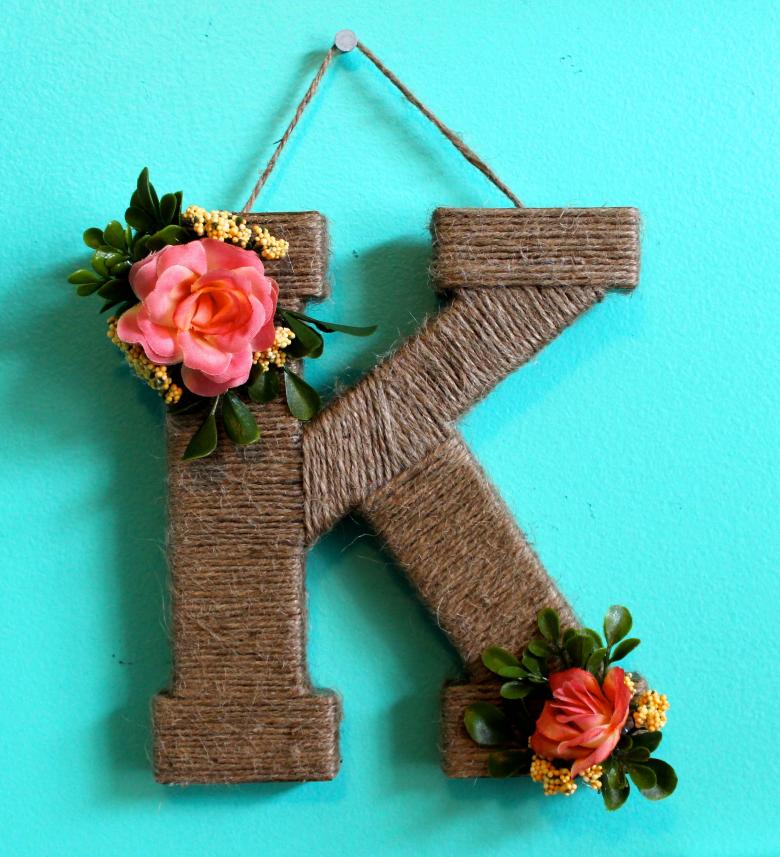
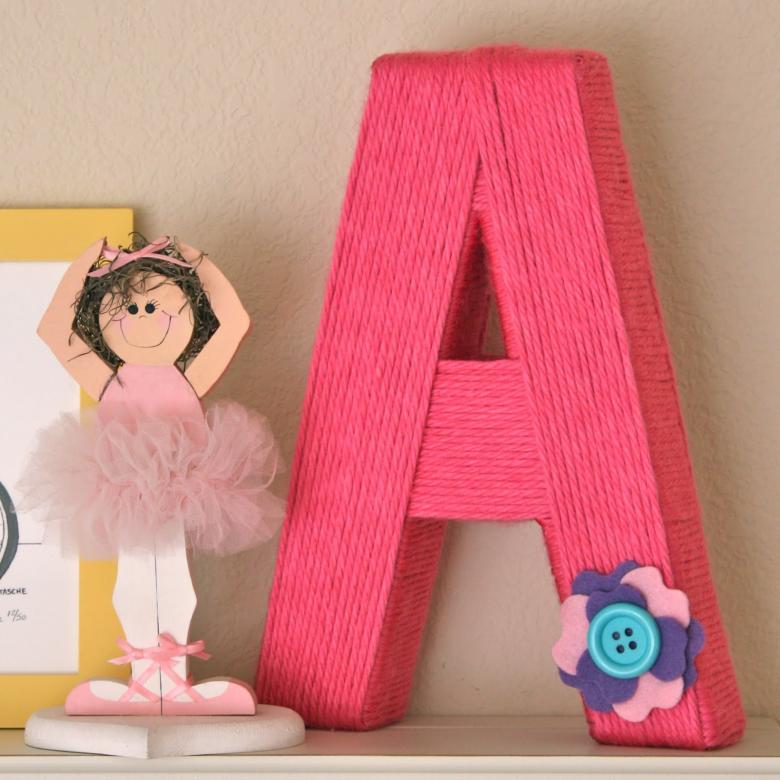
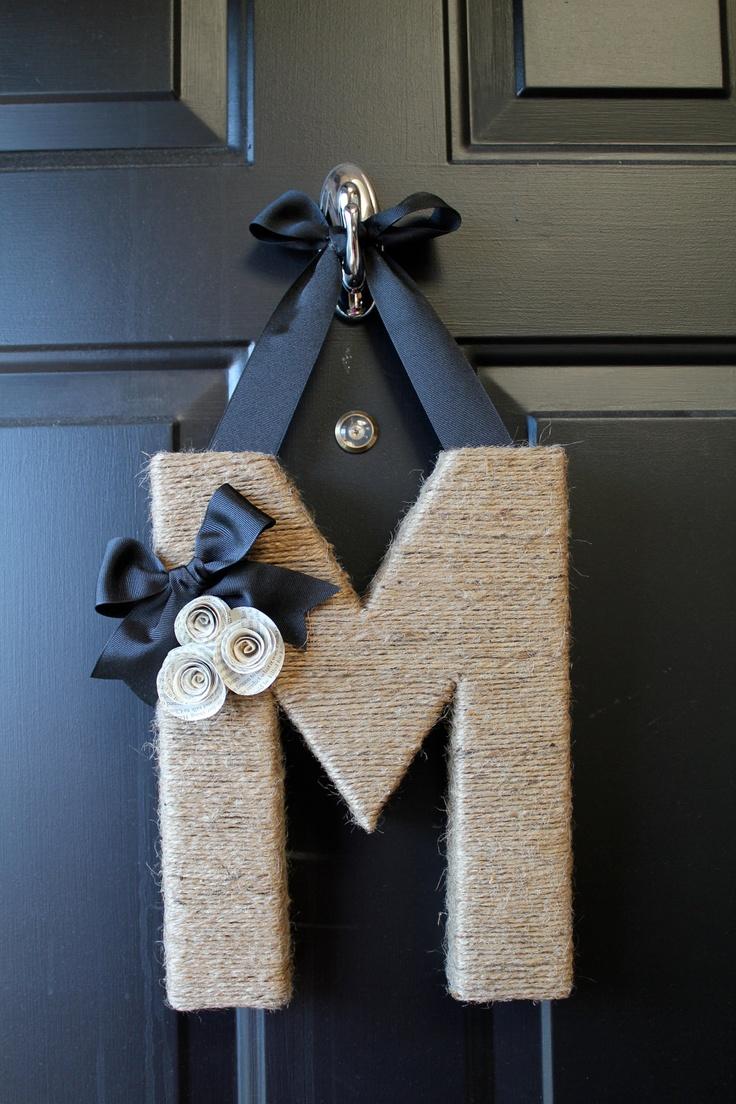
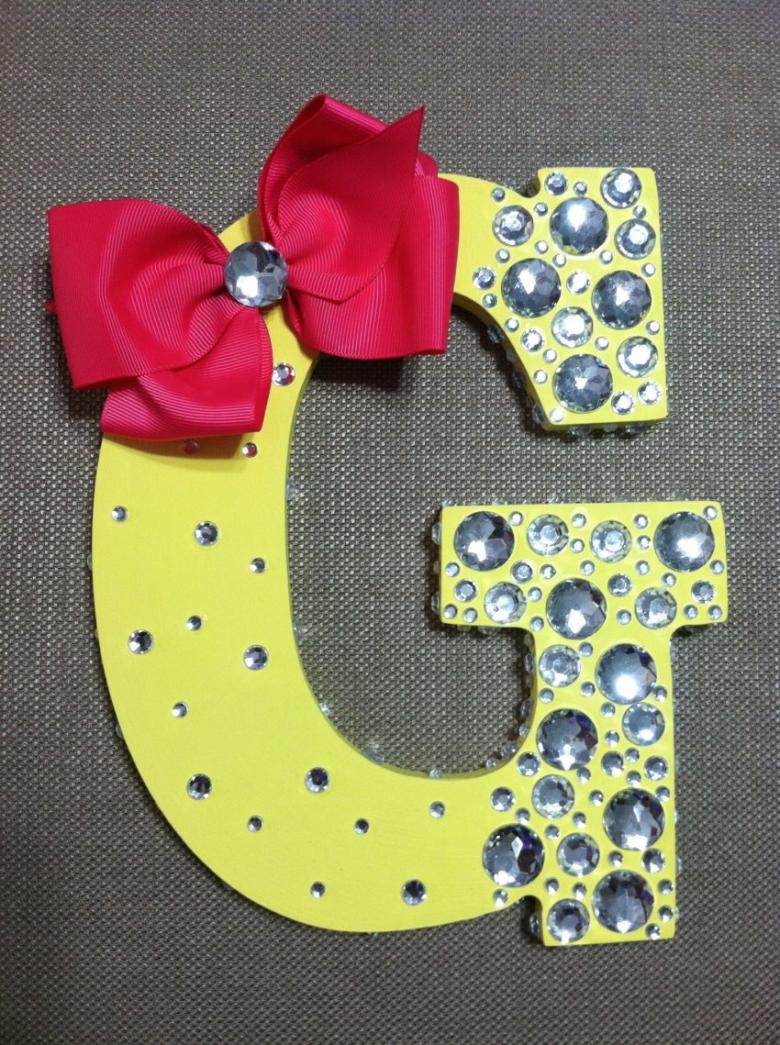
- Decorate the product can be ribbons or bows, depending on who the product is intended for.
Letter from salt dough: training children's hands
This method is ideal for a joint parent-child project. Working with dough strengthens the muscles of the hands and fingers, developing fine motor skills of the child's hands. We advise you to give it a try.
Preparing the dough:
- Mix ¾ cup salt, 1 cup flour, a little oil and warm water. The resulting dough is sticky to the hands and kneads well under the fingers.
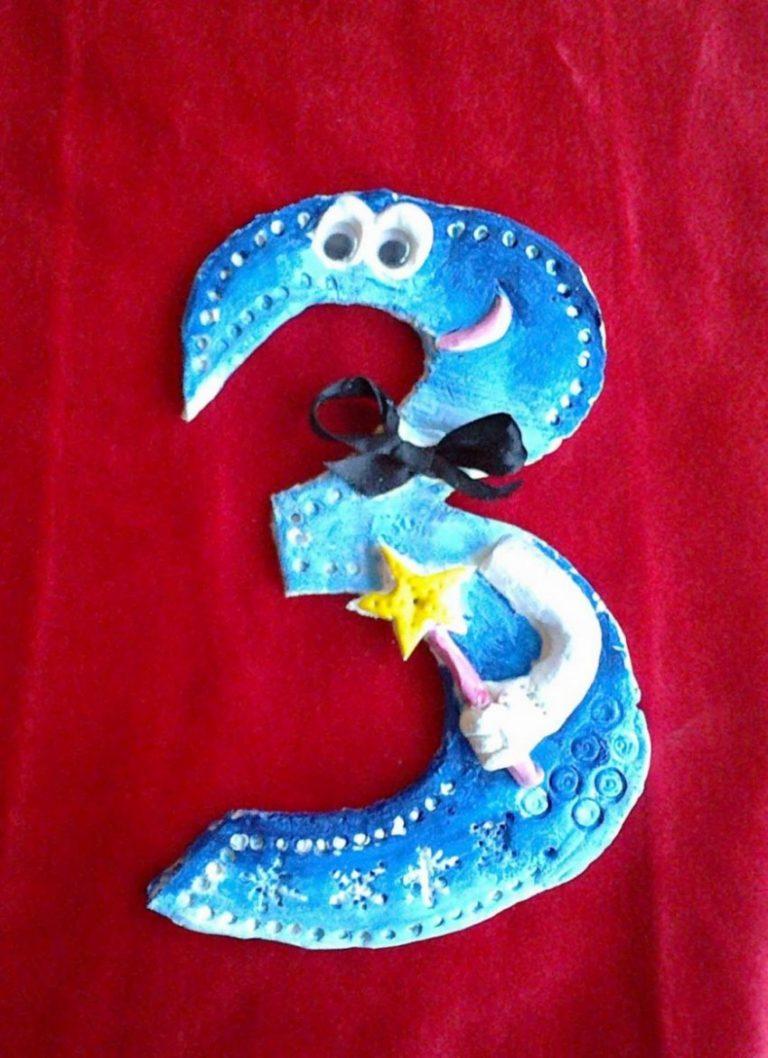
Step-by-step instructions:
- Prepare the workplace: on the table we use a special tablet or board, on which we will sculpt our letter.
- Knead the dough and form the element we want to get. Periodically wet your fingers and your baby's fingers in warm water - this helps the dough to become more pliable.
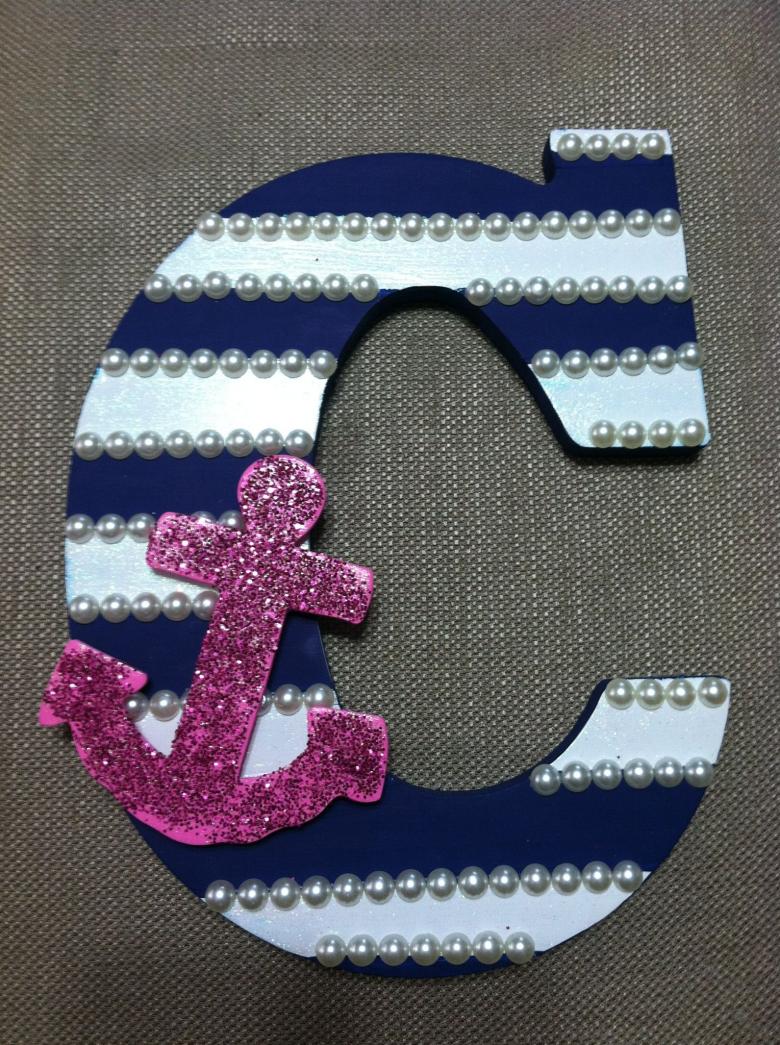
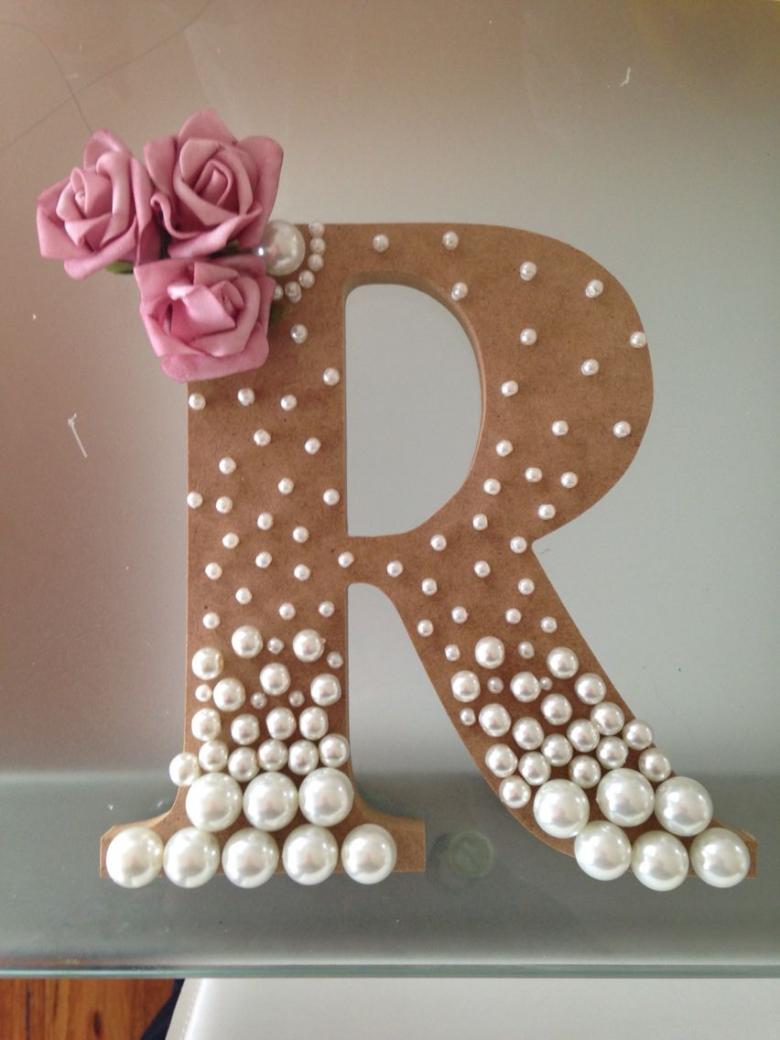
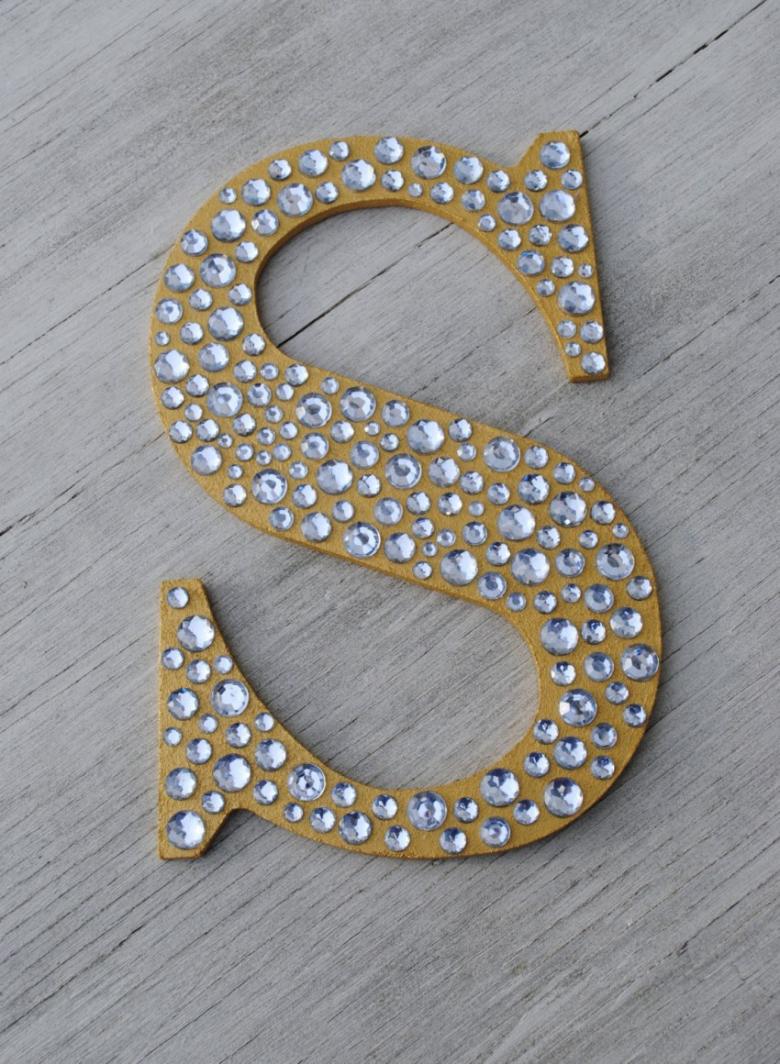
- When you are finished, let the piece dry and then decorate it. Use paints, rhinestones, beads.
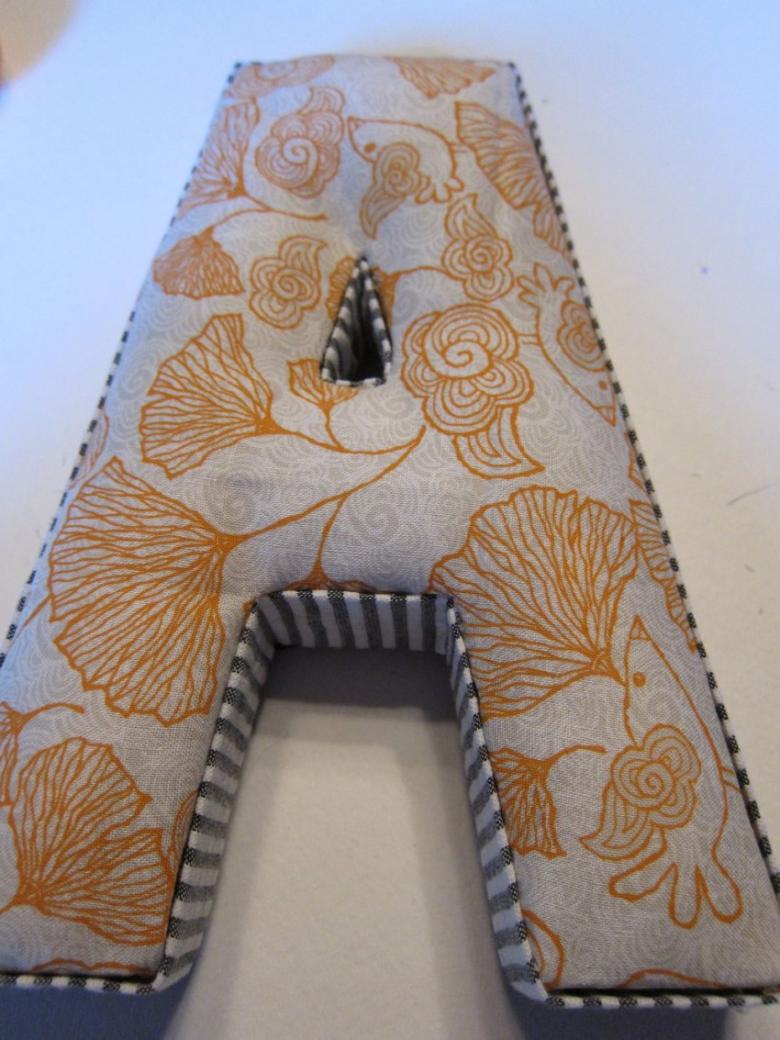
Letter pillow made of cotton with your own hands
Cozy pillow, sewn with your own hands, will give comfort and warmth in winter evenings. And in the run-up to the New Year holidays will be an original gift for a loved one.
For work we will need:
- Any cotton fabric;
- A template or template;
- Thread with needles;
- Filling for the pillow;
- Scissors.

Let's get to work:
- We will fold the selected fabric in half.
- On the wrong side with the help of a template, draw the selected letter of sufficient size. When working, step back from the edge of the pattern at 2-2,5 cm. This distance we leave for the seams.
- Sweep over the edge of the letter halves, then machine stitch, leaving a small hole for the filler.
- Turn the product face out and fill the shape with filler (wool, sintepon).
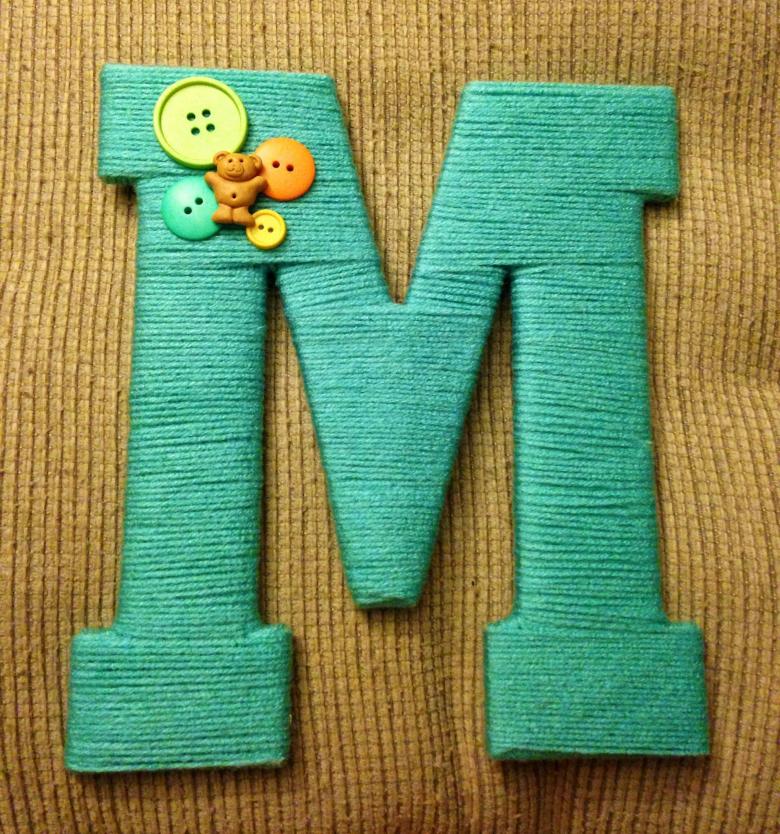
- Sweep the remaining area with beautiful stitches. If you prepare the letter-pillow only as a unit of the interior, you can decorate the product with large buttons, rhinestones, guipure netting.
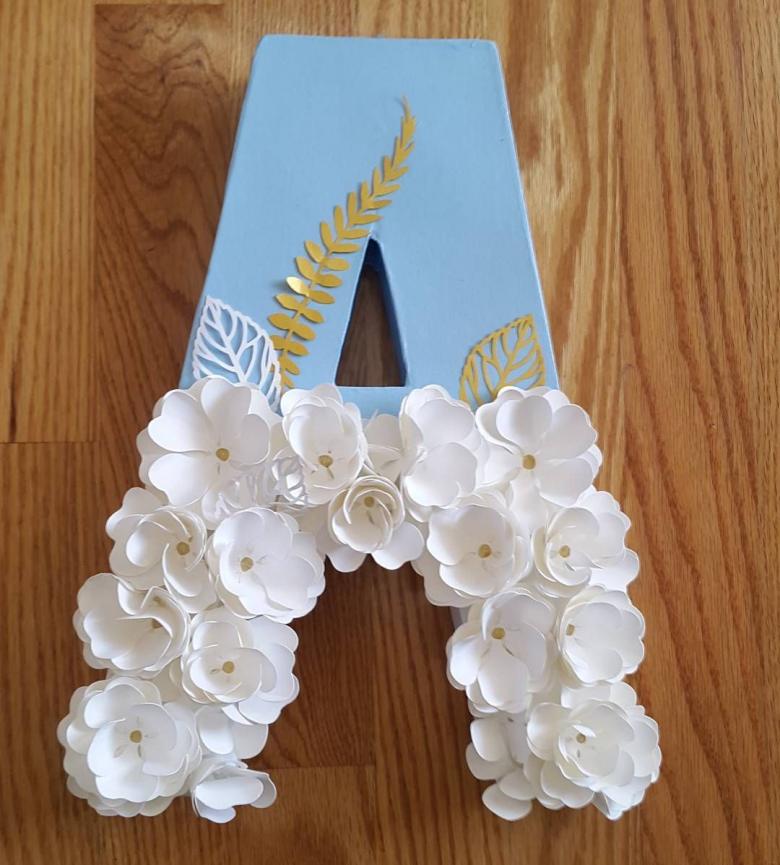
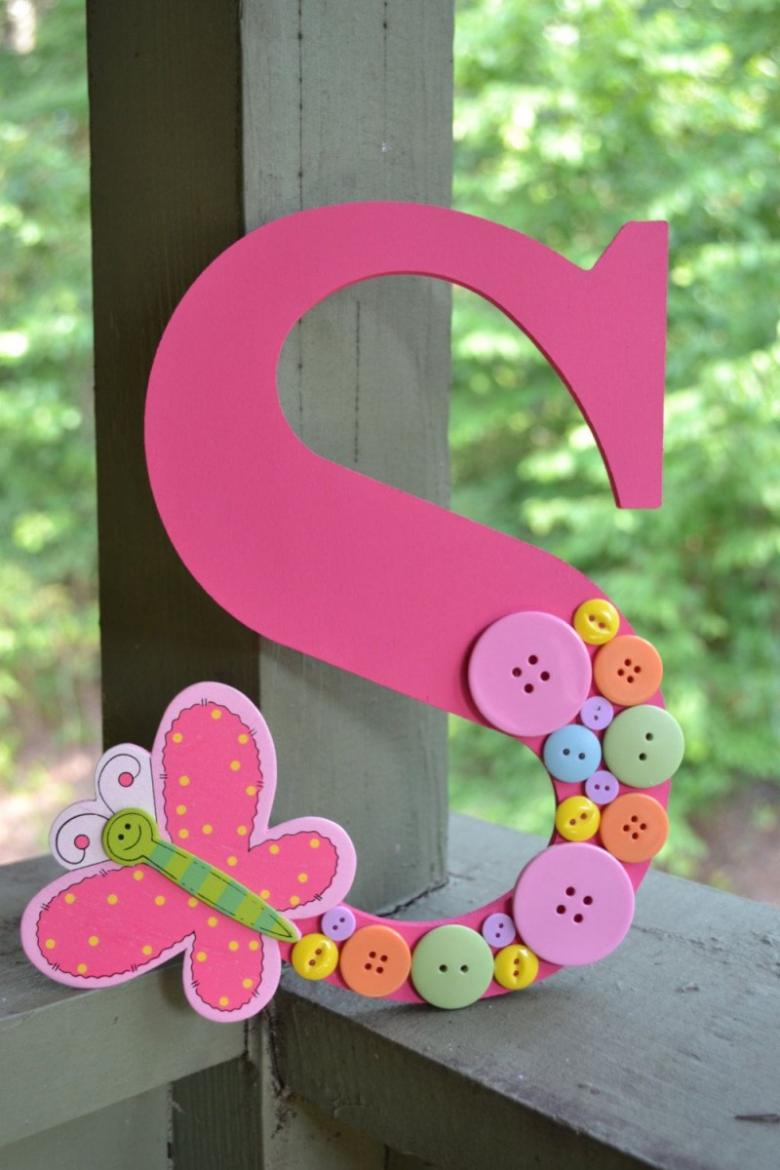
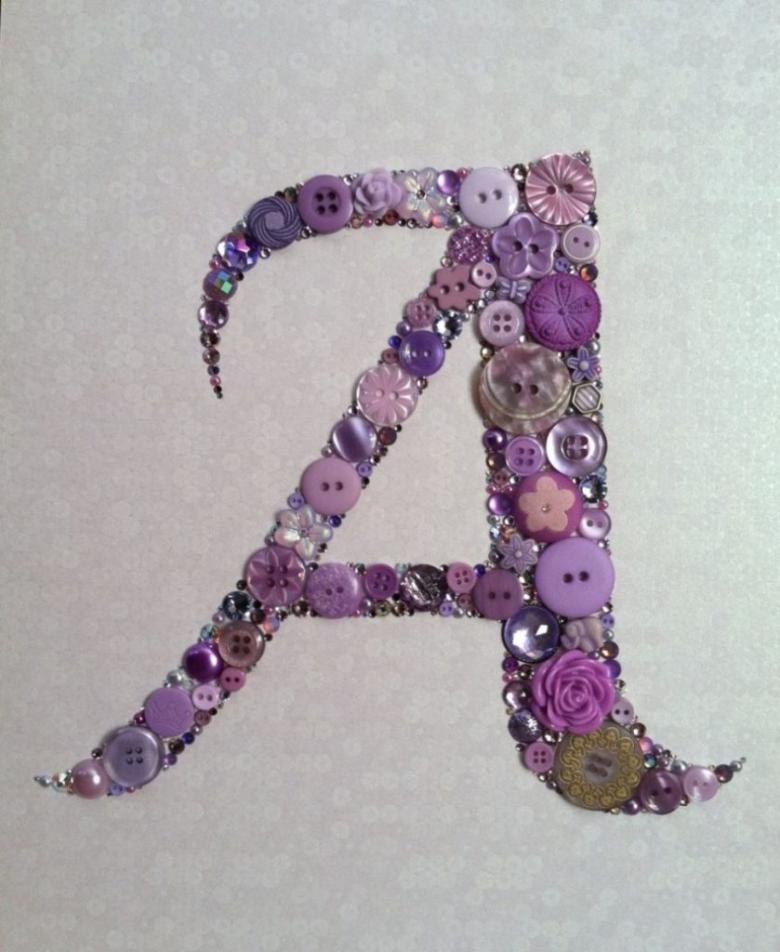
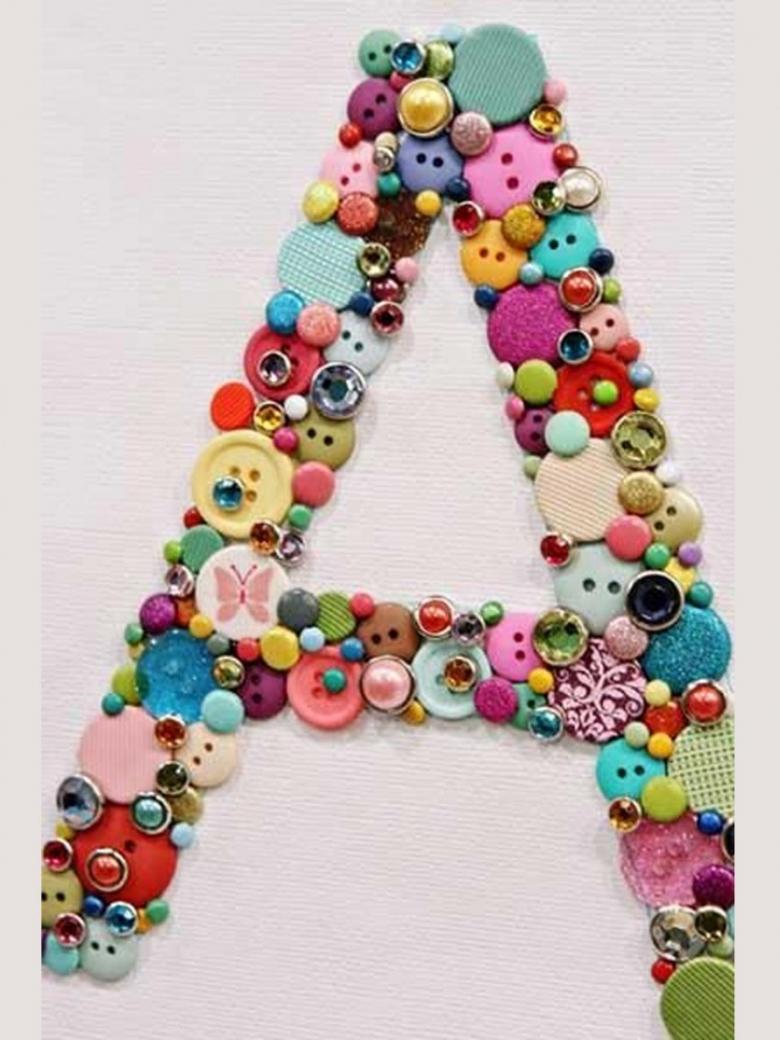
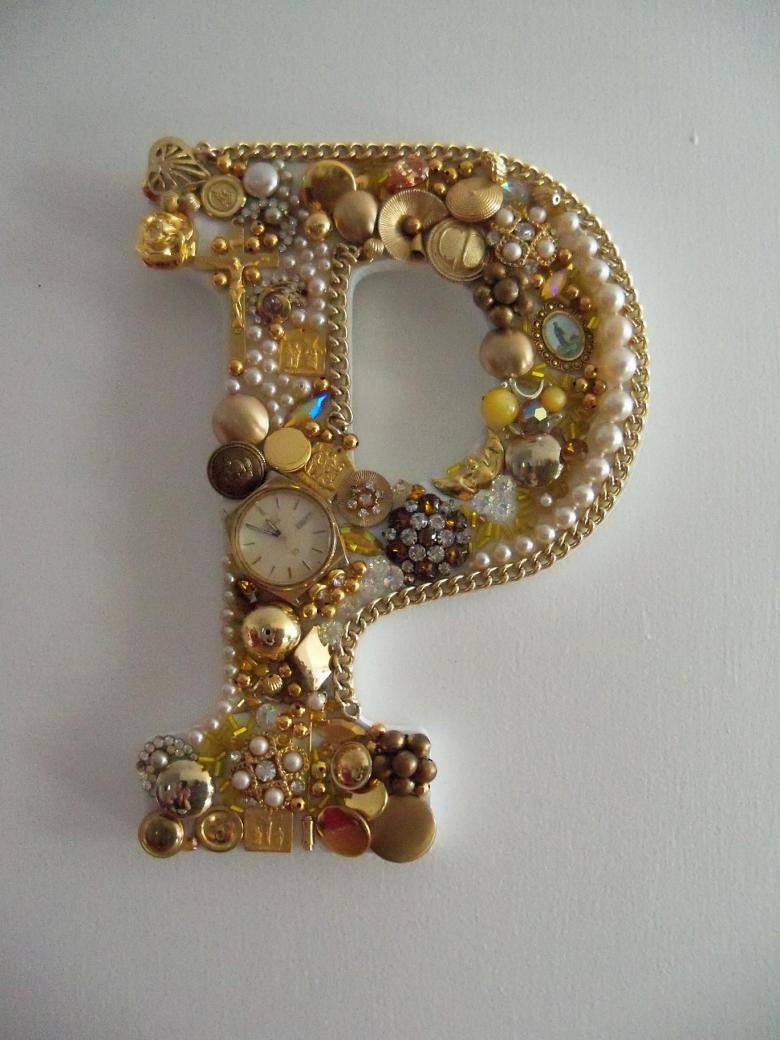
Preparing an appliqué of buttons
Another possible option for creating a craft in the form of a letter. This is a great way to add to your child's portfolio in craft workshops or in art classes at school.
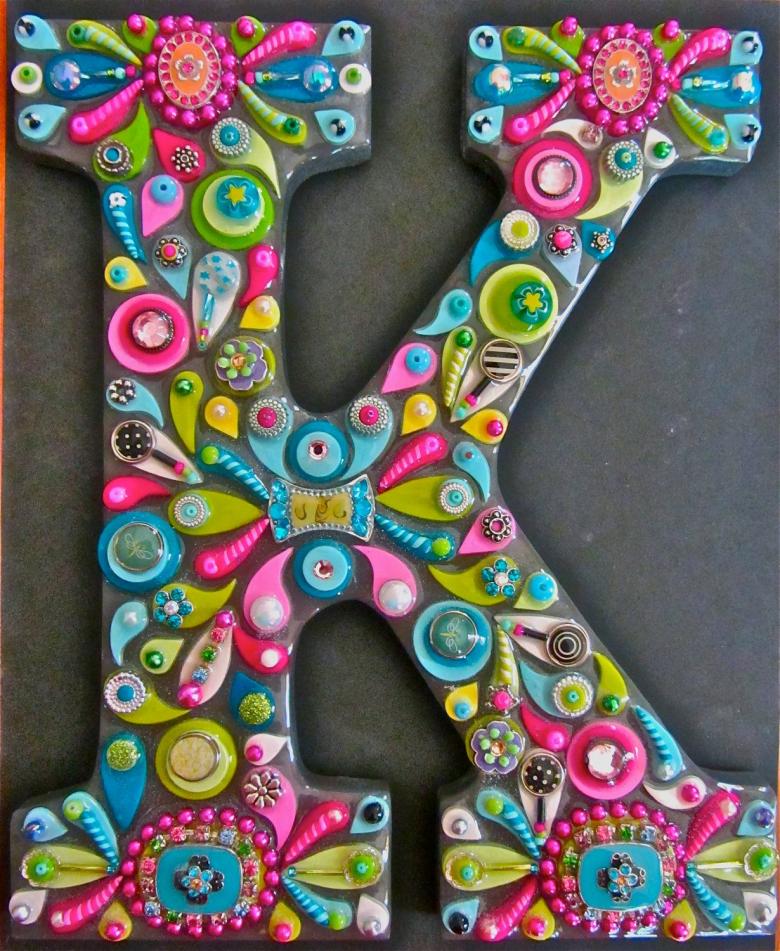
Step-by-step instructions:
- Prepare a base in the form of a letter to create an applique. This should be dense material: cardboard or plastic circle, or foam plastic plate.
- Cover the blank with a layer of strong glue.
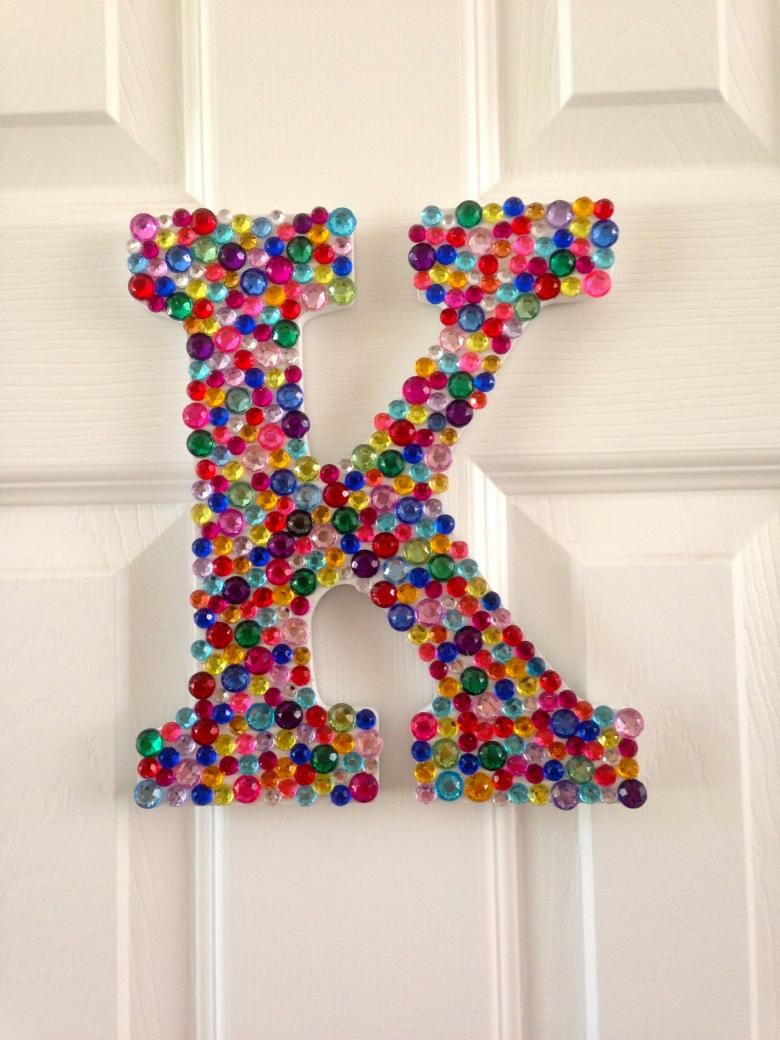
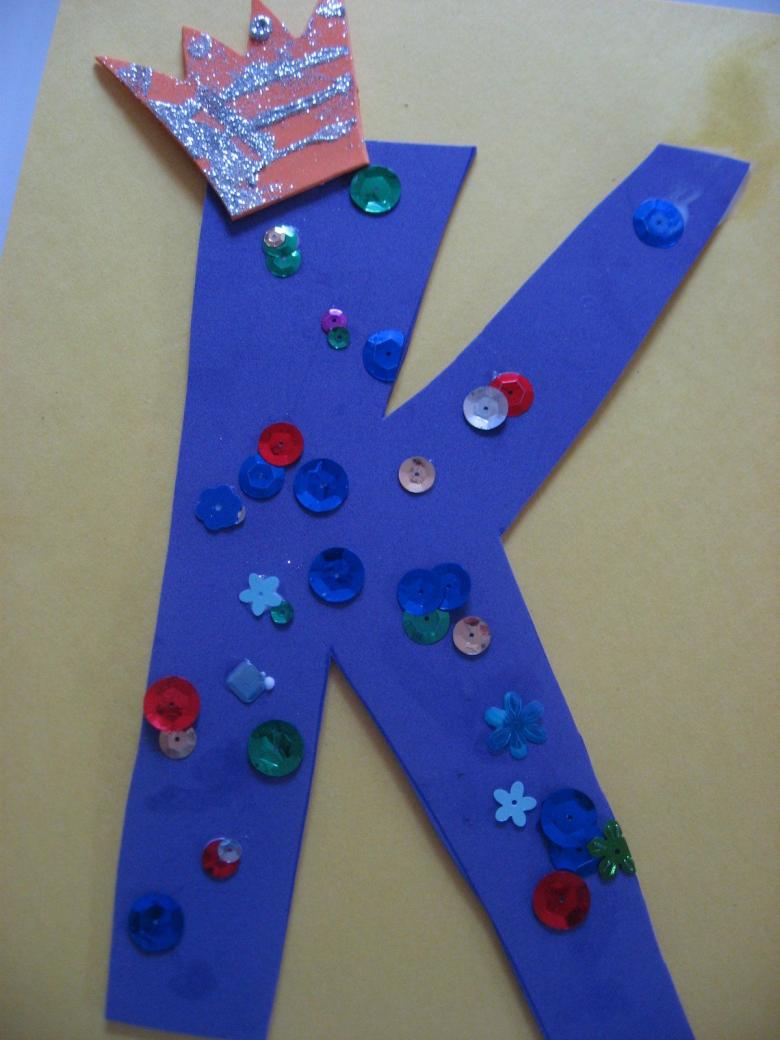
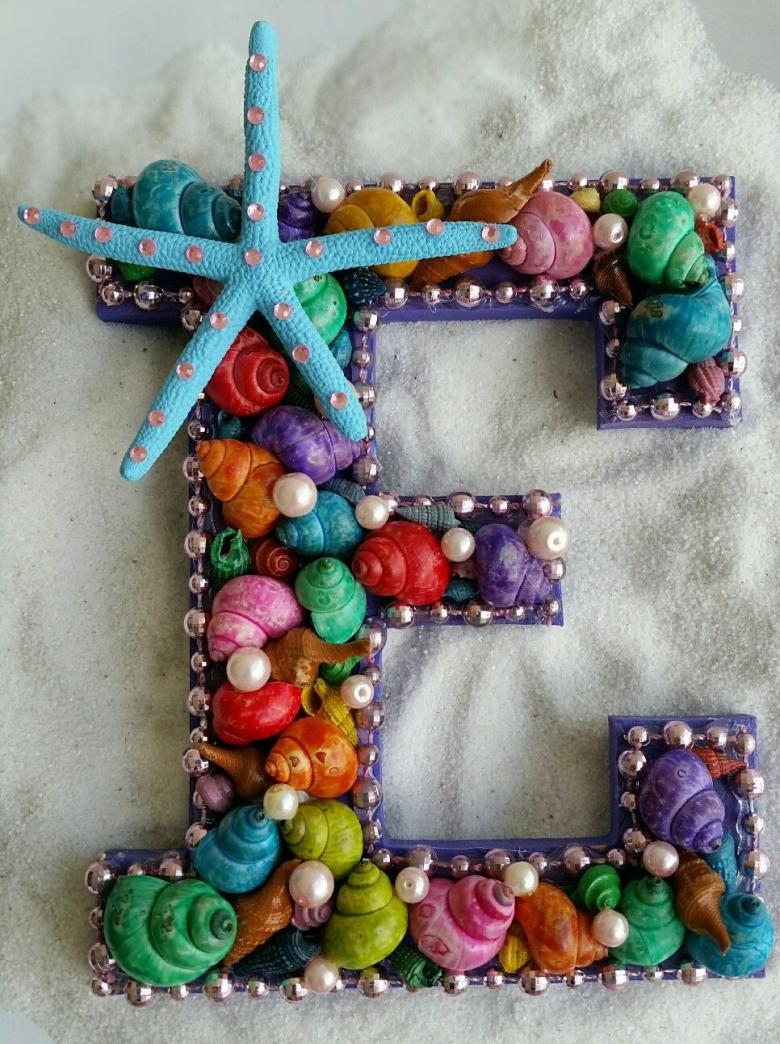
- Place buttons along the contour: large and small, multicolored and monochrome. Do not be afraid to decorate the product with large beads - decor accessories will give a unique sheen to the application.
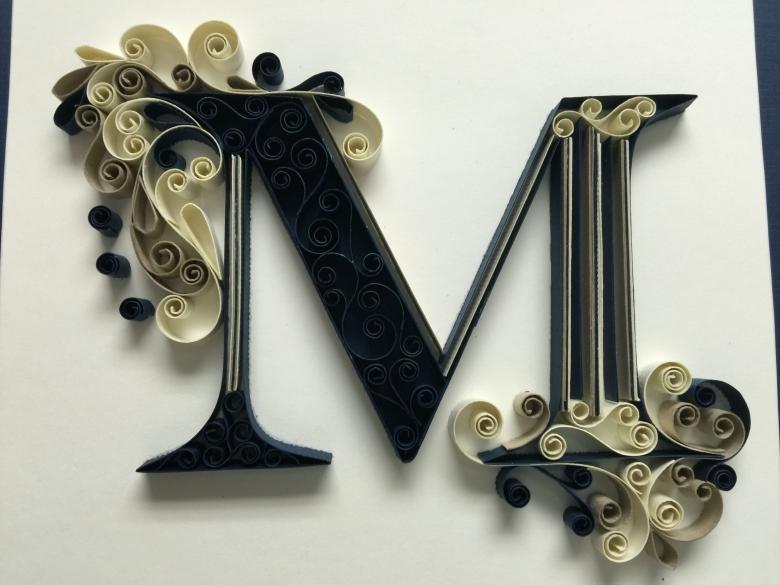
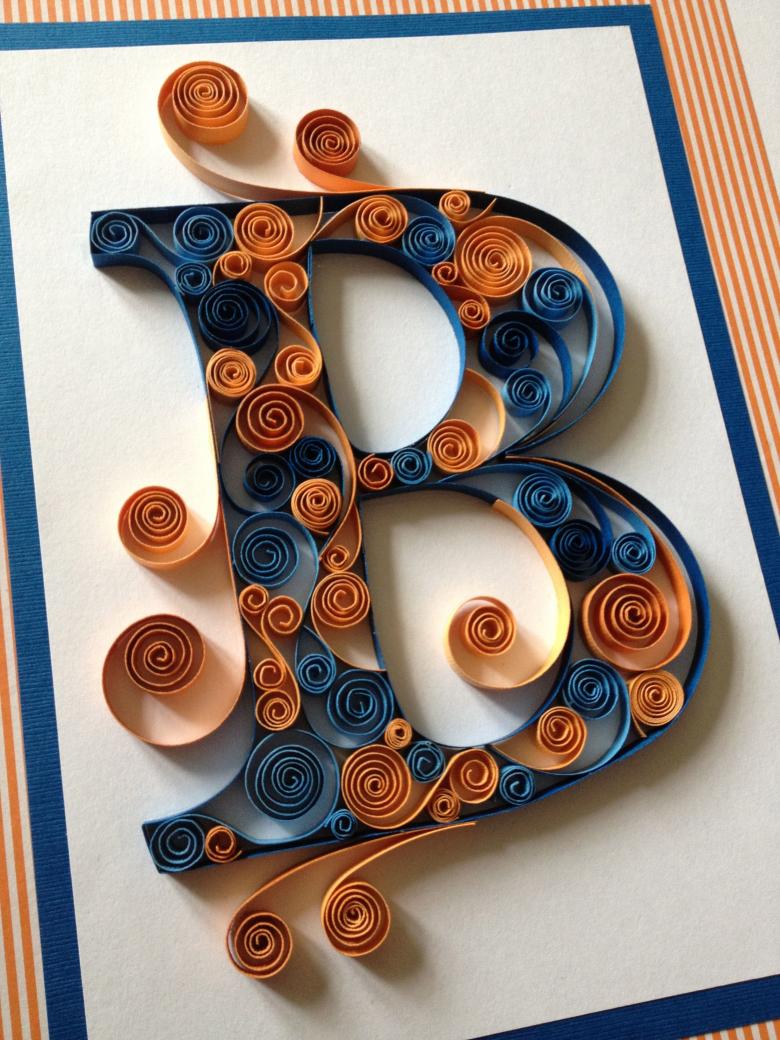
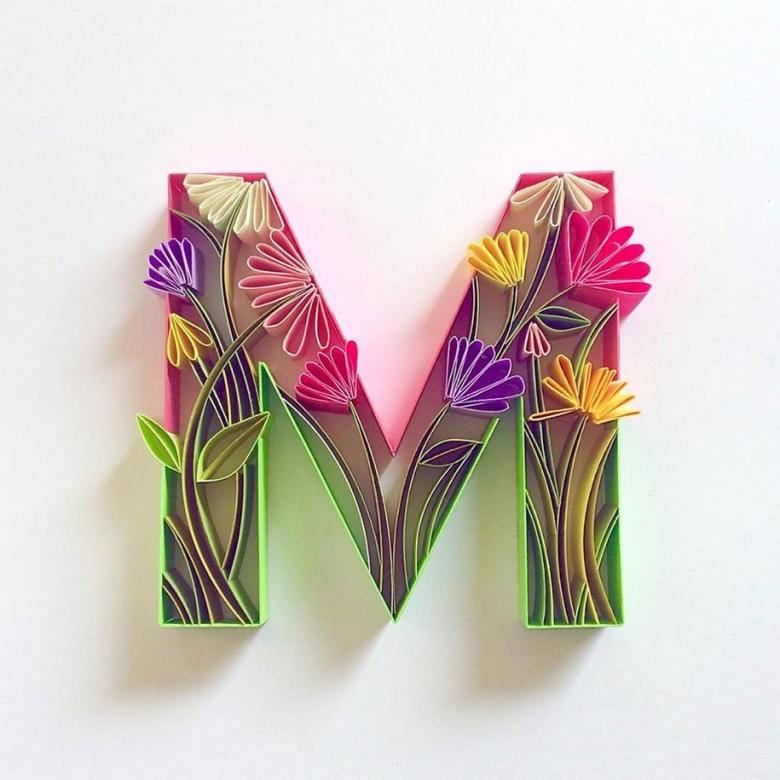
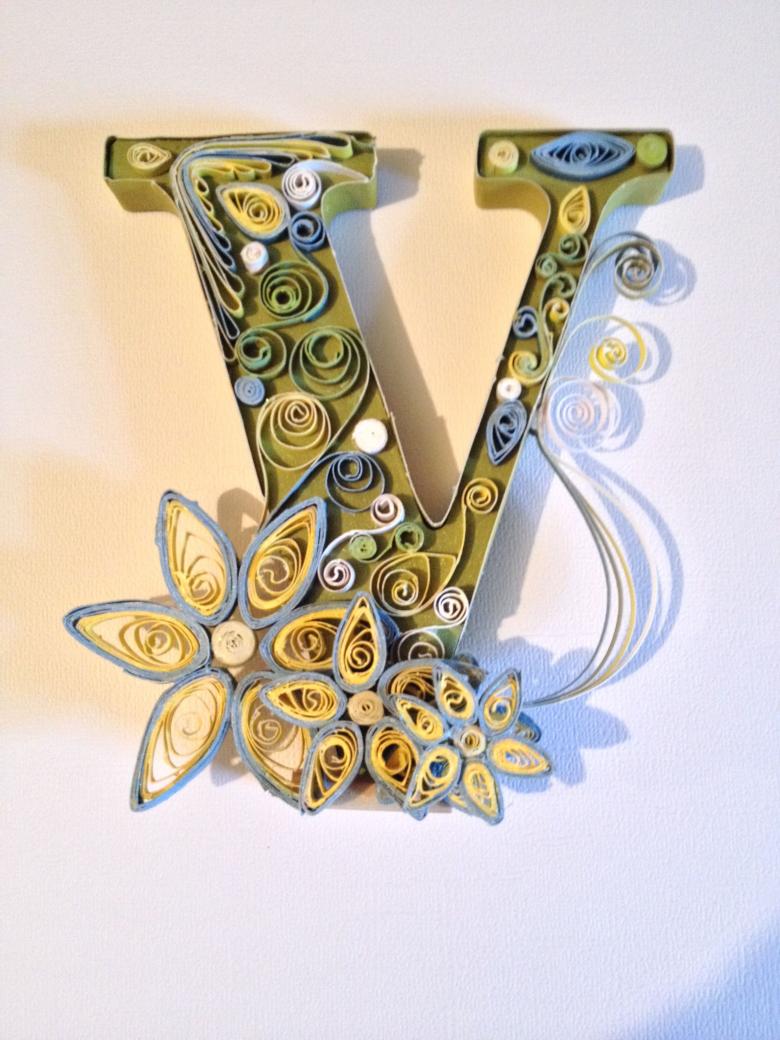
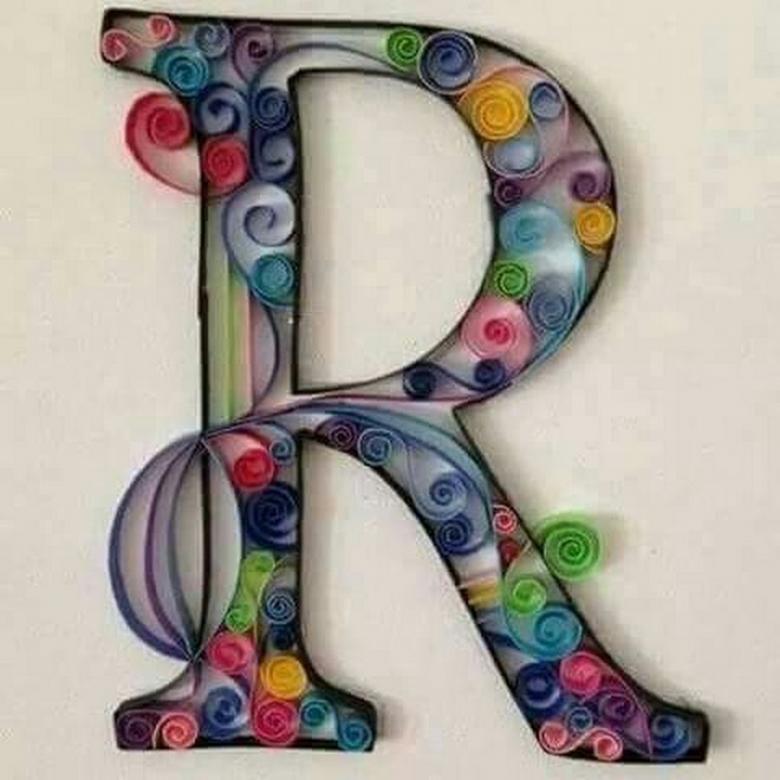
Handicraft letter in the technique of quilling
Quilling is the art of creating artistic compositions using paper ribbons. With what to start the work:
- We prepare a sketch of the letter: we draw on paper, the main points of the future layout are marked with pins. Between the pins we lay the paper ribbons, the edges of which must be glued together.
- Start creating the curls that will fill our letter from the inside.
- You can use special tools, or you can use an ordinary pencil with a needle in an eraser. For more details on how to make paper curls, you can see the master classes on the art of quilling.
- Ready parts for our product are placed inside the frame and glued between each other and the walls of the letter. Now you need to wait for time for the glue to dry, and the modules of the product to "sit" firmly in the frame.
- For greater clarity, you can use different colors, which will create the effect of iridescent shades.

You can give joy to your loved one without expensive gifts. It is enough to show your own ingenuity and skill. And we have already helped you to choose a model and the way of its creation!

