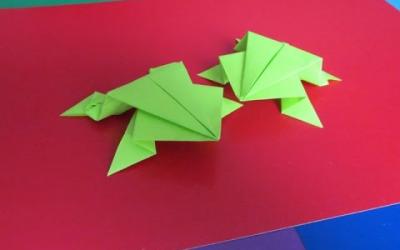
Origami animals: a detailed description of the schemes of folding paper in different techniques for beginners
Of all the handicrafts, which can be crafted with their own hands, origami technique is the most common. Japanese art of making figurines is known since ancient times.
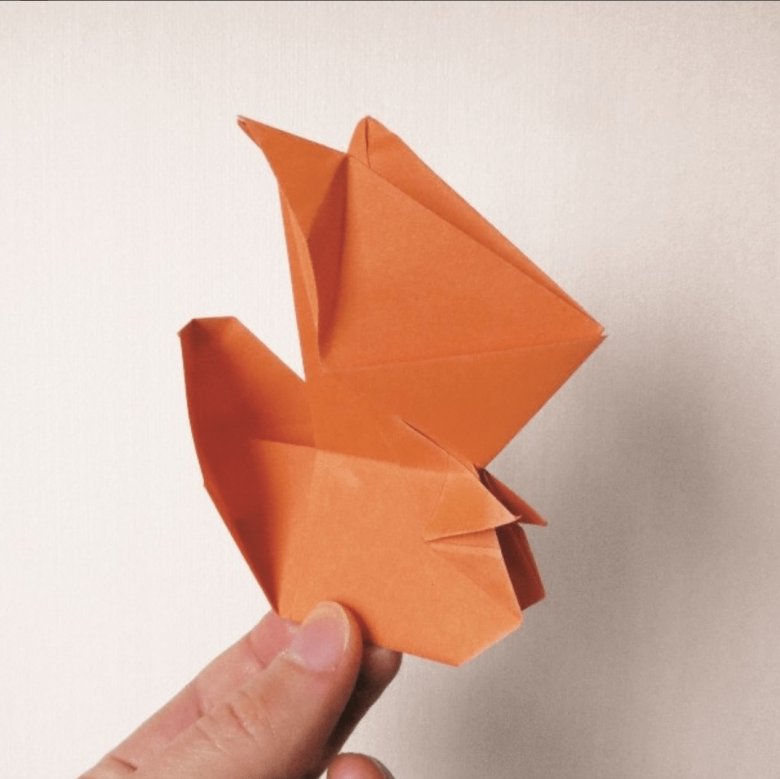
In printed publications and websites on the Internet there are many different samples of how to make origami out of paper animals, fairytale characters, household items and much more.
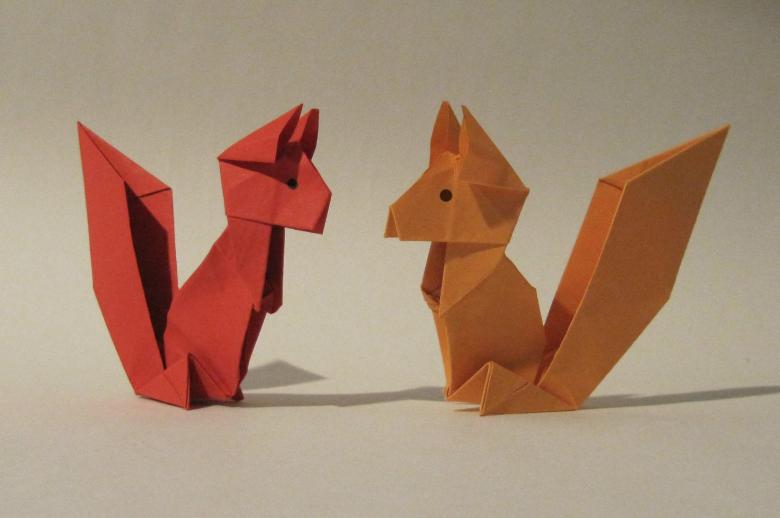
Different in complexity schemes are suitable for beginners and experienced amateurs of needlework. Many types of products shown in the photographs, invented by the authors. More simple products can be made even by kids in kindergarten and schoolchildren.
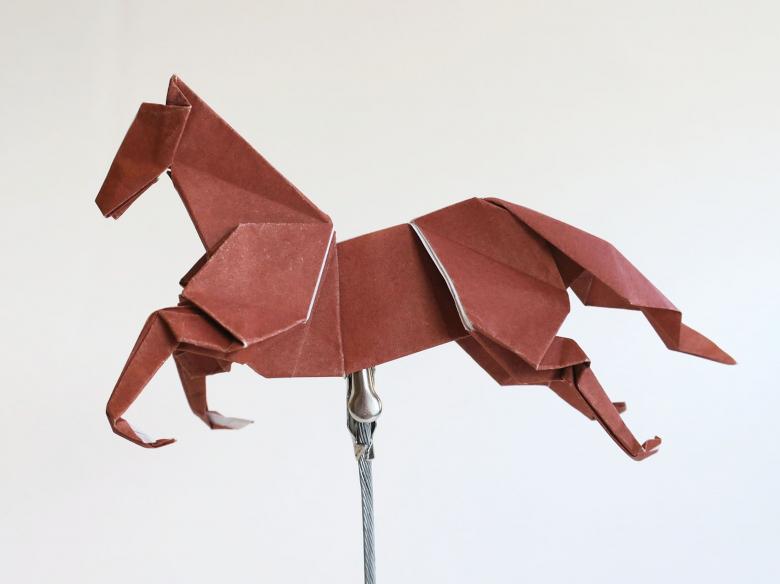
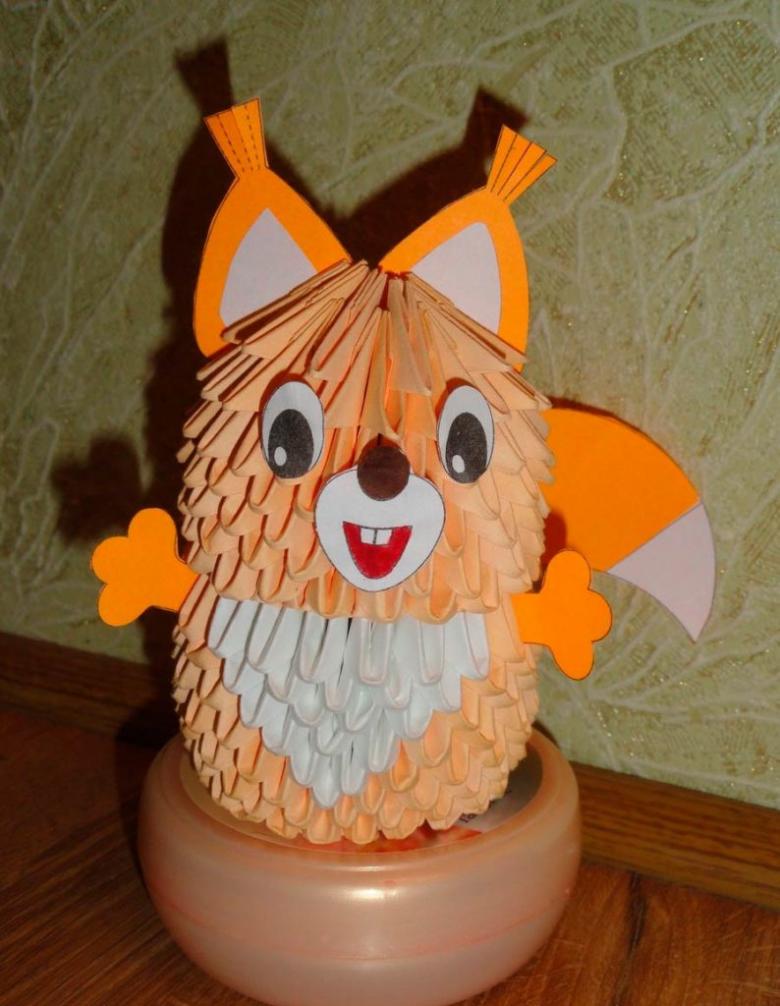
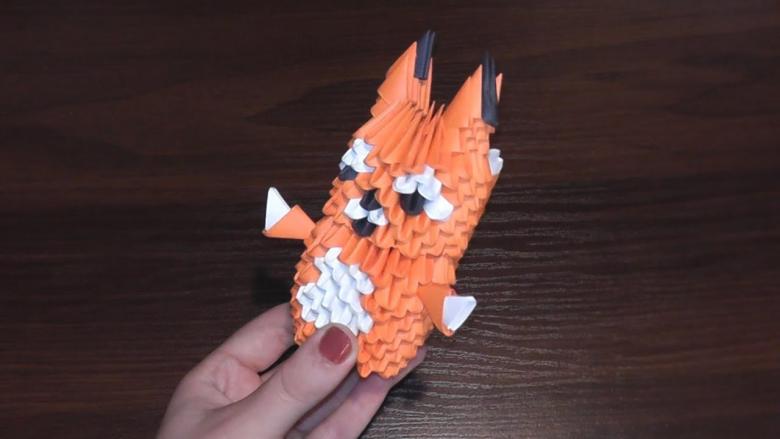
Some options modular origami animals are the most interesting, they are most often resorted to by parents with their children. They are not difficult to fold on their own, and then decorate the Christmas tree, interior, festive event or present as a gift to relatives and friends.
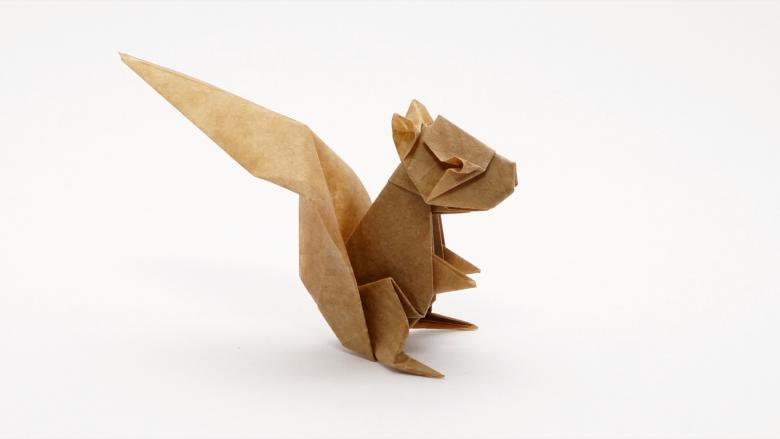
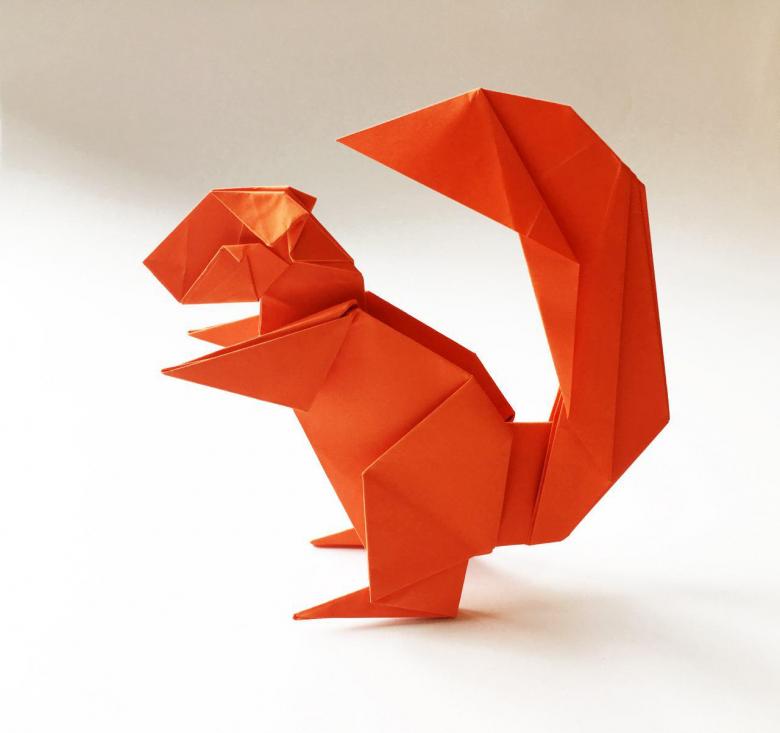
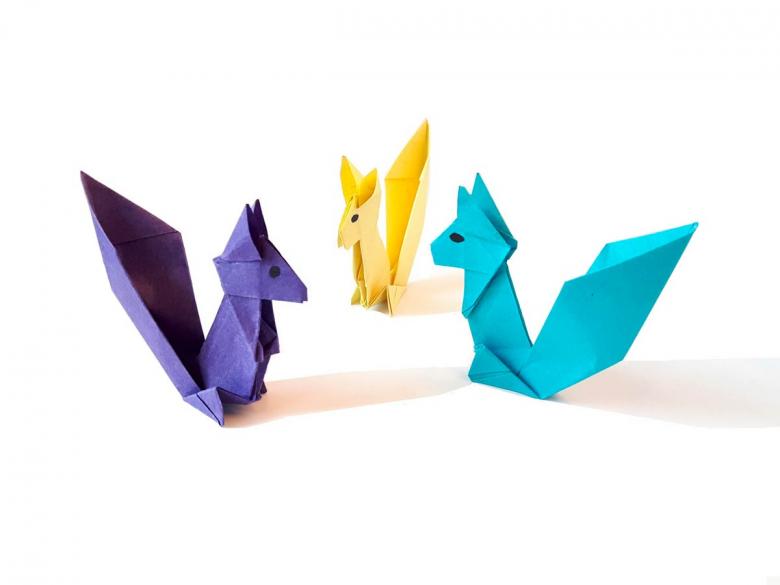
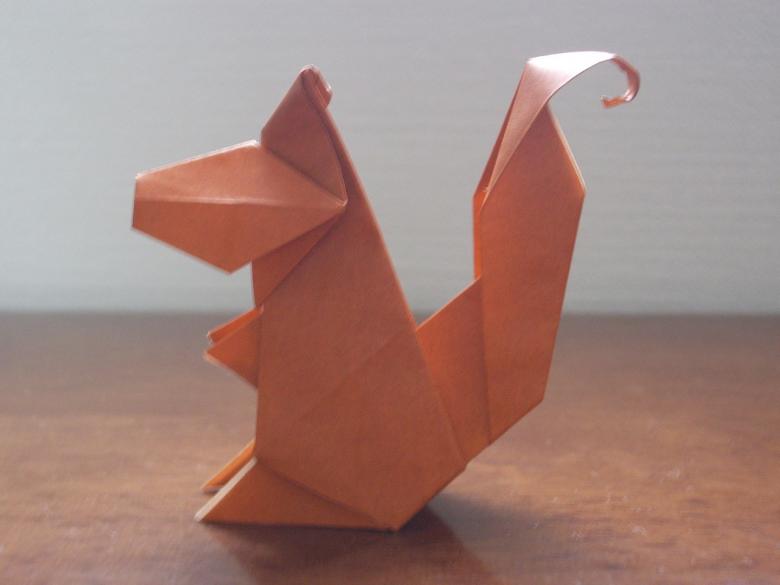
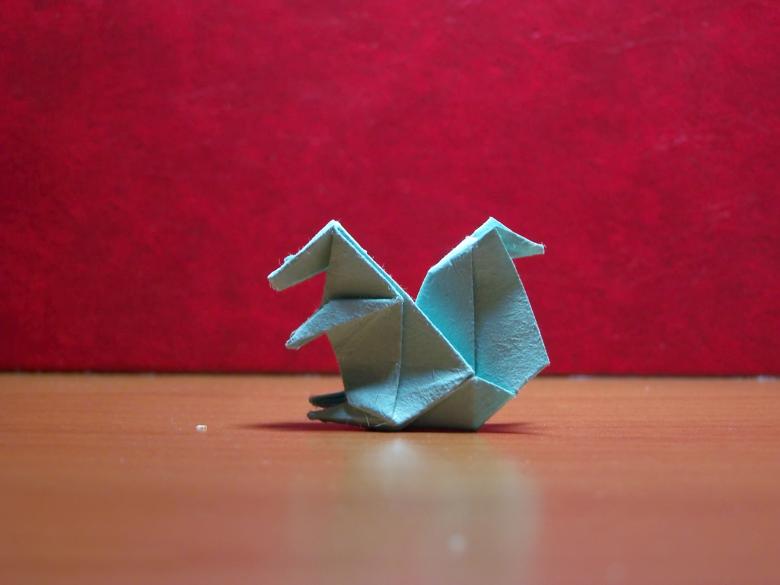
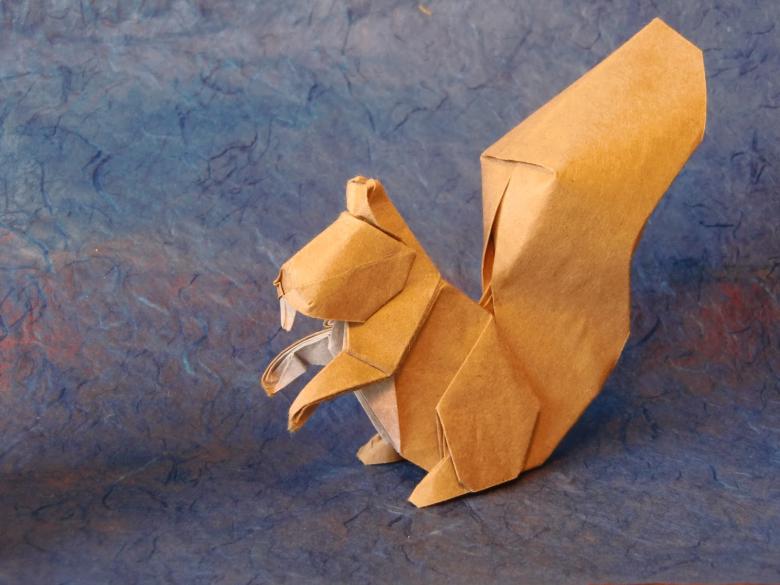
Squirrel
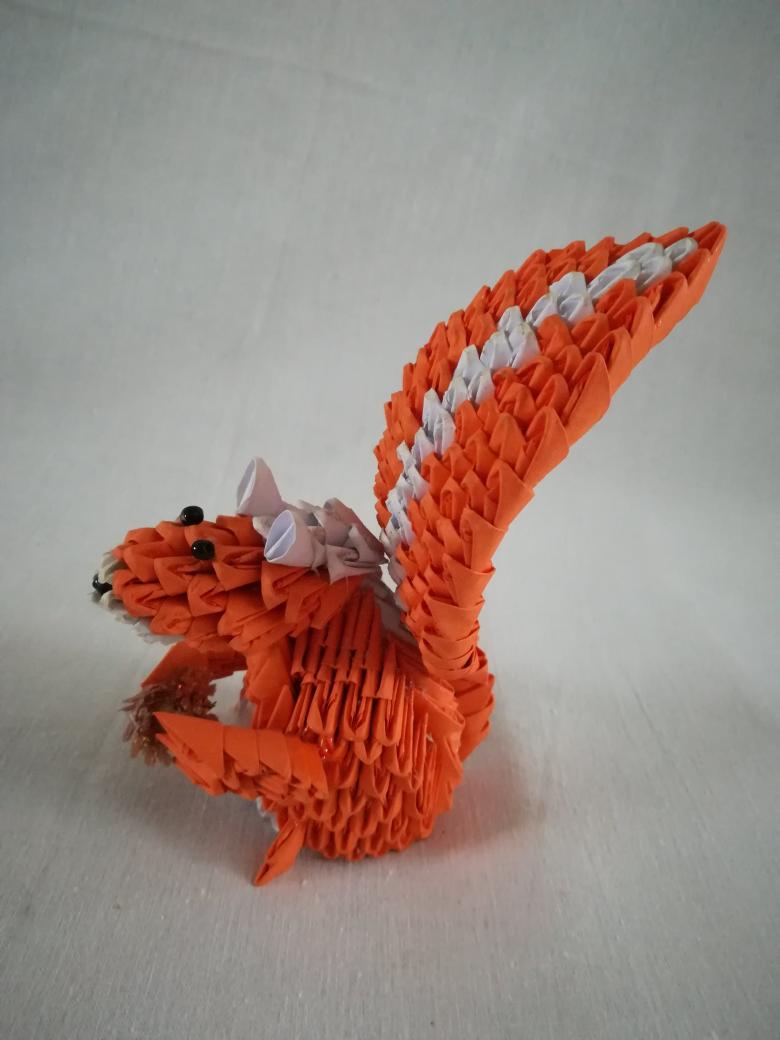
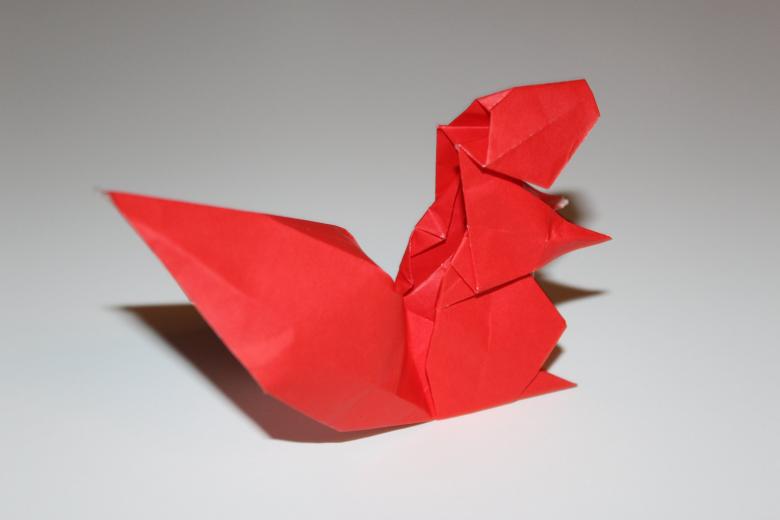
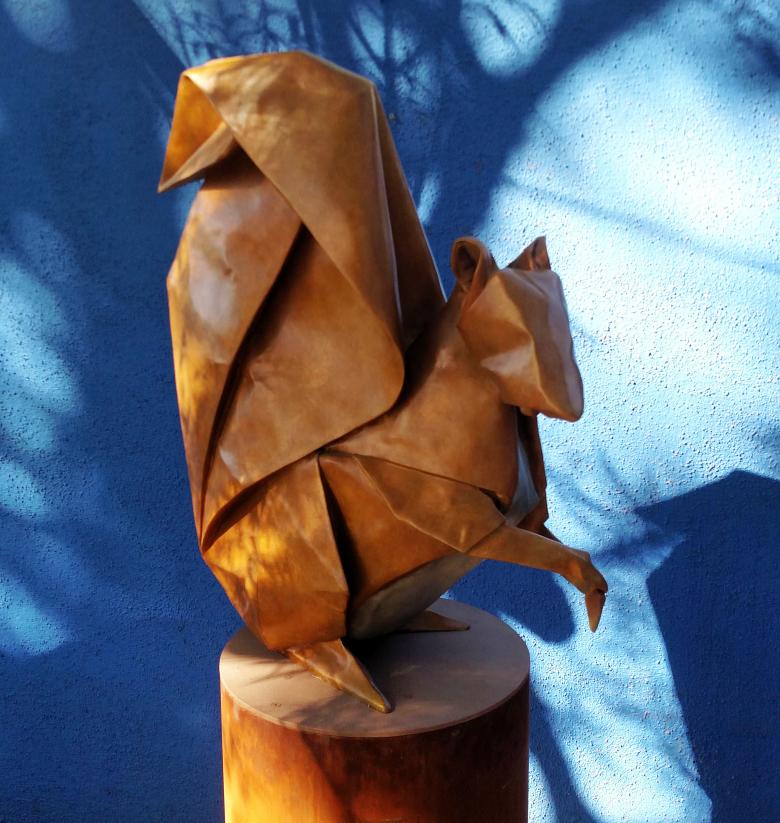
The most appropriate model for children with a beautiful fluffy tail. It refers to the medium level of difficulty, but to make it is not difficult, following the instructions:
- A sheet of paper is folded in half on both sides.
- Bottom and top bend to the middle of the dotted lines.
- Both sides bring them to the center, and then unroll.
- All corners are added, then open and turn the product 180 °.
- Flaps open outward.
- At the bottom of the paper fold in half.
- Make an inner reverse fold.
- Workpiece rotate by 90 °.
- Make the outer back fold, then repeat the same inside on the front of the head.
- Do the same on the other side.
Origami squirrel ready.
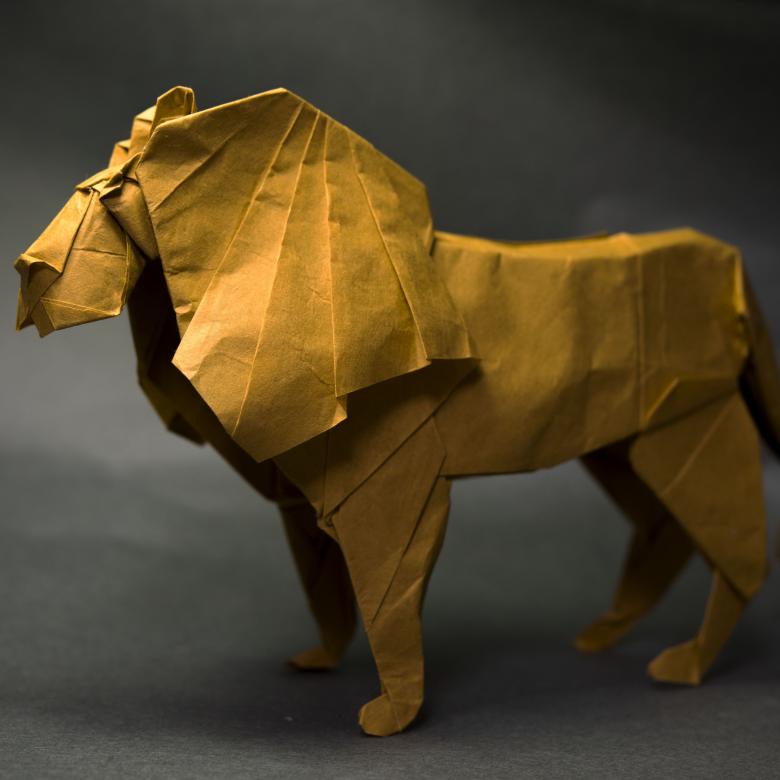
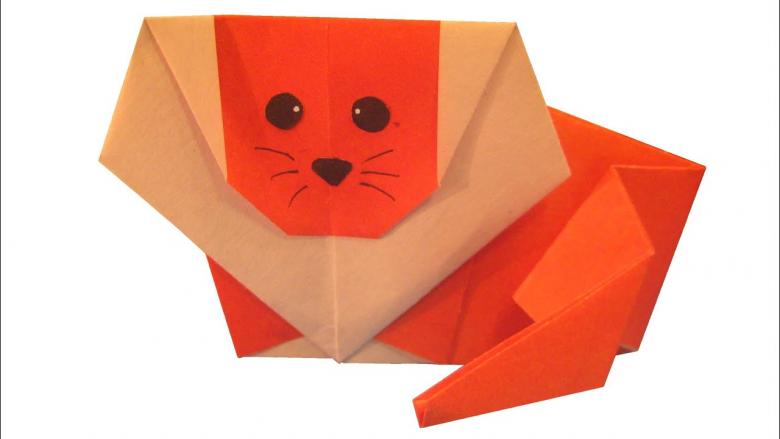
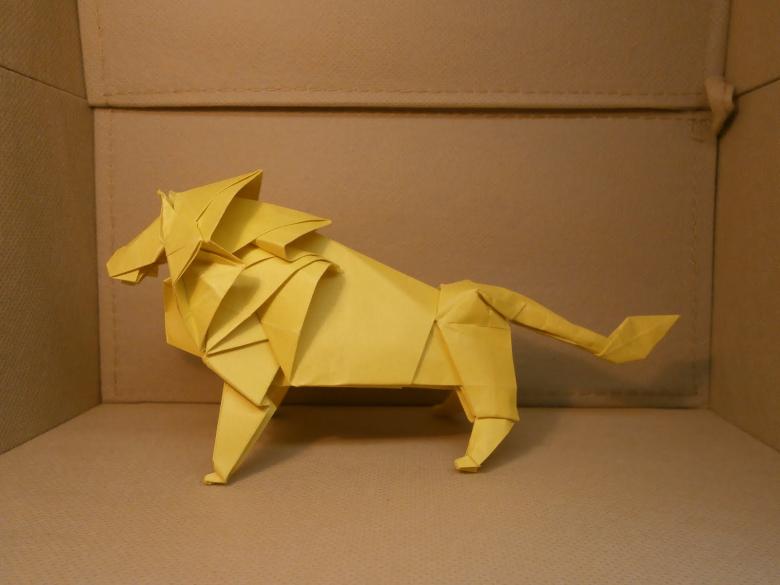
Lion
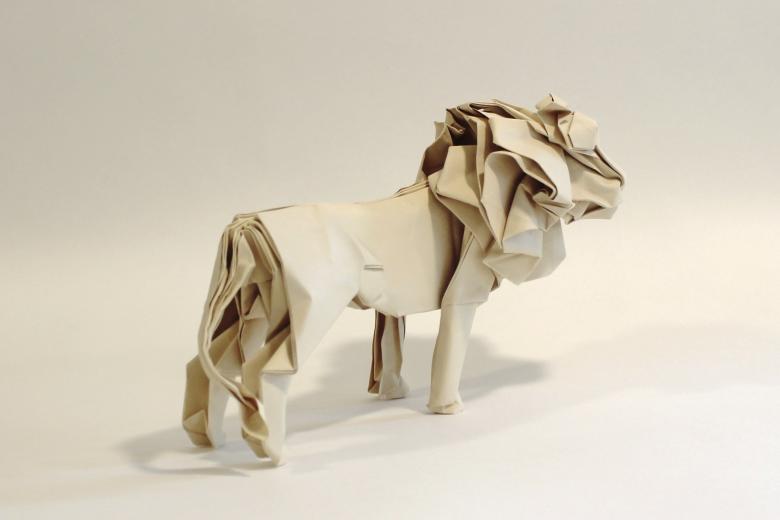
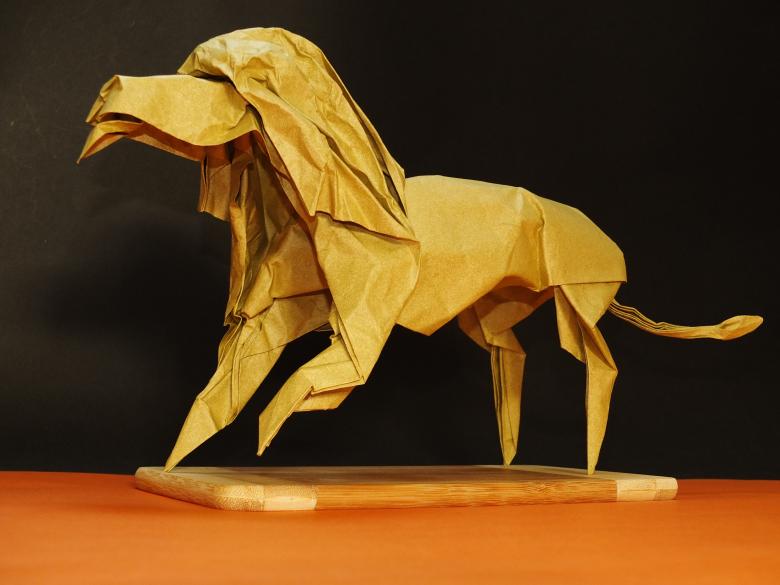
This product of paper supposes preparedness and skills in this technique. To avoid difficulties, you can use the following instructions.
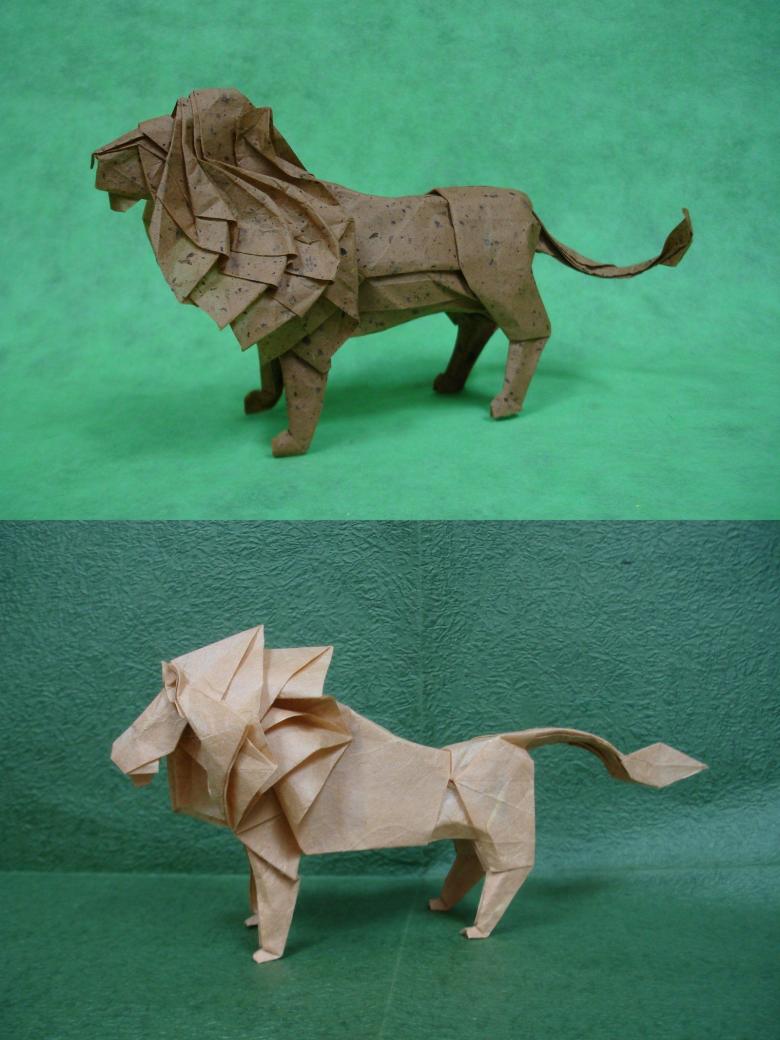
Do not despair if the first time you can not achieve the desired resemblance to the original model.

The scheme for making a lion is as follows:
- The paper is folded in half, and then unrolled.
- All the folds are performed according to the available dots.
- The sides to bend to the center, and the top layer of paper to bend along the lines.
- Along the dotted line inside make the reverse fold.
- Unfolding the product, have the edge of the dotted line.
- Fold the top, and then the bottom of the top layer of paper.
- Repeat steps on the right side, and then the remaining parts, as shown in the figure.
Completes the craft by performing inside a tiny reverse crease on the end of the tail.

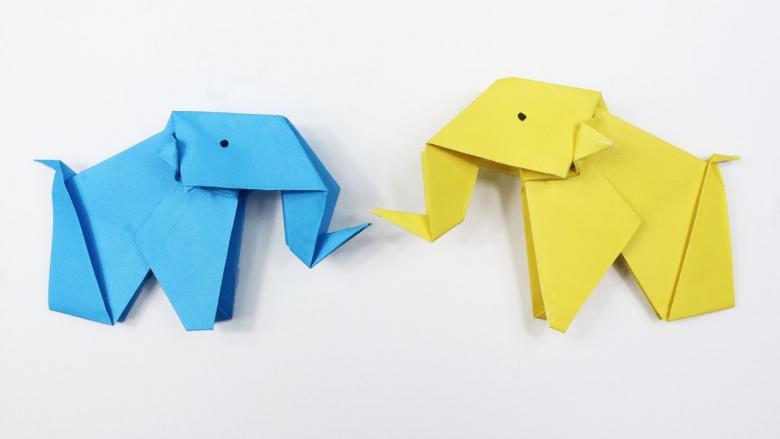
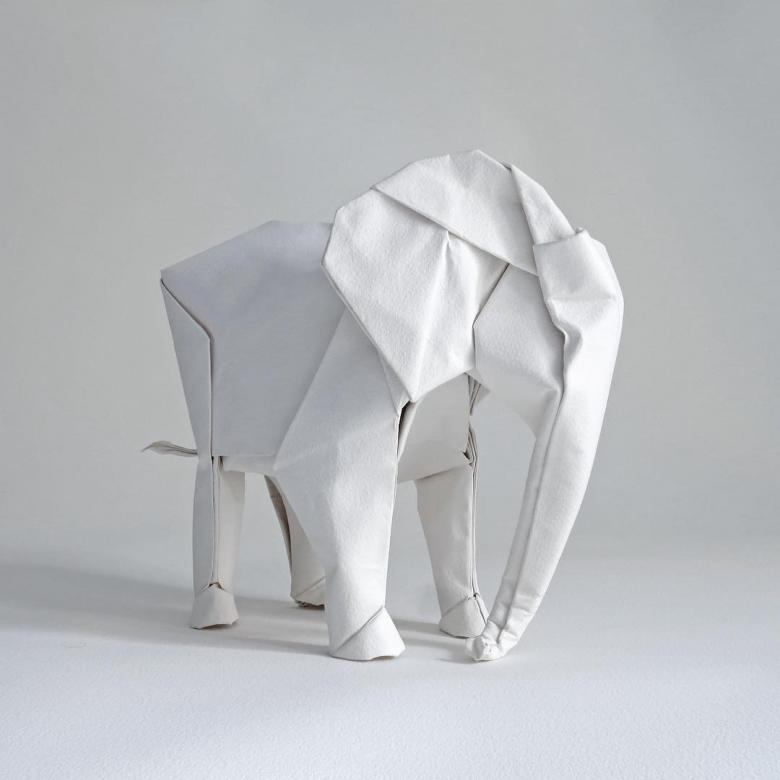
Elephant
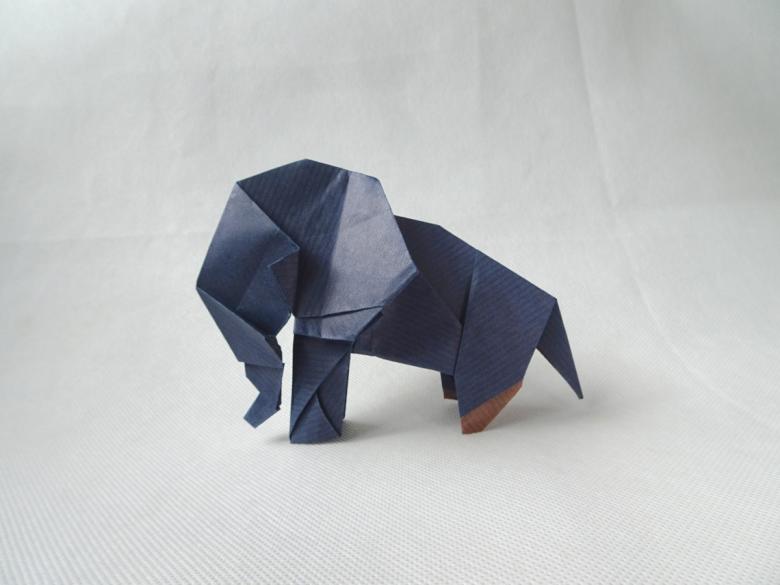
This handicraft is suitable even for beginners, the main thing is to follow the instructions step by step.
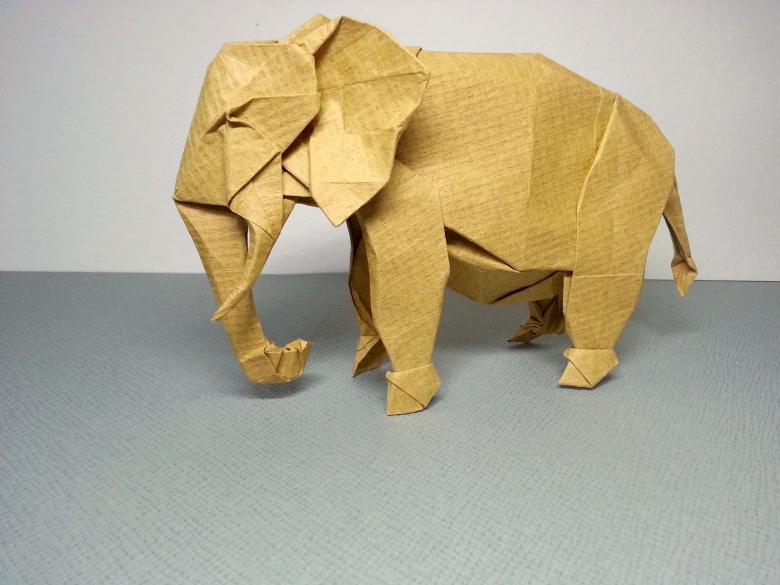
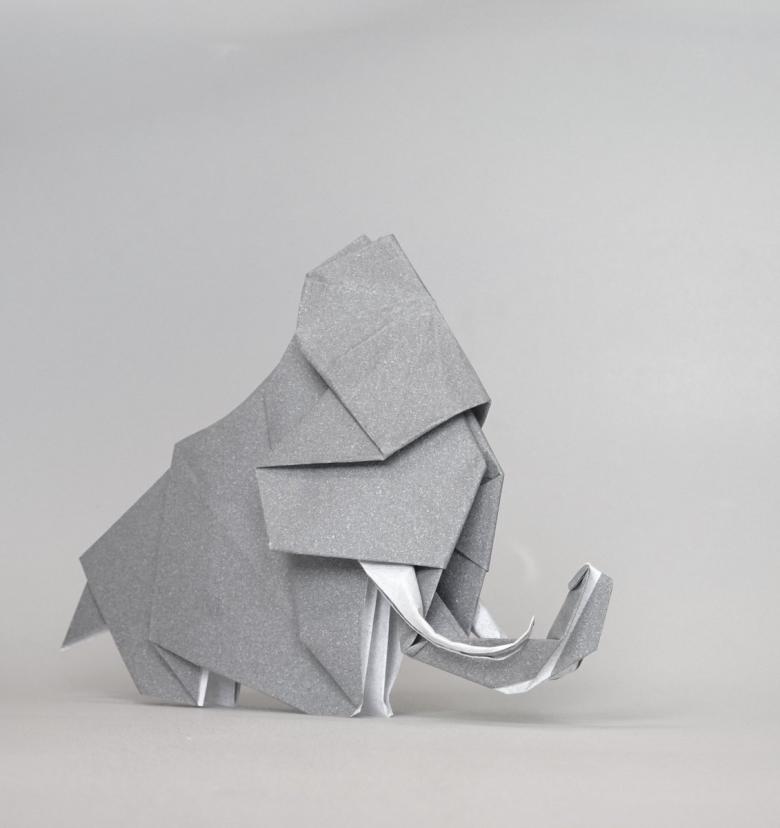
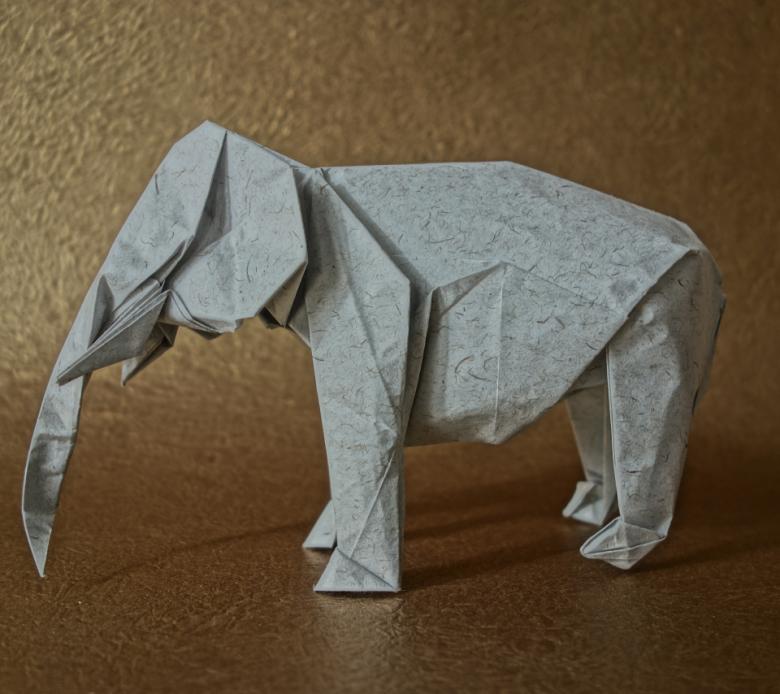
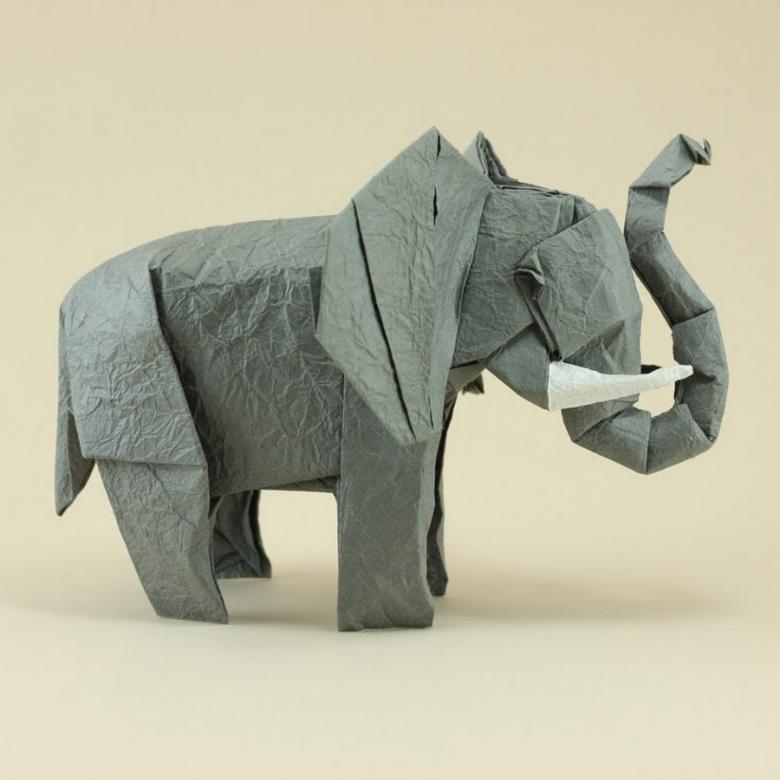
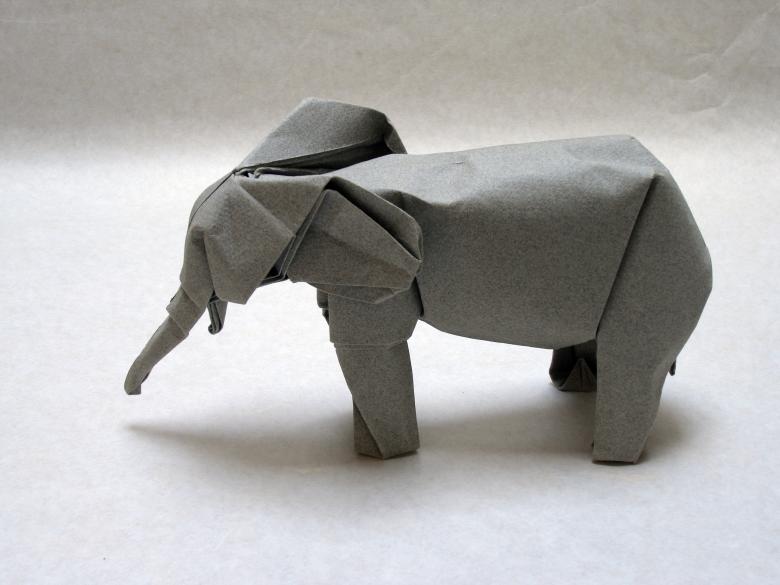
Elephant - an animal of gigantic proportions, the inhabitant of savannah and foothill forest areas of Africa and Southeast Asia. The main feature of this huge mammal is the presence of the trunk and large ears. They represent the main difficulty in performing the craft with their own hands.
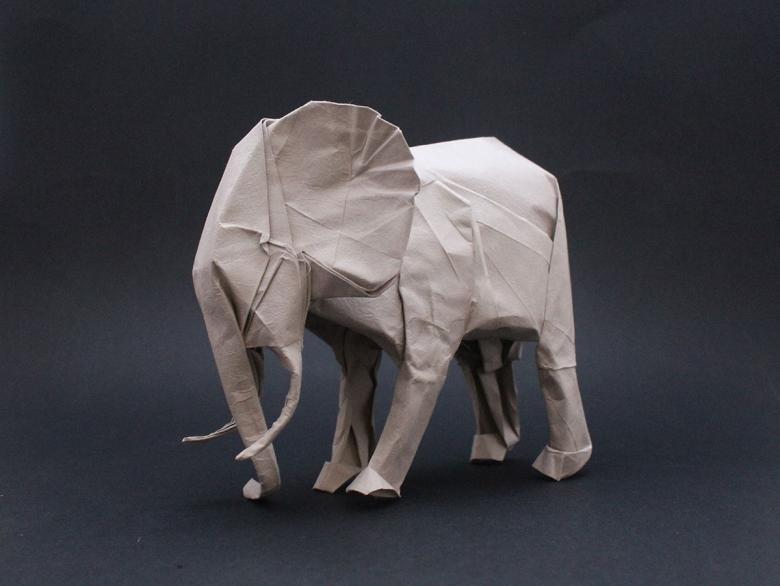
To achieve a stunning result, you need to apply a basic shape called "balloon". You will also need knowledge of 3 other techniques: reverse, outer reverse and reverse pivoting folds. Suitable cut out on a square paper with parameters 15 x 15 cm with a slight difference in color on the front and back sides.
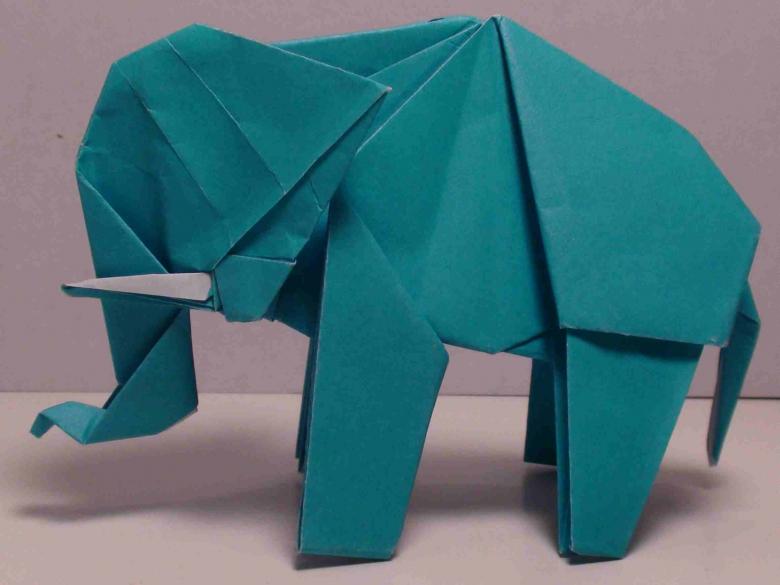
The given master class with step-by-step examples will help you perfectly cope with the task without any explanations and correctly fold the model.
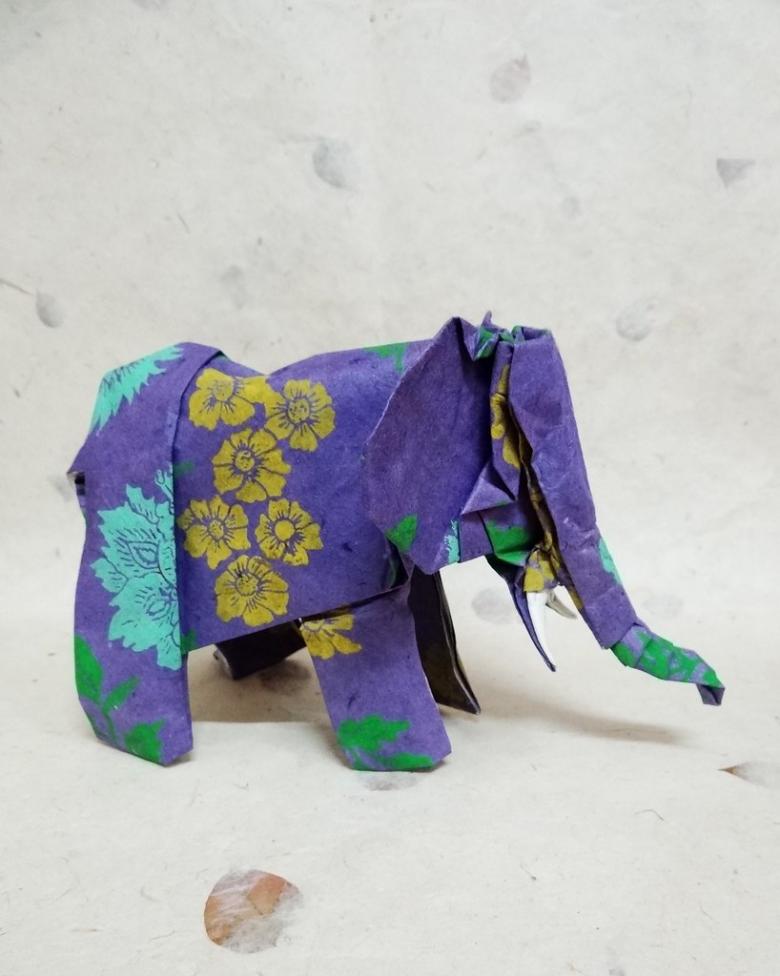
You can make a really "cool" elephant, using paper with patterns, which will give the product a special personality. With this handicraft young origami masters can show their imagination. For example, adding the trunk method of reverse fold - it becomes movable.
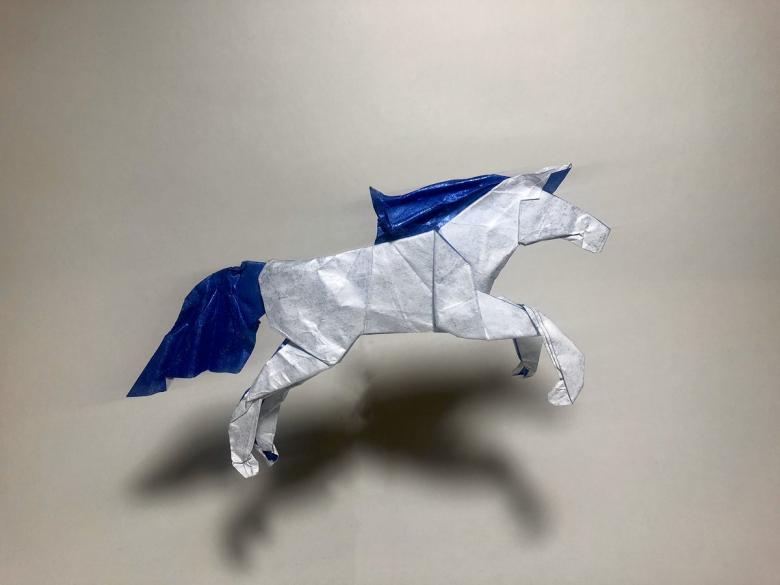
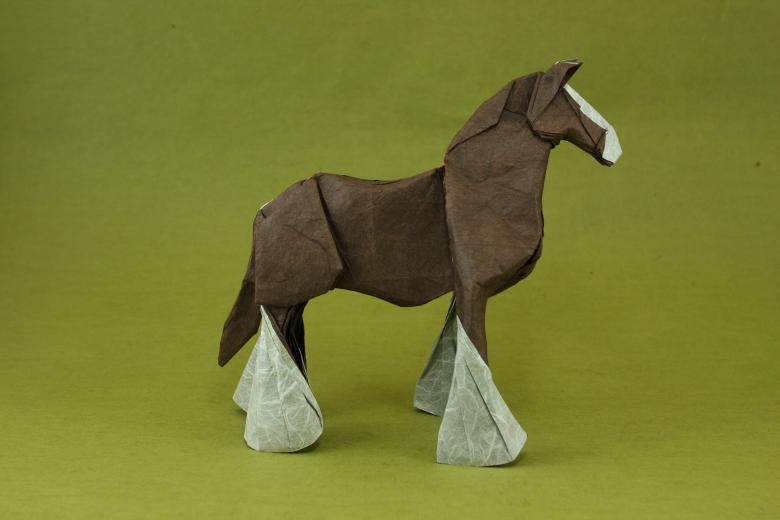
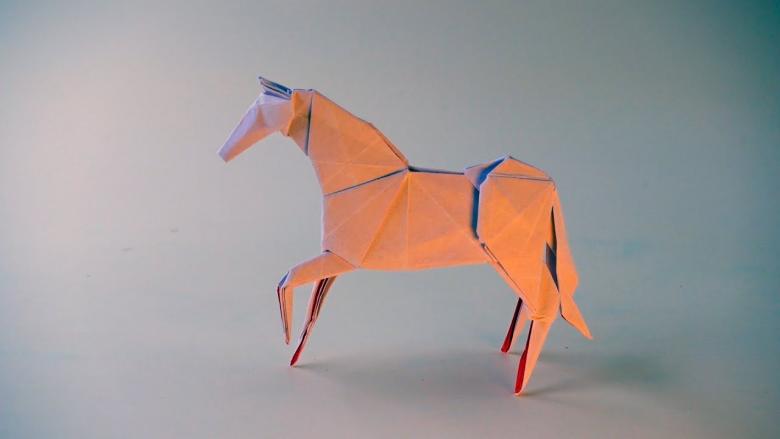
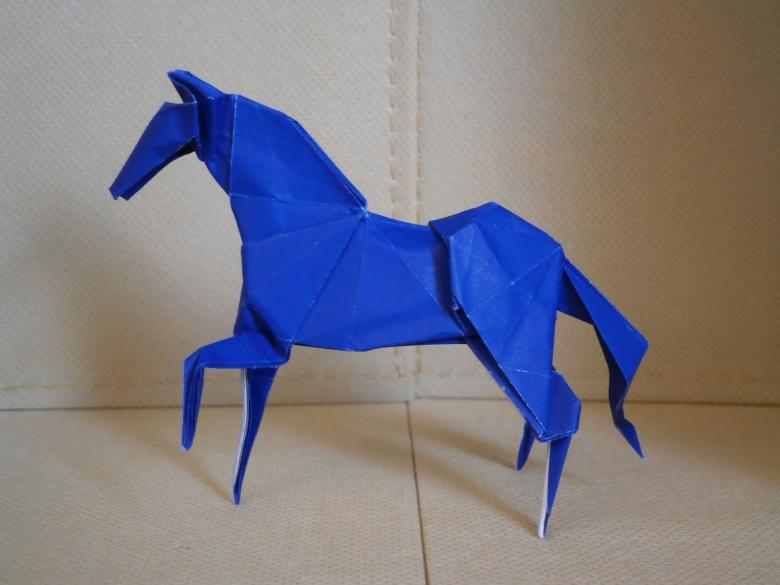
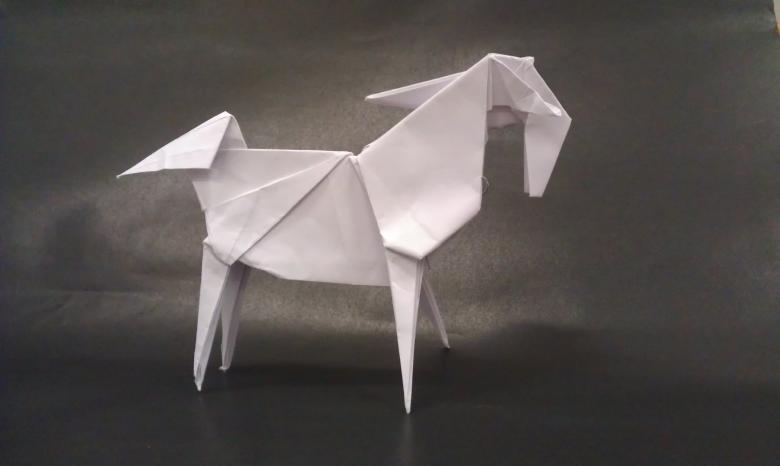
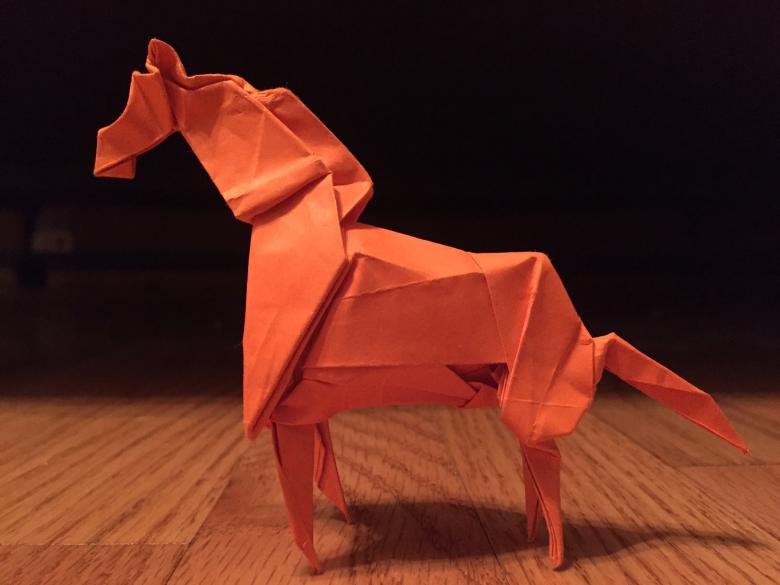
Horse .
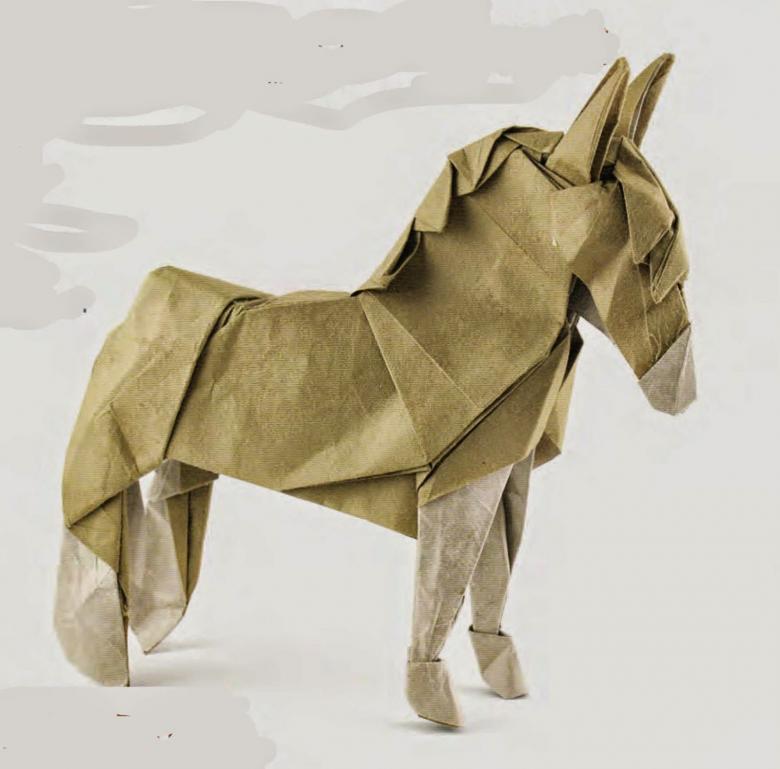
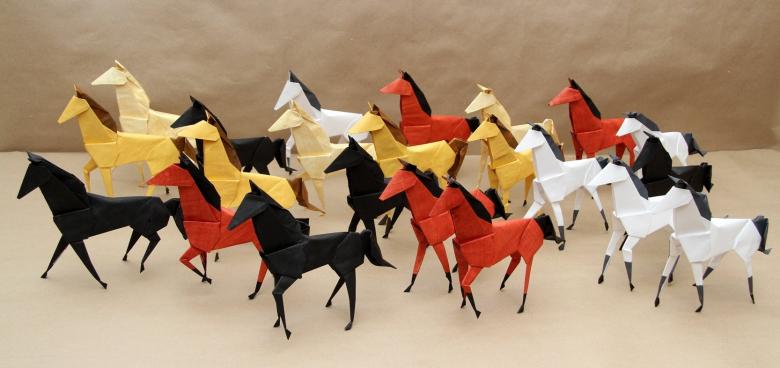
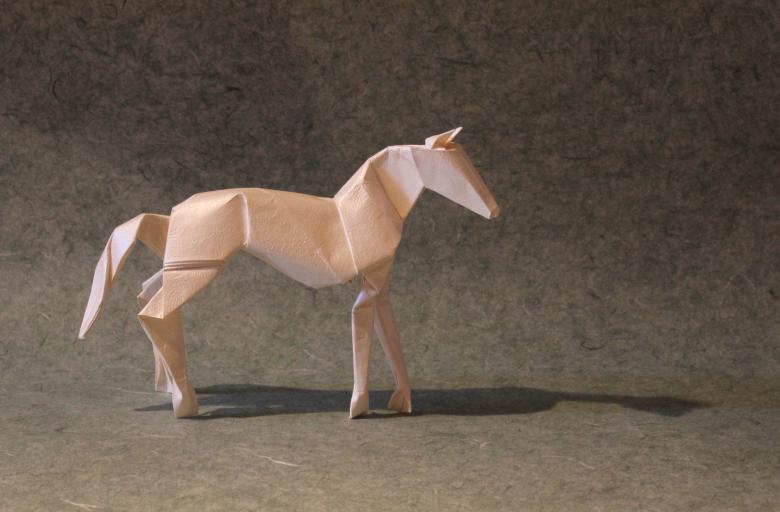
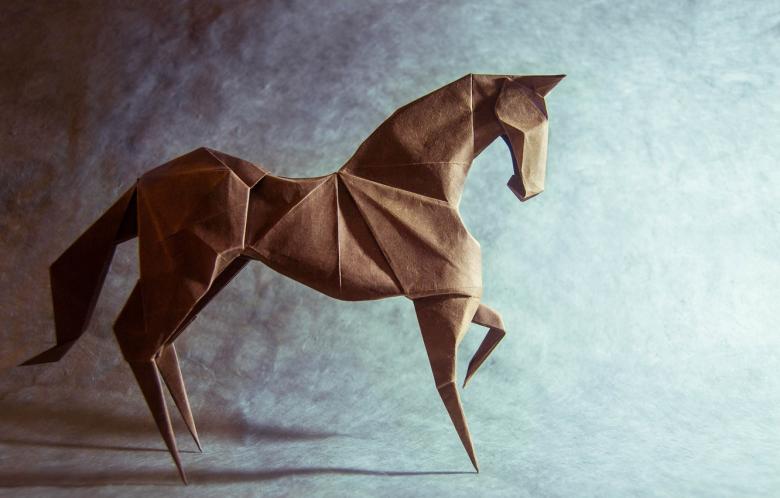
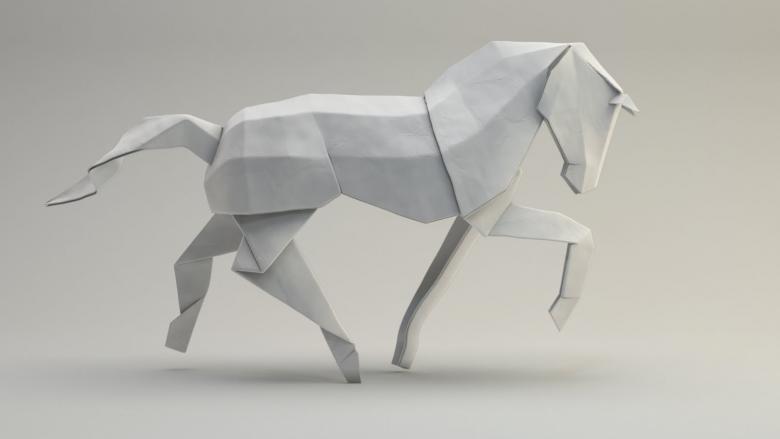
To cope with crafts, you need to know the principle of origami birds. Also need to stock up on scissors to make 2 cuts. Need the ability to perform internal and external reverse folds.
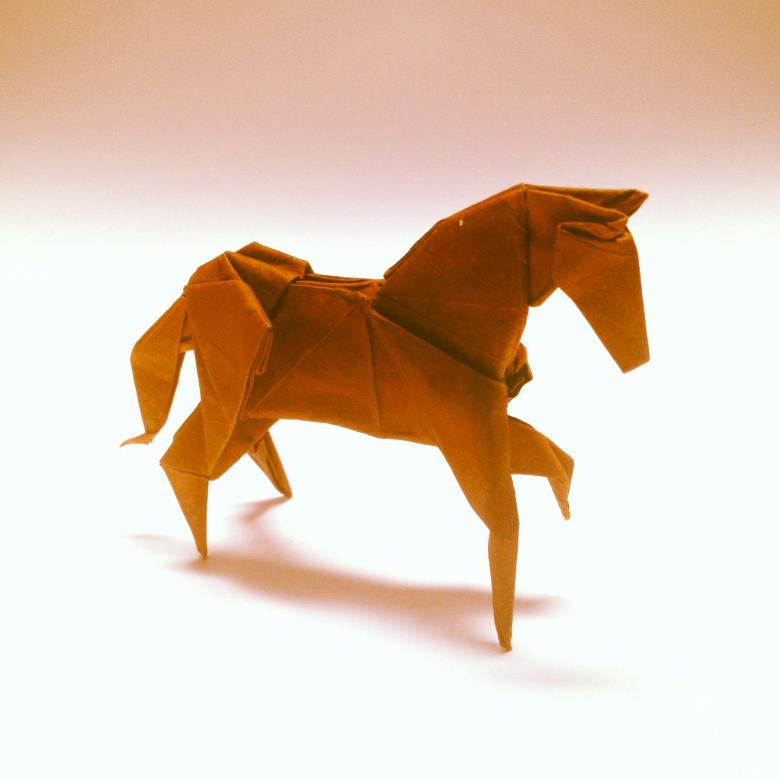
As in the previous model, it is better if the front and back sides of the paper will be slightly different. Use a square of 20 x 20 cm. Especially convenient for beginners in this kind of needlework.
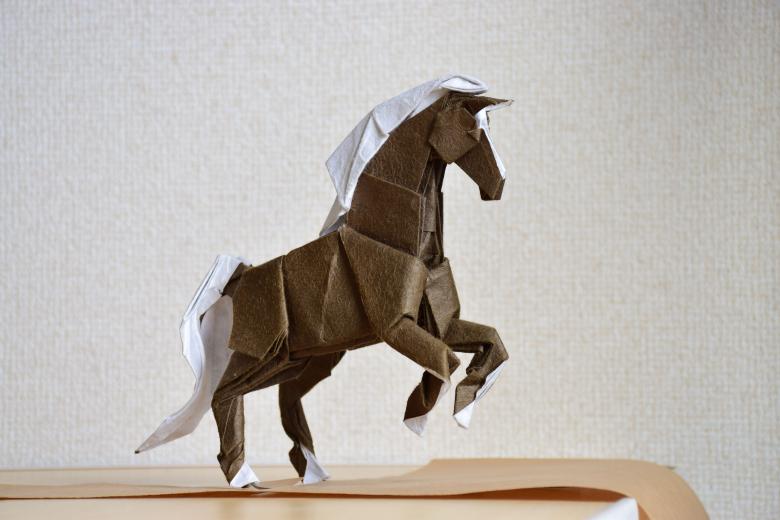
It is necessary to repeat exactly the following steps:
- Both sides are bent to the center.
- Captured paper is pulled from under the folds.
- Following the technique of "rabbit's ear" is inserted into the two folds.
- The sheet is folded into 2 equal parts, leaving the bottom half behind.
- Next make the inner reverse fold, and then inside repeat the reverse fold.
- On the left side fold two flaps "rabbit's ear".
- Perform an external reverse fold, after which the front and back fold the front flaps.
- Fold the paper on the neck in both parts inside the model.
Complete the craft with a reverse fold.
Bat
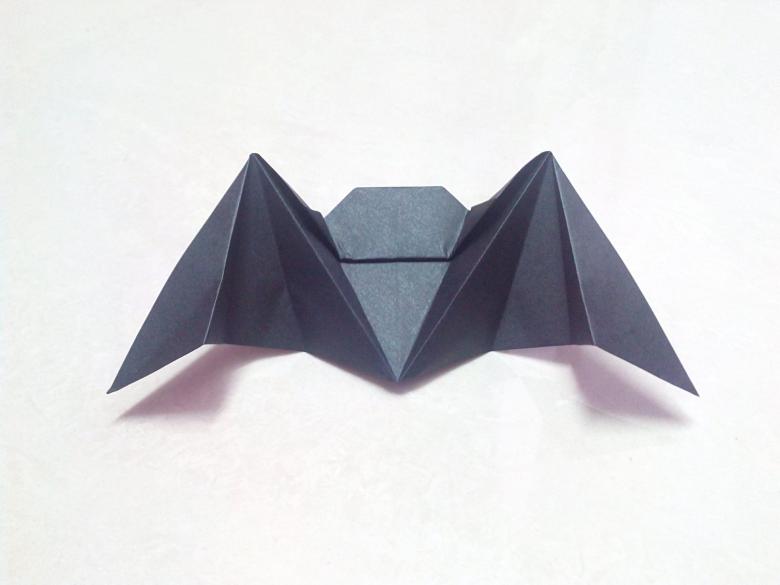
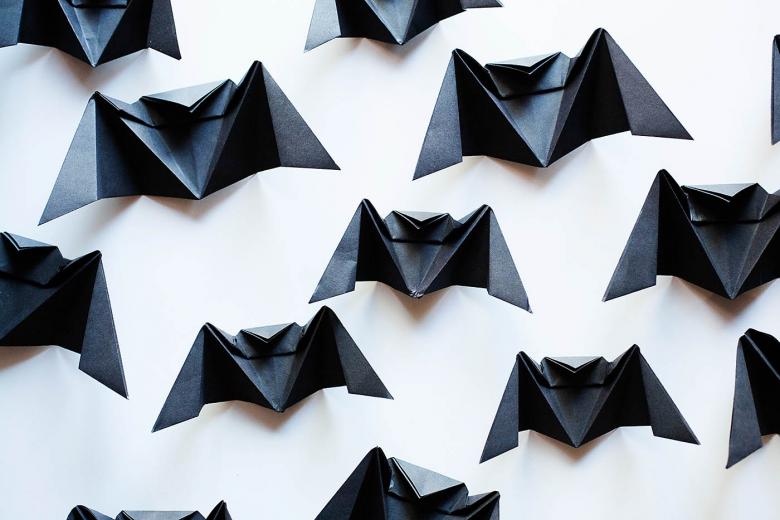
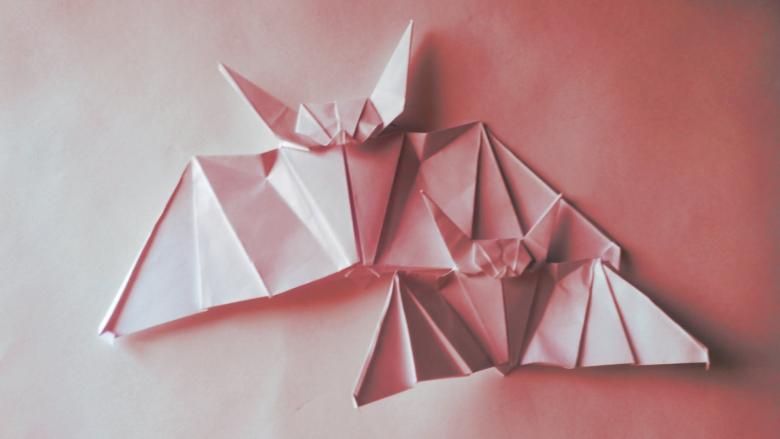
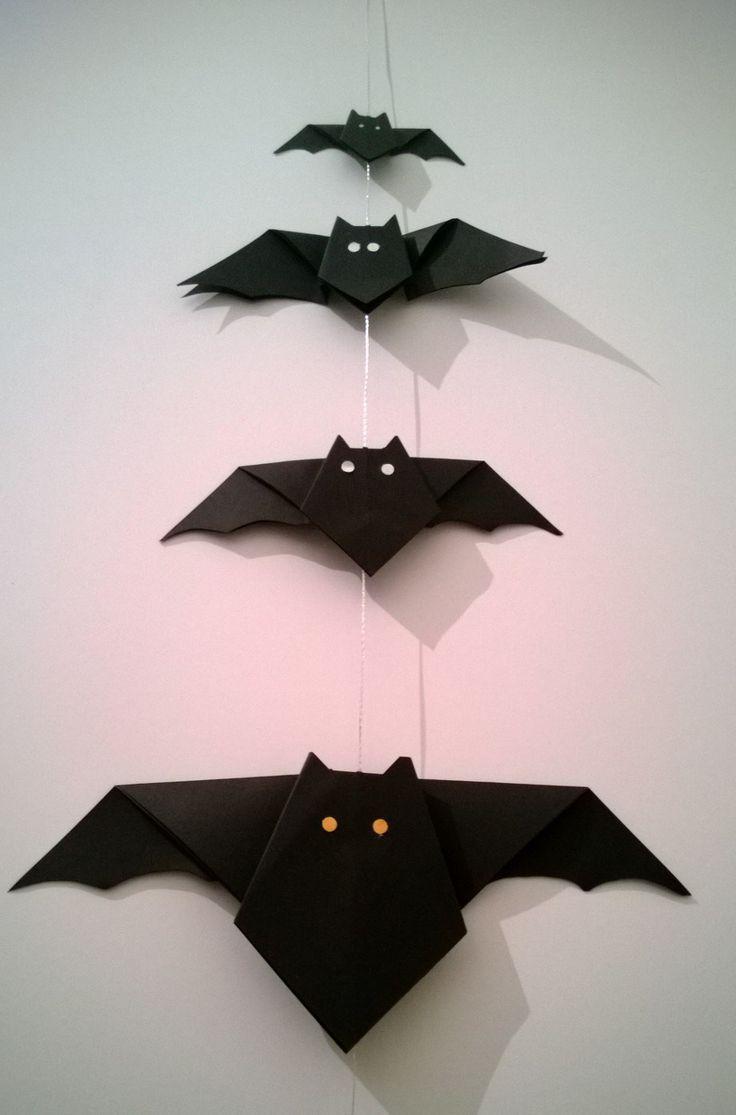
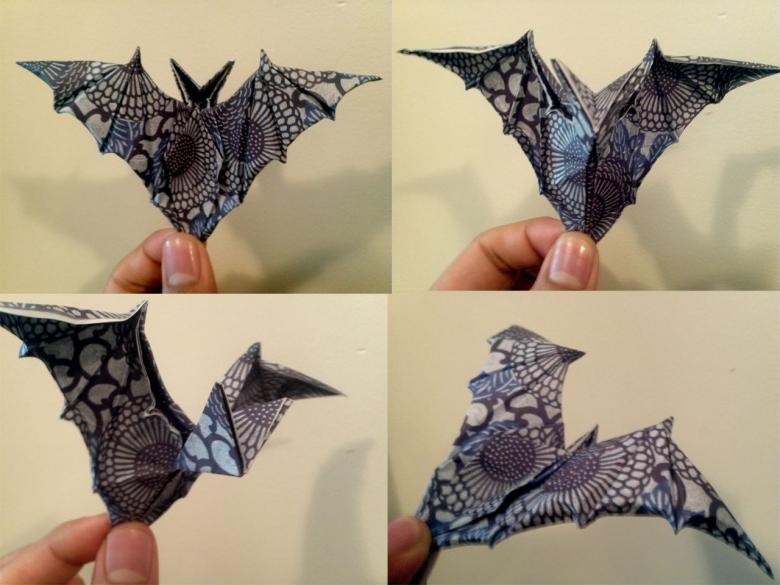
Intending to fold a paper model, you need to know how to make a fold "petal", which is performed on the basis of the basic execution of the "square". We will need materials - a sheet of 20 cm x 20 cm and scissors.
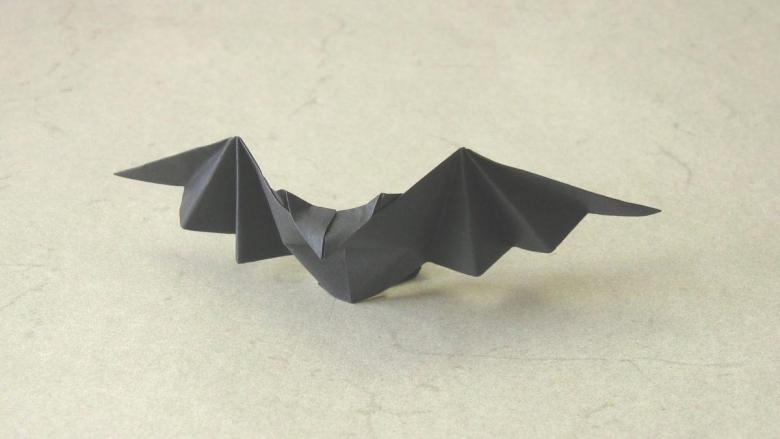
When using black and white origami paper, ideal for bats, you need to start with the white side up. Such crafts attach on doors or handles that they sway, creating the appearance of flying when someone passes by. They look very funny and fun!
Monkey
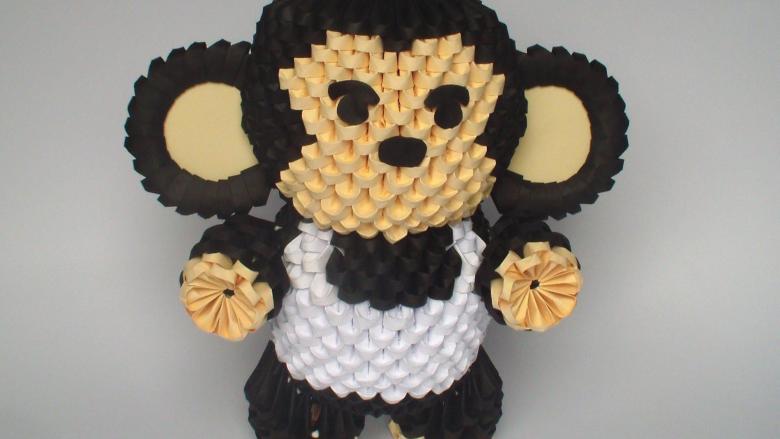
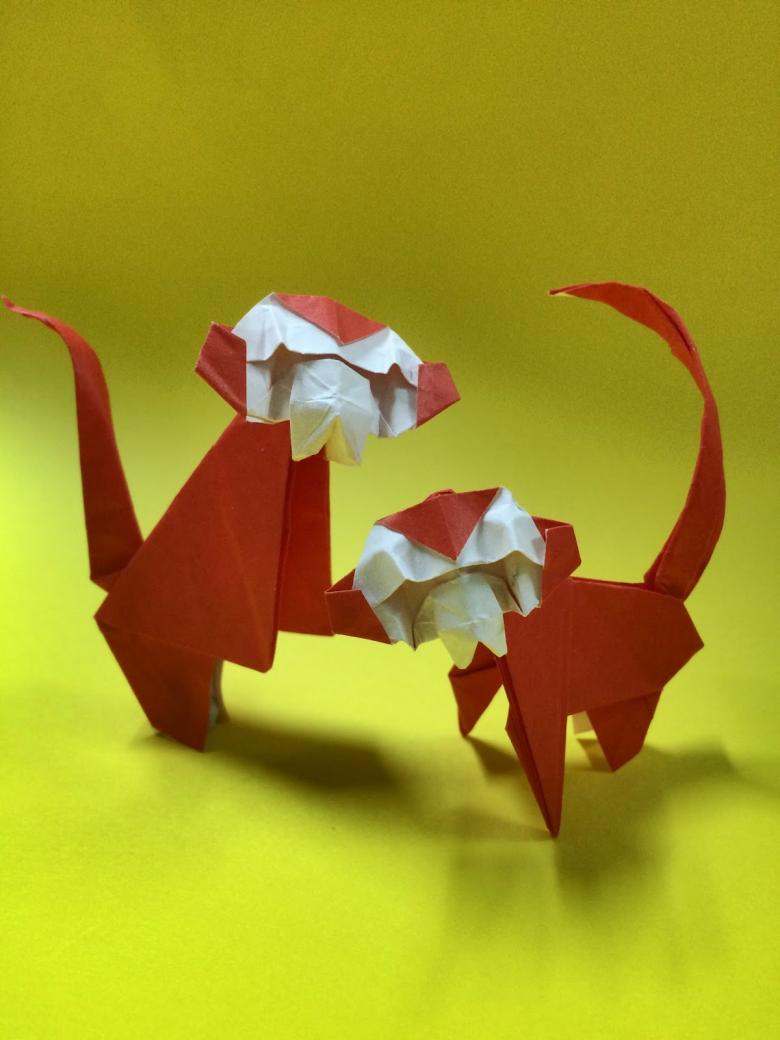
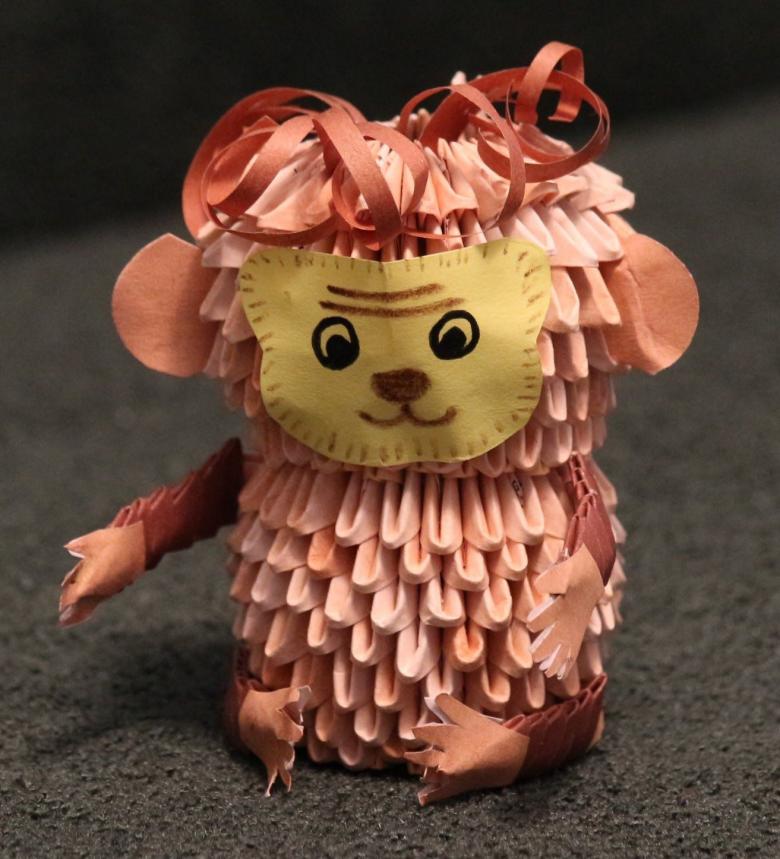
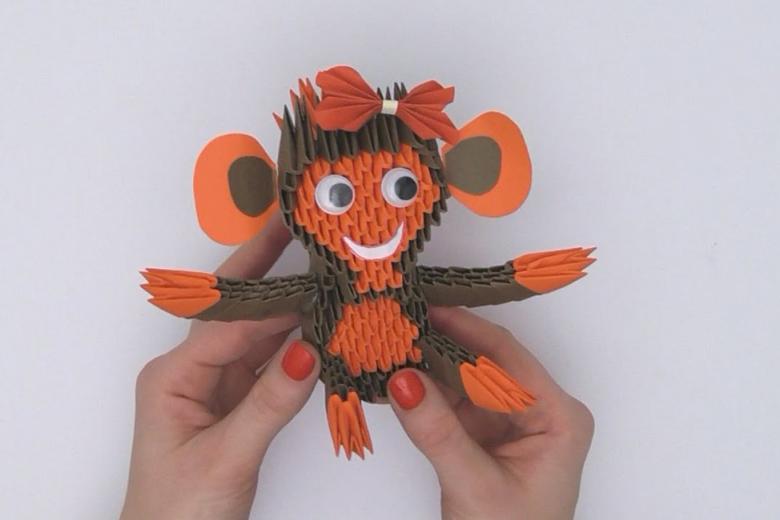
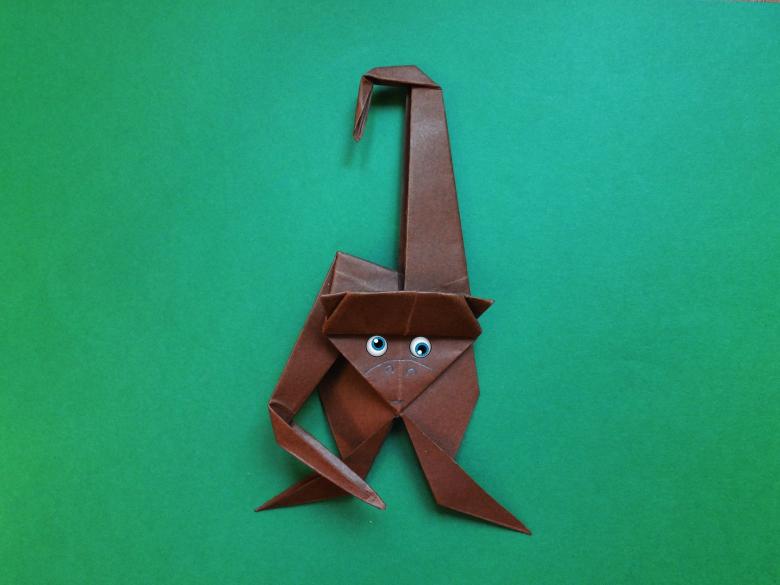
The model has one "chip" in the form of a crease on the tail, which will not create difficulties in execution if you follow the instructions clearly. If you follow the sequence, you will get a very cute monkey out of paper, which will delight the kids.

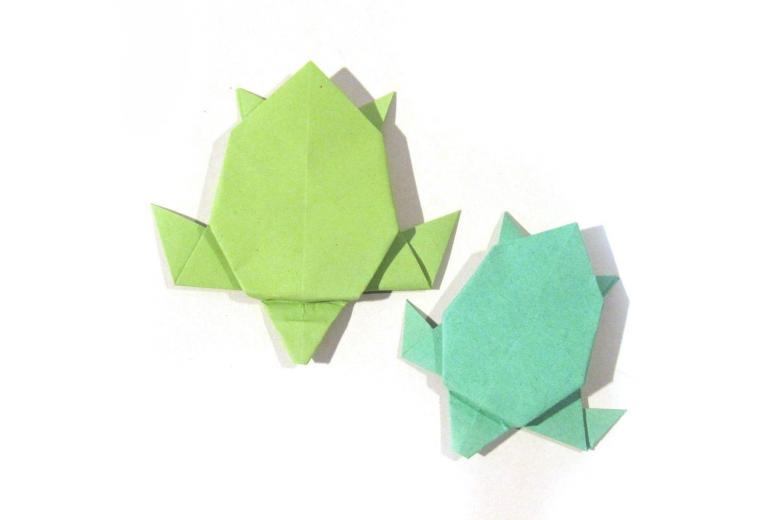
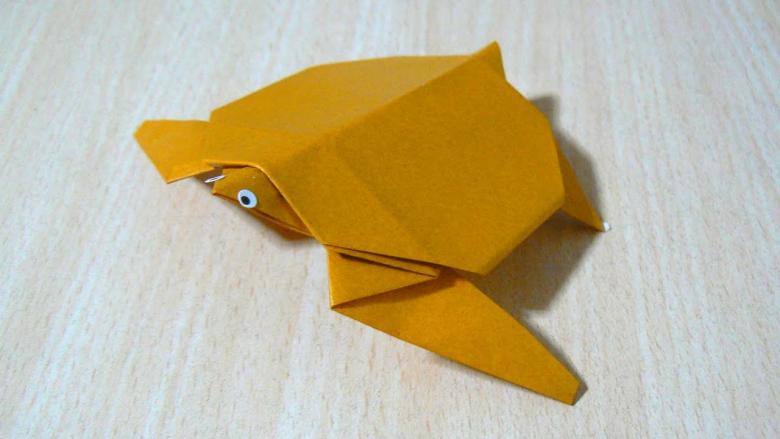
Turtle
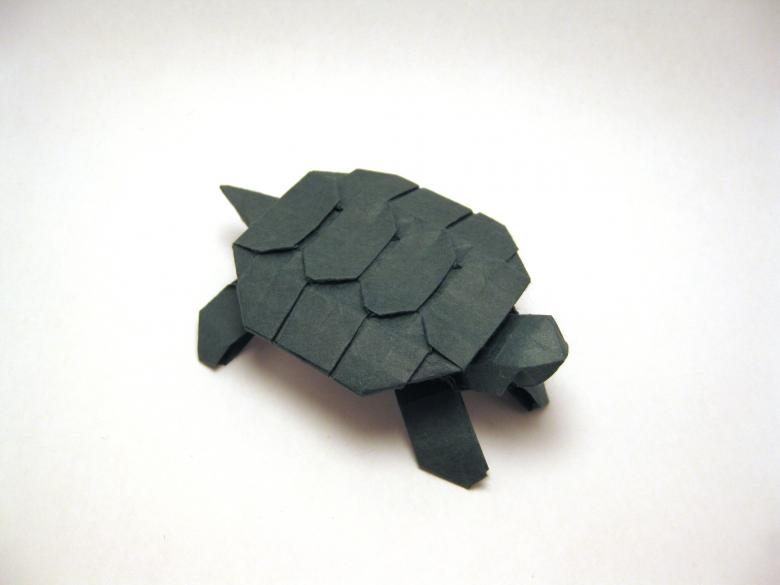
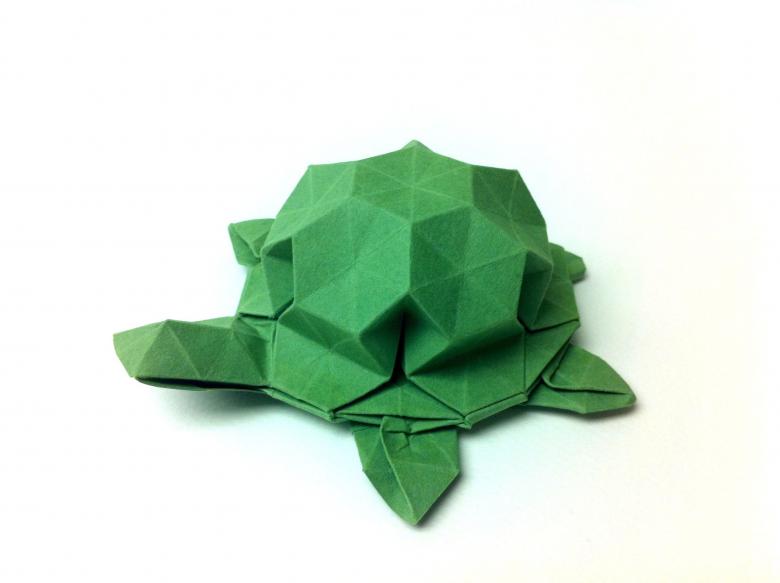
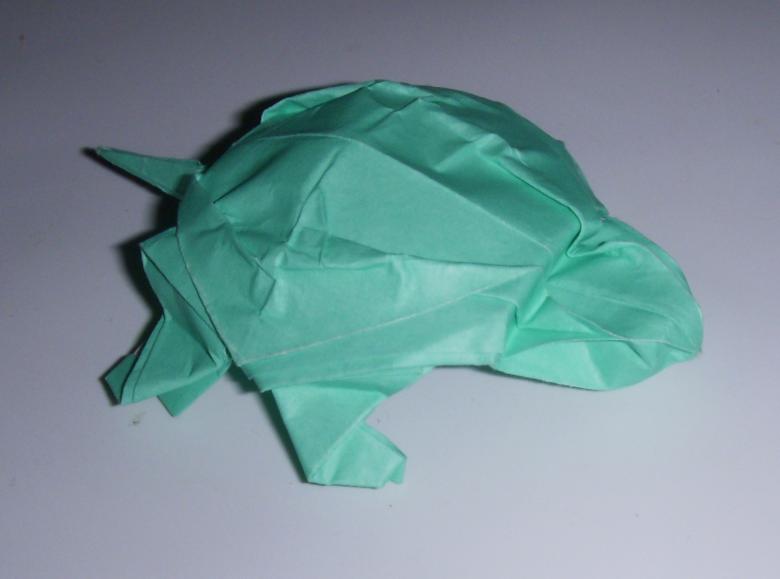
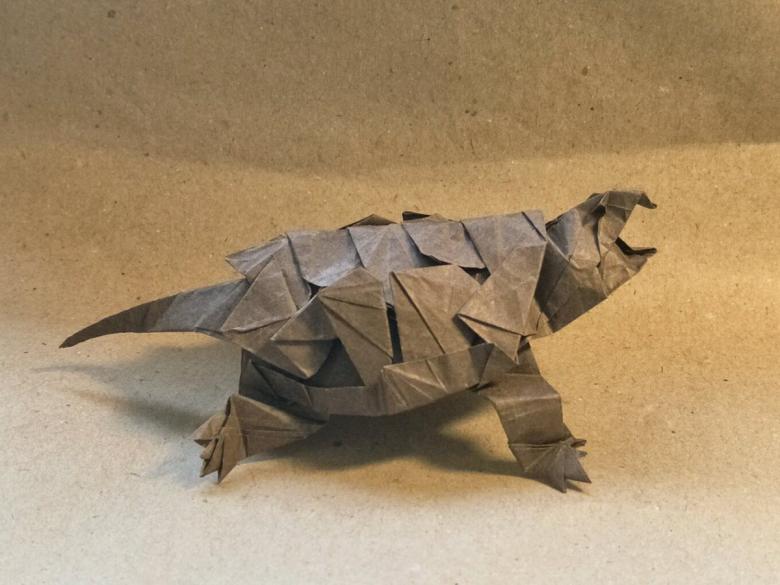
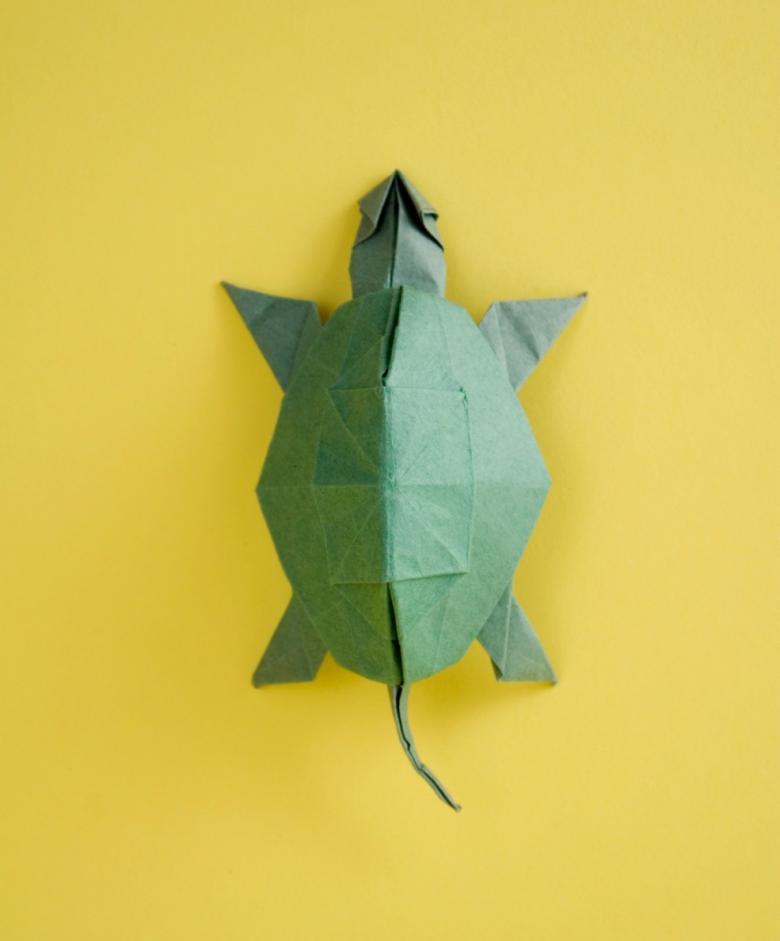
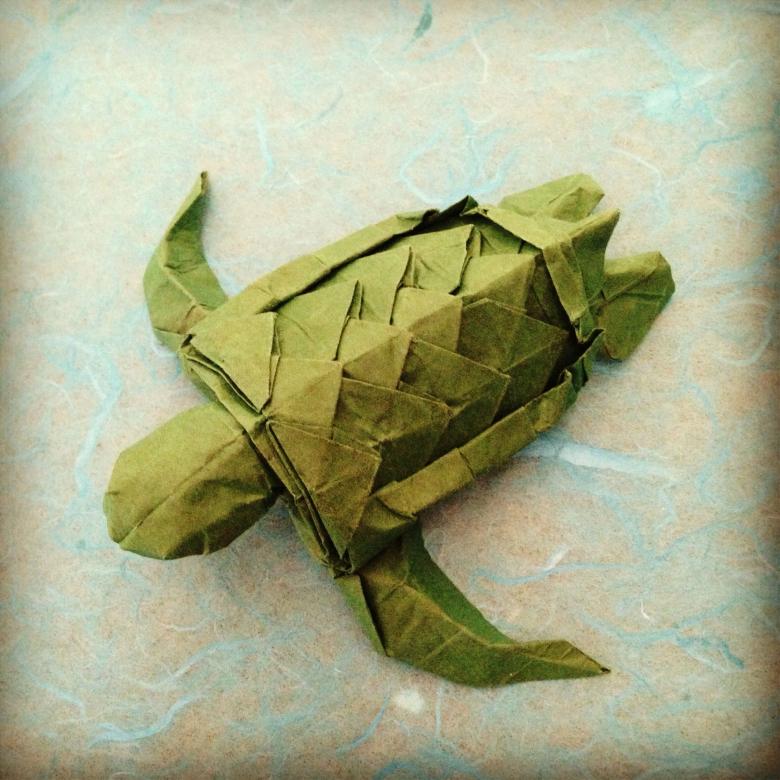
It is one of the most interesting handicrafts thanks to the impression of multiple layers of the shell. In fact, such a masterpiece does not consist of a ton of paper, but only one sheet. Detail of the execution scheme:
- The paper is folded in half and opened on the right side.
- Applying the "squash," it is turned over.
- Open to the left, again resorting to the technique of "squash.
- The corners are placed on the edges and unfold.
- In the continuation of the fold from top to bottom and again unrolled.
- Lift the top layer of paper along the fold.
- Fold along the sides to form a base fold "petal".
- Notch along the top flap at 1-2 cm.
- Both sides should be opened.
- Adhering to the obtained lines, make the outer backward fold, and then the upper flaps of paper are folded.
- The fold is formed from the initial folding of the side and bottom, and then back of the bottom.
After the paper is reversed, you get a great turtle!
Resorting to the technique of origami, you can make a lot of animals, such as: cachalot, bear muzzle, whale, polar bear, piglet, rat, hare, snail, shrimp, shark, sea lion and seal. Making origami animals out of paper for beginners should be a real fun for children, become a boring and exciting activity.
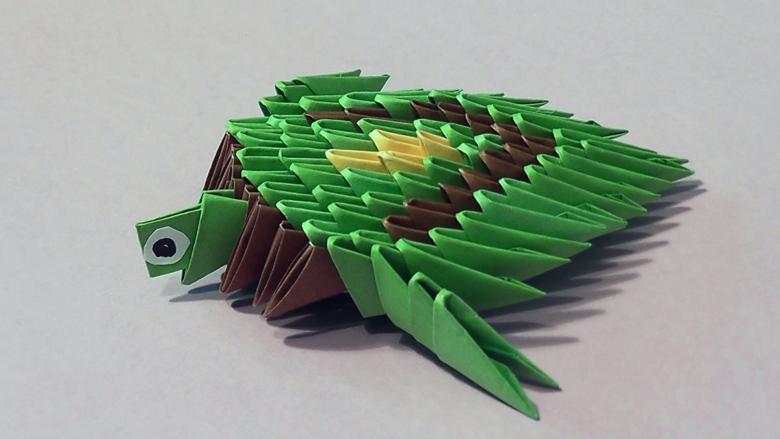
Such a zoo of animals will develop useful skills, learn perseverance and patience. Illustrative photos will help correct execution. It is interesting to watch as figures gradually take shape and incredible resemblance to real animals!
