Swan crafts from origami, cardboard, plastic, felt and cones - master classes and photo ideas
Creating a homemade swan from improvised materials - it's a pleasant and effective activity. For a child, it's a great way to develop imagination and make crafts for school or kindergarten.
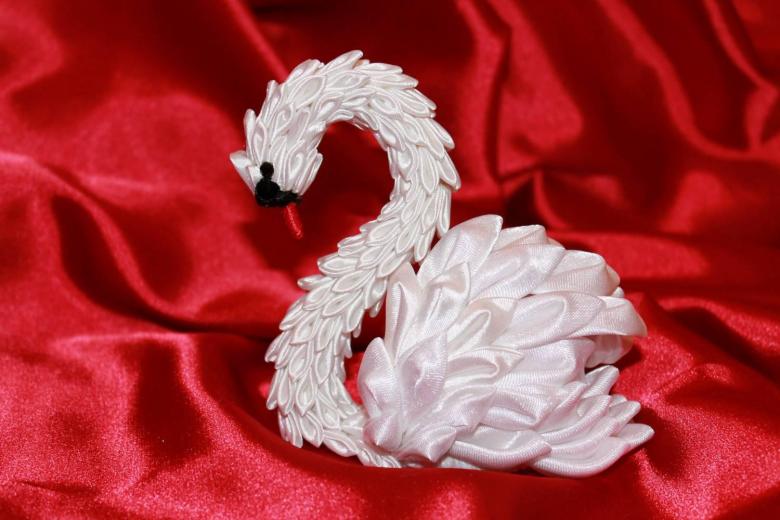
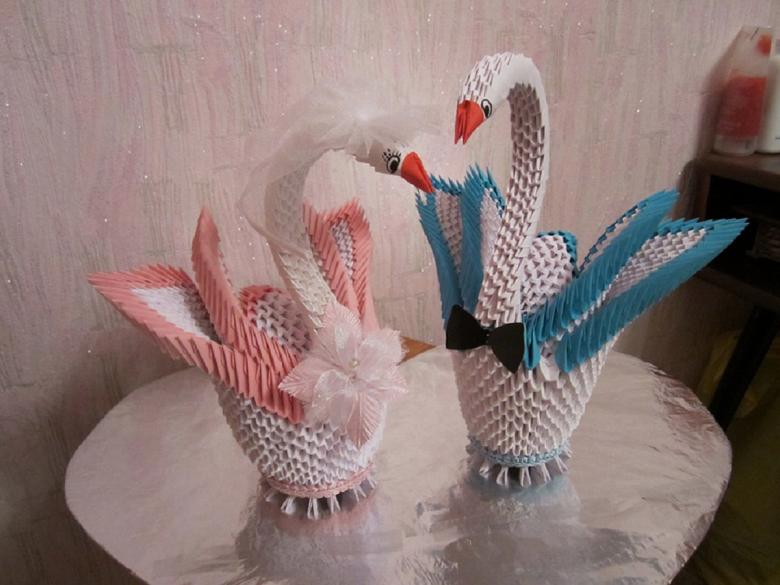
For parents - a very convenient method of useful communication with their child. But now we are talking not only about usefulness, but also about aesthetics: modular birds will be a creative solution for a bookcase shelf, and swans from the simplest improvised materials can become an incredible decoration of your yard.
What materials can be used to make a swan
To make a craft can take a simple materials that are found at hand in every home:
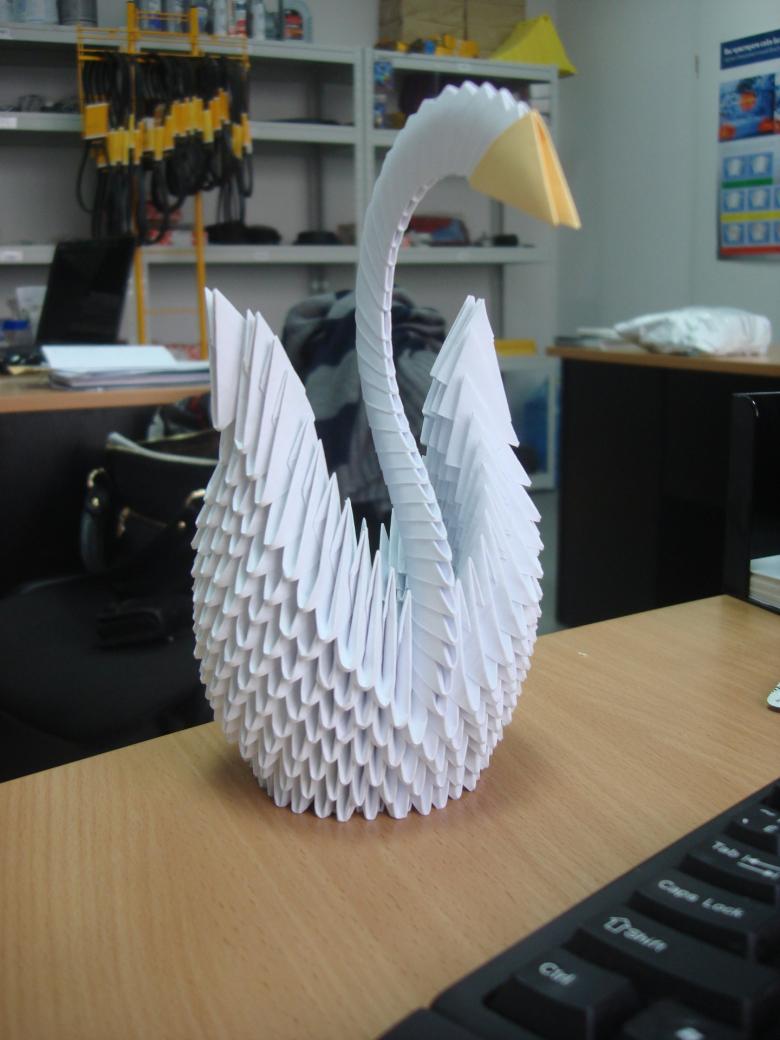
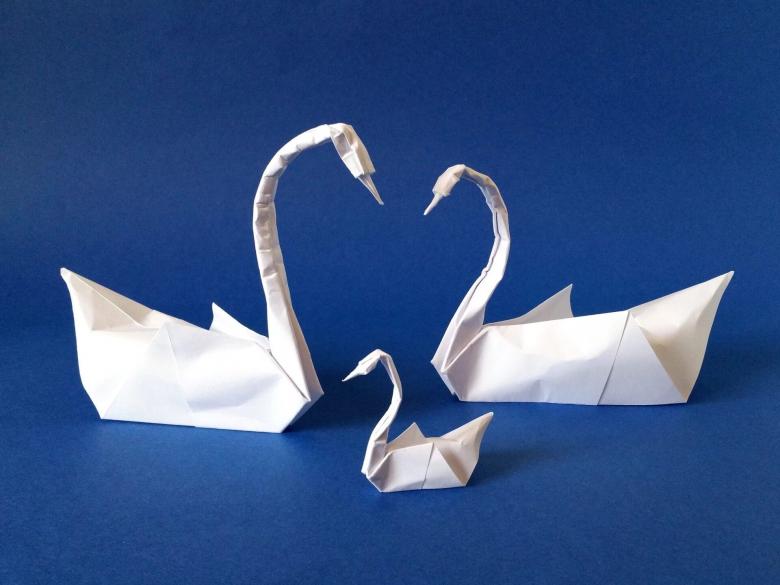
- Plain paper: often used in the technique of origami (modular or classical). Such birds will differ either graceful patterns or angular, but stern features of classical origami.
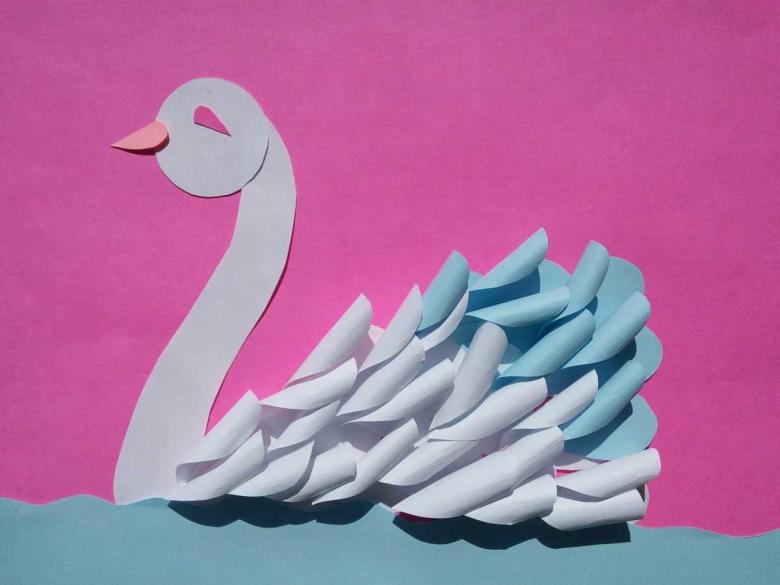
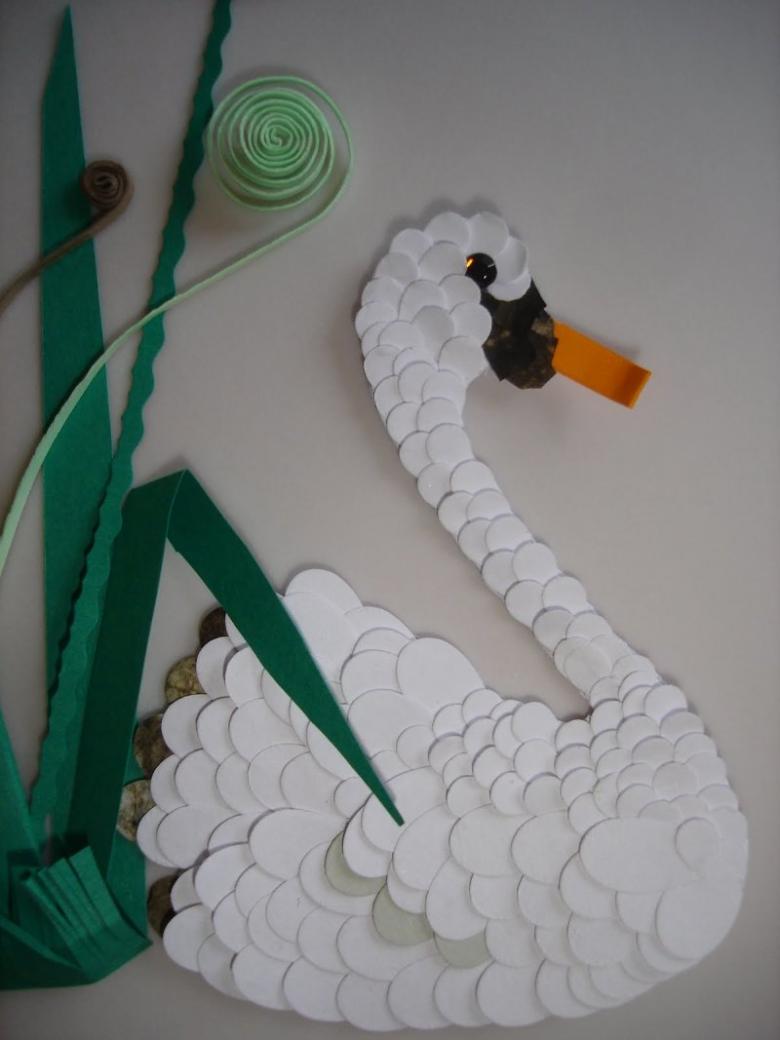
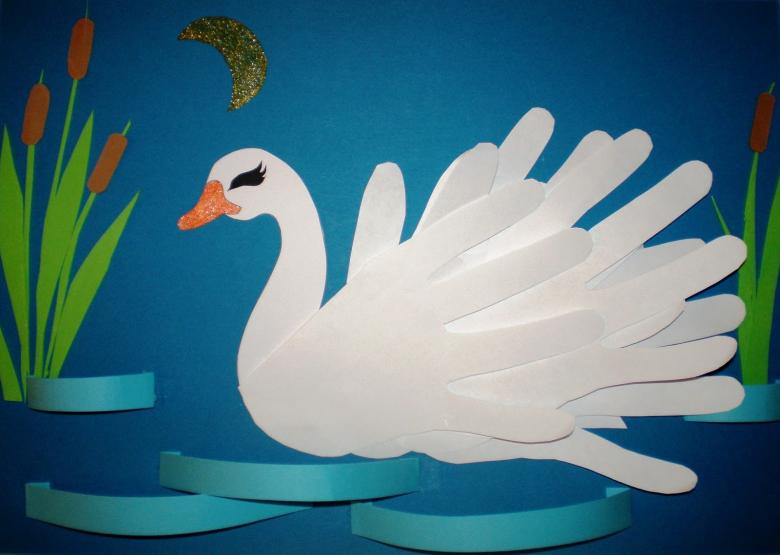
- Cardboard: swans of cardboard can make any novice master, every schoolboy with the help of parents. Snow-white birds of dense material can be used as figures on applications.
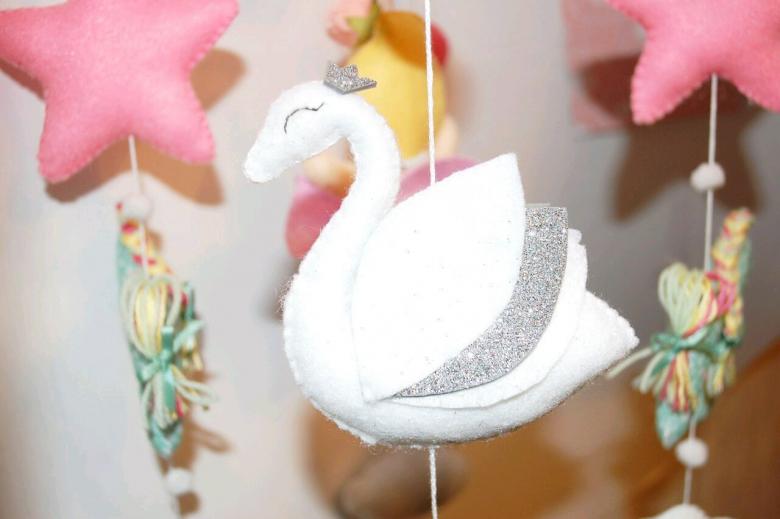
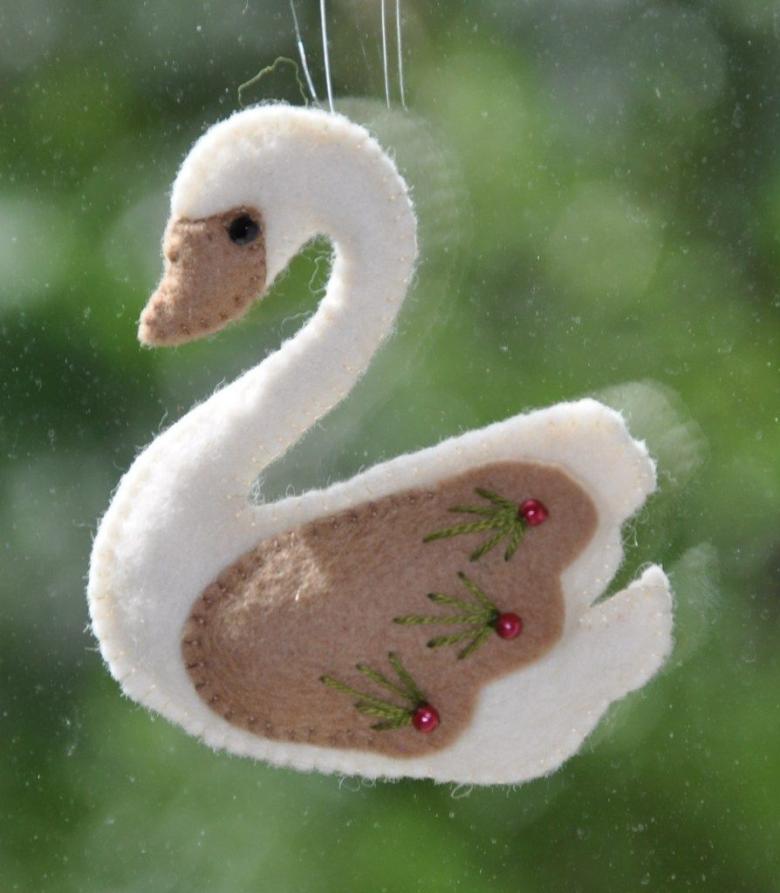
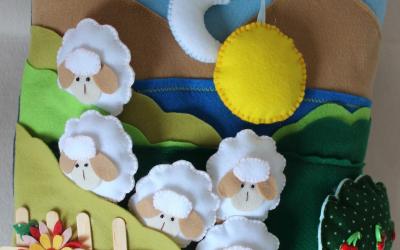
- felt and rhinestones: the swan will acquire an elegant sheen. Because of this quality, felt birds are often used as brooches, mascots, decorations for backpacks and cars.
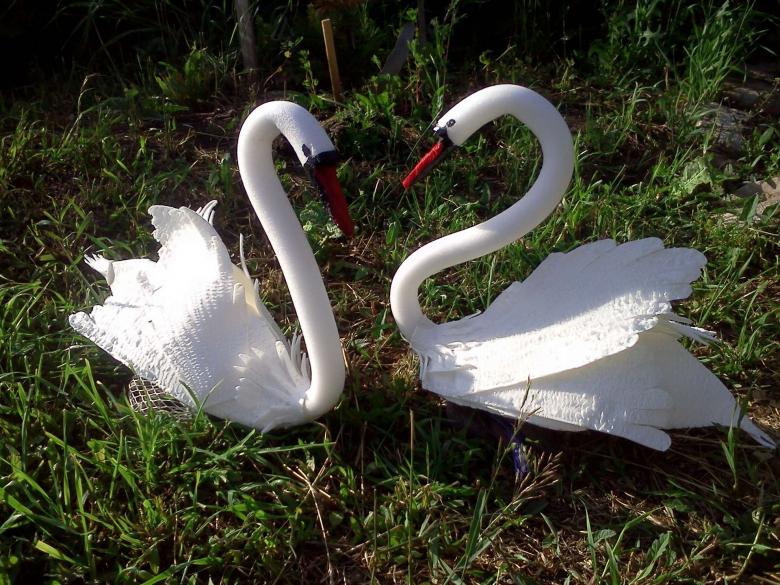
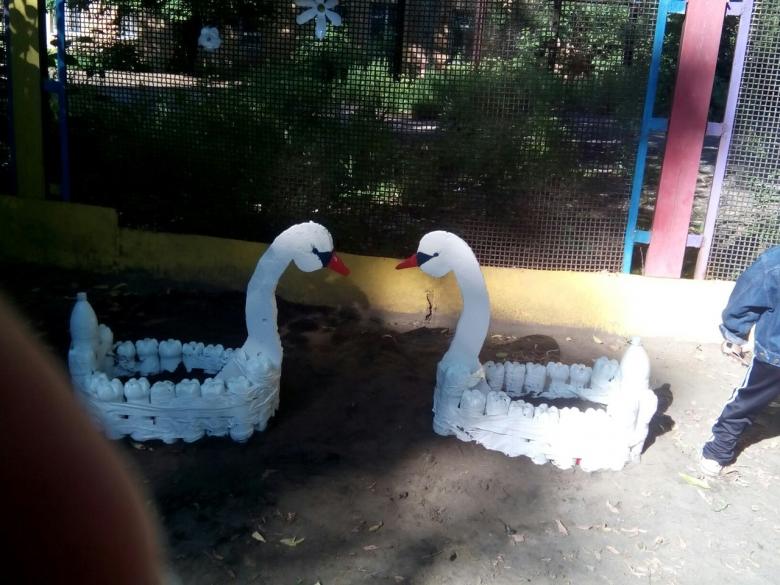
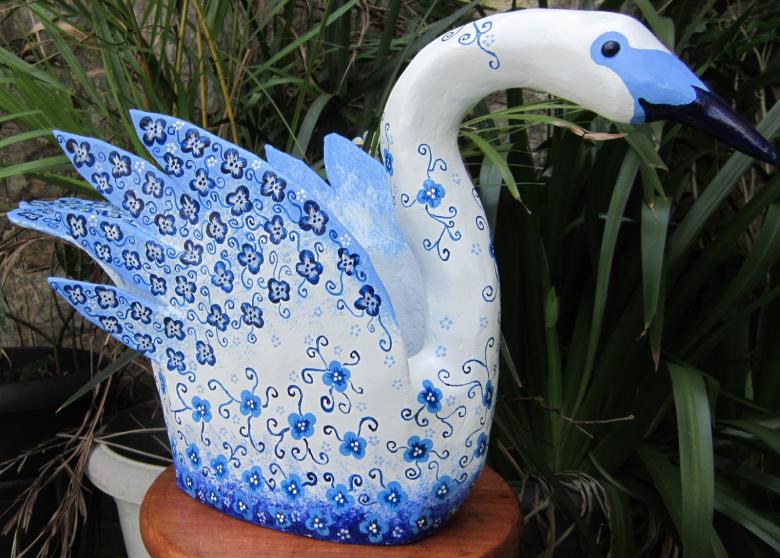
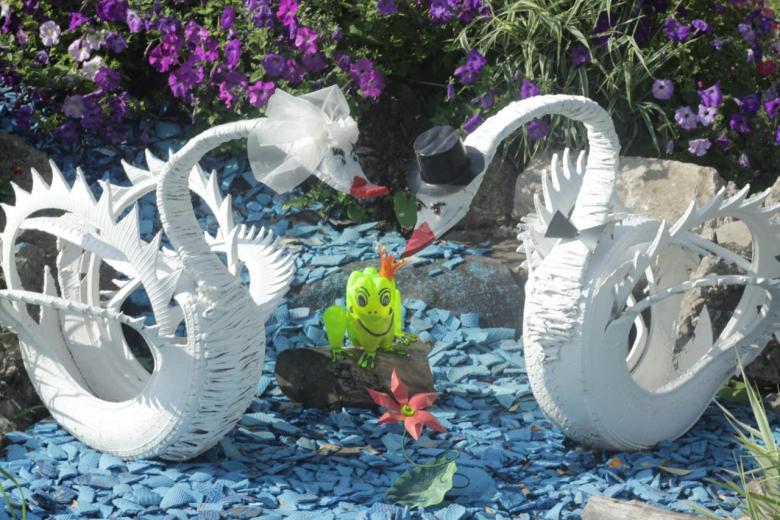
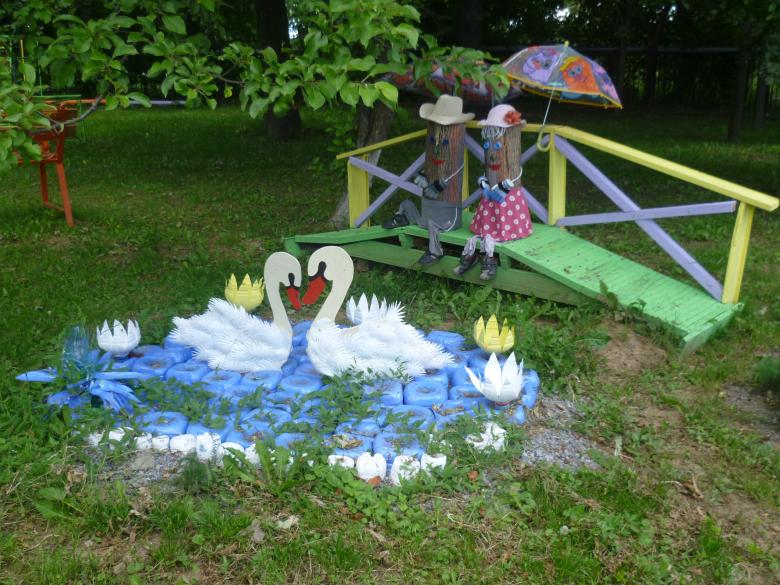
- Plastic: ordinary plastic bottles can find a second use. Bird figures can be placed, both on the desk and in the patio of your home. Choose the size of the product and go!
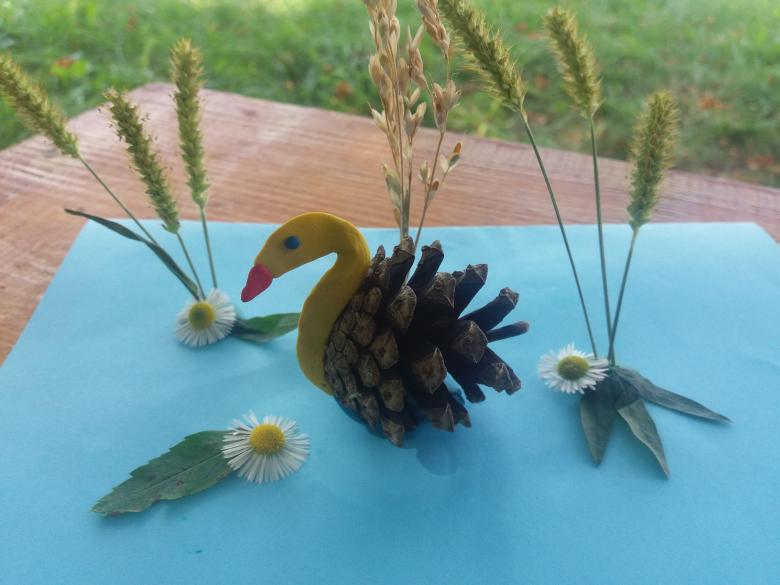
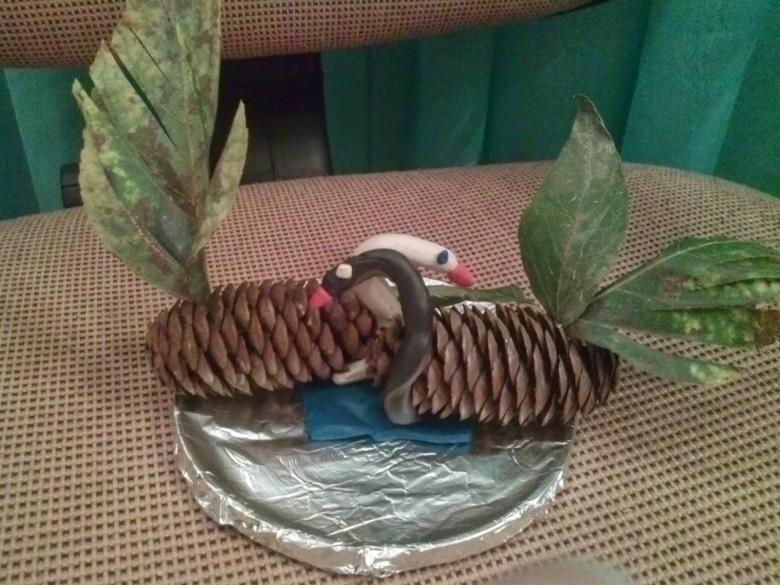
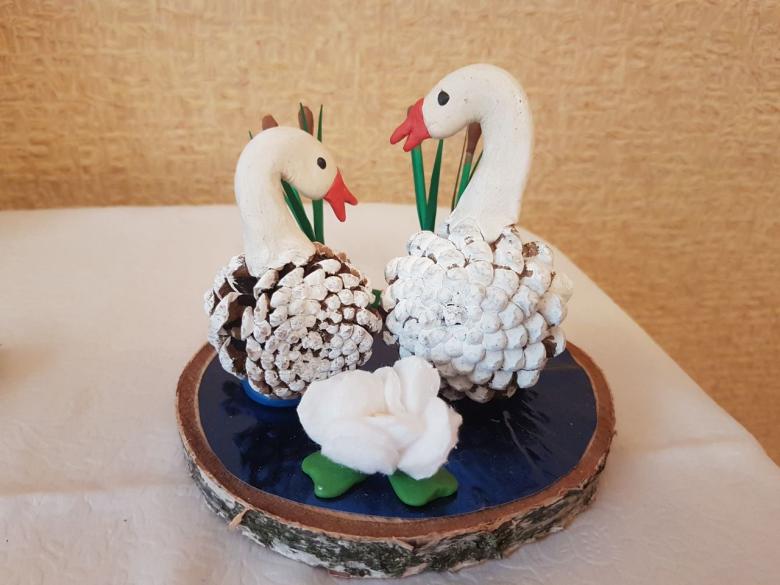
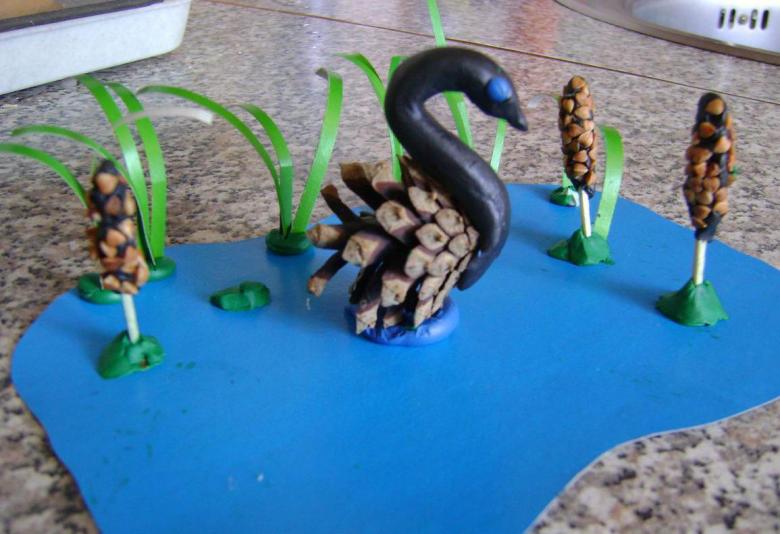
- Pine or Christmas tree cones: natural material will not only be a good basis for the future swan, but also will decorate the composition for the handicrafts at the school exhibition.
Master-classes with step-by-step instructions
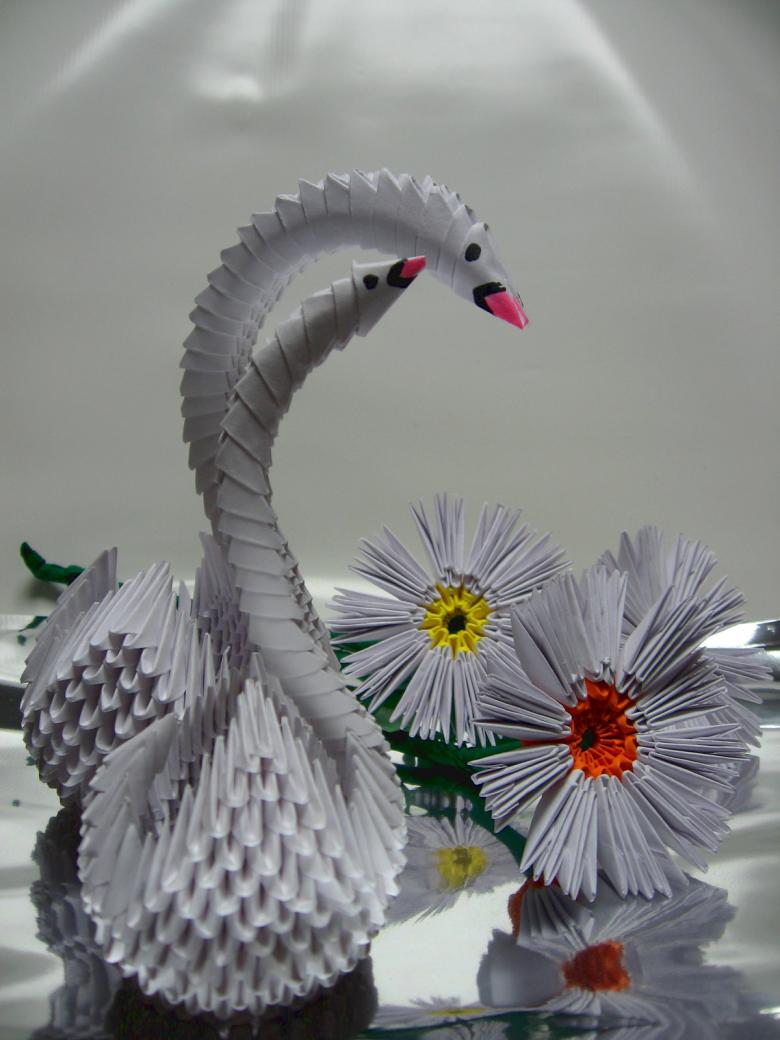
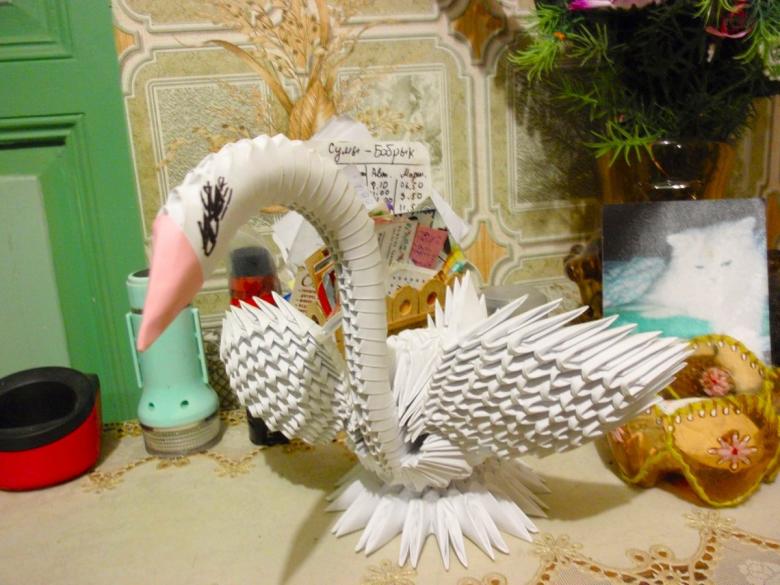
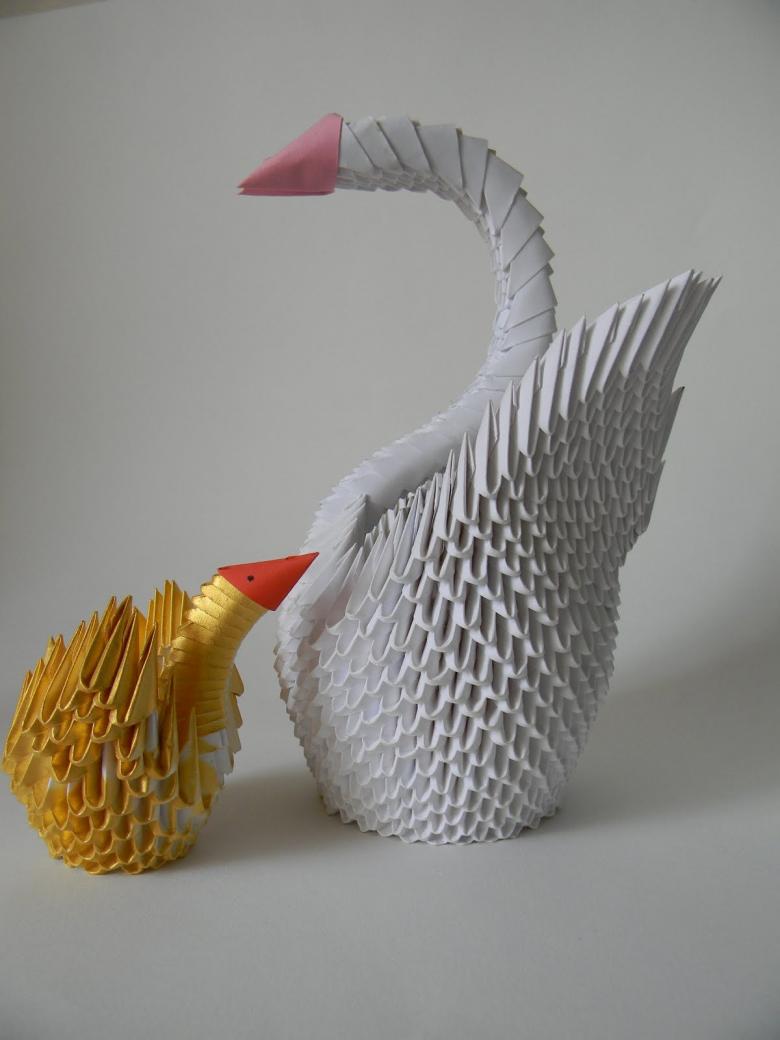
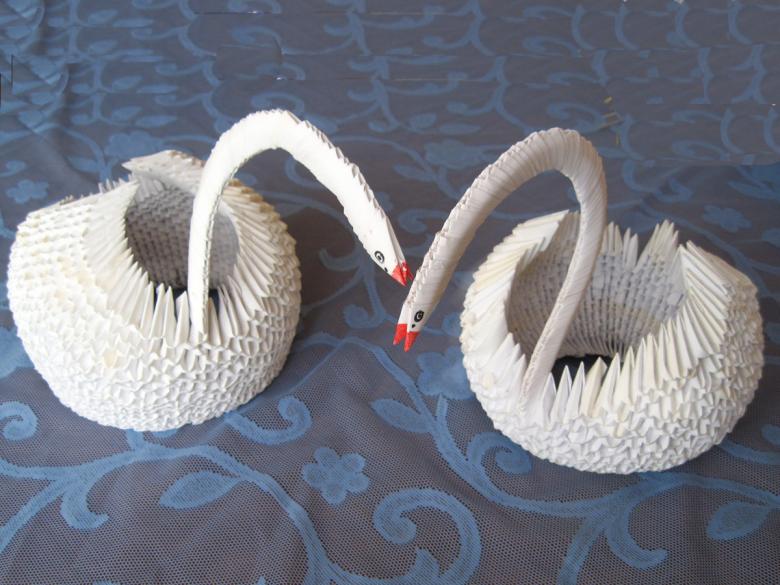
Swan in origami technique
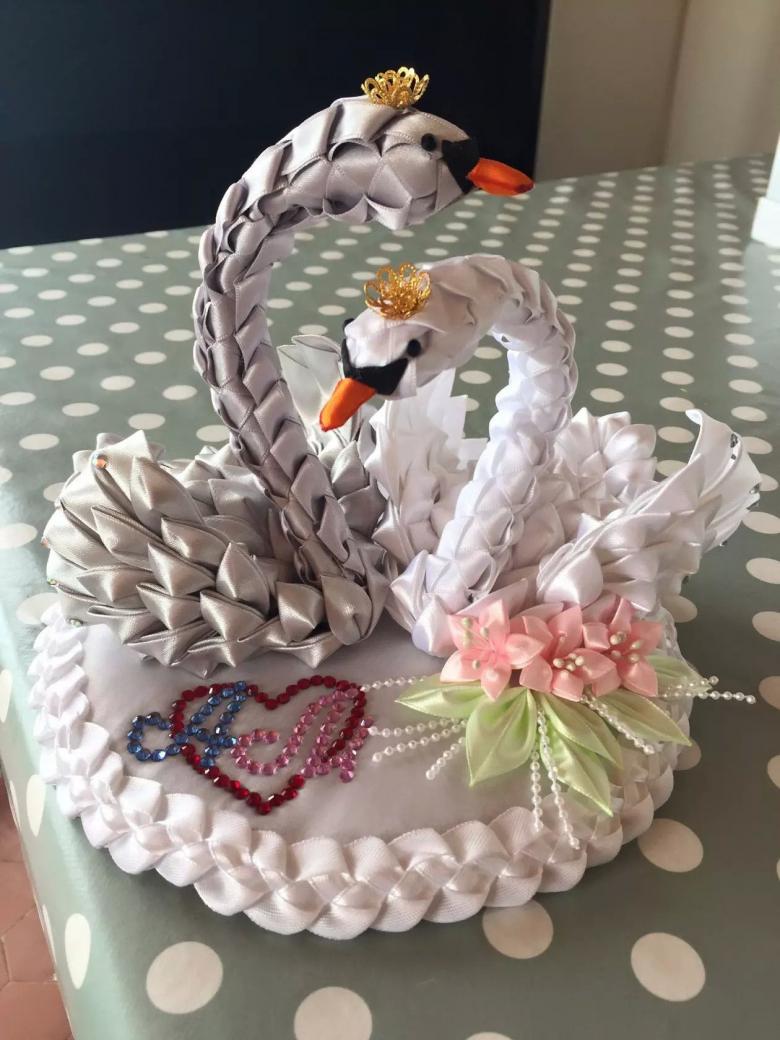
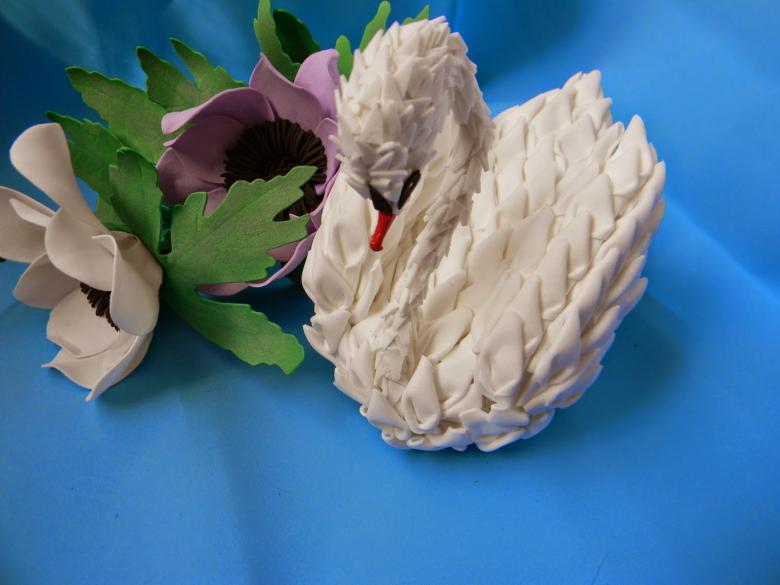
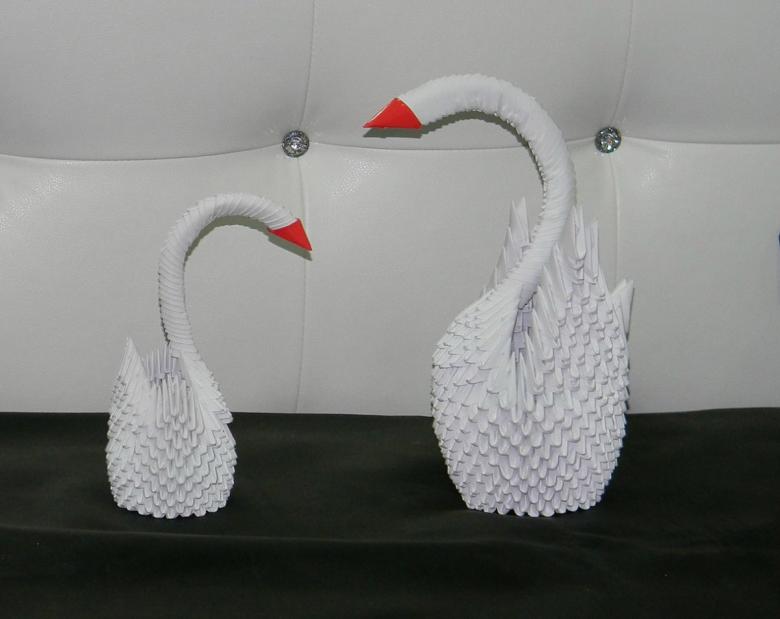
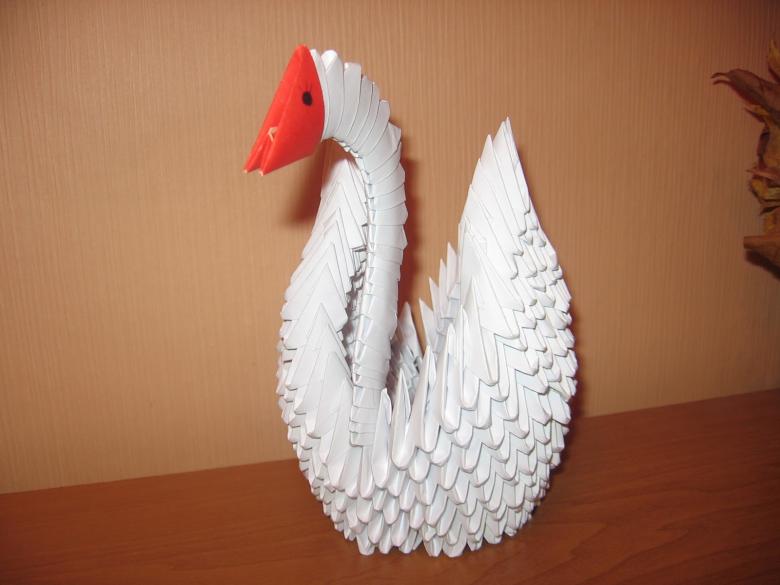
There are two ways of making snow-white birds in Japanese art: the modular method and classical technology. We will consider the modular technique, as swans in the process of making an elegant structure and grotesque.
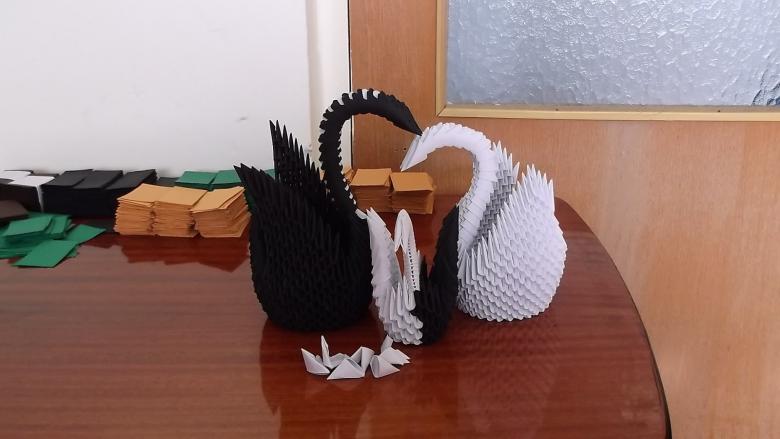
Of materials we will need only paper and, if your goal is not white figures, paints and brushes.
Step-by-step instructions:
- Prepare sheets of paper and cut each into 16 equal pieces.
- Fold each square horizontally and vertically.
- Bend the edges to the center of the details and now flip the workpiece on the other side.
- Now turn the bottom edges, so as to leave a little space between the top and bottom.
- Lift the corners up. Our first module is ready. We can start making the rest of the parts, of which we will need a lot.
- Let's proceed directly to the assembly of our swan: the body of the bird will be connected in staggered order, inserting modules one into one.
- Once assembled 5-6 rows, gently evert the edges of the product foundation to the outside to slightly expand the swan body.
- After the 8th row begin to form the wings: prepare two elements for the composition of the neck and on both sides of the selected points form incomplete rows of parts.
- Tail add up five rows, reducing at each level the number of elements.
- Neck formed the easiest: use the gradual insertion of 2 modules in the pockets of the lower parts.
For convenient and comfortable work, it is best to view any video tutorial on creating modular swans.

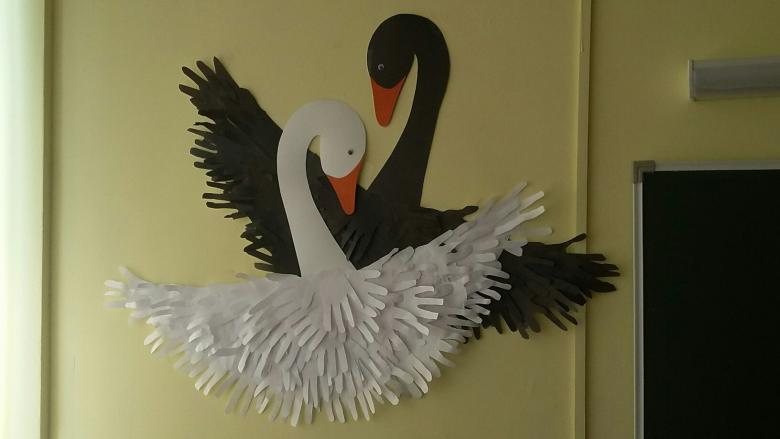
Cardboard swan with contrast effect
The presence of contrast is indicated for a reason: paper swans made of cardboard or colored paper, as a rule, have no volume. If you are not going to use it as an object in the application, it is worth adding some brightness to our bird. For this we will take:
- sheets of cardboard in white and black;
- scissors and glue;
- ready-made templates of 2 sizes to create the components of the figure or drawings to create templates: the larger one - the silhouette of the bird, the smaller one - the fluted wing.
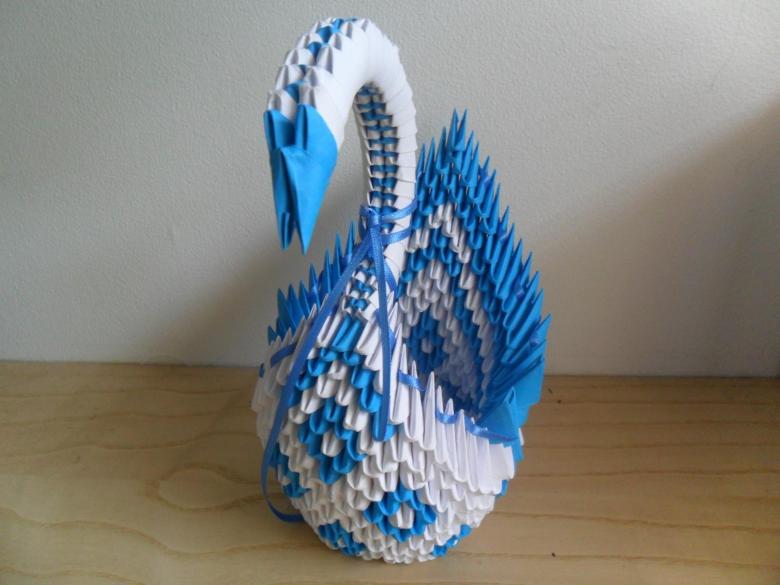
Step-by-step scheme for the master:
- Let's fold a sheet of white cardboard in half, and on its back side let's trace the template along the contour.
- Now begin to create contrasting parts: to do this, fold in half a sheet of black cardboard and also draw a second, smaller, template.
- Let's cut out all parts and unfold them on their front sides.
- In the center of white wings glue black fluted figures.
- Draw the eyes and beak our swan.
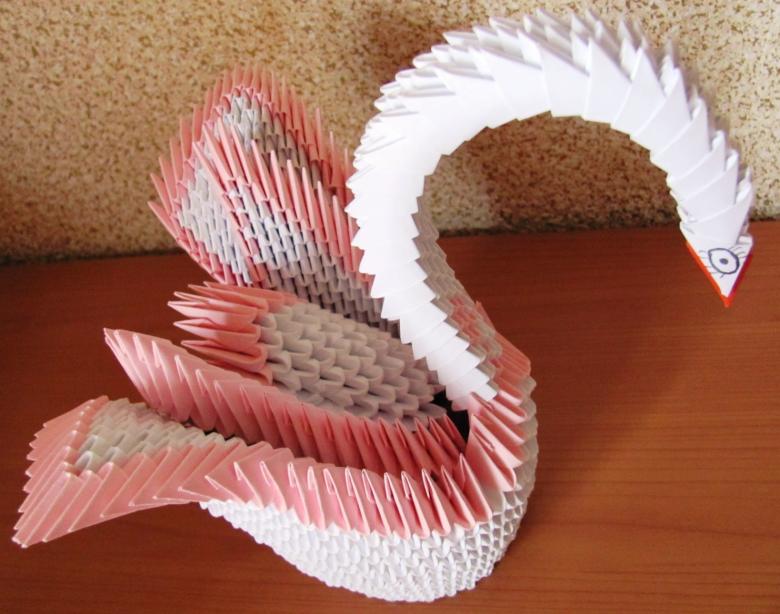
This handicraft is easy to make, so it is perfect for working with the youngest craftsmen. For an additional visual effect, you can carefully cut the upper part of the wings into strips, which will create the appearance of plumage.

Stylish swan brooch made of felt
Materials for the work:
- Felt of blue or purple shade;
- Scissors, glue, thread and needles;
- Dense plastic plate (can be found in packages from under flash cards);
- Large pin;
- Accessories for decor: beads, beautiful buttons or rhinestones.
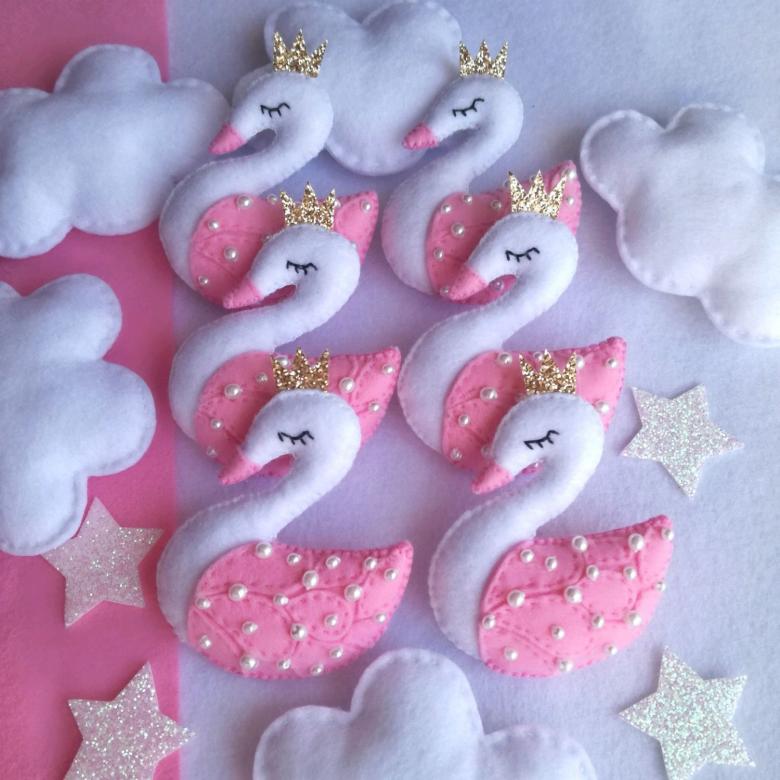
Where to begin:
- Prepare a template on a sheet of plastic: you can download the pattern you like, or use a ready-made template.
- Glue a large bead or button with a pattern in the nose of the swan - prepare the eye. It is better, of course, that it was a bright and noticeable detail.
- Along the contour of our bird, we lay small rhinestones on an adhesive base, do the same on the swan body. The direction of the beads or rhinestones you choose: it can be oblique or transverse lines, stars or ellipses. The main thing is for your product to please you.
- Cut off the excess plastic.
- Make sure that all the decor elements are tightly glued.
- On the back side, form a felt cushion - use the same glue to fix the material.
- Cut off the excess felt.

Now you can hang your swan on your child's backpack, pin it on a jacket pocket or admire it in your workplace.
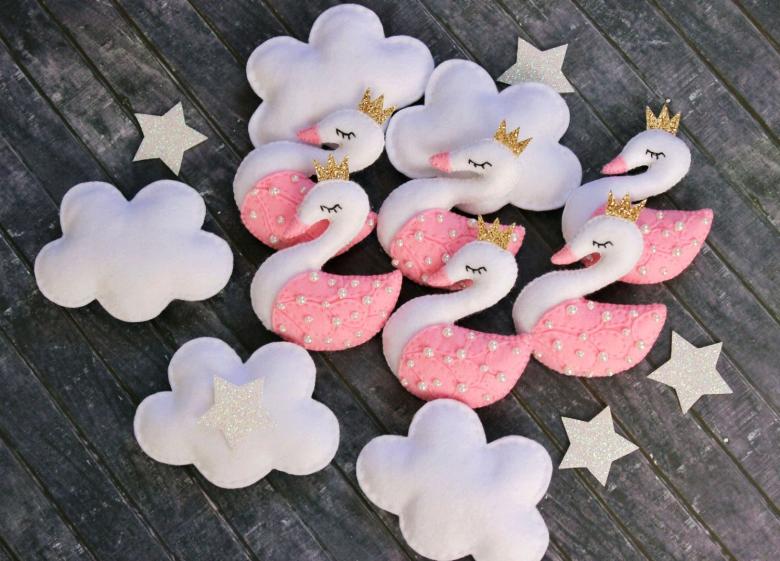
Luxury plumage made of plastic
There are many ways to make a swan out of plastic bottles: this is a large outdoor figures for the garden, this and miniature crafts for exhibition compositions. Today we will consider an unusual way to create not only the bird itself, but also deal with its plumage.
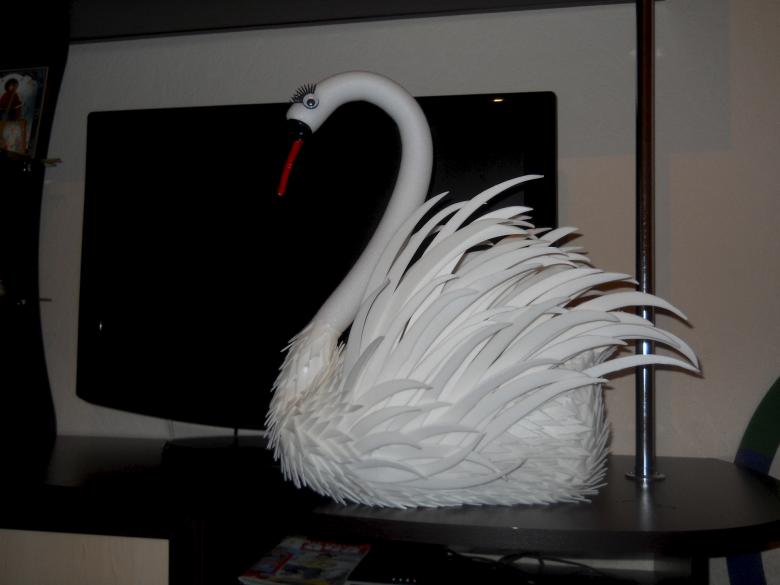
Materials needed:
- A large plastic bottle for creating the base (1-1.5 liters);
- Several smaller bottles with different capacities;
- Extra strong glue;
- Scissors with sharp blades (quality is important, as blunt blades will tear the material).
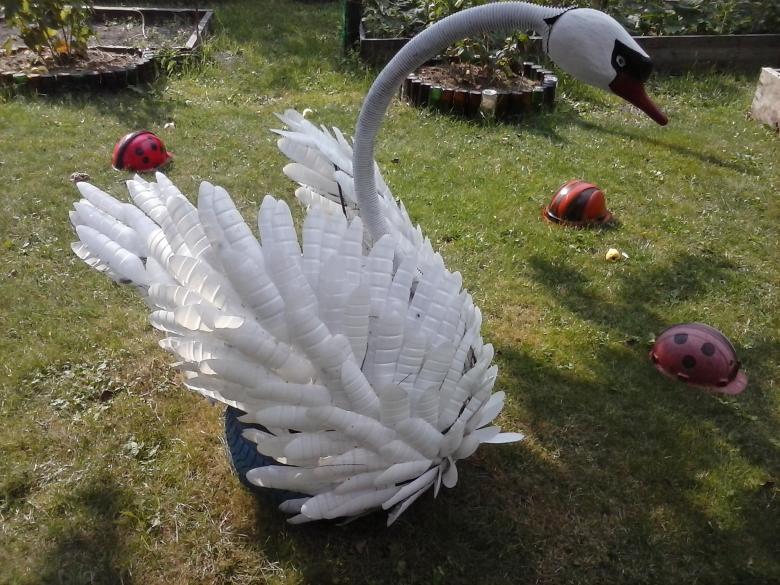
Step-by-step instructions:
- Lay the base bottle on its side, and insert a small strong wire into the neck to form the neck. Secure the wire with glue.
- Cut wings from smaller plastic bottles: Be creative and choose dishes with fluted edges. These wings look much more elegant and give added volume. The shape of the wings can be different: Cut long and slightly curved "tongues".
- Coat the base bottle with a layer of very strong glue, distributing it evenly over the surface.
- Glue the wing blanks 1/3 of their length. Try to guide the points obliquely upwards, creating a floating bird effect.
- Beak made from a cork or bottle cap.
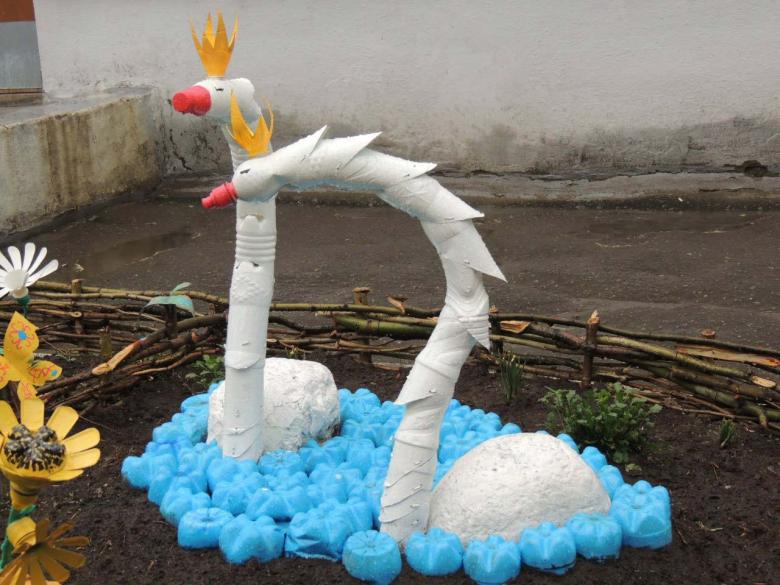
The swan can be placed on a windowsill or a table. If you are preparing the bird for the garden, you can prepare a decorated area for it.
Swan from spruce cones
For this simple technique, we need the cones themselves, glue, wire, paint and brushes, a circle of Styrofoam.
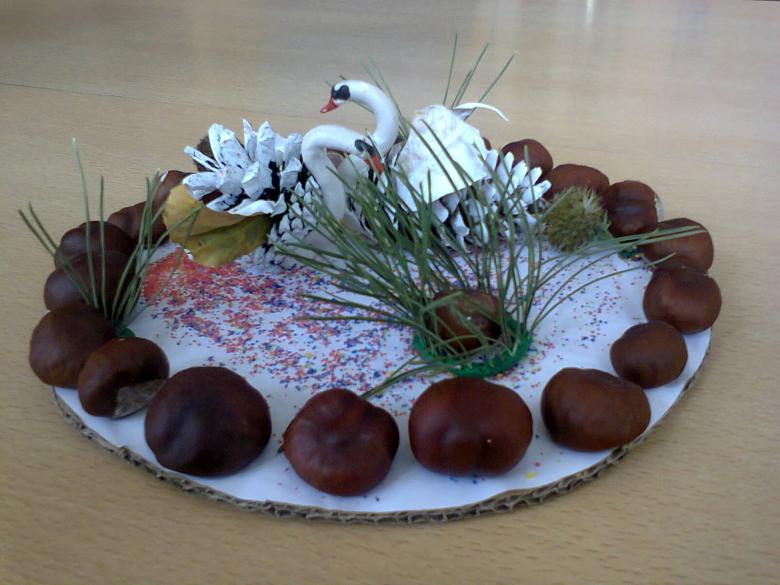
Scheme of creating a model:
- First, let's paint our product white, because the classic swan is a swan white.
- Let's attach the wire as a blank for the neck.
- We use Styrofoam for two purposes: we glue crumbs on the metal base of the neck, and form a stand for the stability of our swan out of styrofoam circle.
- The beak and eyes can both be drawn and glued, using rhinestones, beads or cut out paper parts.

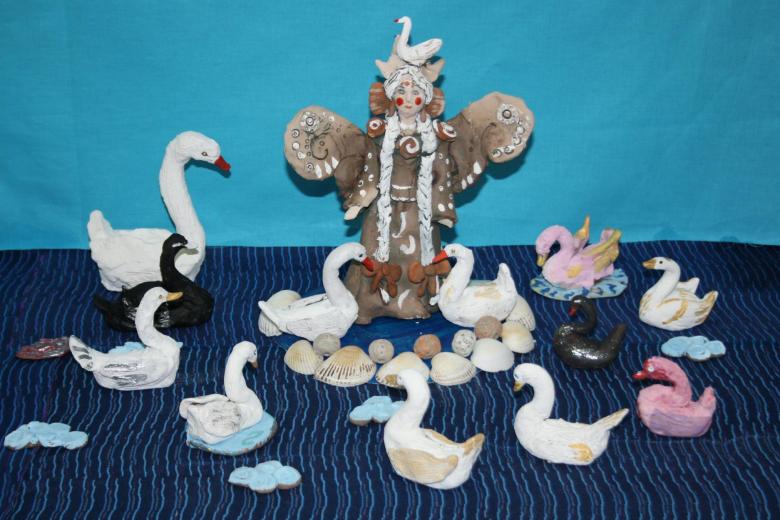
The swan is a long recognized symbol of love and fidelity. Creating a small paper bird will pass the weekend evening, and making cardboard figures will make your applique alive. We could not cover all known ways to create a swan from improvised materials, but everyone can get acquainted with the remaining techniques or come up with your own technique. All you need is patience, inspiration and desire!


