How to make a handmade hedgehog crafts - applications of paper, natural materials
Sometimes it is not easy to make handicrafts, because it is always a creative process, which involves not only hands, but also the head. Especially important is the role of such work in the development and formation of our young children. And so, in this article, on the example of the handicraft "Hedgehog", in its different variations, we will try to reveal the creativity of each child.
There are many techniques for making crafts. And we will start with the most accessible and understandable for children - applique.
Paper collage
Many children, having reached the age of 3-4 years, usually try to do everything themselves. But there are also children who do not yet know and understand everything. For example, they have difficulty using tools such as scissors. Therefore, the first craft made by a small master must be made with the support of adults.
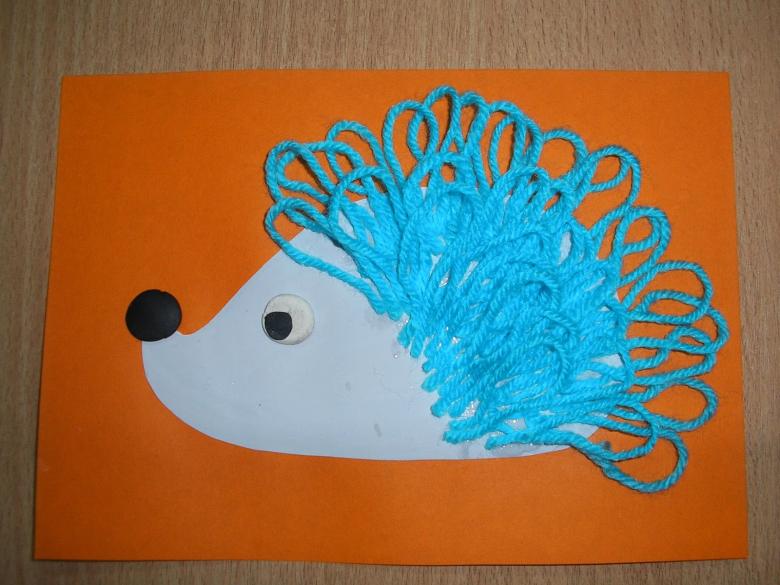
Parents or teachers prepare the necessary stencils in advance, and kids need only glue them on the background, and if possible, complement the decor or something to draw.

For older children, 6-7 years, handicraft hedgehog applique method is performed almost the same technology, but there is one difference. Children are more independent, cut out all the elements themselves, glue and draw, imagining their own images of the characters.
The important thing in working with this age group is "not to force them into frames".
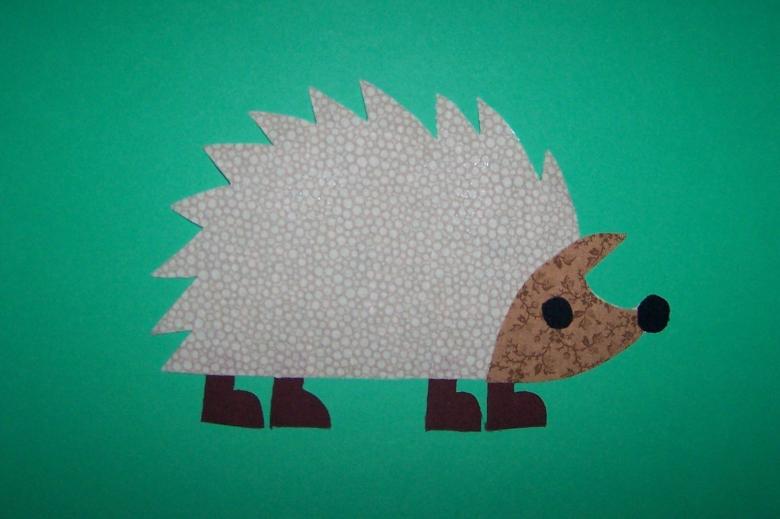
If it is a group activity, the base of the future hedgehog can be the same for all children, but when a child performs individual elements of the craft - give him more freedom, let him fantasize. This will reveal his creativity and make the work bright and original.

Let's look at a simple example of such work.
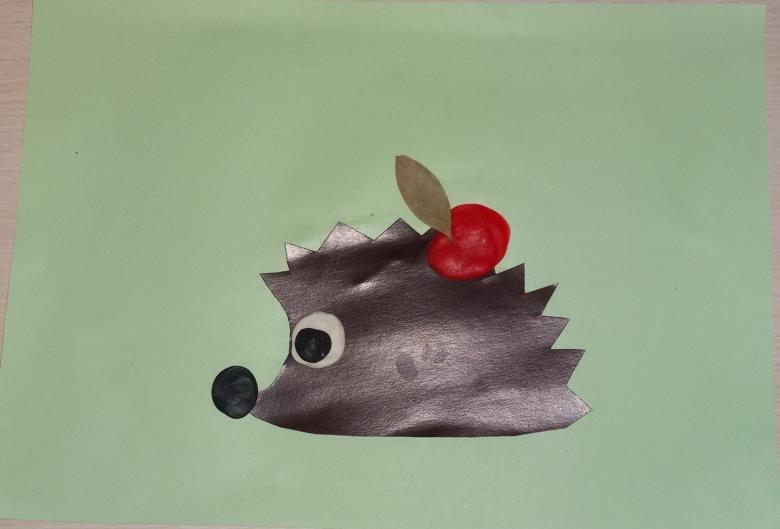
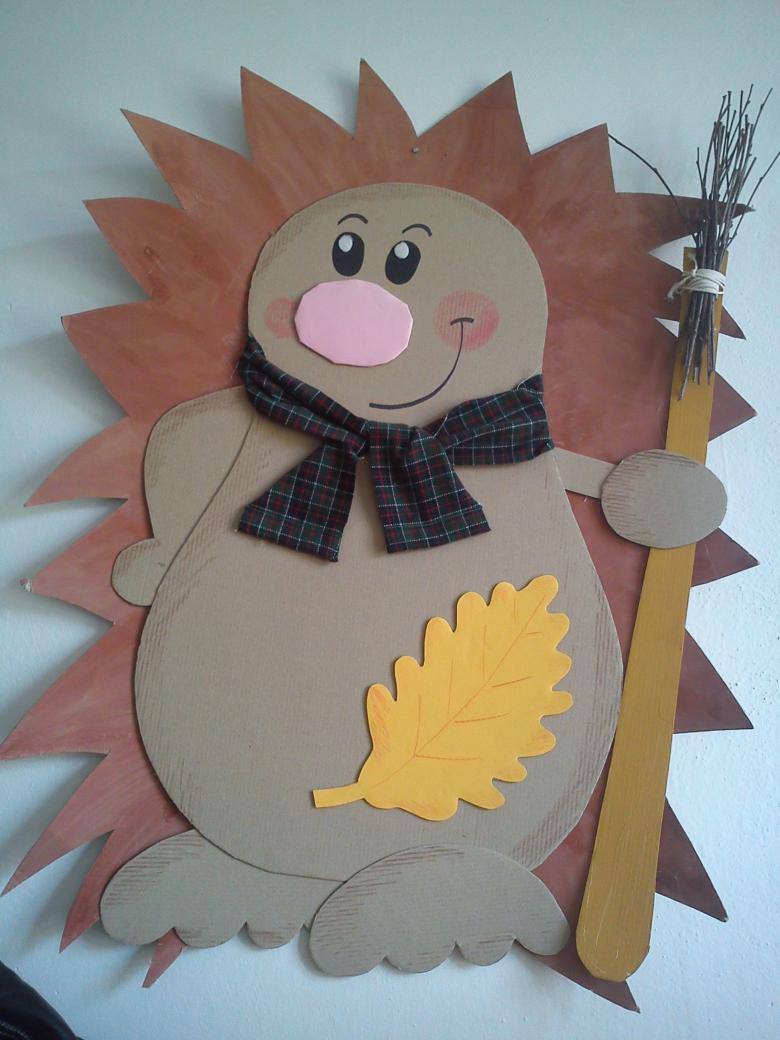
- Parents or teachers should prepare in advance drawings and stencils: the head of the hedgehog on white cardboard, and thorns on brown cardboard. The rest is done by children.
- The first step is to cut out the base of the hedgehog in the form of a prickly back, as well as the head.
- Then, using PVA glue and a brush, glue the head to the back piece.
- You can also cut out and glue the legs for the hedgehog, and other individual items. For example, an apple, a bow, a spout, eyes and mouth. Or, if children prefer - to draw these fragments.
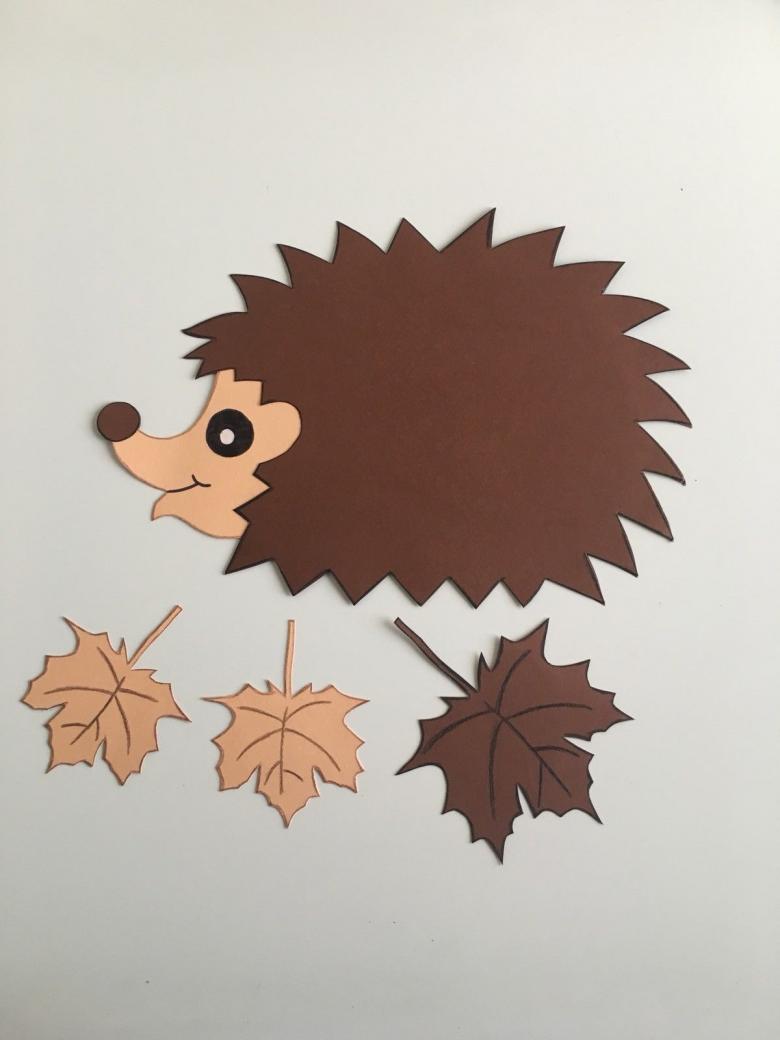
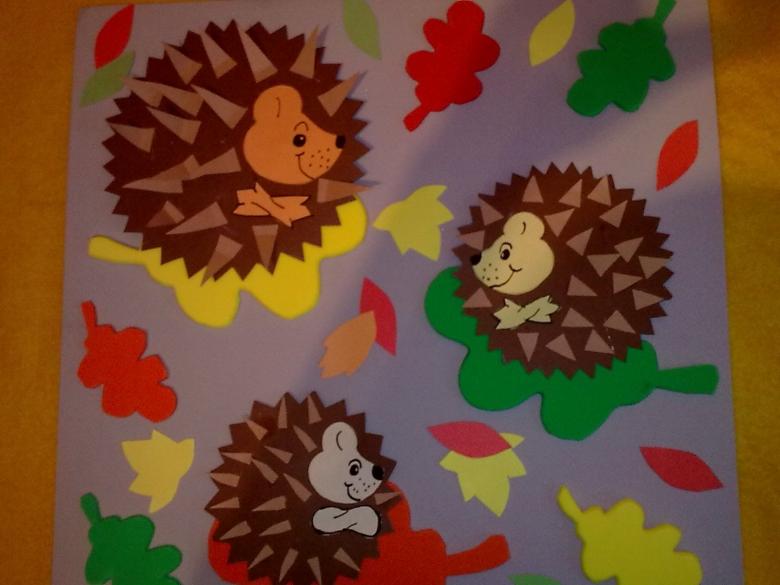
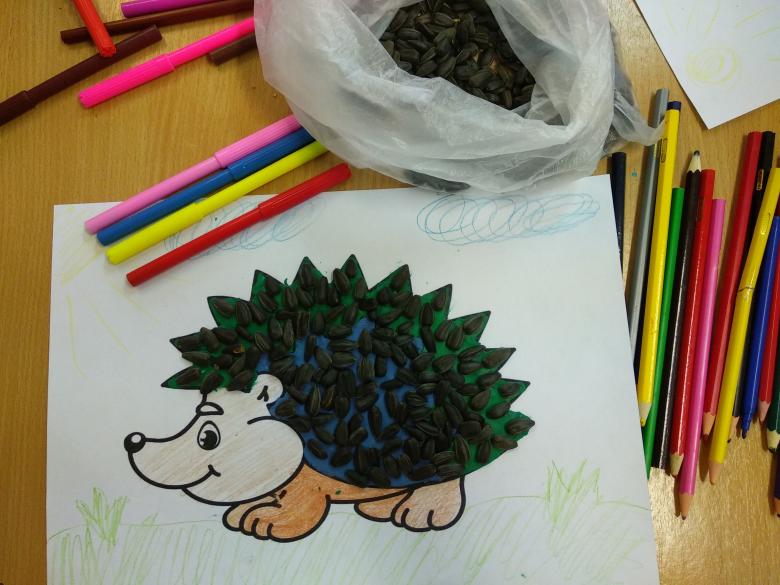
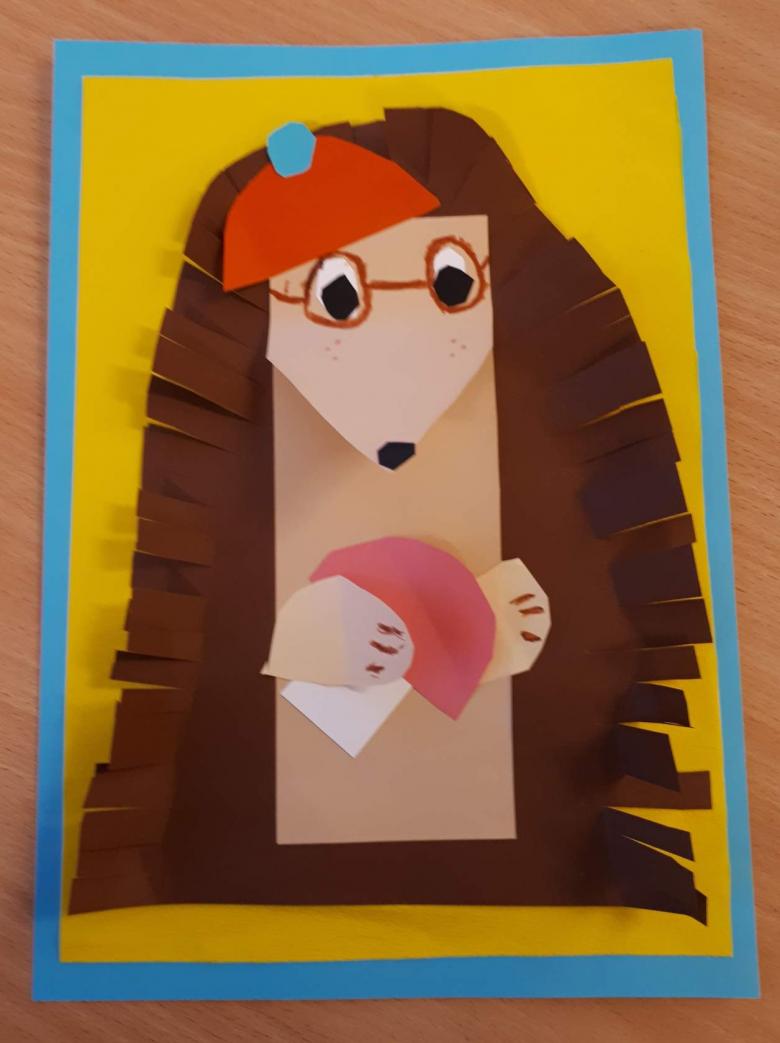
For children 7-8 years old, this same applique is better to complicate. This can be done as follows. Draw the base of the hedgehog without barbs - just a smooth back. The children will cut out and glue the thorns in the form of triangles themselves.
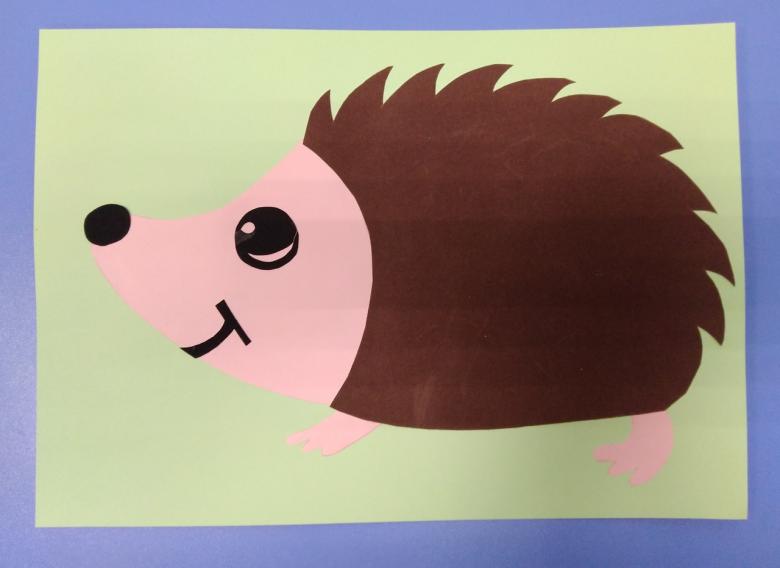
During such work, children will: show imagination, using the shape and colors of their choice; develop fine motor skills, cutting out a large number of small prickles; and learn to think logically, because in order to get a hedgehog, it is necessary to glue the prickles correctly, with the sharp end up.
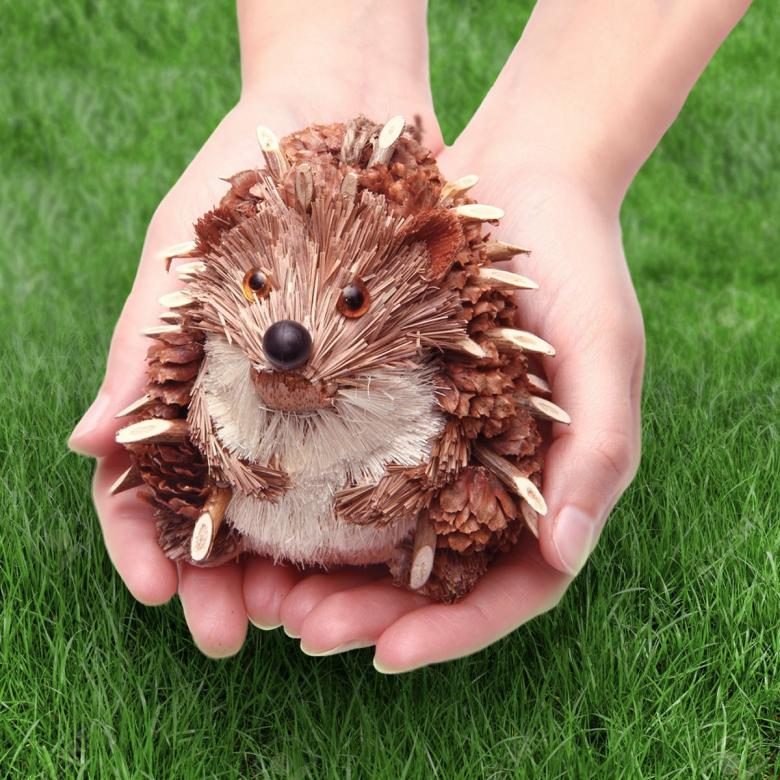
The main goal in any creativity - to achieve spontaneity. No exception and children's crafts. Make the product more "alive" and add a drop of magic to it, will help us the following technique.
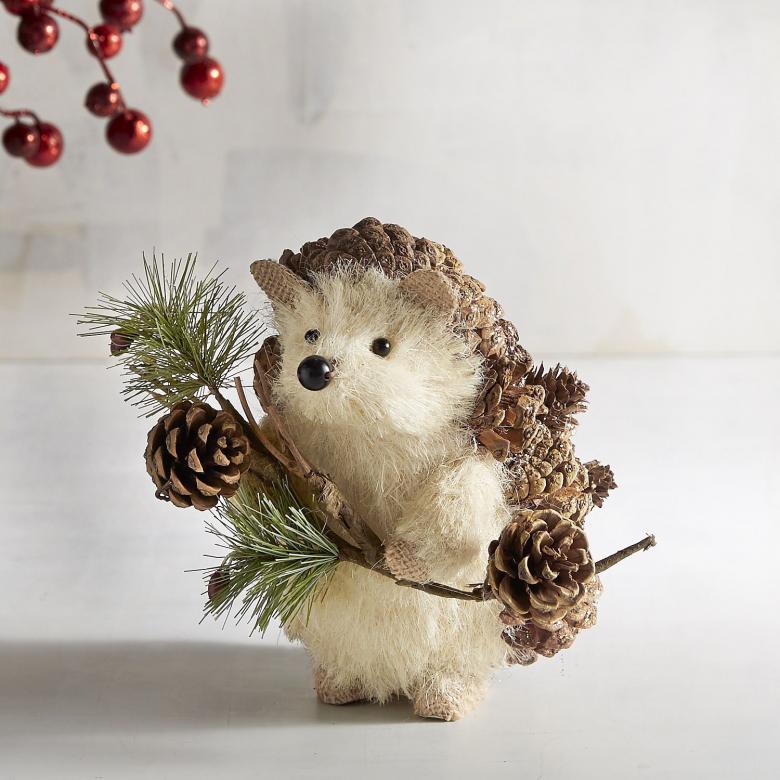
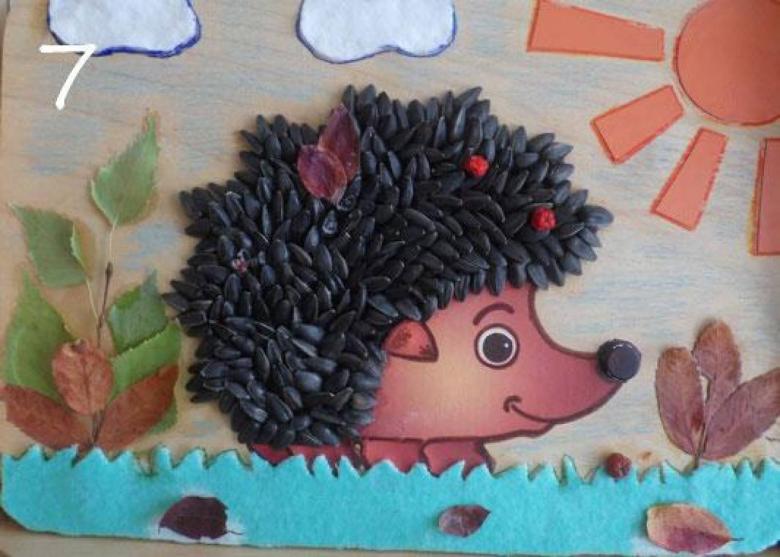
Applications with natural materials
Children, because of his age, madly fond of something to invent, to compose and to make. This way they learn the world around them. And to learn about nature will help them if we combine our creativity with materials of natural origin. Let's try to display this on an example of one of the crafts.
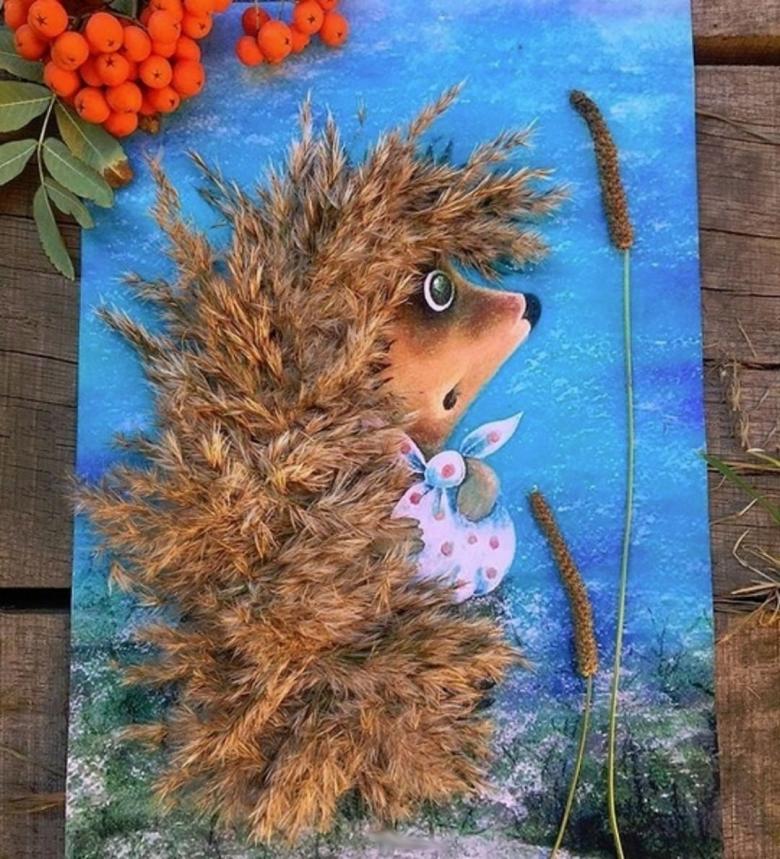
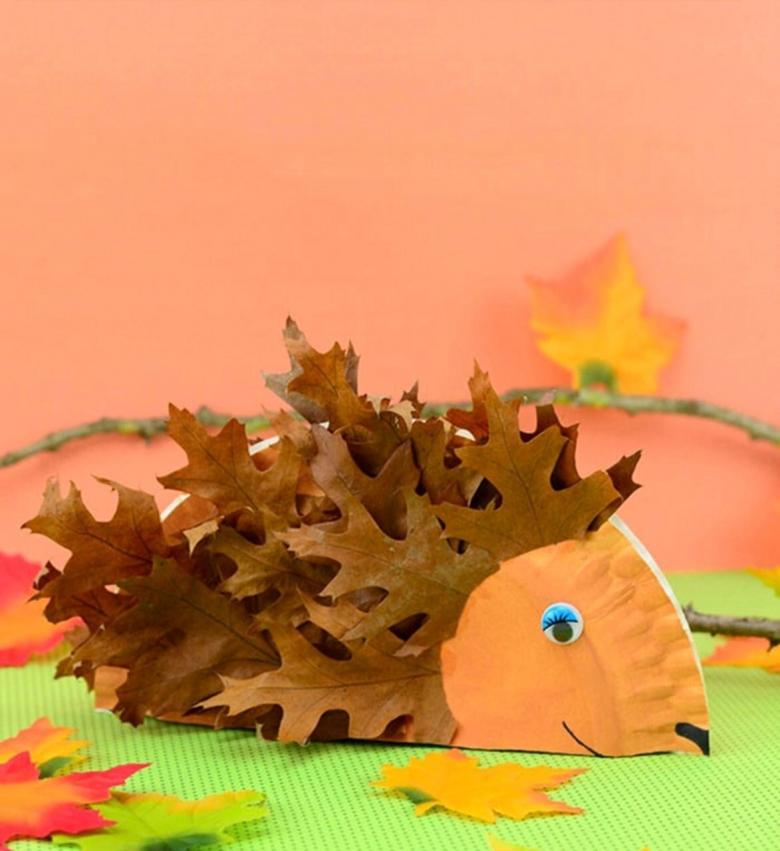
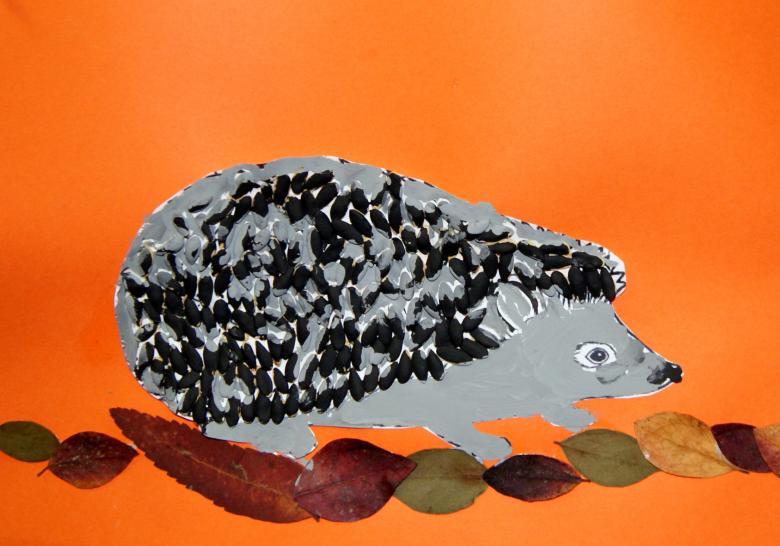
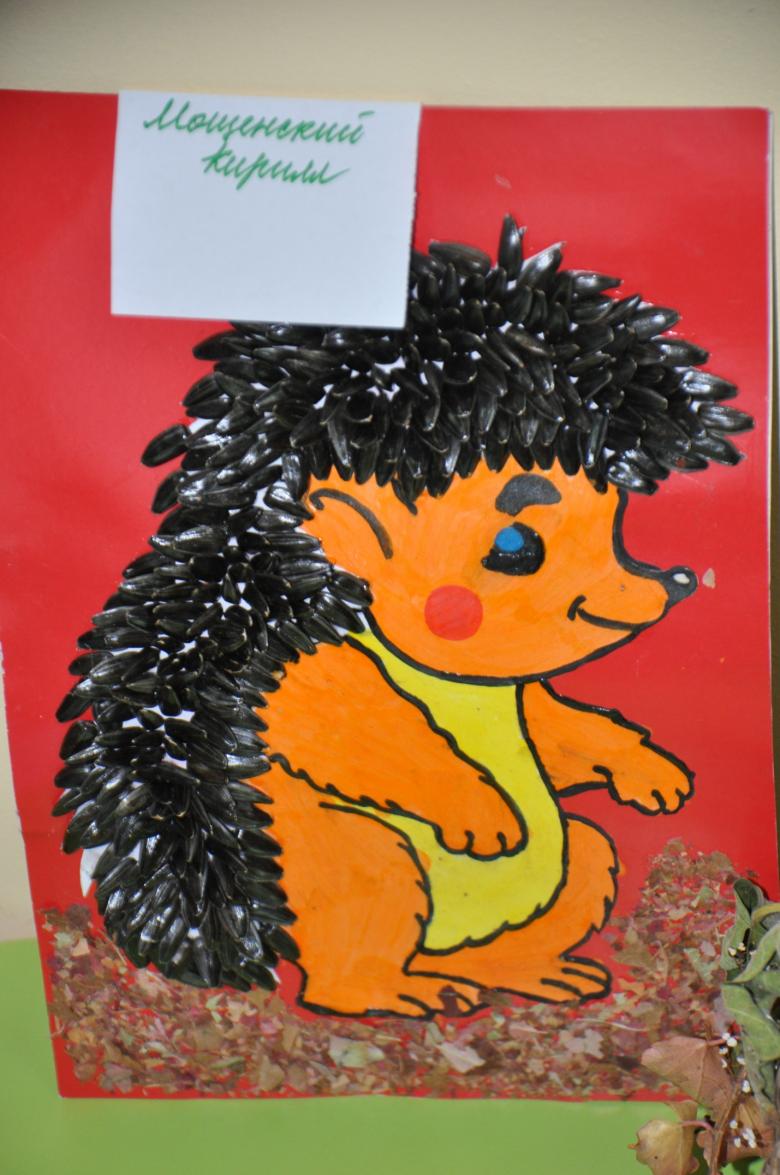
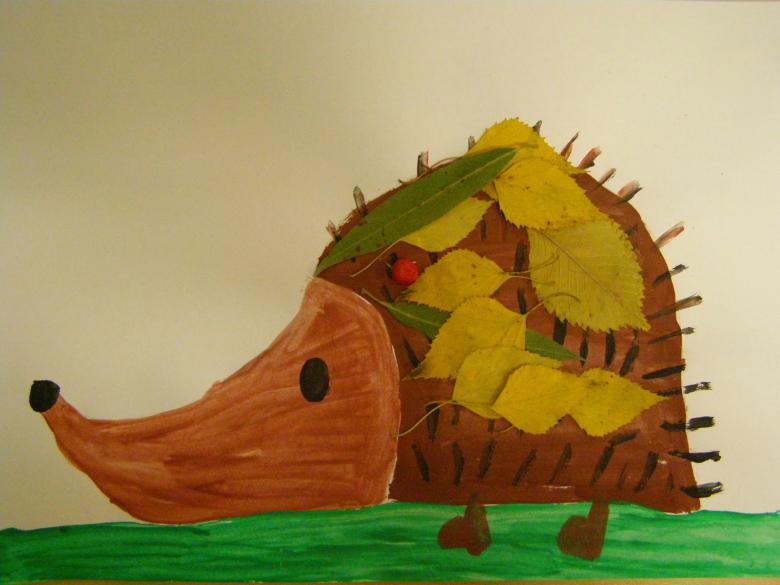
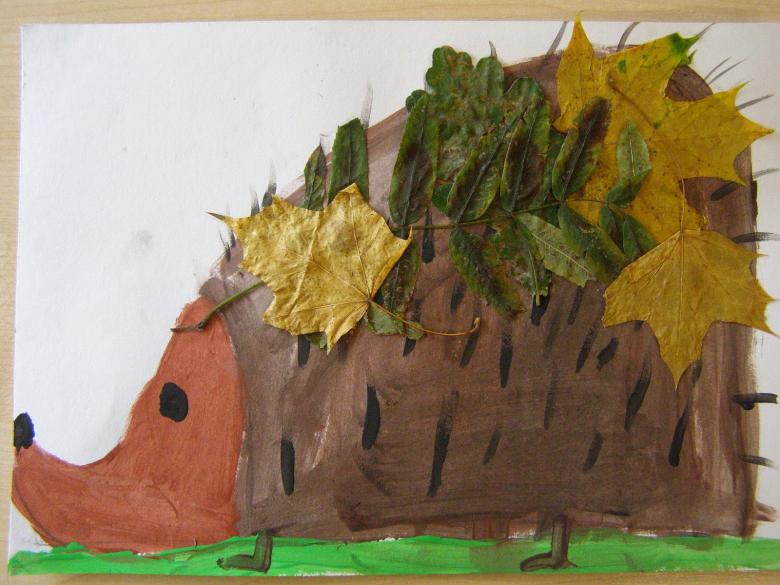
"Autumn Hedgehog".
We will need: cardboard, scissors, pva, glue brush, felt-tip pens, dry leaves.
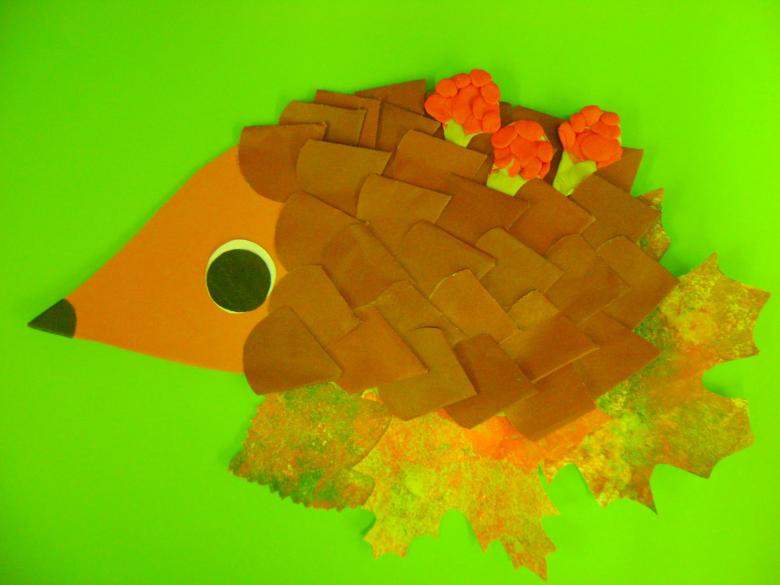
Technology of making step by step:
- Cut out of cardboard the basis of the hedgehog - the torso with the head. It is better to do it on a prepared template, to simplify the child's task.
- Ready-made element glue on the background of crafts - sheet A4 (cardboard).
- Then draw the felt-tip pens mouth, nose and eyes.
- The next, final step - design leaves. Create a form of thorns, with dried leaves, gluing them with PVA. As a material for such a craft, blanks of oblong shape are more suitable: linden, willow, birch. But also get an interesting and unusual handicraft, if you use carved leaves, such as maple, or, for example, rowan. Start gluing should start from the back, moving smoothly to the head. This creates an overlapping effect, and the hedgehog turns out with "thick hair".
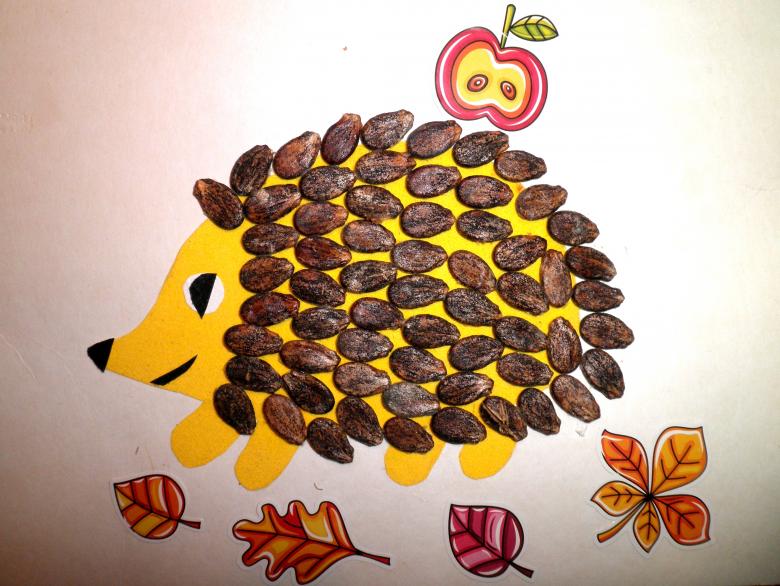
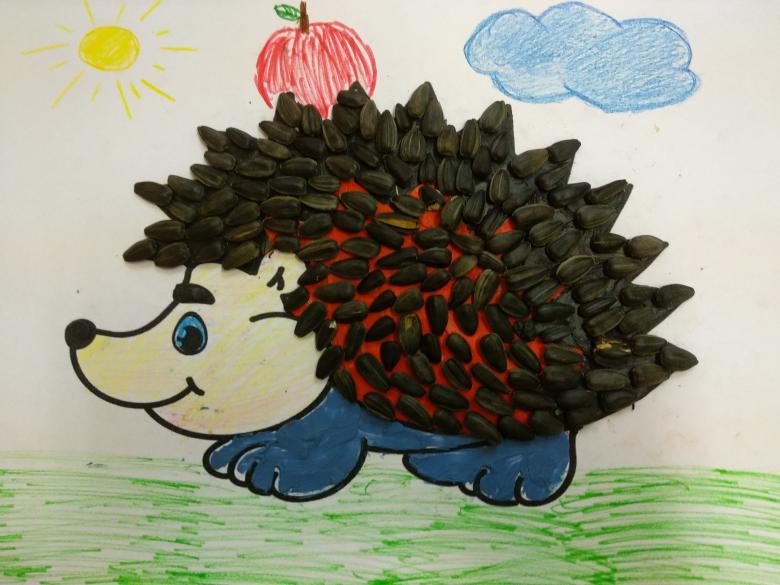
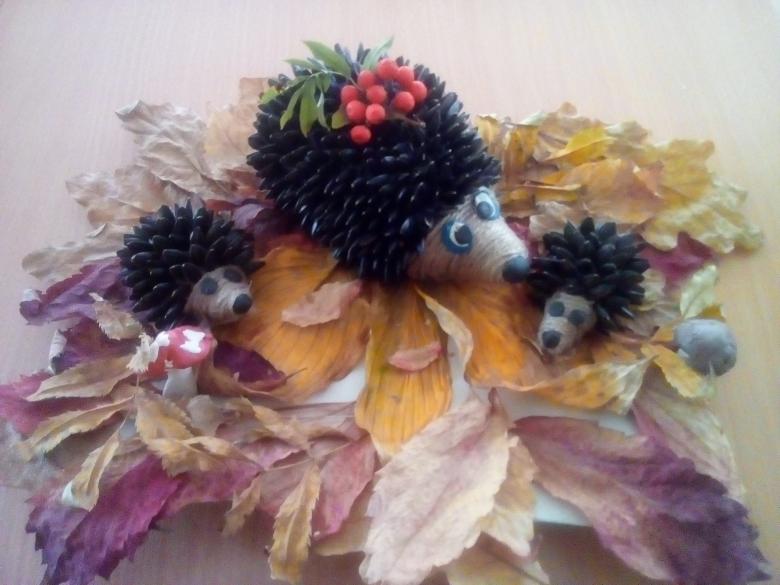
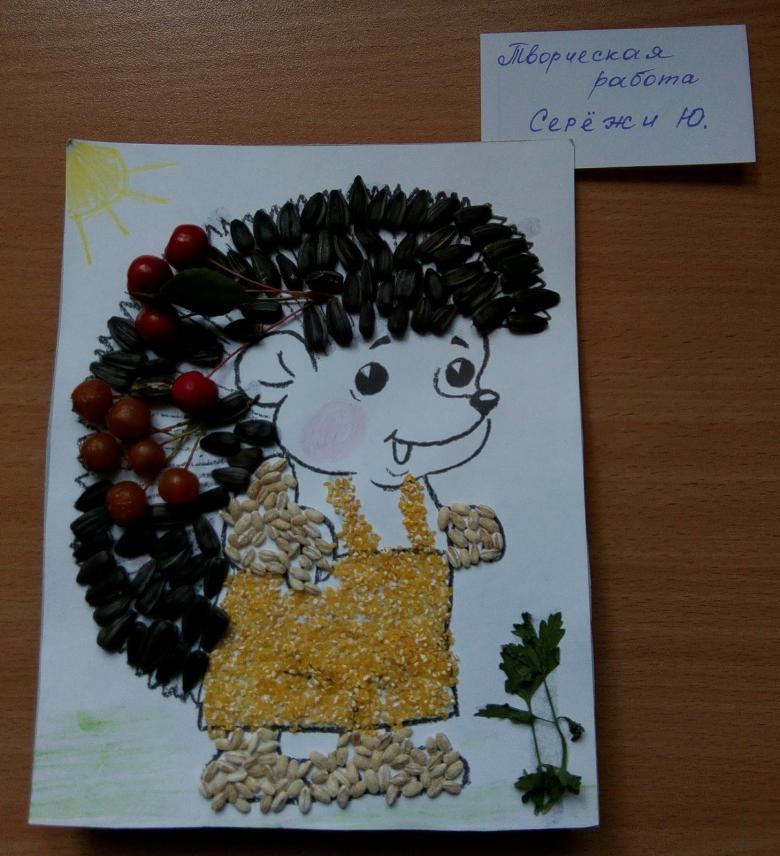
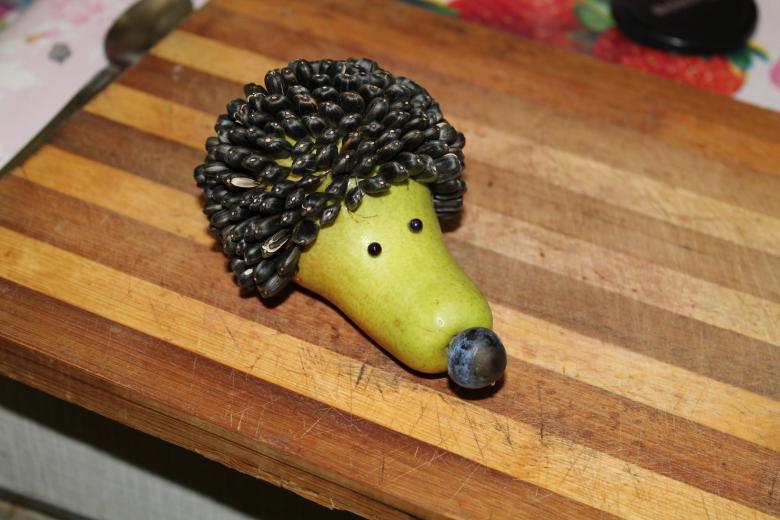
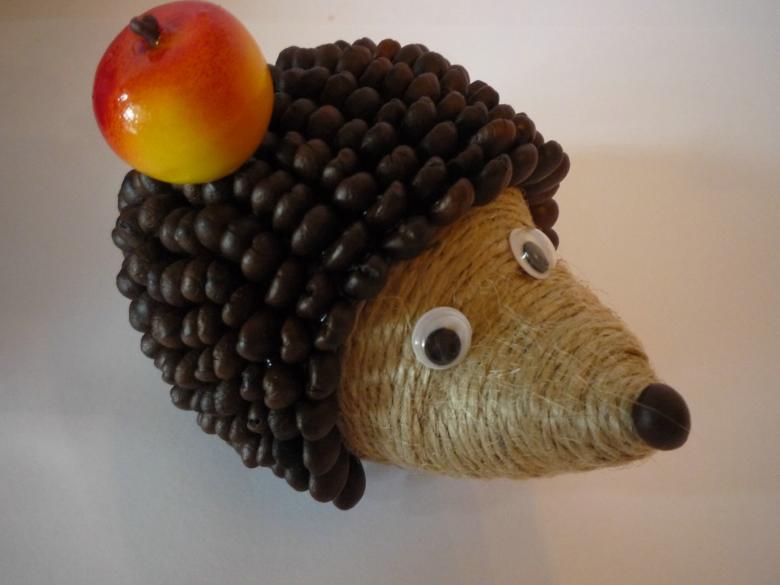
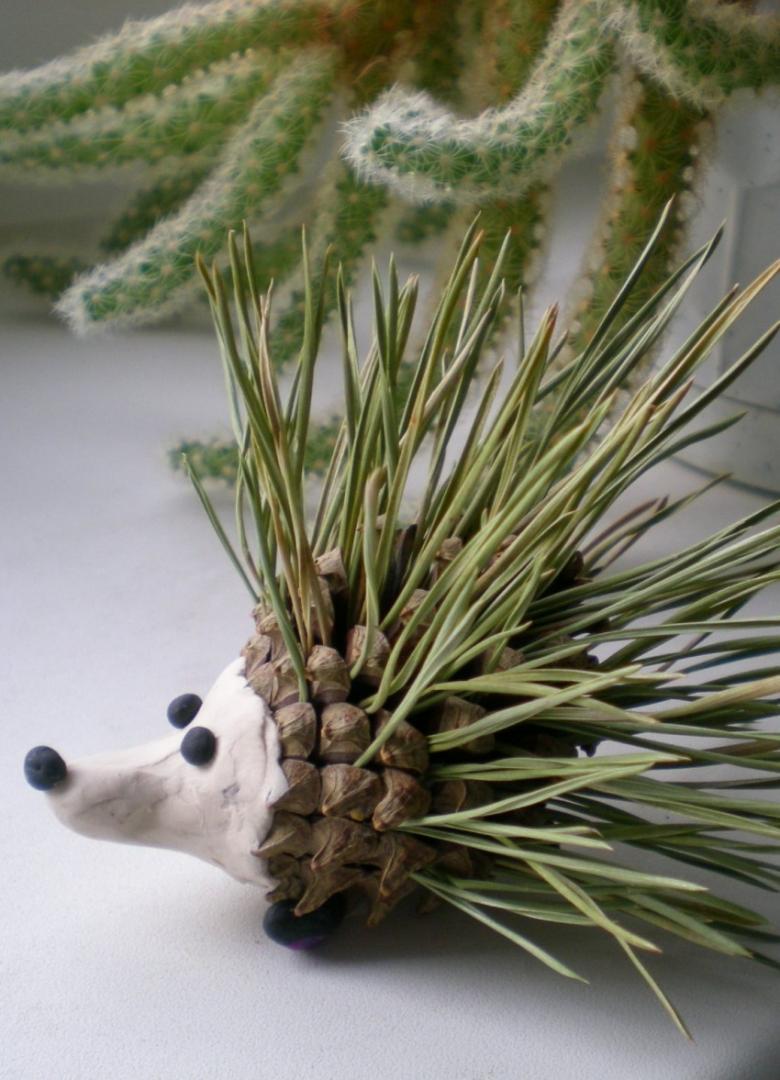
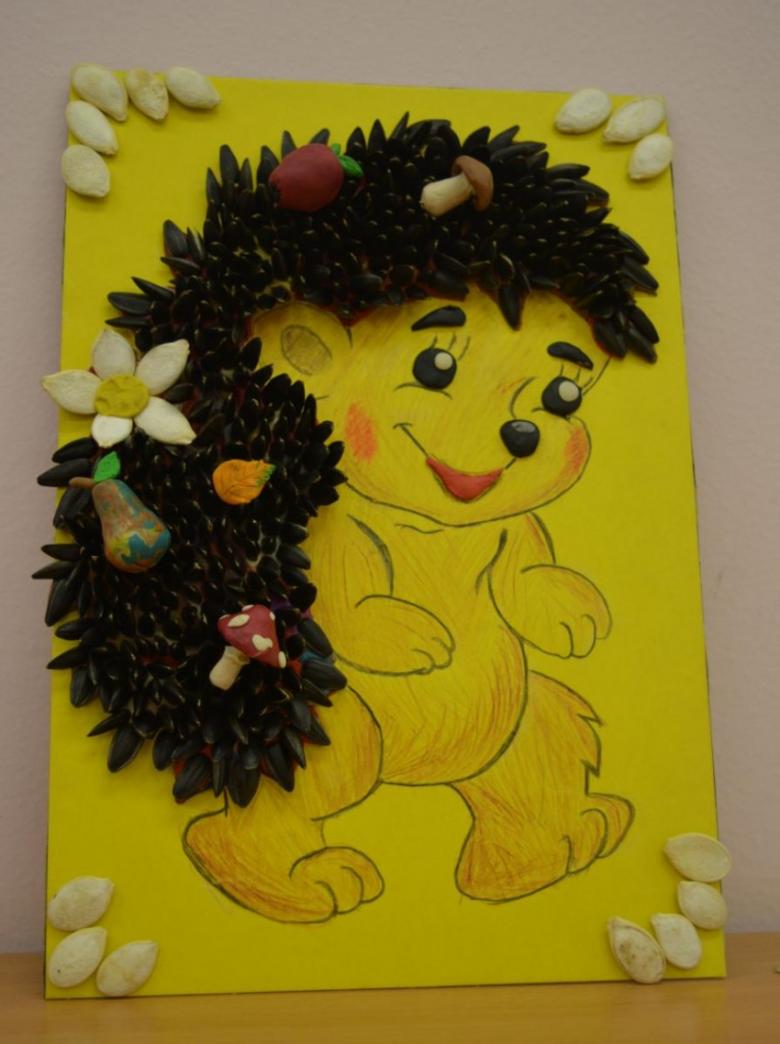
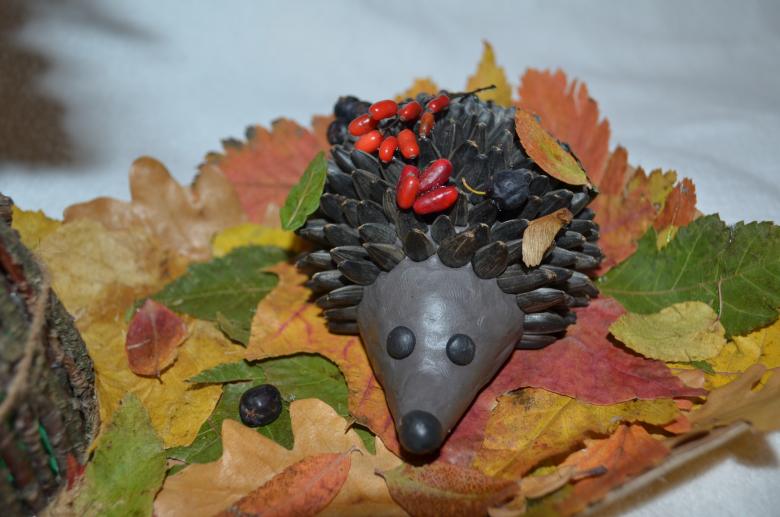
The abundance of natural materials in the fall theme, allows you to always make handicrafts bright and unique. Well, if, for example, replace glue pva with plasticine, the alternative to leaves can be pine needles, seeds, coffee beans, flower petals, cereals, and even cones.
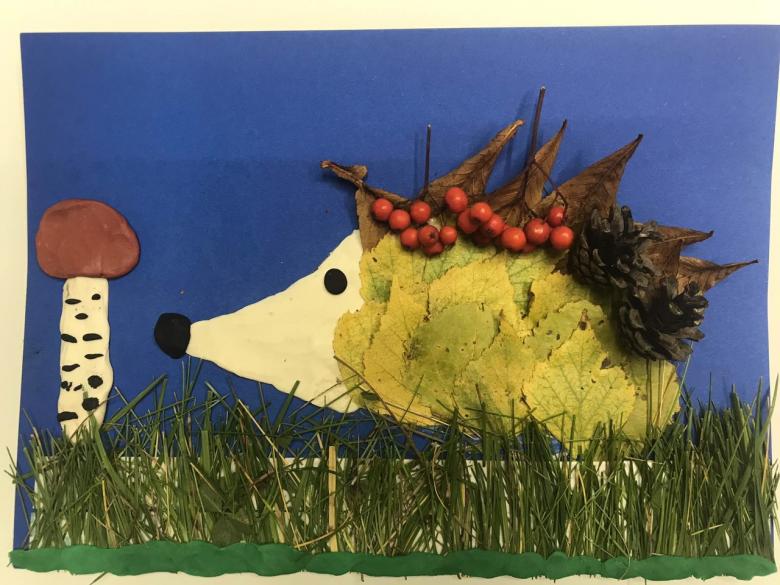
There are many options for hedgehog crafts using cones, but we will consider another of the techniques of work - a toy in volume.

Volumetric crafts
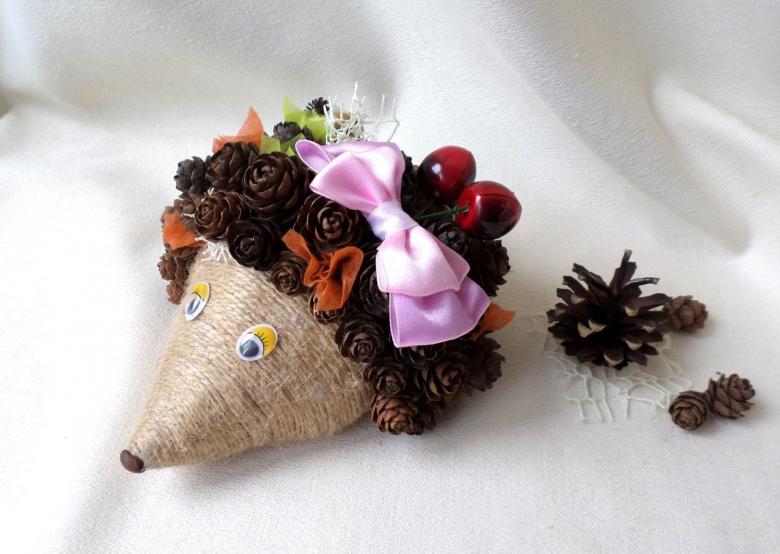
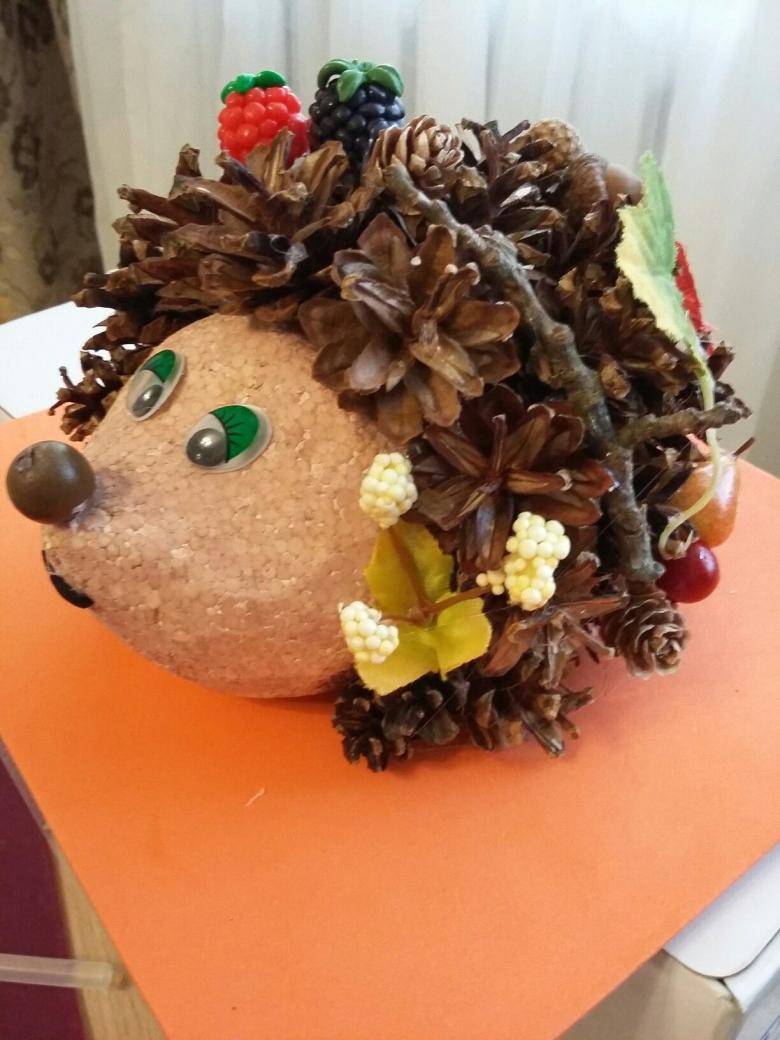
One of the most favorite natural materials for creating hedgehogs, serve, of course - cones. There is such a variety of cones in the woods that children can not resist, and collect them in buckets. And what to make out of them? Of course, handicrafts. For a three-dimensional toy hedgehog, you can use both one large cone and many small ones. Consider both versions of the work.

For the first craft we will need: a plastic bottle, cones, hot glue, scissors, paints, wire.
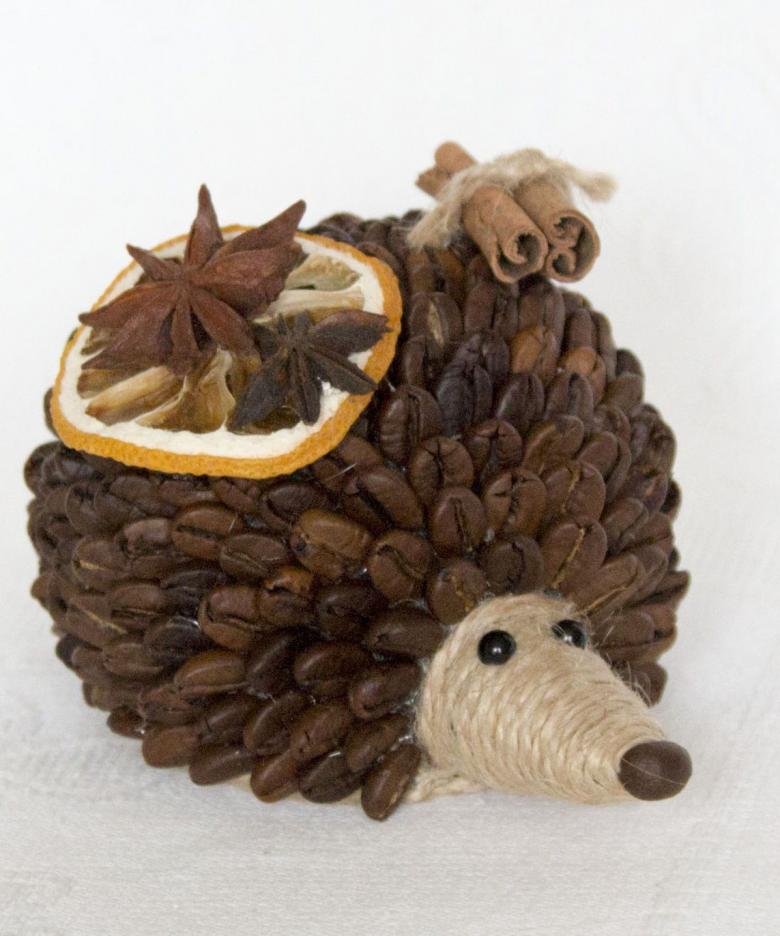
Technique of execution:
- Clean (without labels) plastic bottle cut into 3, approximately equal parts. The front and back parts, inserted into each other, glued with hot glue.
- Then paint the workpiece in a dark color. After drying, draw eyes and mouth.
- A small piece of wire (about 10 cm) adapt as a whisker hedgehog. You can do this in two ways: clamp the "mustache" under the cap, which serves as a nose, or - glue.
- Our hedgehog is almost ready. It remains to glue cones. We glue them with hot glue, tightly between each other.
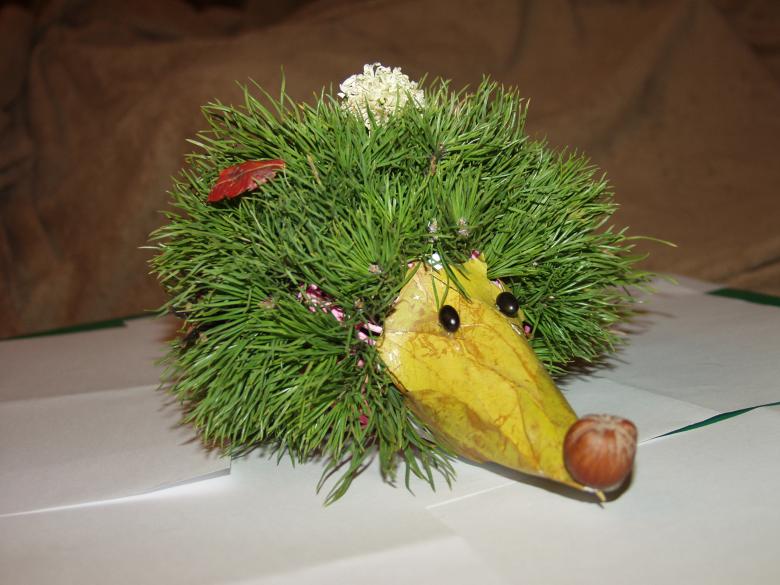
The most important thing for the handicraft to be original - you can experiment and complement it with other elements.

This can be leaves and sprigs of mountain ash, and mushrooms, and all that your heart desires.
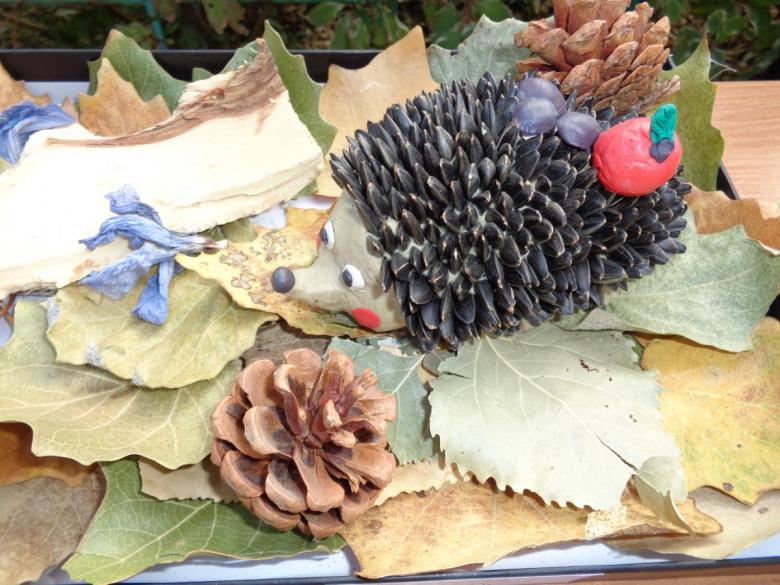
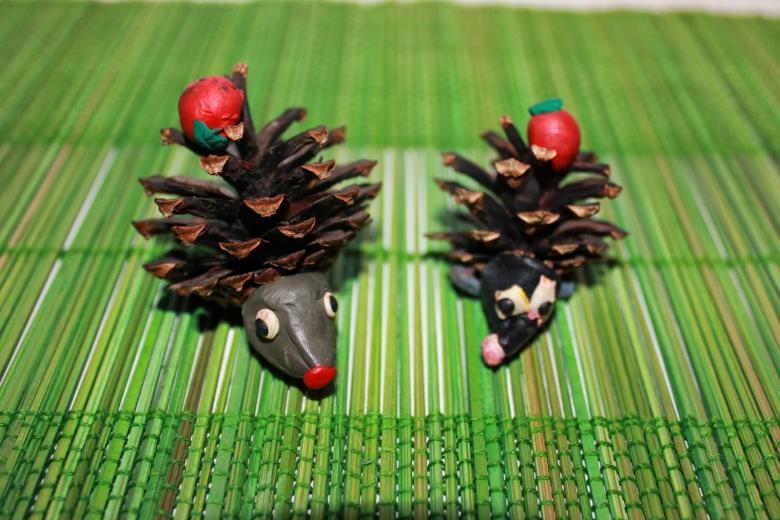
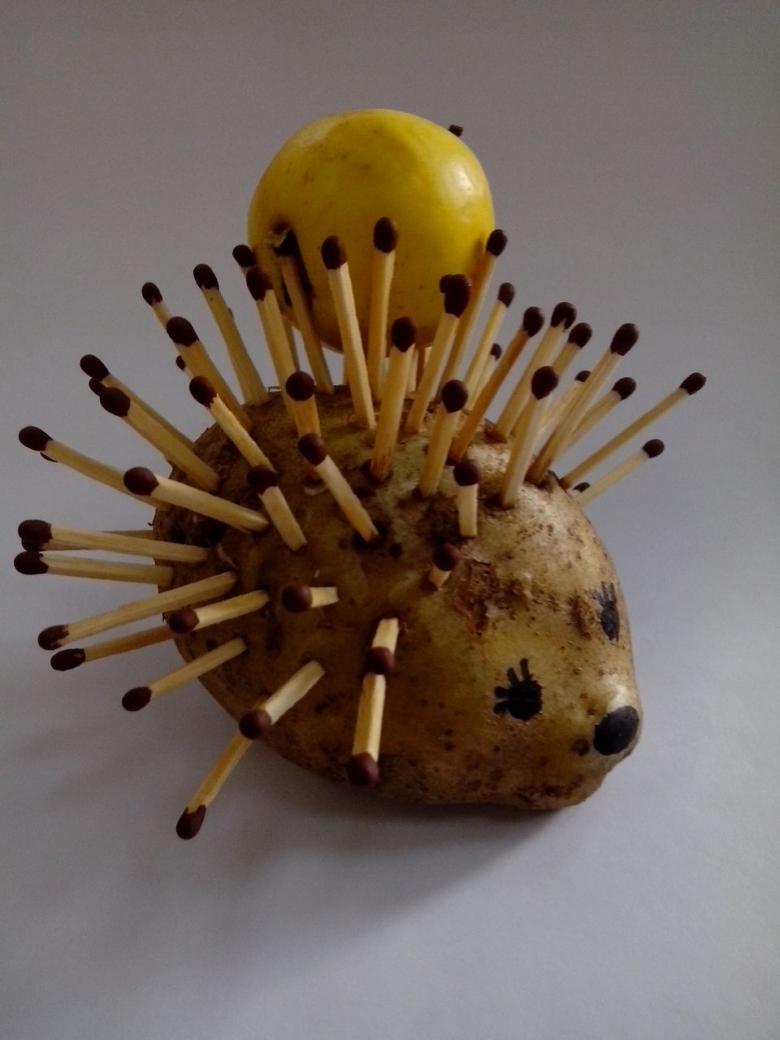
The second version of the volumetric toy hedgehog, the technique of work is much easier. For it, we need only one large cone and 3-4 colors of plasticine.
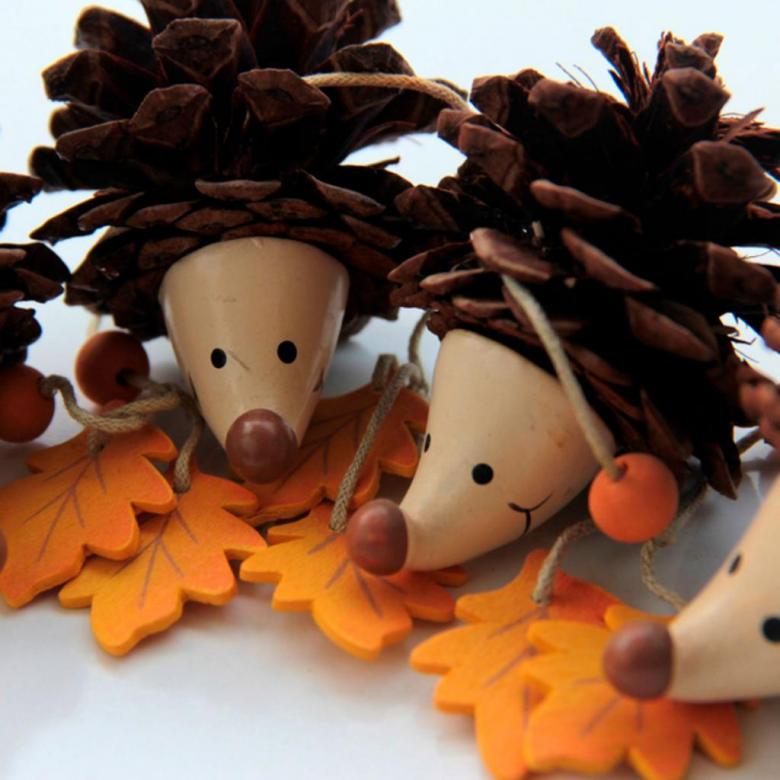
- From a small piece of brown plasticine, mold the shape of a cone.
- Then, attach a cone of plasticine to the sharp base of the cone, smearing it, thus continuing the shape of the future hedgehog.
- Roll a round spout from black plasticine, eyes from white plasticine.
- If desired, you can make the legs.
Wonderful hedgehog in miniature - ready. It is simple and beautiful.
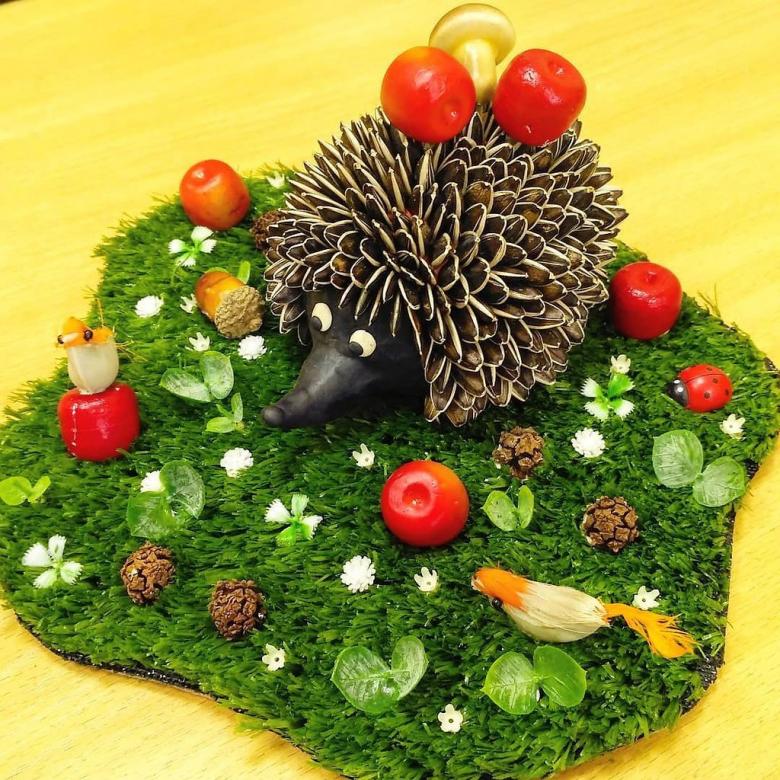
As an alternative material for such a handicraft will work great and chestnut fruits. The technology of work is almost the same. On the basis of the hedgehog out of plasticine attach our needles in the form of chestnut peels. Such a hedgehog turns out quite cute, and the thorns are just extraordinary.
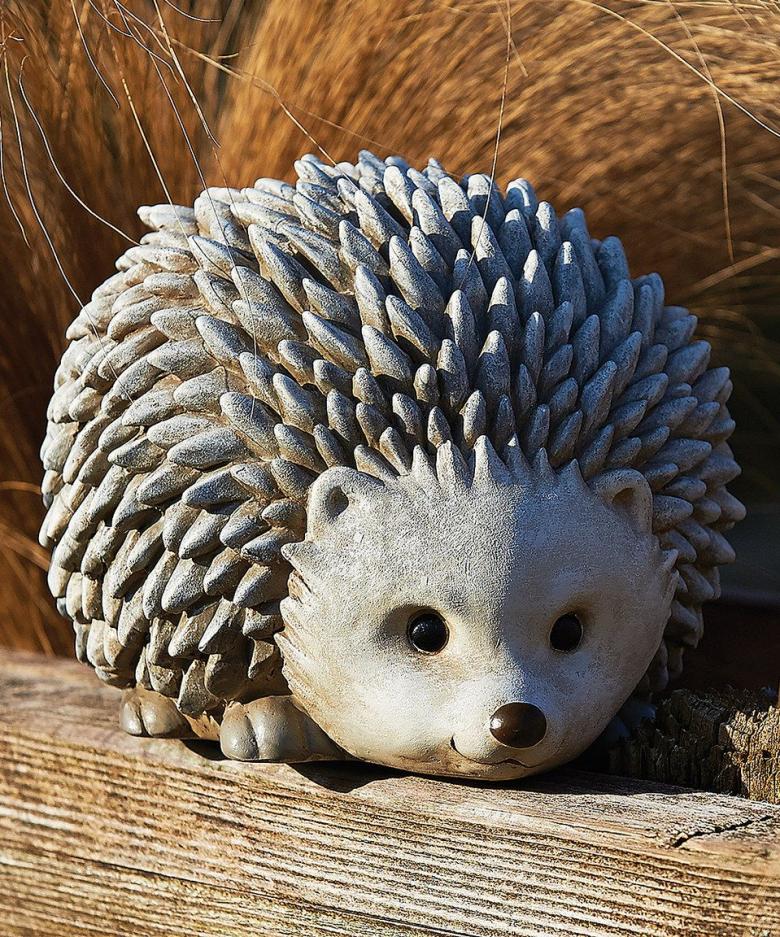
Similar works are suitable for children in the older groups of kindergarten, when the kids already know how to mold with plasticine and learn new materials in their creativity.
The imagination of children is limitless. We propose to consider another simple craft, which can later become a souvenir product.
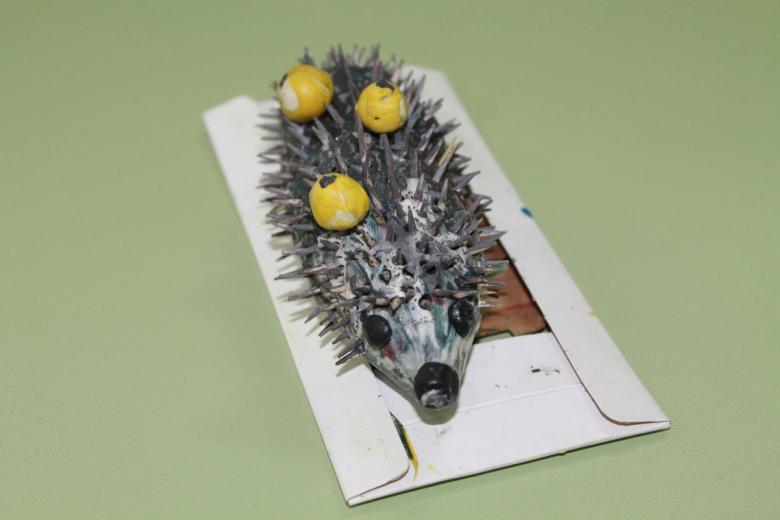
"Spiny Hedgehog".
Materials: Plasticine (or polymer clay), toothpicks, wooden skewers, photo (size 3*4).
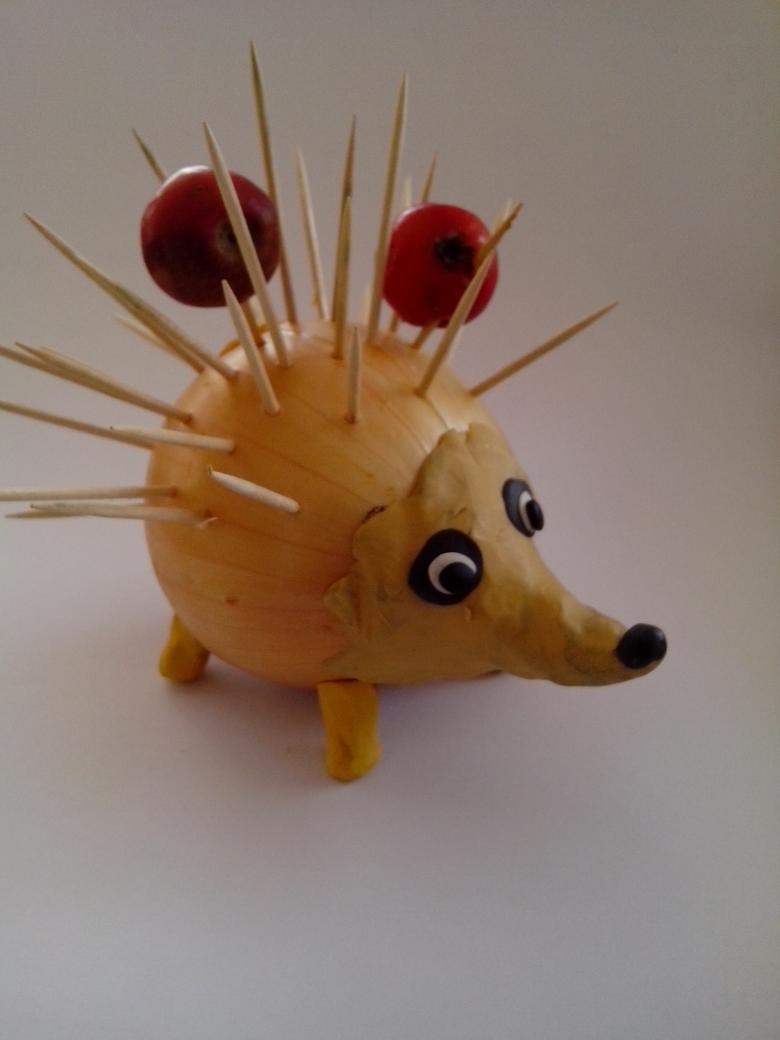
The work is very simple:
- From a large piece of plasticine mold a hedgehog with a smooth back. The hedgehog should be about 7-8 cm in diameter.
- Decorate the muzzle of the animal with eyes, nose and mouth, molding details from plasticine.
- Then, as hedgehog needles, insert toothpicks into the back. This should be done consistently, and as often as possible. It is better to use "needles" of different lengths, connecting to the toothpicks and skewers.
- Take one skewer longer than all the others, and using the same plasticine, attach a photo to it.
- Insert this stick with the picture in the center of the back, or on the side, if you prefer. That's it, the photo holder is ready.
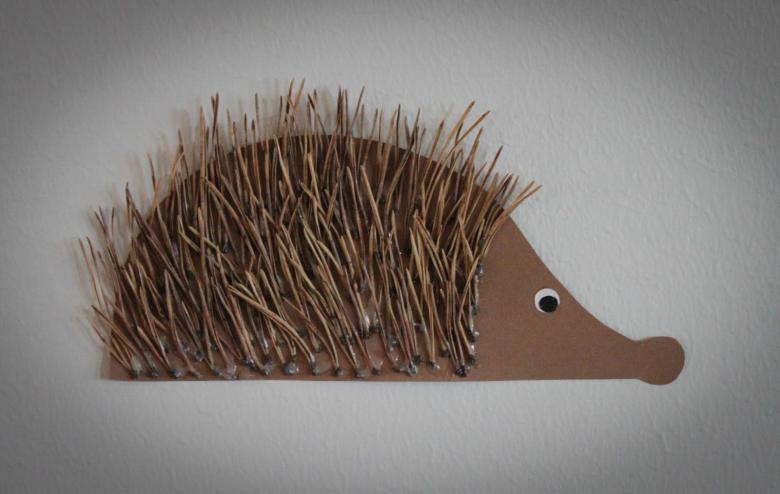
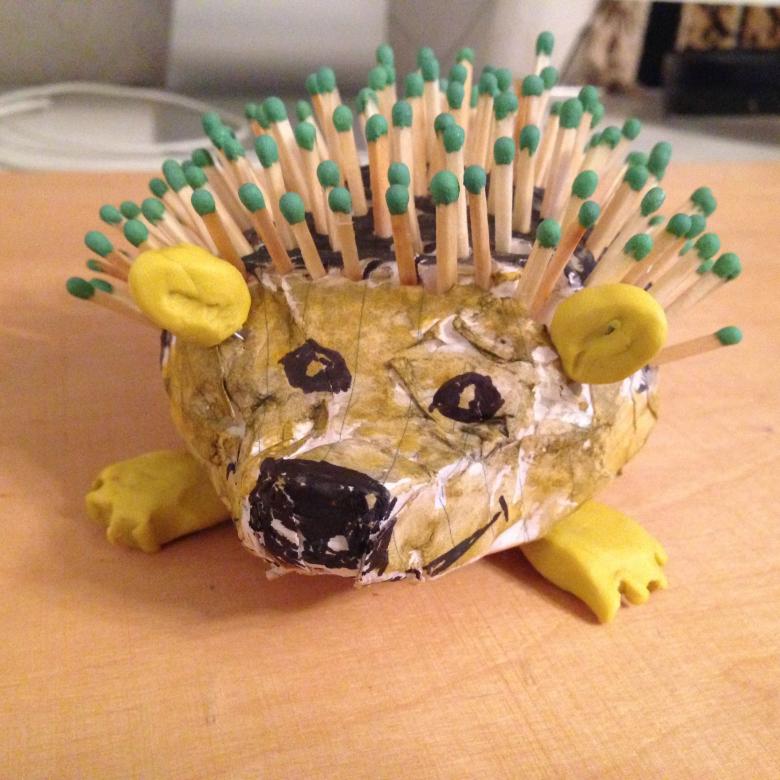
Through various combinations, you can do this handicraft, using other materials, such as colored plastic skewers. The hedgehog will be fun and colorful. Also, if desired, you can insert several images, and you get a whole photo collage.
Having considered the basic techniques of making a hedgehog craft, by no means should not stop there. The wealth of our nature on materials for crafts is infinite, and the number of ideas for a given theme is inexhaustible. All this allows us to improve, to develop creatively and not stand still. Please experiment, do not forget to help your children, and they will surprise you again and again.

