Autumn crafts - features logging material, interesting workshops, original photo ideas
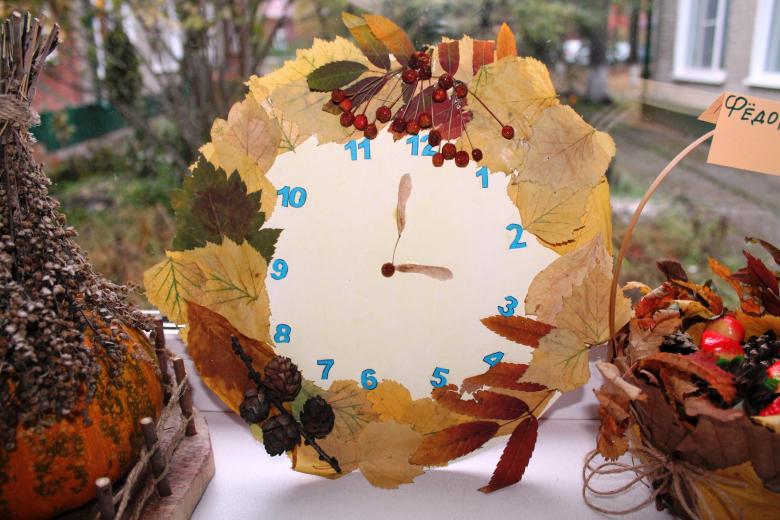
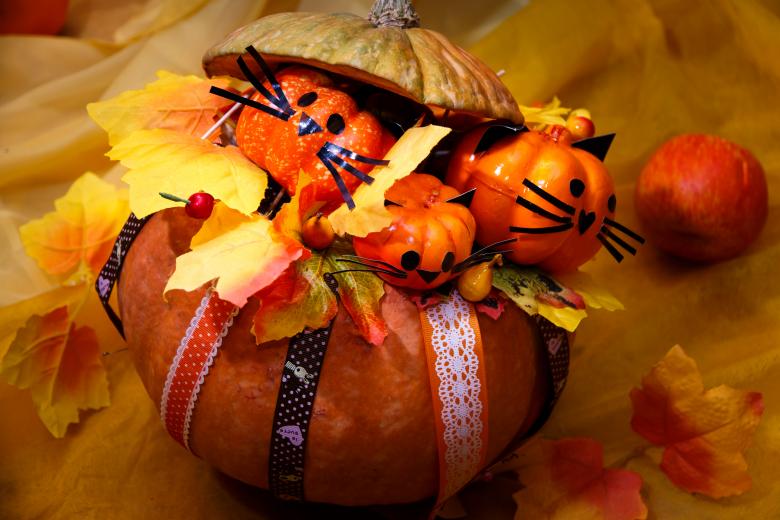
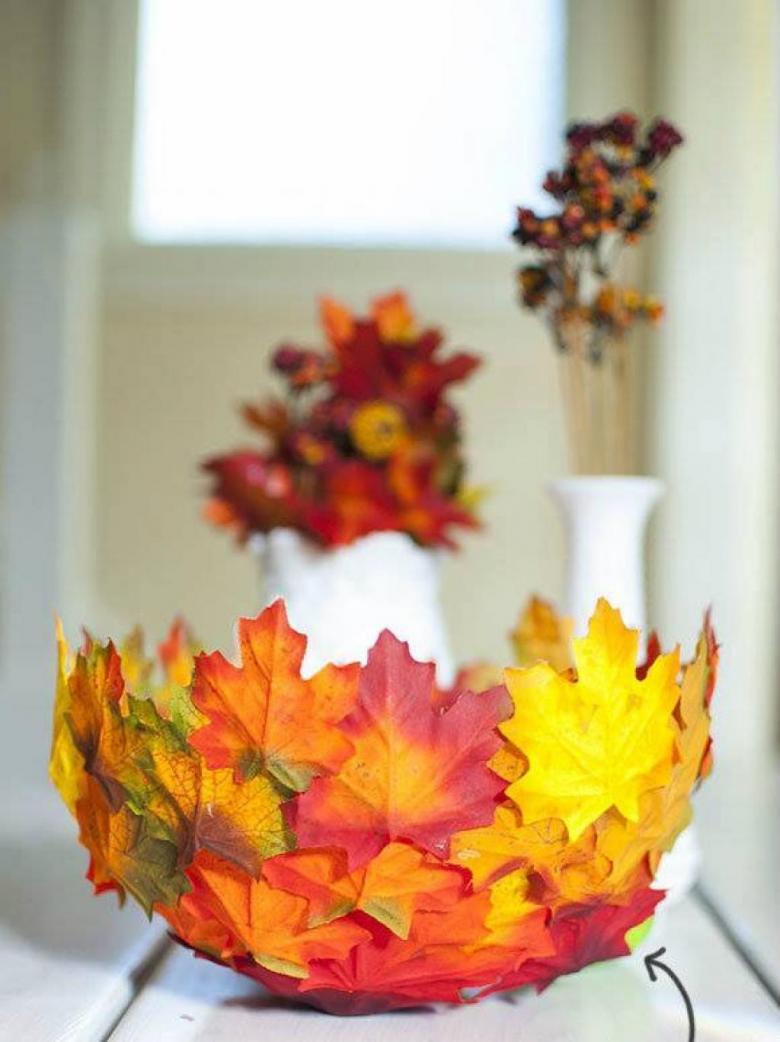
Autumn is a wonderful time of year! It is beautiful by itself, in its lush colors and rich flavors. Who of us has not walked with our parents in the autumn park, collecting fallen leaves, acorns and cones? All these are the usual attributes of autumn, as well as crafts from them. And probably everyone can remember at least one such autumn crafts, made by hand.
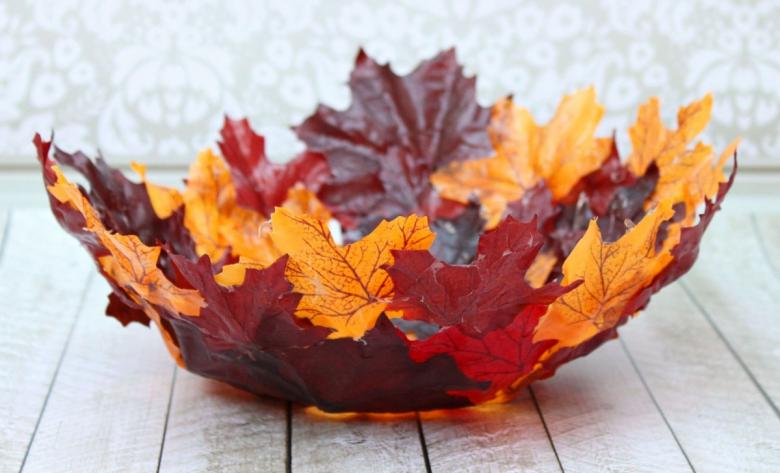
The beauty of nature inspires creativity and gives precious, jointly spent minutes. So catch your creative impulse, get excited and start creating.
The first stage. Preparation of materials
Since this kind of creativity is largely a children's, the process of preparing materials for fall crafts can be a separate, exciting activity. To stock up on everything you need, by all means, go to the park or in the woods. Walking around there, rustling leaves.
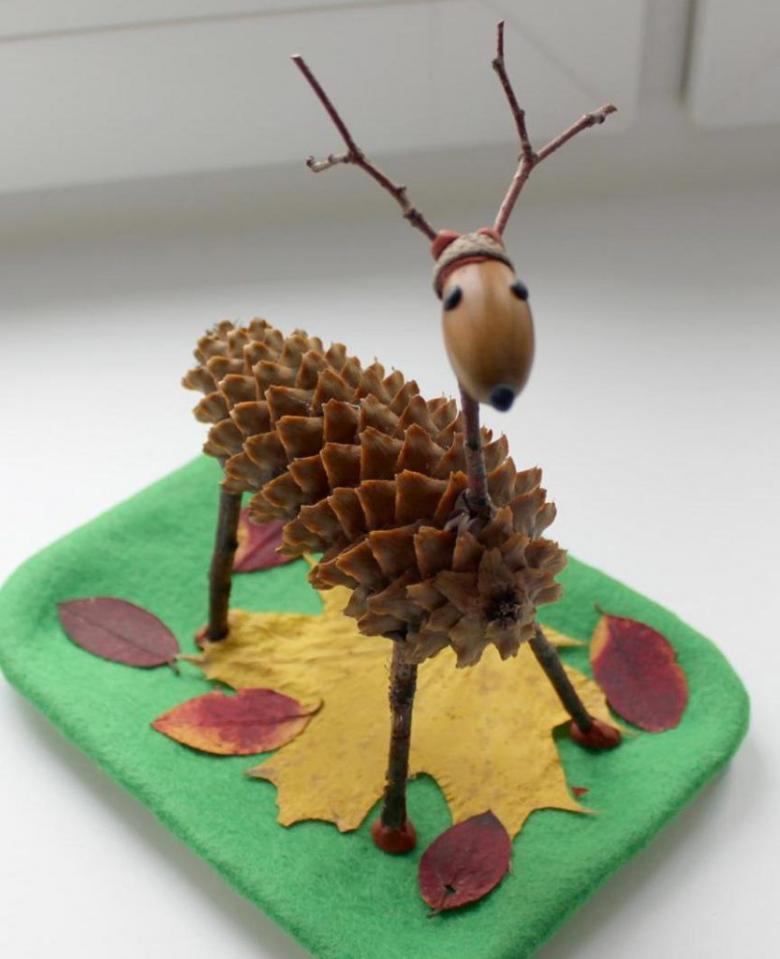
Look in all secluded places, looking for a cone of the right size. To scatter acorns, chestnuts and nuts in your pockets. And of course a great success will be to find mushrooms or autumn berries on a walk. Already at this stage, one can see that a wonderful pastime awaits!
The second stage. Preparatory work
This stage is very important and it can not be skipped. It is necessary to thoroughly dry all components, conceived crafts. If necessary, parts are varnished or painted in the color you want. This is done to protect the product from rot or mold.
Also, if you use untreated materials, in the future when each element dries, the shape of the finished product can be affected. Therefore, the key to strength and durability of the handicraft will be the proper preparation of materials.
Preparation of leaves
How to properly dry the leaves? Autumn weather is often abundant with rainfall, so dry the material brought from the walks should be carefully. So, for example, to rid the leaves of moisture, you can use different methods:
- If you have enough patience and time, you can use the method of natural drying. This is done by taking a book, preferably a thicker one, so that you can use more leaves at the same time. Place the leaves between the pages of the book and send it back to the shelf. In this case, you will have to wait several weeks to a month for the result.
- If you don't have that much time to wait, you can speed up the process by using an iron. But in order not to burn or damage the foliage, you must place it between thick sheets of paper and iron gently, avoiding the steam mode.
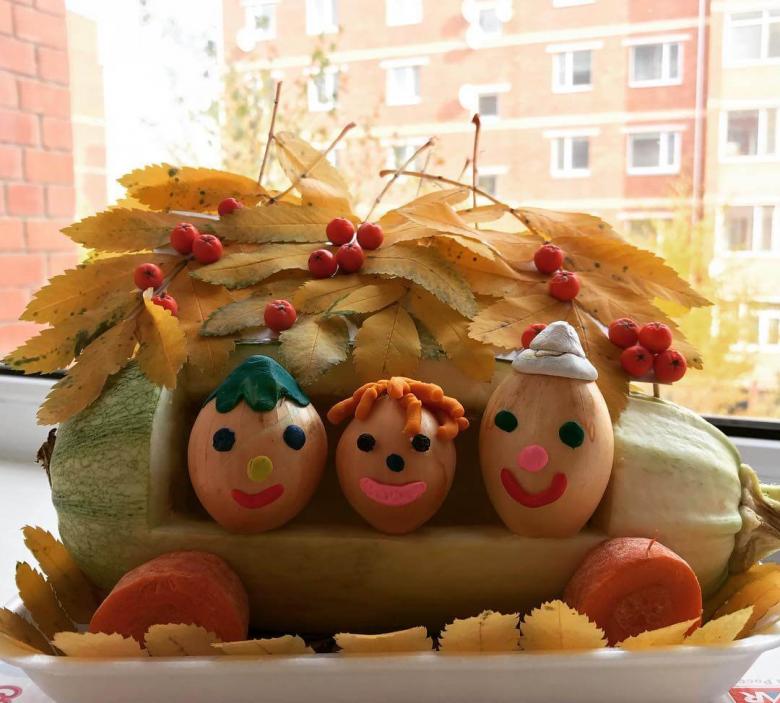
Very important to know! Yellow and red leaves do not change their color when drying. But in the leaves of green in the process of drying destroys chlorophyll, so they change their color to brown. And this must be taken into account when planning a future composition.
Preparing acorns, nuts and chestnuts
Just like leaves, acorns, nuts and chestnuts can be dried in two ways:
- Natural drying in a dry place, avoiding direct sunlight, which will take about a month;
- The best way to speed up the drying process is to use the oven. To do this, you need to spread the material on a baking tray in an even layer. Place it in an oven that has been preheated to 60 degrees. For even drying, it is necessary to periodically stir the contents of the baking tray.
Preparing berries and dried flowers
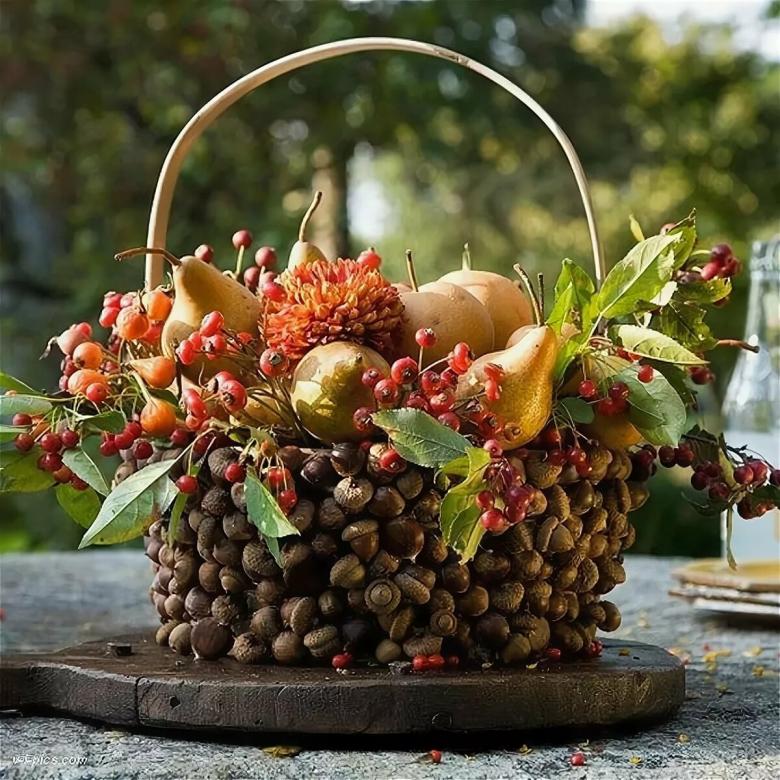
Prepare for autumn crafts berries or dried flowers will be more difficult. It is worth taking care of this in advance, threading each berry separately and leaving to dry in a cool dry place. The buds of dried flowers should also be hung up on a thread, with their tops facing down. In this arrangement, the flowers will retain their original shape.
For the little ones
Undoubtedly, the most enjoyable part of this kind of activity is for children! They gladly take up to create, plunging into a world of flight of fancy and imagination. The result of such joint work with adults is not only the product itself. Creativity develops imaginative thinking, the ability to improvise, the very important development of fine motor skills, and with it the entire brain. And also spending time with benefits, you are guaranteed to get a lot of pleasure from communicating with the baby.
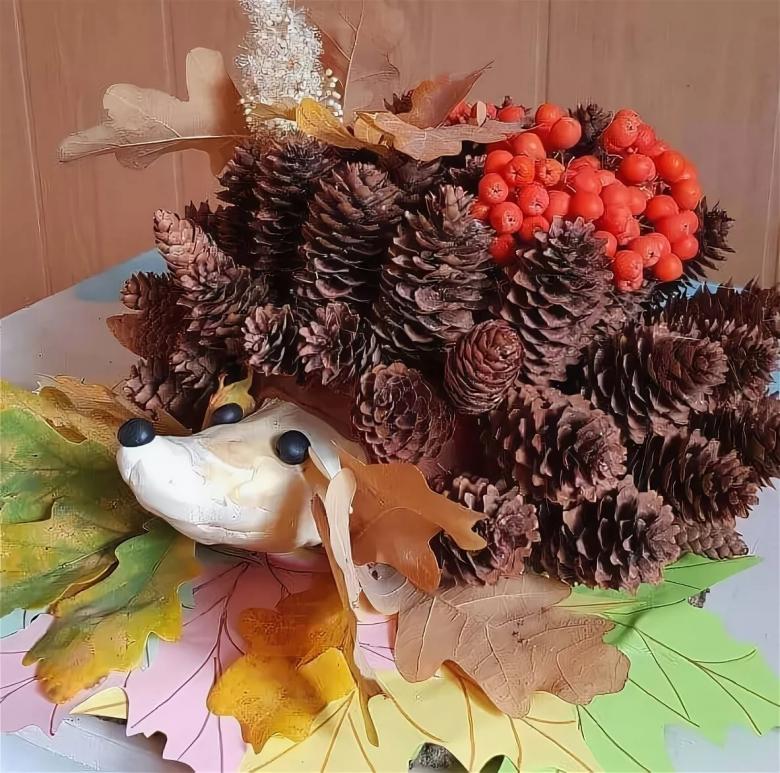
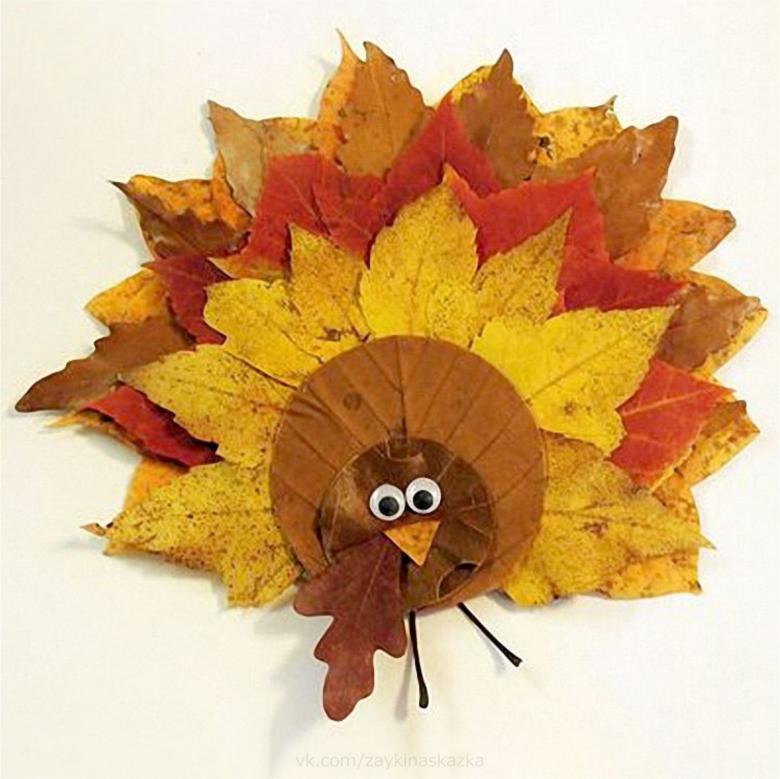
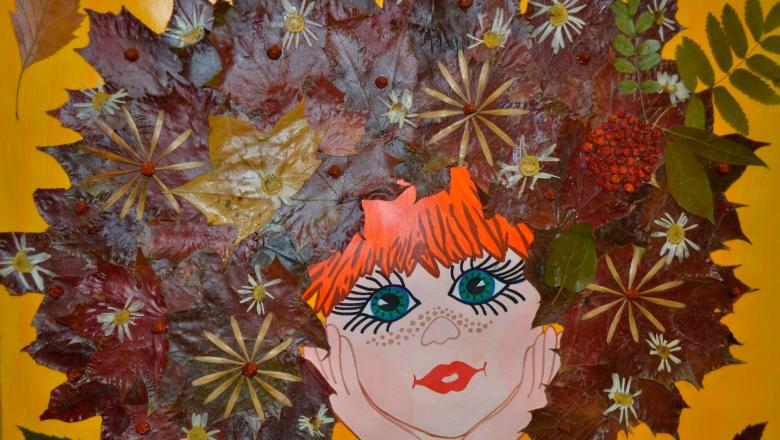
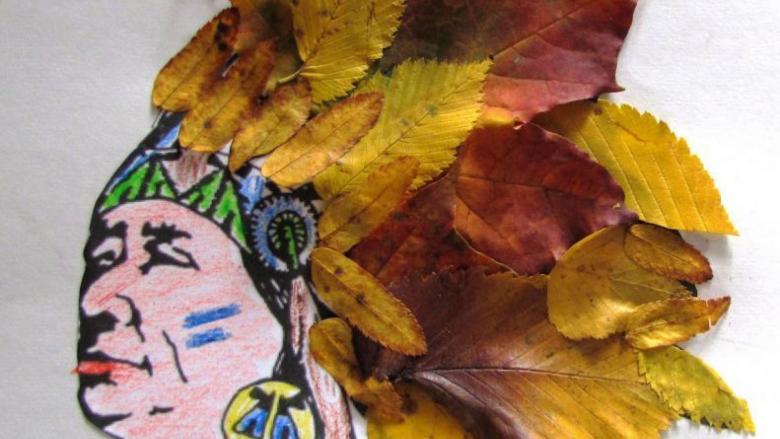
Thinking of doing handicrafts of leaves, acorns or other fall material, with the baby, we must take into account that the product must be as simple as possible to be under the force of a child. But it is interesting enough not to bore him. The most accessible in this case would be a picture or applique using leaves, acorns plasticine and other things.
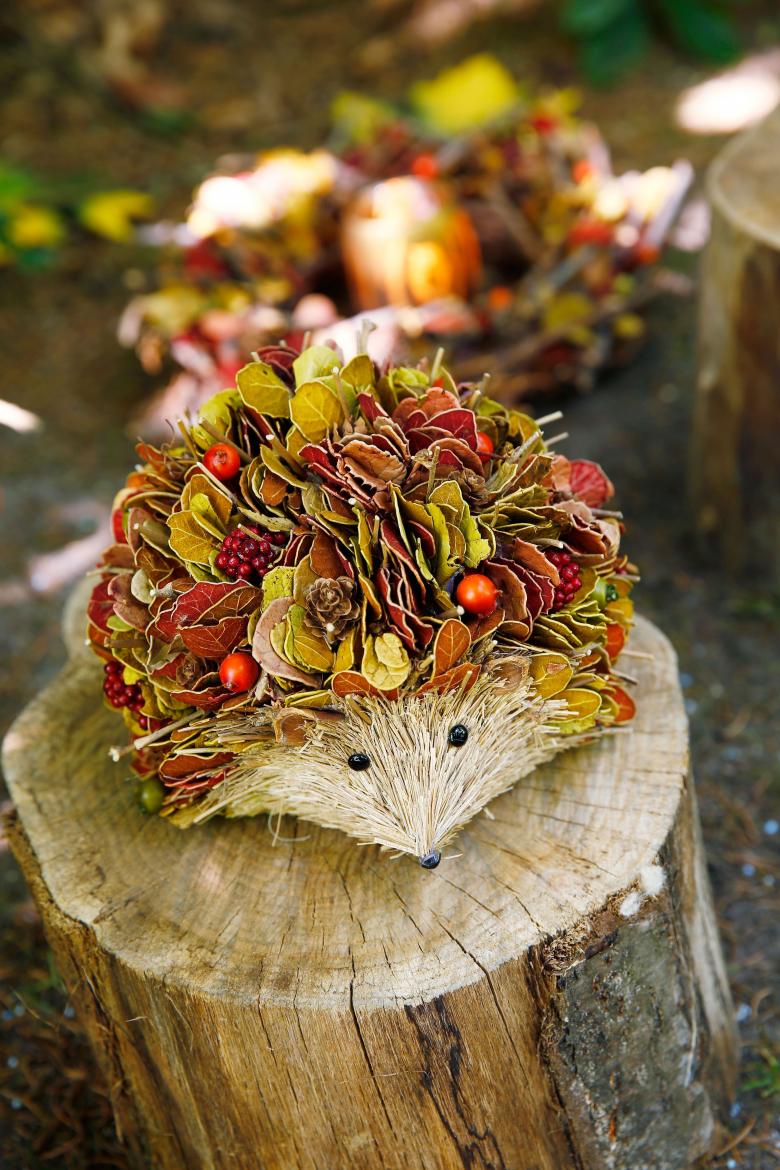
For the simplest handicraft we will need:
- a sheet of
- paper
- gouache
- glue
- dried leaves
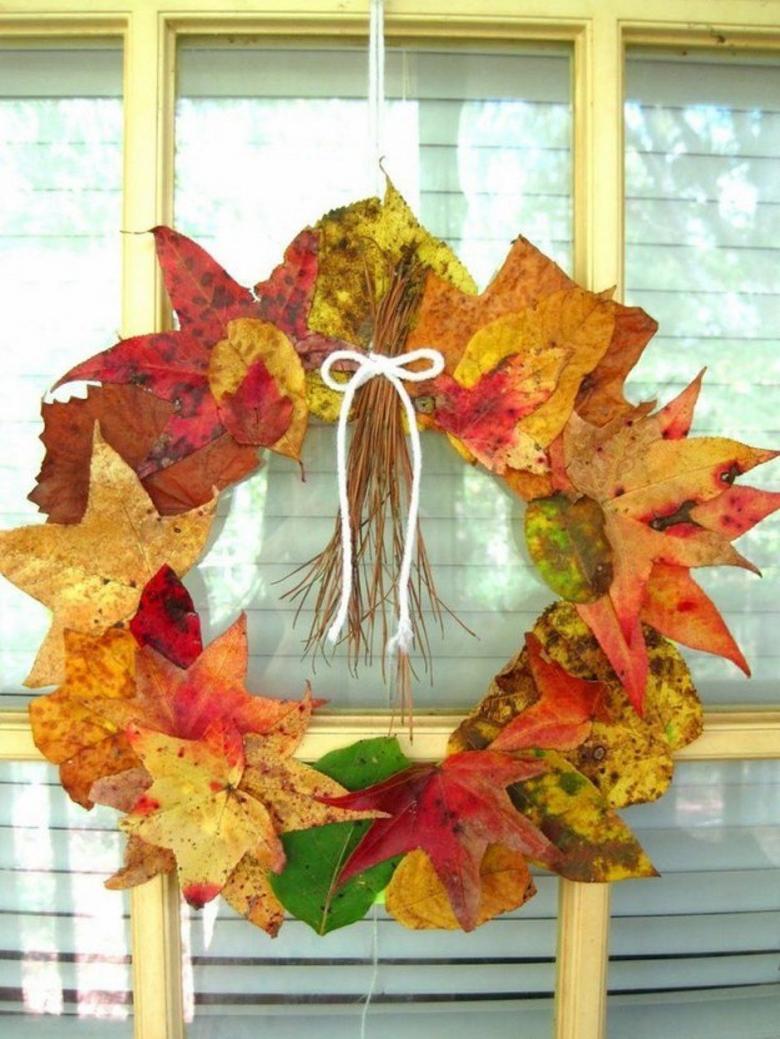
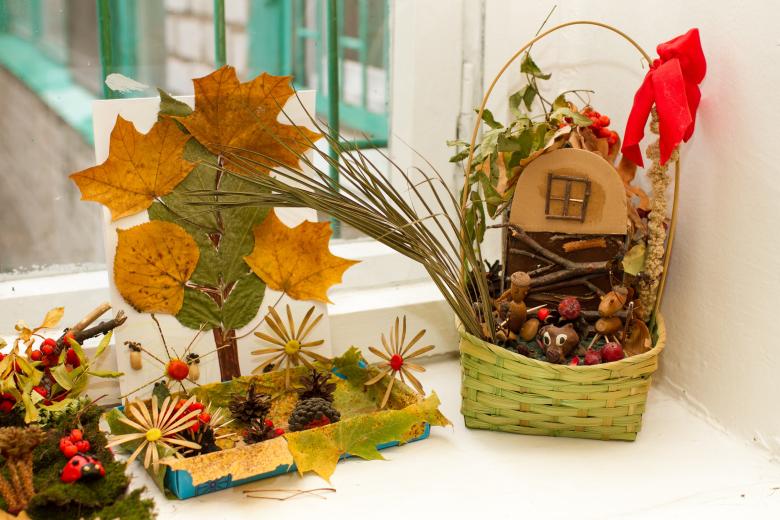
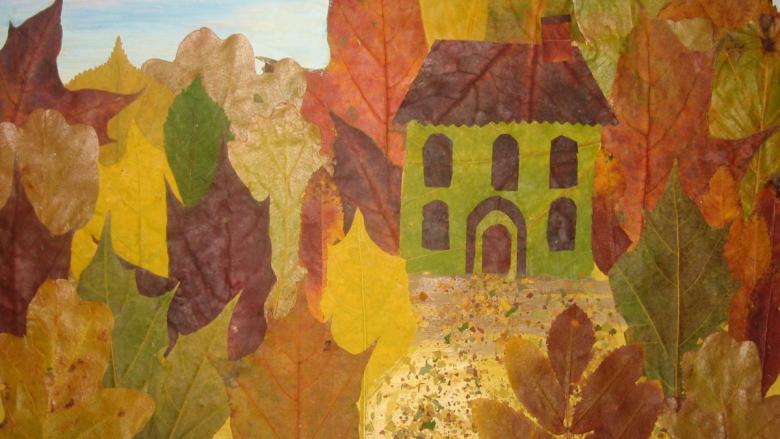
We will make an autumn tree. On the sheet of paper, draw the trunk of the tree in brown gouache. With a simple pencil, outline the crown of the future tree. Use glue to attach the dried leaves to the tree's crown, moving from the edges to the middle. The picture with the image of an autumnal tree is ready.

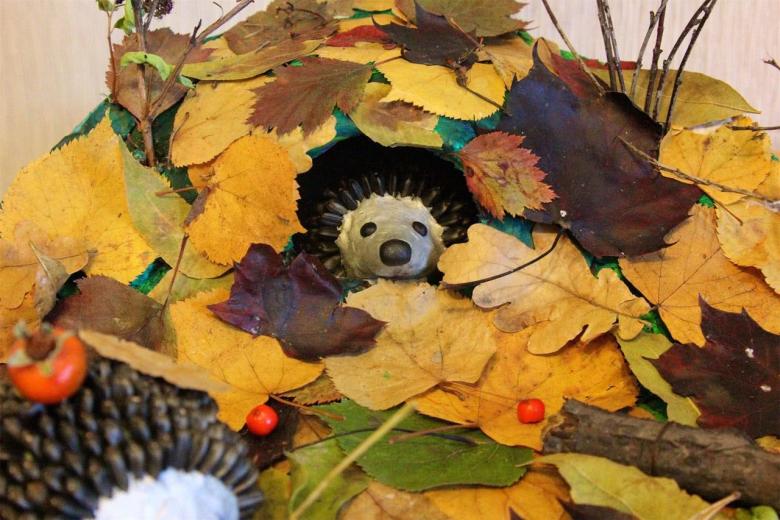
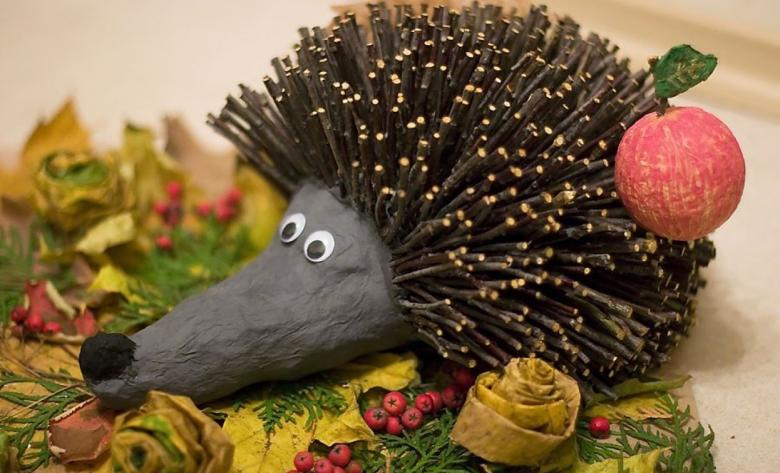
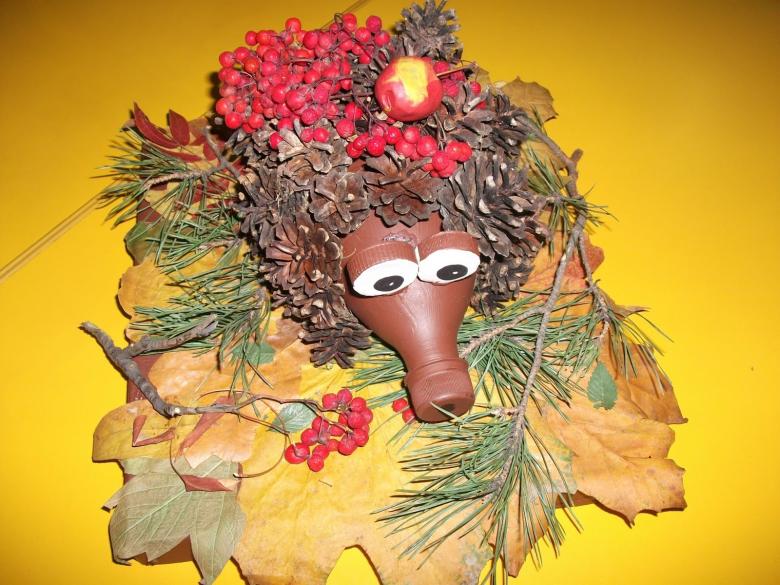
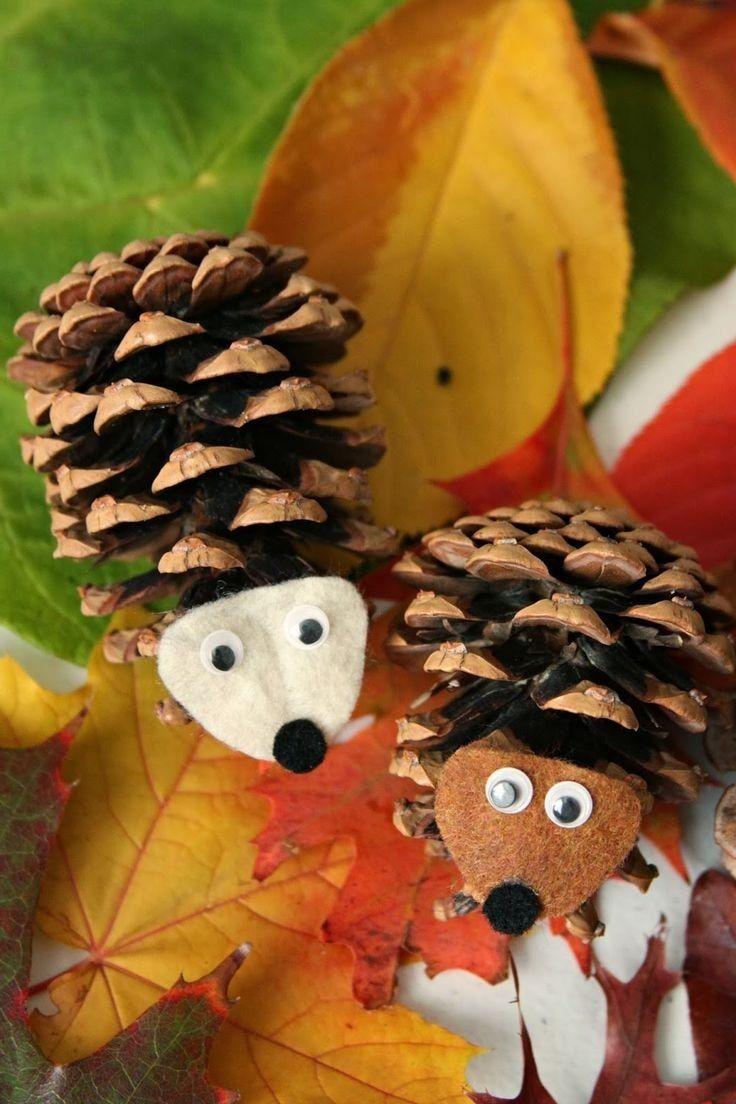
And with a little more imagination, you can use a maple leaf to depict the head of a lion cub, a mouse or a hedgehog.
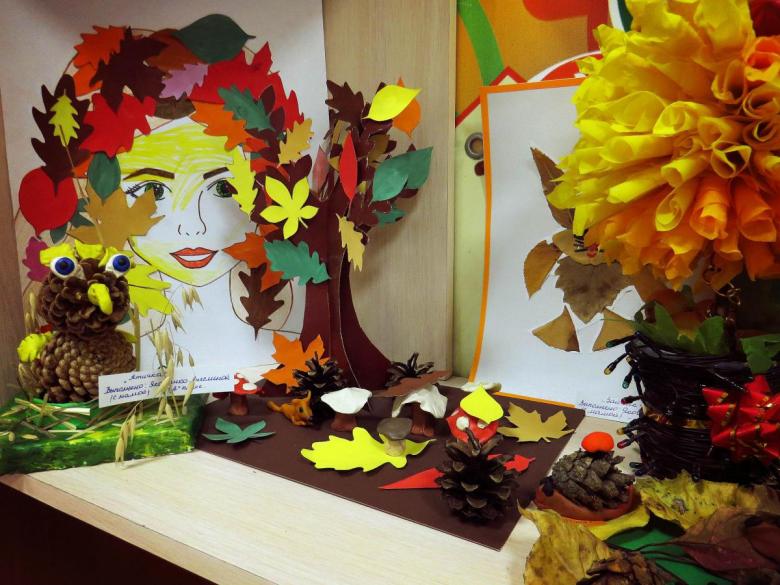
For the older ones
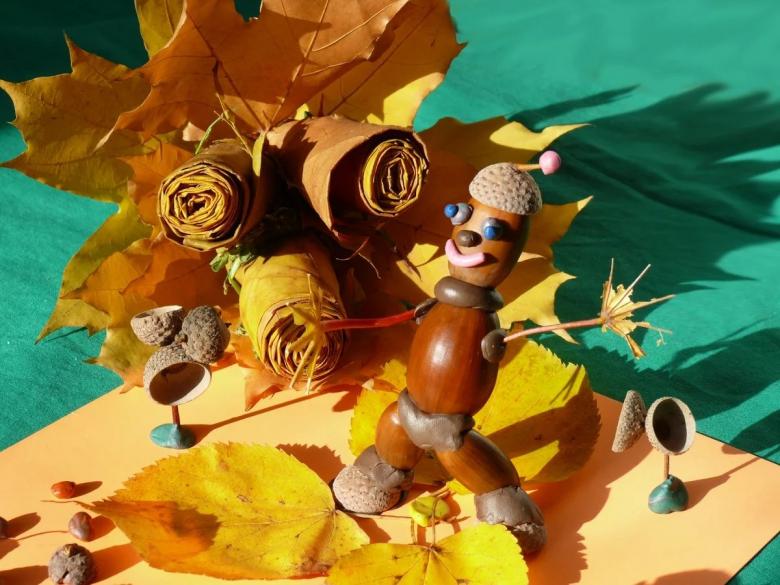
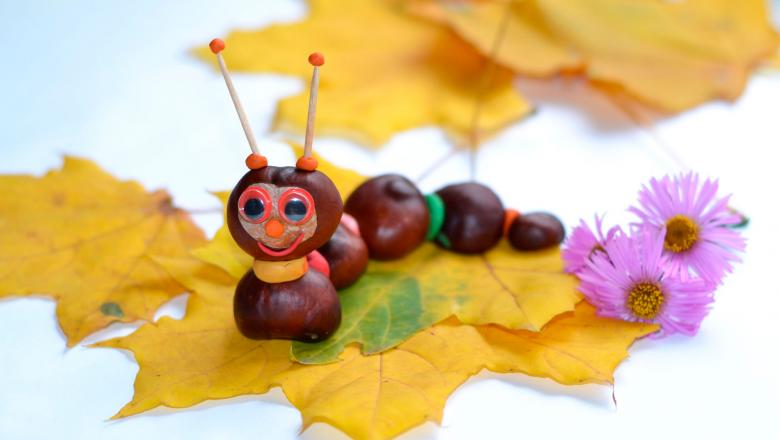
When a child is already grown up and has mastered the skills of working with scissors or a needle, the crafts can get already more complicated shapes, become three-dimensional. Berries, with the help of thread and needle, can turn into beads. A few acorns, with plasticine and matches, can take on the form of a man. Such a pastime is great for extracurricular activities in school or for spending time together with parents outside of the classroom.

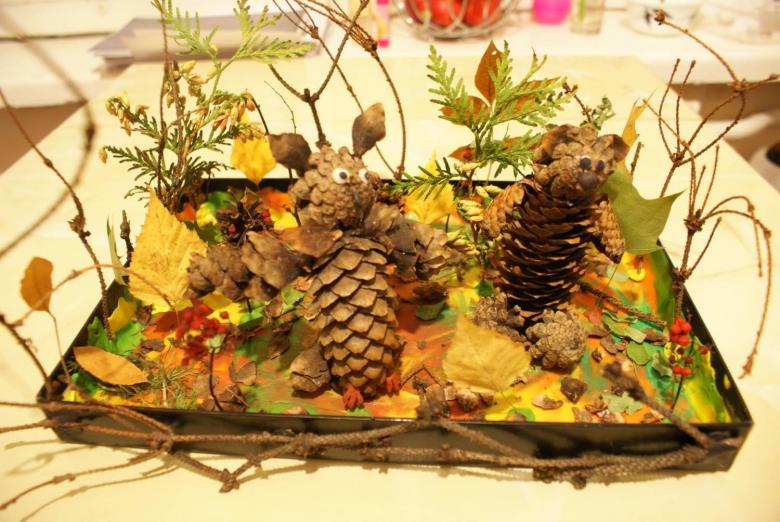
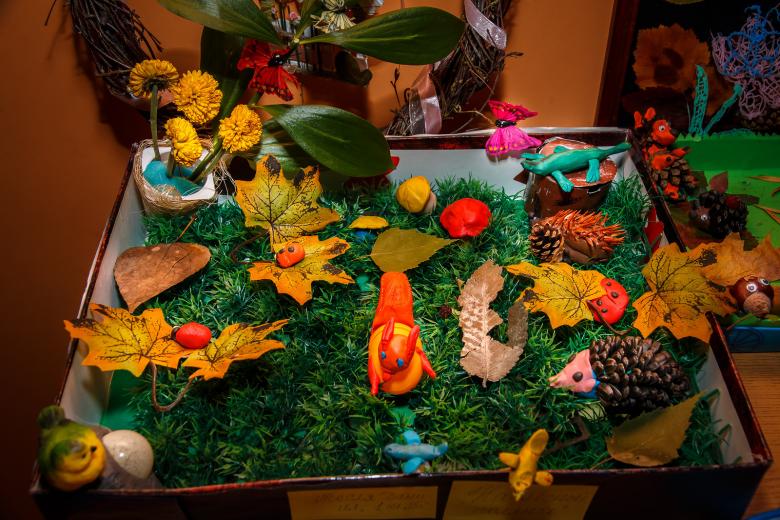
For children of school age, very entertaining will be the creation of a three-dimensional craft in the form of an autumn lawn. For it you will need:
- a cardboard base, as which the lid from a large shoe box will work perfectly
- PVA glue
- plasticine
- twigs
- cones, acorns
- dried leaves
- dried moss
- thick paper
- paint
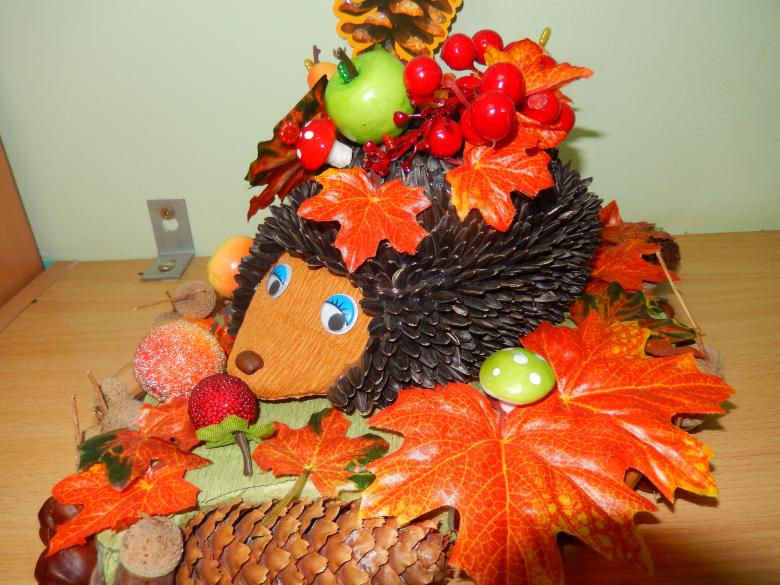
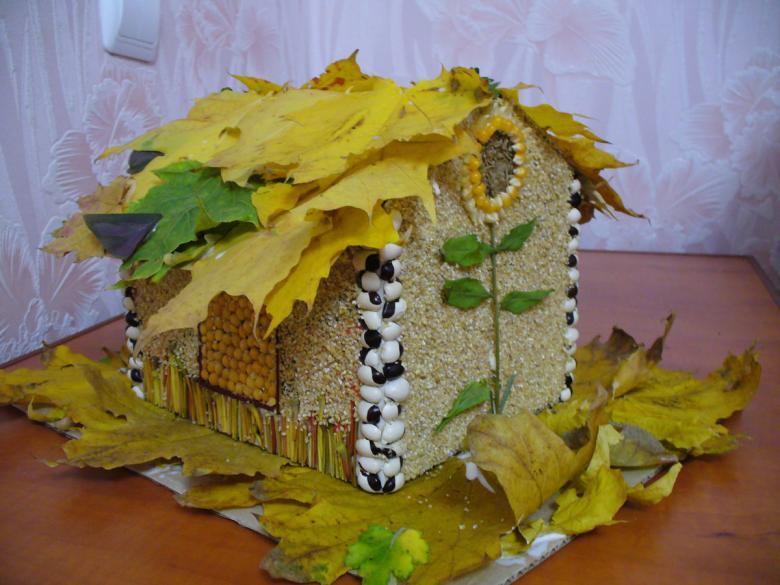
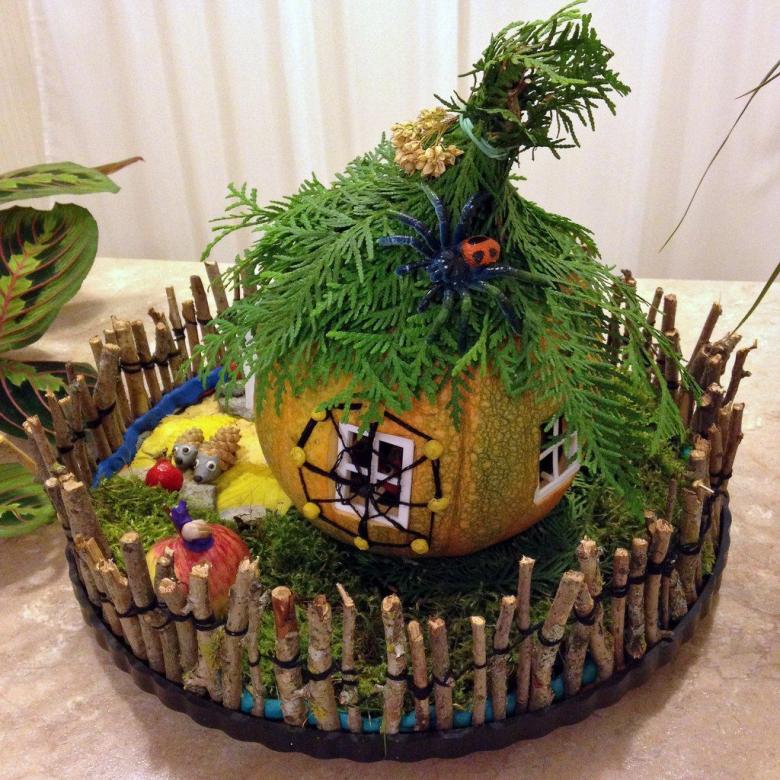
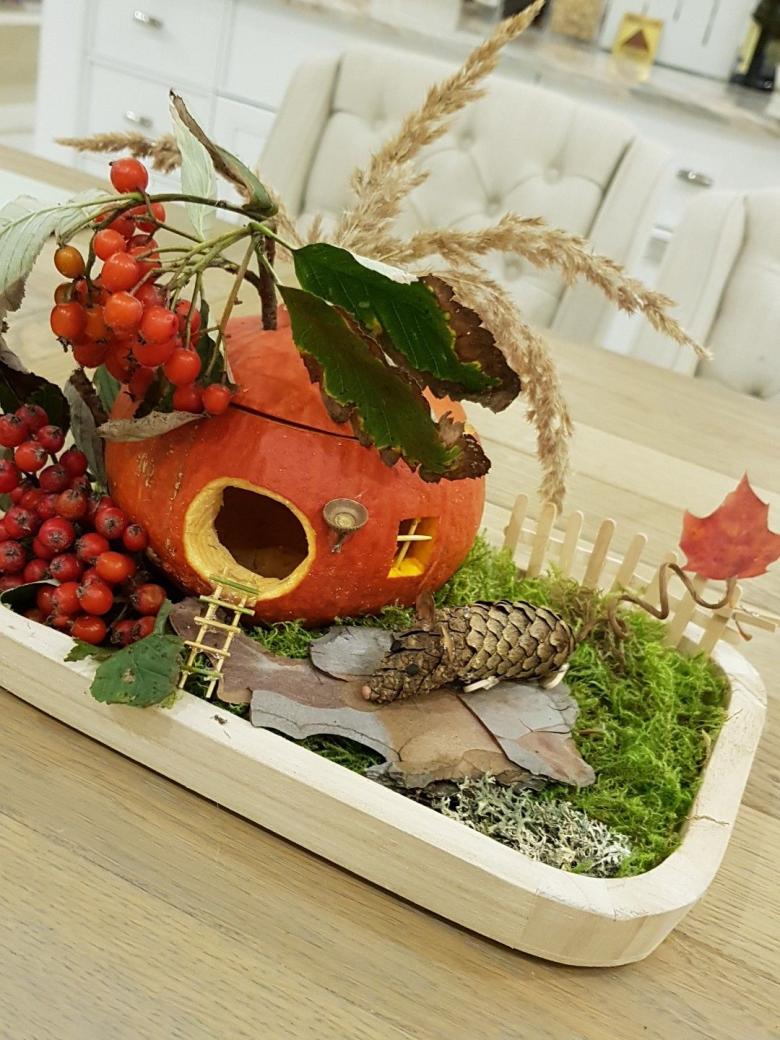
The cardboard base is painted green, fix dried moss on it with glue. You need to build a small house from heavy paper, glue it with dried leaves. From the twigs you can weave and thread a fence, set it on the perimeter of the lawn.

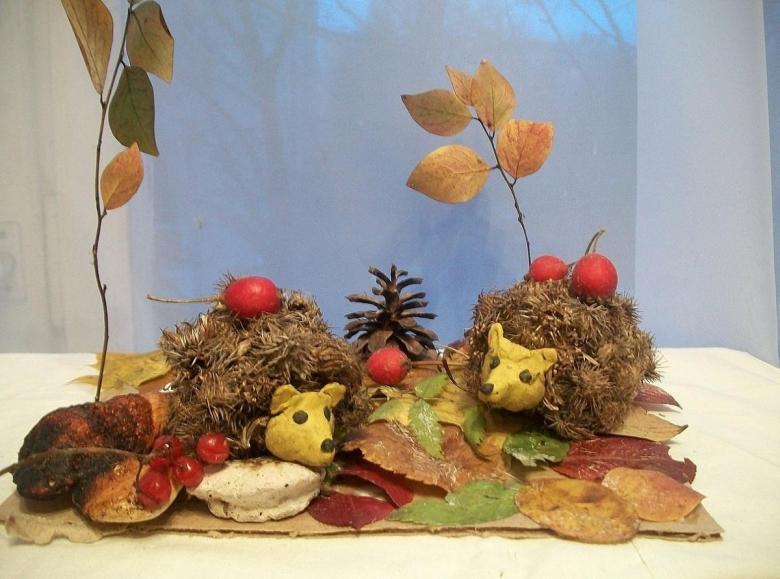
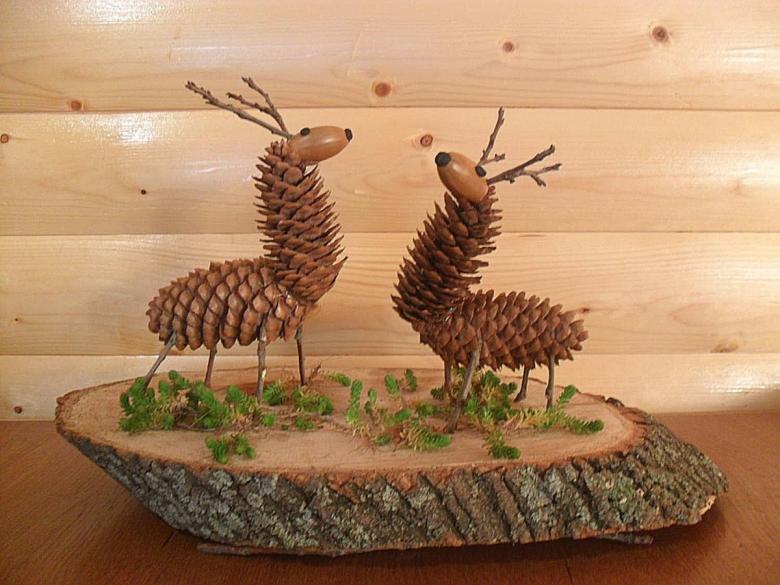
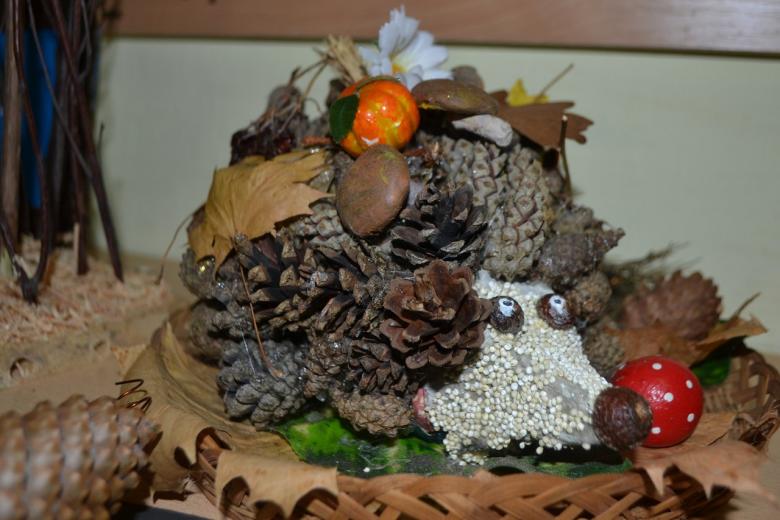
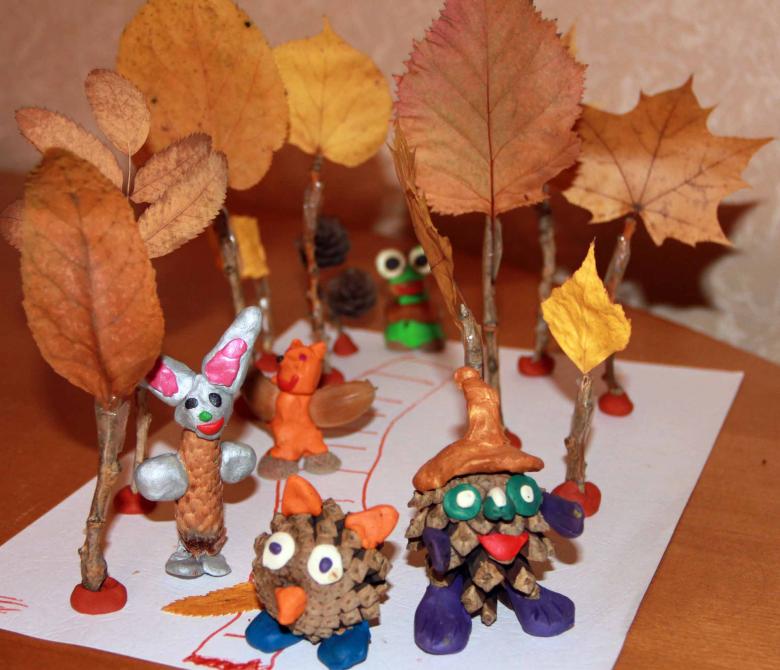
If cones pre-coated with green paint and then fixed with glue to the base down, they will do an excellent job as trees on the lawn. And with the help of acorns and plasticine you can populate it with different inhabitants.
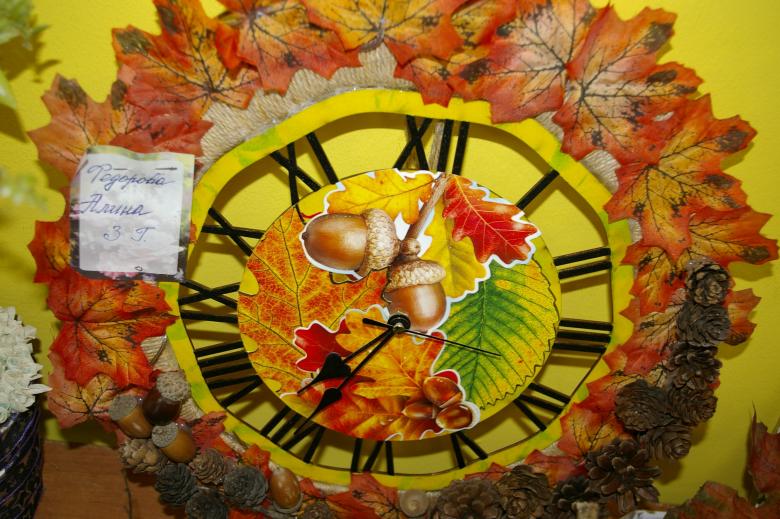
Autumn design in the interior
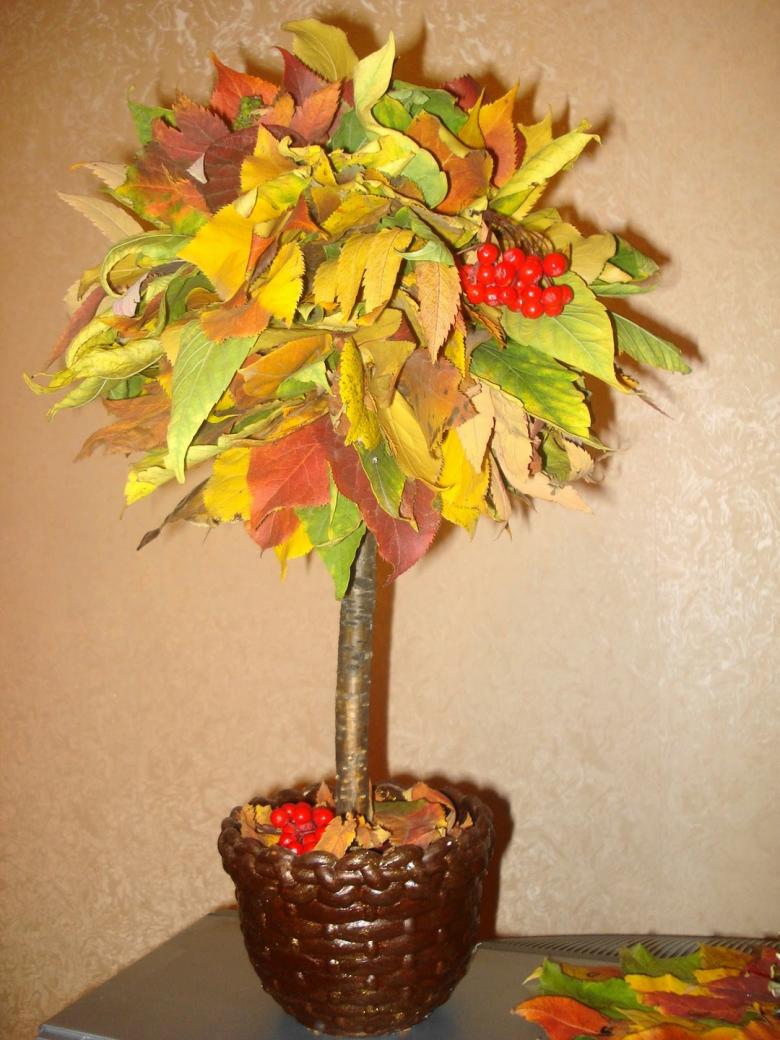
Decorative tree from autumn materials
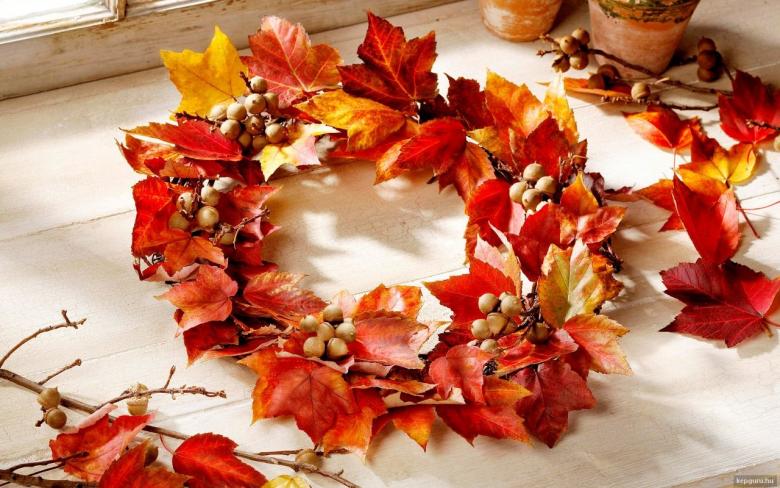
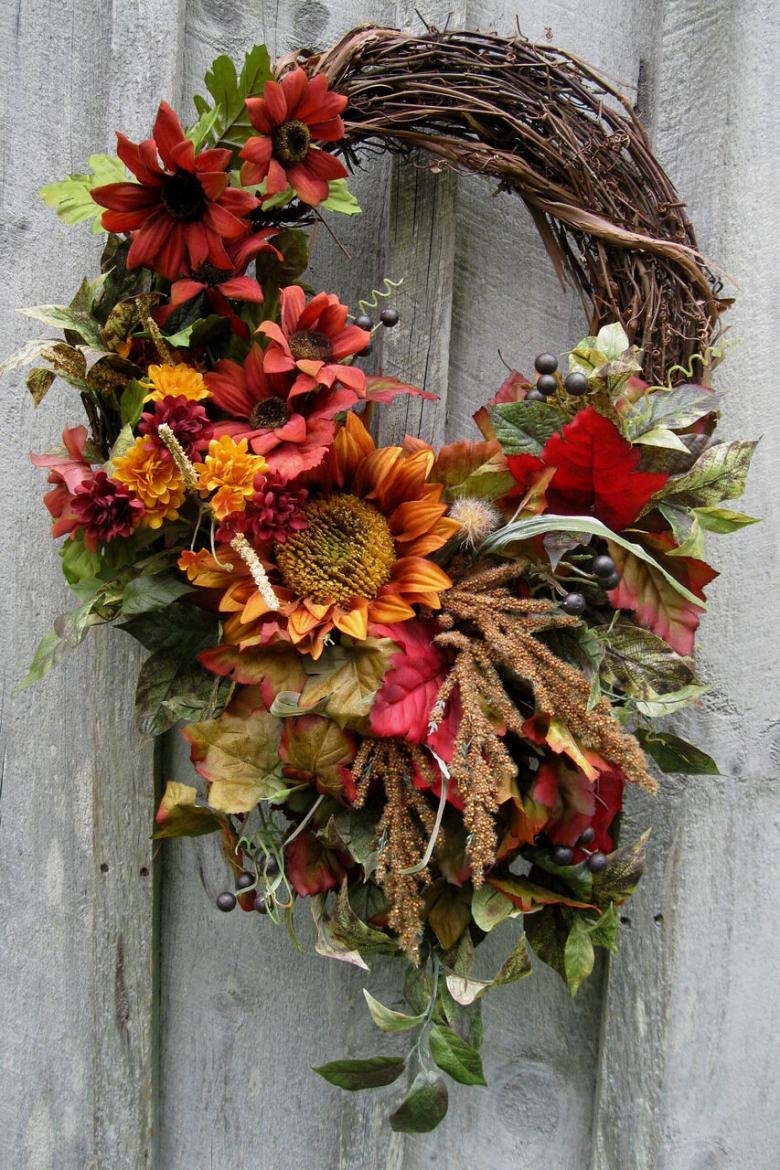
To support the theme of autumn in the interior of your home you can use charming decorative products created by your own hands. They will fill your home with beauty and coziness, bringing with them the tart aromas and the magic of fading nature. There are a huge number of master classes for creating this kind of items. One of them suggests creating a tree of dried leaves. Such a tree will decorate any room and set the mood for autumn.

Here is a list of what you will need to make an artificial tree:
- Ceramic pot for houseplants
- Styrofoam
- plaster
- glue
- A tree trunk, which can be made from a wooden stick or from a straight branch
- Decorative elements such as leaves, acorns, beautiful twigs, dried berries and moss

The basis of the construction will be a ball, which should be cut out of Styrofoam. This ball is the crown of the future tree. It should be connected to the trunk. For durability, glue is applied where the two parts come together. Likewise, with the help of glue, the trunk of the tree is fixed in the pot.
At this stage it is necessary to dilute the gypsum powder with water to the consistency of sour cream. This composition is poured into the pot, it gives the structure the necessary hardness and imitates the ground. After the plaster is completely dry, you can begin the most interesting process of decoration. Dried leaves, branches of fruit bushes and trees can easily be threaded on the foam base of the crown, and the plaster ground in the pot is perfectly masked by moss and acorns. Made with the observance of technology and carefully prepared materials, such a tree can delight the eye for a very long time.
Decorative bouquet of leaves
Also an original solution for decorating the house will be the creation of a pink bouquet of maple leaves. Unlike other handicrafts, maple leaves are not subjected to any processing, and are used fresh. This is due to the fact that the source material to create flower buds should have flexibility. Such a handicraft is sure to be loved not only for the beauty of the final composition, but also for the simplicity of its execution.

For this we will need:
- fresh maple leaves
- strings
- hair spray
To make a bud, a maple leaf is folded in half without creating a crease. Then it is rolled up into a tight roll. With the next maple leaf perform the same manipulation and wrap it over the prepared roll. The size of the flower buds can be adjusted as you see fit by adding new layers of maple leaves. If you are satisfied with the size and shape of the flower, it is time to fix it with a thread at the base, which is the uneven edge of the leaves. Thus collect the entire bouquet. Finish it around with dried leaves and thoroughly varnish the entire composition. Admire such a bouquet can be at least to the end of autumn.
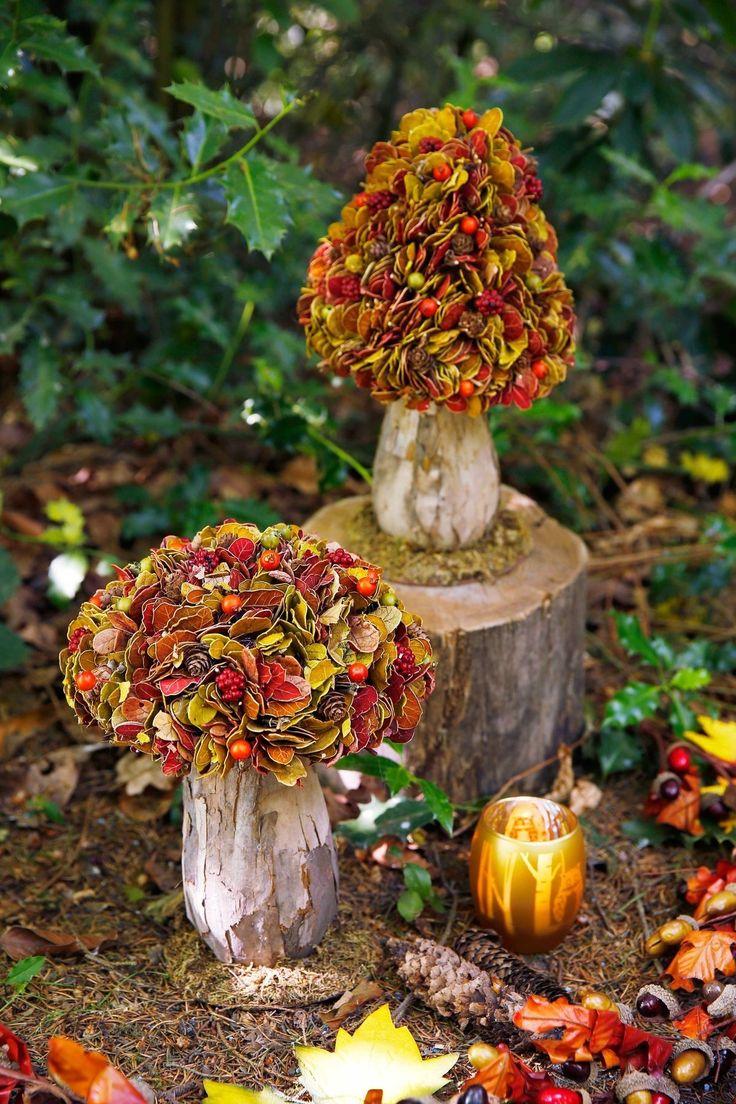
Letting your imagination fly beyond the clouds, you can think of even an infinite number of handicrafts, which will bring the atmosphere of celebration to your home. And the process of their creation will bring you closer to those around you. Do not be afraid to create and create something new!

