How to make an origami bookmark for books: options for use and photo design ideas
The origami technique allows you to create a variety of decorative and even quite functional things. Who has not invented an improvised bookmark made of improvised objects, so as not to lose a place in the book, which had to interrupt an exciting reading?
Not all publishers provide lassé. But handmade origami bookmark will come in handy and will be a great accessory for books.
How it can be used
Cope with the simple technique in the power of both adults and children. No special skills are required. It is necessary to choose the design you like, the scheme of manufacture and give a little time to reproduce.
There are many variations, from the simplest to more complicated in execution. Having a step by step instruction and a little patience, you can make a truly original bookmark, which will not only perform its original purpose, but also please the eye.
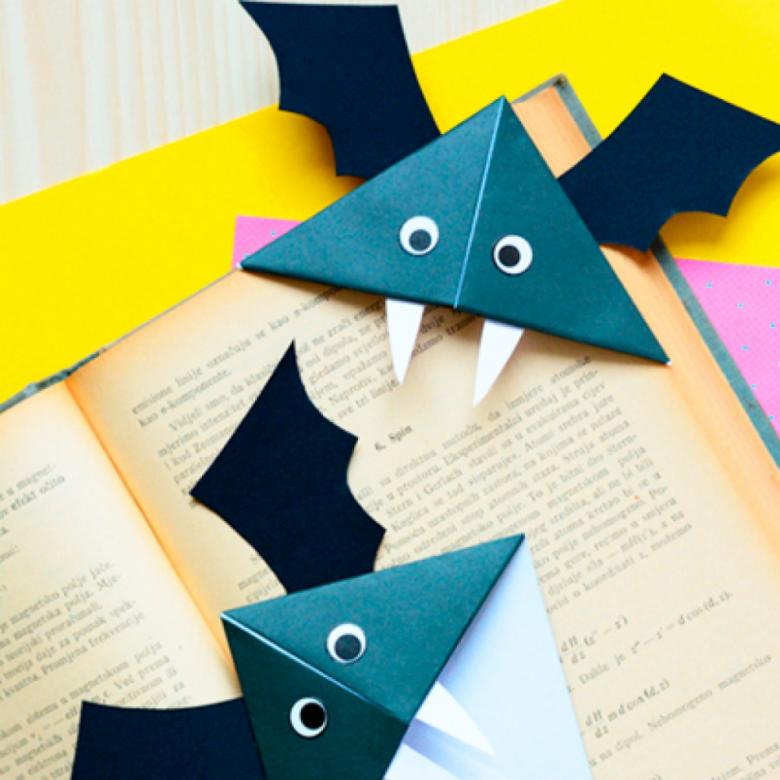
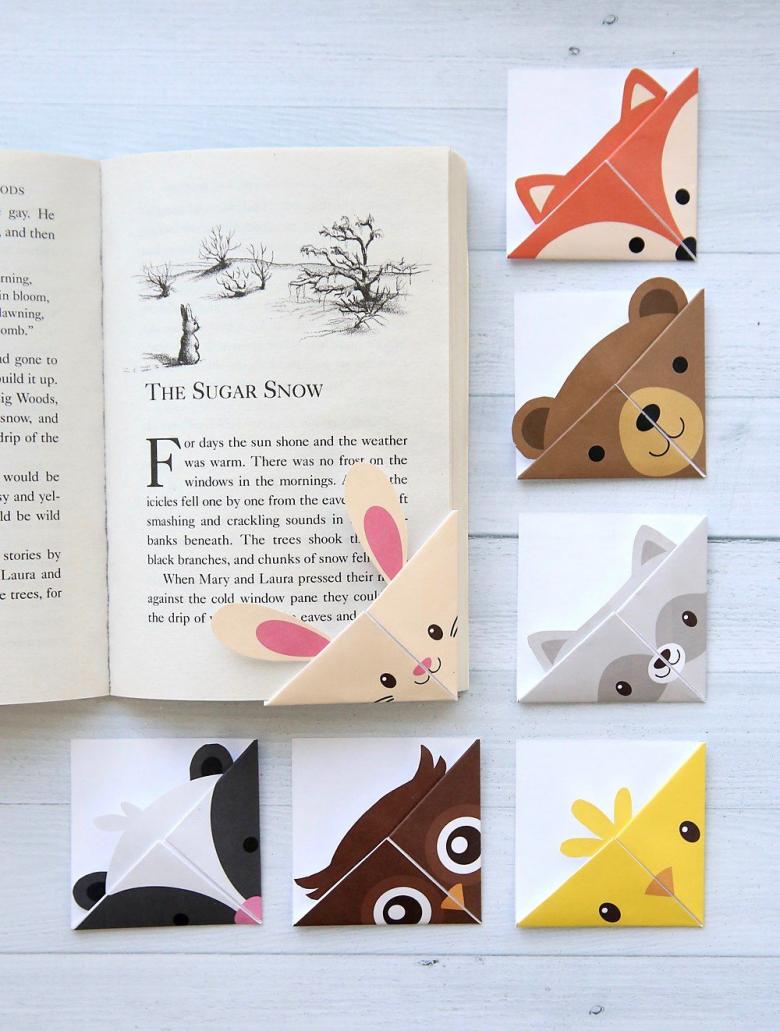
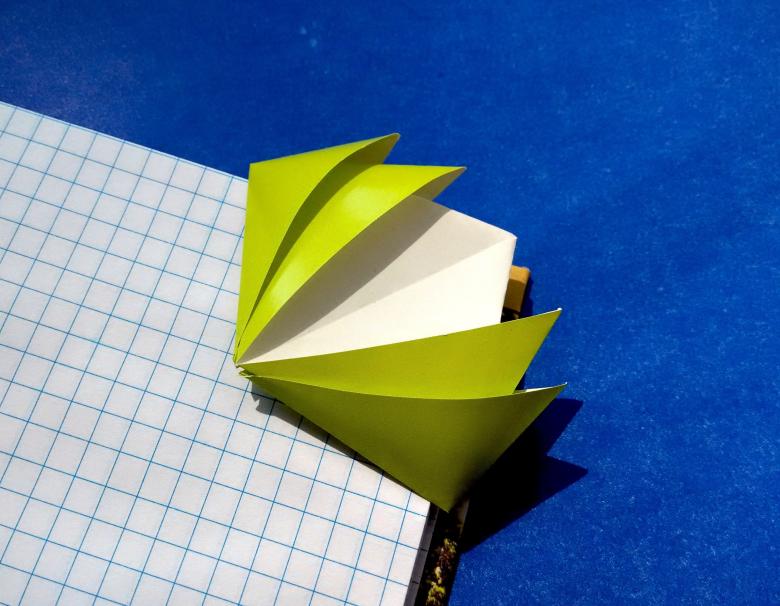
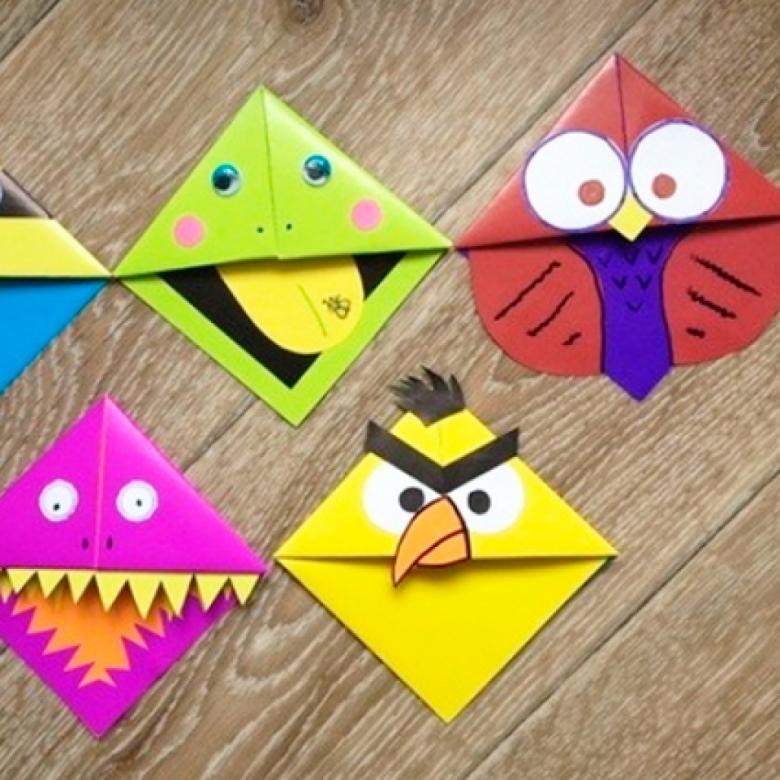
The design determines the principle of use. So, there is the usual bookmark-inserts, placed between pages, and even pointing to a specific section of text, and there is a non-trivial bookmark-corner, placed according to the title.

Some options can additionally be used as pendants or components of decorative garlands to decorate a room.
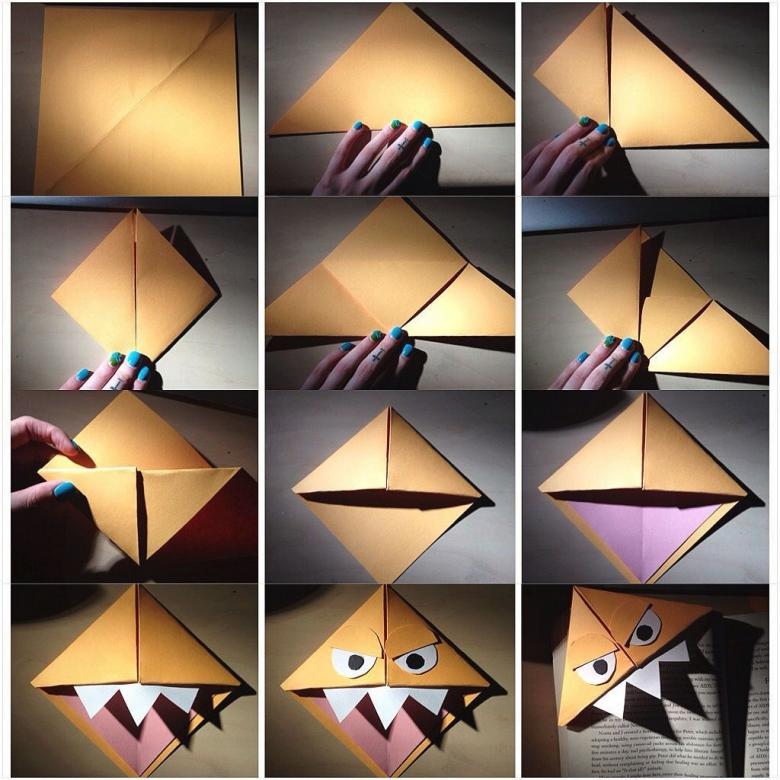
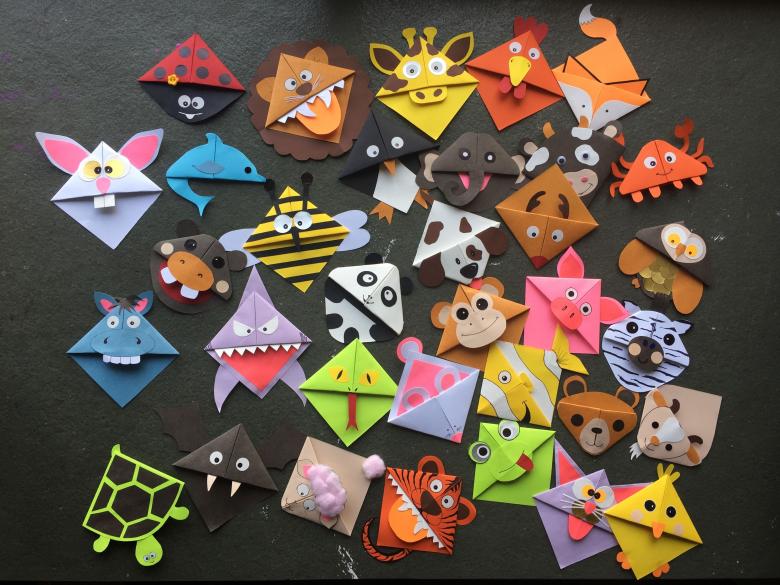
Below you will learn in detail how easy and simple it is to create cute origami bookmarks. You will need thick paper of different colors (matte and glossy), as well as scissors, a ruler, glue, pencils, felt-tip pens, and other stationery for decoration.
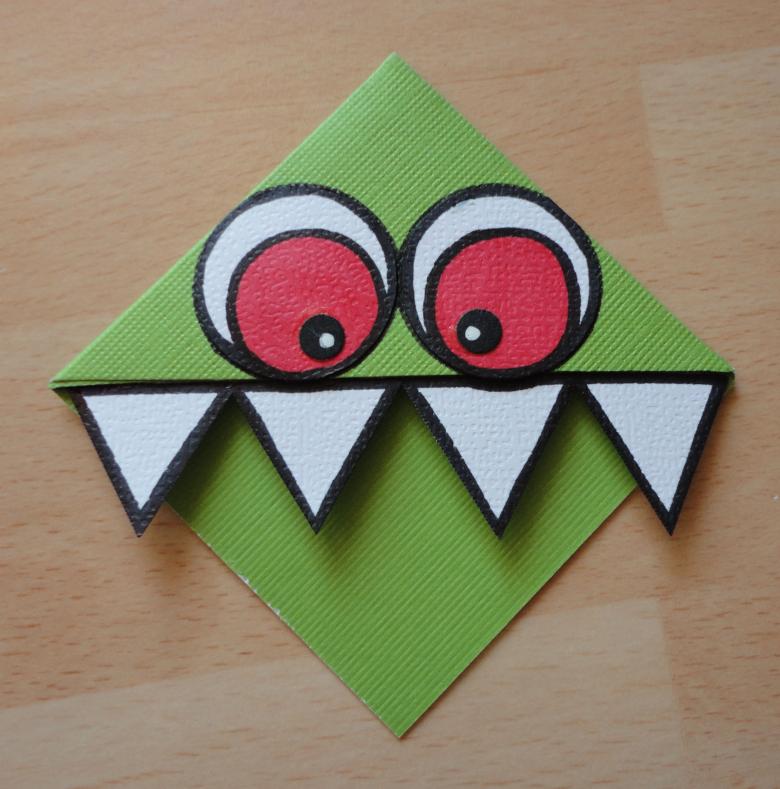
Instead of paper, you can use pulp with ornaments or fine prints. Follow the steps in a strict sequence. Feel free to experiment with the design. Do not be afraid to develop your imagination and creativity.
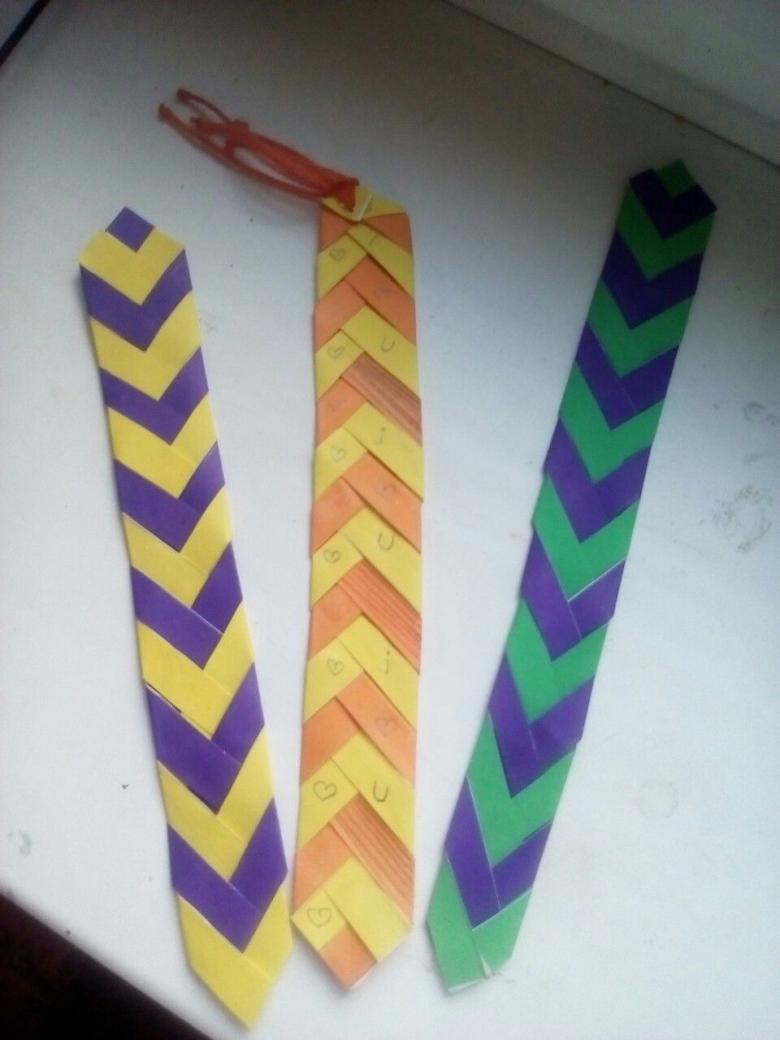
Braided bookmark
This technique is available for any age and allows in a few minutes to create a bookmark with an unusual geometric-symmetrical pattern. The scheme looks as follows:
- Prepare the base. To do this, glue two white paper strips crosswise, leaving the blue corner untouched, to a blue paper blank, which forms a right angle. Place the design with the corner up.
- Both sides of the blue piece, first right, then left, fold parallel to the white strips. Then do the same with the ends of the white color. Continue to alternate the colors, forming a braid.
- At the end it is necessary to complete it by gluing the ends and cutting off unnecessary things.
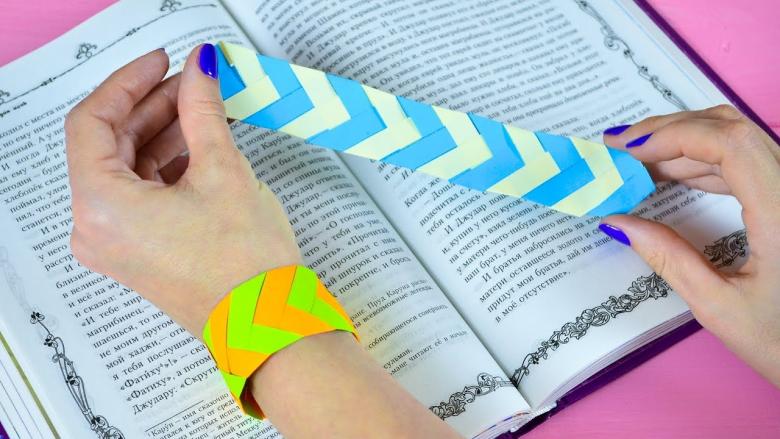
It is possible to use other colors and patterns of plaiting. If the initial composition to perform a little differently, in a similar action in the subsequent will turn out the original snake.
A paper arrow
Such a shaped bookmark is doubly functional, as it not only marks the page, but also details the paragraph. Follow the instructions below.
- On heavy colored paper, draw an arrow with a pencil. Use a ruler for an even outline.
- Cut out the resulting template with scissors.
- The base slightly bend so that this edge can be fixed to the bookmark.
- Fold not on the next page from the desired location, but a little farther. This way the bookmark will not fall out or get lost.

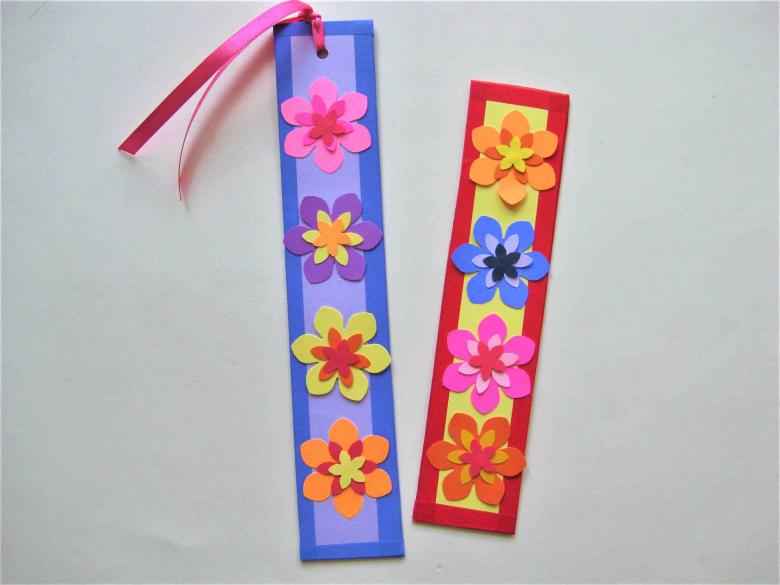
It's very simple, don't you think? If you wish, you can decorate the bookmark with a picture, inscription or artistic abstraction.

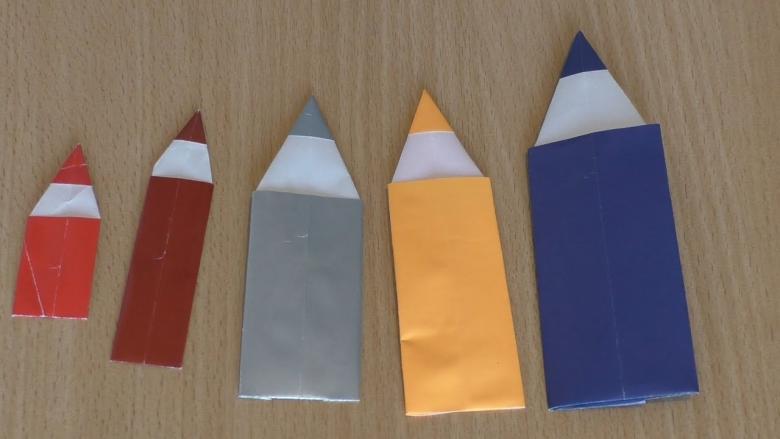
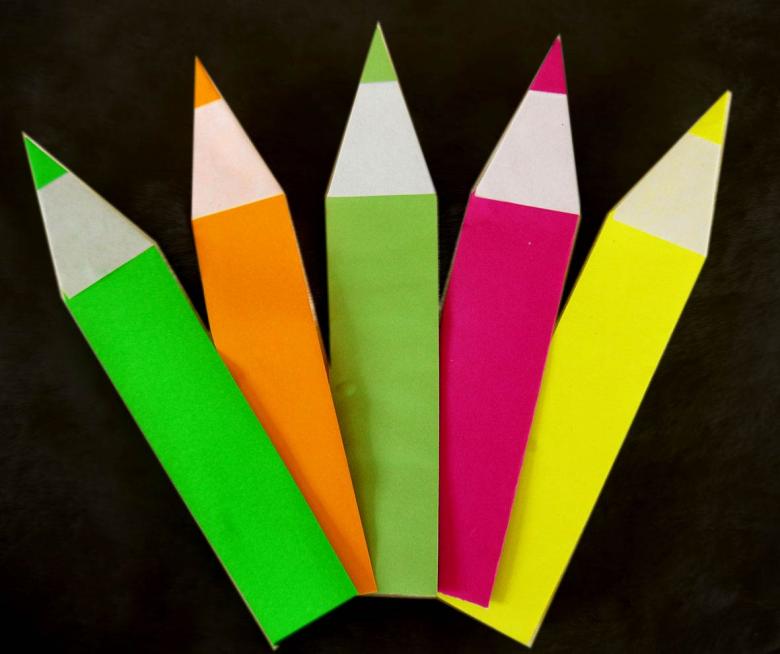
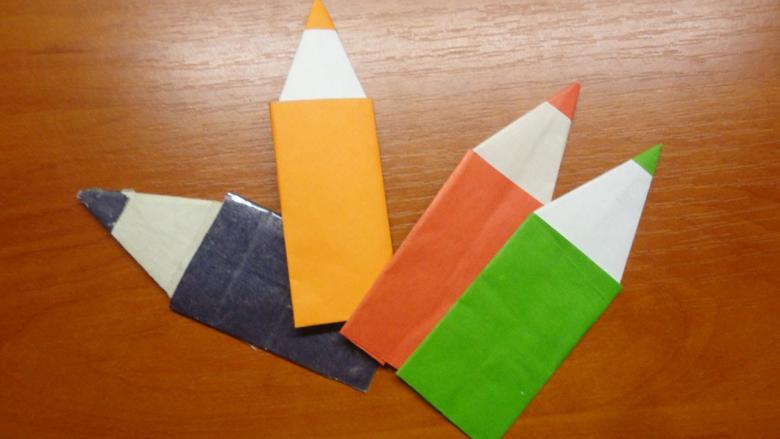
Pencil bookmark
The product goes perfectly with educational literature. A signature with the designation of the discipline or your initials will be appropriate. Be careful: there is a little more action here, but in general difficulties with the manufacture should not arise.
- It is necessary to cut a rectangle of 10x20 cm from colored one-sided paper of sufficient density.
- Fold the workpiece in half along the long side to form a clear fold line. Unfold the sheet and put the wrong side up. Fold back the top of the strip 1,5 cm wide.
- Turn the front (colored) side facing you. Fold the top corners to the center line, and then repeat this again in the same direction.
- Fold back the resulting bottom rectangle. Draw a line with a pencil.
- Next you need to make the final assembly, tucking the protruding ends on the sides to form parallel lines of the pencil contour.
- The resulting pockets must be glued together to prevent opening.

You can make a bookmark for each academic discipline. As a result, you will gather a whole collection of different colors.
Corner bookmark
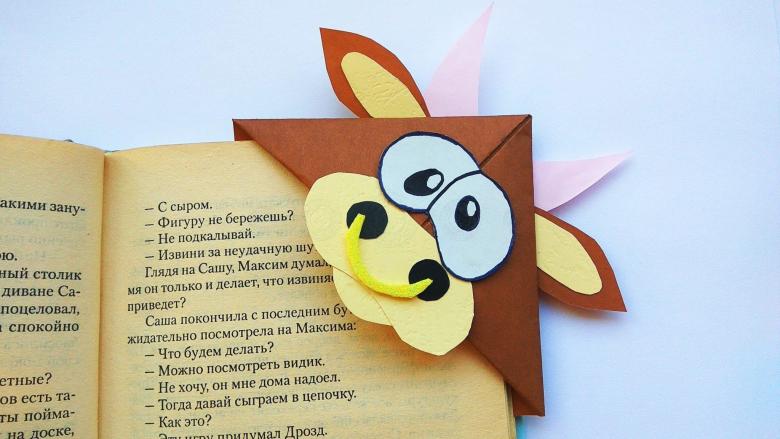
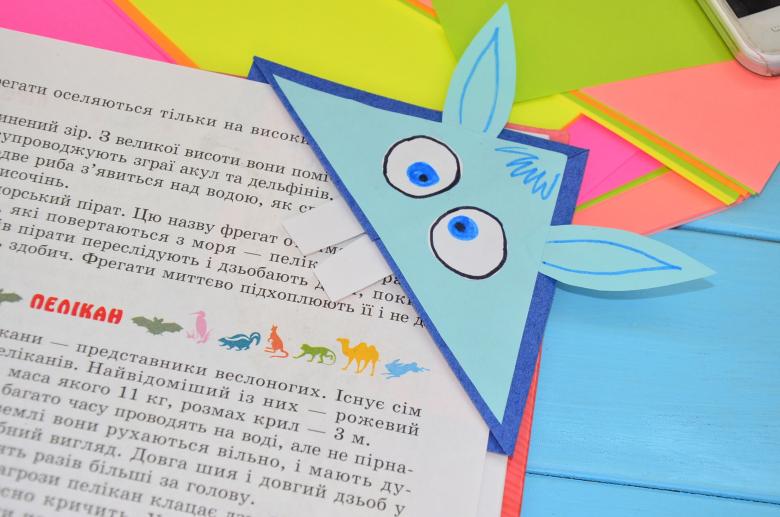
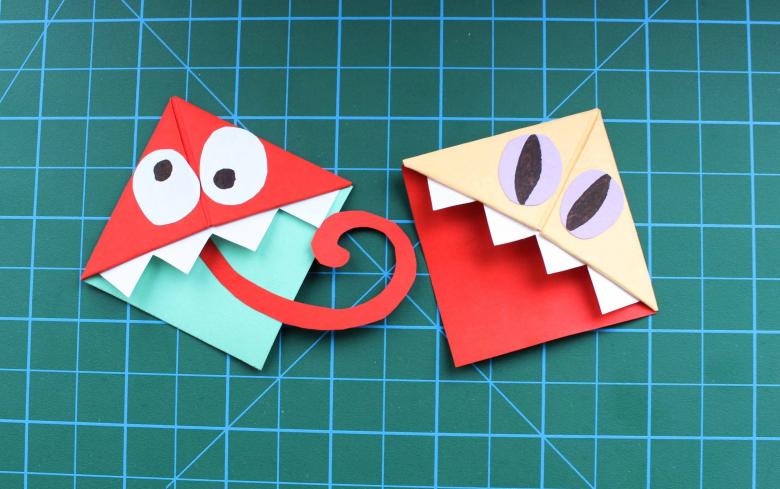
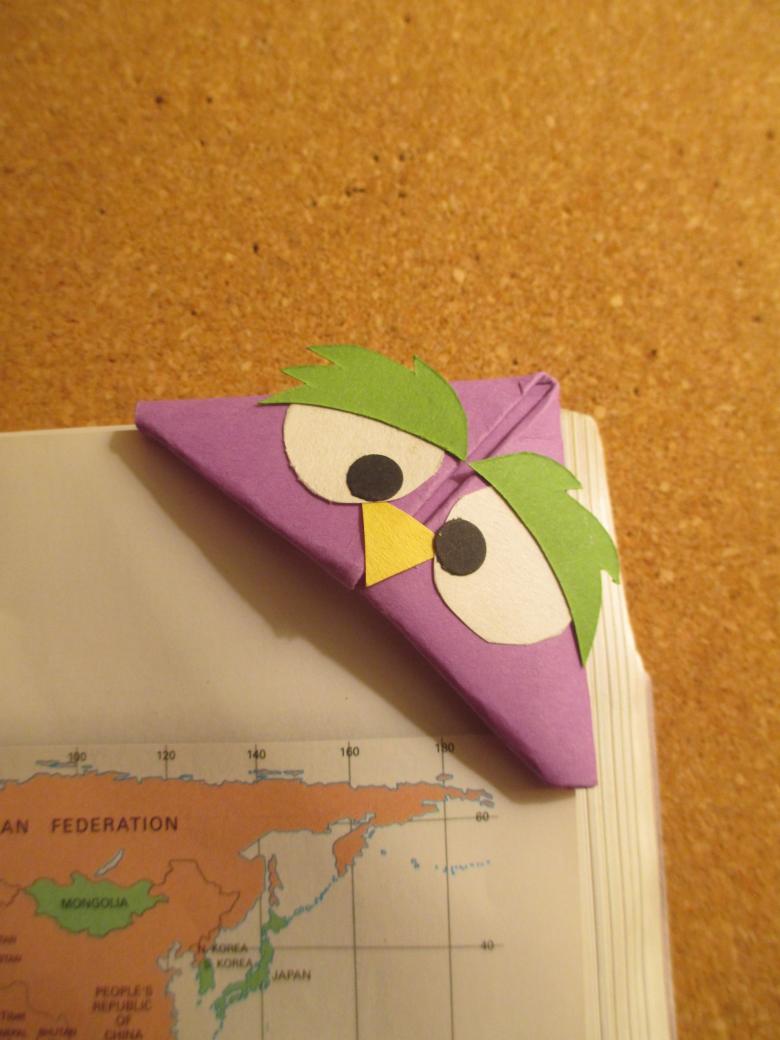
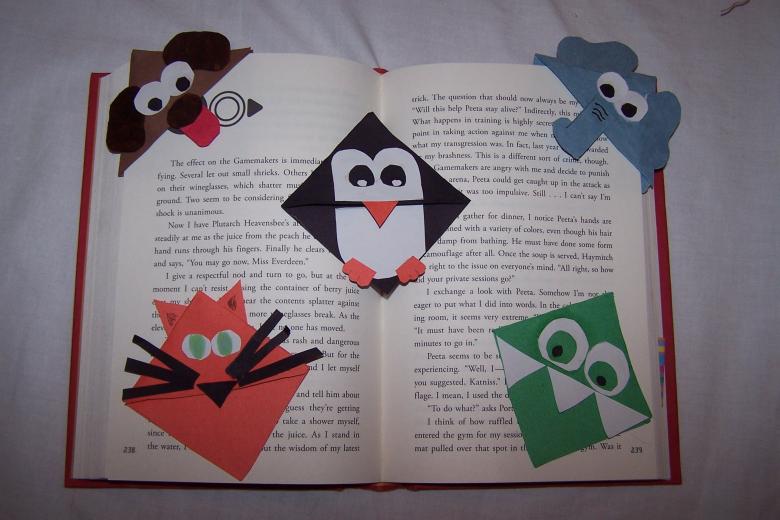
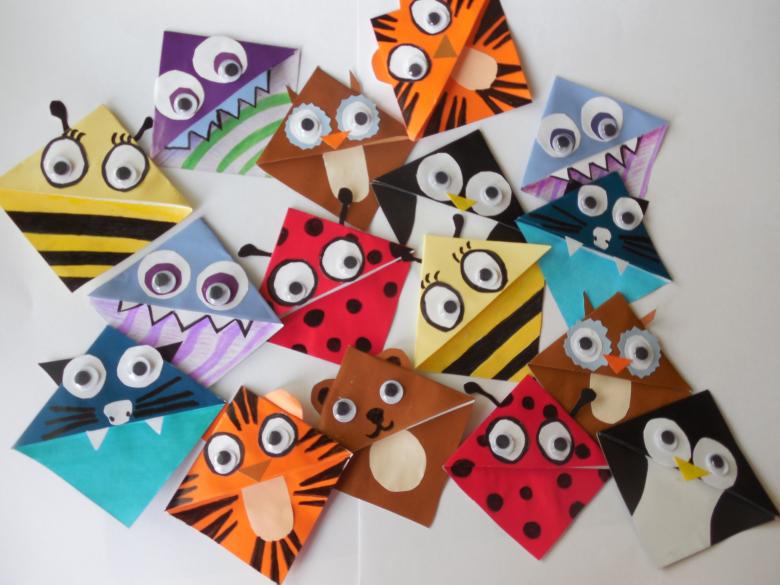
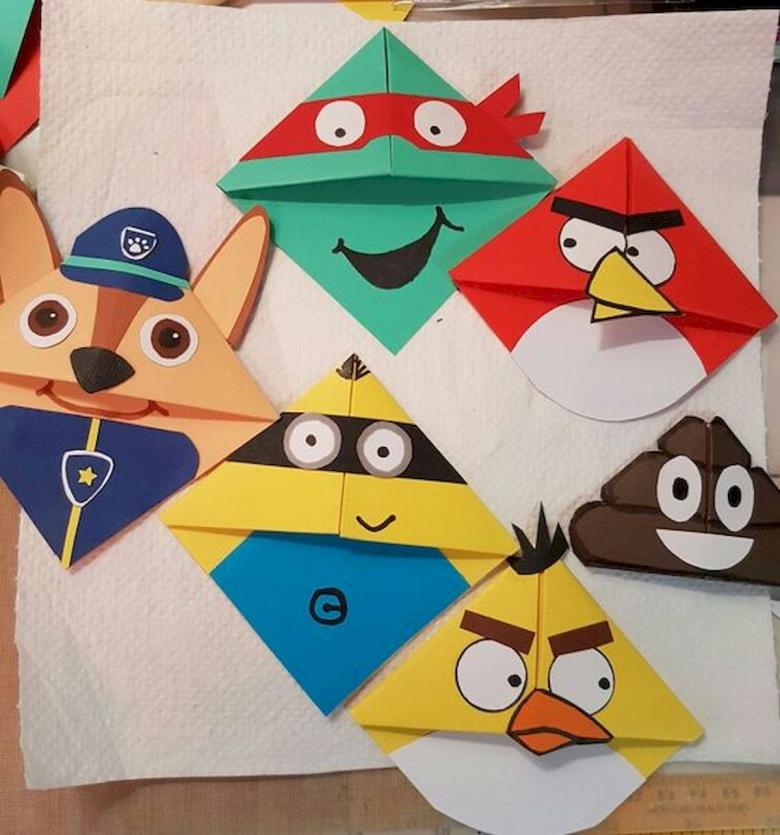
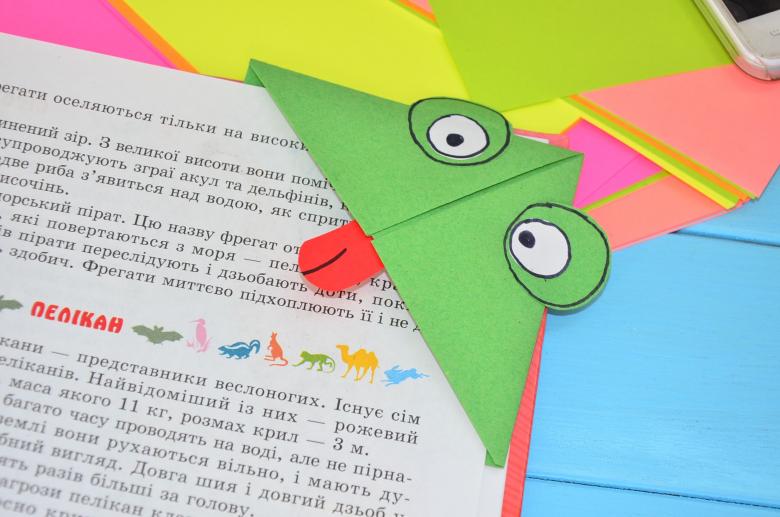
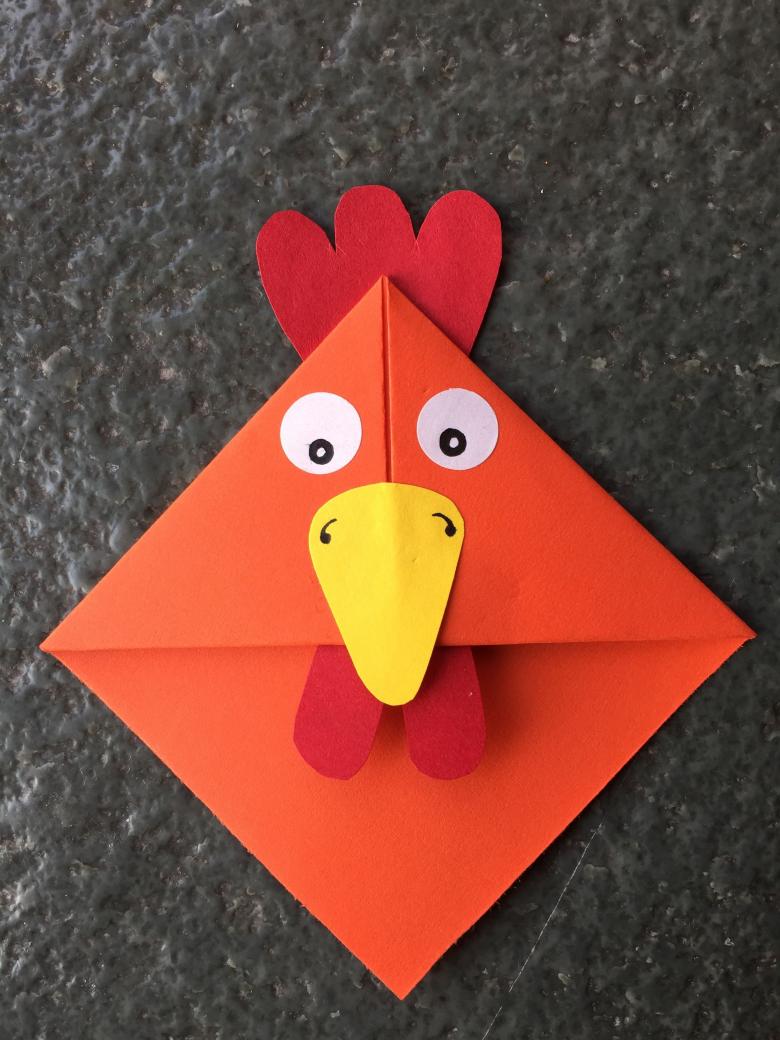
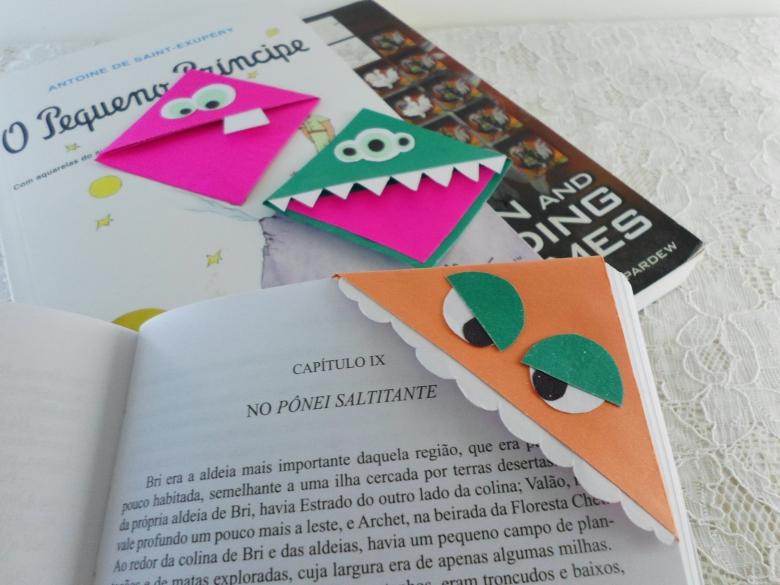
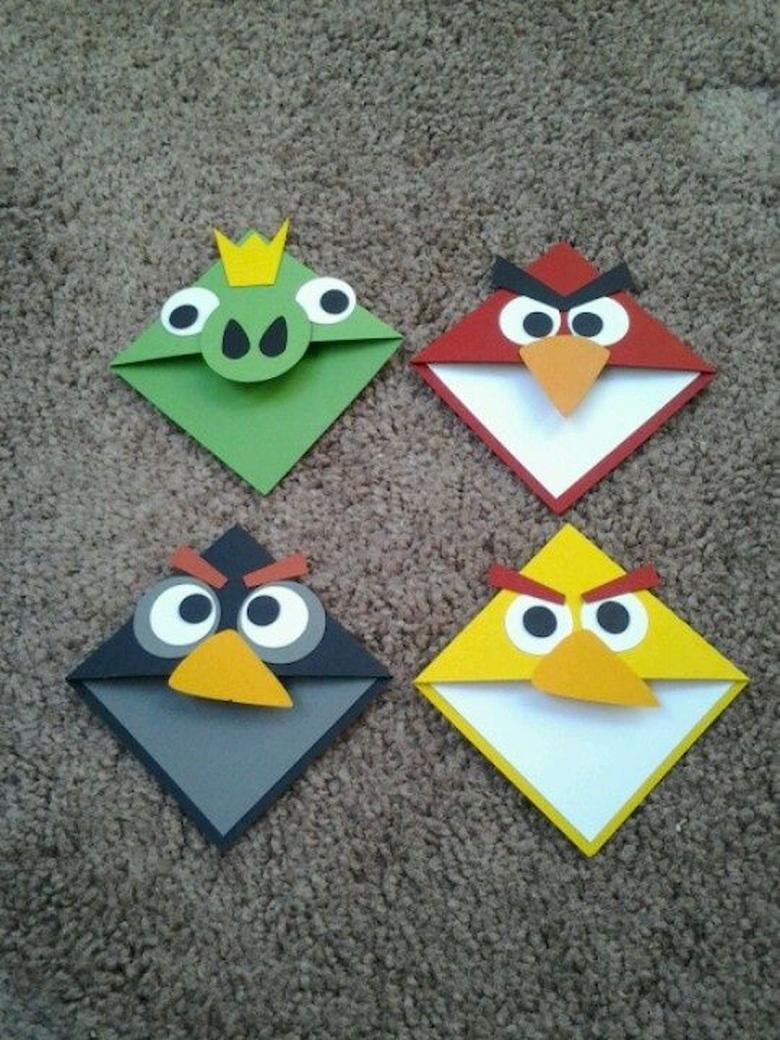
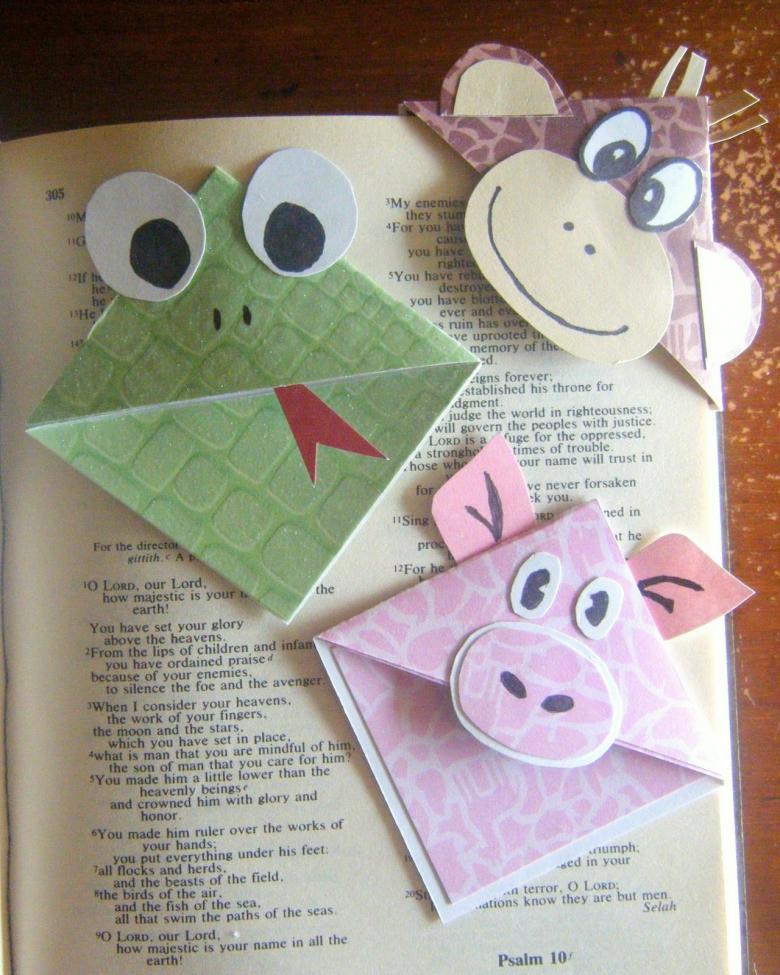
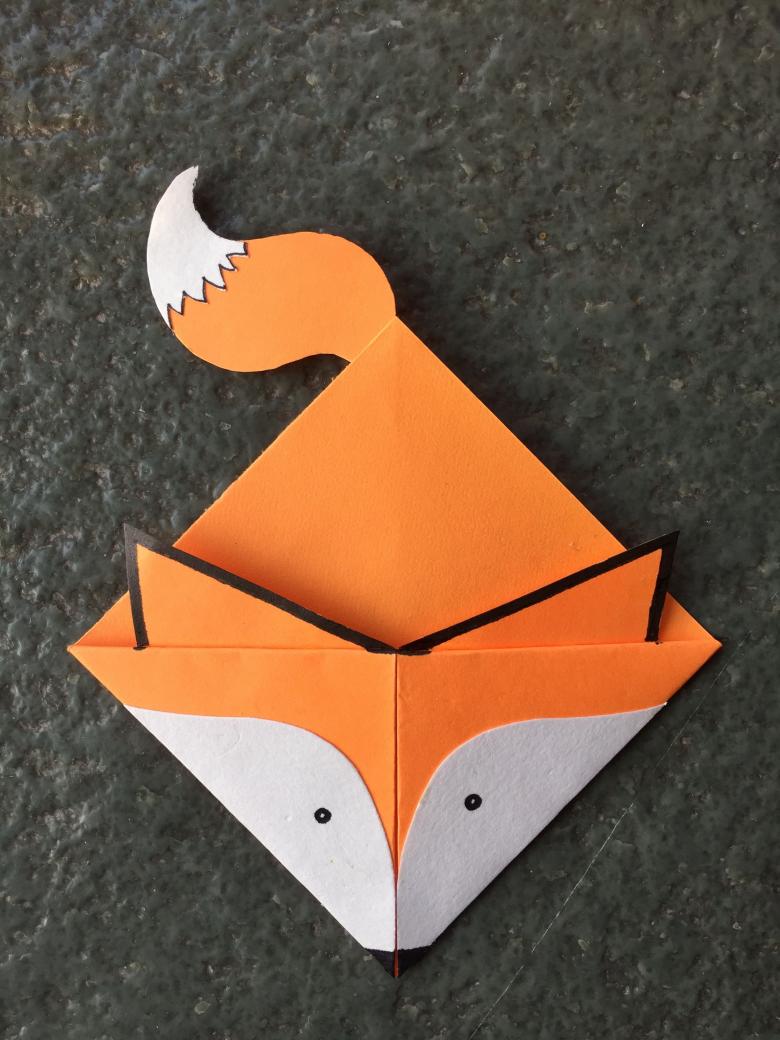
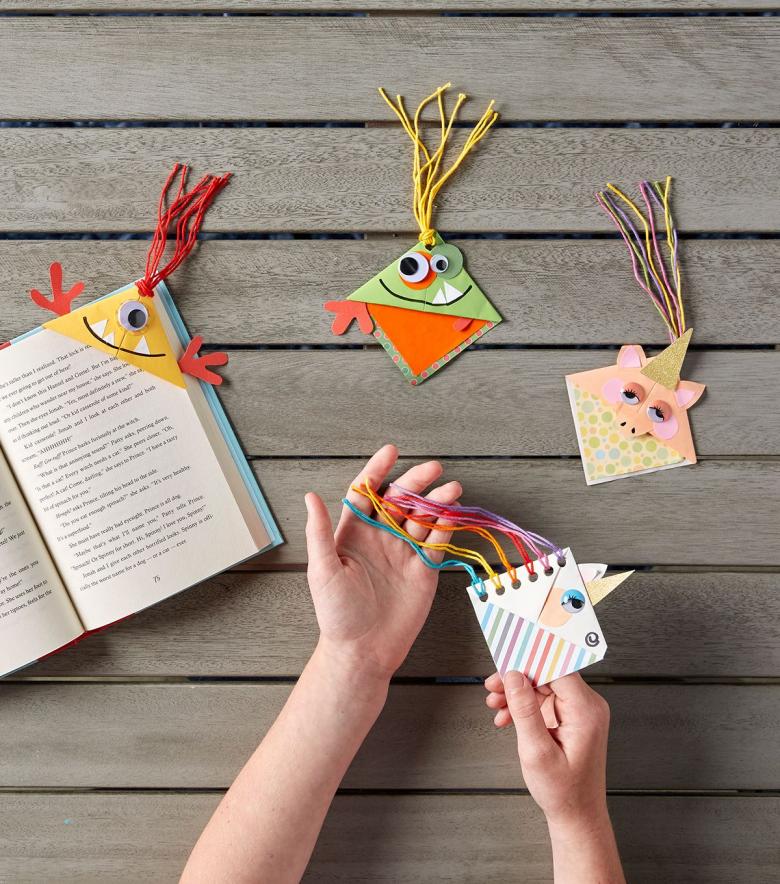
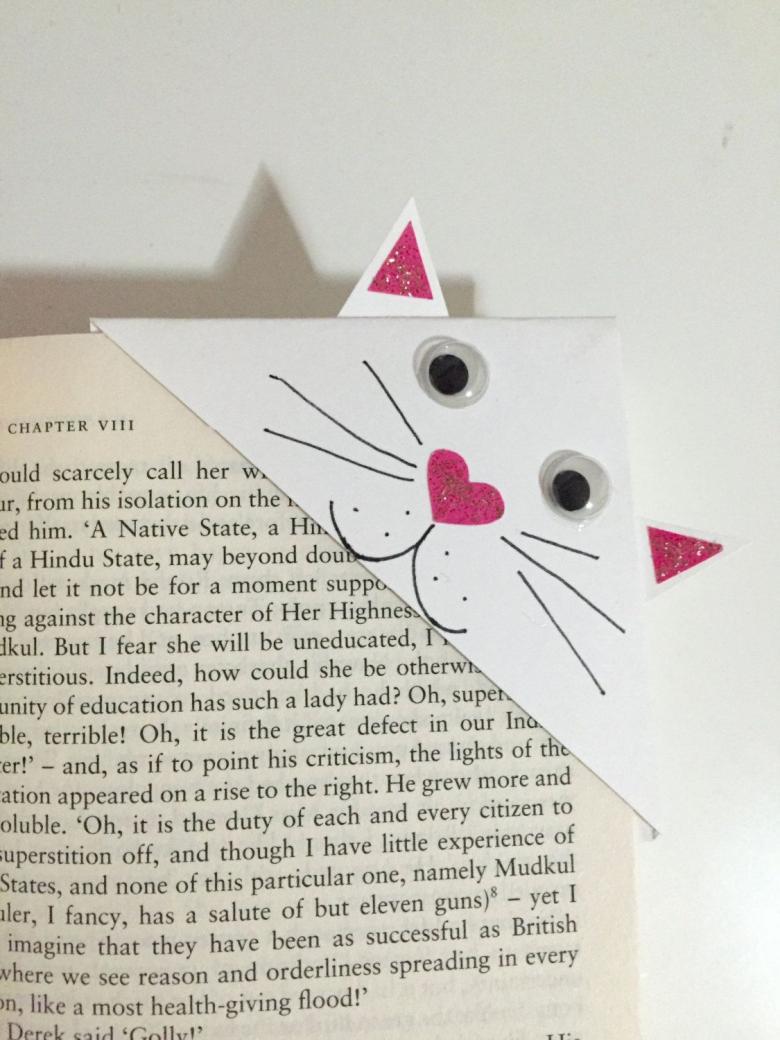
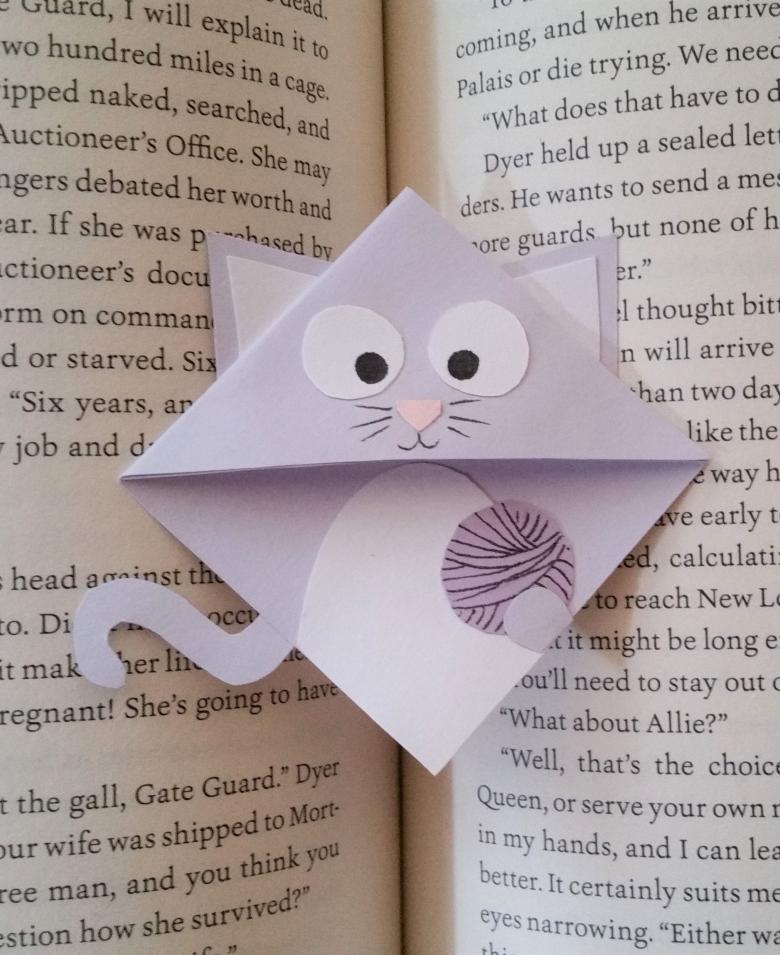
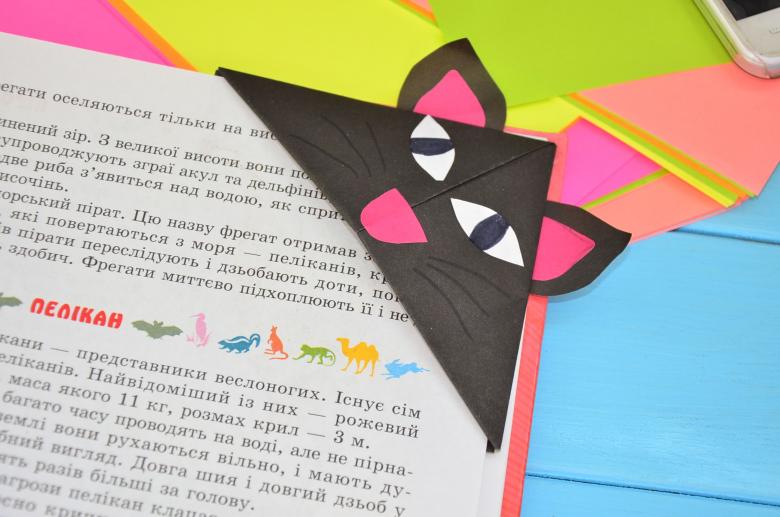
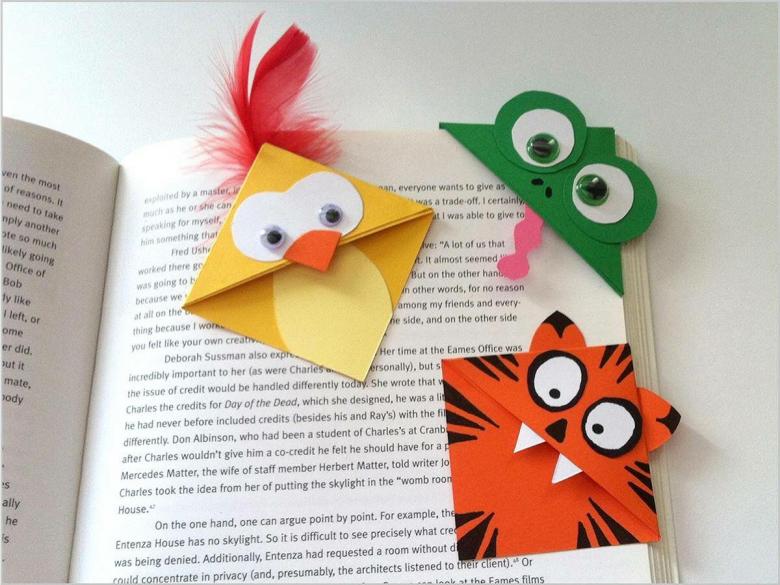
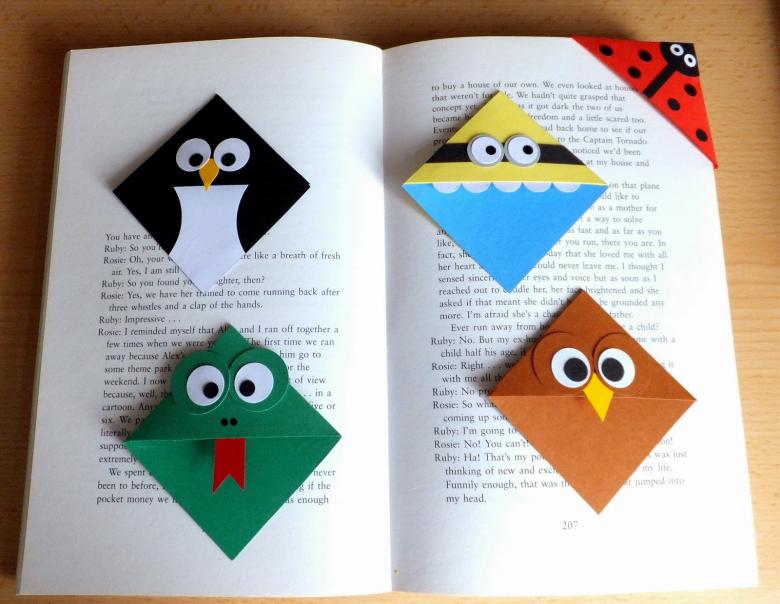
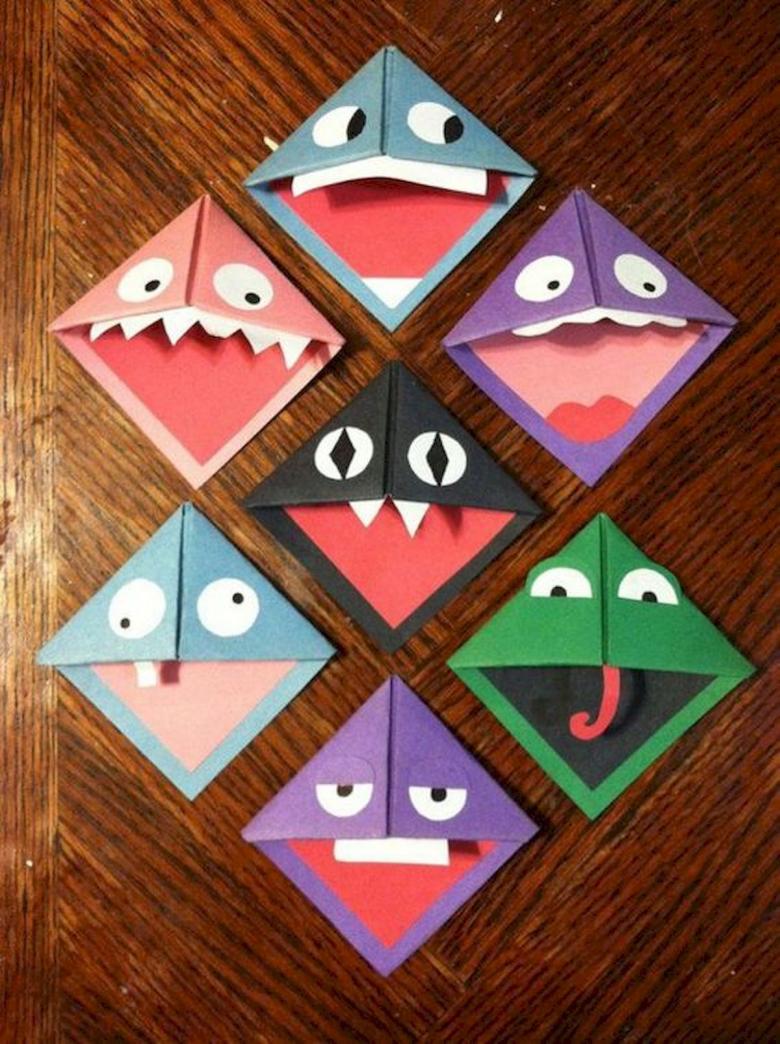
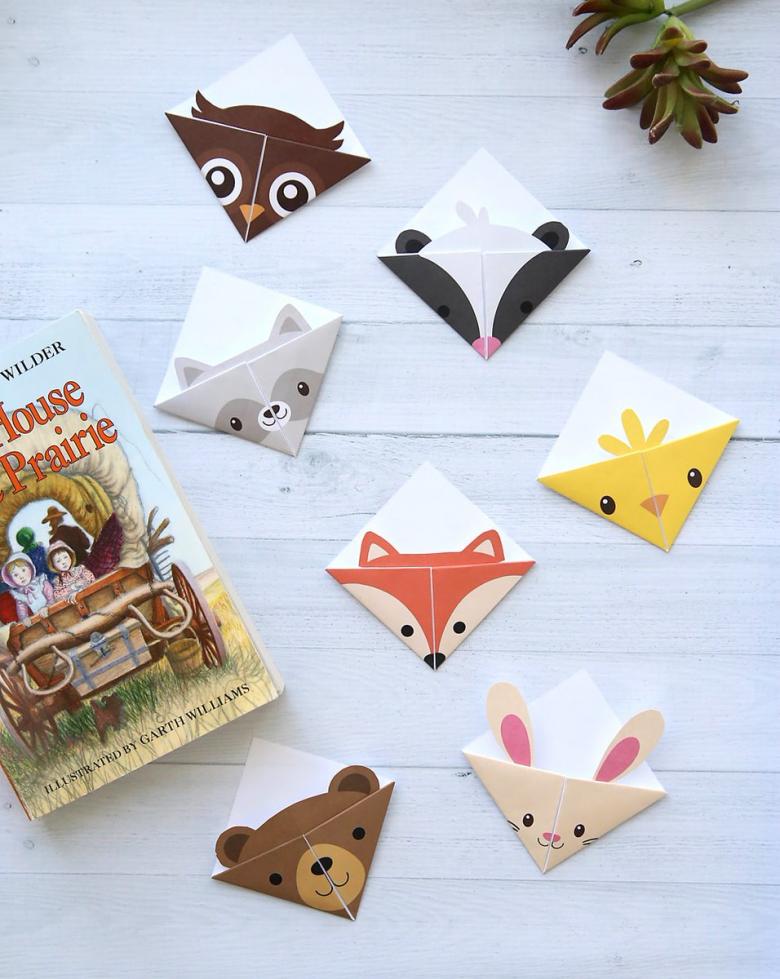
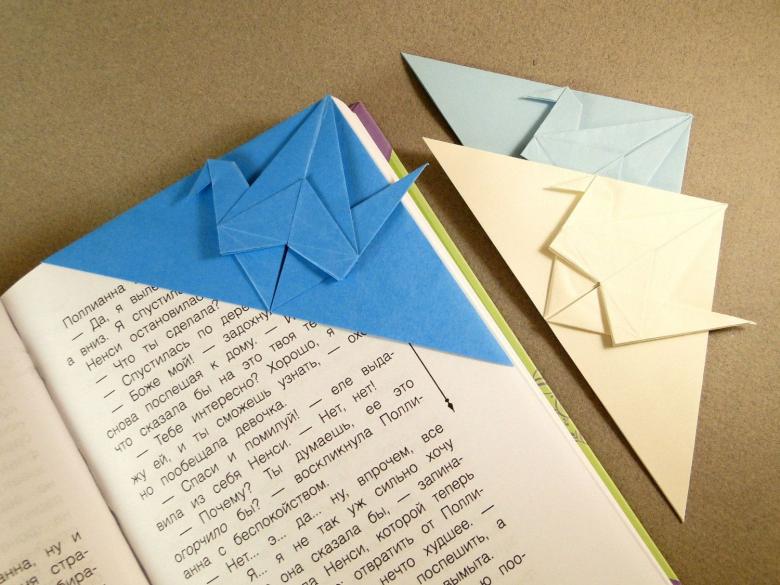
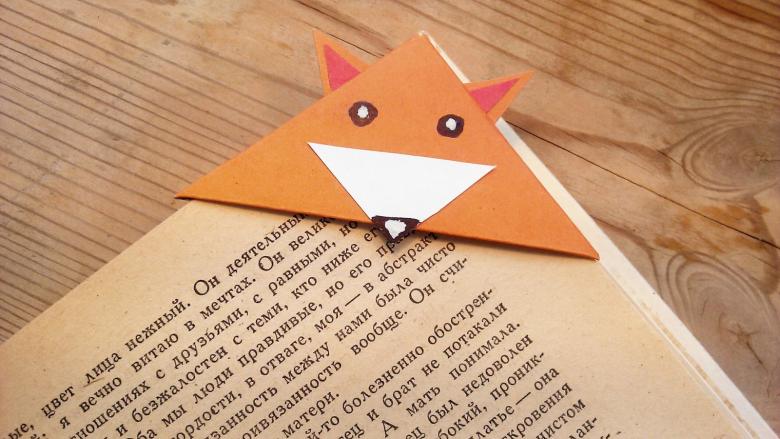
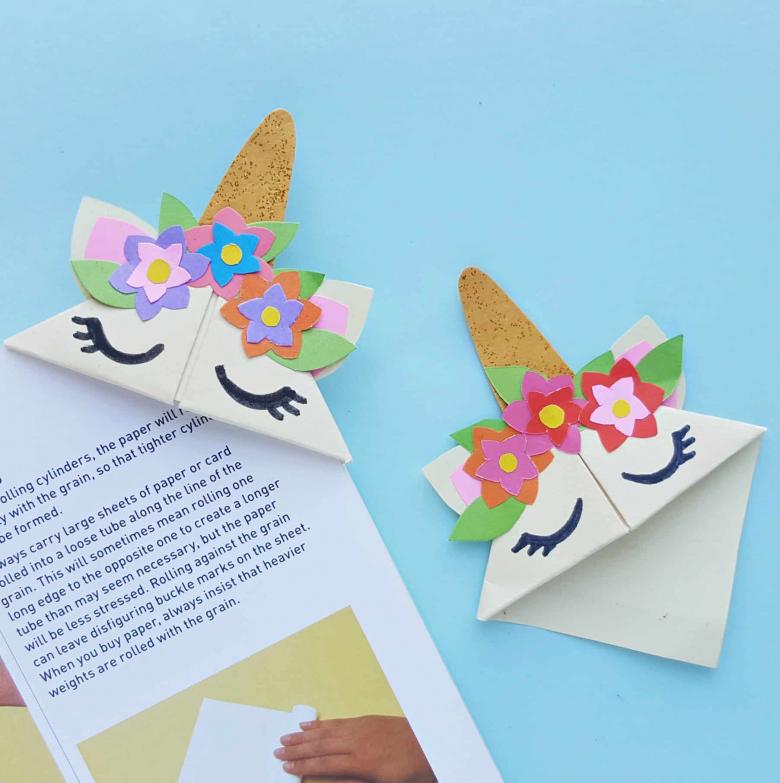
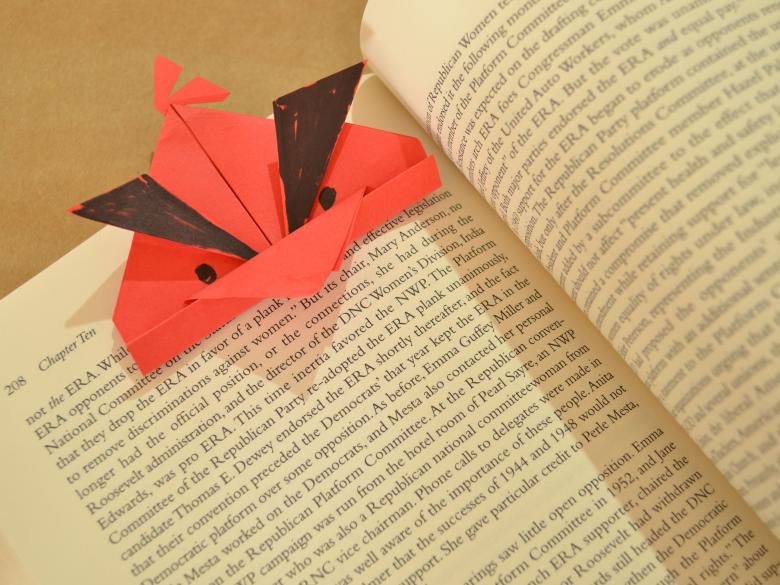
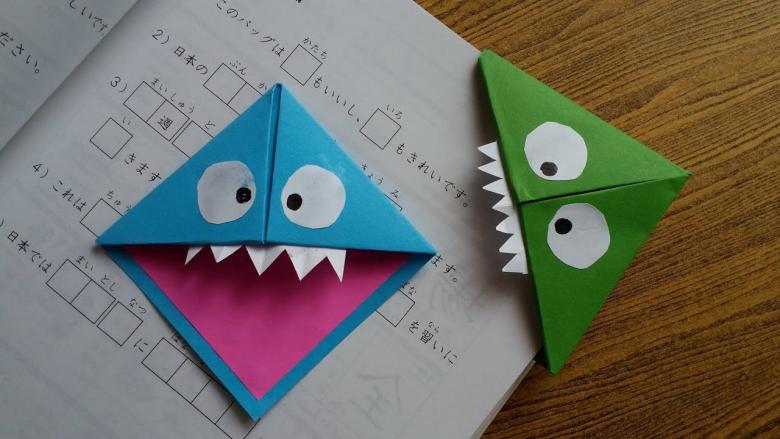
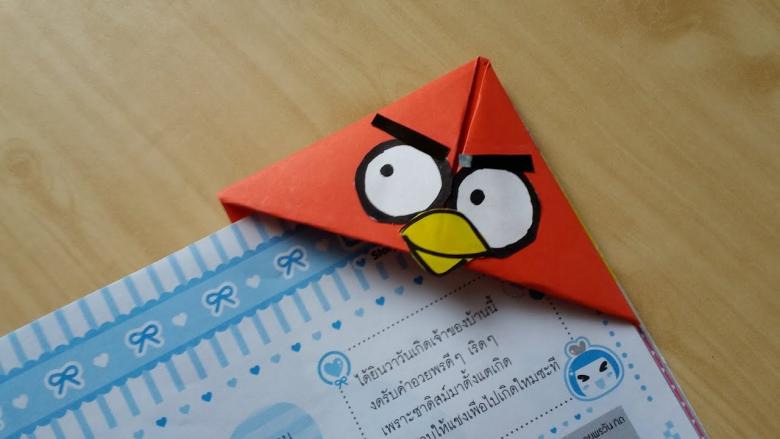
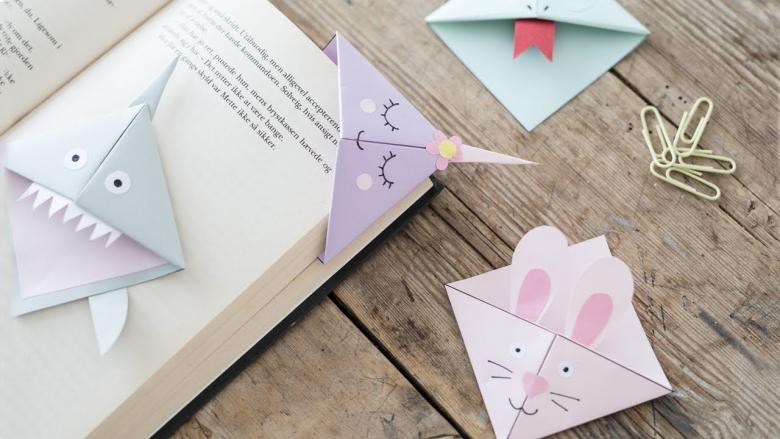
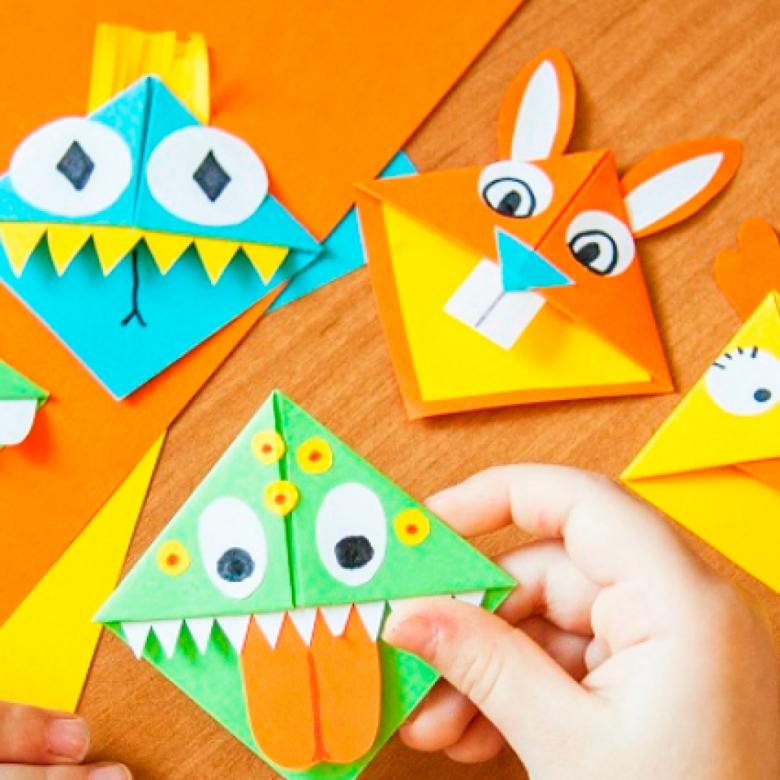
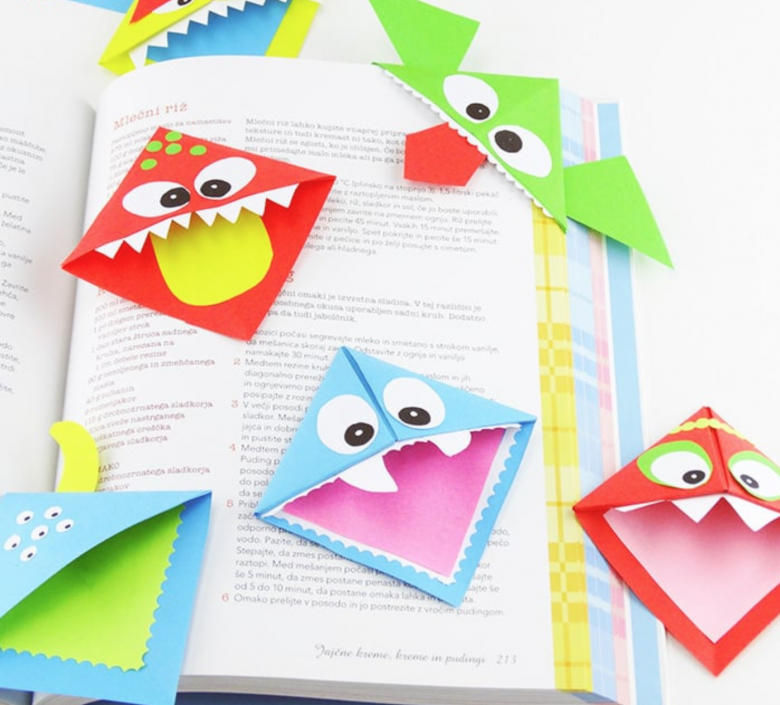
This variety is highly popular because of its simplicity, convenience and variability of design. The corner is put on the top or bottom of the pages, saving the reader from unnecessary searches. Start with the simplest layout:
- On heavy paper/cardboard, from the top left corner, draw two 4x4 cm squares to the right and another one just like it down.
- This creates a letter "G". It needs to be cut out. Fold the template along the inner lines, and then expand it in its previous state.
- In the outer squares lead the pencil diagonals. Trim the resulting triangles on the outside.
- Fold the remaining triangles inside the square.
- To design does not open, you need to glue the top triangle with the bottom, leaving a pocket inside.
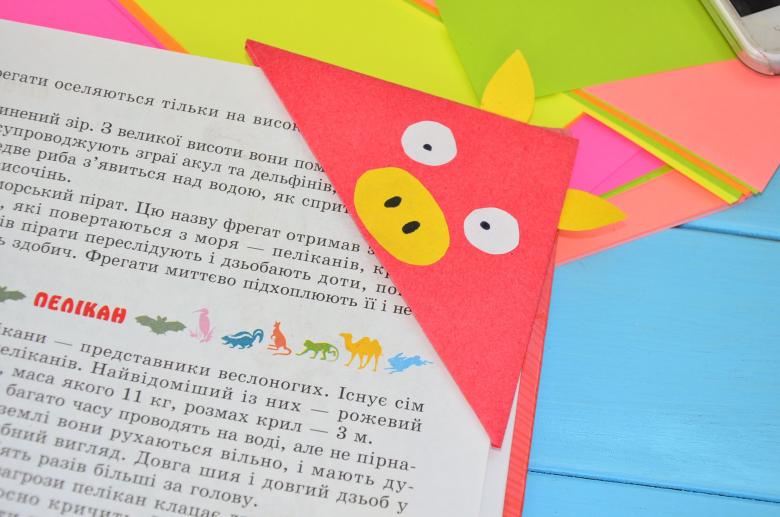
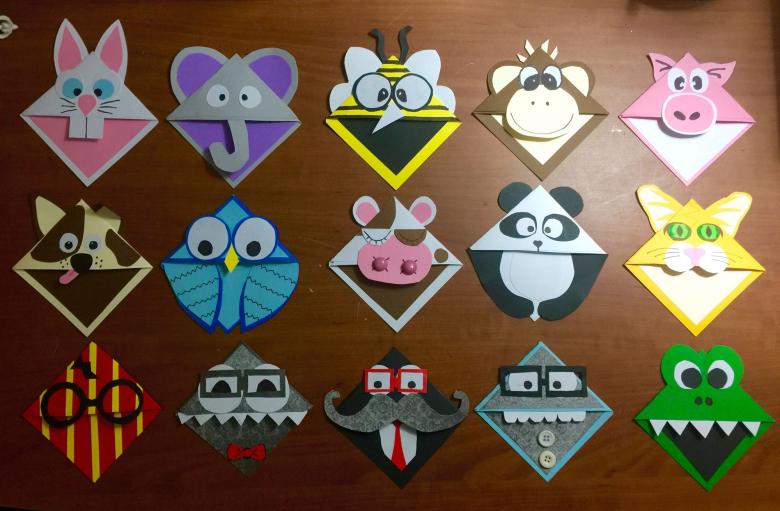
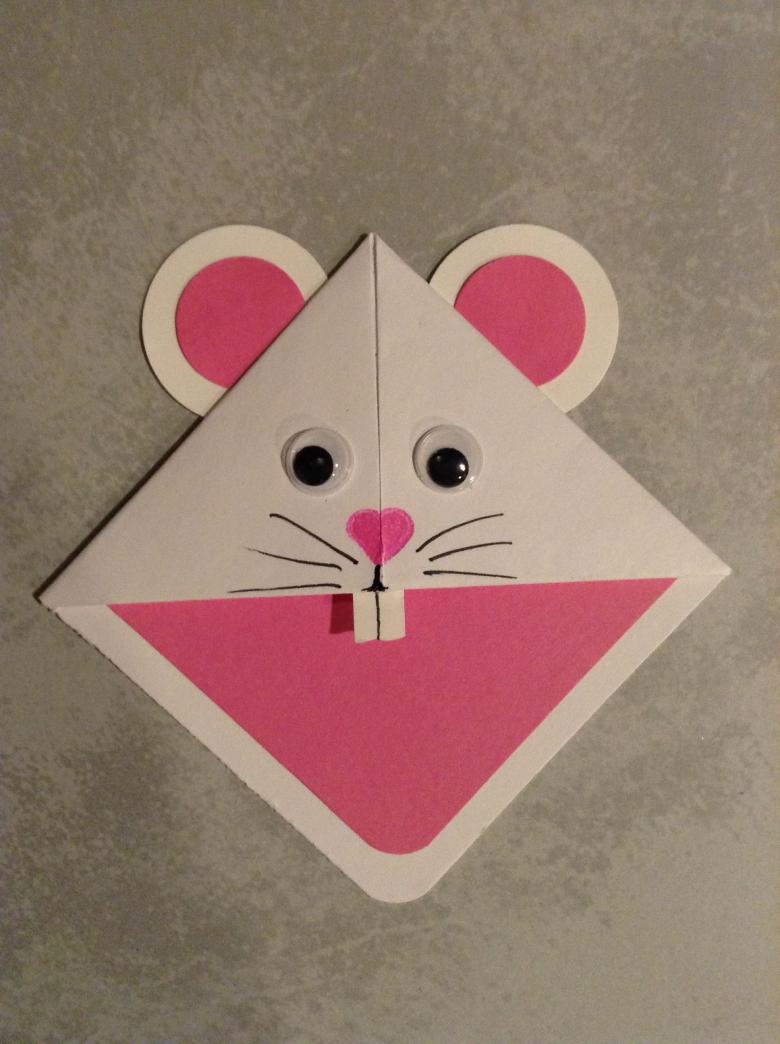
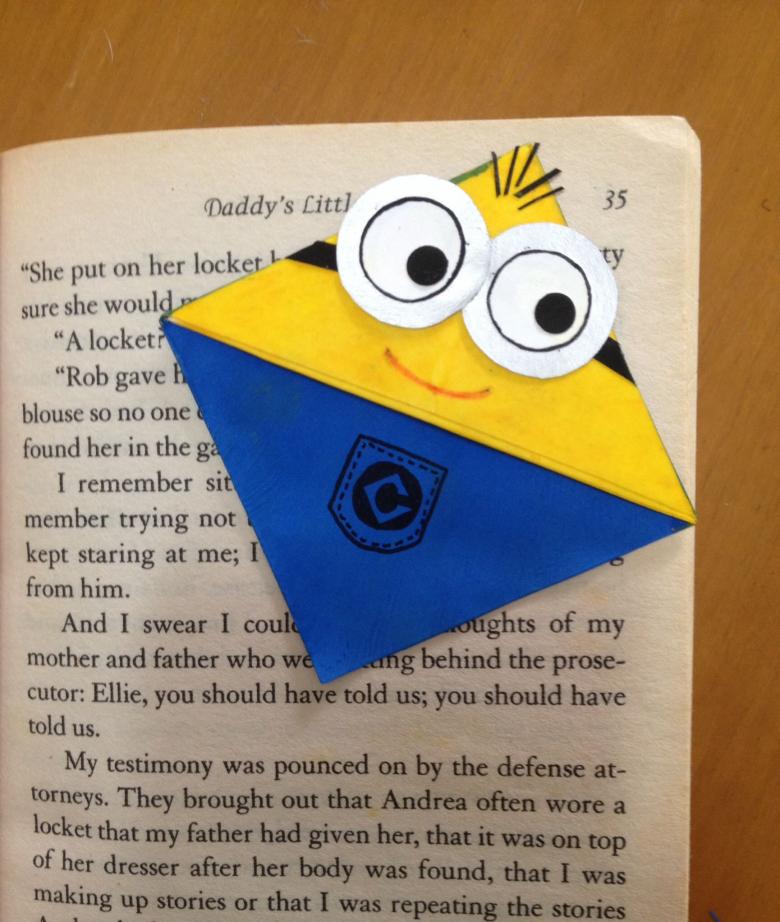
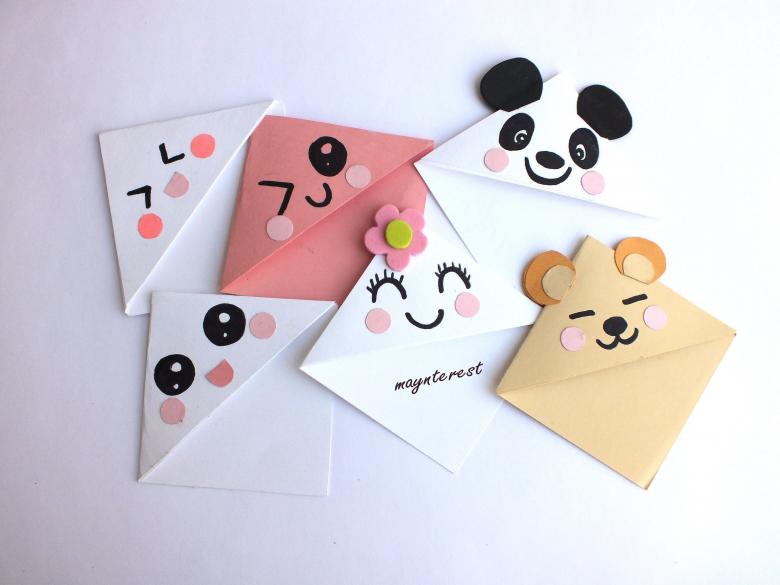
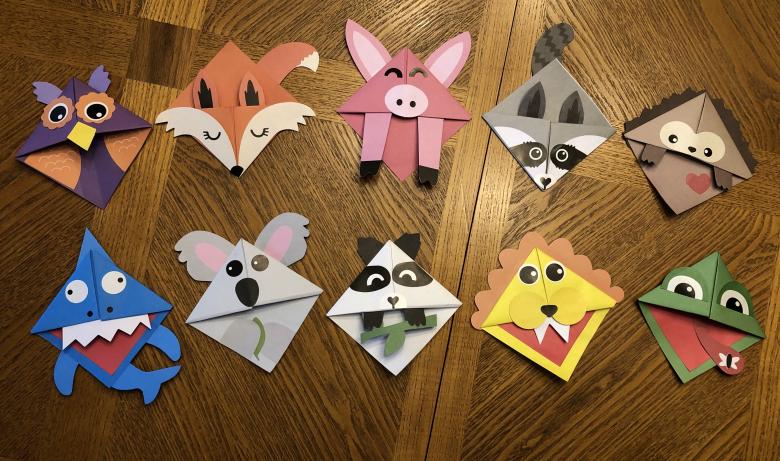
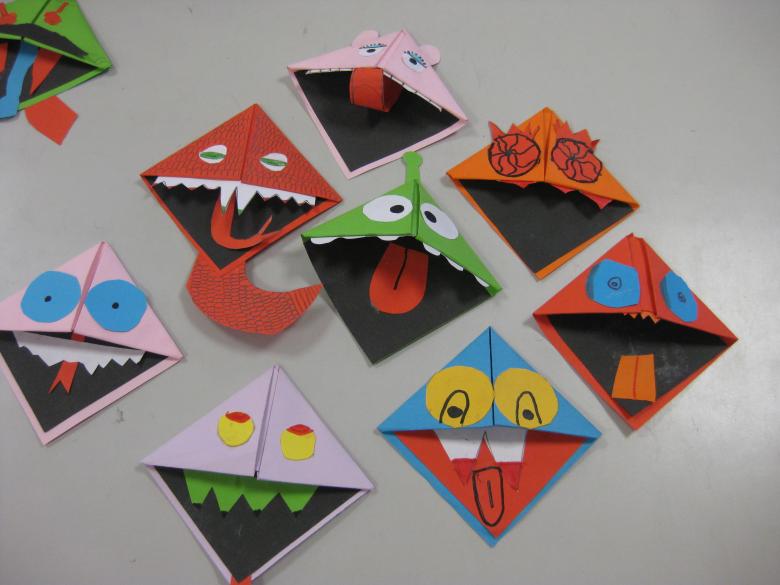
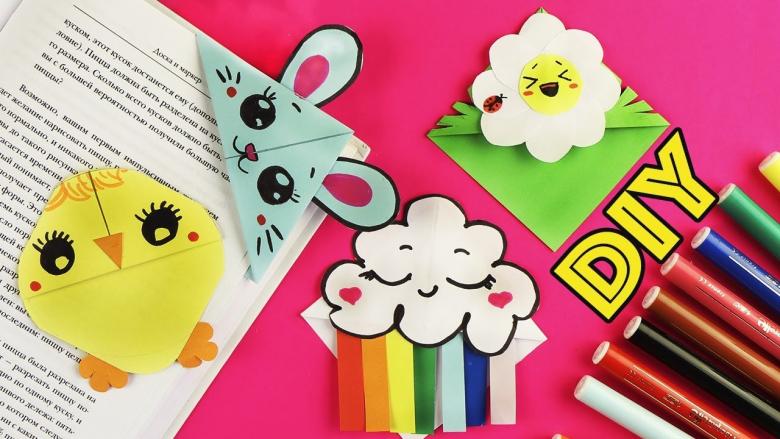
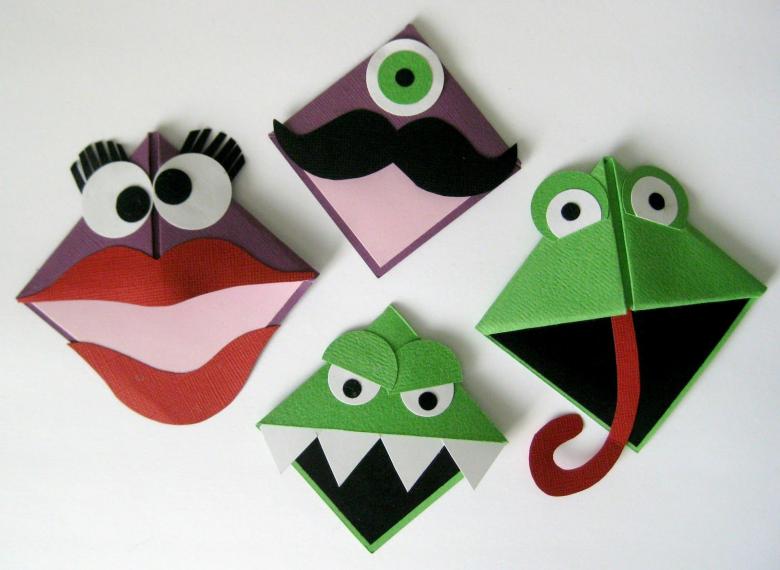
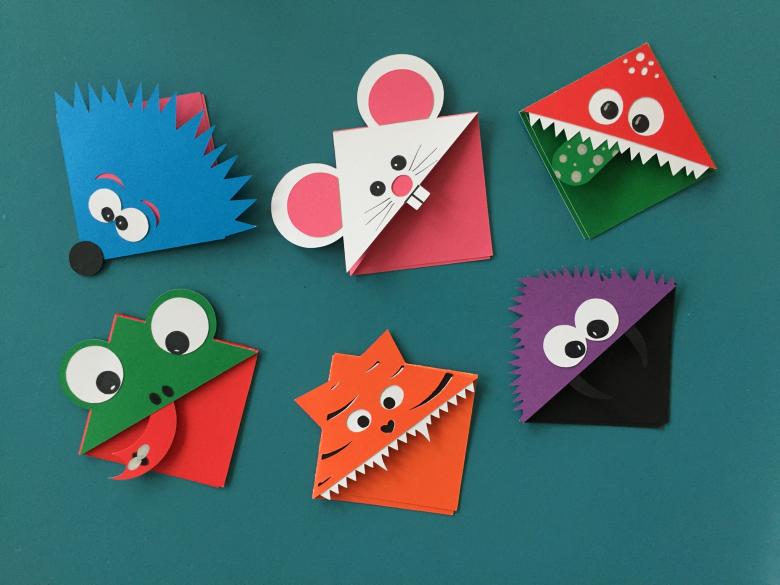
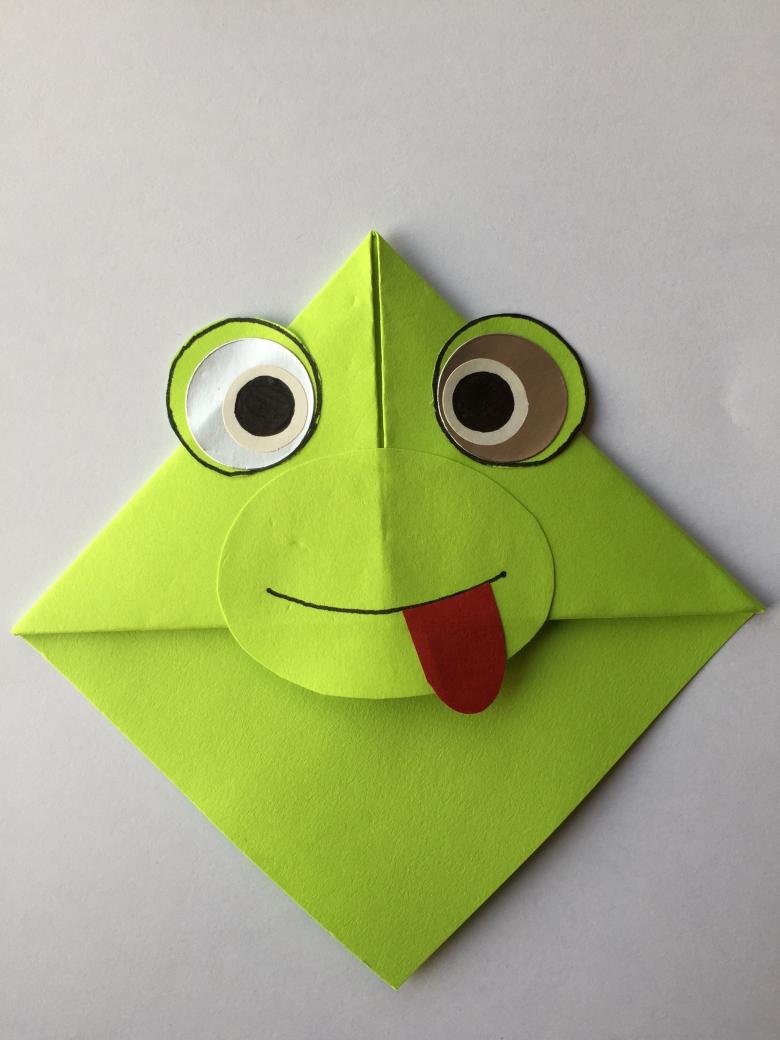
Bookmark ready. If you want to see something bright and original, decorate it with a picture or a three-dimensional applique. There are a huge number of options for decoration.
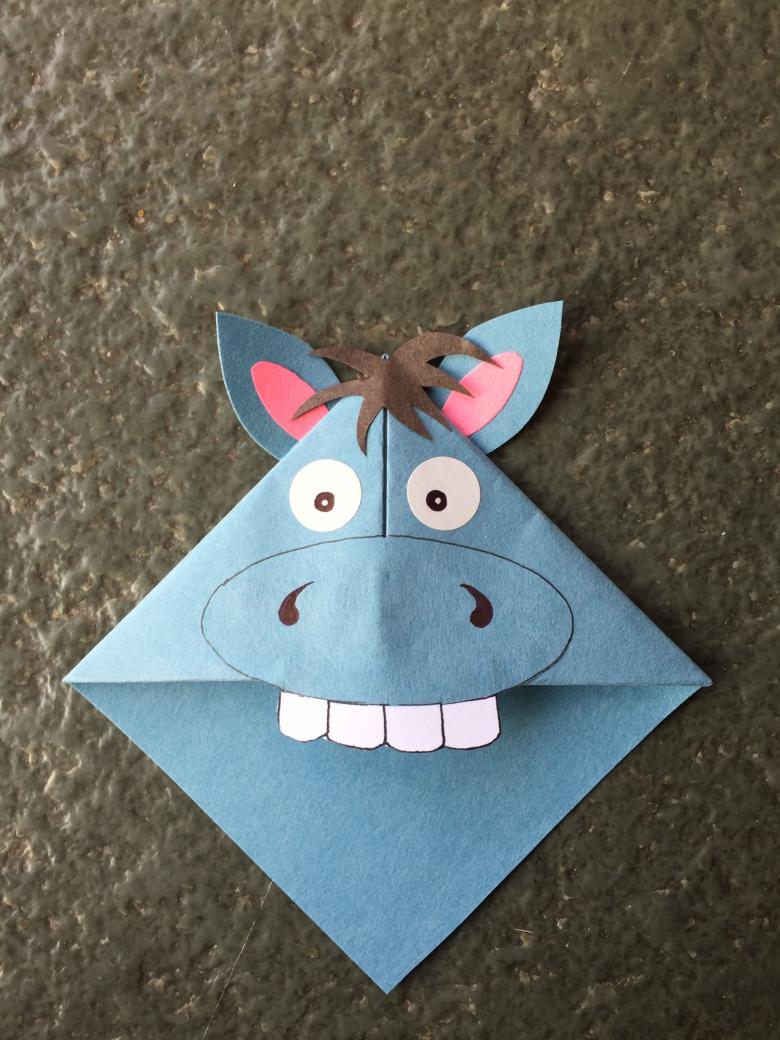
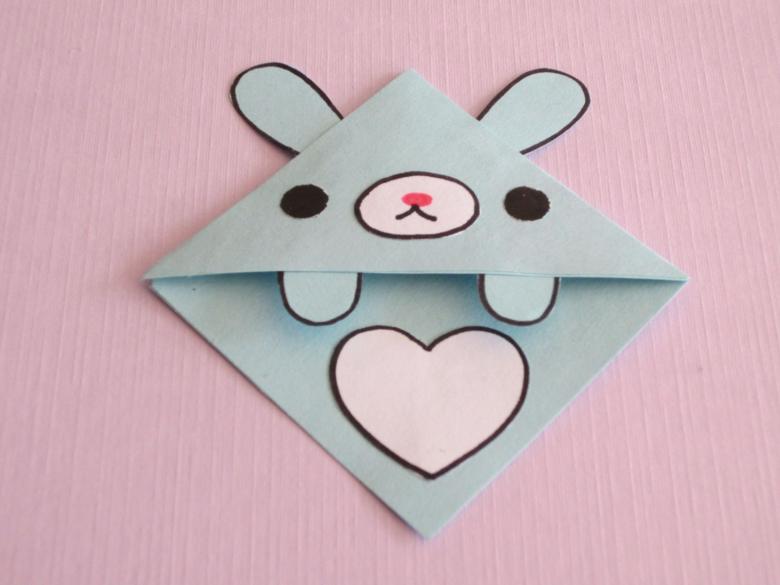
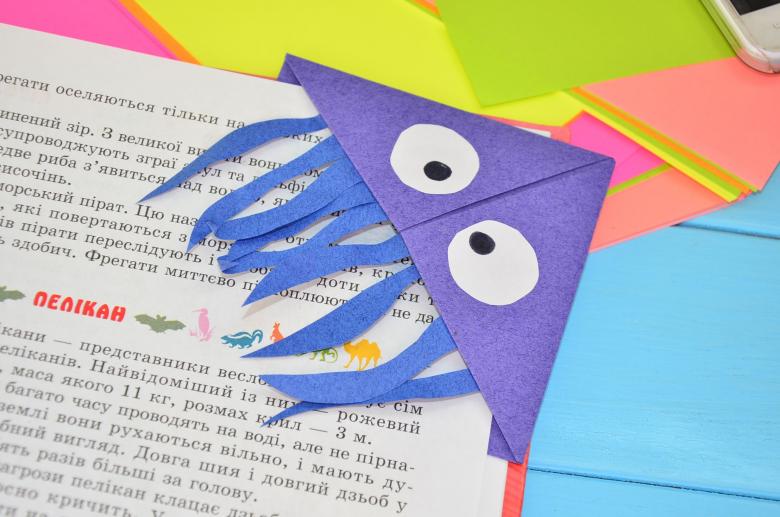
Corner-bookmark for books in the origami technique can have a round shape. The principle of production is not particularly different. The first association with the design - a charming smiley, which will look at you every time from the pages.
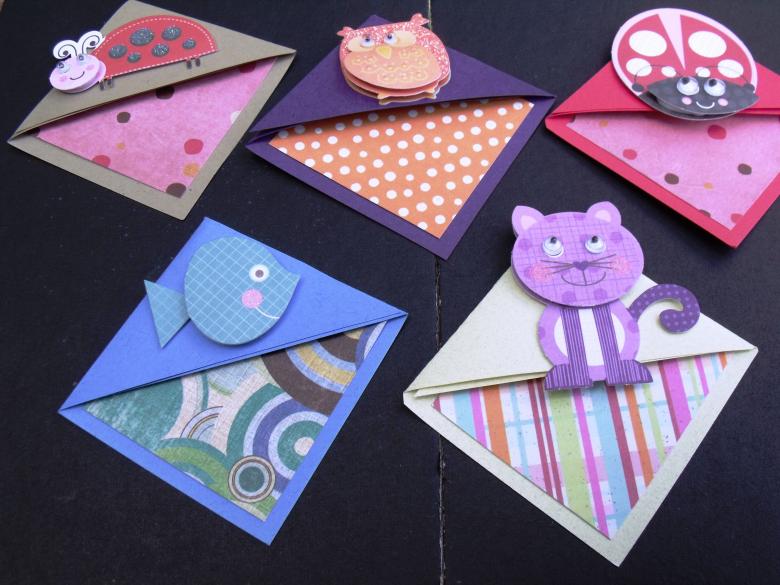
No great artistic talents are needed for this. Keeping the basic principle, but with changes in the assembly in a few steps turns out bookmark in the form of a heart. Origami technique is so diverse that it is worth making different angular figures, which only seem to you the most sympathetic and performable.
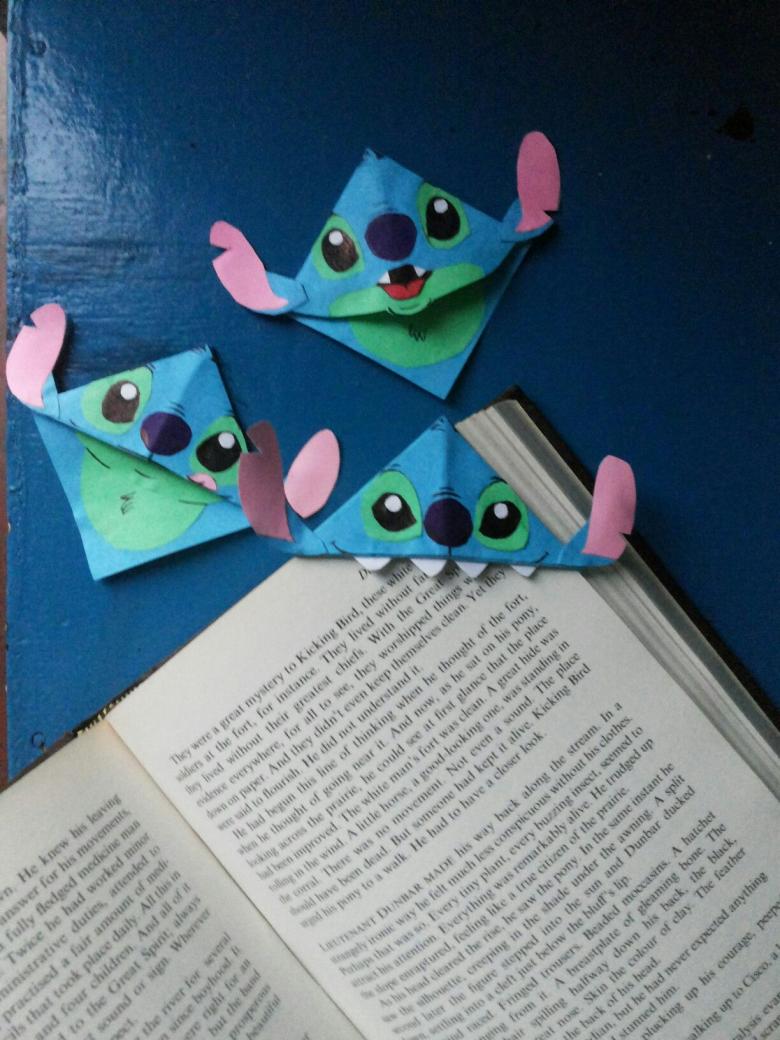
As you can see, creating origami bookmarks is a creative activity that does not require special skills, complex tools / materials and more than accessible to any age.

Children such activity is even useful for the development of fine motor skills, thinking and imagination. If the listed schemes seem complicated at first, you can start with the technique of applique.
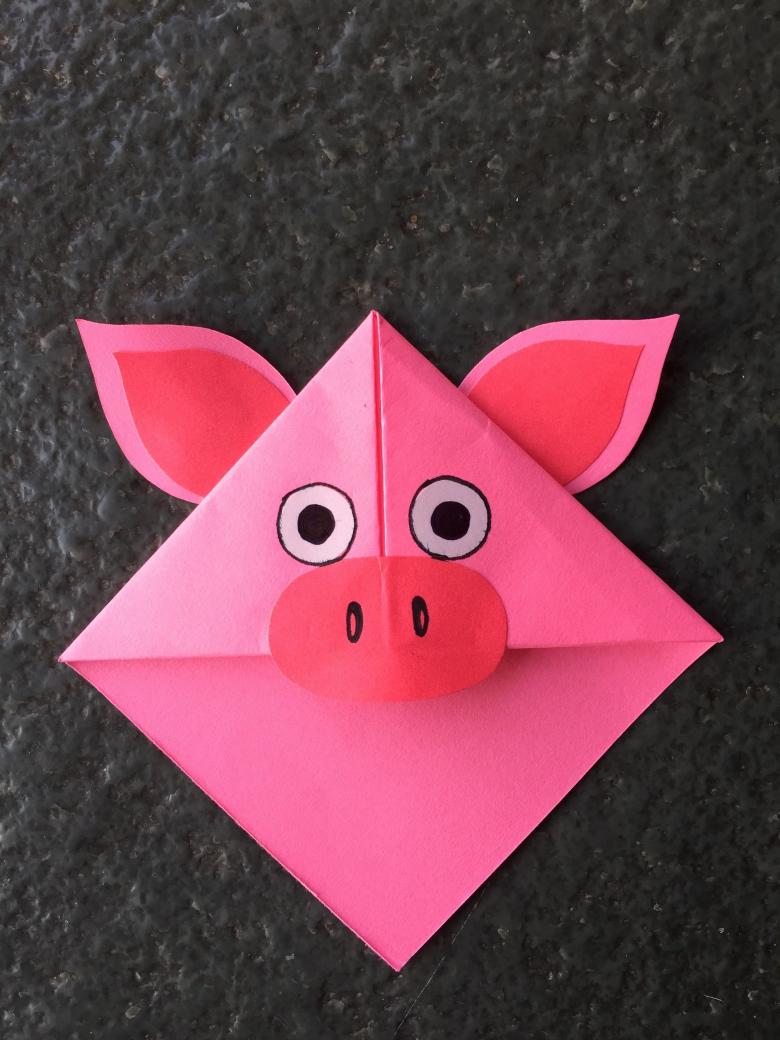
For example, if you cut out multi-colored paper circles (one diameter or different), decorate them appropriately, place them with some overlap and shift from the center line, and then glue them together, you get a bookmark in the form of a caterpillar. The process is great fun, and the result makes reading even more enjoyable.
