How to make origami shuriken: a step by step description of the creation process, photos of complicated schemes
There are times in life when you want to feel the most ruthless, the most agile and indestructible ninja!
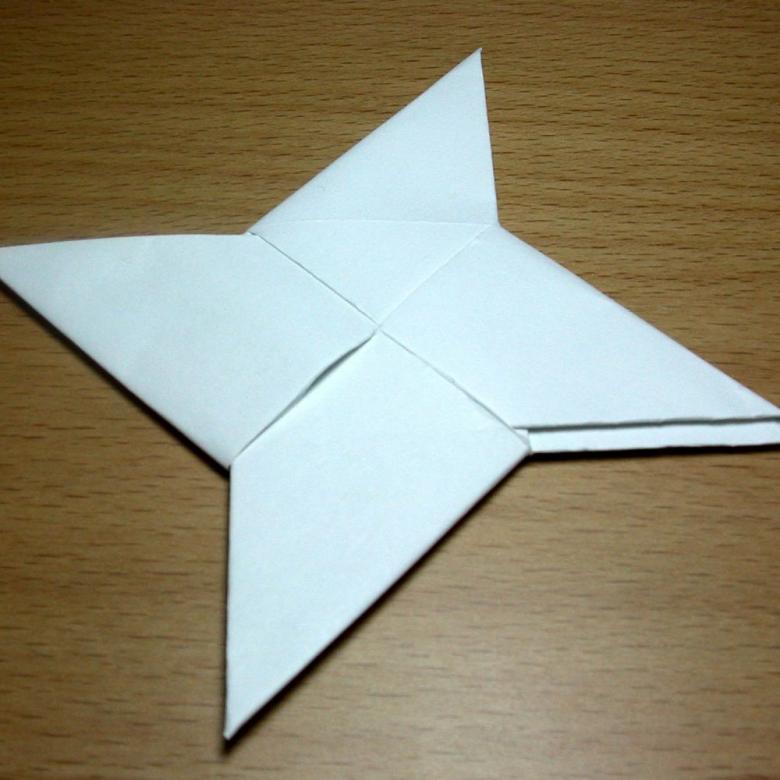
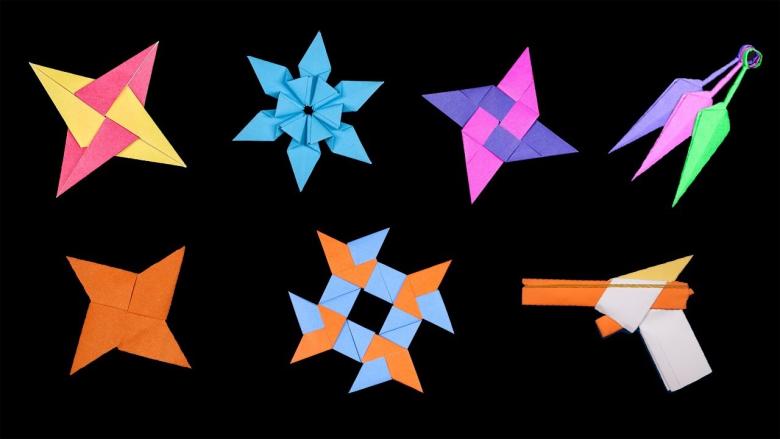
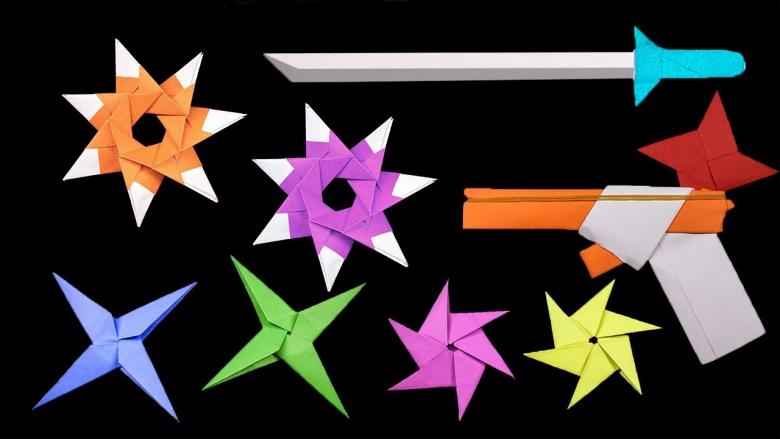
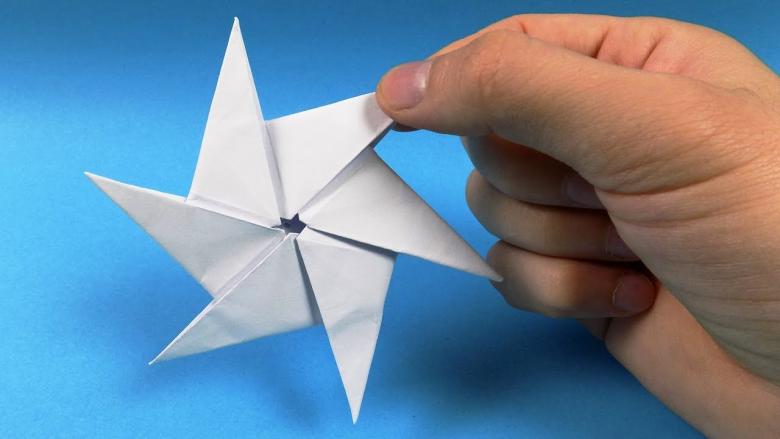
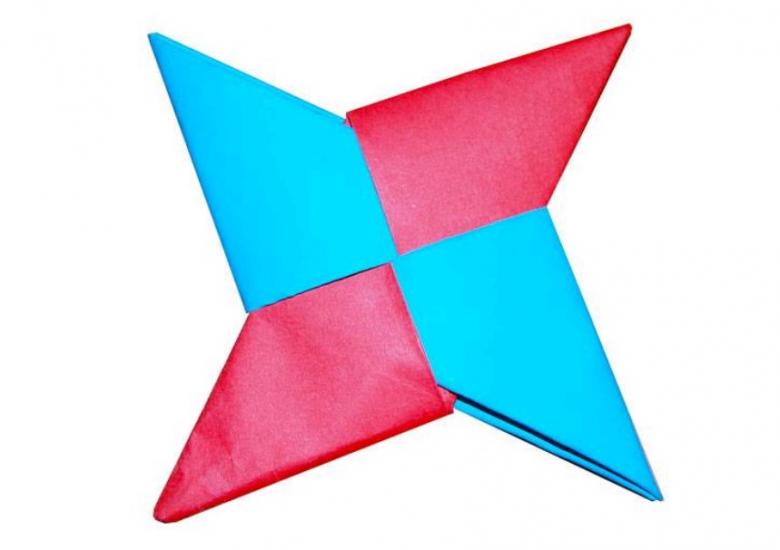
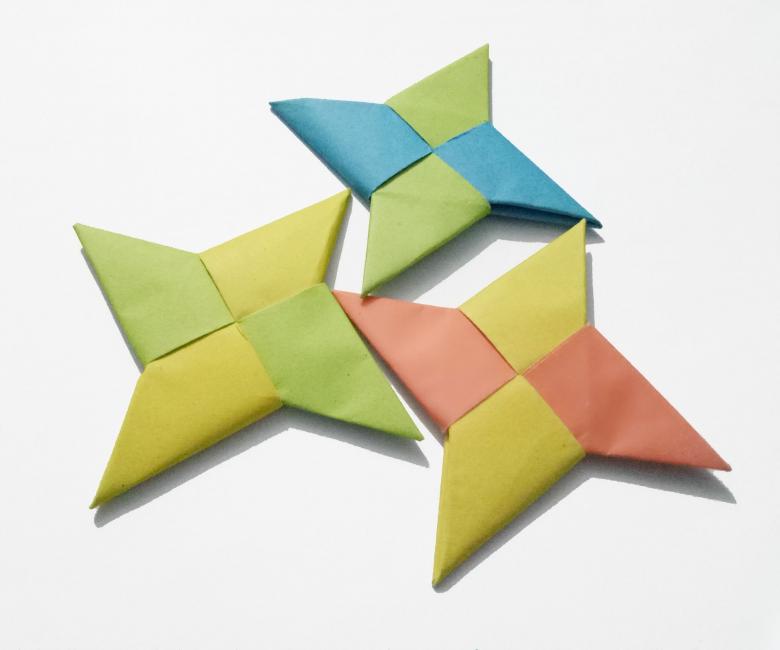
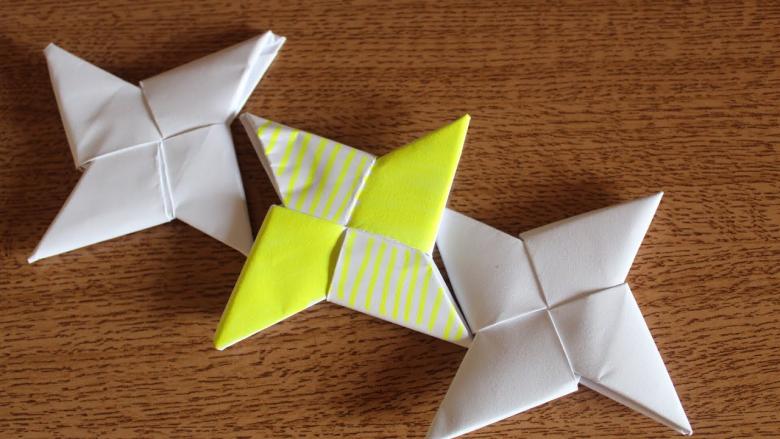
Today you will get acquainted with real Japanese weapons, which were made by the most skilled masters in Japan - with shurikens of different shapes: star, blade, snowflake, and even in the form of a nail!
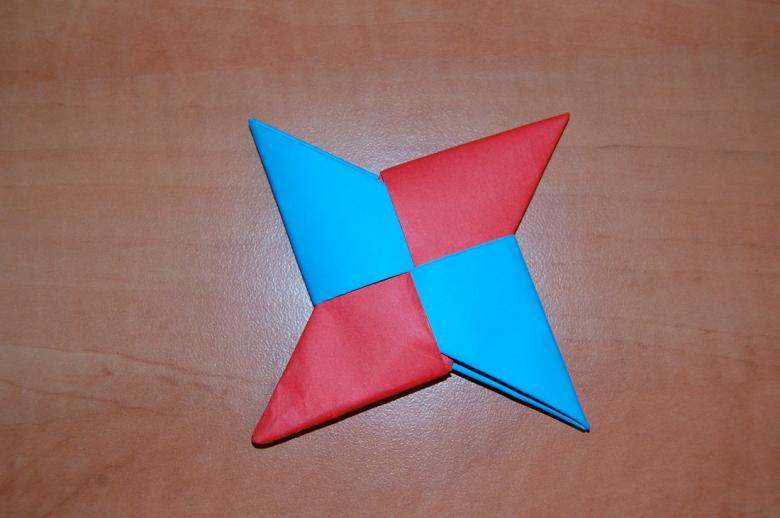
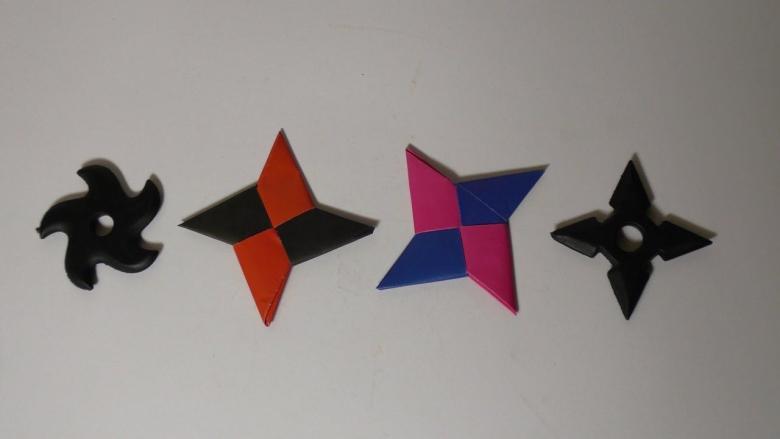
The origin of this weapon began in Japan, the term in Japanese translates as "a blade hidden in the hand". It acted as an additional weapon if a sword or spear did not help in battle, or simply these weapons were not available to the warrior.
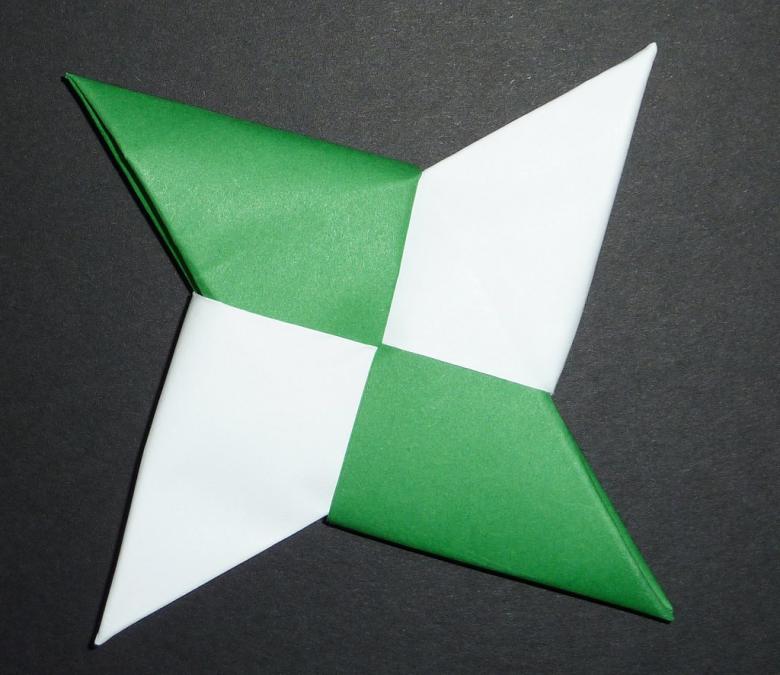
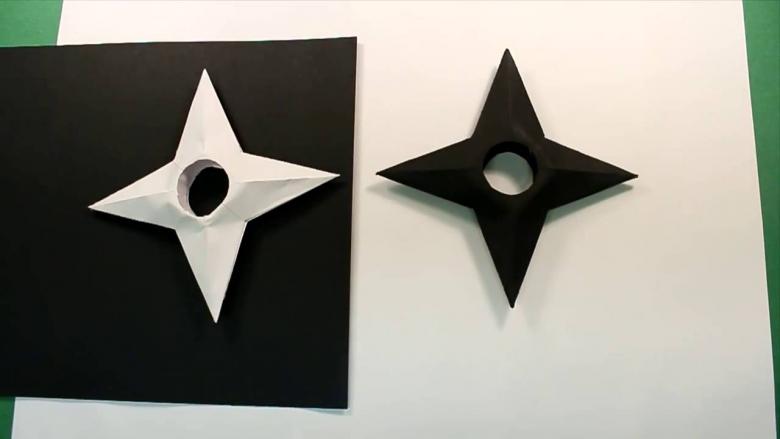
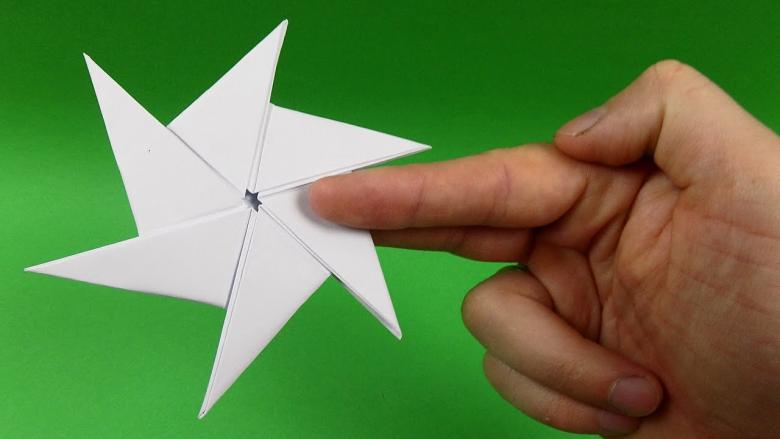
It was originally made of thin metal strips with sharply sharpened rays. They could have a circular shape, as well as a shape that consisted of four, five or eight corners. A hole was also made in the center of this weapon to improve its aerodynamic properties.
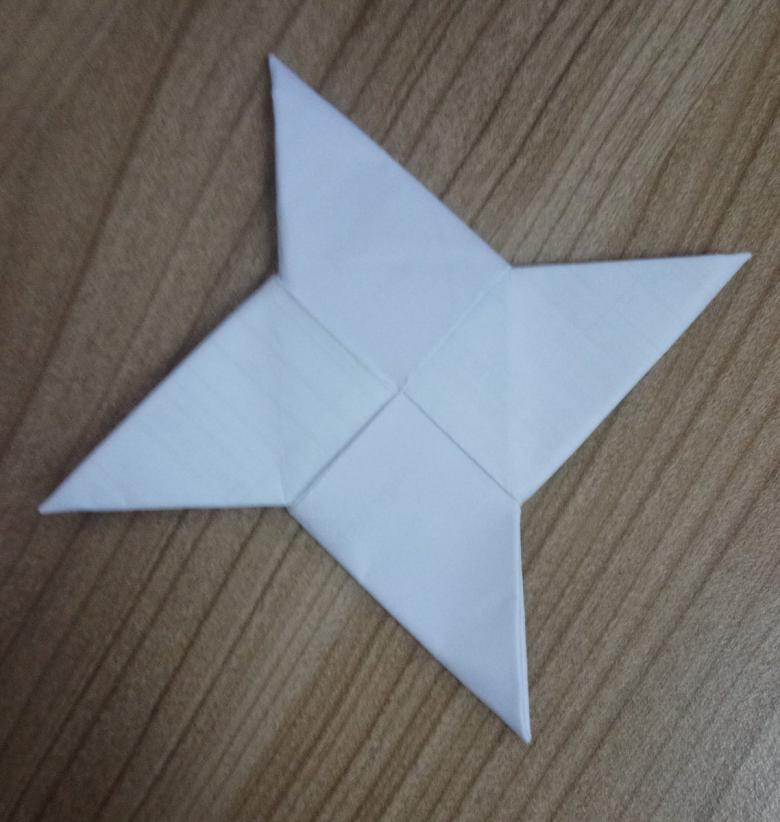
Ready to be Japanese samurai and dive into the mysterious art of paper handling - origami? Let's proceed to create an origami shuriken from paper!
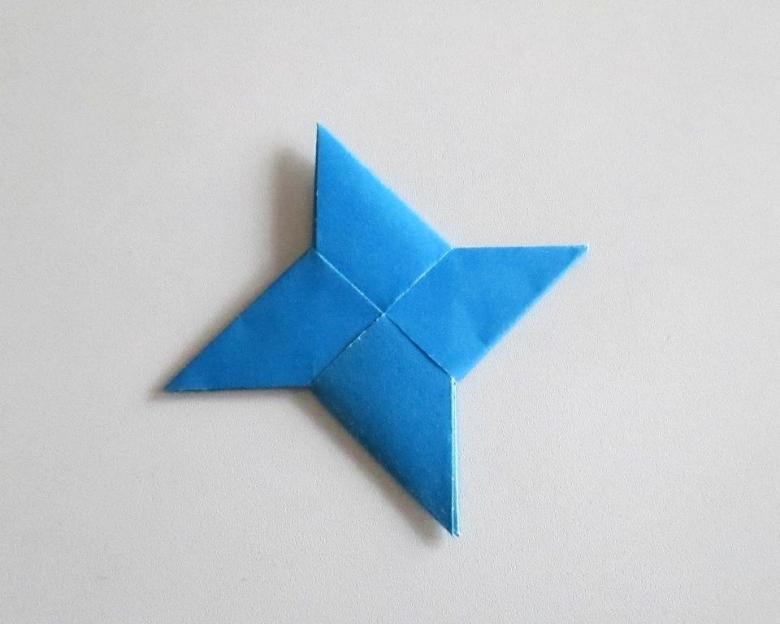
Materials for making shuriken
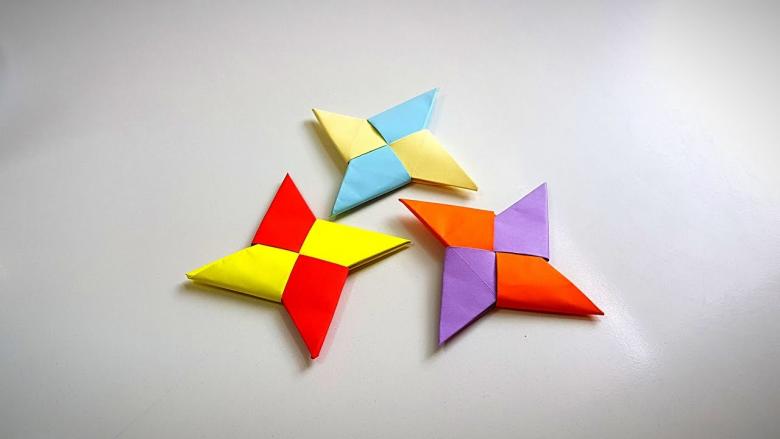
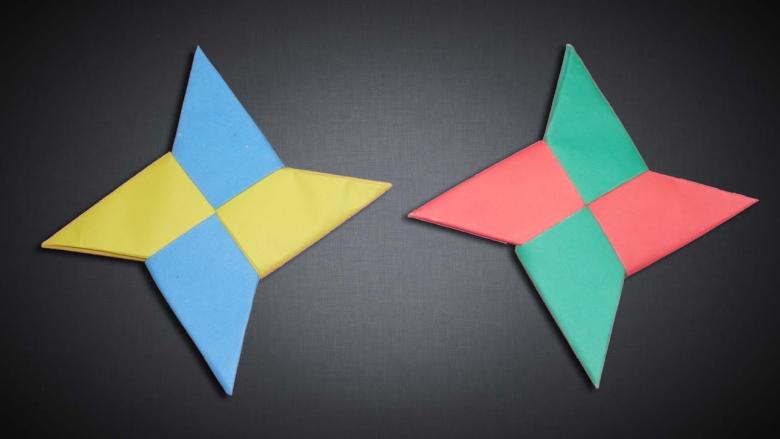
So, to create a homemade shuriken, we will need two identical square sheets of paper, you can even take different colors to scare the enemy with bright combinations!
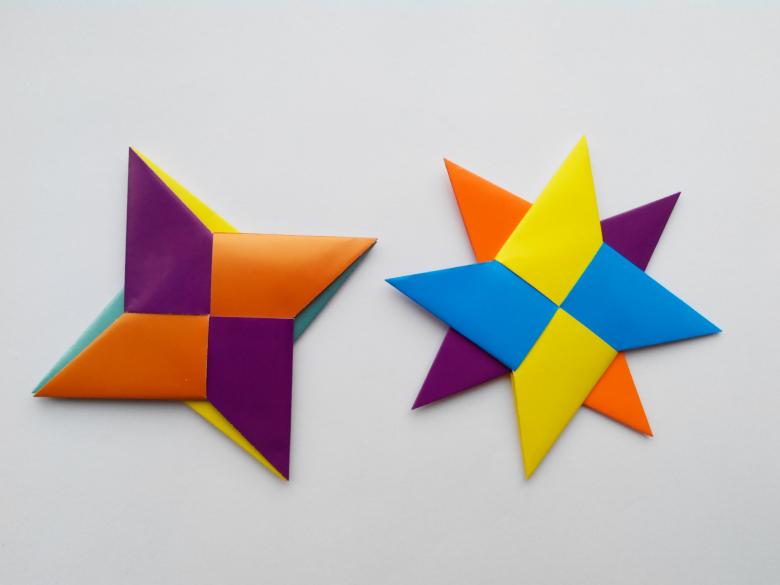
Note: quite often ninja beginners cannot find sheets of paper exactly square in shape, but do not despair, because this shape can easily be obtained from a standard rectangle!
It is necessary to follow the instructions:
- It is necessary to fold a rectangle diagonally;
- The rest of the sheet must be cut off;
- And here are our squares!
Now there is everything you need to show what a true master of origami!
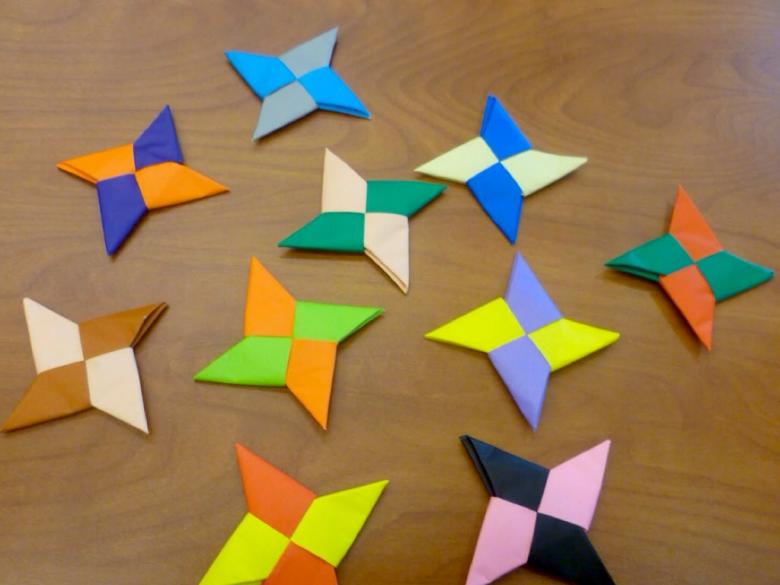
The process of creation (step by step)
The last admonition before the work: it is important to remember that we must obtain elements of exactly a triangular shape! Later it will become clear why this is necessary.
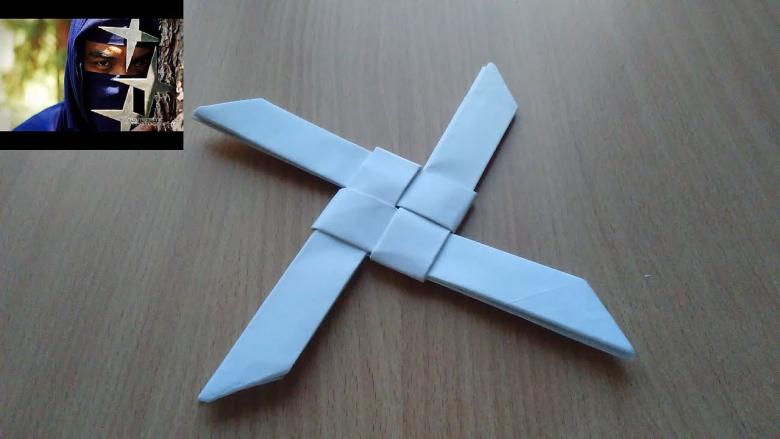
1 Step. So, the next steps apply to both sheets of paper: fold them in half twice. Yes, yes, the complex always starts with the simple.

2 Step. The resulting rectangles should be placed under each other, with the long side facing you, for convenience. Now their corners need to be stacked so that in one figure they "look" in different directions - one up, the other down. If everything goes right, you will see an arrow on the table pointing in a direction, the ends of which are at a distance from each other.
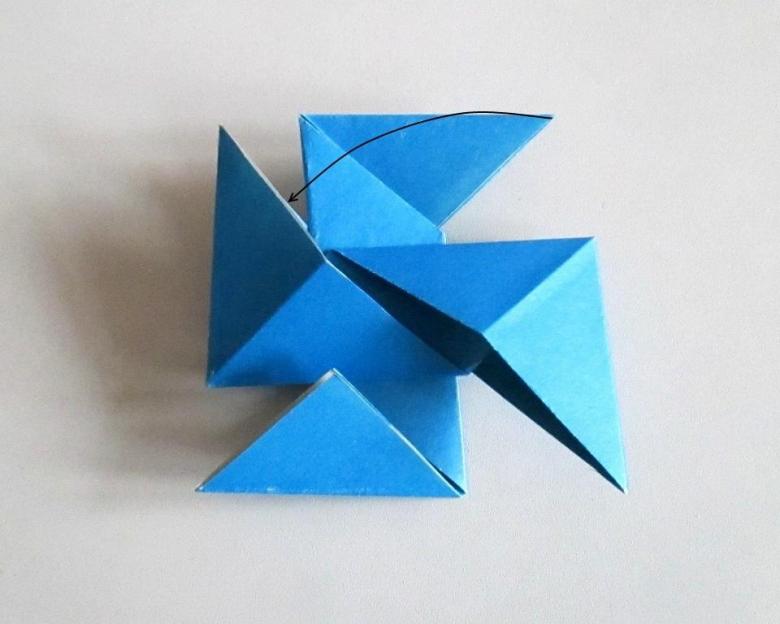
Step 3. The corners need to be repeated: continue to bend in the same direction to get an offset rhombus. Need to draw a line of bending: repeat the triangle obtained in the second step twice, return everything to its original position. According to the received line of bending all sides. Repeat steps with the second element.

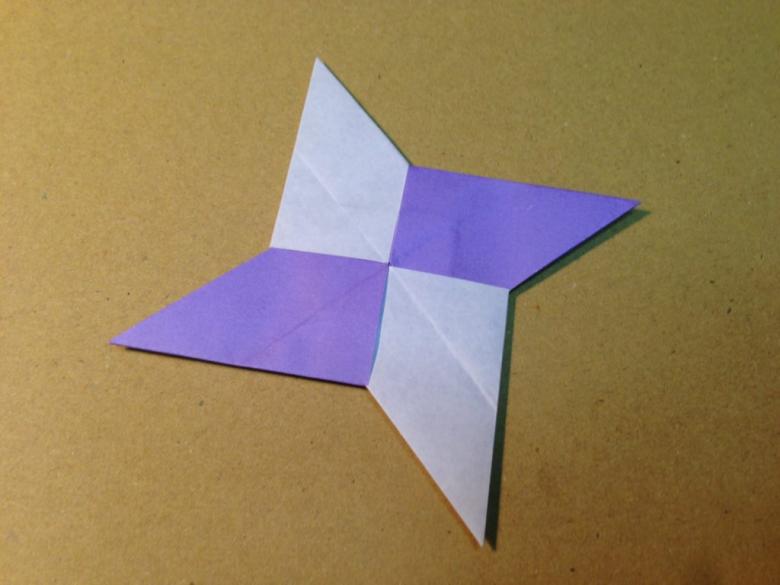
Step 4. We get two mirror elements, continue working with them. One piece should turn the "wrong side" up. Put the second element on top. Now the corners of the lower part to "tuck into the pockets" the top, bending the triangles of the lower figure in half.
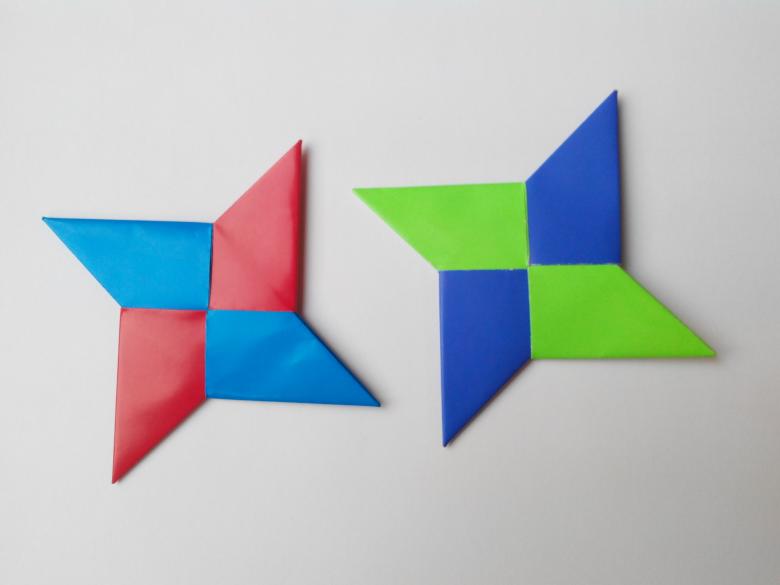
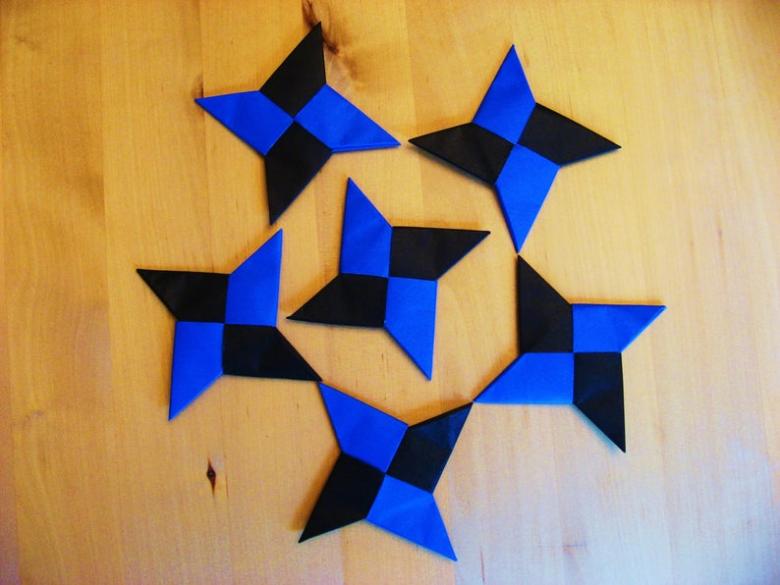
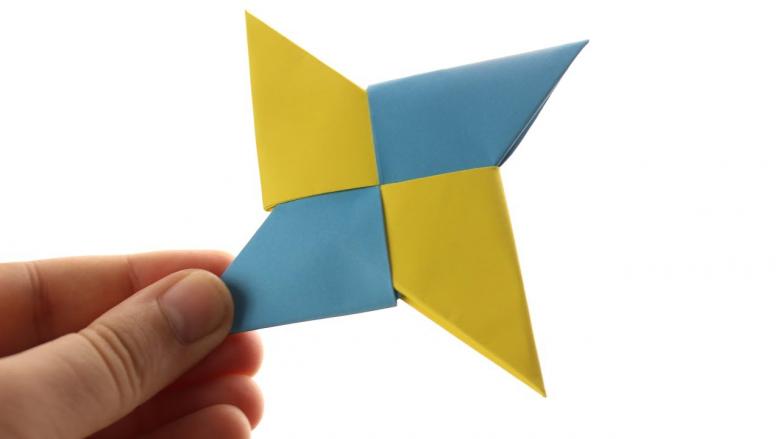
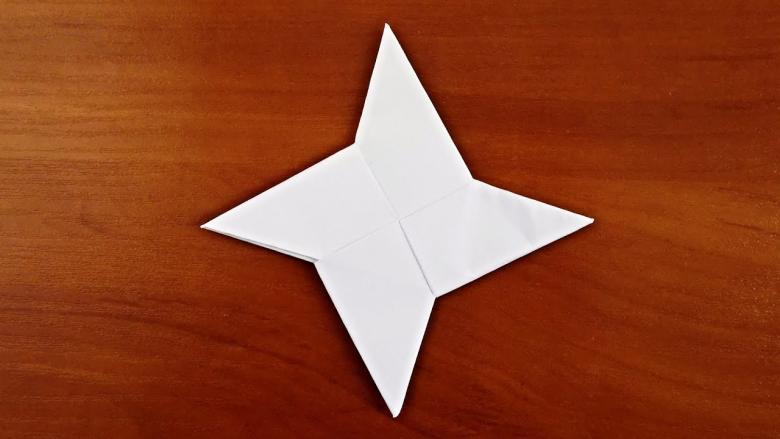
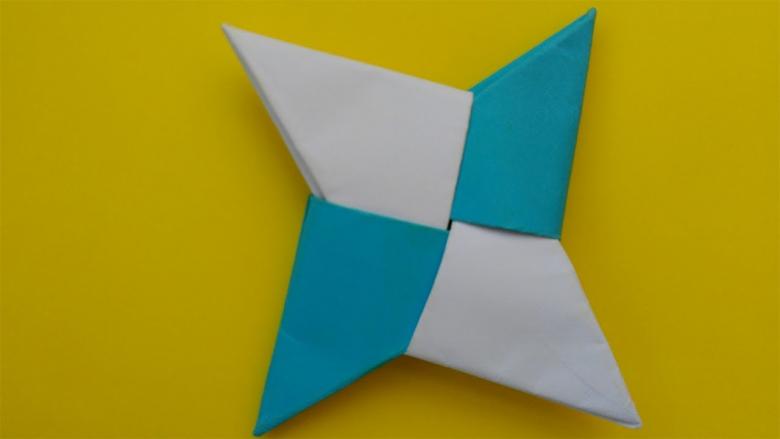
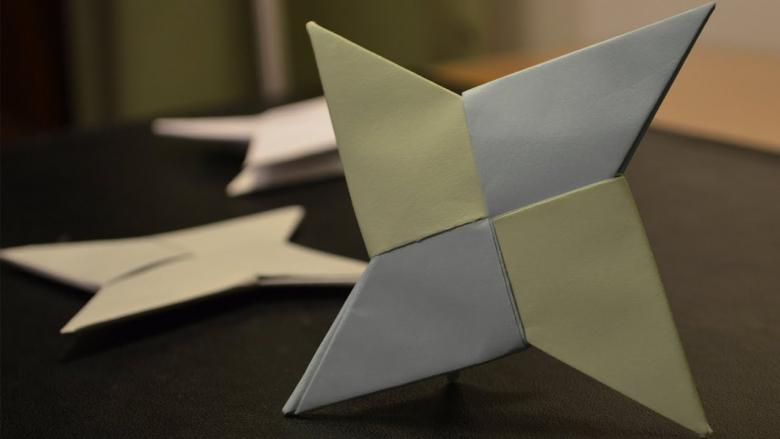
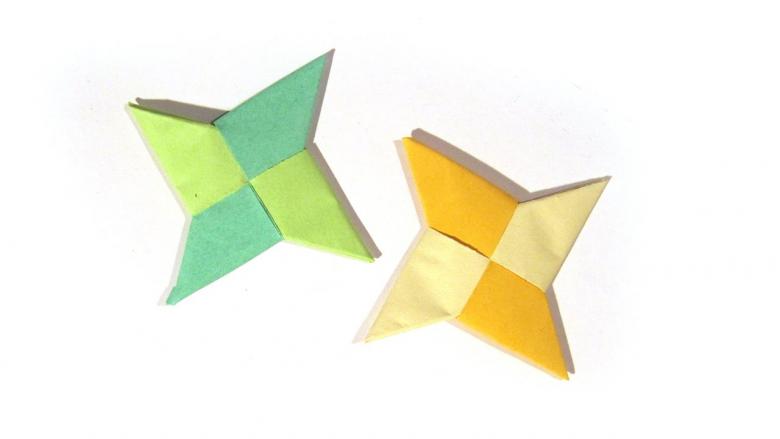
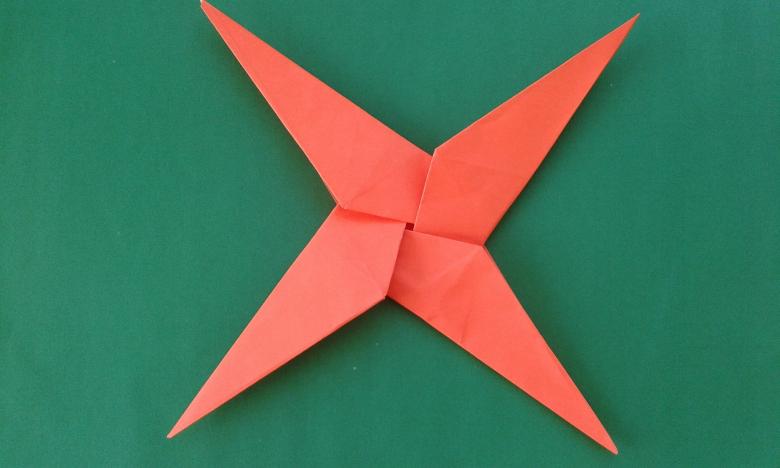
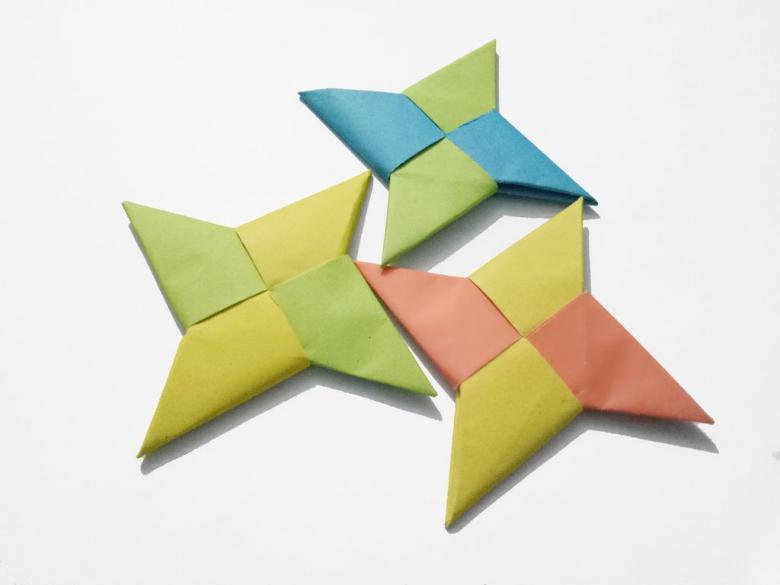
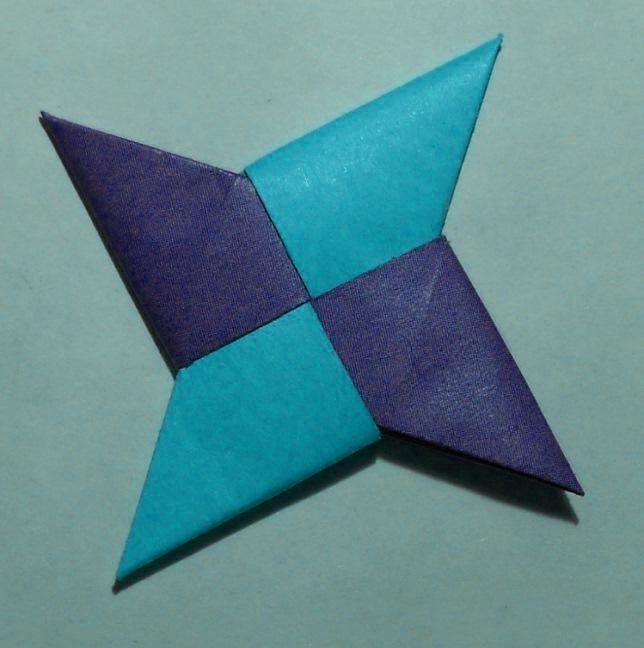
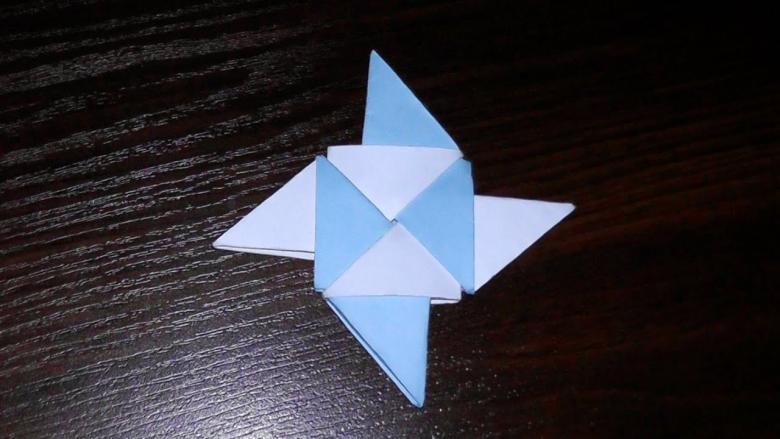
5 Step. Turn over the joined parts, you will notice that there are still triangles, which can bend. Exactly the same way we put the corners into the "pockets" of the upper part... Magic! You are holding in your hands the most real (albeit paper) shuriken!
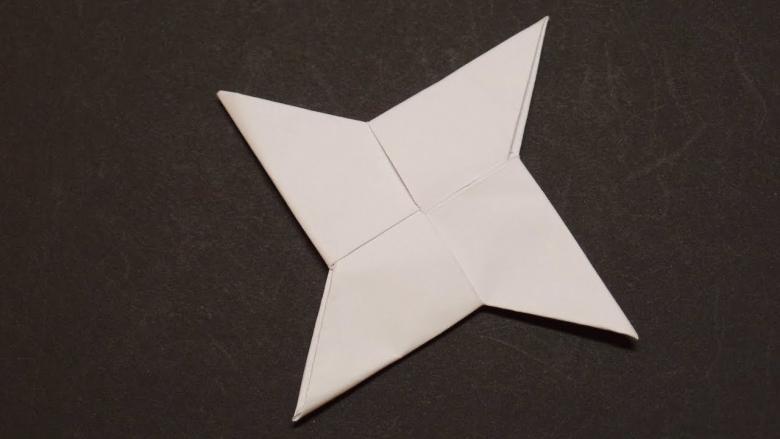
Complication of the scheme (for the most daring ninja)
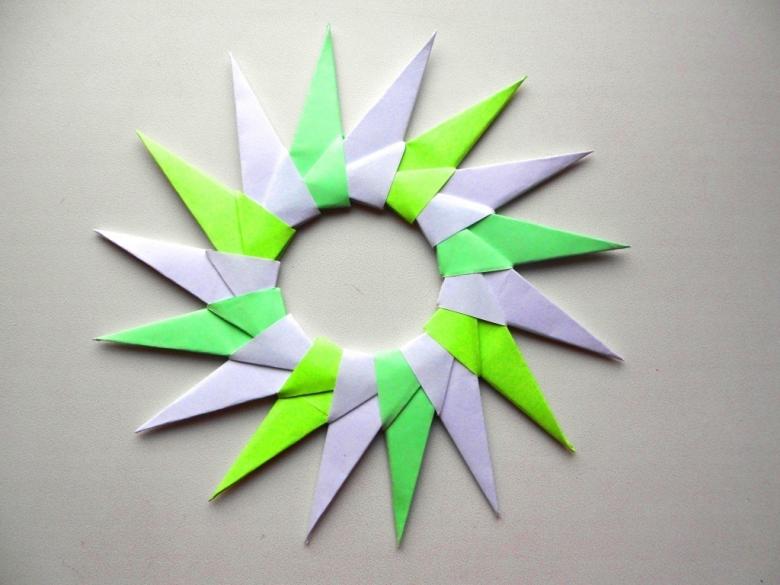
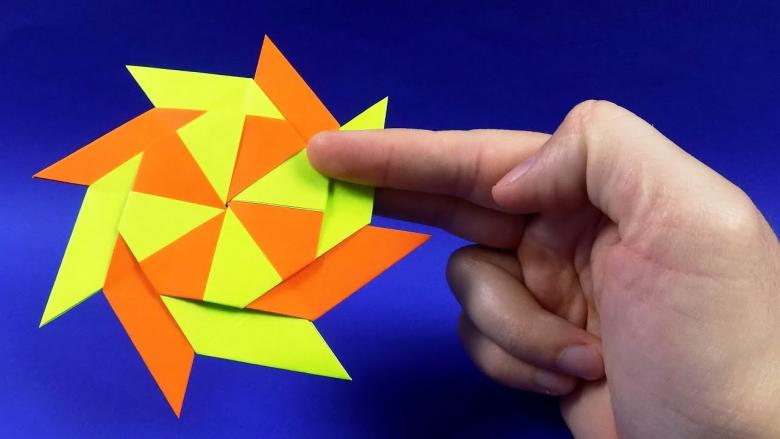
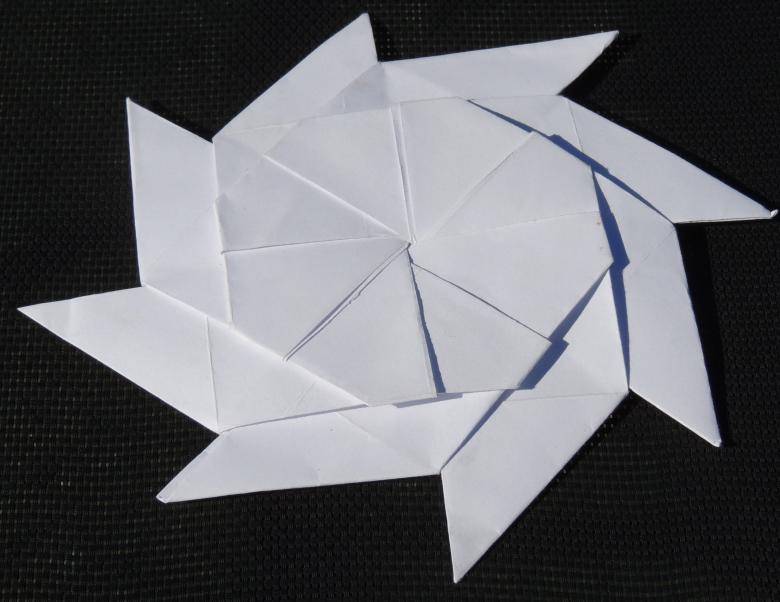
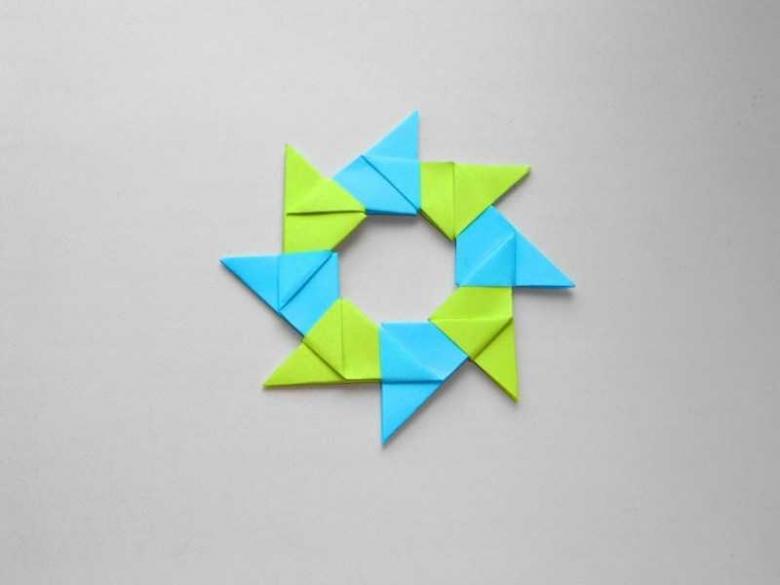
In addition to the simple scheme of making shurikens, there is a "transphomer" shuriken, which will suit the most sophisticated craftsmen and the bravest ninja! Let's begin creating it.
1 Step. First we need to make blanks - the parts that will be assembled into a transformer-suriken. Need a sheet of square paper a little smaller than used in the previous origami. Now draw a line of bending - fold the sheet, respectively, along two diagonals and in half, unbent back.
2 Step. To the midline bend the top corners to the center of the paper.
3 Step. Fold the figure in half with the corners facing each other.
4 Step. Along the remaining lines of folds tuck inside the outer corner.

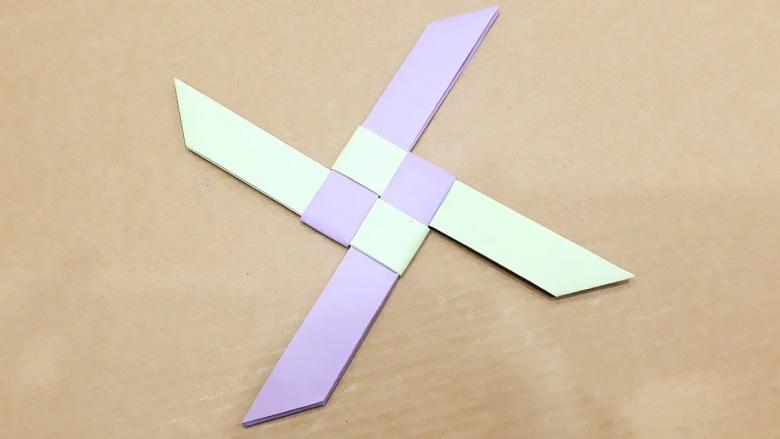
5 Step. For the final origami need to make 8 blanks, for best results use different colors. Let's take the enemy in number! Now you need to connect them to each other: we take in hand two pieces, one of which we turn the ends to the right, and the ends of the other bend inward near the single end of the first, so that their beginning "clung" to the double tails. Repeat this step until you have a ring, with the ends of the last piece attached in the same way to the very first piece.
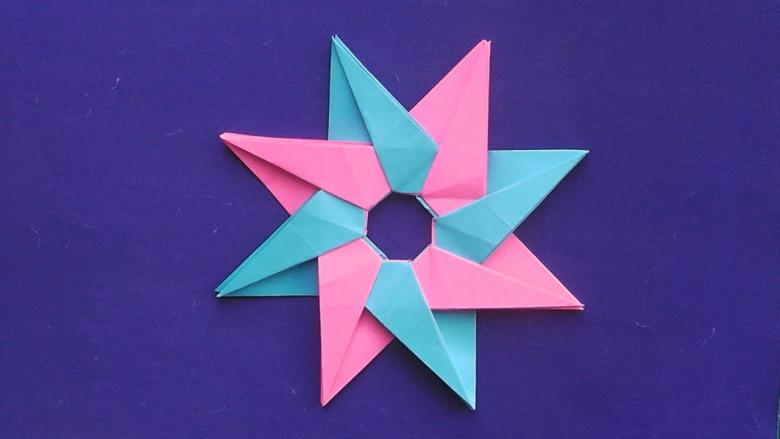
Step 6. There is little left to do: you need to move the opposite sides toward the center, narrowing the hole in the center of the figure. So you need to do with all sides. Congratulations, now you can surprise your opponent before attacking with your sophisticated weapon!
Application (for the most dangerous ninja)
So, my young ninja, are you ready to start practicing with a dangerous Japanese weapon in your hands? Here are a few ways to go about it:
- Thanks to shurikens you can not only reincarnate into a true master of the ancient art, but also gather a whole army of followers - for example, teach your friends how to make them, thus recruiting a large number of warriors and wargirls into your army!
- An entertaining way to use shurikens for the most accurate and dexterous - a competition to hit the paper shurikens on "targets". This role can be played by light toys: figurines of toy soldiers or small teddy bears (if you don't mind, of course).
- Show your imagination! If you consider yourself the most inspired master of origami, it is not difficult for you to add color to your work of art: decorate the resulting shuriken, add more colors, components, make blanks of different sizes, combine them.

Here is an interesting weapon - a shuriken - you can make at home from paper without using scissors. It's simple, but the important thing to remember is, "The greater the power, the greater the responsibility. Don't forget that although shurikens were used in martial arts, ninja were responsible, merciful warriors. Use the treasures of Japan's ancient culture correctly!
