How to draw Spike from My Little Pony - features of color and lighting choices, photo ideas and examples
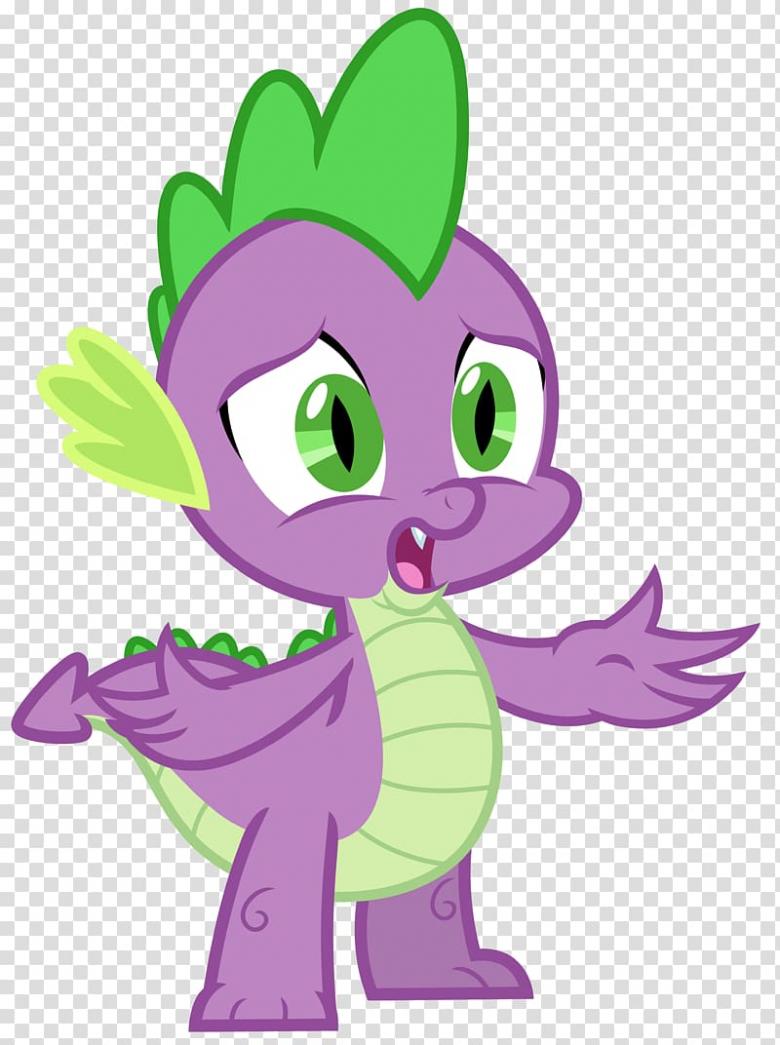
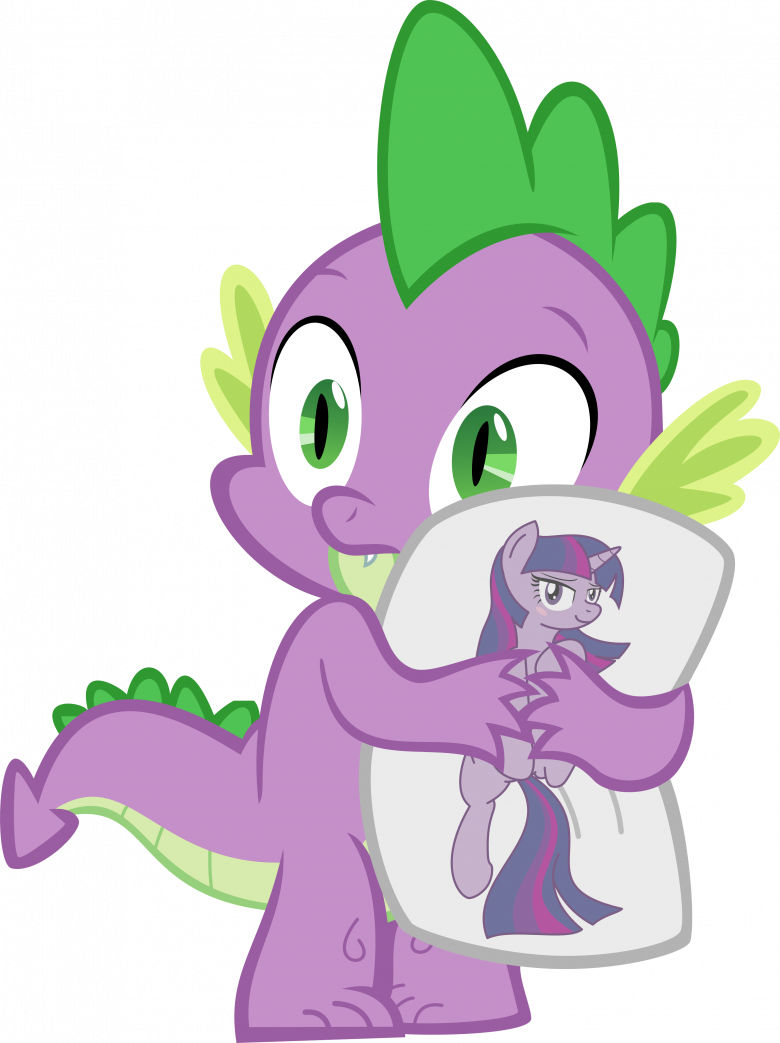
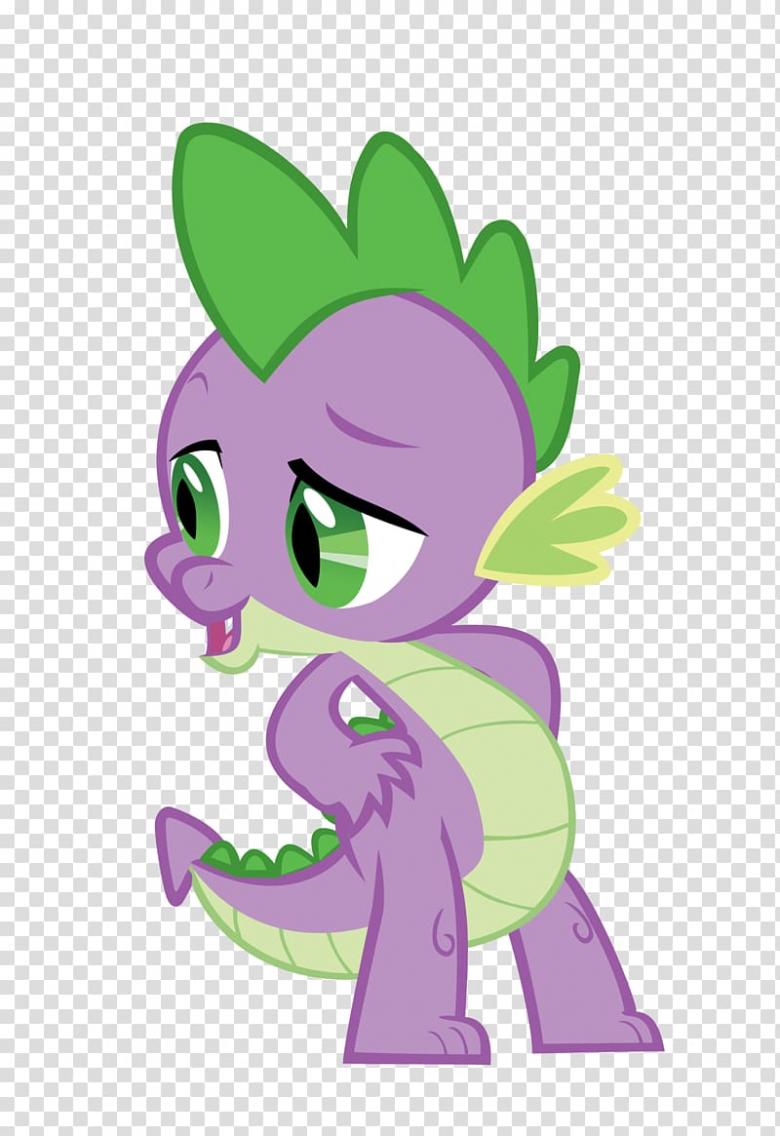
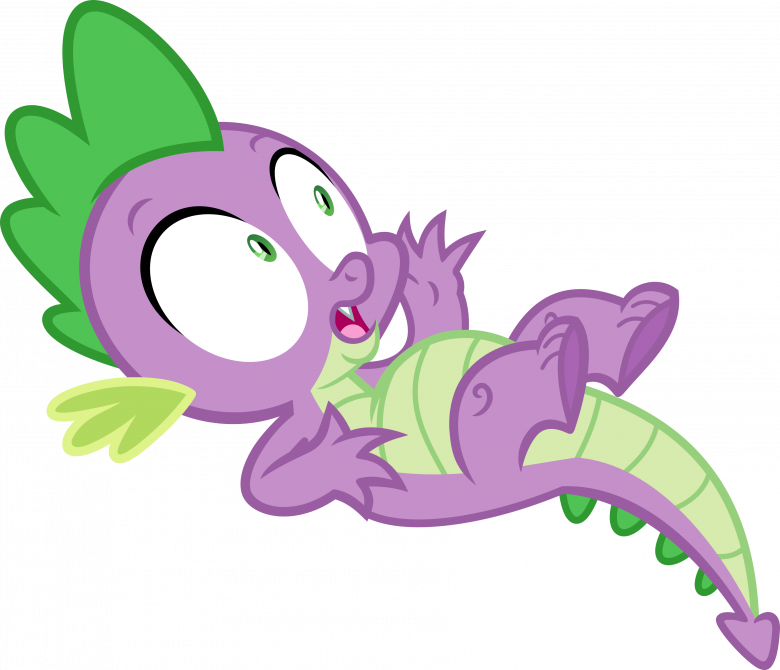
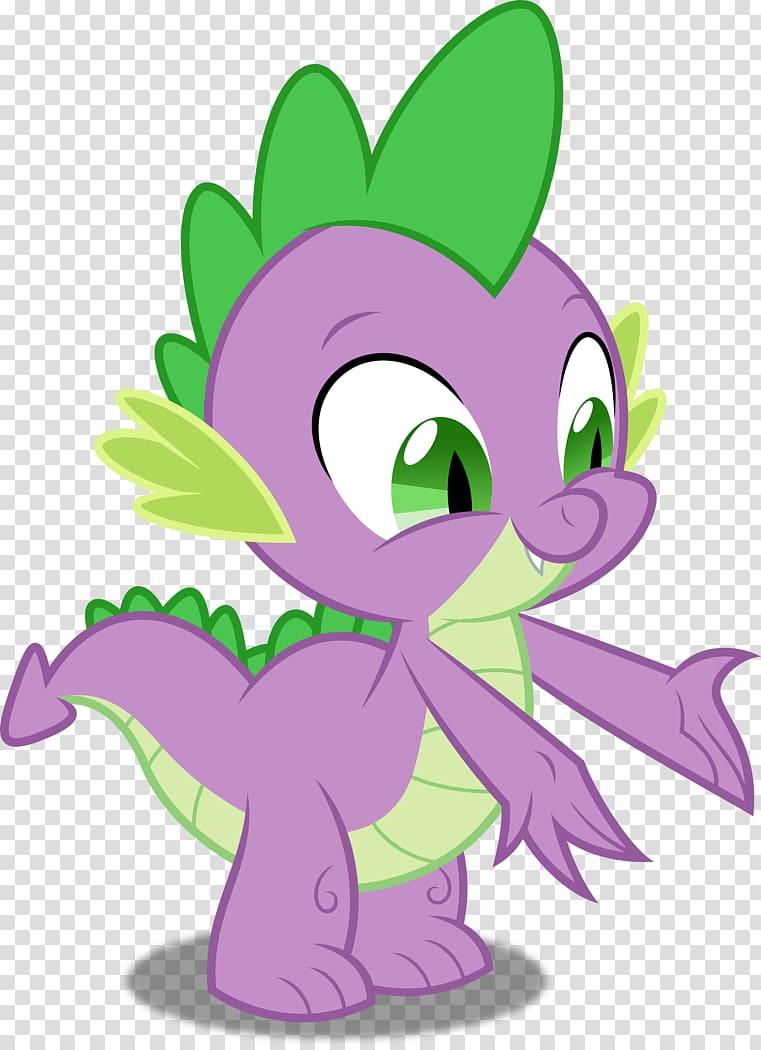
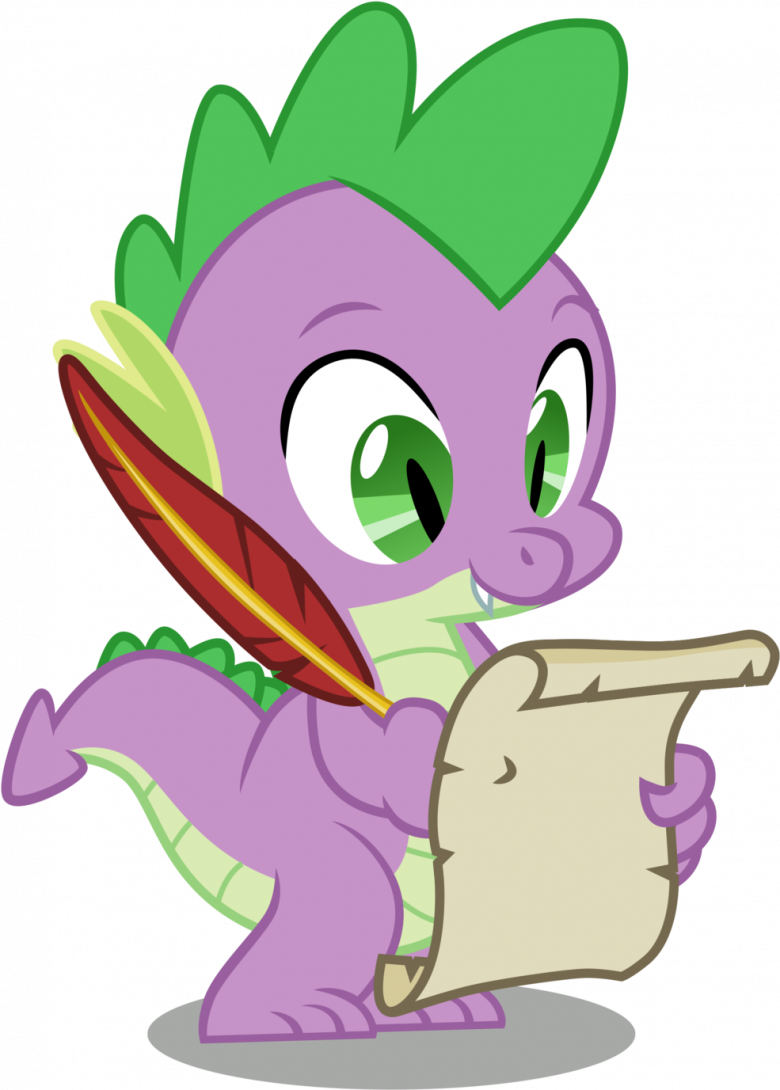
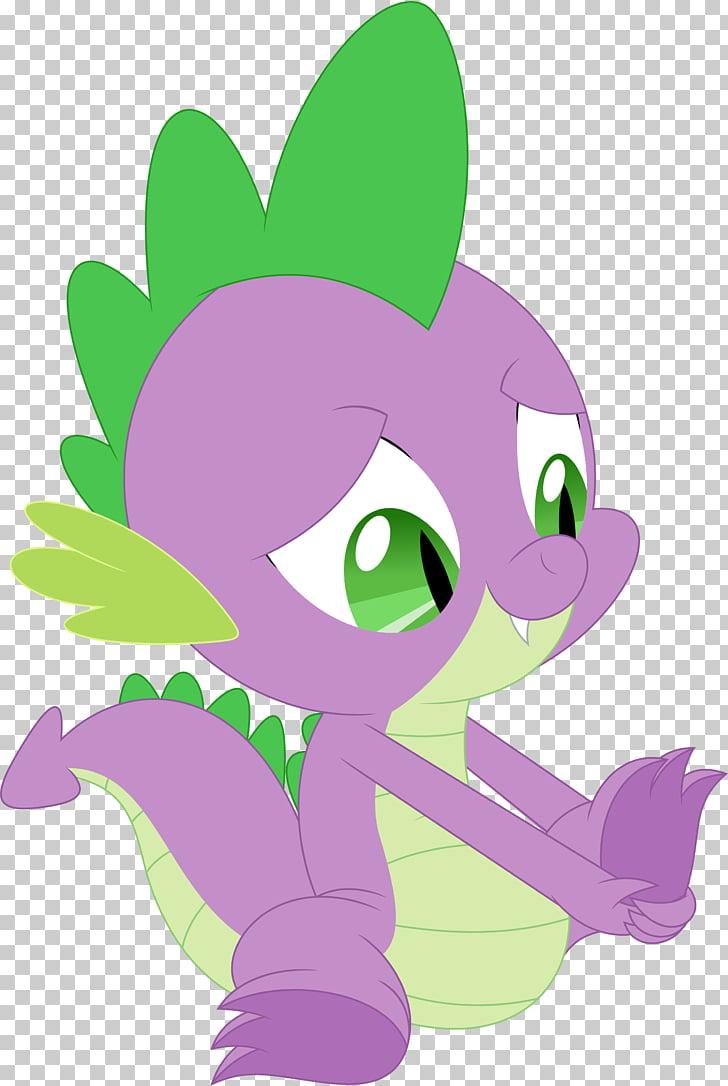
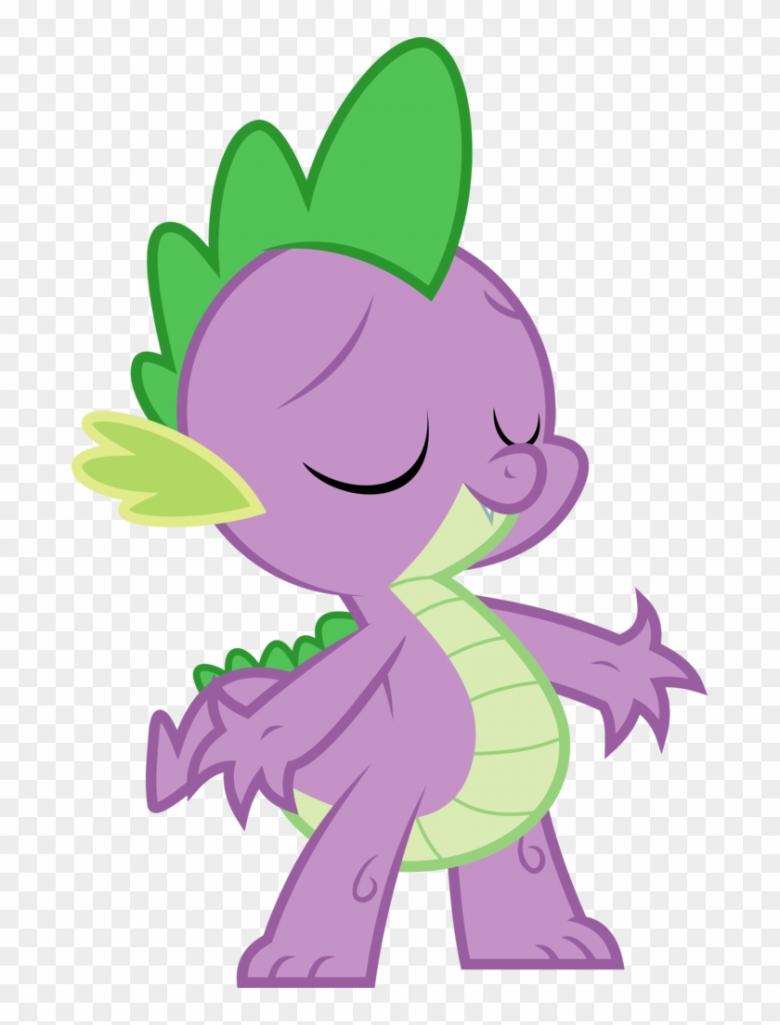
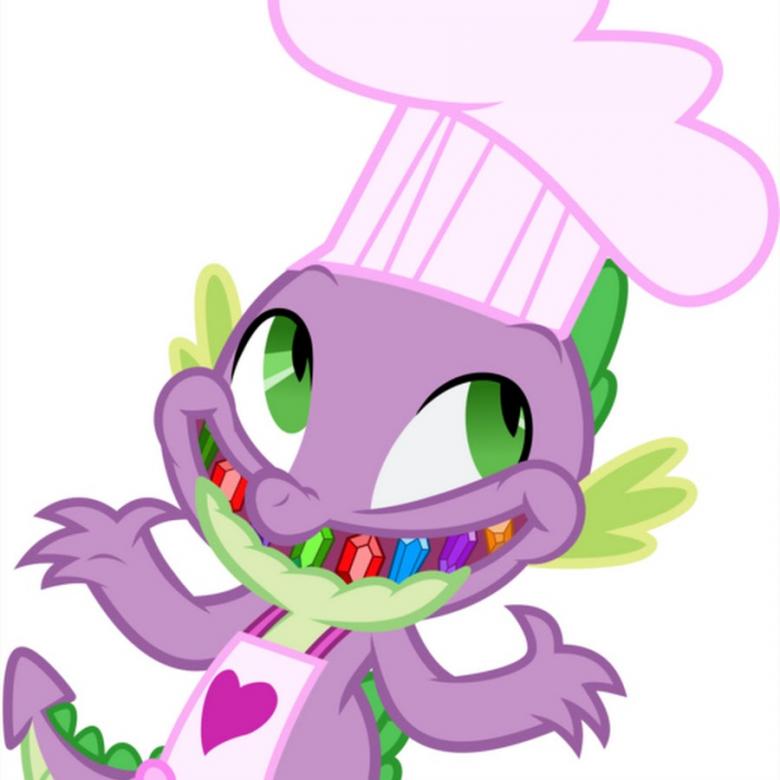
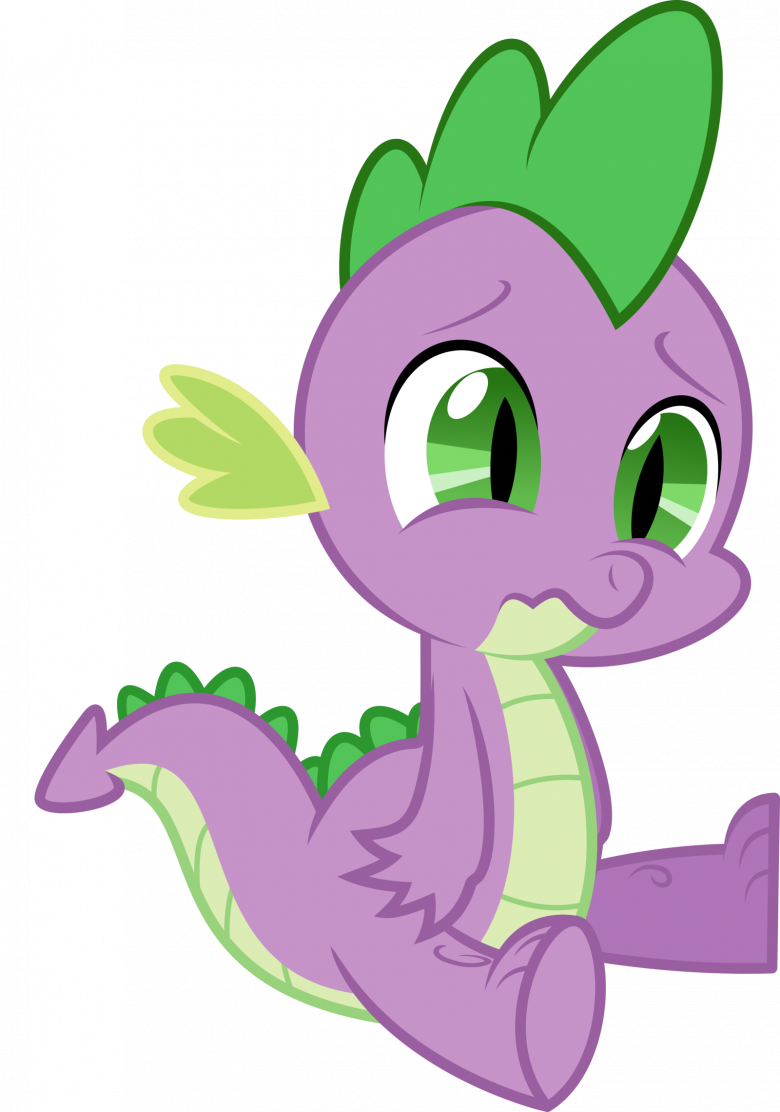
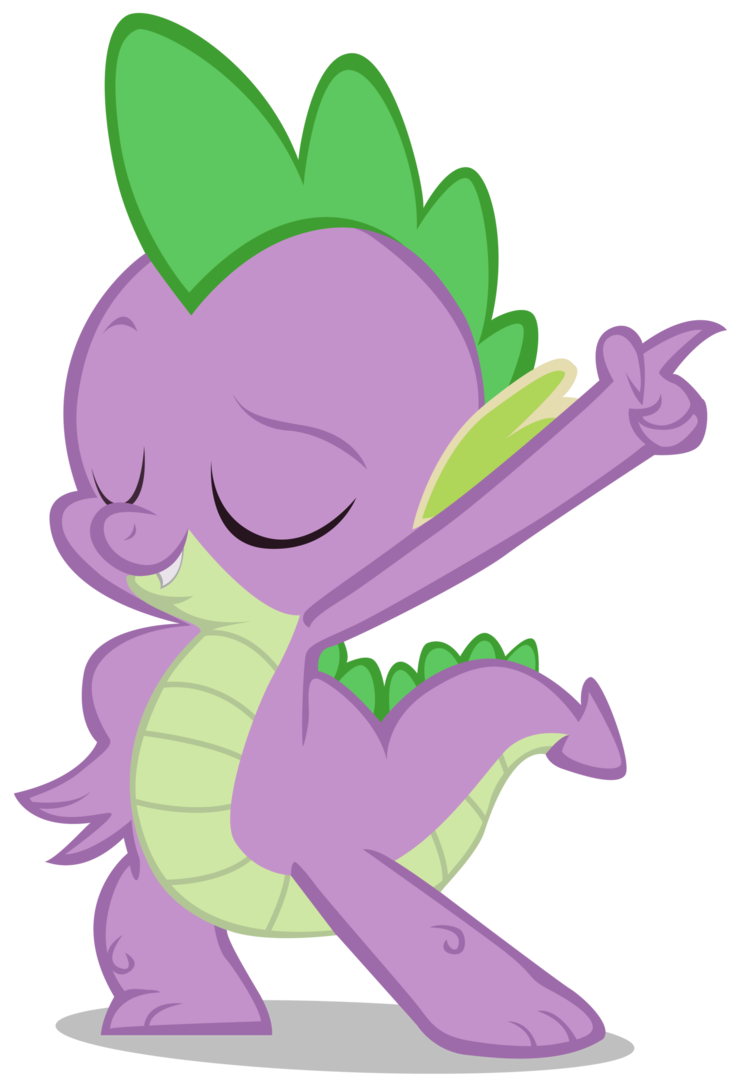
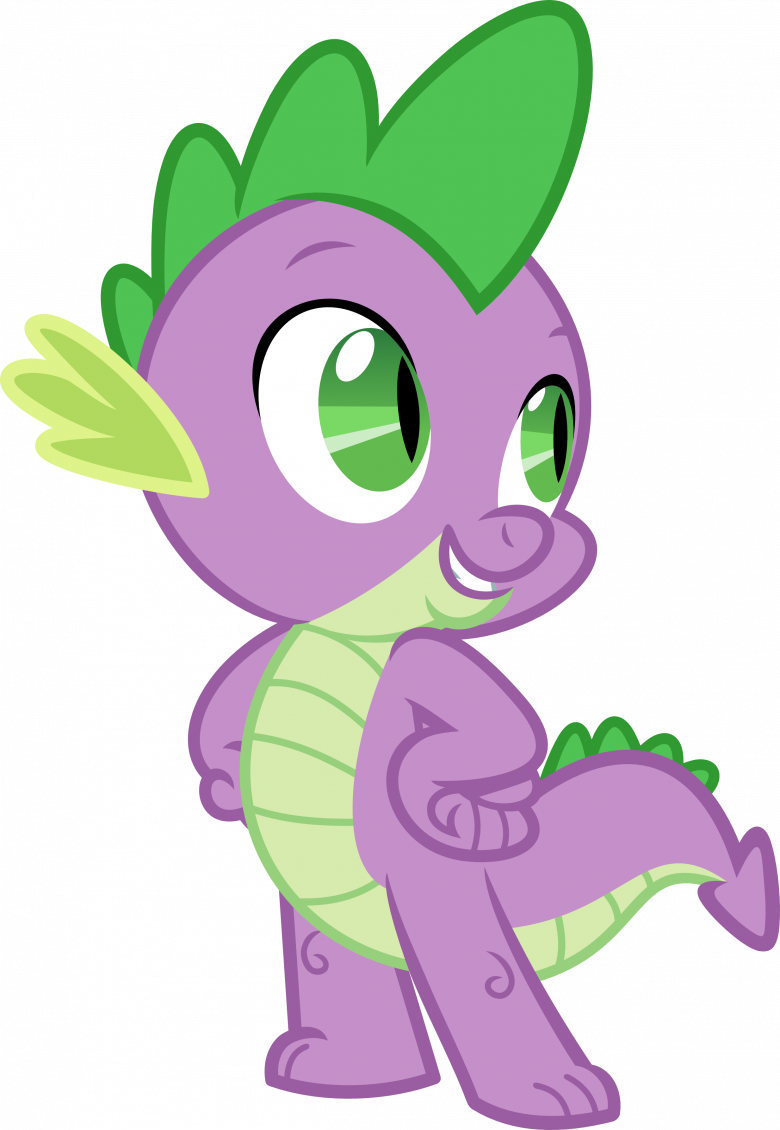
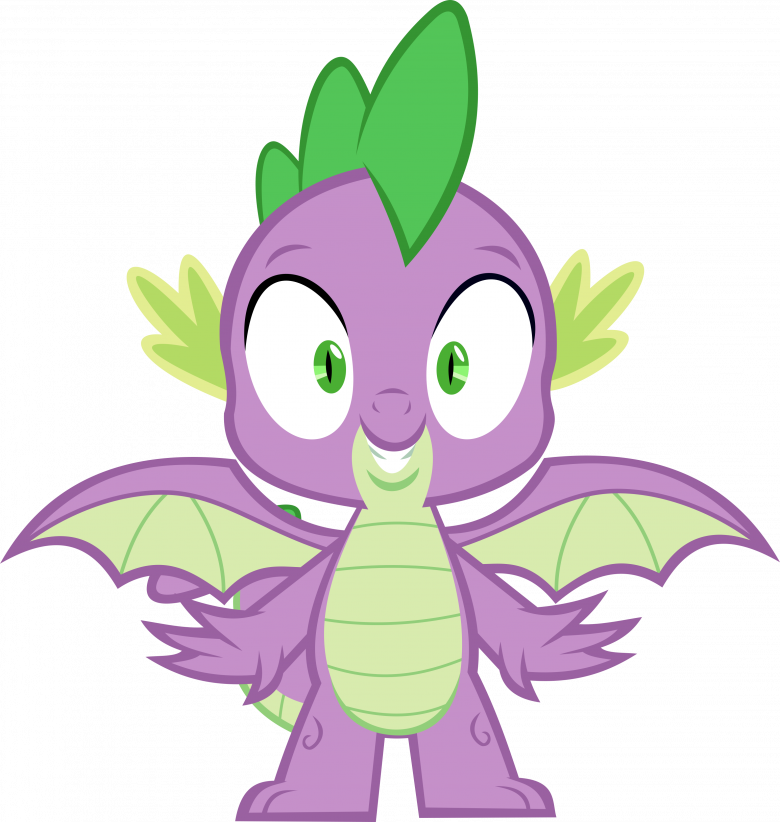
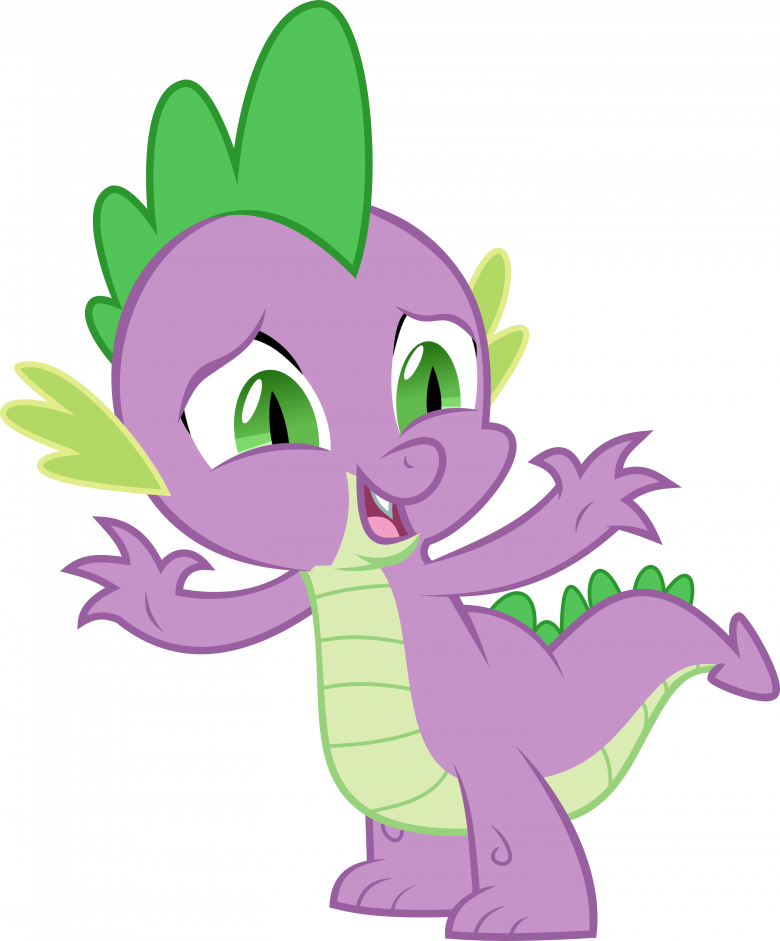
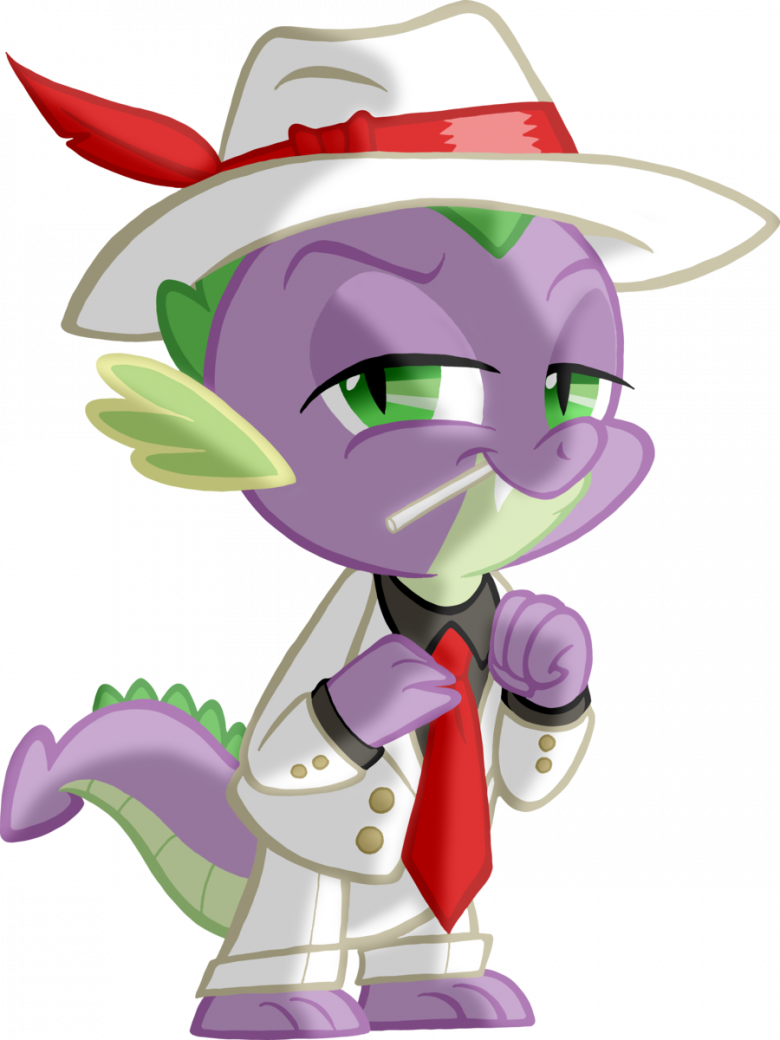
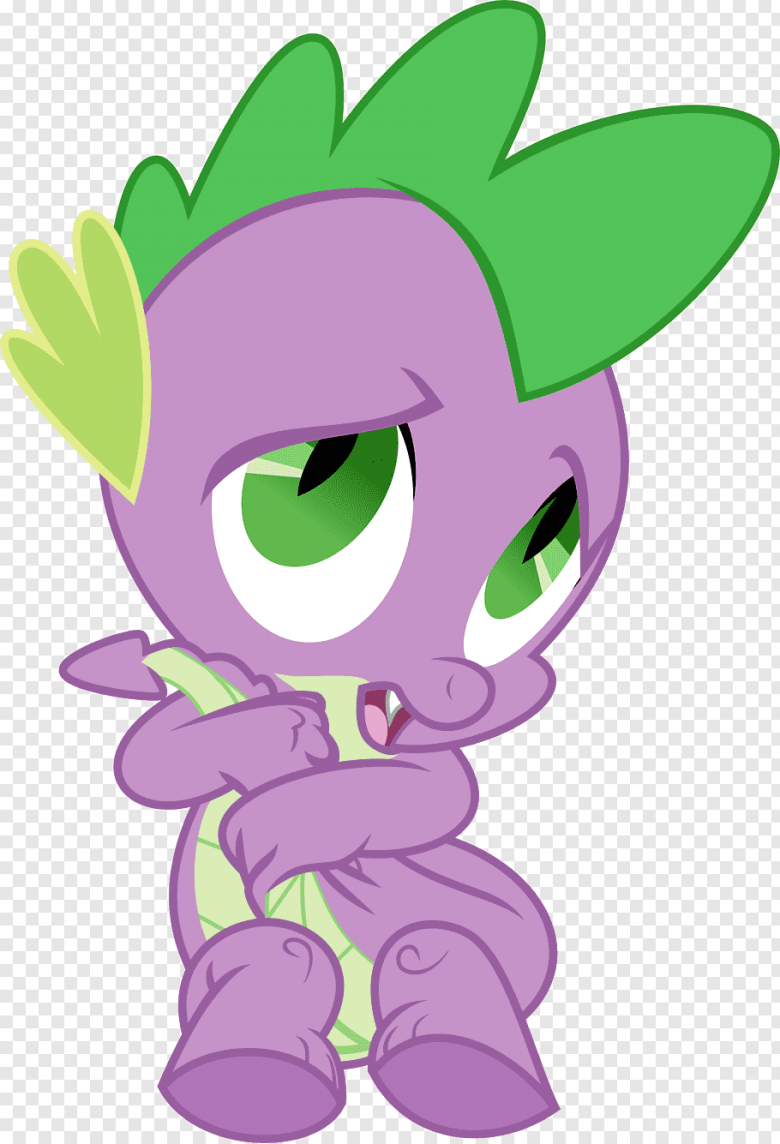
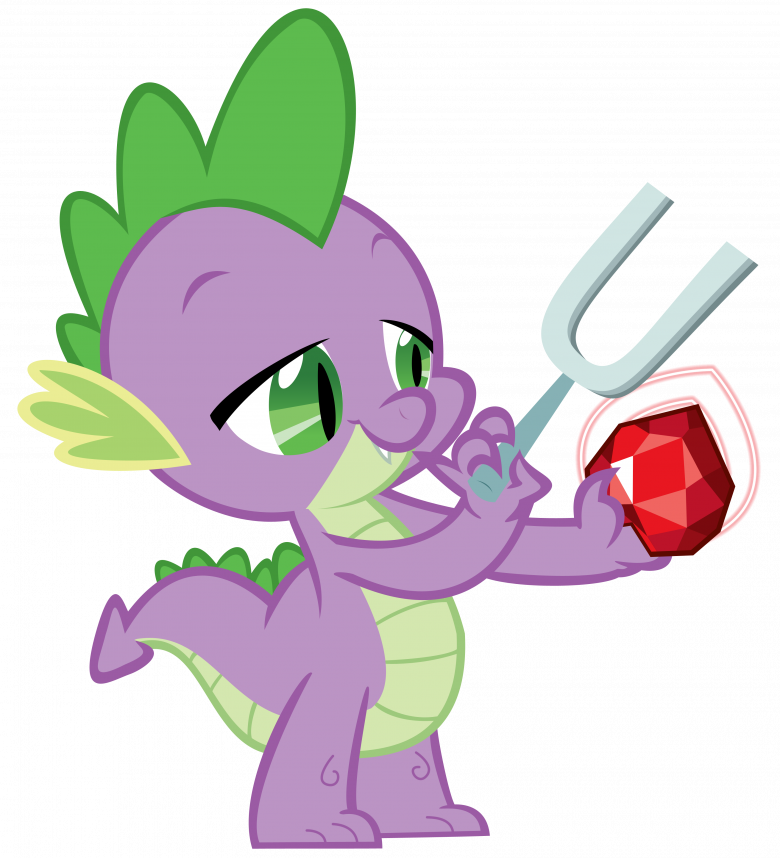
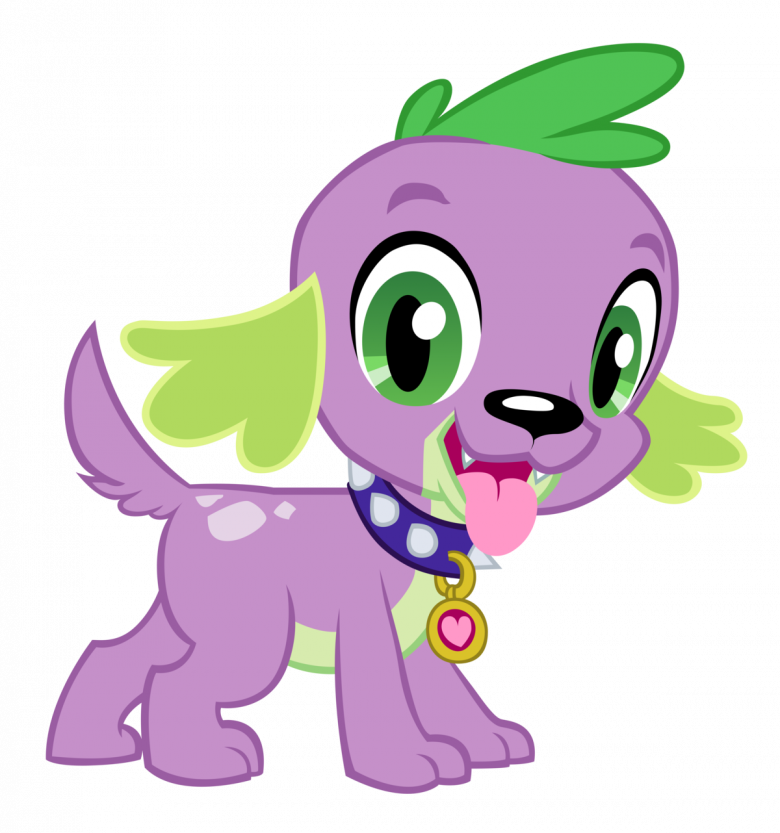
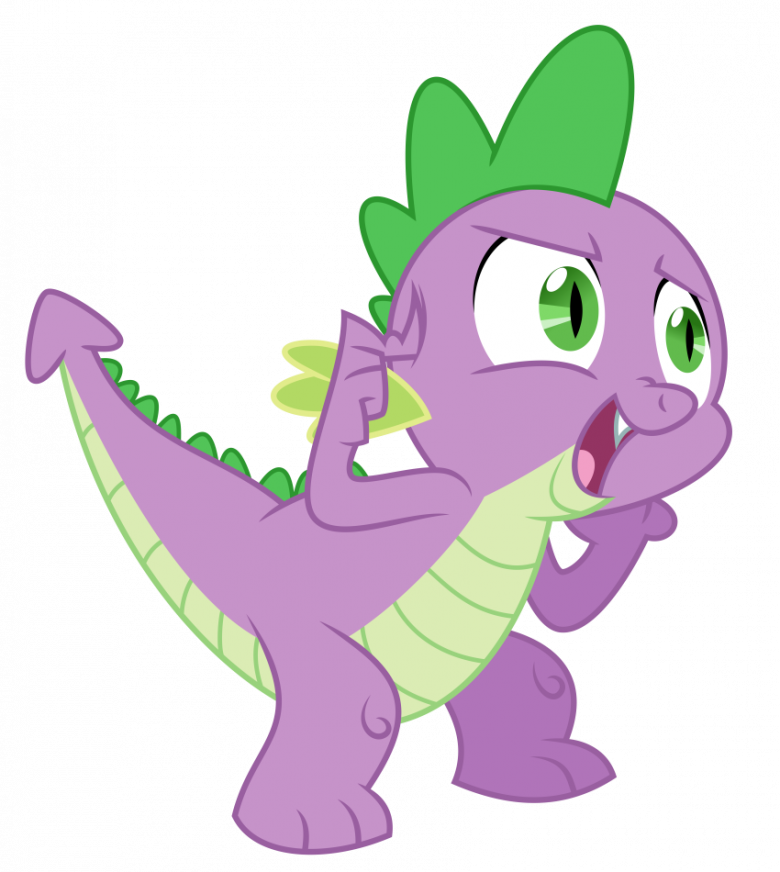
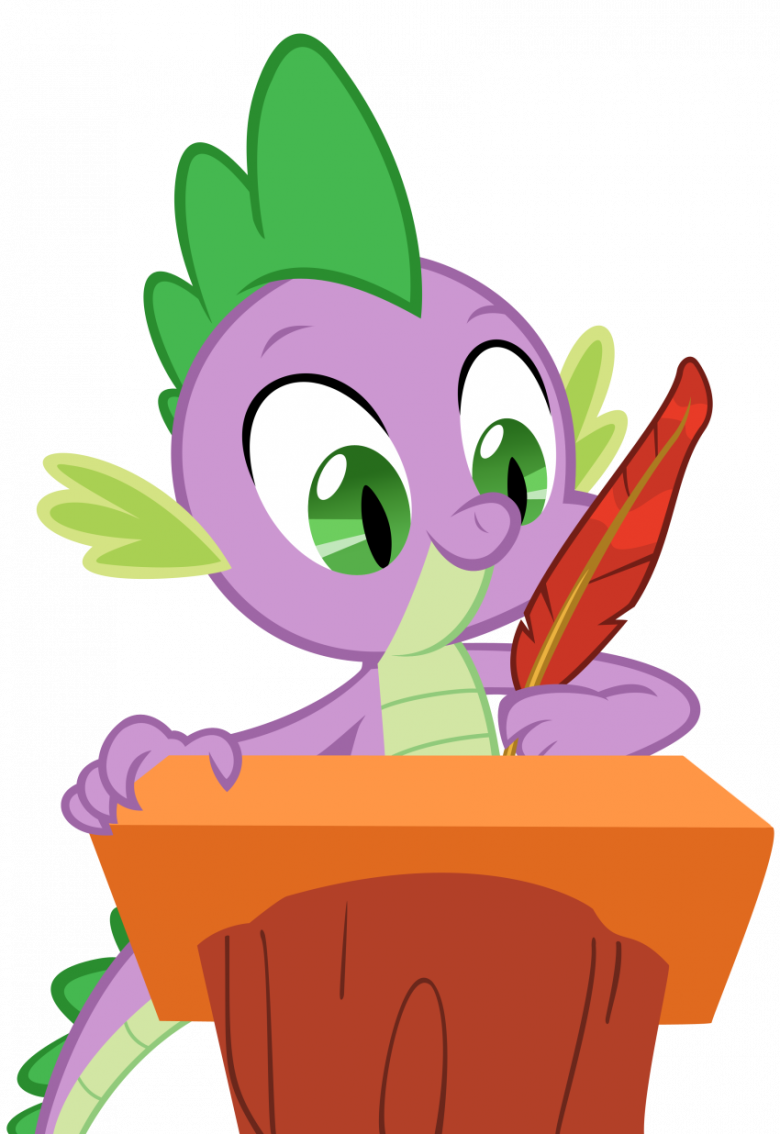
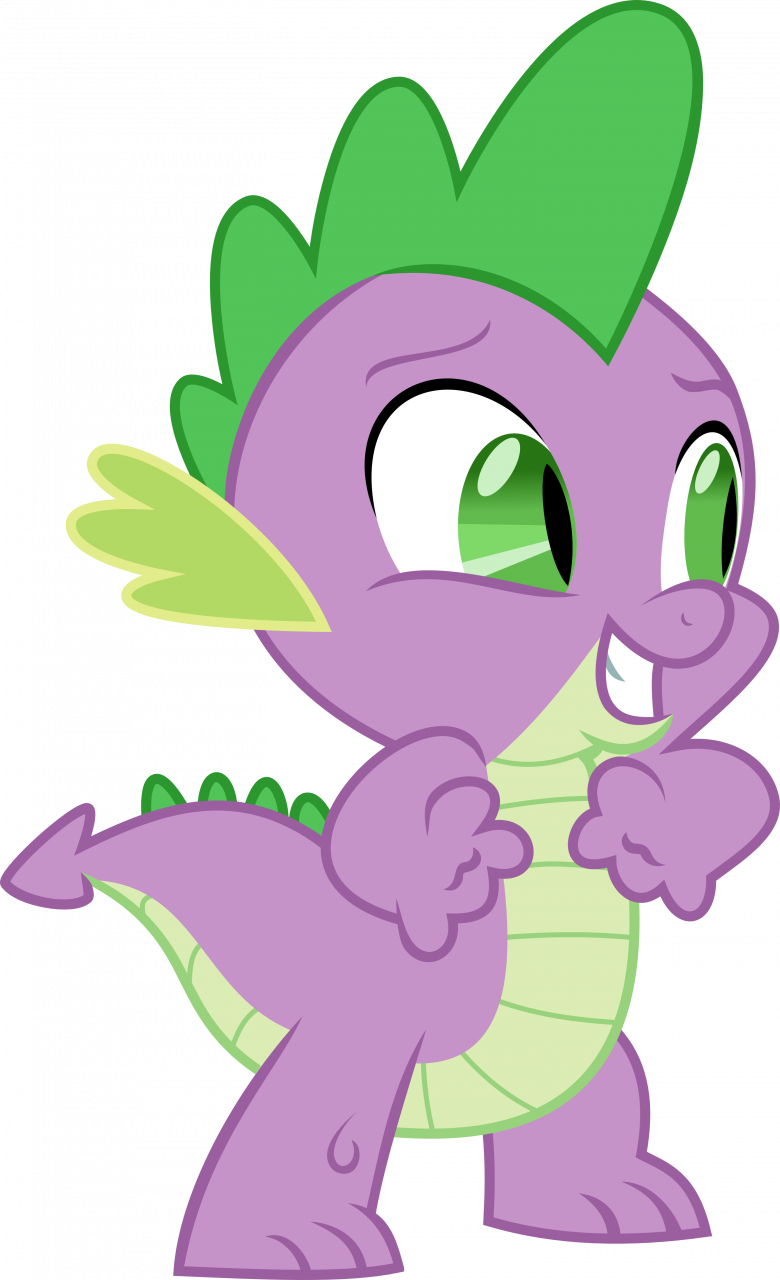
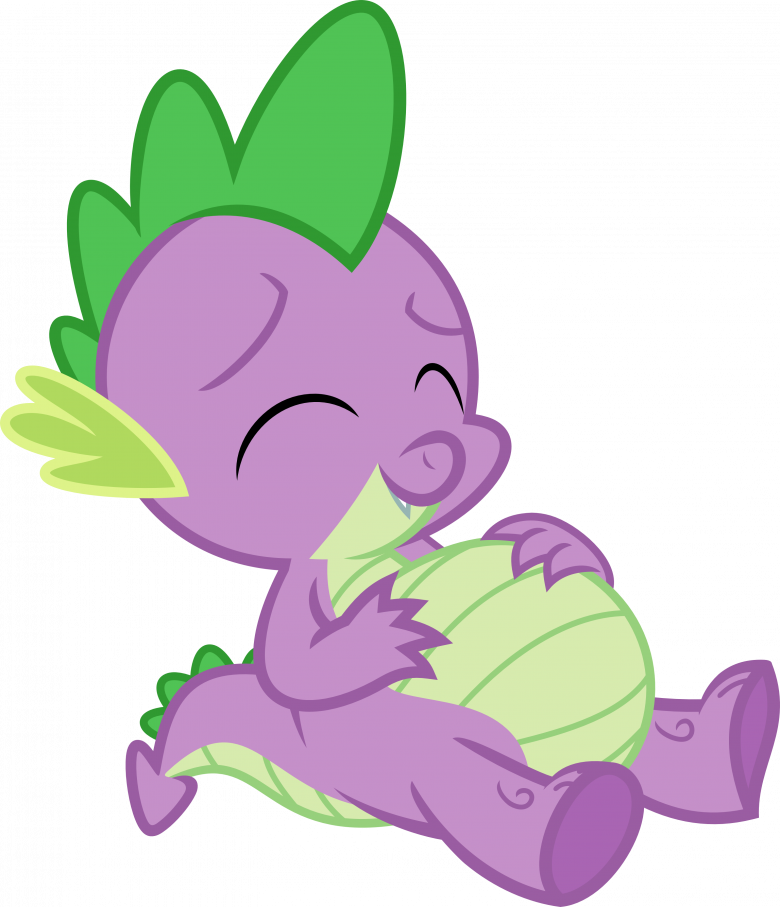
We are pleased to welcome you, dear readers! Today you will have a step-by-step lesson, where we will learn how to draw a character from the My Little Pony universe. This will be a great friend of Twilight Sparkle's pony, the dragon Spike!

You must present the drawing first. If that doesn't work, don't be afraid to draw characters from cartoon frames or drawings by artists you like, so you can quickly know what is being depicted and how.
Sketching the Basics
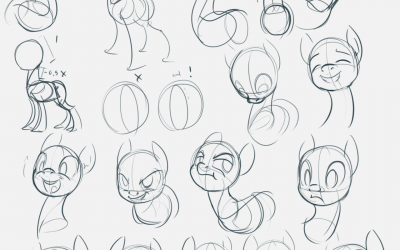
Let's start depicting the dragon with a big ellipse, where Spike's head will be. As practice shows, most of this circle will be removed to be able to represent many strokes, the main thing is that the circle should be more or less the right shape.

Let's mark out Spike's head with three lines. The vertical ones indicate external symmetry, and the 2 horizontal ones indicate the location of the large eyes. Observe the curves carefully; it is very important to provide them correctly. Often we erase the bottom part near the eyes to get a better idea of what the face will look like.

Following the markings of the previous step, we draw the outline of the eyes, typical of the other My Little Pony characters - the two oval ovals on the right are strongly compressed and stretched, although the two figures are the same height. Here we draw a small spout that looks like a potato.At the same step, we outline the body of our dragon, which is small compared to the head.

On the principle of a matryoshka, draw the eyes, mark the narrow pupils. Also slightly adjust the contour of the face. By the way, we will draw the face, using approximately the same technique as for drawing other My Little Pony characters. Pupils use magic all the time - the face becomes the face, and we start to perceive it directly at this stage, and this is one of our favorite stages.

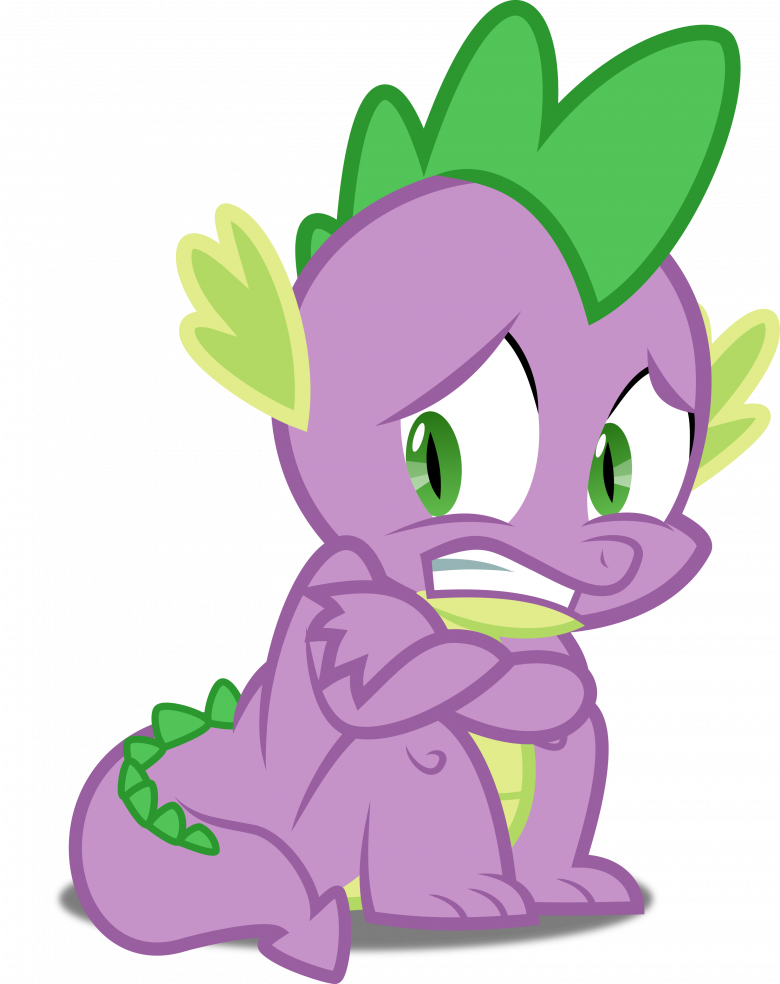
Now remove unnecessary strokes from the previous steps and draw the shape of the ear.Draw the scallop, mark the mouth and a small sharp tooth. Here we draw the eyebrows and draw a glow for each eye. Ideally our dragon should have a curious and surprised expression.Back to the torso. Let's depict small and round paws, namely arms and legs.

Let's slightly correct the lower paws, so that they look like other characters from the TV series "My Little Pony". Also draw a tail with a characteristic "arrow" at the tip.

Color
We have to let you know right away that we still have to work with the paint in person. But some things are already worked out and there are enough of them to paint the sketches. The first is the background, it's not just light green. You can leave the background white while you paint, but we suggest choosing a darker or lighter shade while you paint.

This will help you use the eraser more clearly when drawing and better see where the prints of the translucent brushes with which we will show the lighting remain. We suggest that you use the hue directly with a dropper from a frame from the series or a color scheme made in a separate layer. All the color layers are formed under the layers of the sketch.

First, paint the body with any matte brush. Then we draw a line on the body, part of the chin and the tips next to it. We do all of this on a variety of levels to make it easier to make simple connections and avoid mistakes when working with erasure.

Next, we paint the eyes and the white teeth in white. Working directly with layers will make this step easier. It is very easy to create a layer below the previous ones, and paint the areas.

Now you can paint the eyes. First, a layer is made, and the area near the pupil is painted with regular strokes, then it is removed so as not to go out of bounds. And on the other layer, the black pupils are painted.

Lighting
This is a very complex subject. In this drawing, we try to keep it as simple as possible by discarding things like the placement of light sources, ambient light, and the color of the light itself. We will complete the elementary shadows and light sources (lanterns) and at the end we will embellish everything with a little glare. Once again: we do all the individual elements in separate layers.

We choose a body color and make it a little darker and juicier in the assortment. Choose a brush with soft edges and a transparency of about 10%. We apply them to the lower parts of many elements of the drawing: head, nose, cheeks. The side ends cast a shadow on the head, and the head casts a shadow on the neck; the lower surfaces of the arms are also shaded.

Beyond that, you don't need to contrast the shadows with your body color. The less light scattered around the character, the darker the shadow and vice versa.Now we proceed similarly with the spikes and the rest of the body. Don't forget that the color of the shadow is the main color of the element transferred to a darker and brighter color.

The next step is to add reflections. Everything is similar, but exactly the opposite. The color is changed to a lighter, less saturated color, and reflections are applied to the top surfaces. We added a second layer to the tips of the head with sharper and brighter reflections.

The last step is to add some highlights. The sharp white rounded reflections are applied on the eyes with an impenetrable brush with sharp edges, and for the rest of the components: a thin translucent white brush.

We have tried to make sure that even a beginning child or artist who has picked up a pencil for the first time can handle it.

