How to Draw a Postcard: step by step instructions on how to draw a postcard for children and adults
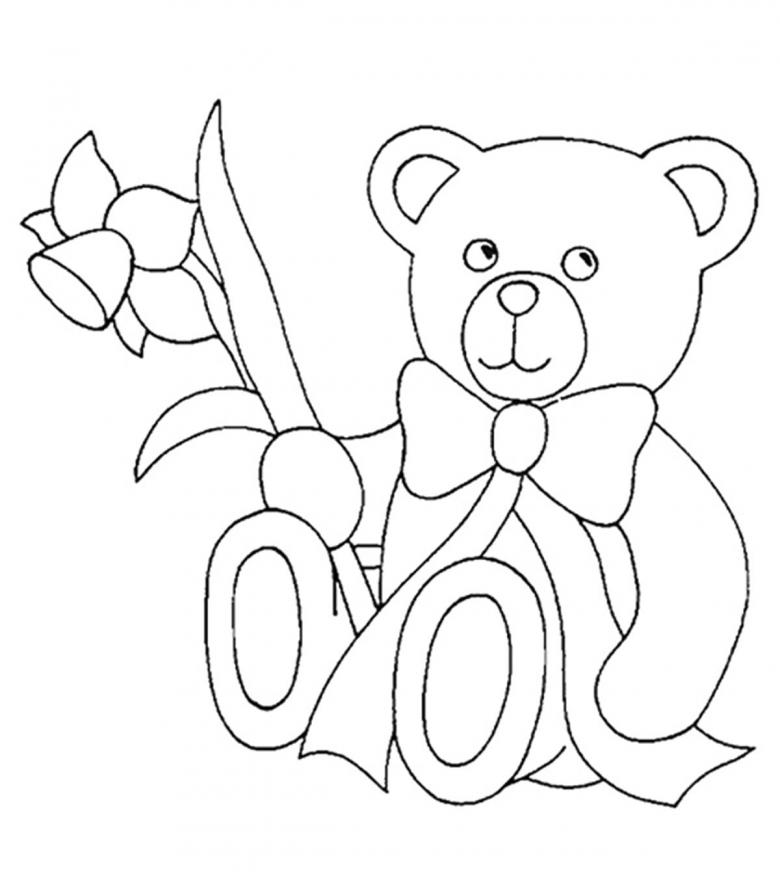
Of course, postcards of any subject are now freely sold in a vast assortment in bookstores. However, a creation that includes your own imagination and soul is much more appreciated. If the work was done with a child's hands, the joy of the gift does not compare to the impression from the purchased items. Such crafts are full of ingenuous positivity and will always stand in a prominent place in parents' rooms.
Any important events will cause the child a desire to congratulate relatives or friends in their own way. In this case, the support of adults who should just guide and help, choosing an age-appropriate topic is indispensable. The work will be done with:
- colored and simple pencils;
- paints;
- felt-tip pens;
- white cardboard.
Even if you do not find in yourself and your child's artistic talents, to cope with simple tasks will not be difficult.
Women's Day is Coming
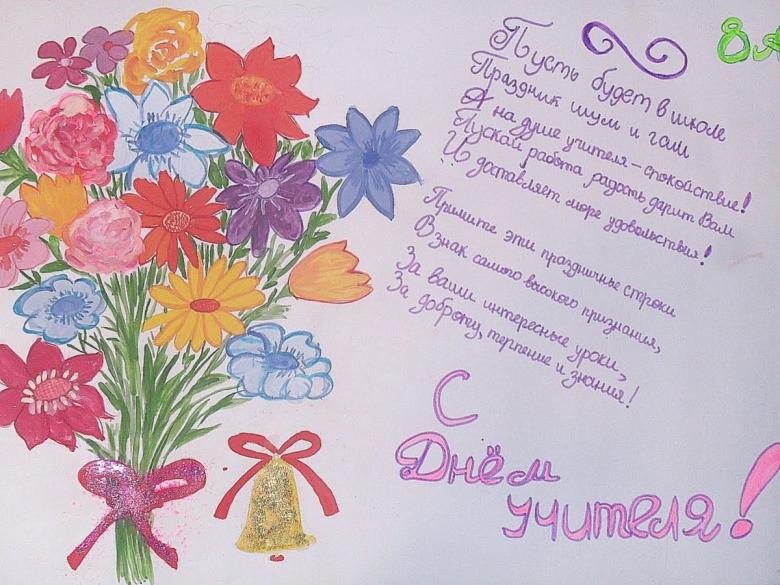
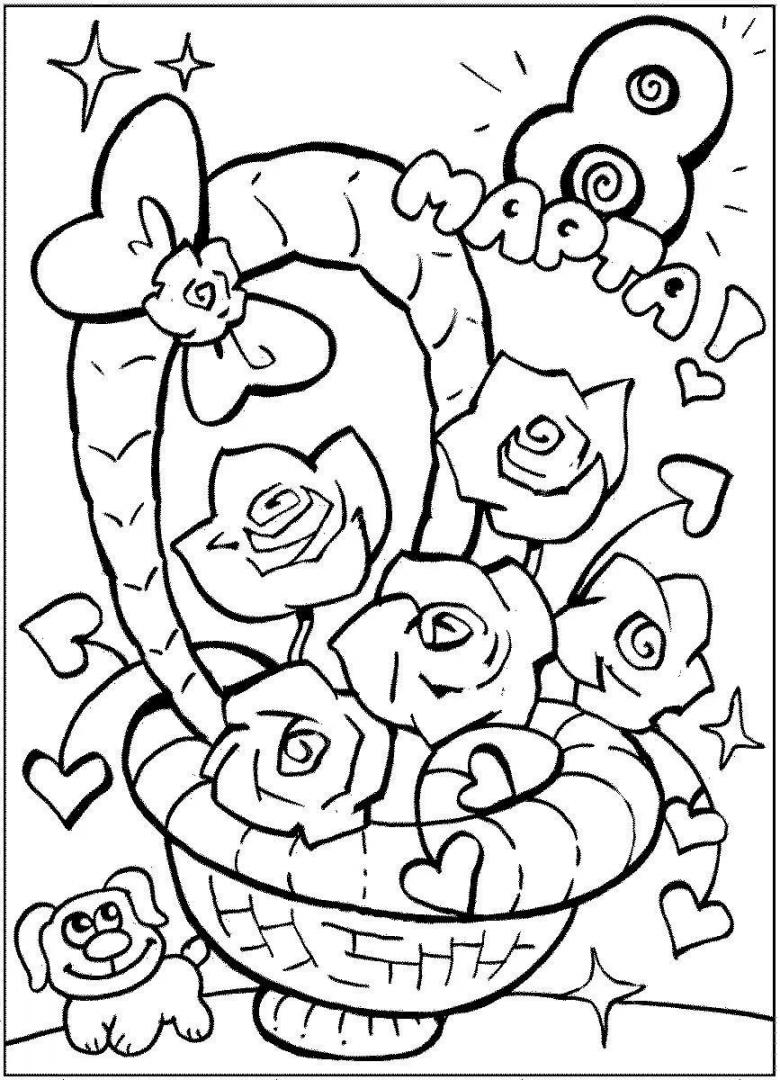
The easiest option to congratulate your mother or girlfriend, depict the number eight, which is surrounded by daffodils or other flowers. The eight looks like a stylized ribbon whose tail contains the inscription "Martha." Step-by-step steps:
- We apply the sketch, applying non-greasy lines, marking the center with a knot.
- To give an image 3D, draw inner contours.
- We fix the florets on the side above and below the end of the ribbon finish - 4 at the top and one at the bottom. First draw their corollas with circles. Each middle will be framed with pointed petals. You can practice separately. Buds are given different sizes and angles.
- Petals are equipped with short strokes for naturalness and finish drawing the stems.
- Color the figure in red, yellow flowers, highlighting the green shade of the core and stems.
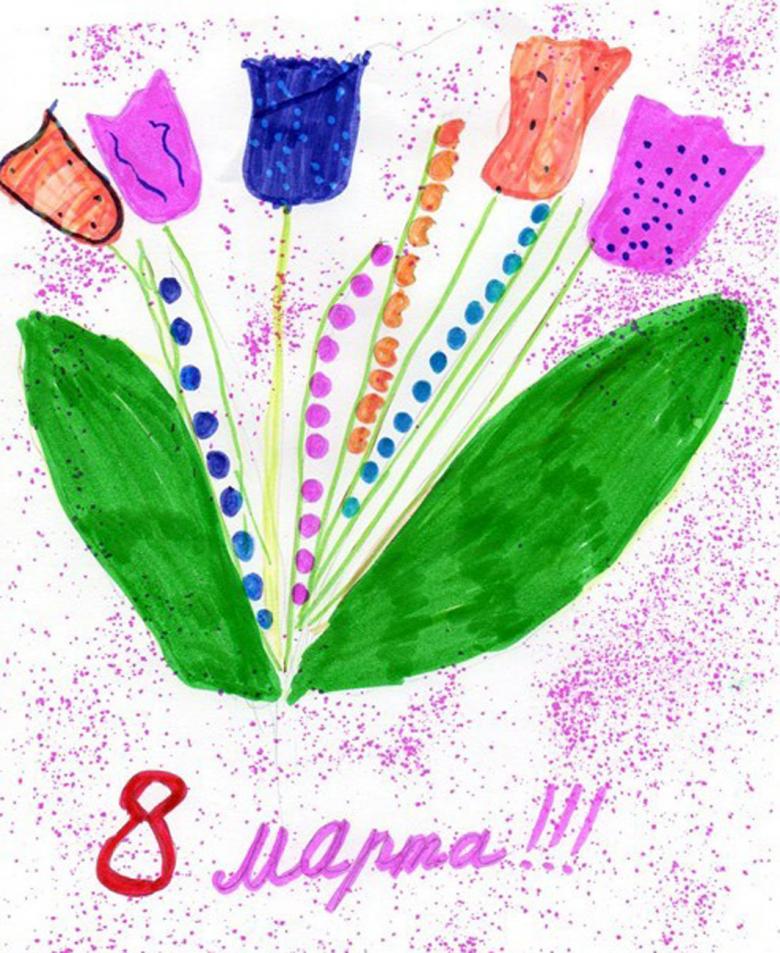
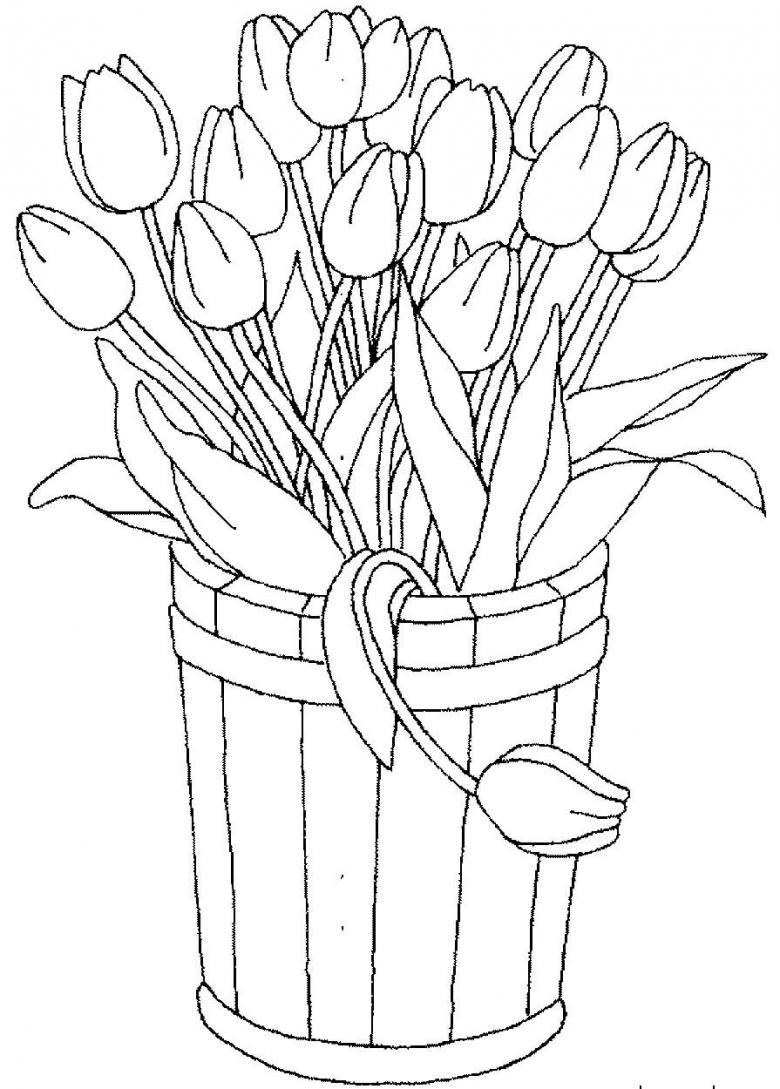
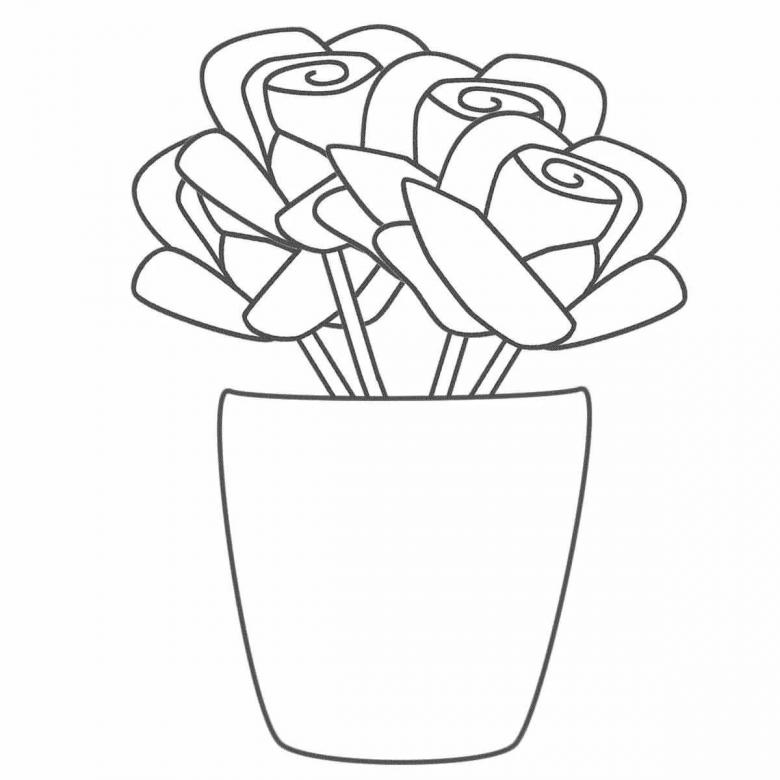
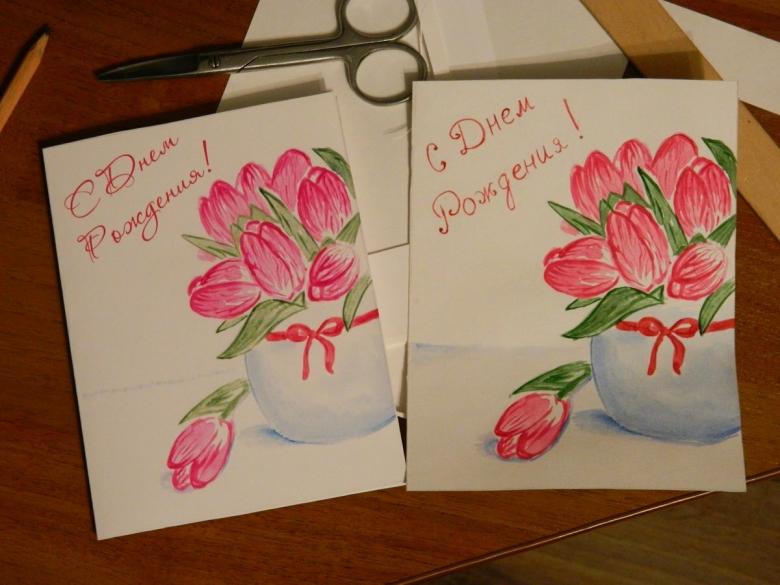
You can create a single bouquet, say, of daisies, which is not difficult to capture the baby because of their simple appearance, tying a beautiful bow. Mommies and grandmothers will be delighted with the touching presentation.
Birthday
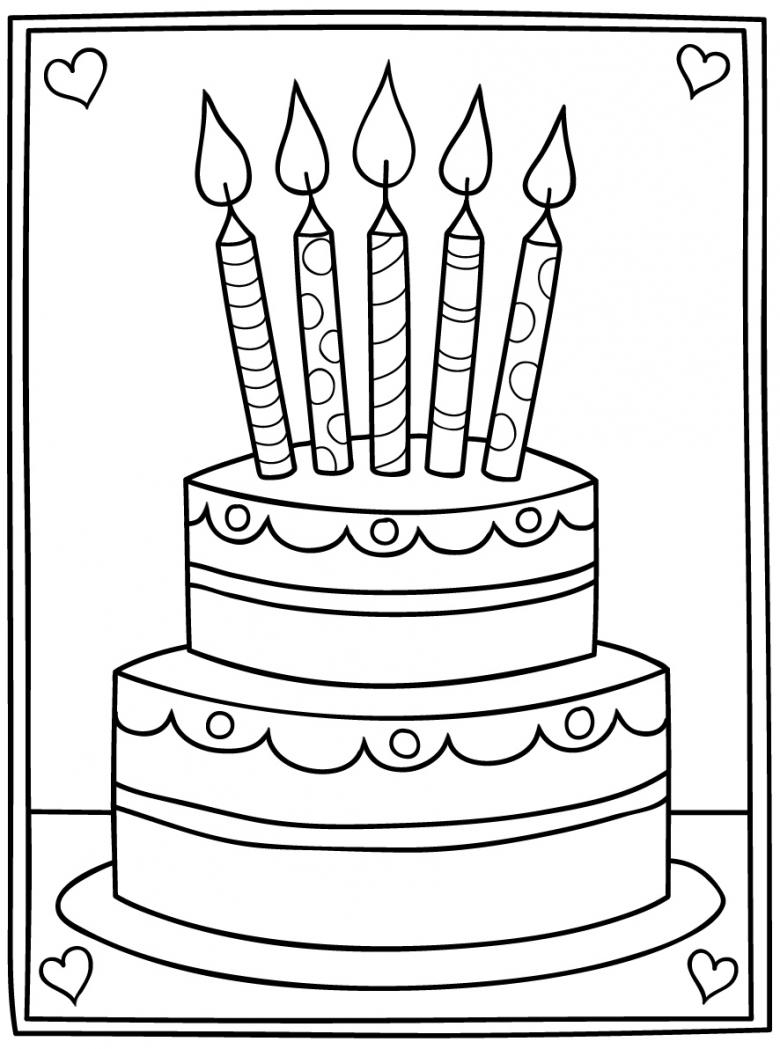
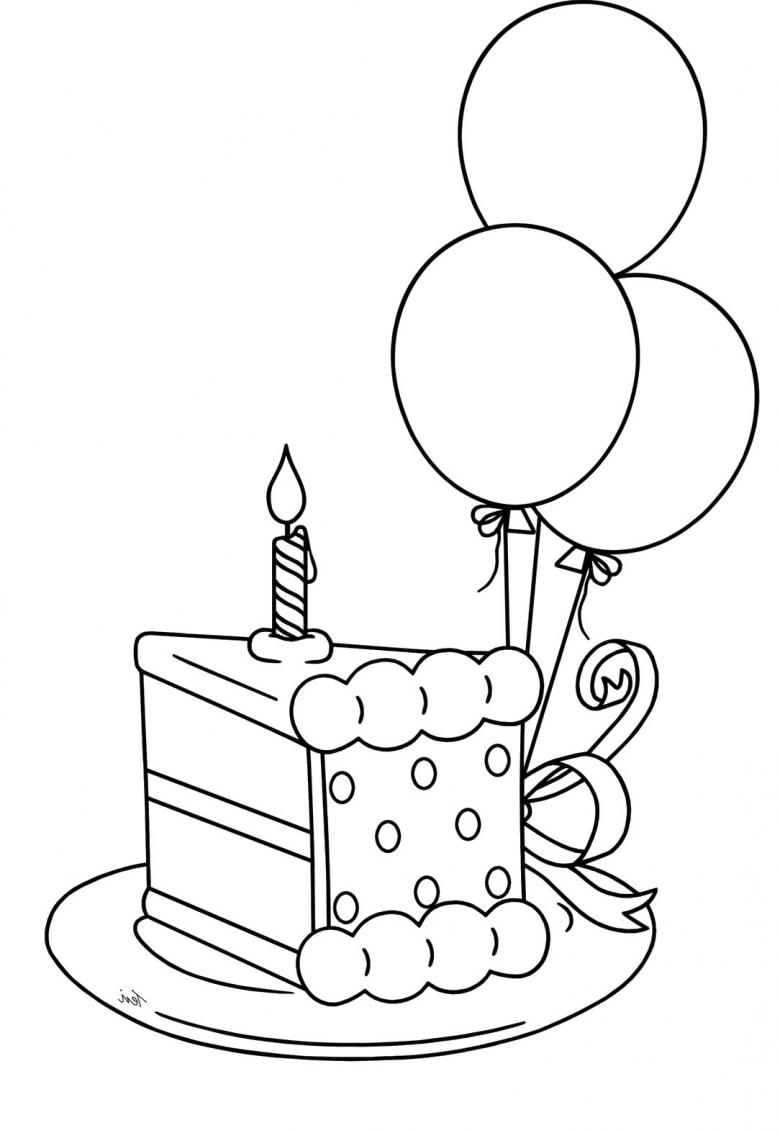
Kids can do the task on their own by drawing a mouthwatering birthday cake. Master class on how to make a sweet dish:
- in the center let's make a mark with a cross - this is the middle;
- its extreme points should be connected, obtaining an oval;
- draw the legs, like the table, they show the height of the piece;
- Connecting them, we get the secondary proportion from below;
- erase unnecessary details with the eraser;
- Make the desired signature on top;
- Draw waves along the top edge, similar to the cream;
- decorate the tasty thing with candles, decorating to your liking and brightly coloring the picture.
It's not a shame to come to a birthday party with a gift like this, feeling completely satisfied with your work.

A fat cat
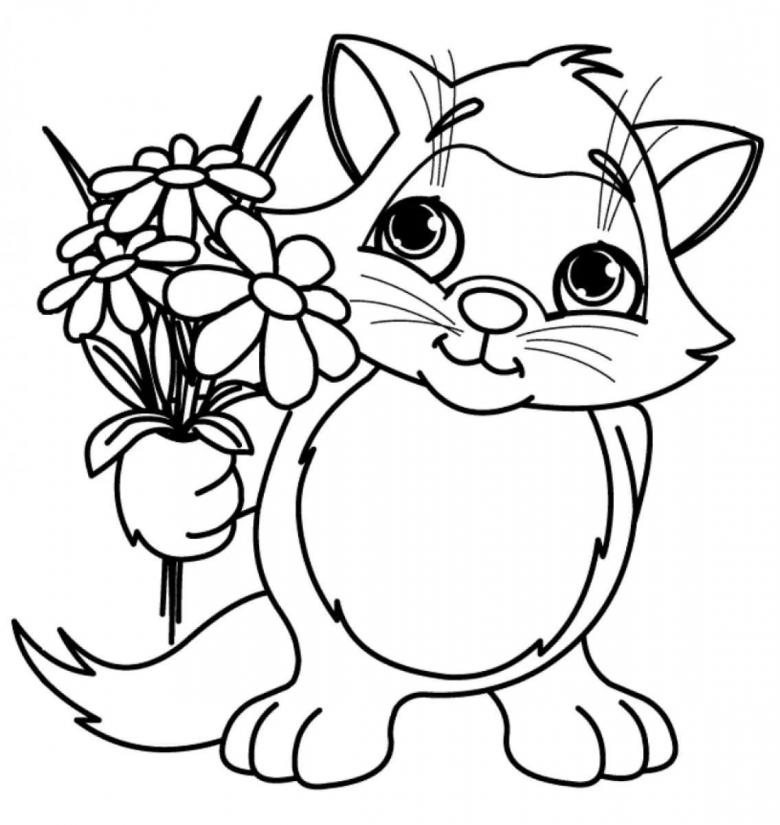
The fat funny cat is the character of the second simplest version. Stages of work:
- Draw a circle, leaving a space at the bottom. At the top are the eyes, nose and mouth with tendrils.
- On top of a cute fatty plant cap cap and ears.
- Right equip the animal with a large tail.
- At the bottom, left, mark the cake, which we have already learned how to draw.
- Decorate the body and the tail with short strokes.
- Now it's time to finish writing the words of our wishes and paint the picture.
You can go on holiday and surprise the birthday boy.
Defender of the Fatherland Day
On February 23, it is appropriate to depict military equipment, a light model - a tank. The lower elongated oval is the caterpillars with the characteristic circles inserted, the middle smaller one is the armor itself, and the final small element is the turret with muzzle.
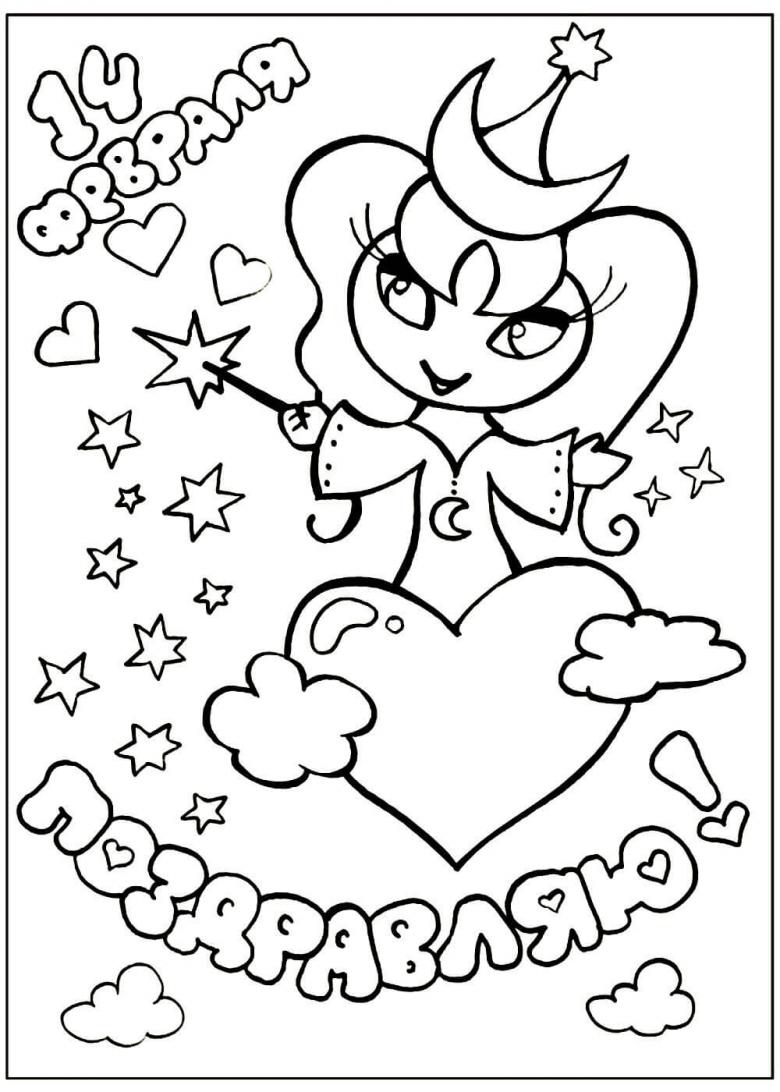
A good variation of the star and the St. George's ribbon - a symbol of the feat of soldiers. Step by step instructions:
- With a protractor we trace a circle. Dividing it crosswise, add four more lines, passing through the fundamental angles. Points mark the image of the star and combine them. Do not delete the inside strokes - they will help achieve convexity;
- Draw a secondary contour, leaving a small distance from the edge;
- Around it is placed a sign of soldier's valor, on which the vertical familiar stripes are applied;
- paint the drawing with pencils or paints. The outer star border is gold, as are the stripes on the ribbon, alternating with the black neighbors. The star itself is red and embossed because of the play of shades.
Sign our card, wishing Dad or another user health and wellness.
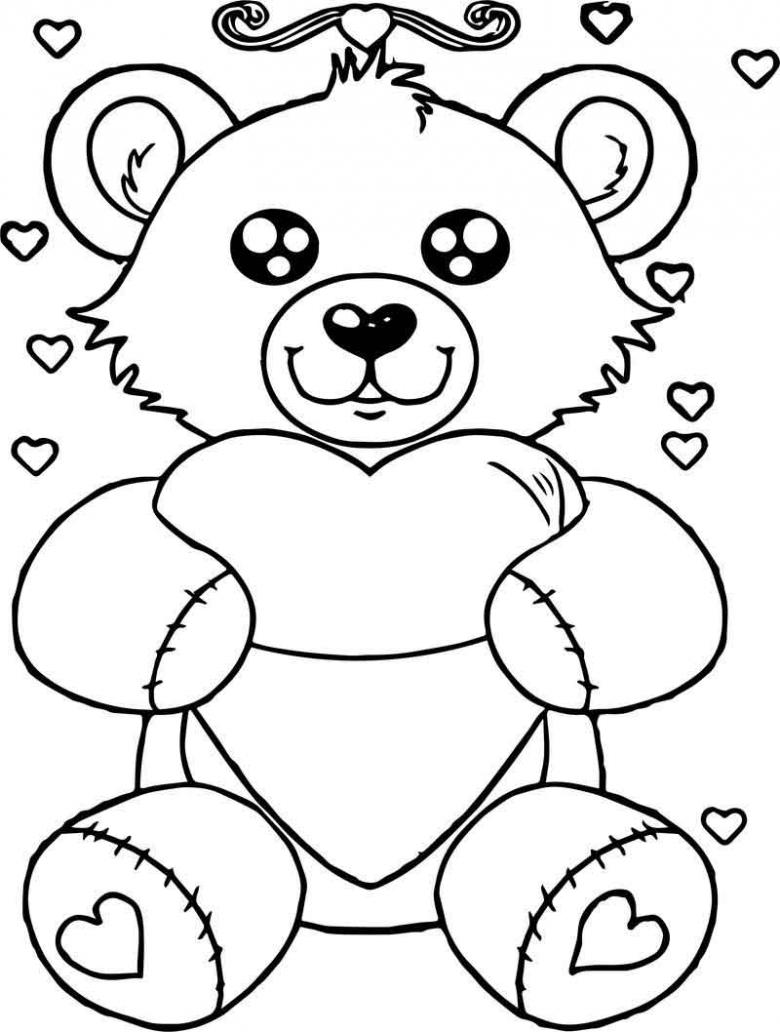
New Year's Eve celebrations are upon us
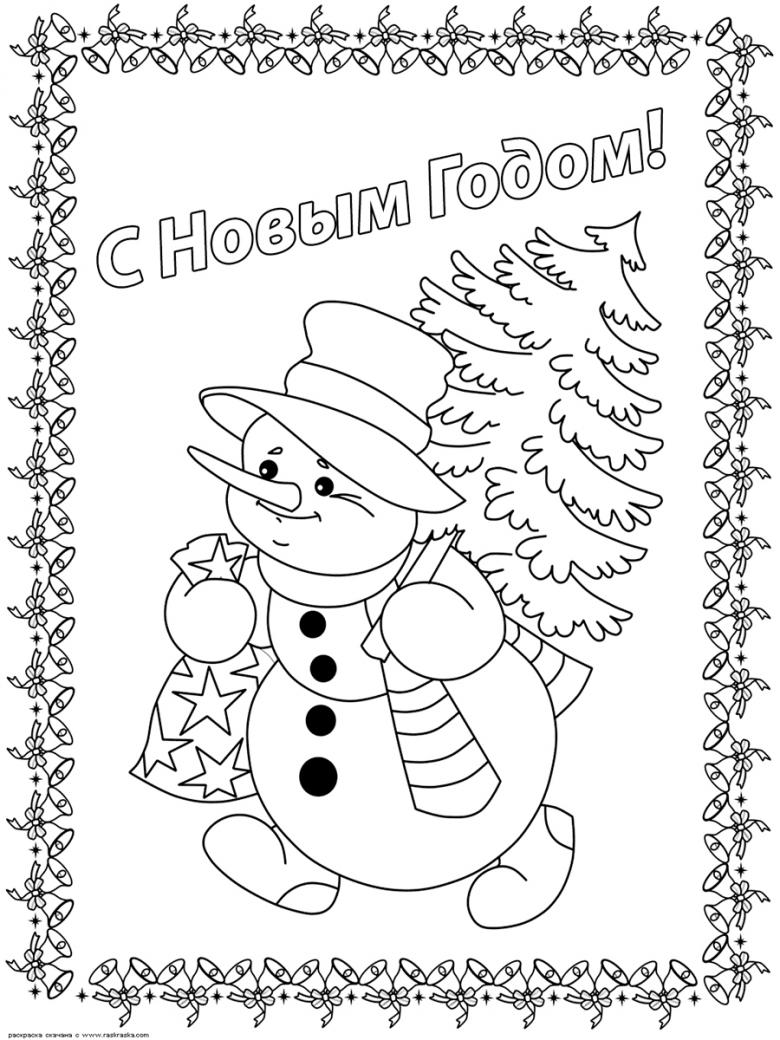
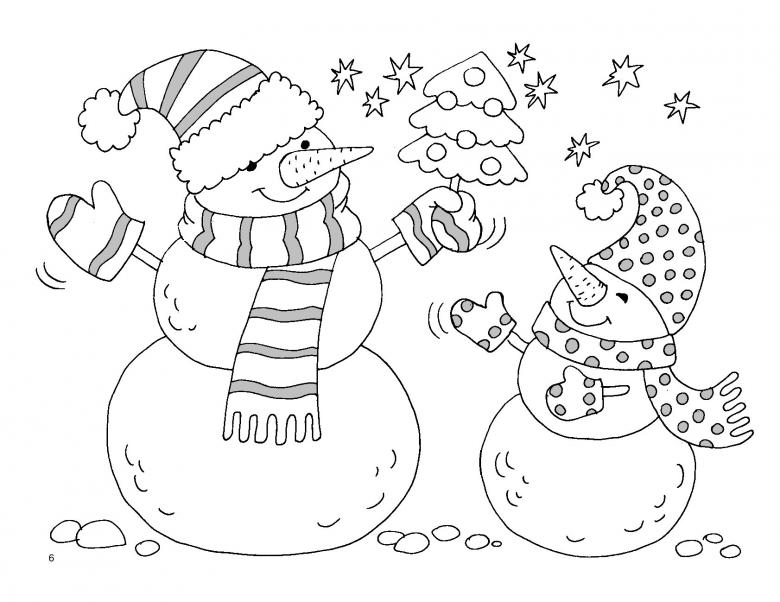
The most accessible idea is a jolly snowman. We outline three circles, going up in reduction and overlapping each other. Now we need to insulate the neck with a scarf, and put a bucket or hat on the head. Hands will replace the twigs. It remains to attach a carrot instead of a nose, finish drawing eyes-buttons and mouth in a smile.
Try resorting to watercolors, for a vivid masterpiece that conveys the mood of the New Year. Get supplies in advance:
- paper and tape;
- A hard surface, such as a board;
- a bowl of water;
- a squirrel brush and a paintbrush;
- a black helium pen;
- watercolors of red, blue, scarlet, green, and yellow;
- paper towels.
The story is based on Christmas tree balls. Step-by-step steps:
- Let's attach the sheet to the base with duct tape, so that it does not deform after drying.
- Draw the balls or trace a round object. The three elements will be different sizes.
- Yellow ochre paint the top caps and mark the stripes on the front, closest to us decoration.
- Green shade draw small circles on the other part and richly paint the top of the main ball, adding to the same band even lower.
- Apply red paint to the third piece, giving it a zigzag pattern, and then go back to the main ball, applying another identical stroke.
- Use a blue tone to paint over the general background of the canvas, becoming lighter as you move away from the figures. Use a paper towel to remove the excess.
- Use a thin brush to get rid of defects near the outlines.
- The last stroke is a drawing of the contour lines with a pen.
You can add frost or glue glitter to create a New Year's glow.
Draw with children to develop a sense of beauty and foster a desire to give kindness to family members without asking for money for expensive store items.

