How to draw leaves - basic techniques, lessons, master classes, 40 photo ideas
Drawing leaves is an extremely useful activity for a child, because it is through this process your child will touch a piece of living nature. The study of the world around helps in all-round development, introduces a variety of shapes, colors and sizes of our immense flora and fauna.
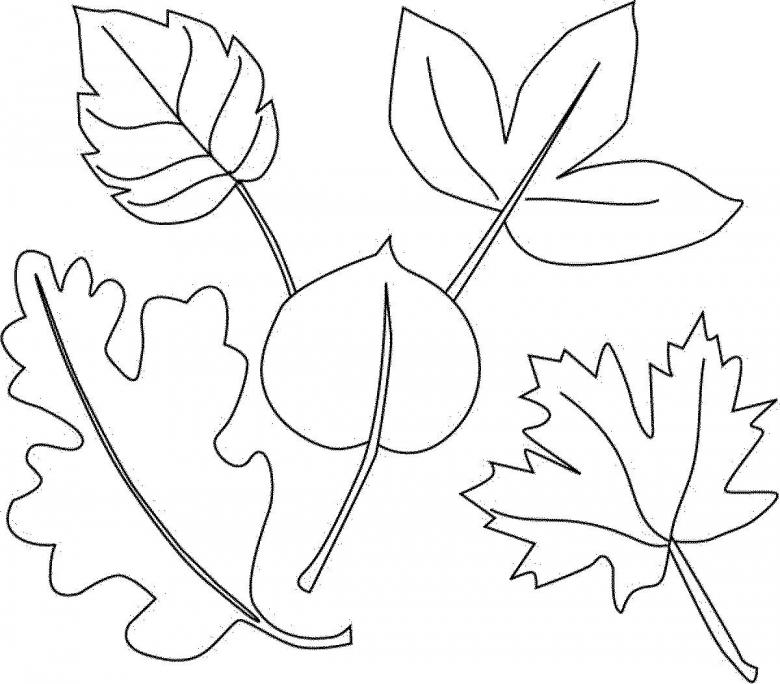
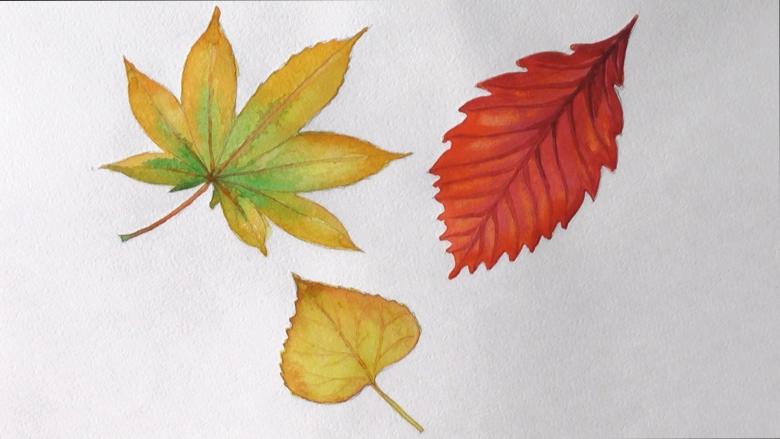
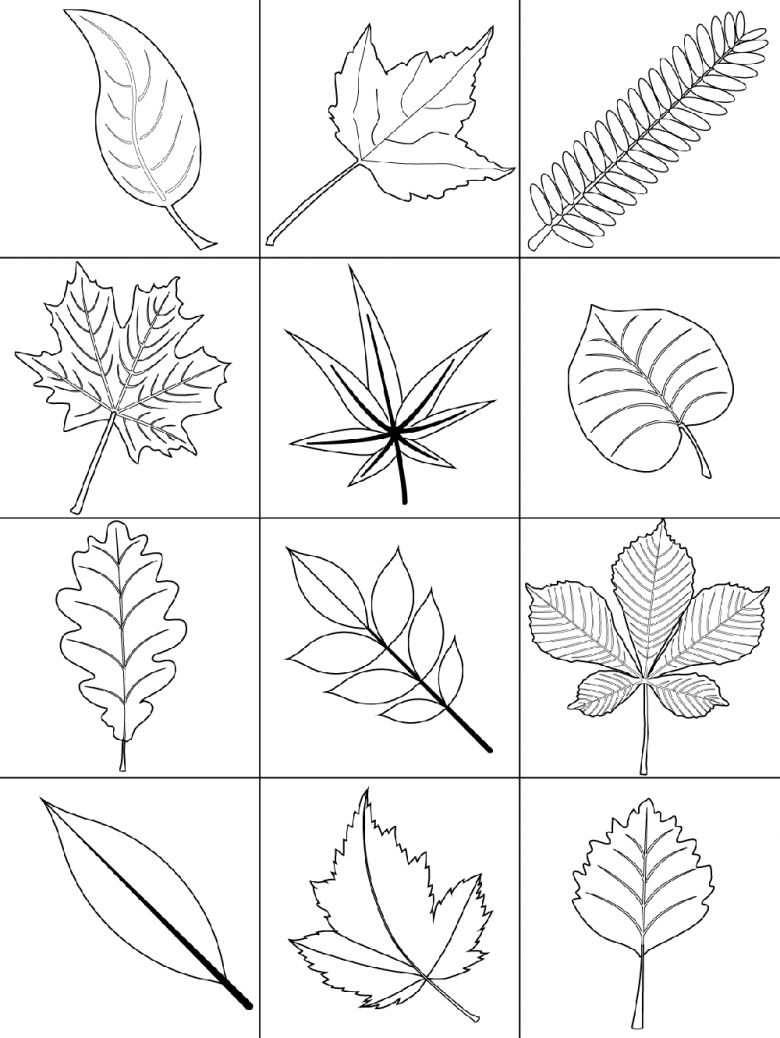
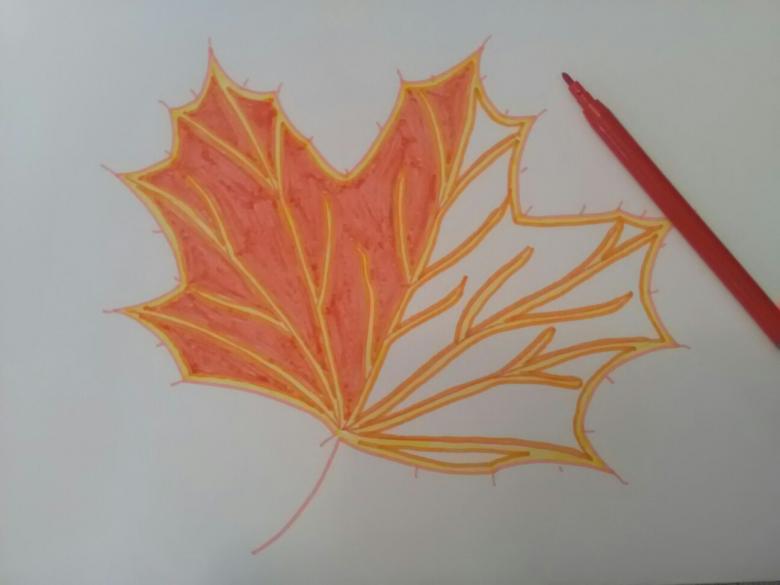
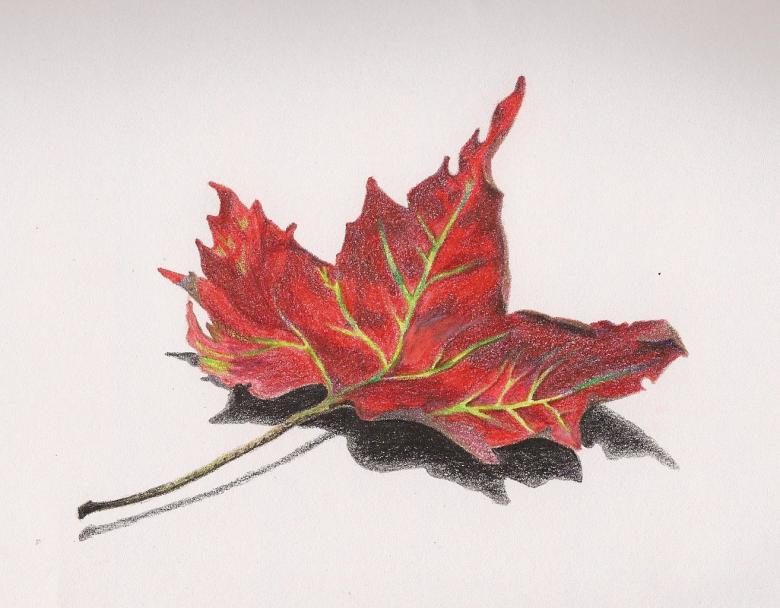
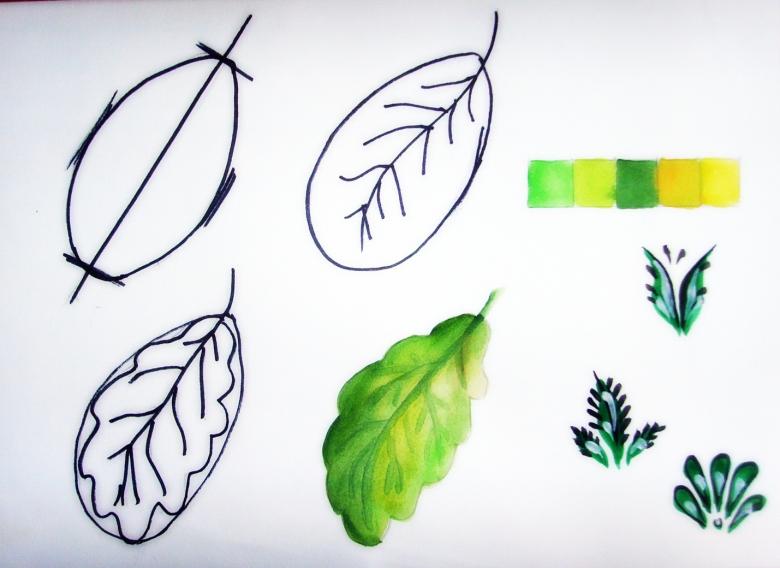
For the first lessons, you can use schematic sketches, which school-age children can repeat on their own. A more complex drawing depicting a carpet or a bouquet of leaves can then be colored using paints such as watercolor or gouache, colored pencils, and even crayons.
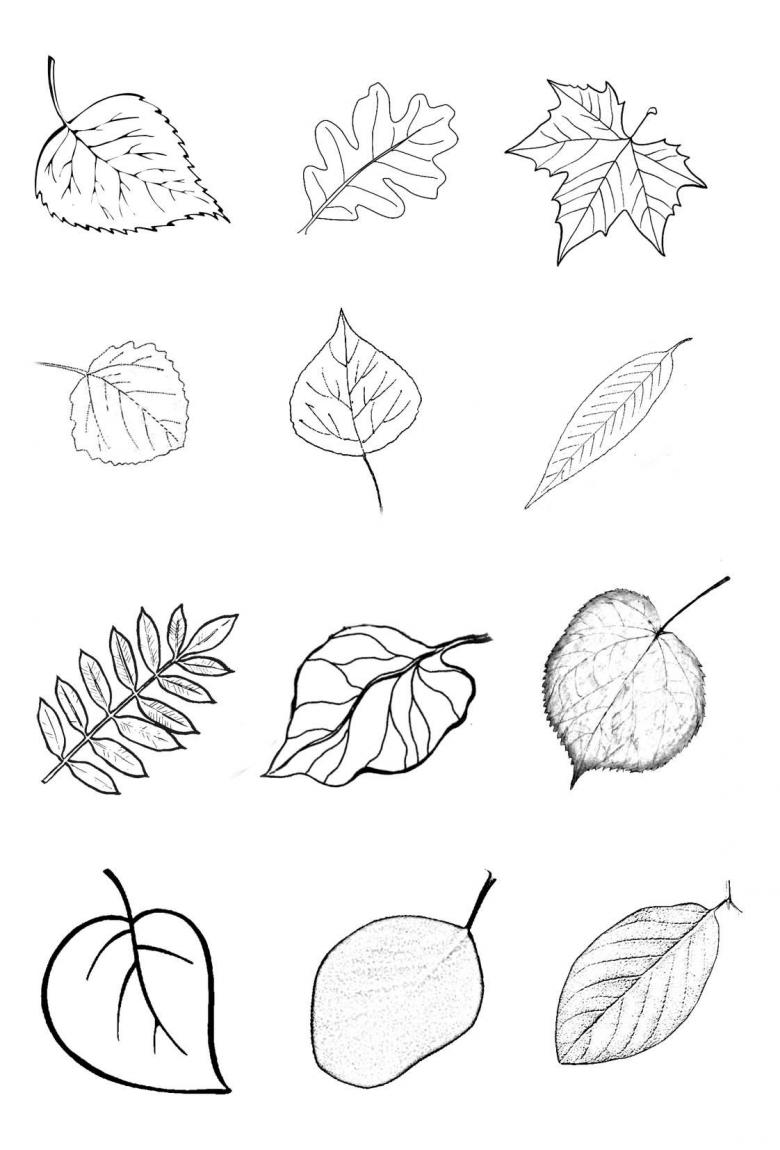
Leaves of birch and linden
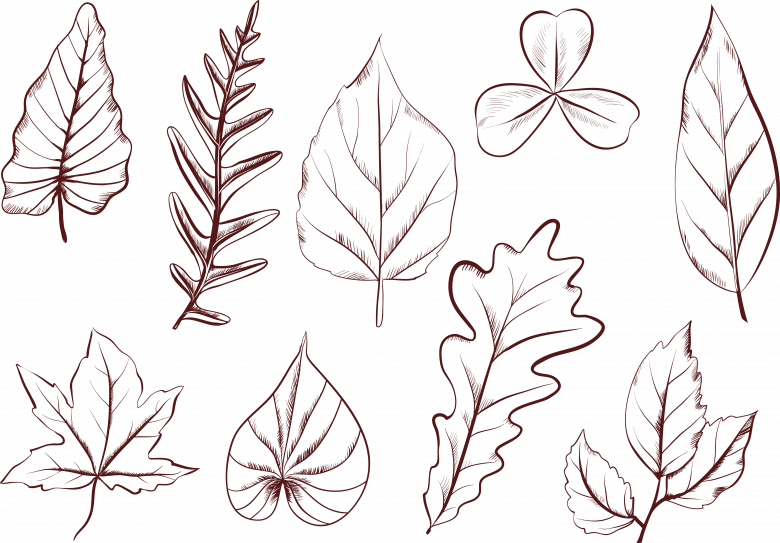
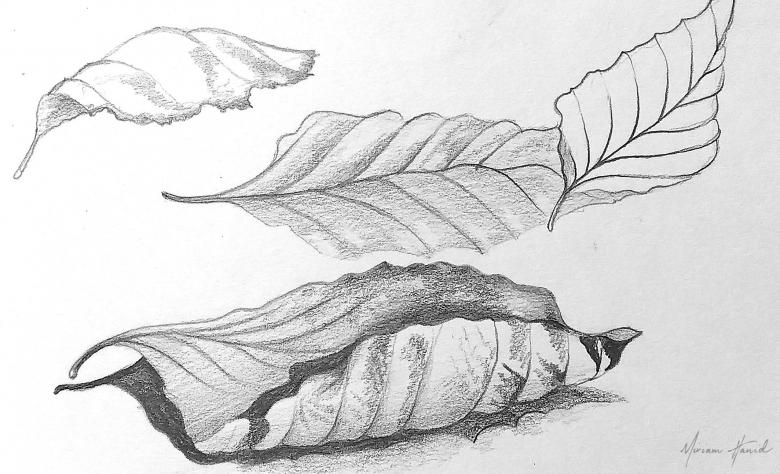
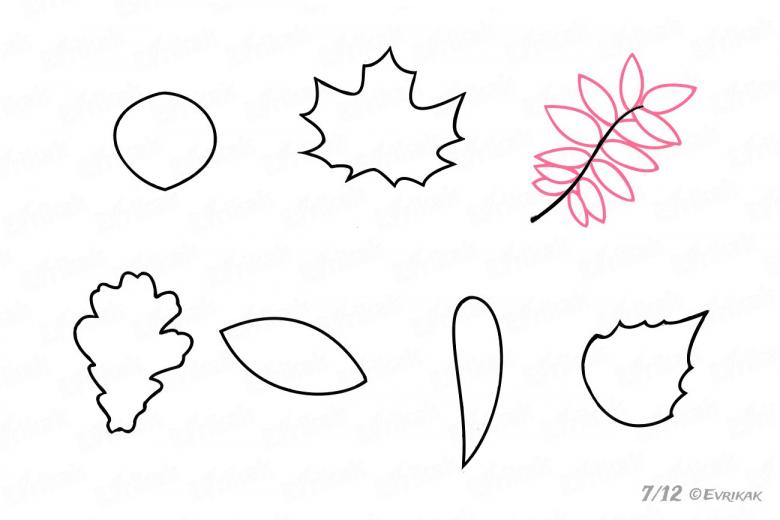
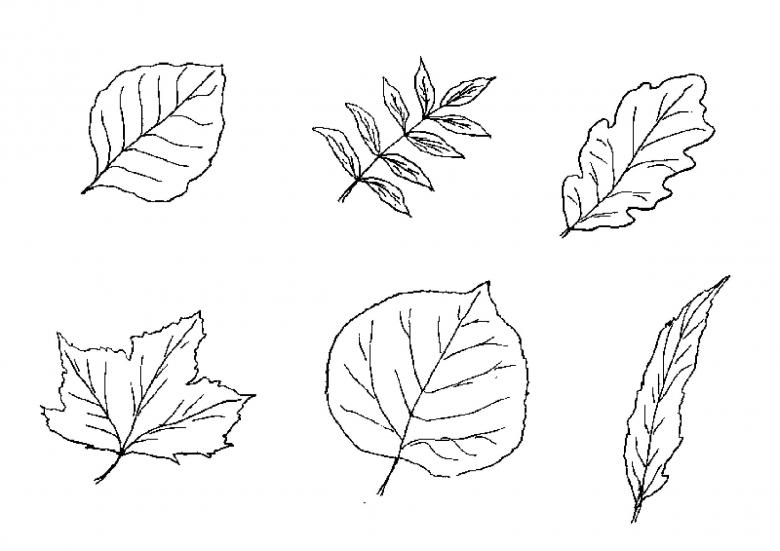
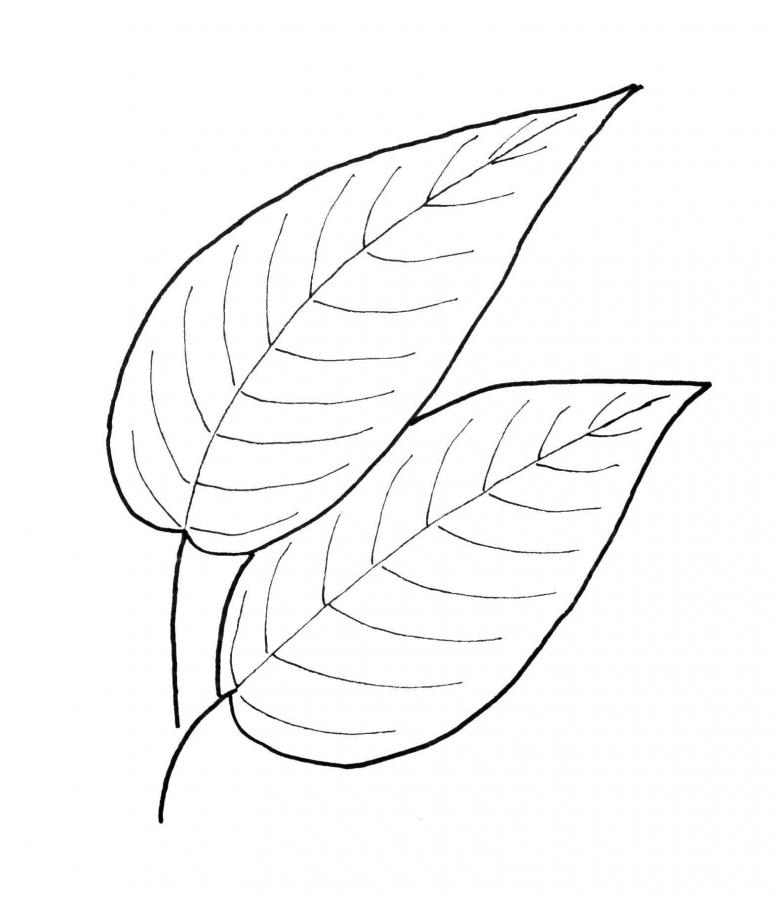
Many leaves from trees that grow in parks and alleys are similar in shape and general outline, so you can learn to draw them simultaneously. No exception will be the autumn leaves of the birch and linden, which are very similar in appearance, but differ in size, and you can draw them step by step on the same template:
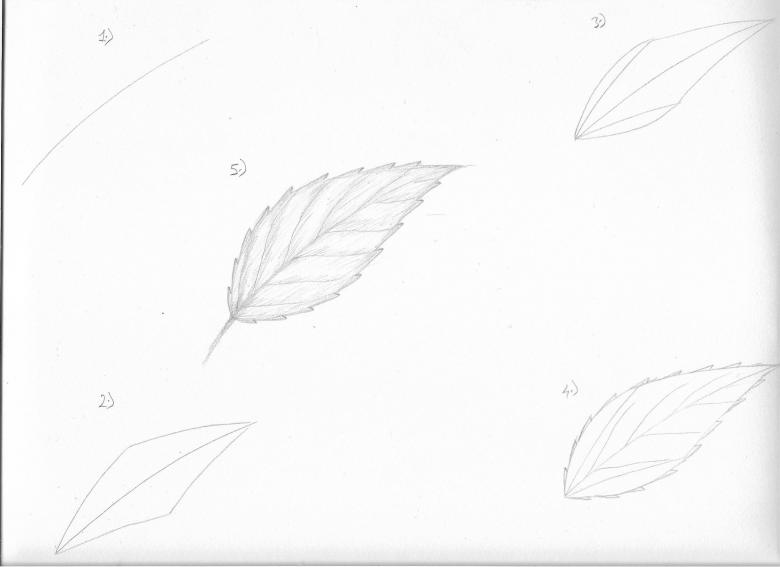
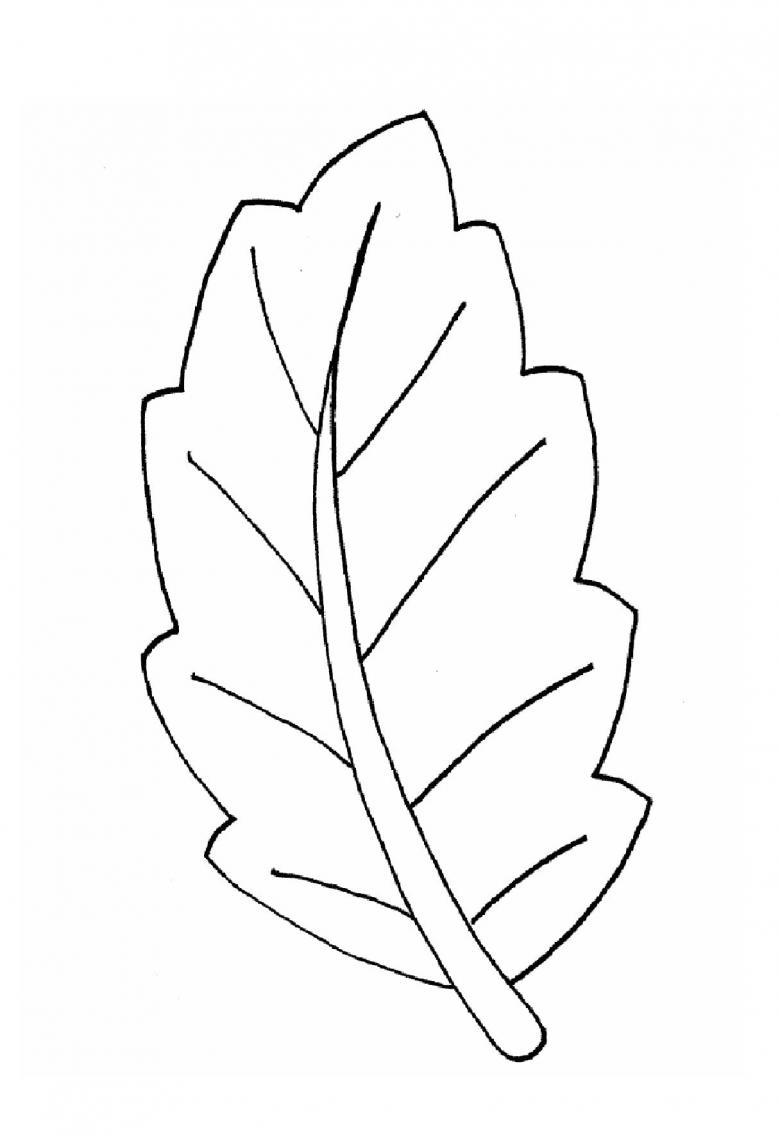
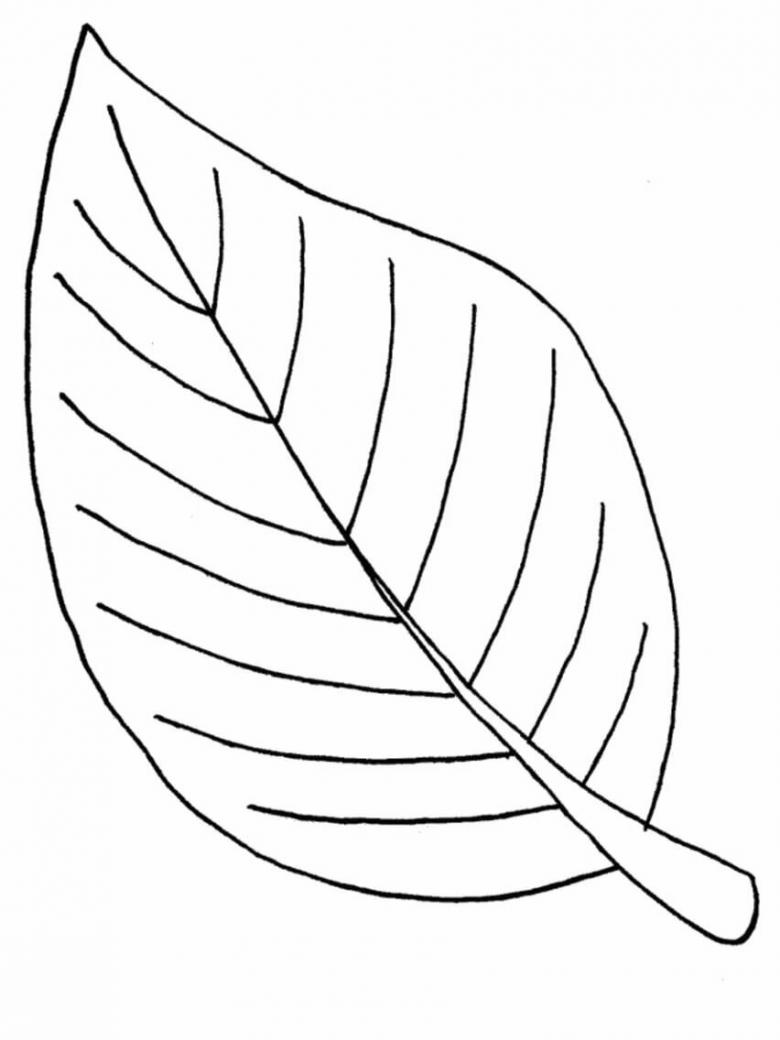
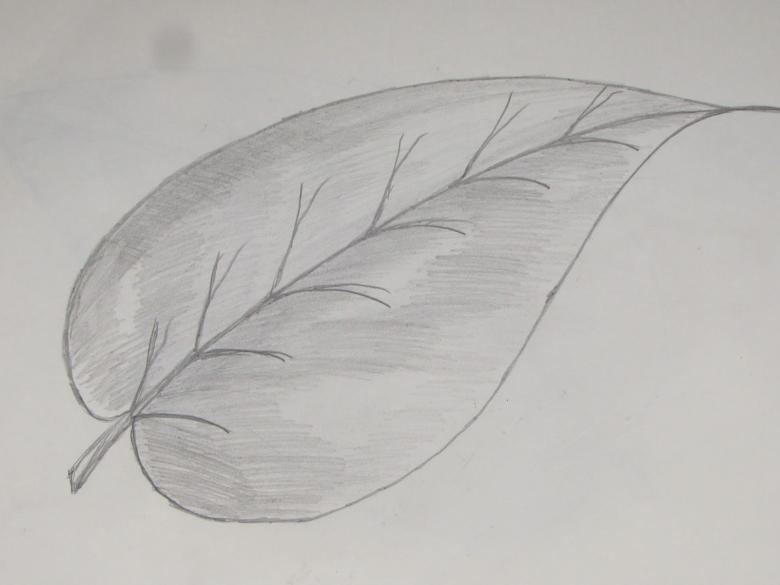
- a sketch of a leaf is drawn on a sheet of paper with a simple pencil, its appearance should be drop-shaped with clearly drawn veins and a central division;
- the edges of the future leaf are notched using small triangular lines, such a fringe will emphasize the realism of the artistic image performed;
- inside the leaf, a fine grid of veins should be drawn, diverging from the central dividing line, and the drawing should be completed with a leaf stalk.
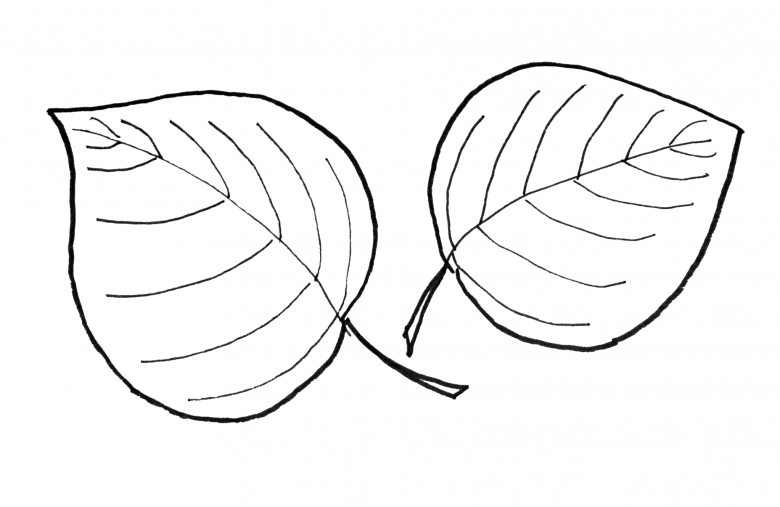
A linden leaf with the same shape will also have jagged edges, but they should be rounded at the point where they connect to the stalk. Minor differences can easily be emphasized not only by the shape, but also by the size of the leaves, which in the birch will be much smaller than the linden, but the coloring in the fall may be the same in them.
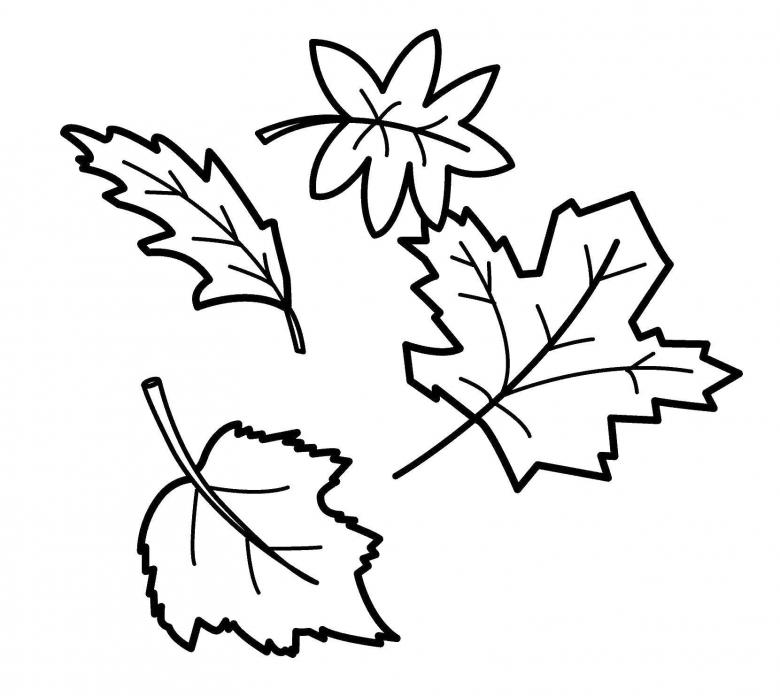
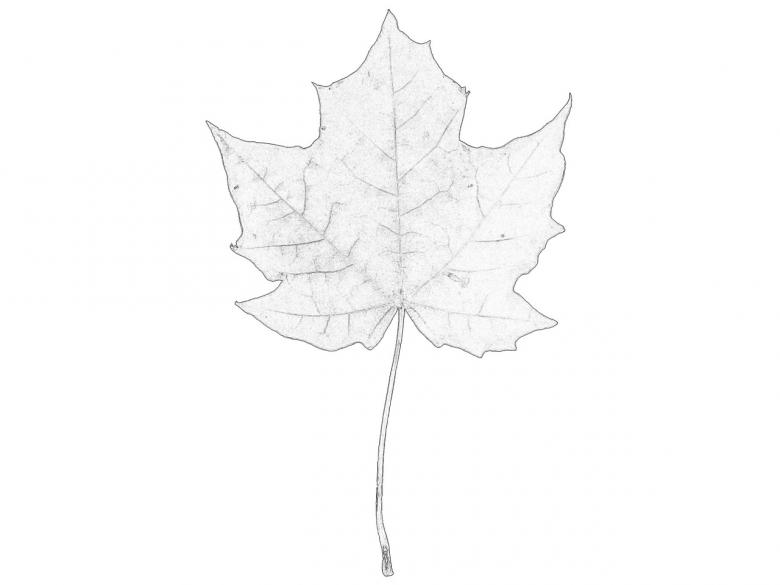
Maple and chestnut leaves
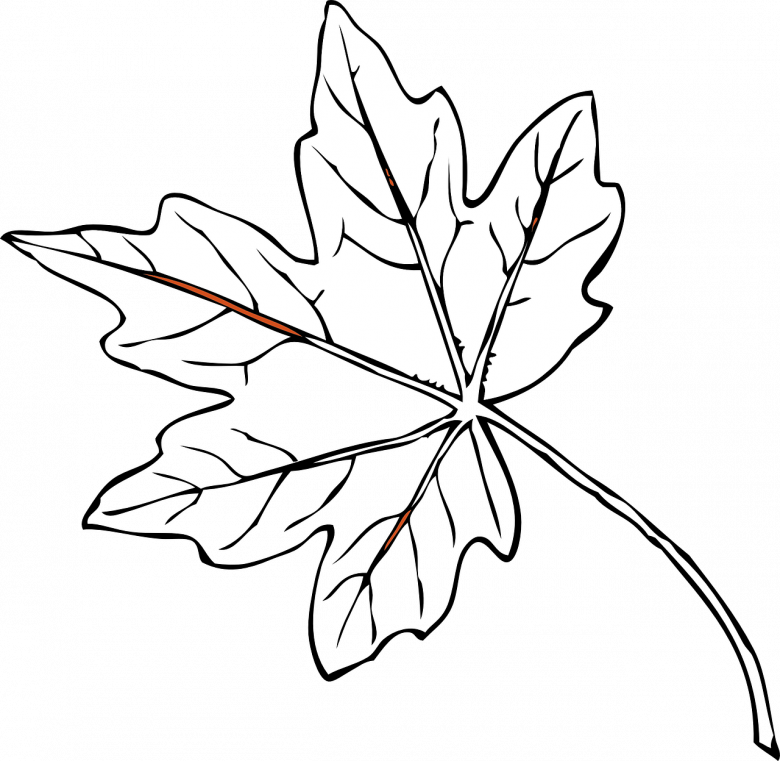
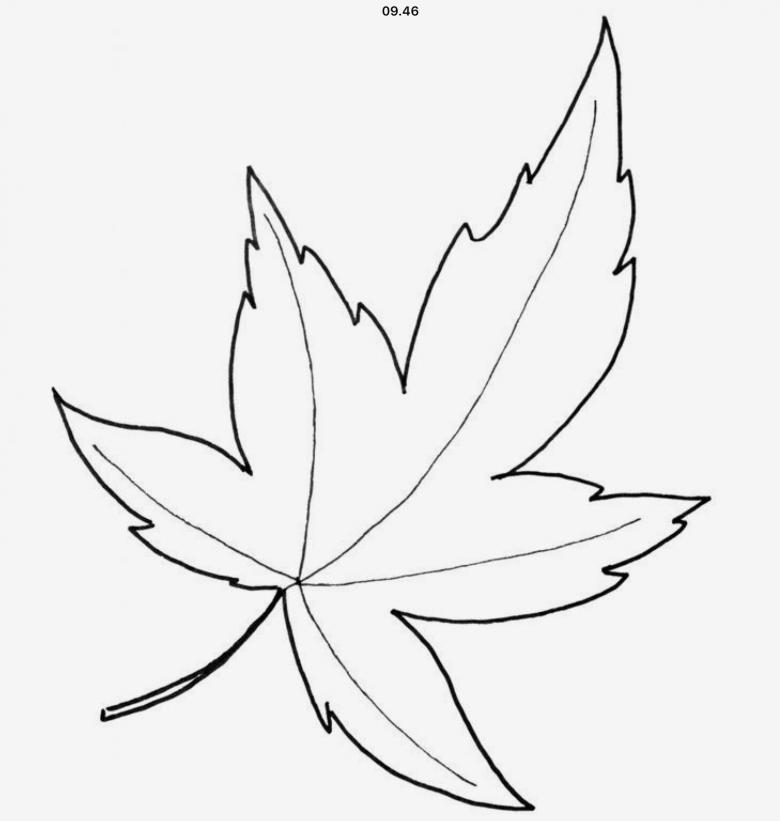
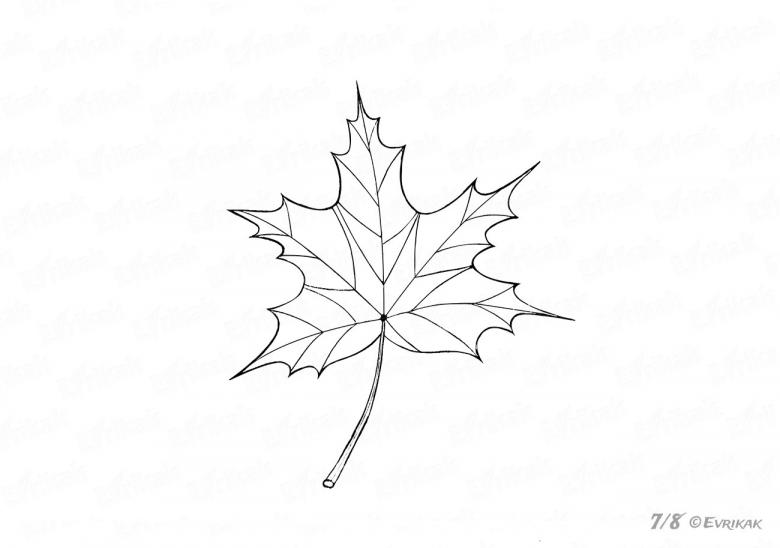
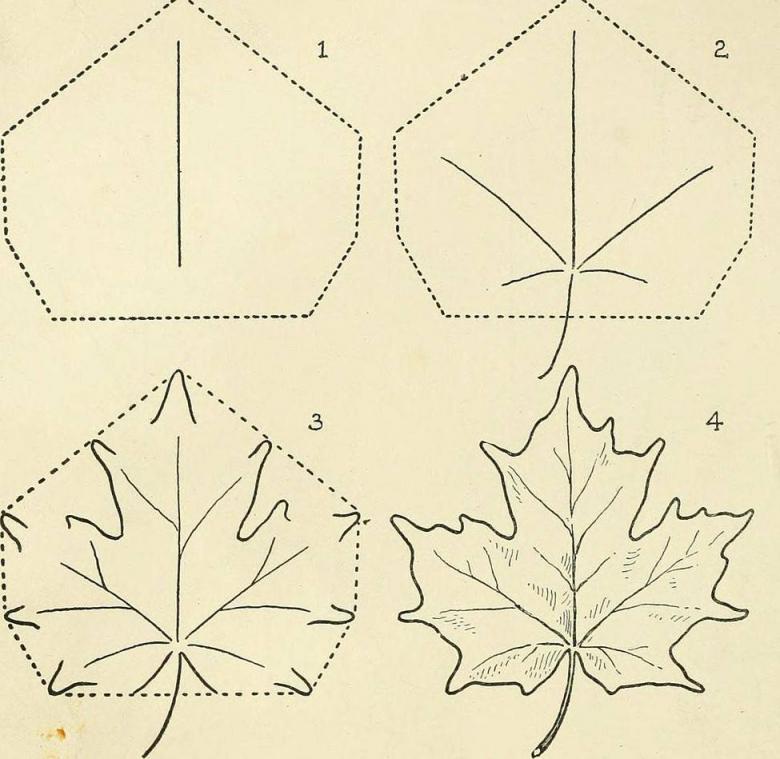
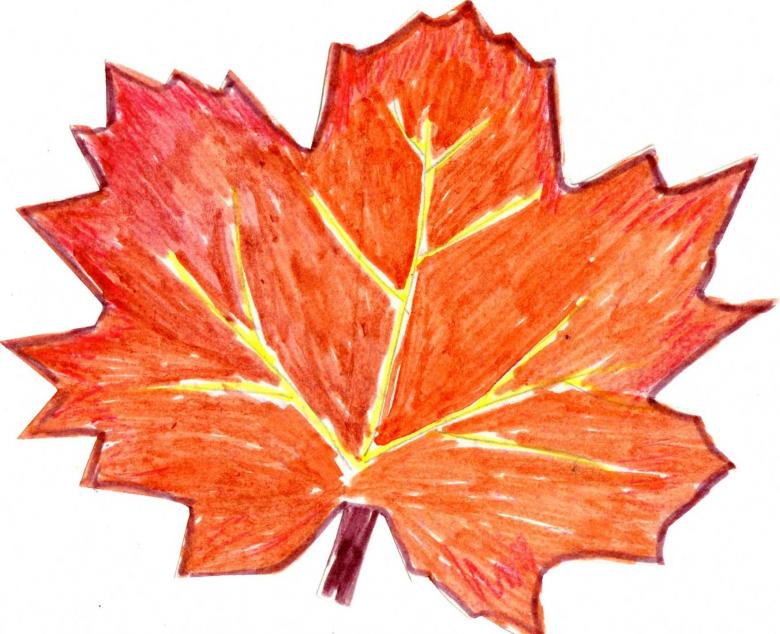
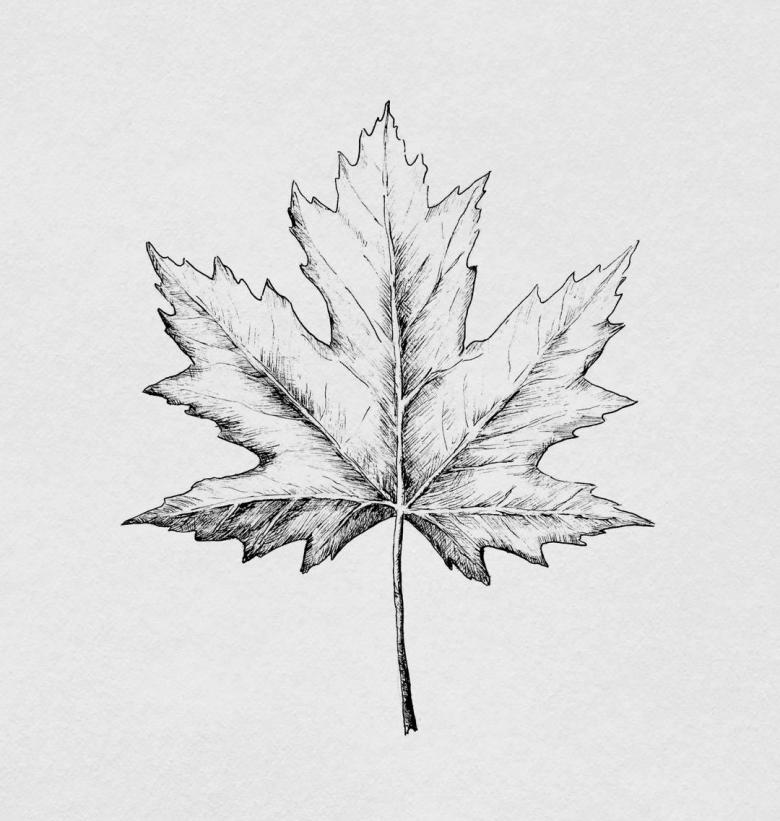
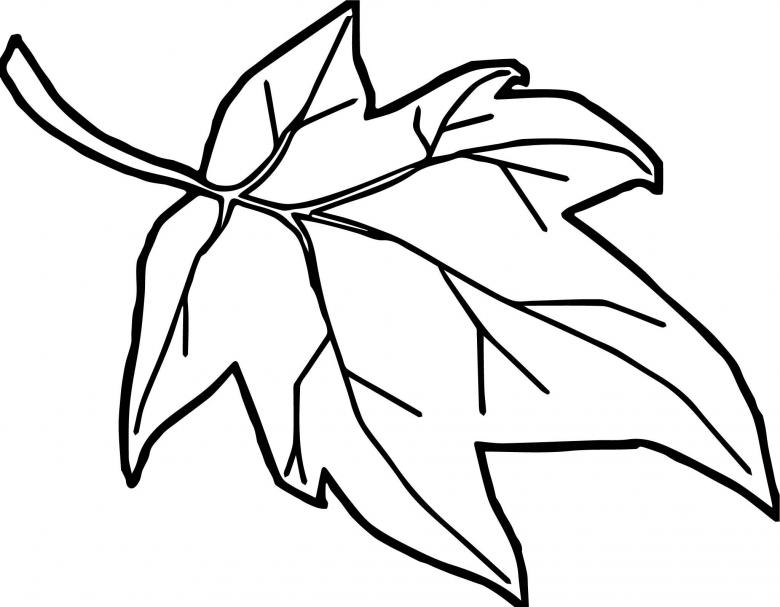
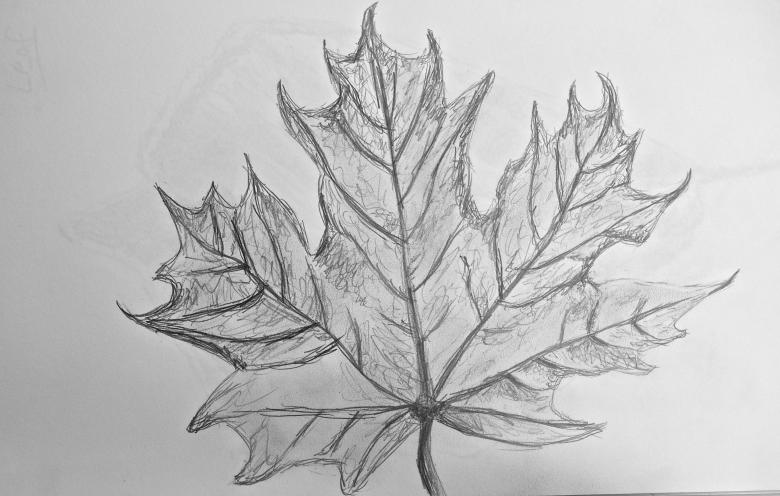
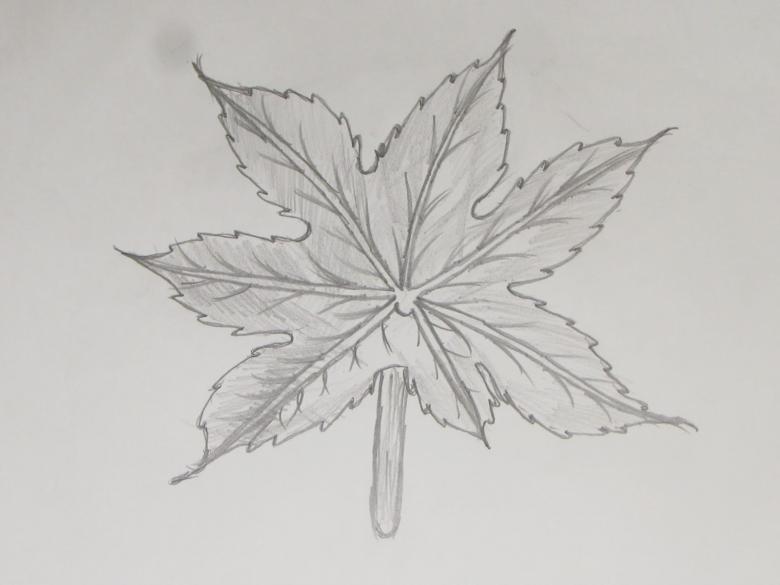
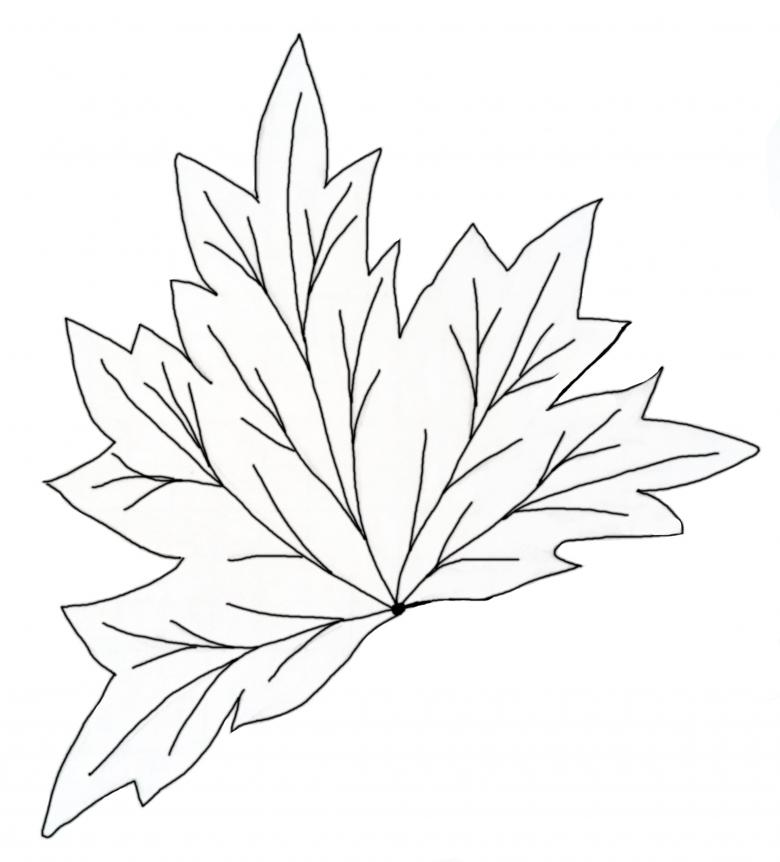
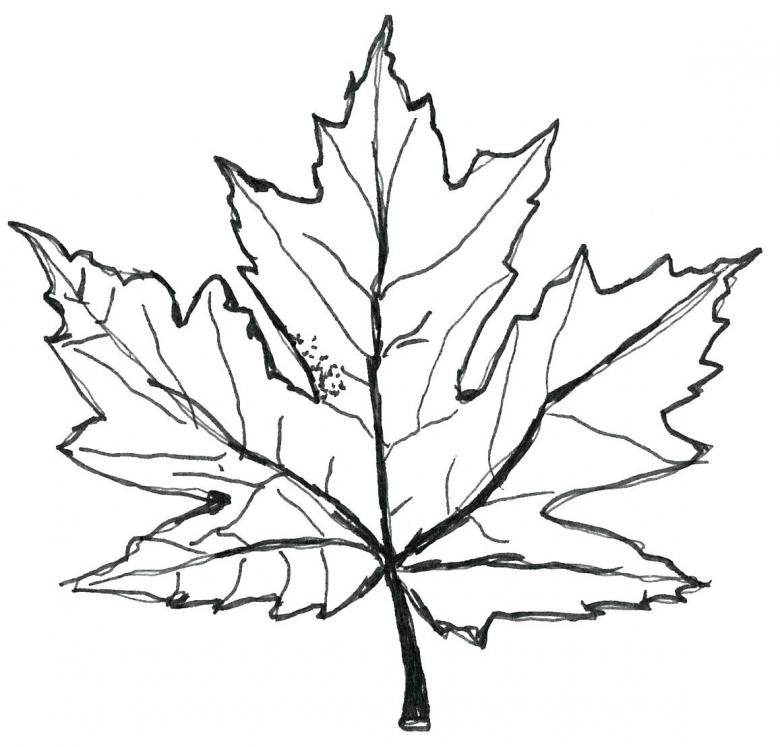
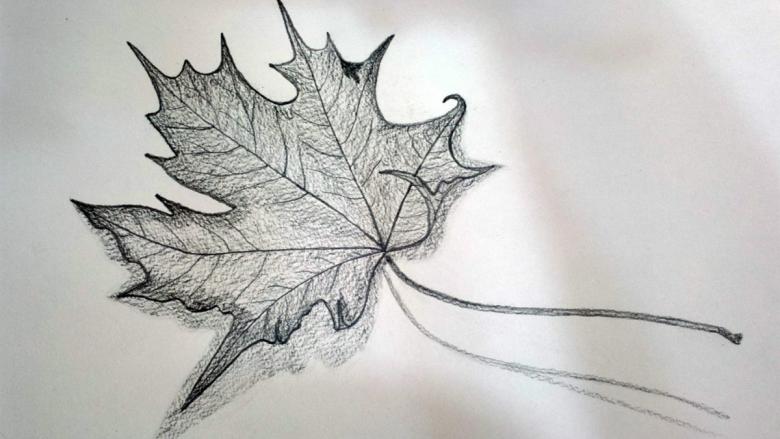
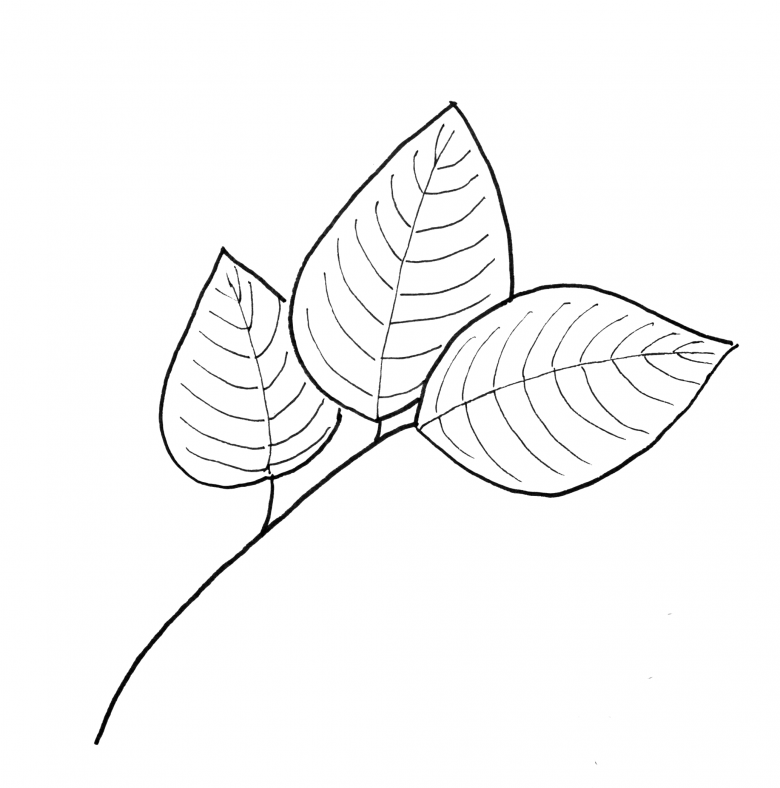
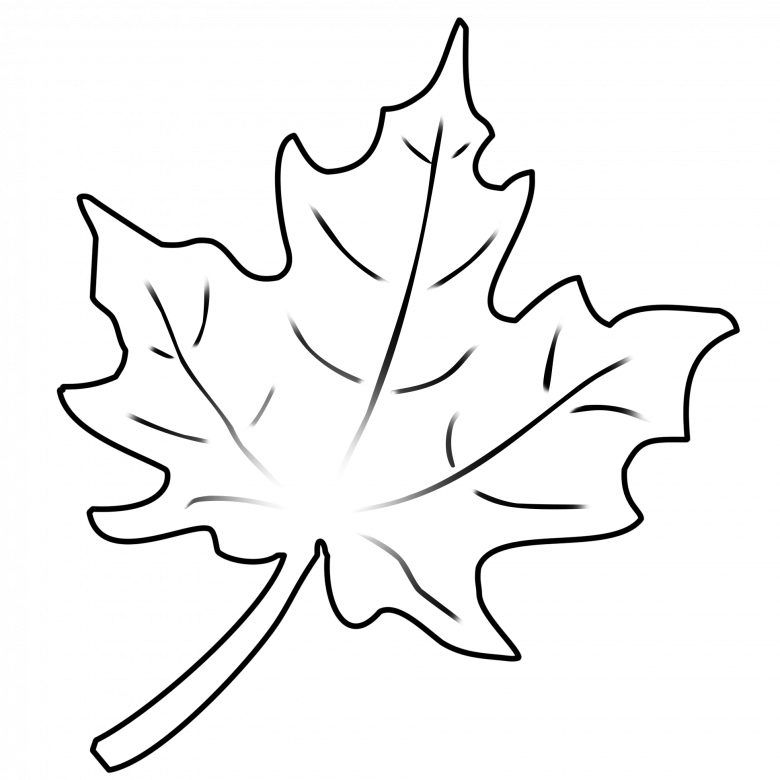
The general shape of the leaves of this tree is not exactly the same, and the maple leaf is more graceful, requiring the drawing of details. But in the first stages of drawing, they can be depicted using the same template, so having made a blank, you can begin to draw the details and place the right accents:
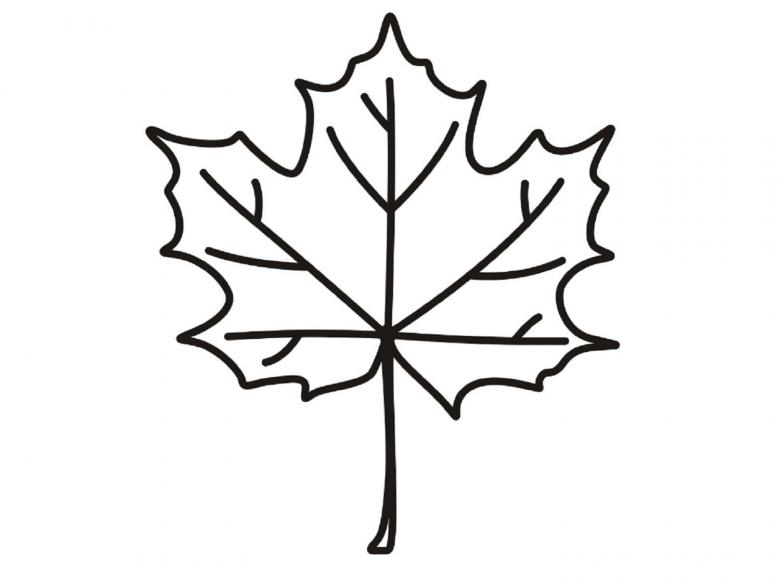
- a circle is depicted on the sheet, not necessarily a perfectly correct shape, the lower triangular section is removed from it, at the place where the leaf plate is attached to the petiole;
- Inside the resulting semicircle, five rays must diverge from the apex of the triangle, visually dividing the figure into equal parts with different heights and volumes;
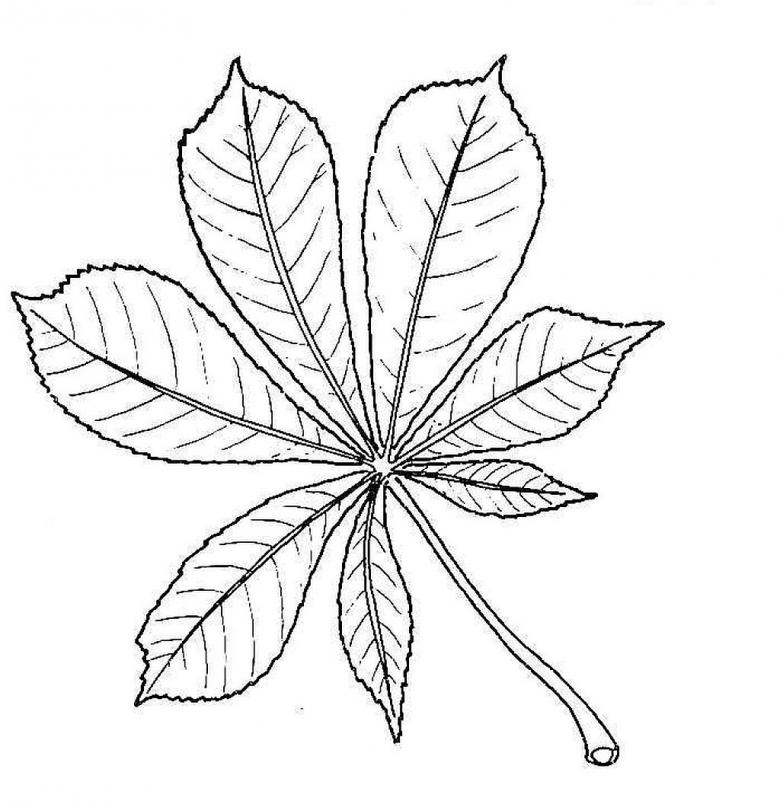
- by drawing down and at an angle a straight line we get a leaf stalk (a larger and thicker line is drawn for the chestnut leaf stalk, all the leaves are joined to it);
- each ray from the top is drawn as a triangle (similar to the roof of the house), the central element should be the largest and tallest, and all the lines connect to each other;
- the smallest parts, attached to the bottom, near the stalk, are decorated with a smooth triangle, creating the most realistic picture of the bottom edge of the leaf;
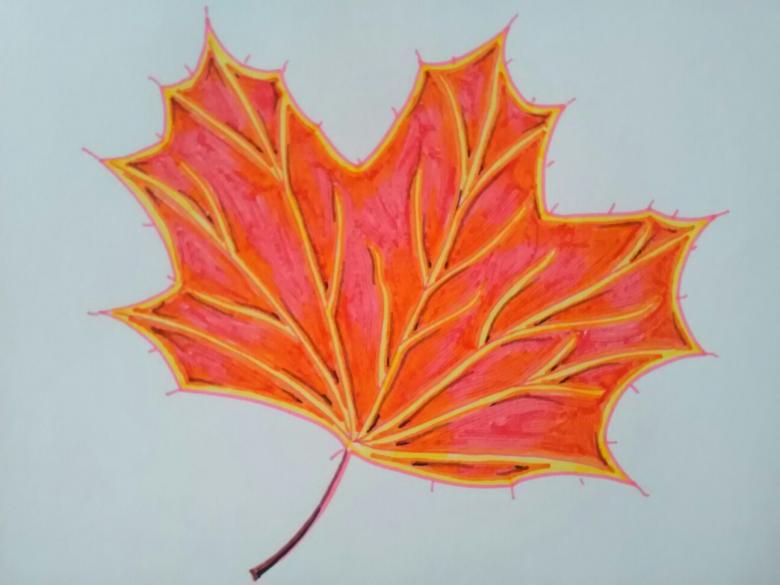
- Inside the leaf, neat veins are drawn, departing in different directions from the rays separating the leaf of a maple, the edges of the leaf can be completed with smooth transitions.
Rounding 5-6 leaves attached to one petiole and drawing them parallel, placed at an angle to the central line veins can get a chestnut leaf. To finish the lesson on drawing chestnut leaves, you can practice drawing the chestnut blossoms that dot the tree in the spring.
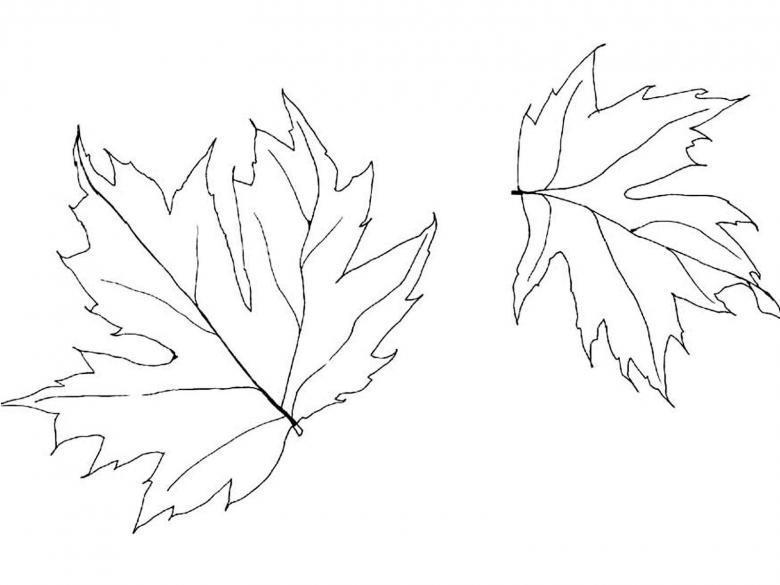
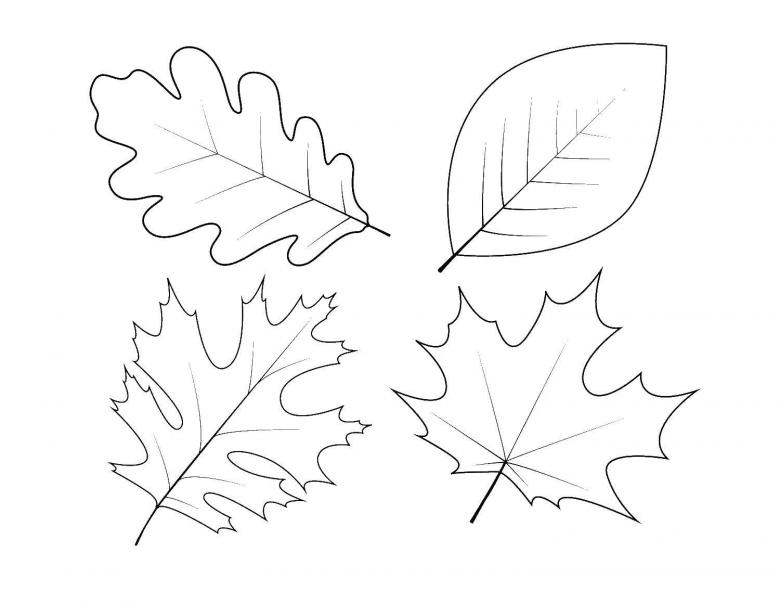
A beautiful oak leaf
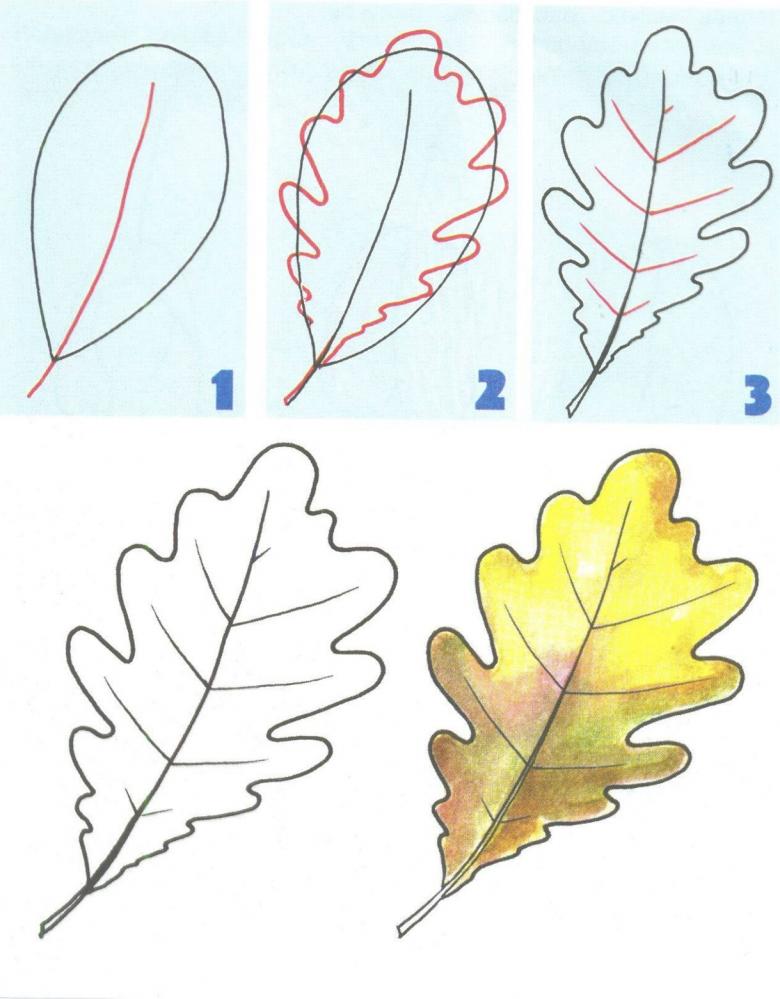
Oak, is a beautiful and majestic tree, which is not often found in the city and the child may not have seen this forest beauty. To help parents in this case, a drawing, photo or picture of the leaves, which is simple enough to draw, using the step-by-step instructions:
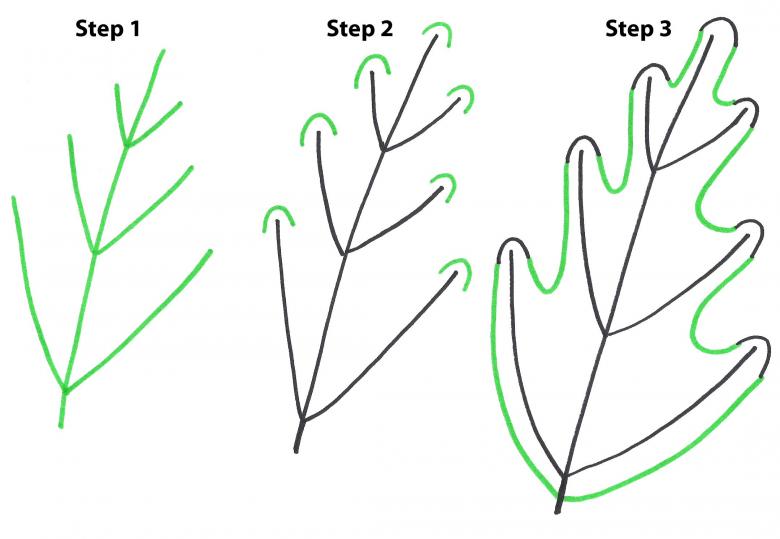
- an oval with a slightly elongated shape is depicted on paper, the sketch can resemble a light bulb in appearance and it is better to start drawing with a large sketch;
- the unusual shape of the oak leaf is sketched with a smooth line going around the rim of the sketch, composing the shape and curved appearance of the leaf;
- the leaf stalk is not very long and large enough, a short, thickened line drawn with a simple pencil is suitable for drawing it;
- the leaf veins of this tree cover the leaf plate densely enough, and they can be drawn arbitrarily, starting from the central line that divides the sketch.
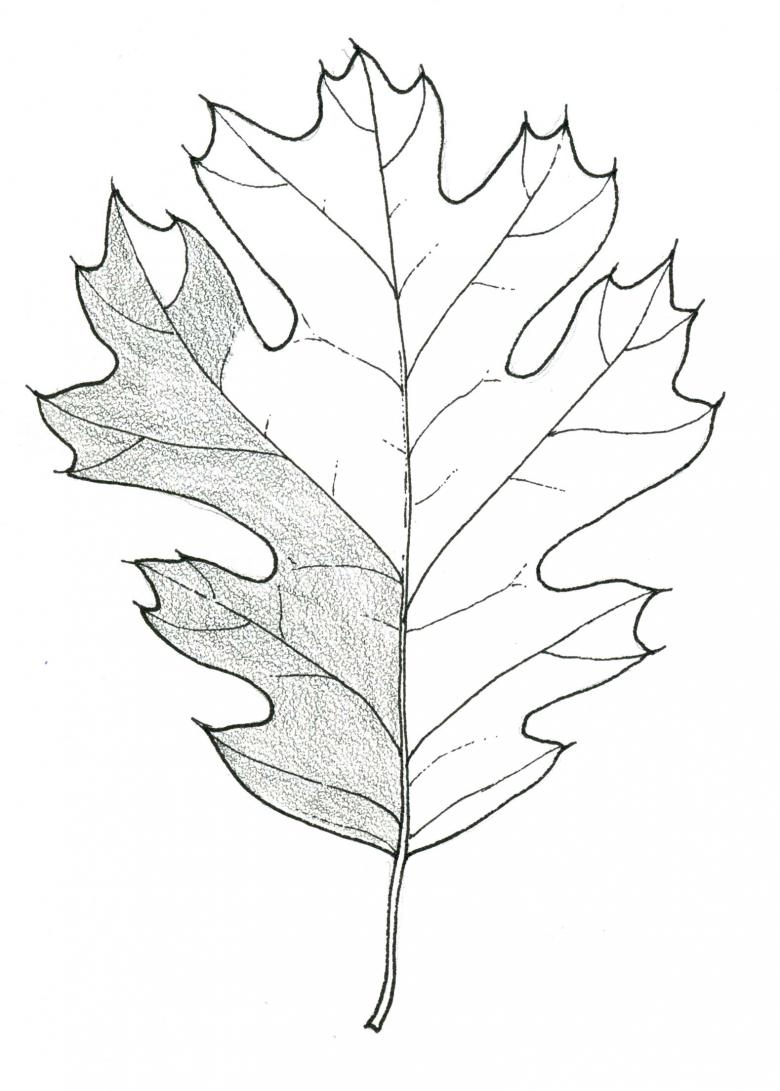
Oak leaves will be as similar to the original as possible if they are supplemented with an image of acorns, combining all the elements on the sprig. In the fall, the leaves of this tree are not brightly colored and for their coloring, light and dark brown shades from the color palette are suitable.
The rowan leaf on a single stalk
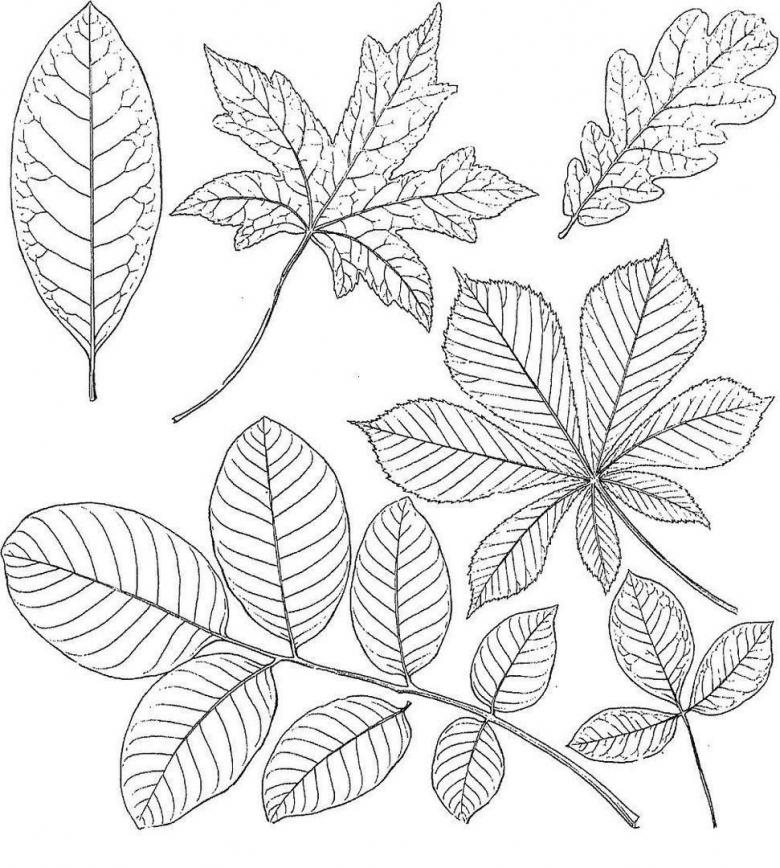
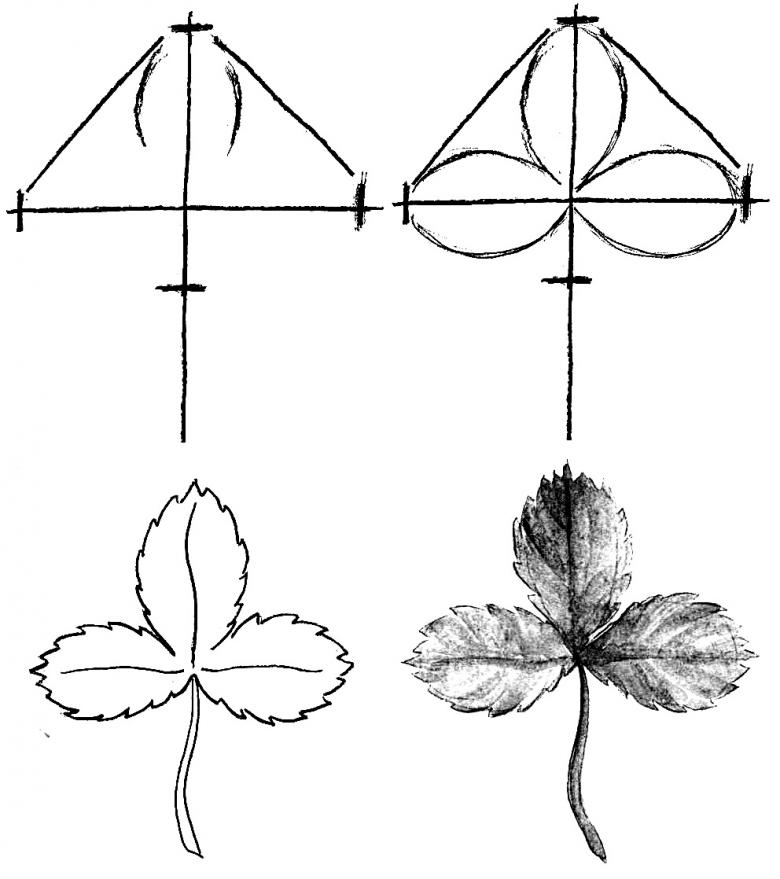
An openwork rowan leaf is a single twig with several oval-shaped leaves attached. Start drawing with the image of the central branch, outlining the petiole and the symmetrical arrangement of small leaves, then you can draw the leaf plates themselves:
- to the central stem are drawn arrows without sharp ends, diverging at an angle, these will be the central divisions for the future leaves;
- rowan leaves have an oval shape and are easy to draw even for a novice artist, and the edges of the leaf plates are covered with miniature serrations;
- The central leaf attached to the twig is not paired, but identical to the rest of the elements, all leaves show a vascular network of veins.
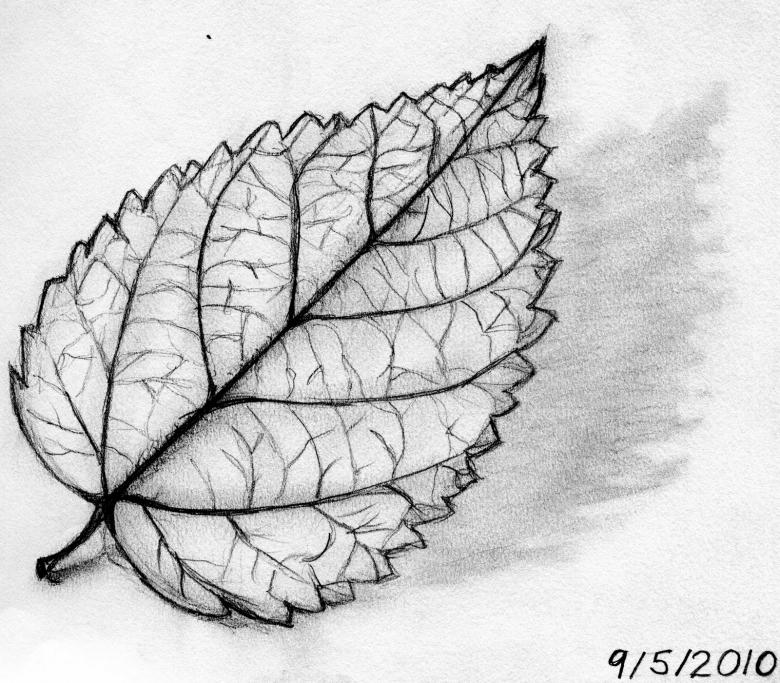
Complement the picture with a painted rowan leaf can be its coloring and a beautiful brush of red berries. For drawing berries, you can use the technique of stamping, which adults can easily show children using paints and the back of a colored pencil (without a rubber band) or a brush.
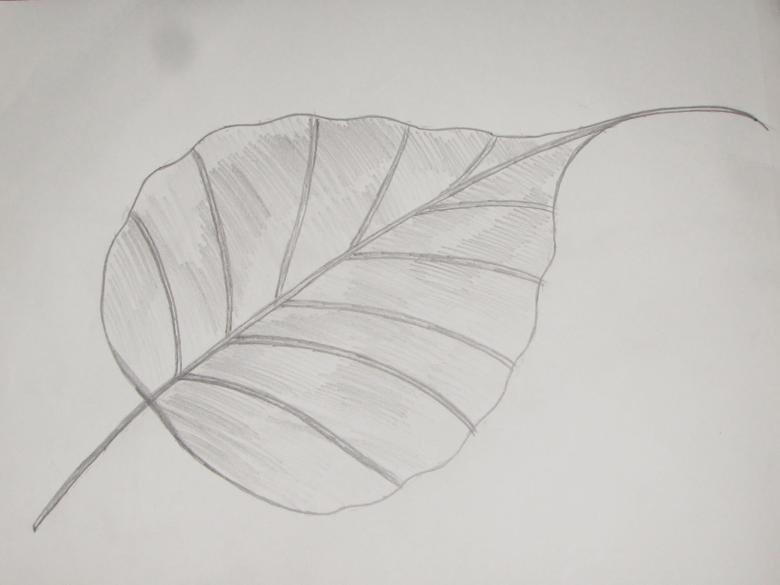
By reproducing each step of the suggested instructions, the child can master the technique of drawing leaves and other objects of wildlife. If you draw more than one leaf, you can combine them into a full picture depicting a golden autumn, transferring it to a board or other, more stable than paper base.

