How to draw a maple leaf - step by step instructions for beginners, photo examples, tips
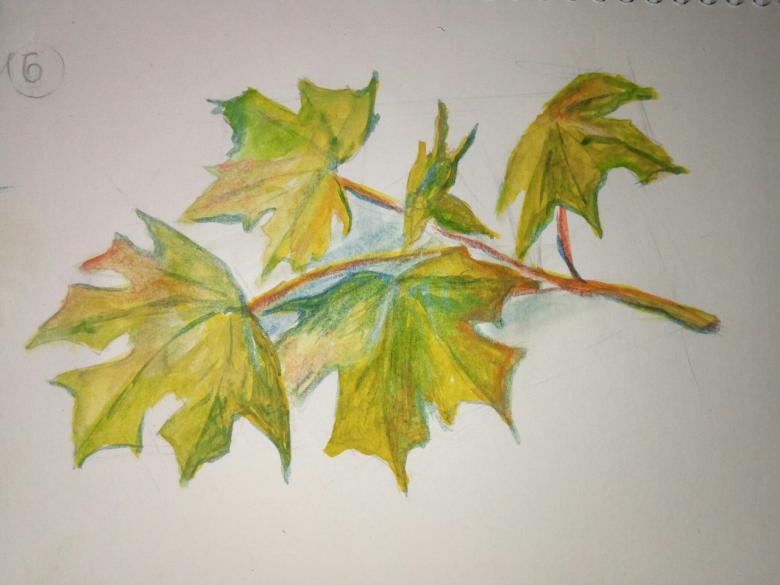
At a summary time, you can do various interesting things together with your child: go collect a herbarium of beautiful leaves from various trees, or similar leaves to try to draw on a sheet of paper. Drawing a maple leaf is a very interesting activity where many colors are used.
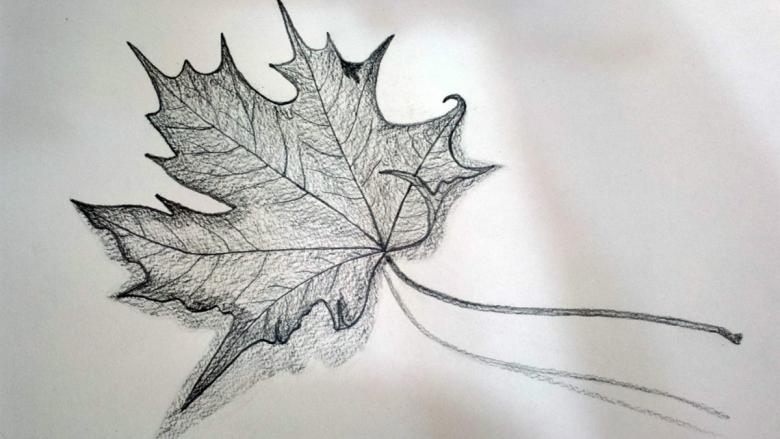
It is very easy to draw a maple leaf. If you have difficulty, you can find step-by-step drawing lessons. Drawing any image, it is desirable to start with a simple pencil, so that it was possible to erase auxiliary features and correct mistakes made. In the final stages, the drawing can be circled and colored with anything.
Step by step drawing
One of the most beautiful is the maple tree leaf. It has an original five-pointed shape and bright coloring, especially in the fall. Regardless of what this object is depicted for, this spending time will be useful for everyone.
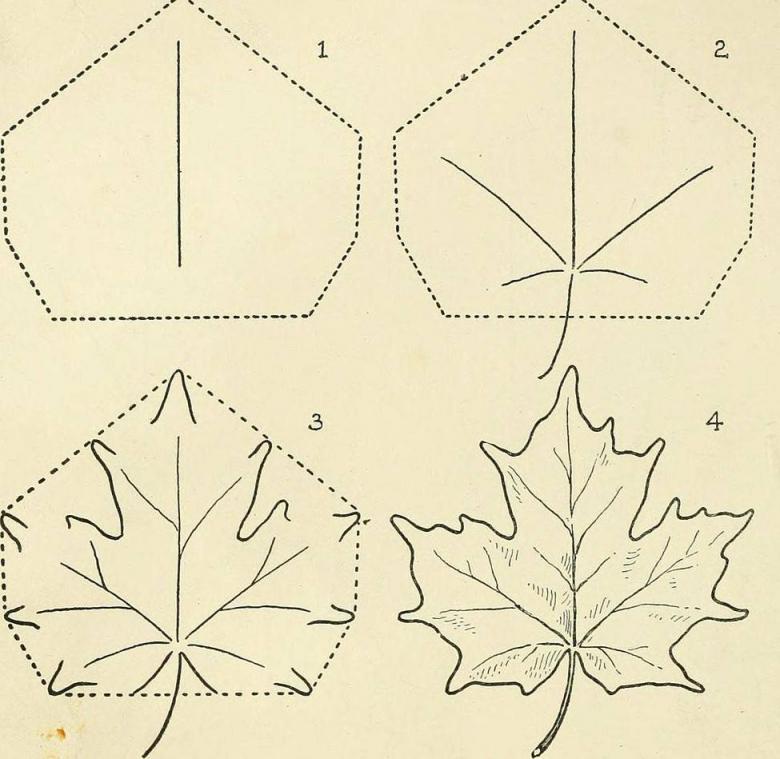
To draw a maple leaf, using only: simple and colored pencils, an eraser and a sheet of paper is not difficult. You only need to perform all the steps in stages:
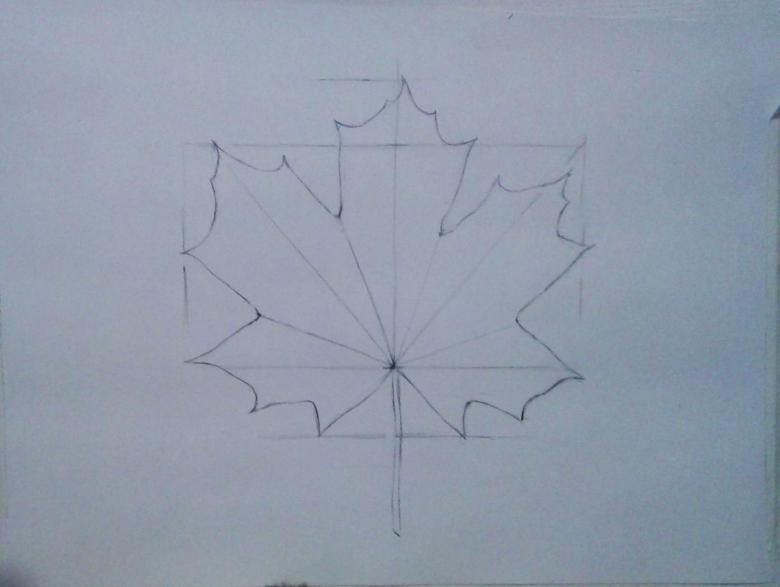
- First you need to draw the outline of the leaf. To do this, draw a vertical arc-shaped line - the feet of the leaf.
- Then draw two crossed lines with slopes in different directions from the horizontal. What will become the basis for the formation of a five-pointed contour.
- Connect the arcs of the ends of the lines depicted, erase the extra strips inside the image.
- Detail the drawing. It is necessary to create sharpened tips of the leaf, and provide sharpened and connecting arcs, making it realistic.
- Gray unnecessary dashes, make inside the sketch of a leaf peculiar to him veins.
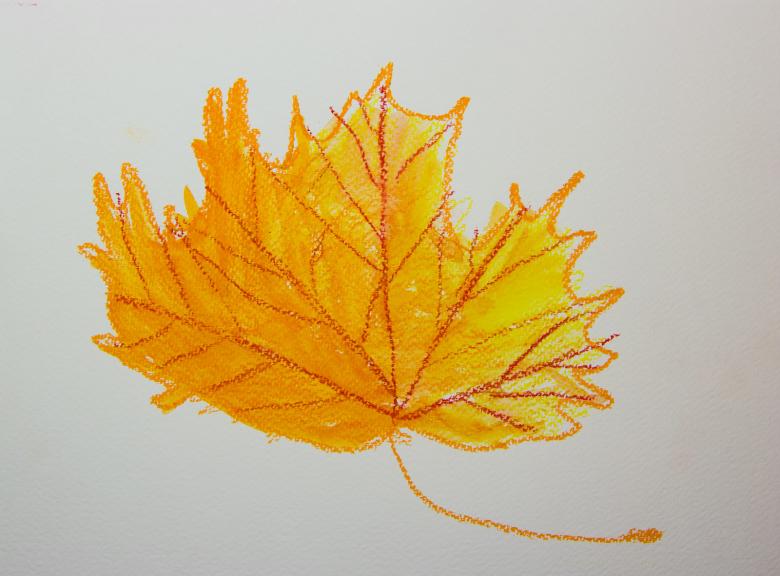
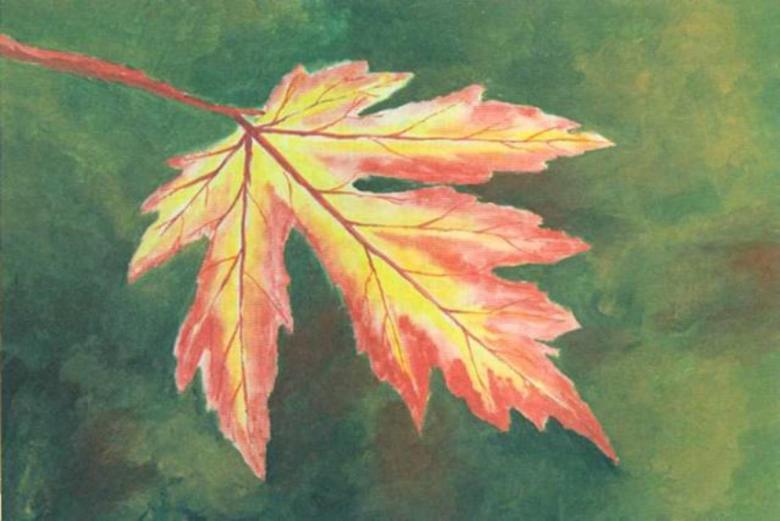
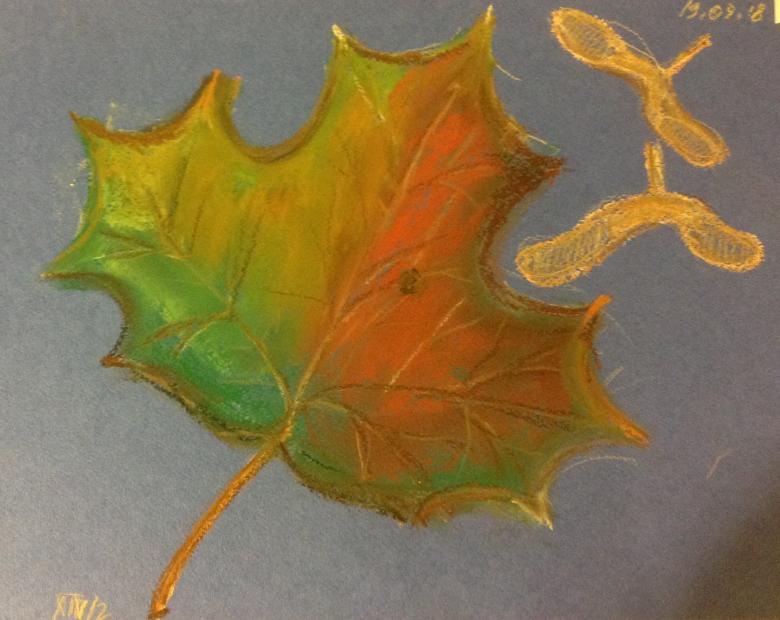
- It remains only to paint the leaf in rich colors: yellow, orange, red, brown, green tones. You can make a monochrome pattern, as well as with a variety of shades.

The easy way
There are still simple ways of a step-by-step image of a maple leaf. One of them, which can be easily mastered by a child, is the following, you need;
- Draw a triangle with a bent towards the top of the base.
- Above and to the sides of the triangle to draw three terminal figures, similar to the crowns.
- Podrisovit foot leaf at the bottom of the triangle.
- Circle the main lines of the figure and remove unnecessary elements.
- Color a leaf of a maple tree.
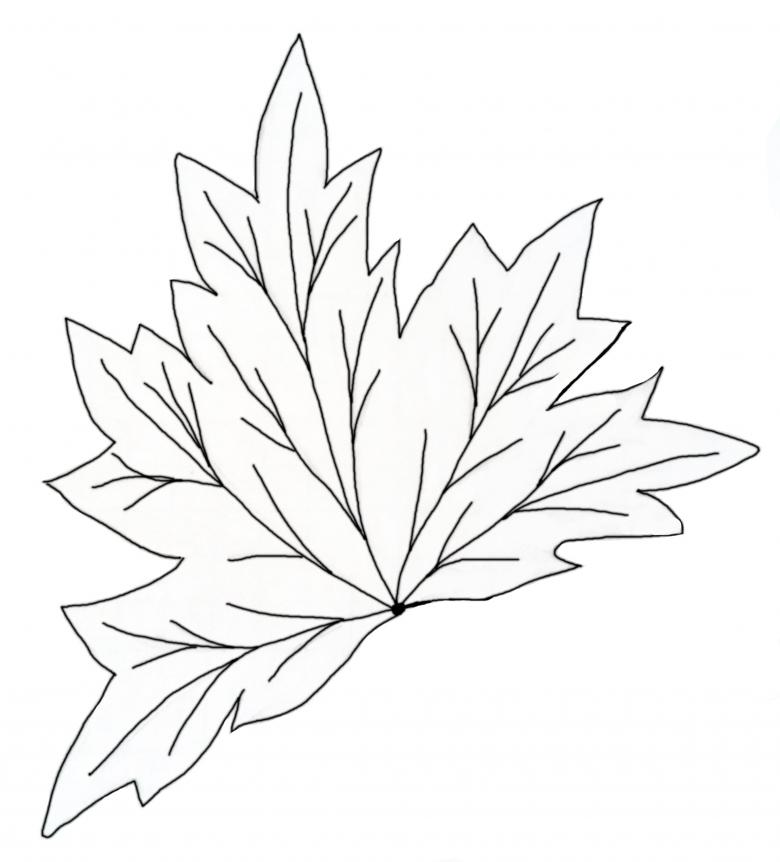
Advanced Method
This method, if you see the result in the photo, may at first glance seem complicated, but in fact it is not. To bring it to life, you have to:
- Draw a cross. It is not necessary to make absolutely flat lines.
- Position the horizontal line slightly below the middle of the vertical.
- From the point of intersection draw two oblique lines pointing upwards, a little higher draw two more similar segments, but smaller in length.
- Draw a short slanted dashes (leaf veins) to each segment, except for the bottom (feet leaf).
- Connect the ends of the main segments of the zigzag lines.
- Trace the basic outline and remove unnecessary elements.
- Color the drawing to your liking.
Detailed instructions
Even kids who haven't yet tried their hand at drawing, but are already confidently holding a pencil, will be able to master this drawing. This skill is achieved through step-by-step instruction.
- Veins and sections. Draw a long vertical - the axis of symmetry of the future maple leaf. Visually divide its length into three equal segments, indent the bottom third, draw two lines from this place at an angle of about 45 degrees upwards. From the same point, draw two horizontal segments. Then you need to depict the lines between the veins. Make them half as short as previously drawn lines.
- Drawing the contour. The shape of the leaf should not turn out right, on the contrary, a maple leaf asymmetric configuration acquires uniqueness and attractiveness. If you look at the photos of real leaves, you can see that they are all different: small and large, close to symmetrical and absolutely peculiar shape. It is necessary to include imagination, making characteristic curls connecting the veins. Starting from the tips, make a short line, from it draw a denticle, after it make a curl, duplicate the action. The very tops make a longer denticle.
- Decorating the leaf. Make fine veins inside the leaf, which will give the image a finished look. Veins need to give all the main veins at an acute angle to them. Make the number of veins optimal - not overloading, but also not leaving a blank figure.
- Decorating the core. To make the maple leaf look right and realistic, you need to formalize the middle of the pattern with scrolls, which will intersect with the veins from below.
- The stem of the maple leaf. This step is done very simply, you just need to draw a short stick, slightly widened at the bottom. Give her volume, the lower end to indicate the oval.
- Coloring. Make a drawing in colors suitable for the autumn theme. For the basic color you can take yellow, additional inclusions do red, green, brown shades. These colors would add brightness and smartness to the image.
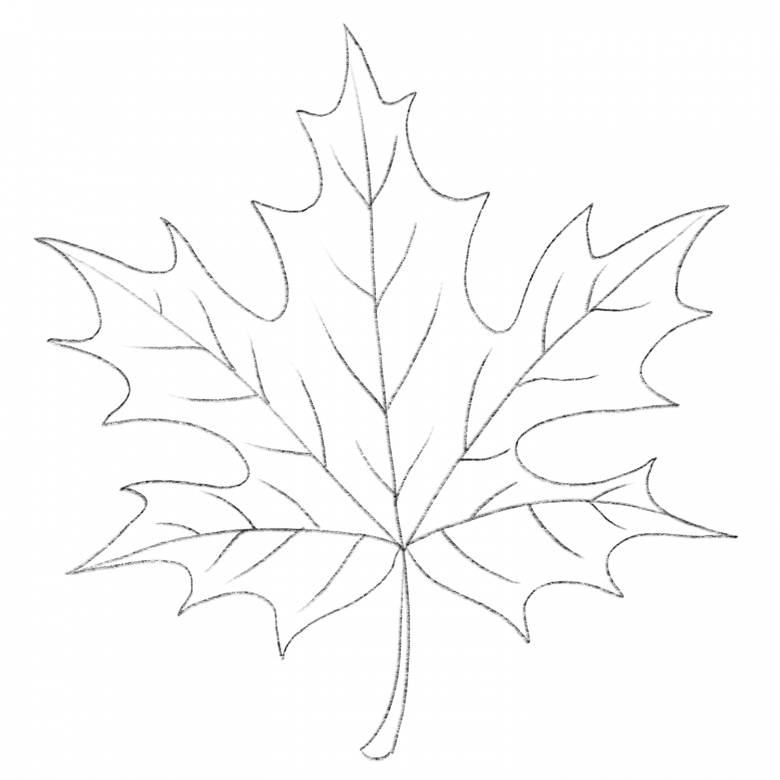
If there is no time to learn how to draw, you can make a template. With it, you can easily draw a neat outline of a maple leaf at any time.


