How to draw a cactus in pencil - step-by-step master classes, photo ideas and examples
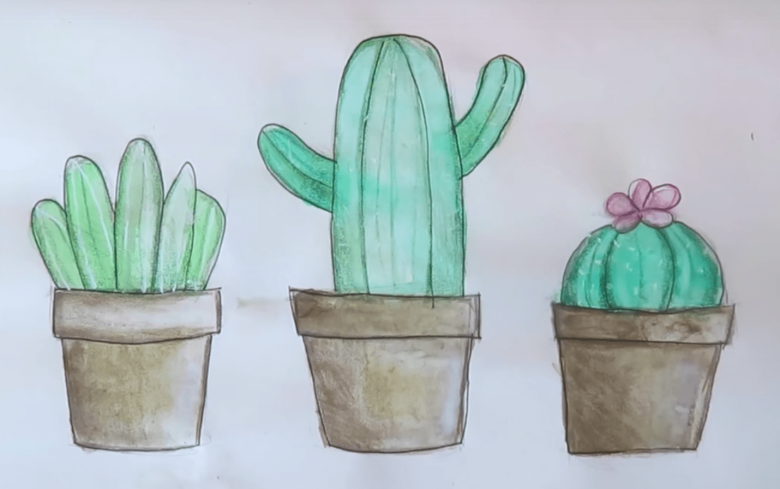
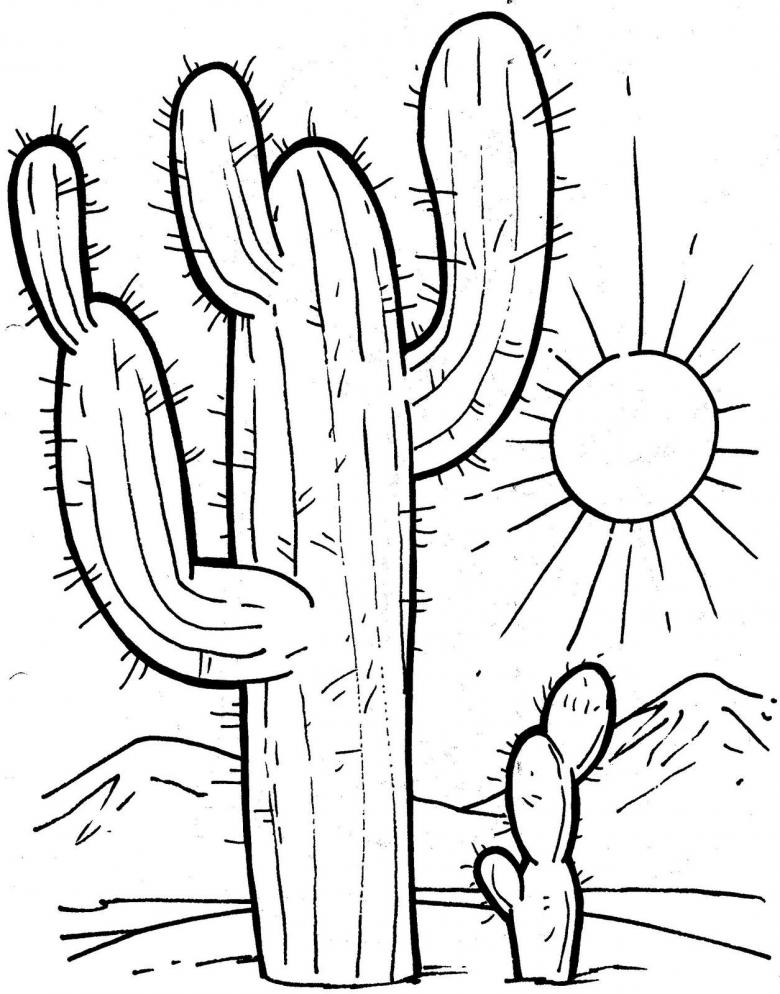
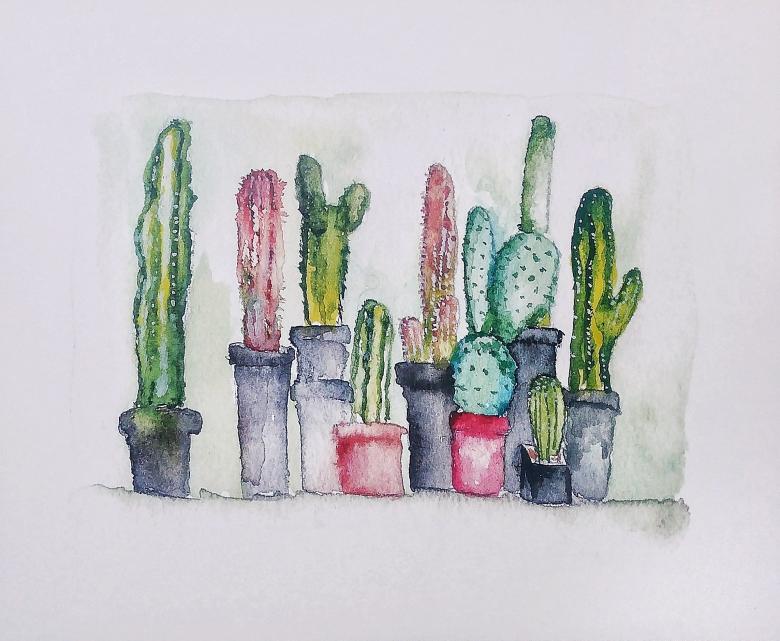
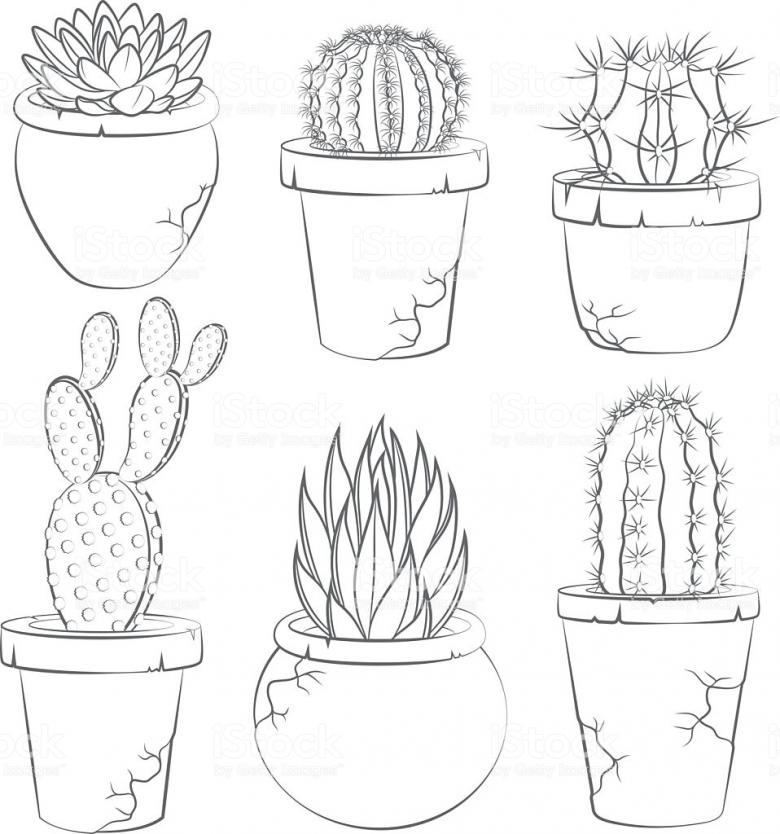
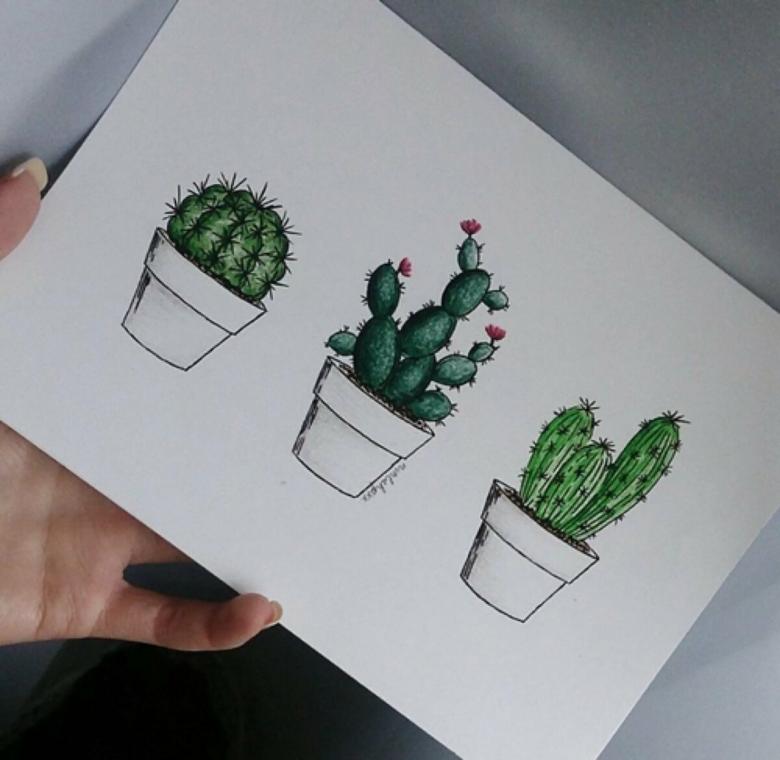
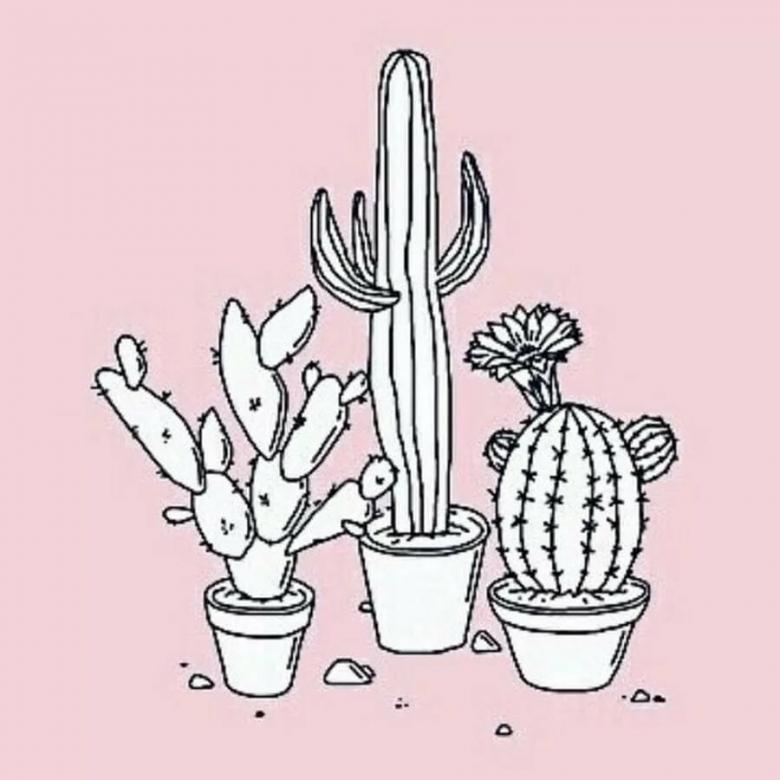
We suggest drawing 4 simple drawings that even a child can handle. The drawings will not take much time. For work you will need a white sheet of paper, a simple pencil and a set of colored pencils, you can have felt-tip pens, liners and paints. Each drawing will take no more than 20-30 minutes.
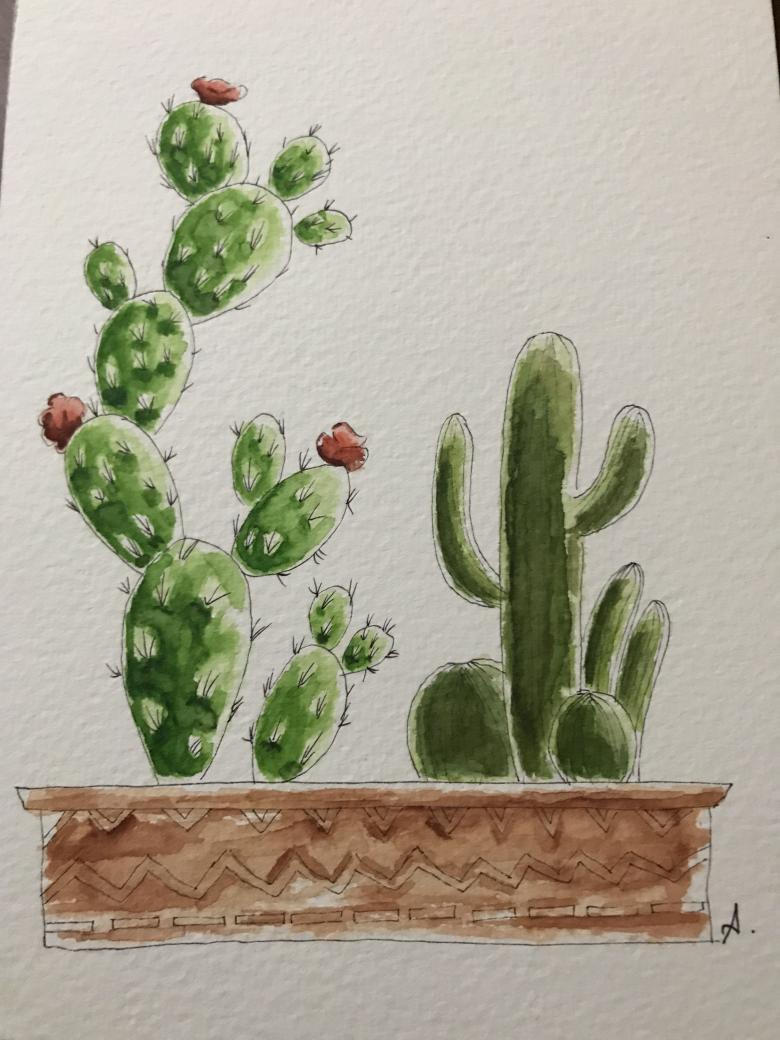
- A cactus in a pot
- A blooming prickly genius
- A cactus with a balloon
- A prickly baby
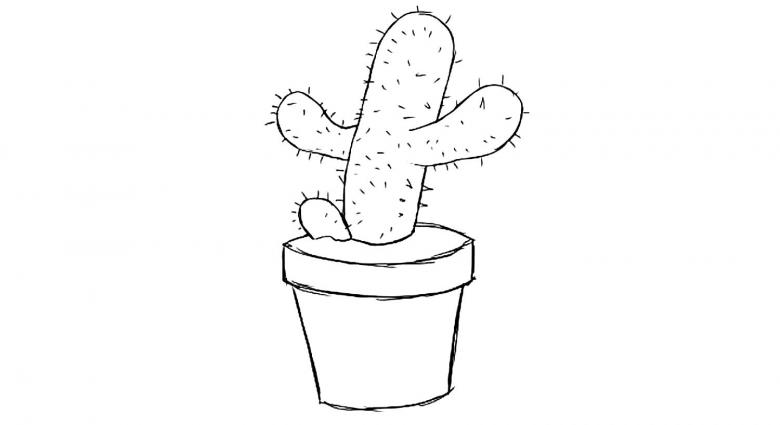
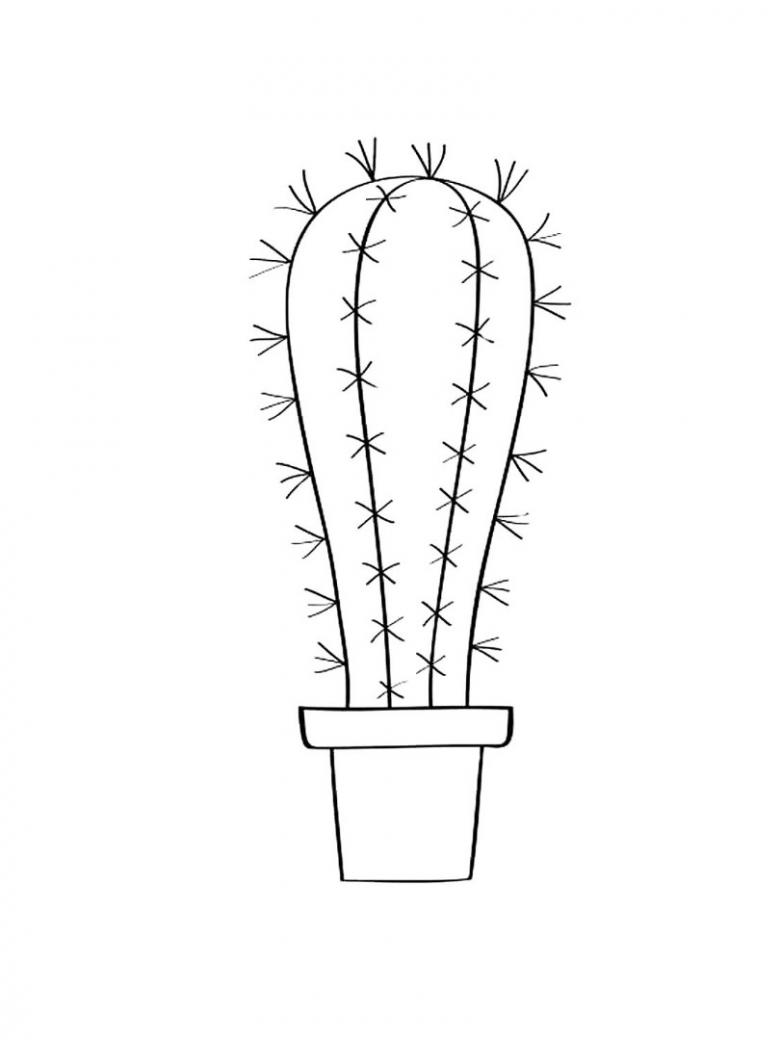
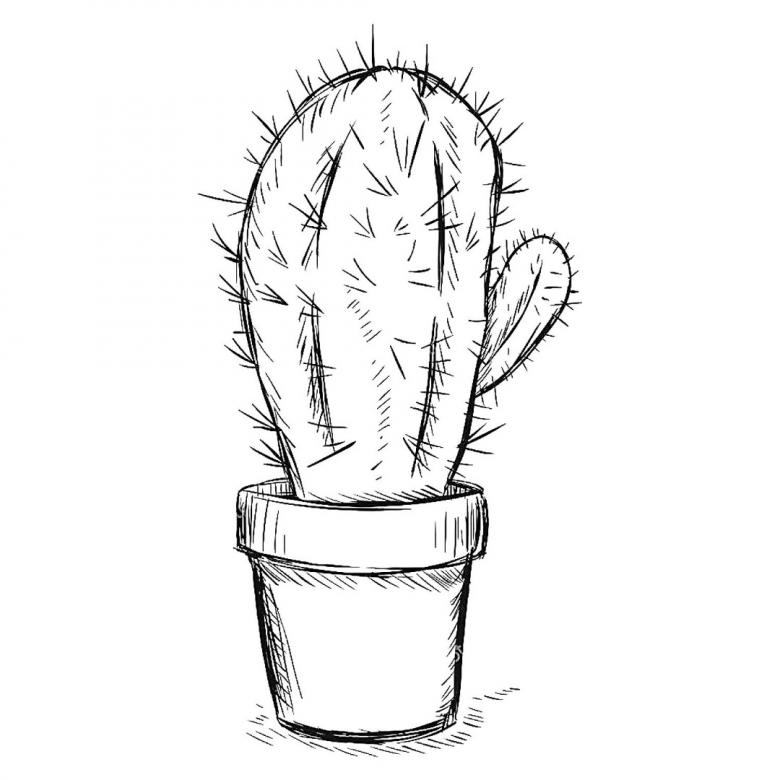
Potted cactus
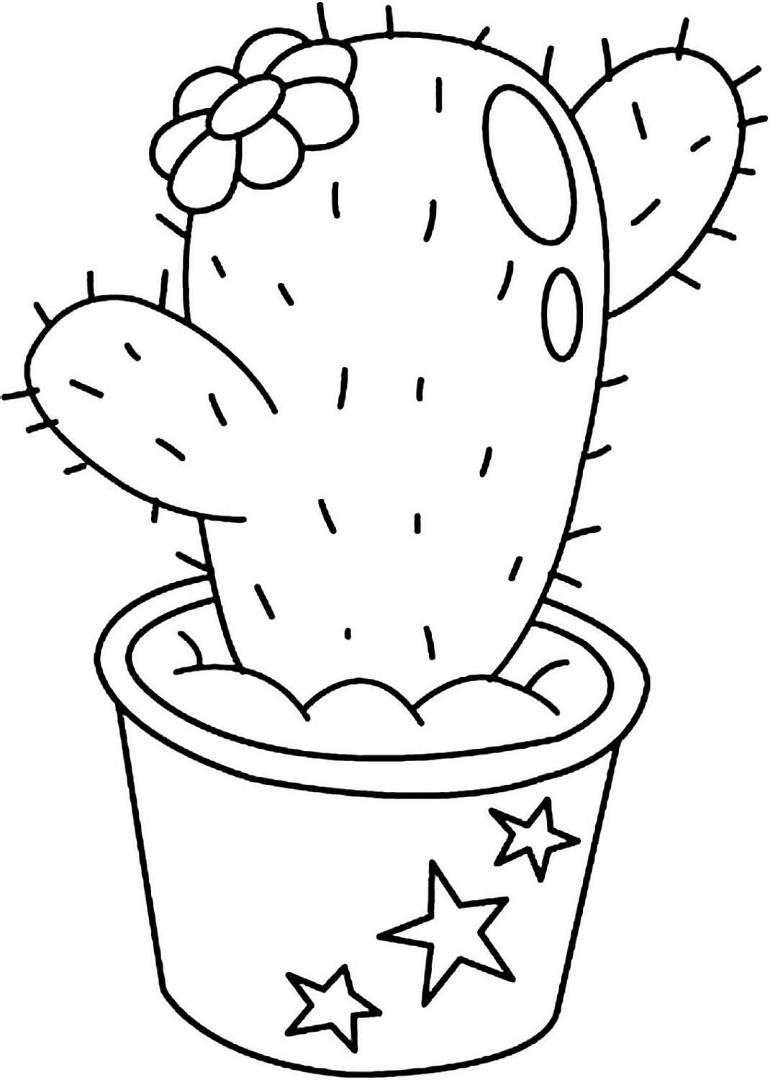
These plants used to live only in the desert among the searing bright sun and hot sands. Today these flowers live in almost every apartment and are common indoor plants. Drawing this prickly guest in a pot is easy enough, it does not require any artistic skills. It will be enough to open our lesson, focus carefully on the process, prepare paper and pencils.
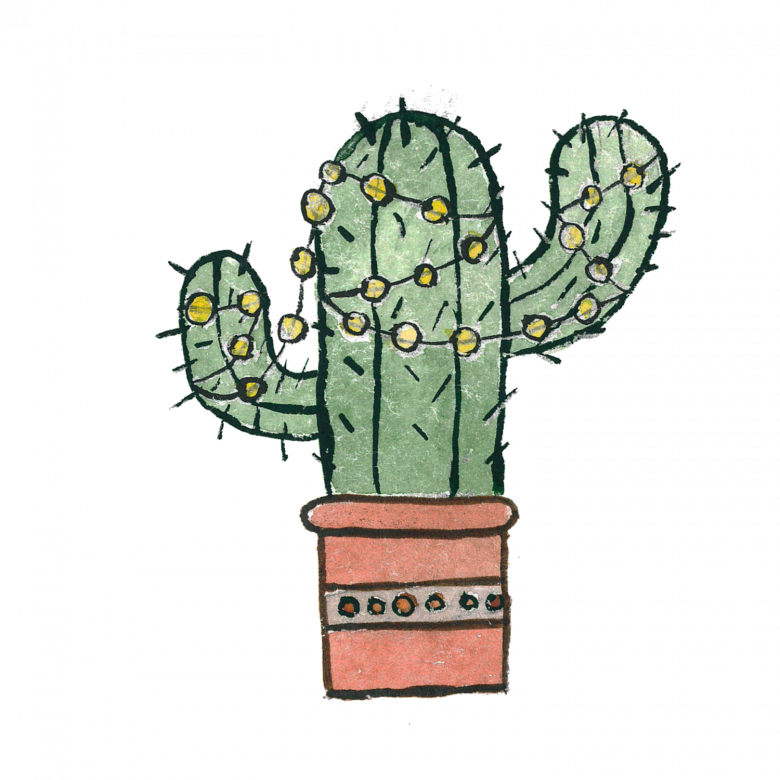
- We start drawing with the figure. It is required to draw an unfinished elongated upward oval, this will be the stem.
- On the left side add a small offshoot.
- On the right side add another offshoot, just below the left, but both should be about the same height.
- At the bottom, draw a horizontal narrow semicircle. The flower should come out of this semicircle, which will serve as the edge of the pot. The upper part of the oval should go behind the stem, so at the place of their intersection you need to erase the extra line with an eraser.
- From the oval on both sides to hold down two pieces and connect them to each other. Flower pot is ready.
- All that is left is to color the drawing. The flower is painted in green pencil. With a dark green felt-tip pen draw vertical straight lines along the stem, parallel to the sides of the succulent. Repeat this approach step by step to the two lateral offshoots. Paint the pot with bright colors, such as red, add an interesting pattern or geometric ornament.
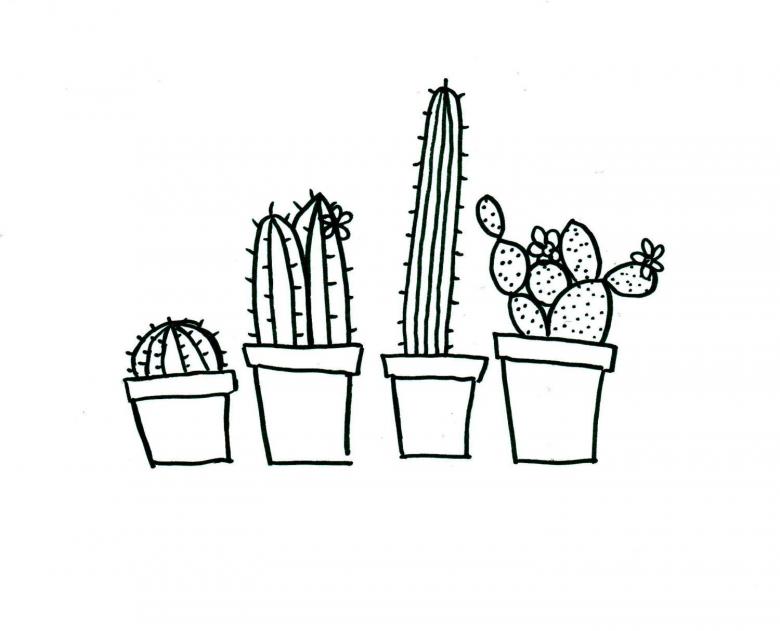
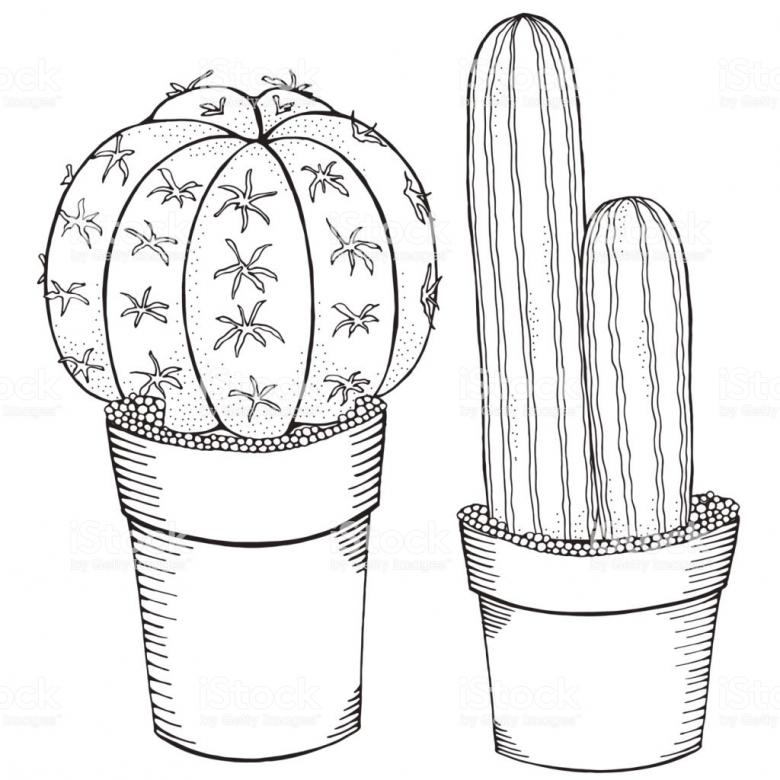
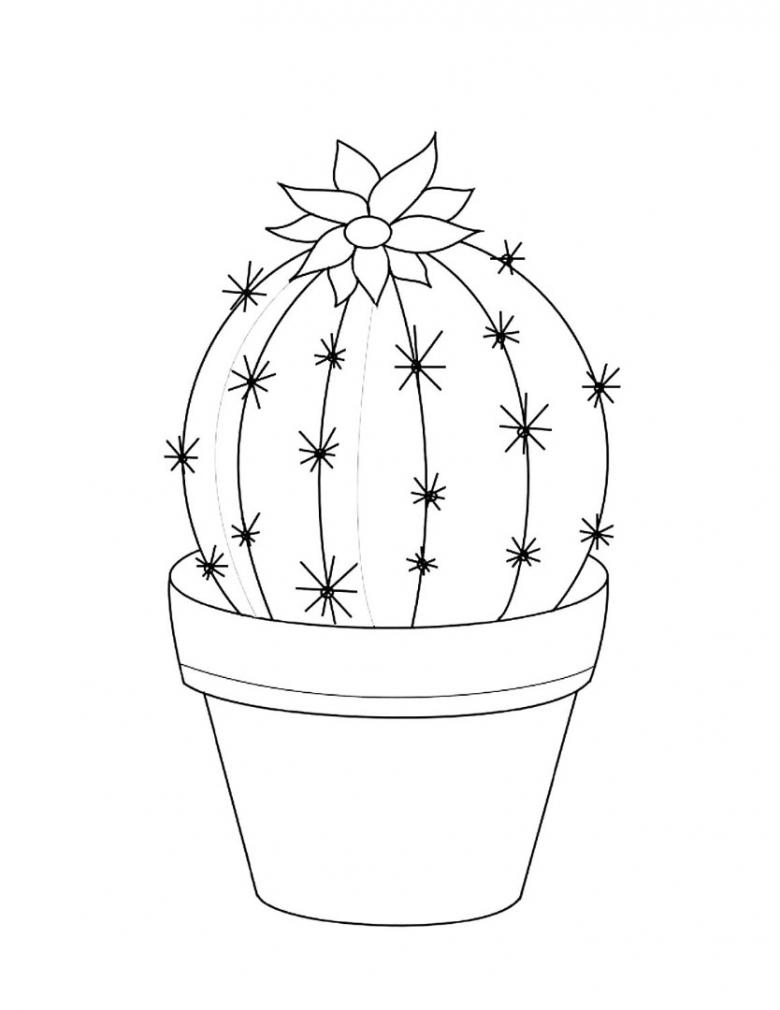
Blooming prickly genius
Cactus is a very beautiful plant. When it blooms, it has beautiful bright flowers on it. Now we are going to learn how to draw a prickly succulent when it blooms.
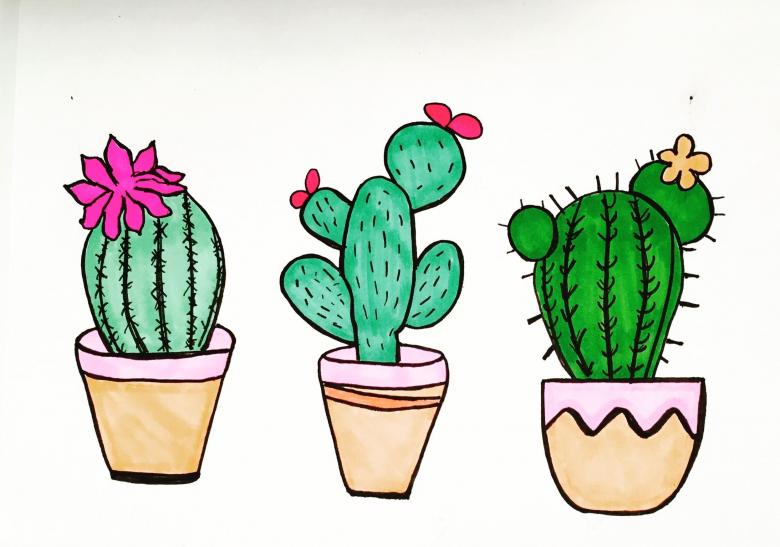
- It is recommended to start drawing from the pot. First, let's draw a horizontal narrowed sphere.
- Next, you should draw two short narrowed lines from the sphere downwards and connect them with each other. The rim of the pot is ready.
- From the rim also draw down two thinned lines and connect them together. Pot ready. Now proceed directly to the plant.
- Draw a large circle. It should come out of the edge of the pot, the bottom third of the circle will remain "sitting" in the pot, and the other two thirds will fill the space above it.
- The next step is to use an eraser to erase the back surface of the pot, located in the circle, and the lower hemisphere of the circle, driving up on the pot.
- Draw furrows on the stem. You need to draw 4-5 lines from the top of the succulent and to the beginning of the rim, repeating the direction of its outline.
- We proceed to the drawing of the flower. At the very top of the succulent required to depict a small horizontal circle - the core of the future flower. From it should depart from the 5 petals that make up the first tier, and the next 5, forming the second tier.
- Decorate the prickly genius expressive prickles. To do this, you need to draw in discordance on his furrows figure-stars of the three intersecting segments. Some prickles are better to make large, and some small.
- We sketch where the shadow will lie. This is easy. In the shadow areas, the color segment should be a tone and a half darker than the main one. The horizontal shadow will go all the way around the bottom edge of the rim, on the plant the shadow will go along the central vertical furrow and along the furrow to the left.
- Coloring Recommendations. The pot can be done in a brown shade, the shadow line along the bottom edge of the rim needs to be made dark brown. For the succulent green shade is excellent, the vertical shadow line along the central and leftmost furrows is recommended to be painted with a dark green pencil. The flower should catch the eye. For the core of the flower it is recommended to take yellow color, for the petals you can choose any bright shades - pink, crimson, purple, lilac.
A cactus with a balloon
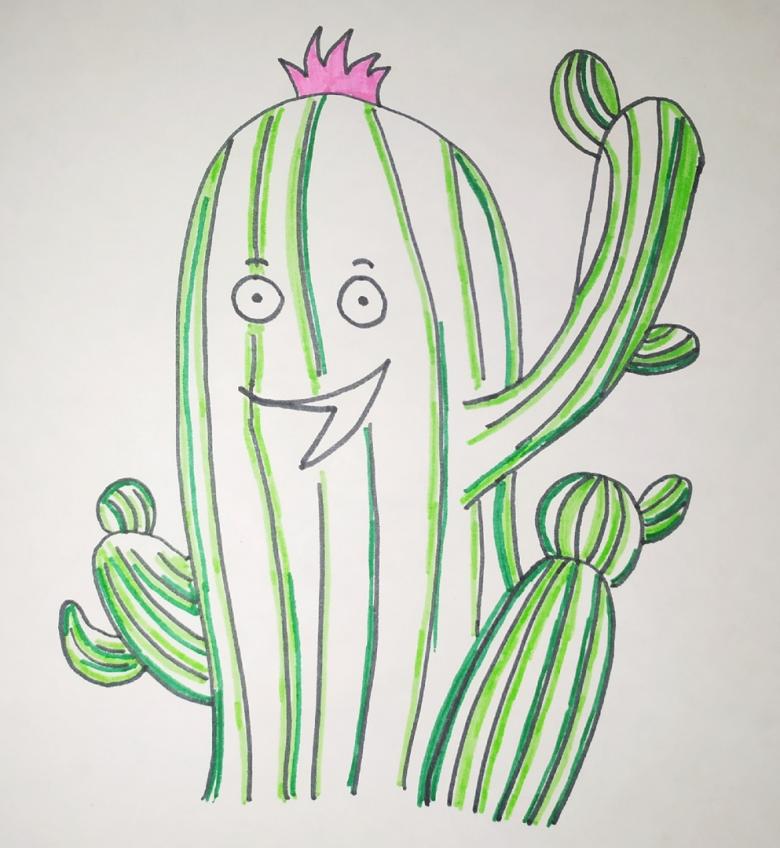
Cacti are very friendly guys. And more than anything else in the world they love balloons. Let's draw a cute flower hugging a balloon. You will need a sketchbook, pencils, and felt-tip pens.
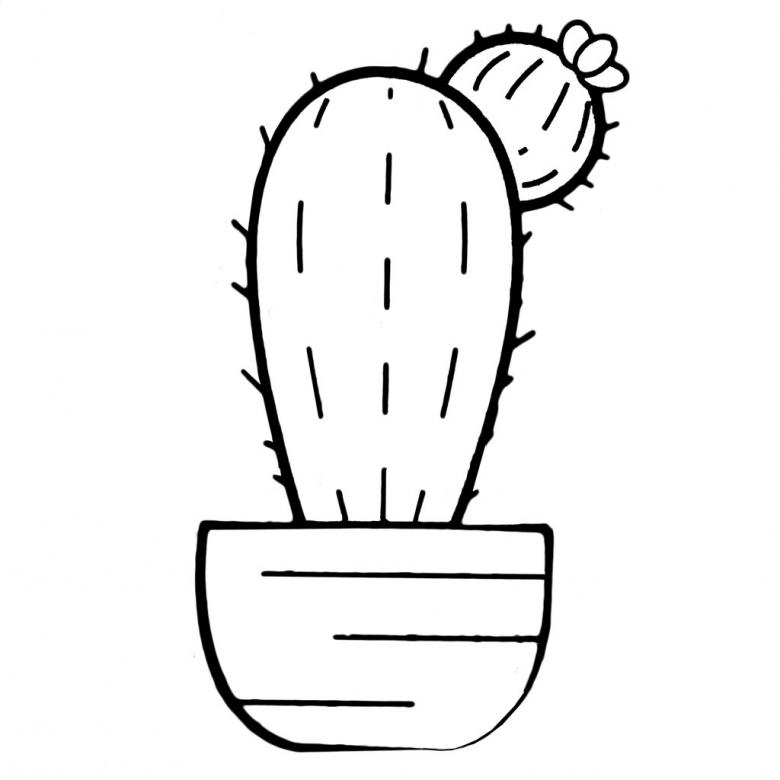
- Let's start drawing the shape of the thorn from its lower right point. First, draw the right side of the succulent. From the bottom point we start to draw a line upwards, somewhere in the middle of the way to form a convex rounded "spout", then you need to continue upwards. After the figure reaches the desired height, you need to depict a semicircular top of the stem. Next, draw the left side with a continuous long semicircular line. After that, close both sides of the trunk of one line.
- Plant prickly guest in a flower pot. To do this, under it should depict the oval in an oval so that their upper semicircle crossed the trunk at its bottom - these ovals will serve as the edge of the flower house. On both sides of the edge let down two vertical lines and connect them with a line. The flower house is ready.
- Using three small arcs we add our friendly prickle eyes and mouth.
- From the right side of the stem derive a large circle so that it is crossed. Under the circle traced a small triangle, the top up. From the base of the triangle derive a long wavy line - a thread. We have a large balloon. Draw the balloon with two eyes and mouth of the half-oval.
- It is necessary to erase the left half of the balloon, which crosses the succulent.
- On the left side you need to draw two hearts.
- Color the picture. Figure thorny paint a light green pencil, along the entire stem should spend a dark green outline, "scatter" short barbs, dashes. The earth inside the pot is painted with a brown shade. The color of the pot can be different. Balloon and hearts can be painted with a red felt-tip pen.
- Draw all the contours with black felt-tip marker or pen. So the image becomes logical completeness.
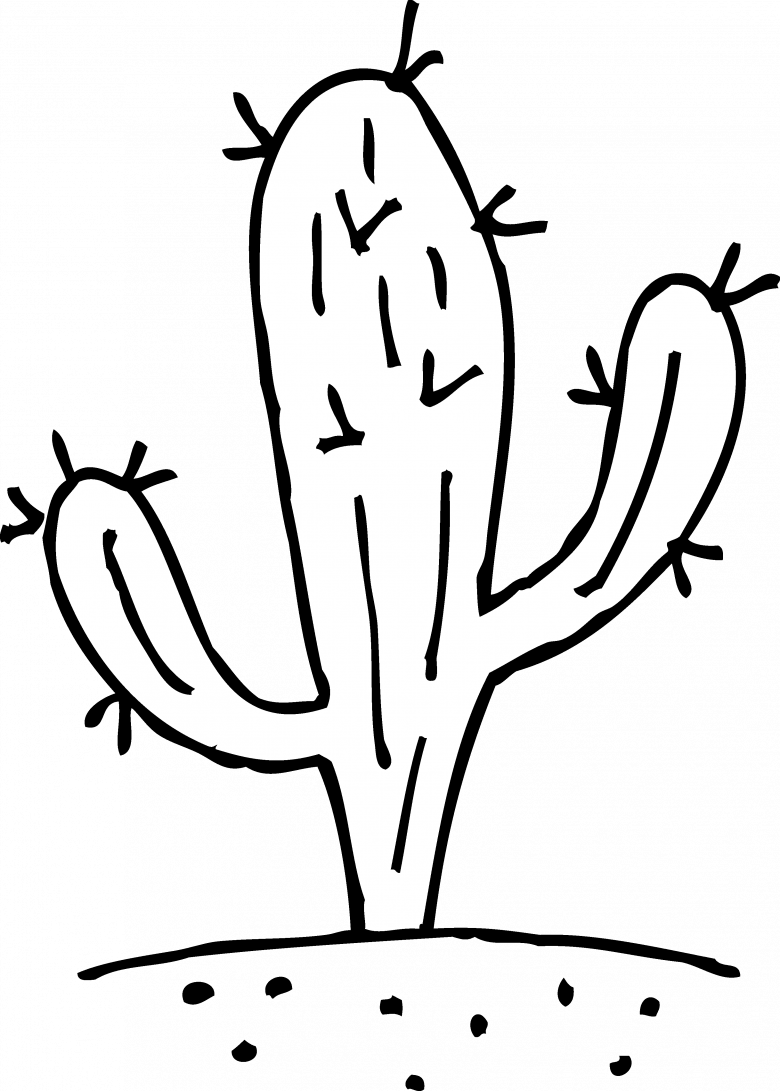
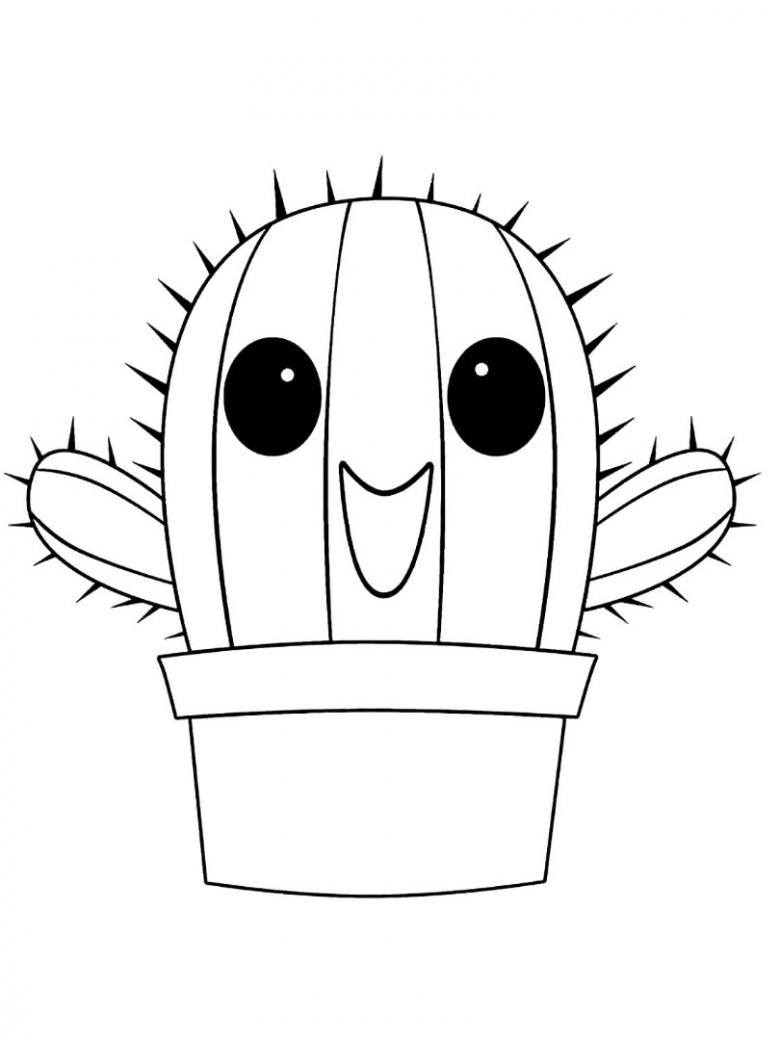
The prickly baby
These plants were not always so big and mature. Every prickly representative was once a baby. Let's draw such a baby.
- Let's start drawing with the drawing of the cachet. This requires a slightly curved line upwards, on the left and right of it draw down two small segments, connecting them together. Obtained edge of the future pot.
- From the edge of the dip down the two side lines-sides and connect them to each other at the bottom. Flower pot ready.
- From the edge of the top comes out a long oval - this will be the stem of the plant. Draw 4 vertical grooves on the sides of the trunk, each of them will come from the top of the succulent and end at the edge of the pot.
- Let's add baby eyes. Two equal circles will serve as eyes. In each eye to draw a small circle-lucid and left the pupil to portray a larger circle, which will serve as a light reflection. The ghost circle and glare circle must remain unpainted, white. In each eye at the bottom to draw an eyelid - this requires outlining a quarter of the circle and divide the resulting part into 4 sections. Eyelids are painted with the same color as the entire succulent. Eyes except pupil, glare and eyelid, painted with black marker. A good bright black pigment. In the center of the stem, just below the eyes, draw a smile arc.
- On either side of the plant add small ovals emerging from its figure. In the ovals on each side, draw two grooves from the top to the base.
- All along the contour of the stem add short barbs dashes.
- The whole plant is painted with green felt-tip pen. The areas running along the furrows and the general outline are highlighted in dark green. Flower pot can be painted with orange pigment. On the left side of the planter, leave a vertical white band untouched - a light glare on the planter's surface.
- Outline all the contours with a black gel pen, liner or felt-tip pen. The picture is ready.
