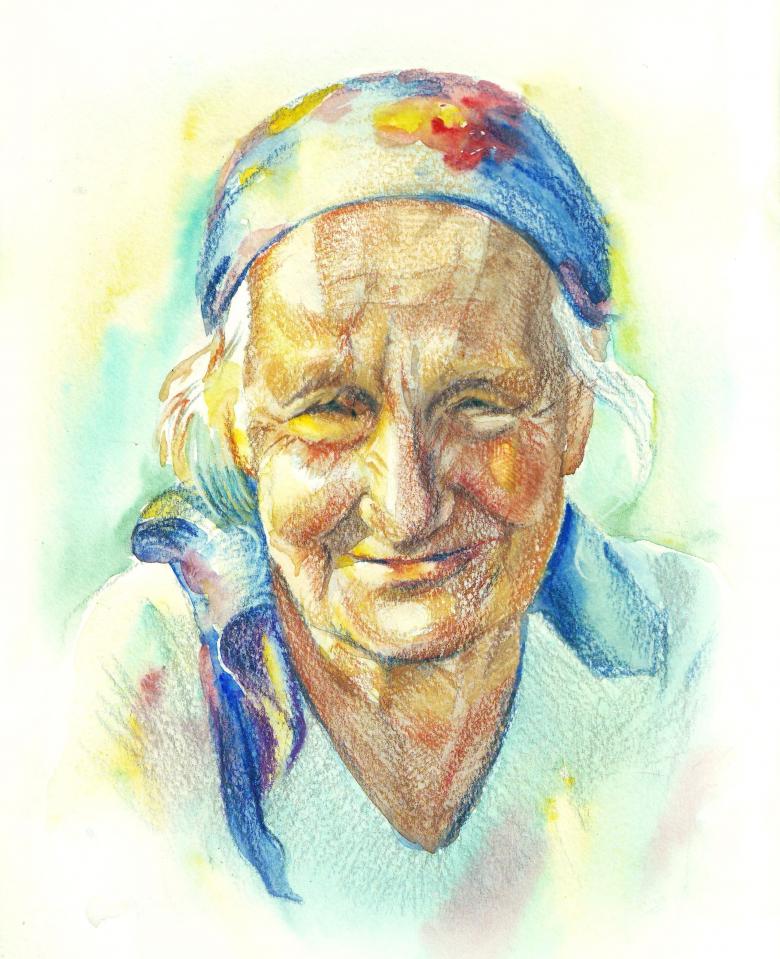
How to draw a grandmother - correctly, quickly and easily make a beautiful drawing
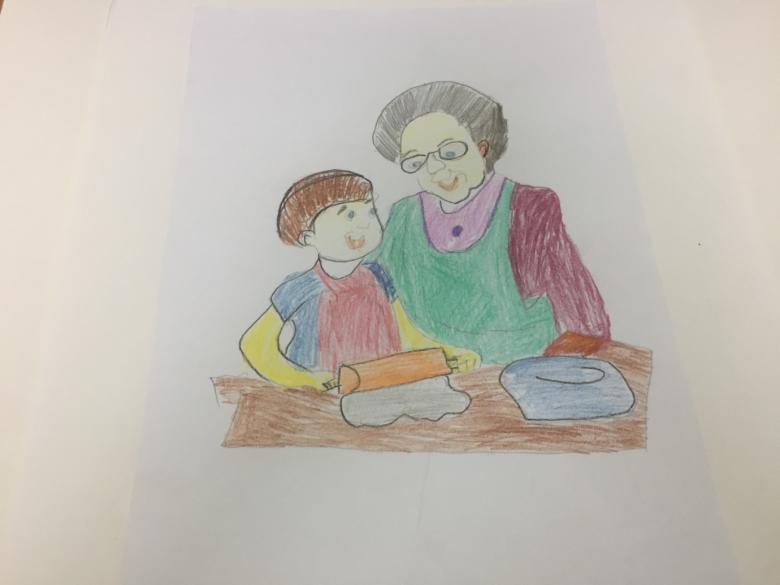
Grandmother and grandfather - in the understanding of almost every person is the embodiment of kindness, love and care. All the feelings with which grandmothers relate to their grandchildren is impossible to convey in words, and to receive as a gift a drawing from a child, for no reason or a holiday, drawing it with his own hands they will be especially pleased.
Quick and easy way
To your attention, is offered a very simple way to step by step depiction of his beloved grandmother with which you can not only get the skill to draw the image of a person, but in depth try to convey the features of the face, taking into account the smallest details.

To create a drawing you will need the following accessories:
- A simple pencil, necessary for sketching;
- colored pencils, well sharpened;
- an eraser for erasing;
- a compass to draw circles.

Let's begin drawing:
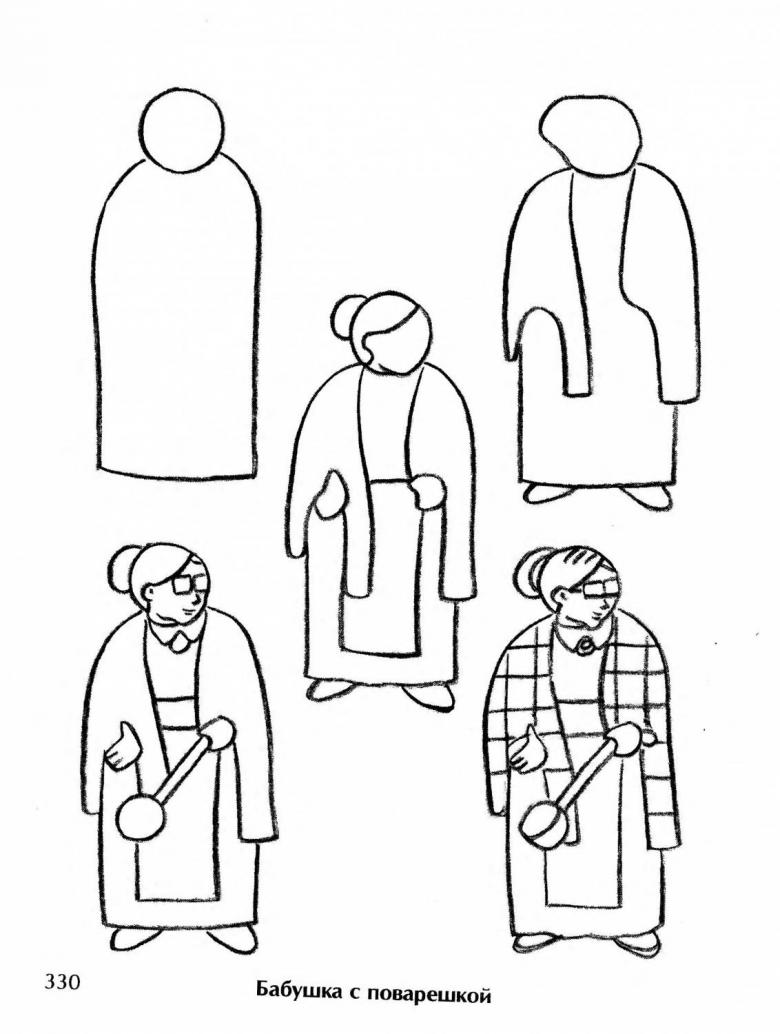
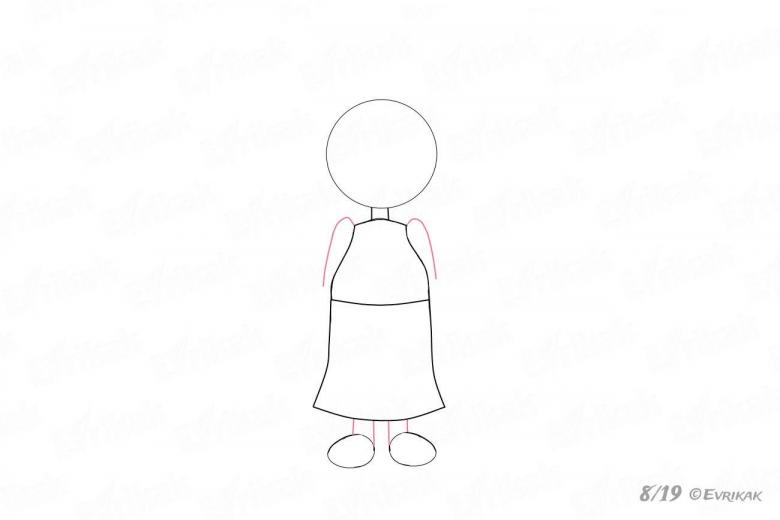
- Drawing begins with the outline of the head. To make the head perfectly round, it is necessary to use a compass, clearly drawing a line of circles. If a child does not have a compass, it is possible to use a rounded object, having attached it to a sheet of paper and accurately tracing its outline with a pencil.
- After giving the outline of the head you will need to sketch the torso, for which you must step back from the bottom edge of the circle a small distance and depict an oval. The base of the legs should be depicted in the form of narrowed on one side of a small oval resembling the shape of an egg, a little backward below the torso.
- Once the head, torso and feet are outlined, they are joined together with straight lines.
- Clothing is drawn so that the lines drawn from the shoulders to the bottom of the torso reach half of it, then a cross line is drawn to divide the oval, the result should be a template for a future blouse, the outline of the collar is allowed.
- Next, the skirt is drawn, no matter what the year style, the length of the bottom of the garment should not go down to the tips of the legs, and better yet, it should be below the middle of the leg.
- After the silhouette of the grandmother figure is formed, the oval that serves as the torso can be removed with an eraser, as it is no longer useful in the future. The feet are connected to the skirt in straight lines to form a complete outline of the lower limbs - feet, slippers drawn in the form of arcs will serve as shoes
- The arms are drawn in the upper part of the body and the shoulders are raised, but the arms are bent at the elbows and as a result the arms are in the center of the body.
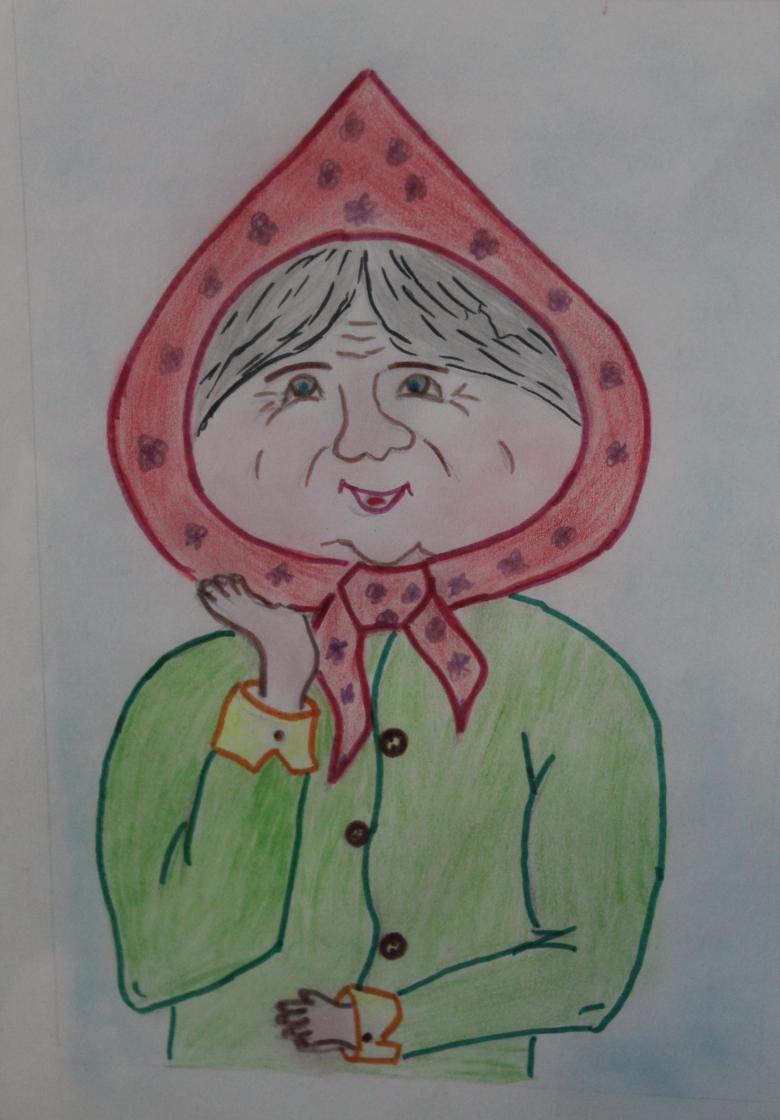
- We go back to the image of the head, it is allowed to draw a sketch, then the right then left ears are drawn, it is very important to trace that the ears were at the same level, in cases where the level of position does not coincide you can use the eraser. To the outline of the head is added hair in the form of a ball with two protruding pins.
The nose, the main and first depicted element of the portrait, is drawn with a wavy line, then a friendly and kind smile with small wrinkles in the corners is drawn below the nose.
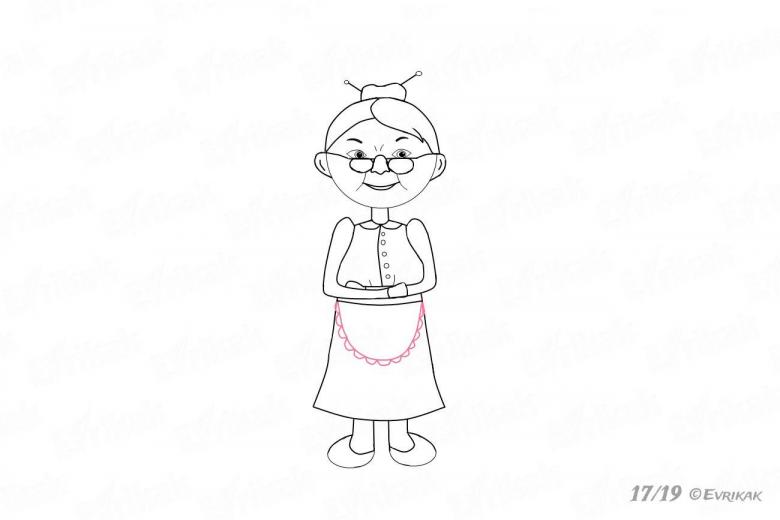
Due to the fact that the grandmother is elderly and probably wears glasses, they are also depicted worn slightly below the eyes. The eyebrows are drawn last.
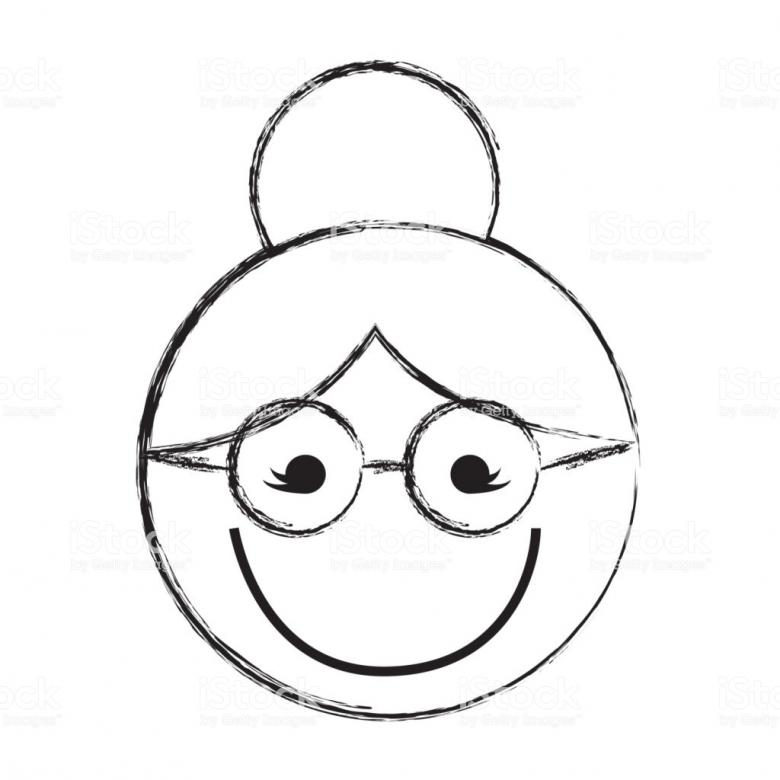
- Let's add some recognizable touches
- The blouse is divided in half with a wavy vertical line, and small buttons in the form of small circles or bold dots are drawn along one of the edges of the divided blouse;
- The hands are separated from the sleeves by small vertical stripes which are the edges of the sleeves;
- To the skirt may draw an apron in the form of an inverted downward arc.
In completing his drawing requires coloring the resulting sketch with colored pencils or felt-tip pens.
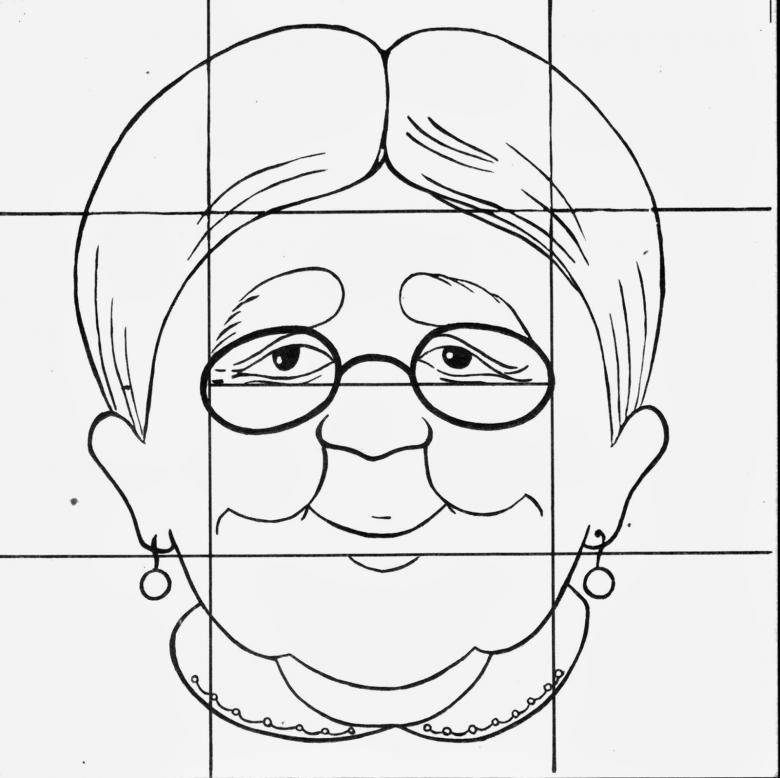
How to Draw a Grandmother for a Postcard
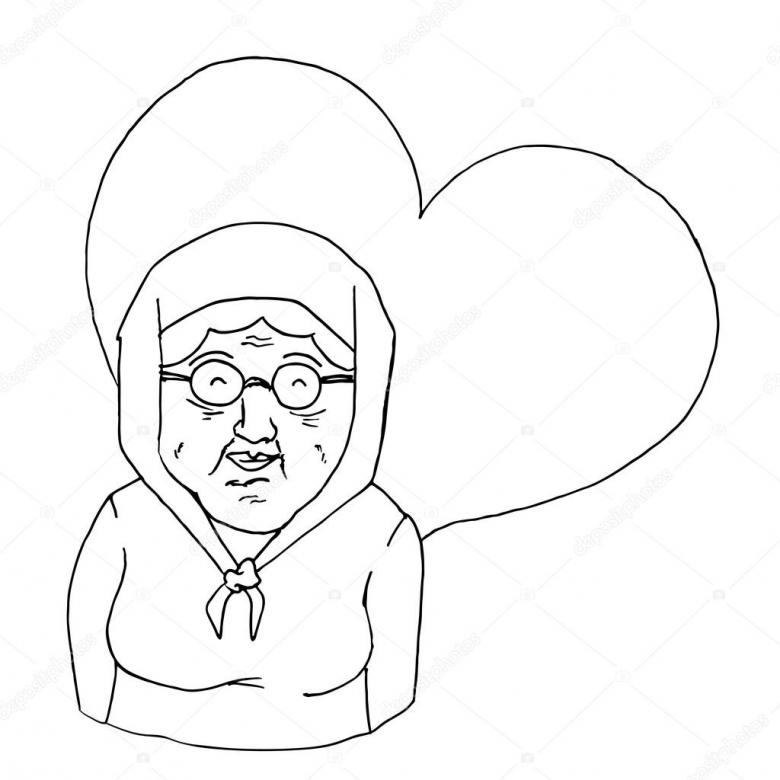
Here is a lesson on one of the easiest ways to draw a grandmother using the squares of a notebook page. This technique is good because it can be used as an attachment to a greeting card with good wishes.

The following supplies will be needed for the image on the notebook sheet:
- a simple pencil, necessary for sketching;
- colored pencils for coloring;
- An eraser for erasing on paper.
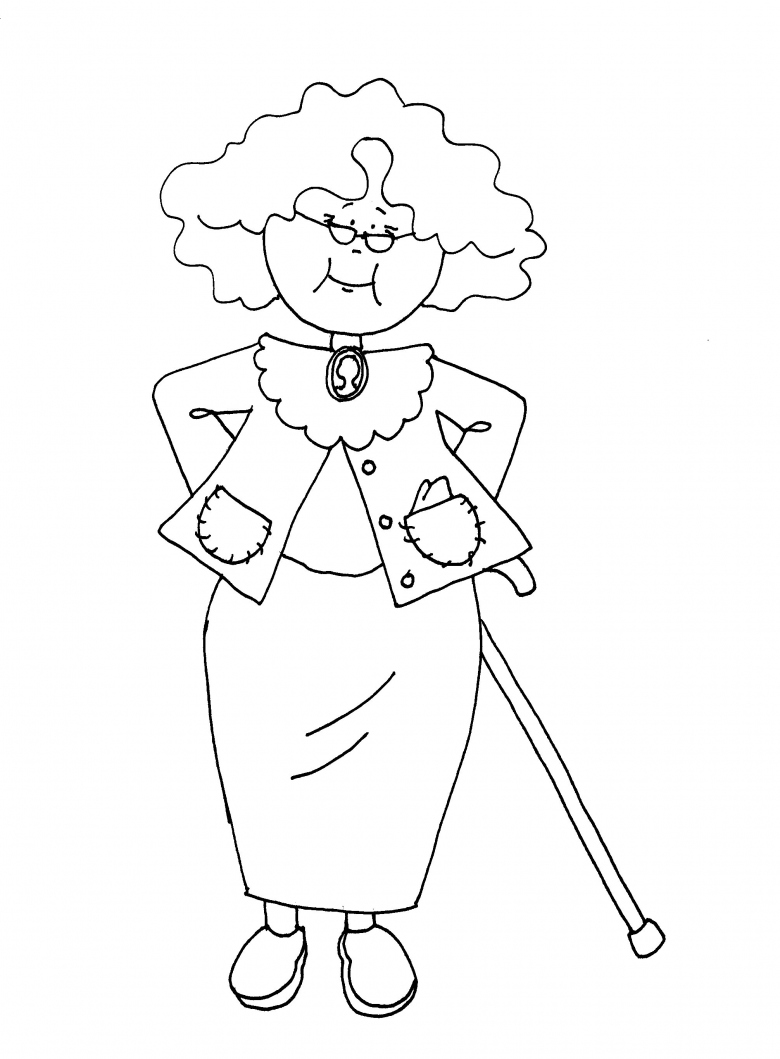
A step by step guide:
- First of all, the human oval is outlined, the optimal width will be about seven cells, the height three cells. After that, small ears are added to the resulting figure from the sides.
- Hairstyle to the head is drawn with two arcs, originating from the center of the top edge of the oval, then arched around the sides, ending a little higher. Above the oval of the head a small ball of hair is drawn.
- The face takes shape after the arches of the glasses are drawn as straight lines from the lenses and end behind the ears. Behind the lenses small eyes are drawn, you can paint them right away, and inverted arcs of eyebrows. A small nose is located just below the glasses, just below is depicted the old lady's kind smile. Straight lines denote the shoulders, you can also add an unusual collar with beautiful patterns.
- The inscription is applied strictly in the center under or above the figure. The letters should be the same size, but not more than two cells of a notebook page.
- The resulting simple sketch is carefully colored as desired by the artist, but to betray the effect of gray hair, it is recommended to paint over it with a simple pencil.
Small hearts or butterflies can be added to the completed drawing on the sides.
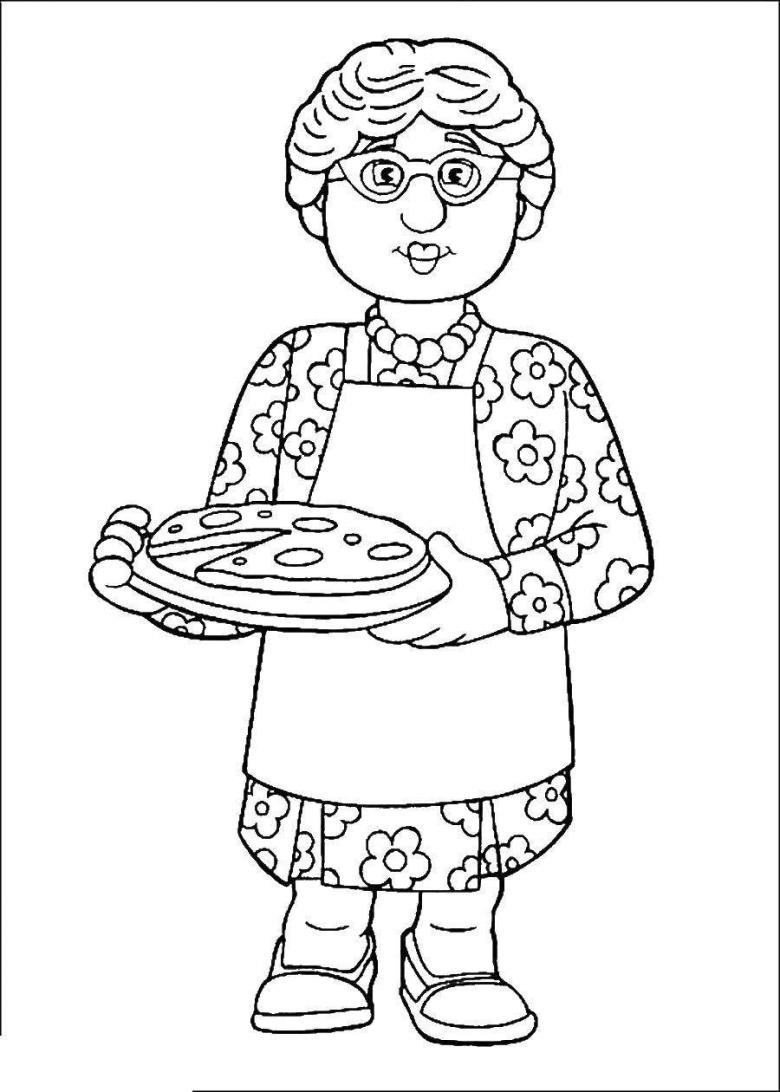
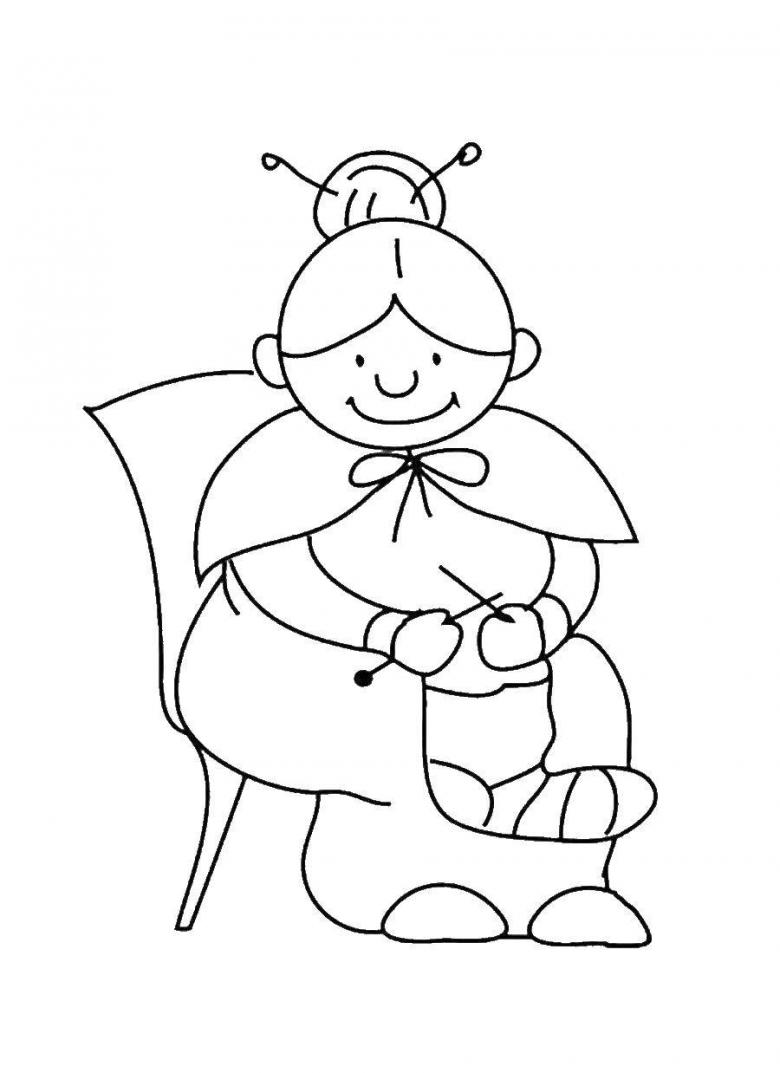
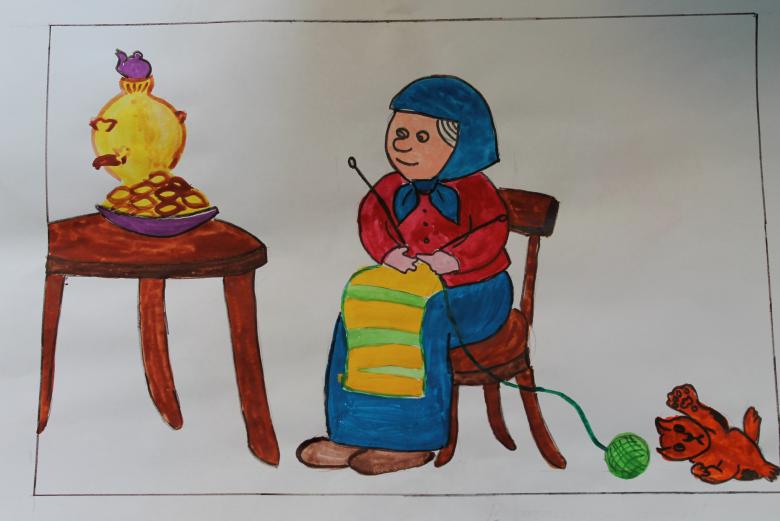
Drawing a grandmother knitting a scarf
There is another no less fascinating way to draw a grandmother who is knitting, for example, a scarf.

To do this, you will need:
- An eraser;
- marker
- colored pencils, it is possible to use felt-tip pens, then the drawing will be more vivid.
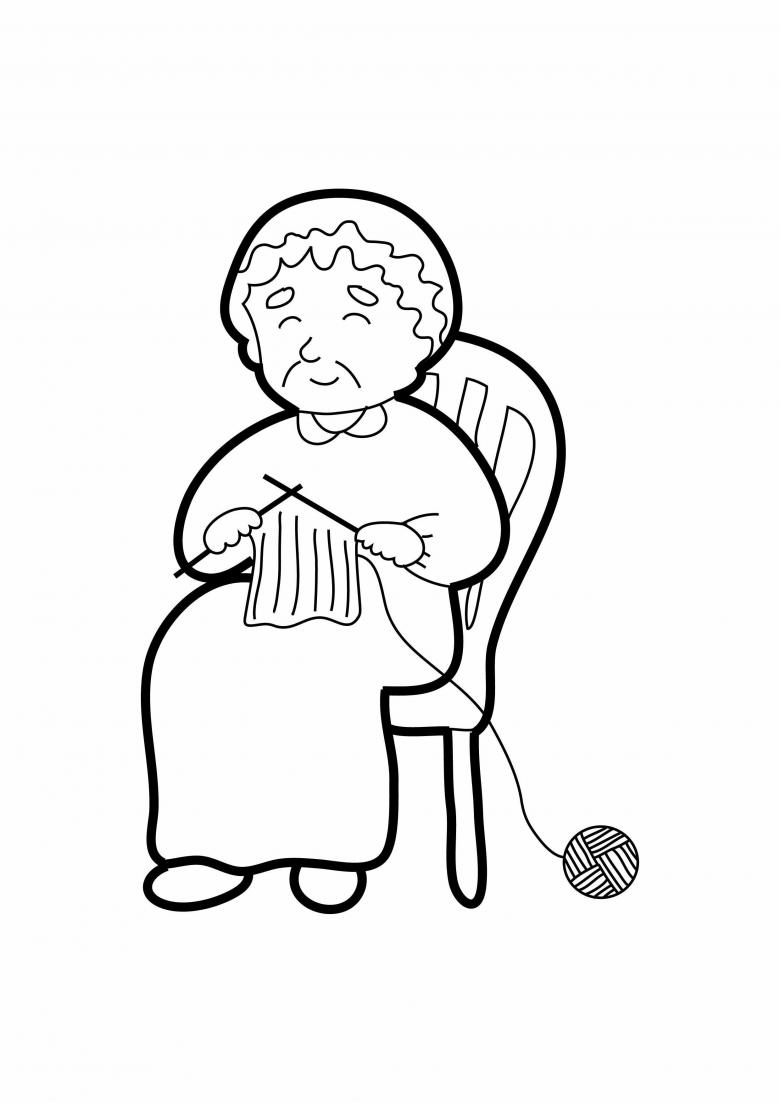
Step by step instructions:
- Drawing, as in the previously described ways, begins with the head. The circle is drawn as a small circle, then it is divided into sectors of equal size to be able to observe the same size when portraying the individual elements of the face and torso
- From the contacting top corners of the top two sectors are drawn arcs to the opposite bottom corners, this forms the bangs, drawing small dashes will get light strands. Above the circle in the center is drawn another circle, but smaller - a tuft of hair. On both sides of the circle small ears are drawn.
- Eyes are drawn round, and the nose in a small arc and need to depict the face of a good smile.
- Under the circumference of the head are drawn two petals - a cape on his shoulders grandmother, you can with a bow.
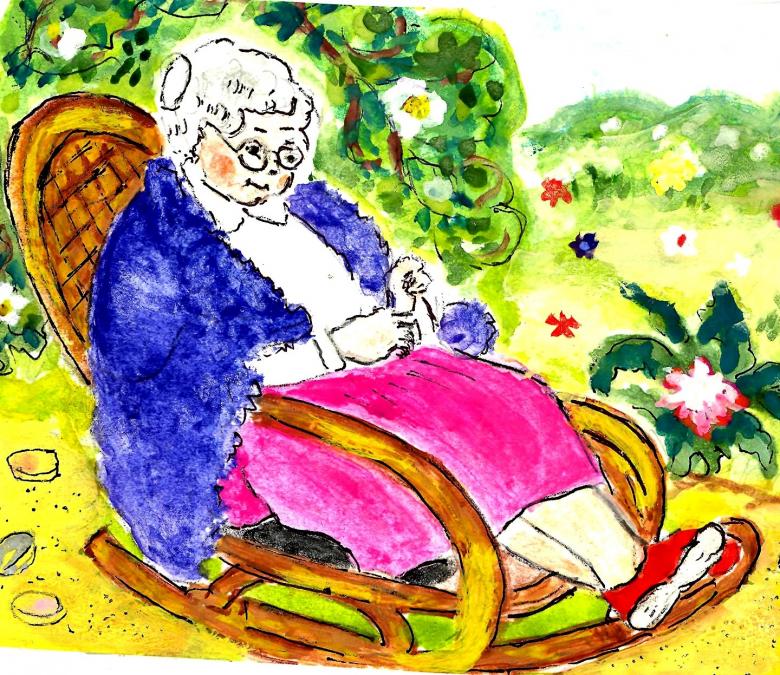
- The image of the grandmother is presented in a seated position and the part of the picture that includes the common fragments will be located on the right.
- The lines of the hands are drawn from the petals (cape) and are shown bent at the elbows. If a younger child draws, it is possible to help him or her and draw the fingers on the hands. However, it is easier to depict the hands in the form of mittens, with knitting needles in them, and already under the hands with the spokes a small shapeless object, representing a scarf in the process of knitting.
- The lower part of the garment, namely the skirt, is drawn under the bottom outlines of the hands, where the left part is made in the form of the letter "G", and the right is outlined with two smaller perpendicular lines, so you get the effect of bent at the knees legs. Once the clothes are drawn, you can mark the points or small circles buttons and shoes.
- The chair on which the grandmother is sitting is drawn last.
- The resulting drawing can be corrected with an eraser and a pencil using a photo, and then it is recommended to circle the drawing with a marker or pen and only then proceed to coloring it.
- It is better to paint with as many colored pencils as possible, they are useful for transmitting low-brightness elements of a picture, such as pink skin or a falling shadow - here it is necessary to paint with light movements without pressing the lead.


