How to draw an angel in pencil - 4 step by step master classes and many photo examples
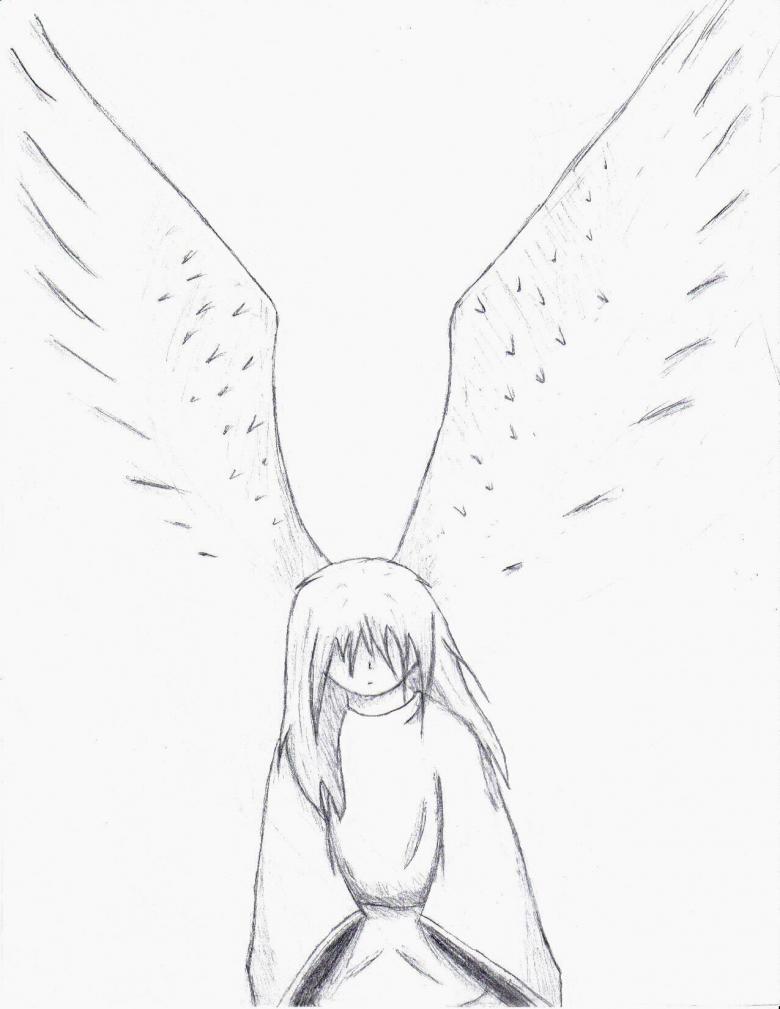
Let's close our eyes for a moment and imagine what an angel looks like. Although it is a disembodied being, for sure everyone will see in their imagination a beautiful child with curls in a long blond robe and with a halo over his head.
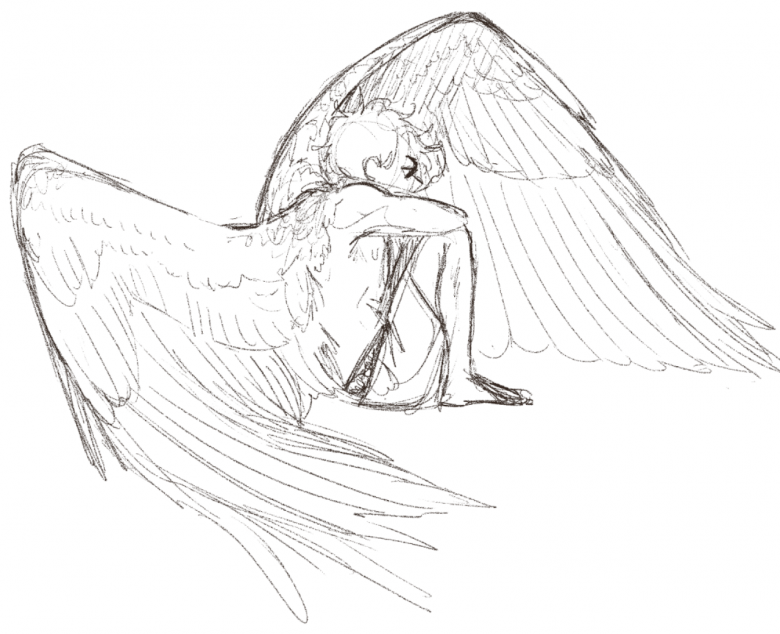
At first glance, it may seem that such an image is difficult to convey on paper, but if you simplify the design and move step by step, you get a pretty decent drawing. Such creativity will interest even the youngest children.
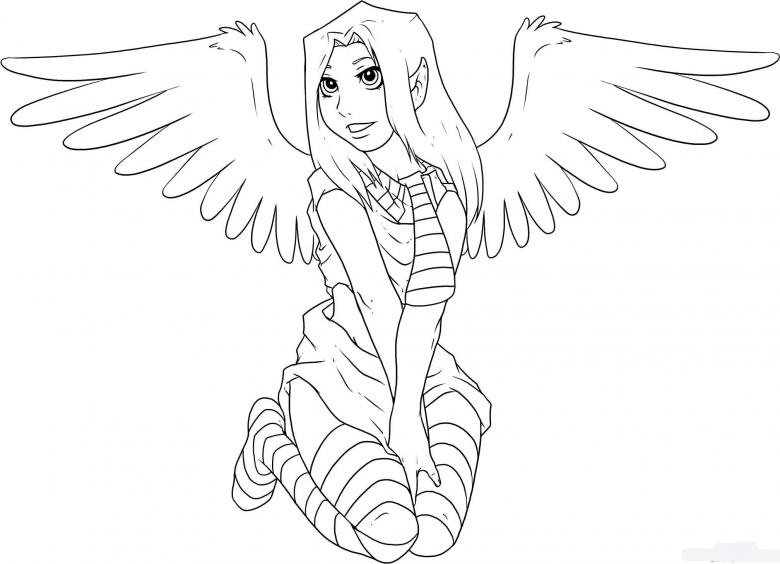
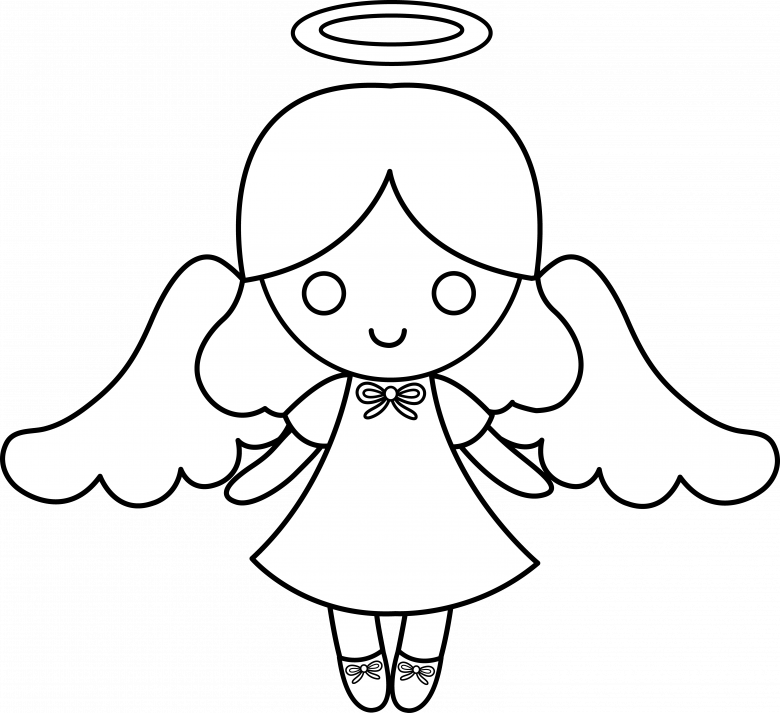
Simple Angel
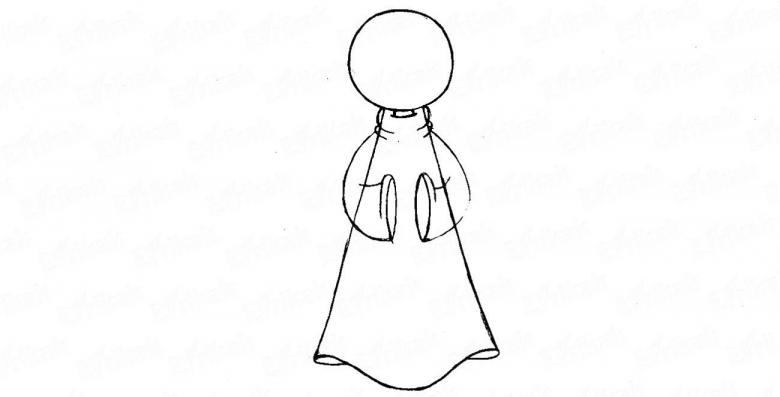
Suggest that a young artist or artist try to make a sketch of an angel with a doll that has a large round face, dressing her previously in a white hoodie.
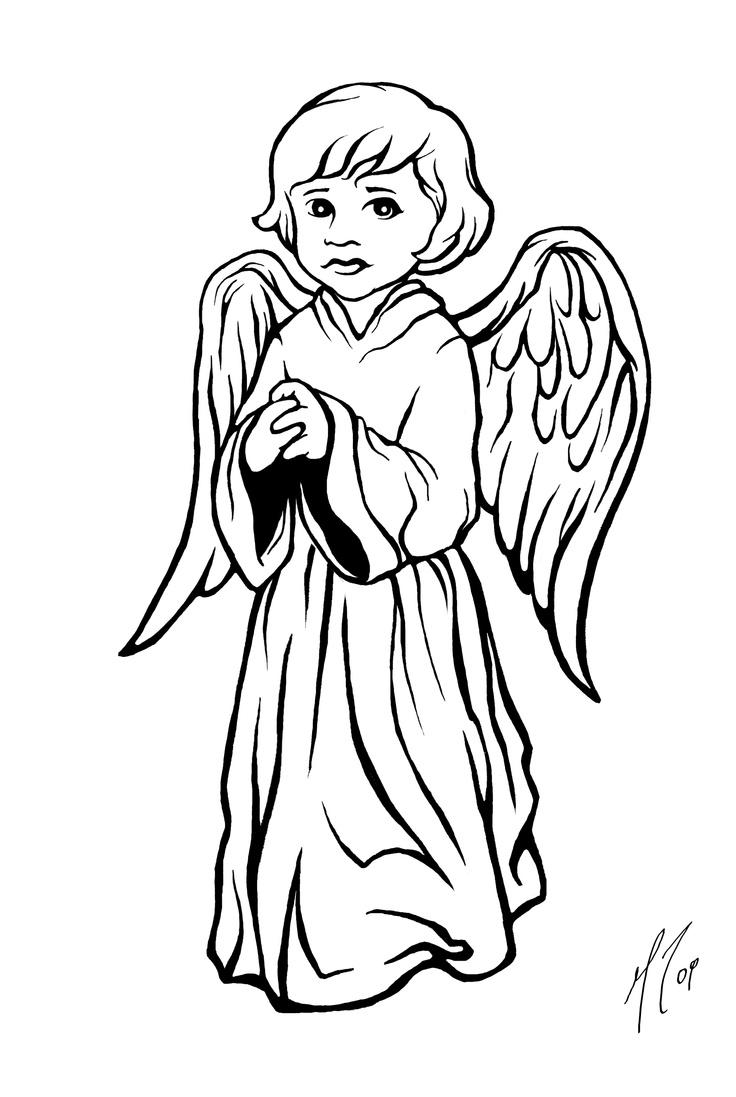
Detailed master class:
- After carefully examining the doll model, the child must answer the question of what geometric shapes it reminds him of. If he answers correctly - a circle and a triangle, suggest these figures on paper with a simple pencil. If he or she does not guess, prompt him or her and let him or her start drawing.
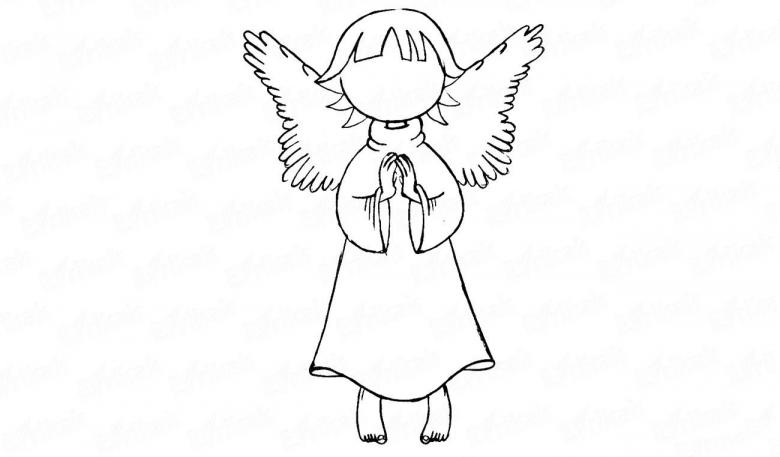
- On a circle it is necessary to allocate bangs of an angel, two ears on each side and finish drawing long hair. Under the bangs to outline two eyes. Mouth pictured arc downwards, and the nose - arc upwards. The second arc should be much smaller than the first.
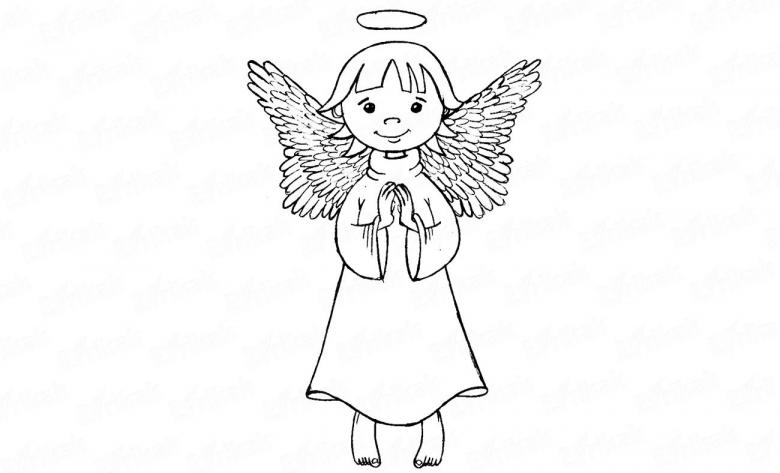
- Eyes to make of the two circles, to which add pupils, eyelashes and eyebrows.
- The bottom of the triangle to isolate the wavy line and make a crease.
- To the right and left of the hood, draw the sleeves, from which the palms should be visible. It is not necessary to make fingers. You can limit yourself to the image of a mitten with one thumb.
- Above the sleeves will have to add wings. First draw two triangles, and then draw feathers on them.
- Above the head of the angel you should add a halo - a slightly elongated oval.
The black and white version is ready. Now you can safely proceed to coloring the creation.
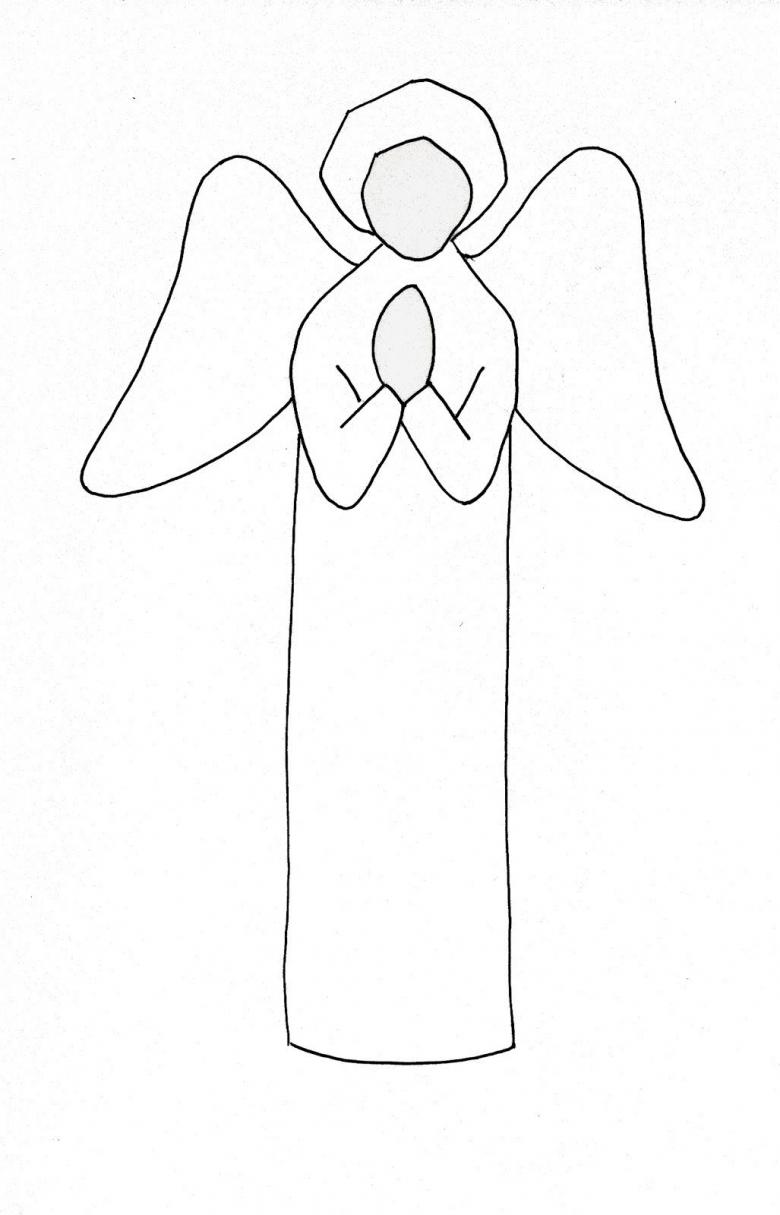
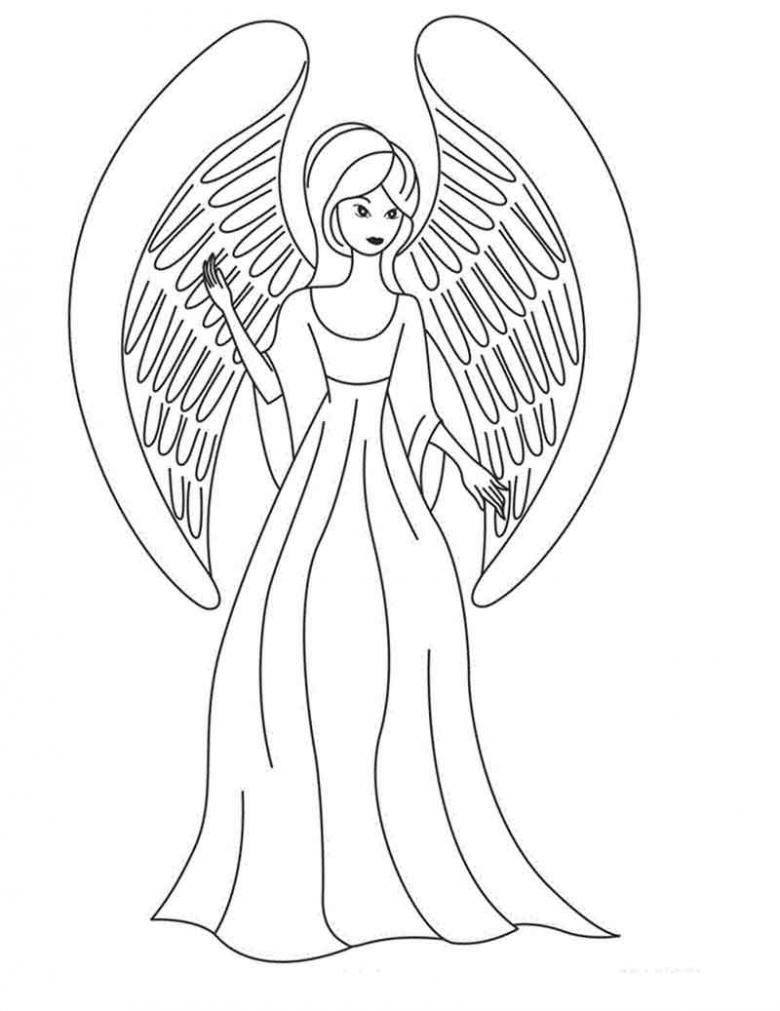
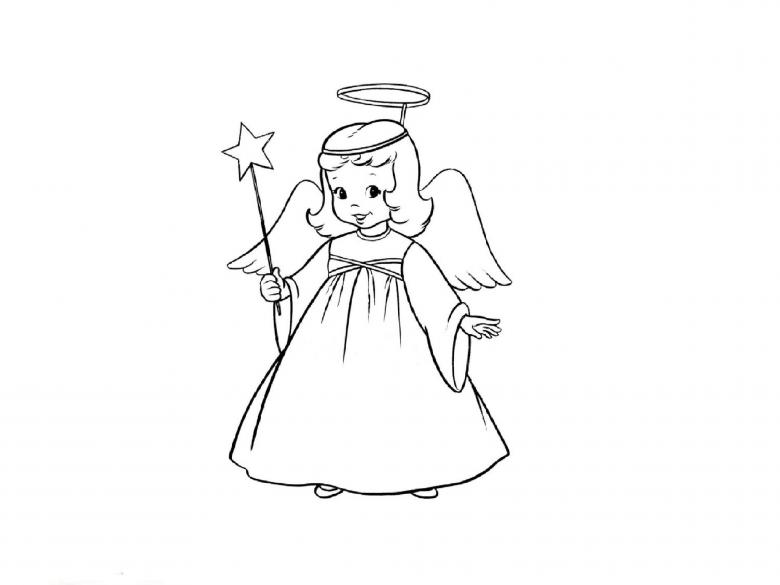
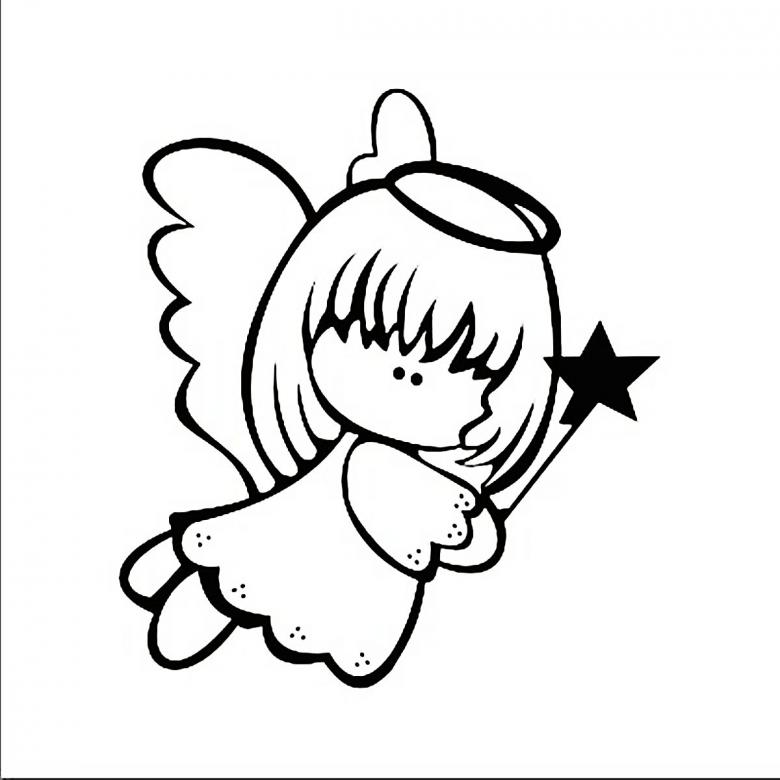
Angel-girl .
If the first version of the picture is suitable for kindergarten group, then this work is already much more difficult, and with it cope unless junior high school students. Start with a sketch.
Step by step lesson:
- Outline a face in the form of a pentagon with rounded edges, a dress extending downward and highlight the shoulders.
- Add hair around head, draw neck, from shoulders to finish drawing sleeves. Sleeves should be narrower beside body and wider towards palms.
- Above the head to put a halo, and behind the shoulders to add wings.
- The arms should be visible from the slits of the sleeves. Right palm open, left palm clutching the star stick. Underneath, draw the toes of the shoes peeking out from under the dress.
- On the chest line, draw two crossed strips - the decoration of the dress. From them to make several vertical lines - folds.
- On the face of two circles - the eyes. Paint them black, leaving a white glare. The upper part of the eyes extend the arc curved upward, which will act as eyelashes. Above them - the eyebrows. The nose is depicted as two semicircles of different sizes, and the mouth make a bow.

Keep in mind that the angel-girl should be cheerful and smiling. Turned out that way? Very good! Then proceed to coloring.
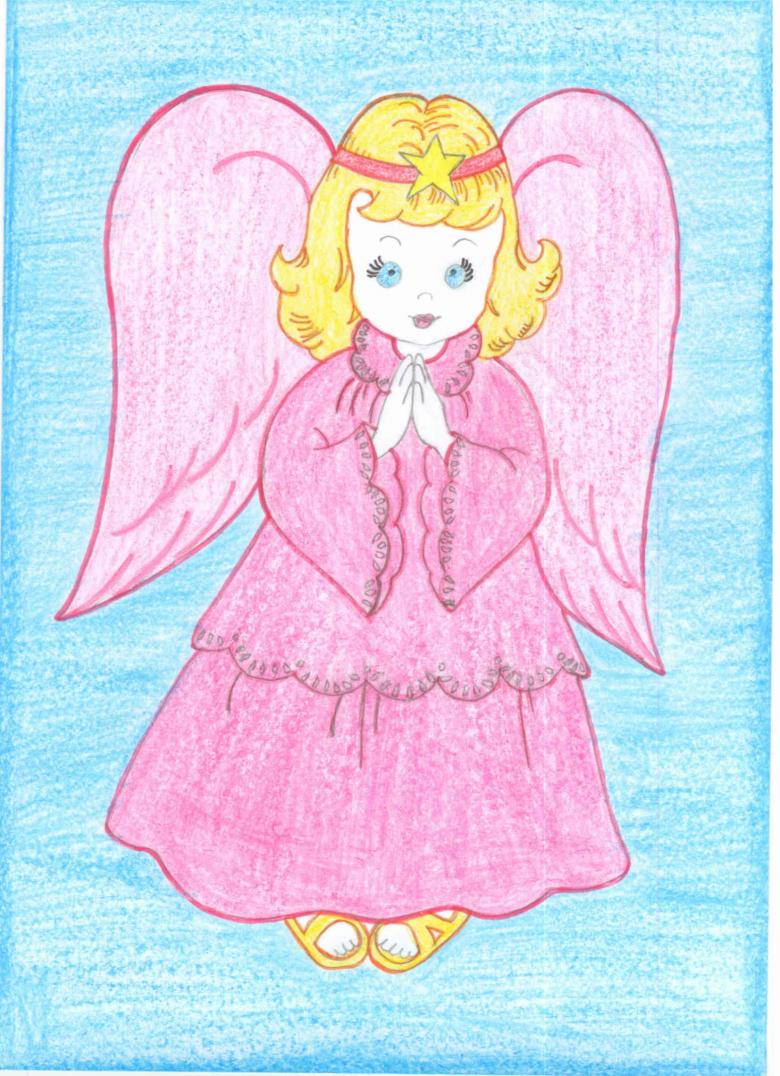
Christmas Angel
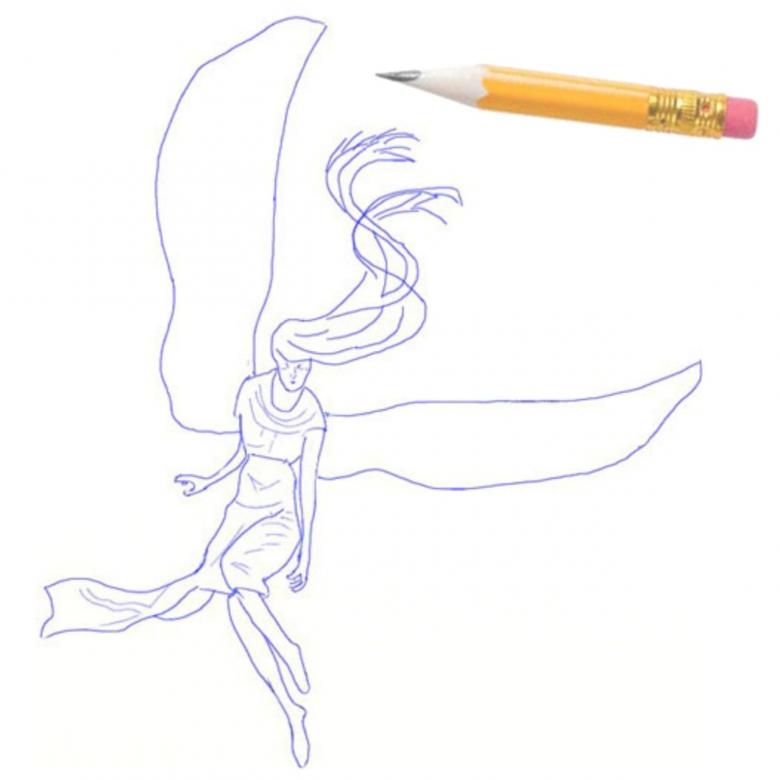
On Christmas Eve, when the whole atmosphere around is filled with anticipation of a miracle, offer your child to draw a themed drawing.

- Start with a small circle in the top half of the sheet of paper. This is the head of a Christmas angel.
- Add a trapeze at the bottom at a slight angle so that the narrow edges of the circle. Bottom line is convex and slightly round the sides. This dress.
- Around the head circle the arc, connecting it with straight lines below the line of ears.
- Two narrow semi-circles sticking out from under the dress - booties. They should highlight the thin lines socks. Two "cherry with tails," arranged in parallel - the hands. The right should be on the dress itself, and the left - sticking out from behind it.
- On the face of drawing two semicircles arc upward with eyelashes on the sides - the eyes. Nose and mouth made in the form of two semicircles of different sizes, curved to the bottom. The mouth should be about three times larger than the nose. On the cheeks add two circles of blush.
- On top of the head finish drawing two curled antennae, like a ladybug. From each of the tendrils run a wavy line, smoothly connecting it to the dress. We got the wings.
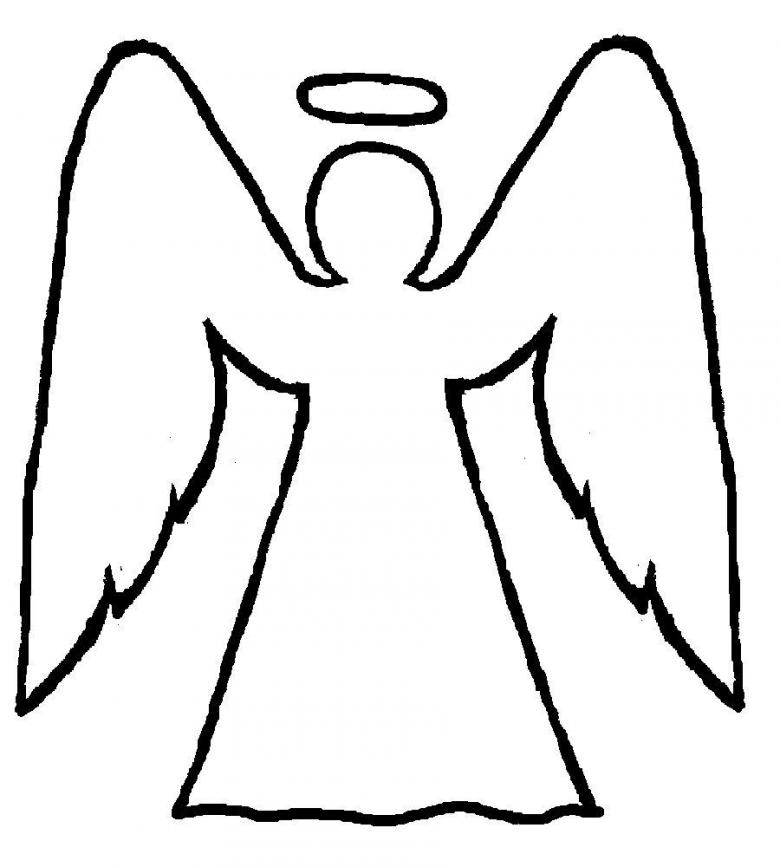
So that everyone knows at once that our angel has something to do with Christmas, finish drawing the stars and circles. Now you can paint your masterpiece.
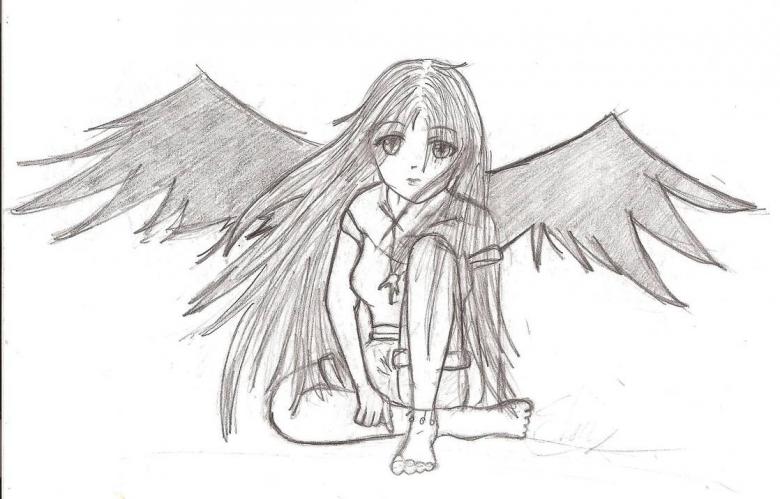
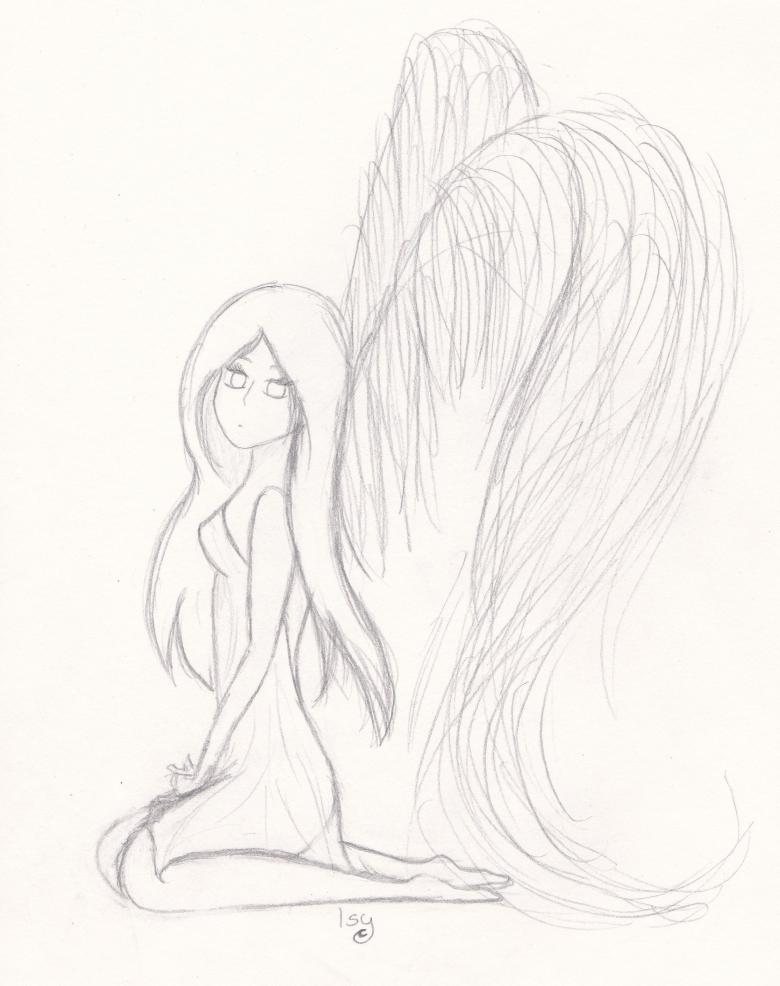
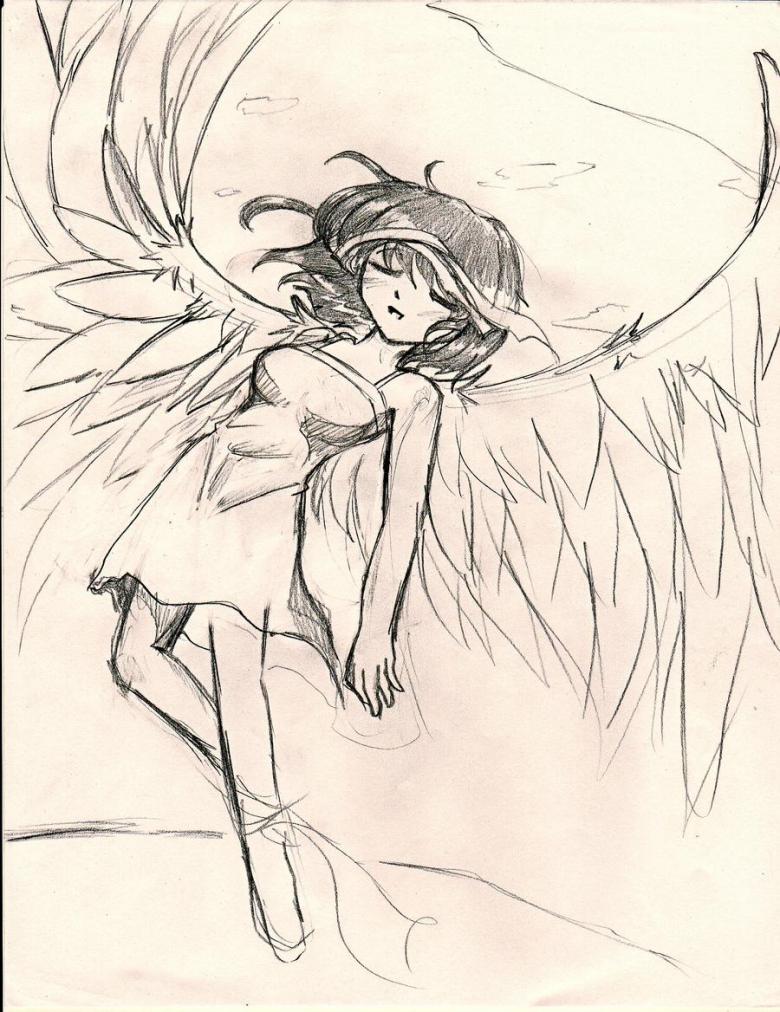
Anime Angel
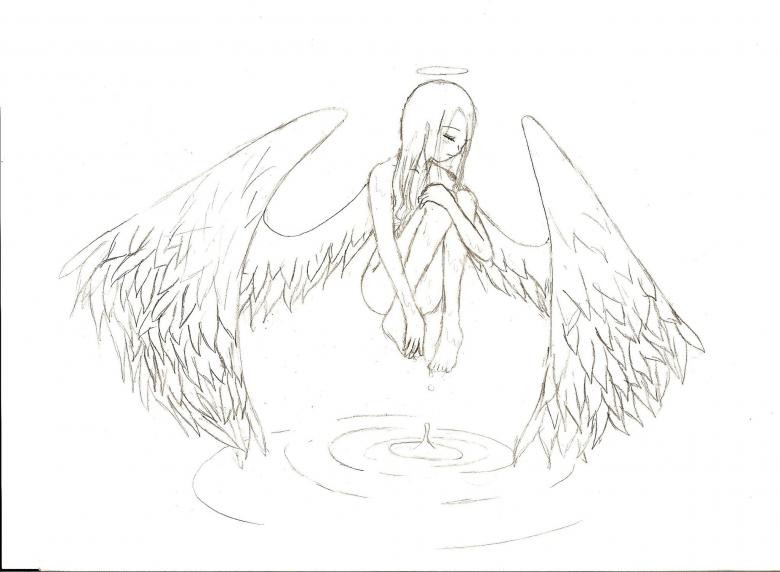
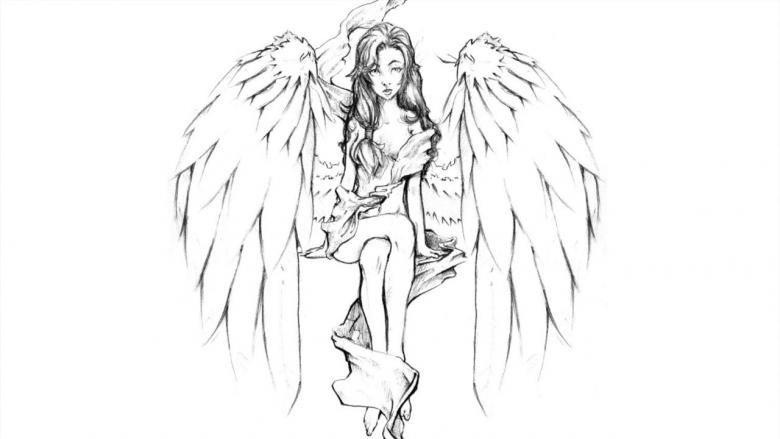
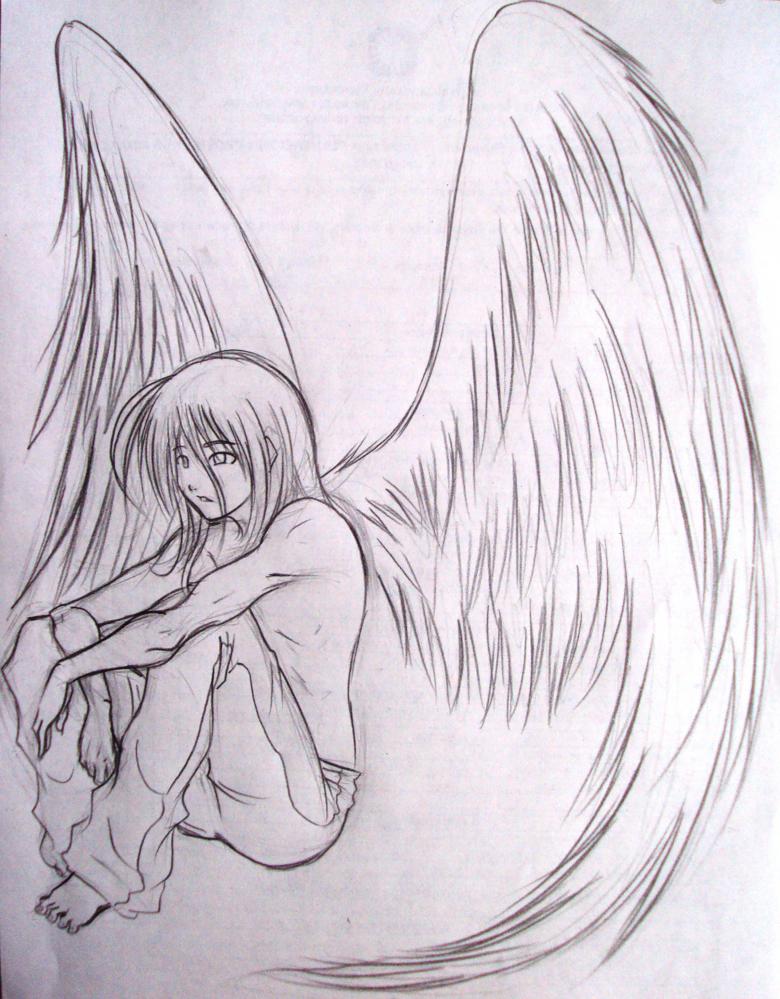
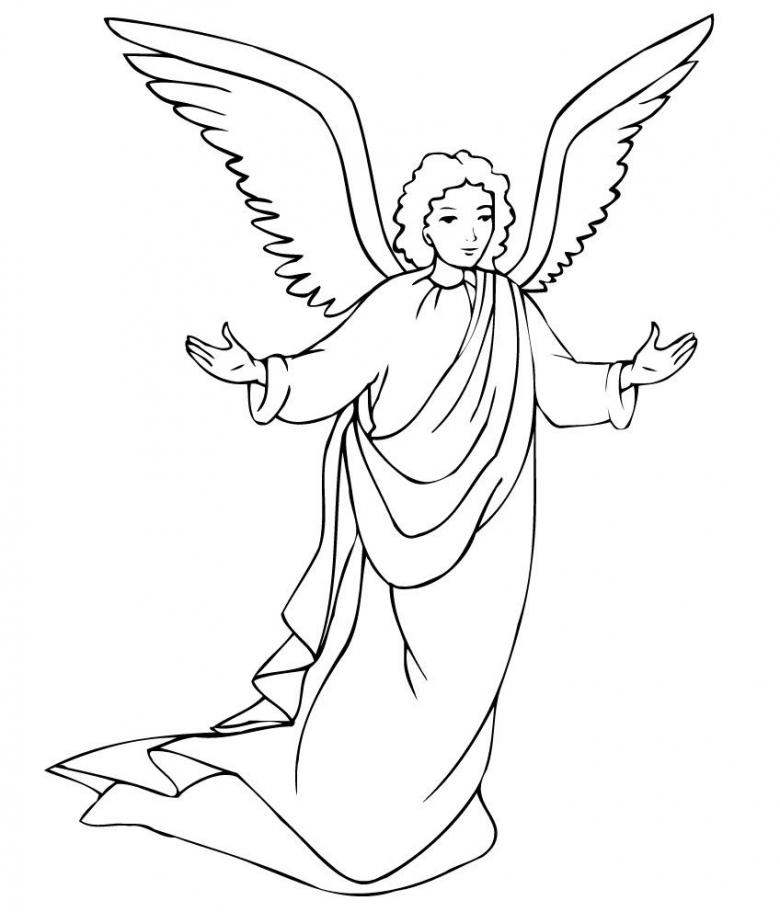
Anime has been in vogue lately. If your child also raves about this topic, suggest that he draw an angel in the style of anime. But keep in mind that this is already a drawing of increased complexity, and under the power of only middle school students.
Stages of work:
- Draw a circle - a head with two perpendicular arcs dividing the circle by about two thirds.
- Picture a thin stick - the neck, and on it draw the body, reminiscent of the outlines of the lung X-ray. On the sides highlight the shoulders. From each line of contact of the shoulder with the body, draw two vertical lines, not parallel, but divergent to the side. From the middle of the torso draw another line parallel to the left.
- From the horizontal arc on the head (one-third of the face) draw a line in a semicircle, making a sharp chin. Around the rest of the head draw a much larger semicircle - a cap of hair. Add a curved line - bangs consisting of upside down triangles.
- From under the bangs should be translucent eyebrows and upper eyelashes. Eyes - two vertical ovals, underlined by horizontal lines from below (lower eyelids). The nose is a triangle and the mouth is a small narrow band.
- To the right and left of the head add strands of hair. They should be sharp, like tongues of flame and spread out in different directions.
- Draw the line of the neck and rounded shoulders, add a silhouette of a dress with folds on it for naturalness, finish drawing the sleeves. Highlight the breasts, thin waist, straps.
- Wings should be visible on each side from behind the back. Make them out of three rows of elongated cylinders with rounded tops. Make sure that both wings look symmetrical.
- Once again, check all the details of the sketch and start coloring.
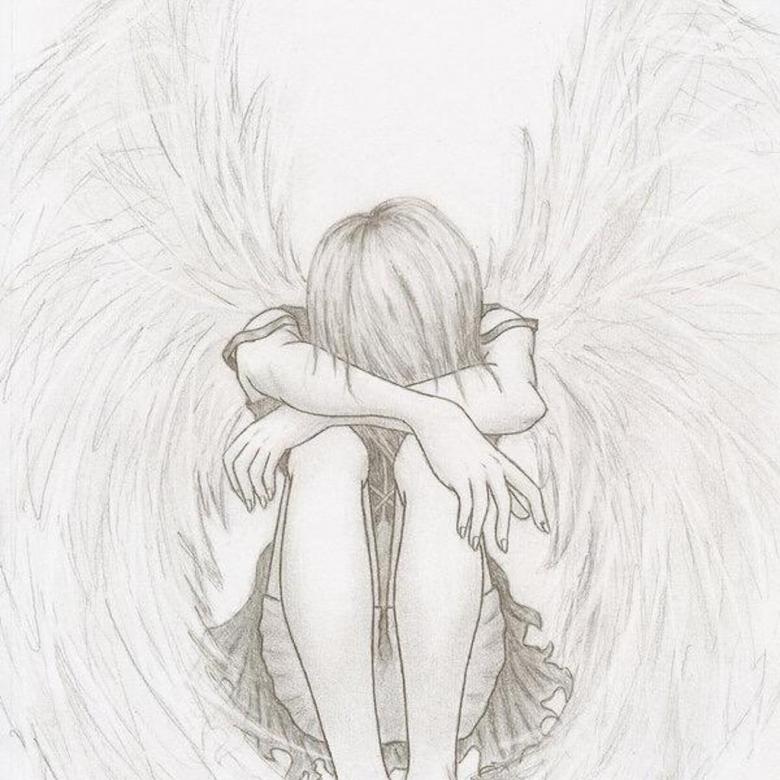
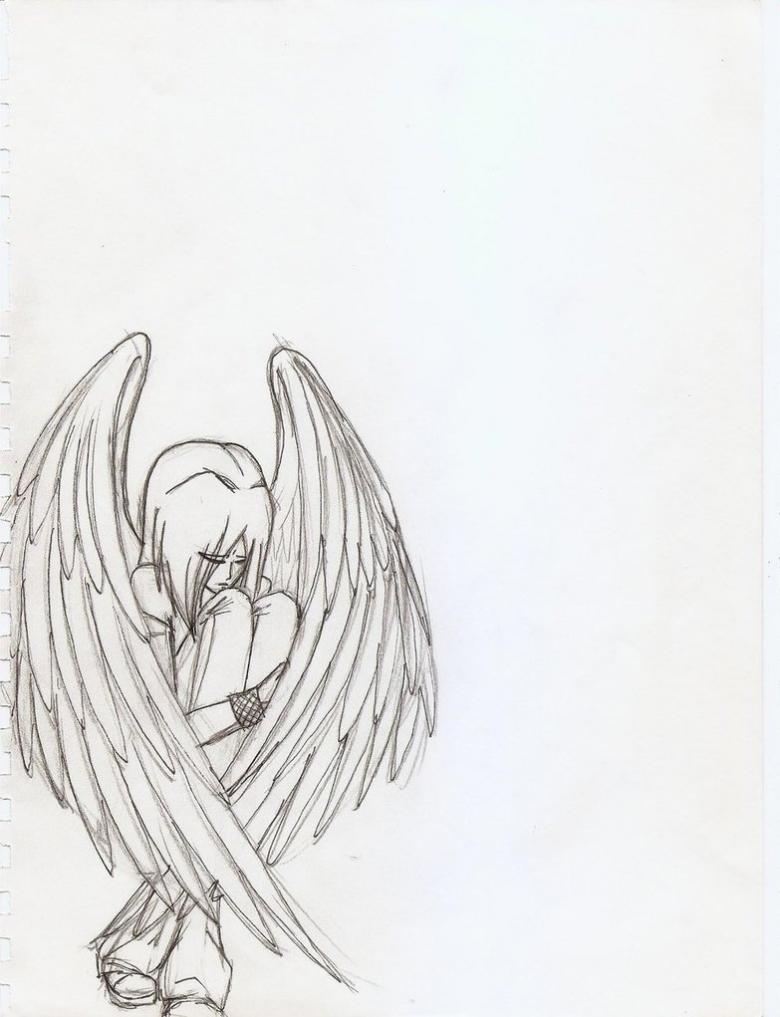
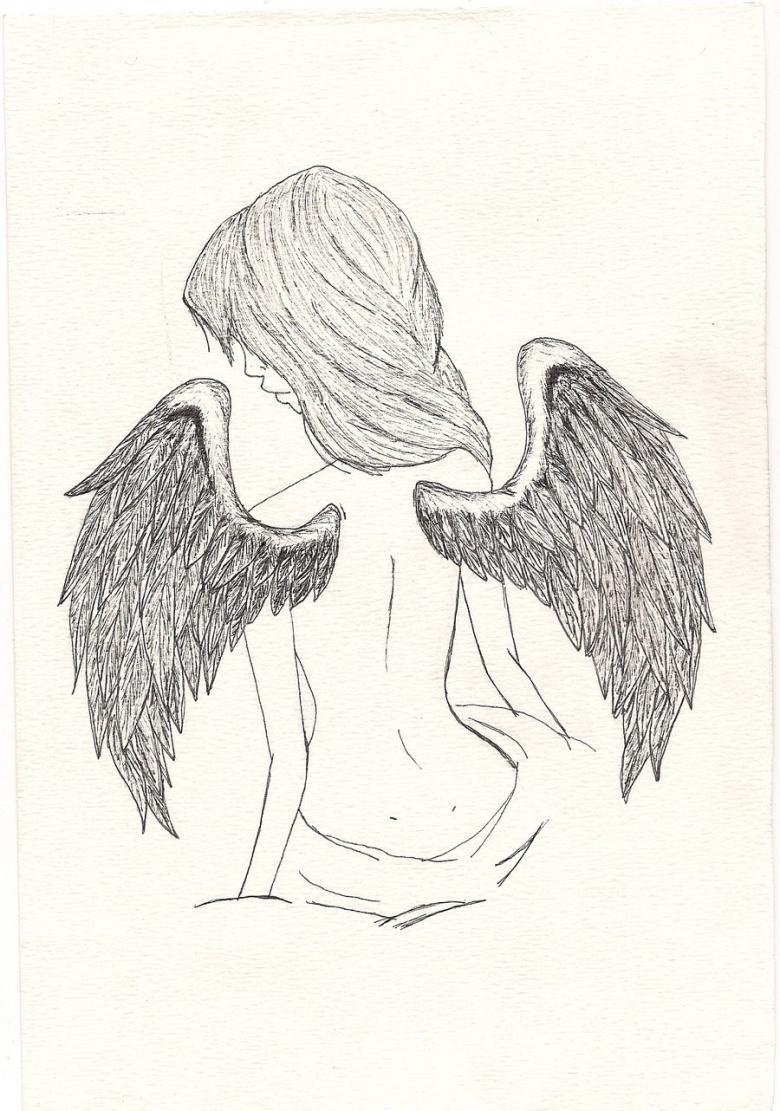
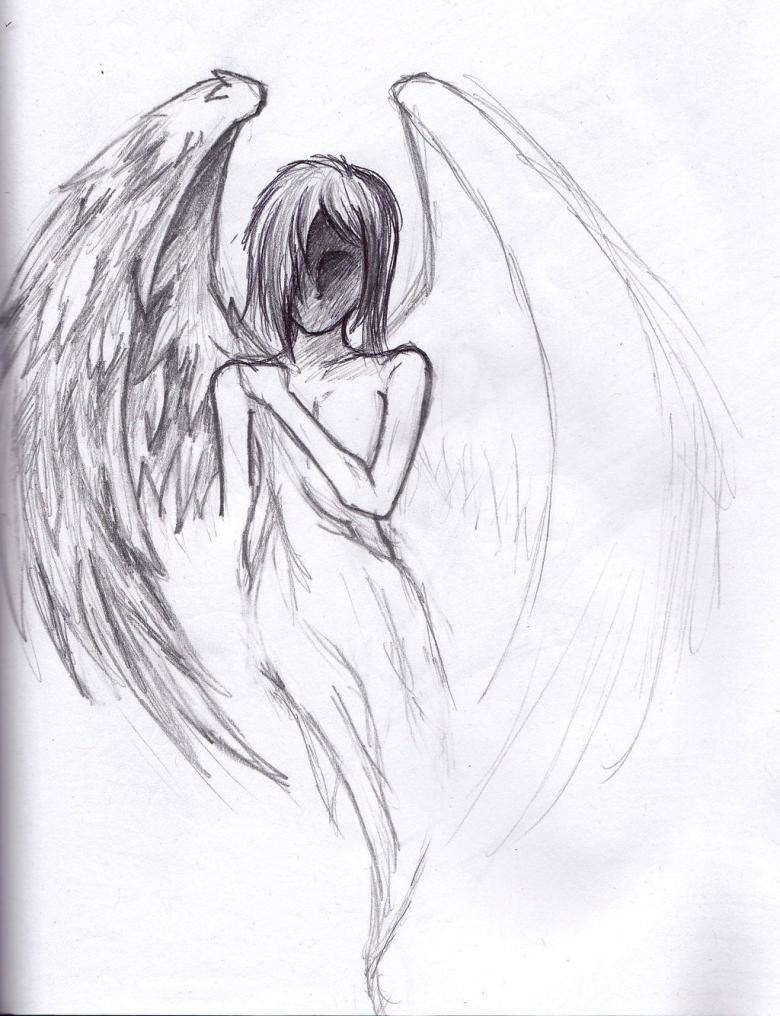
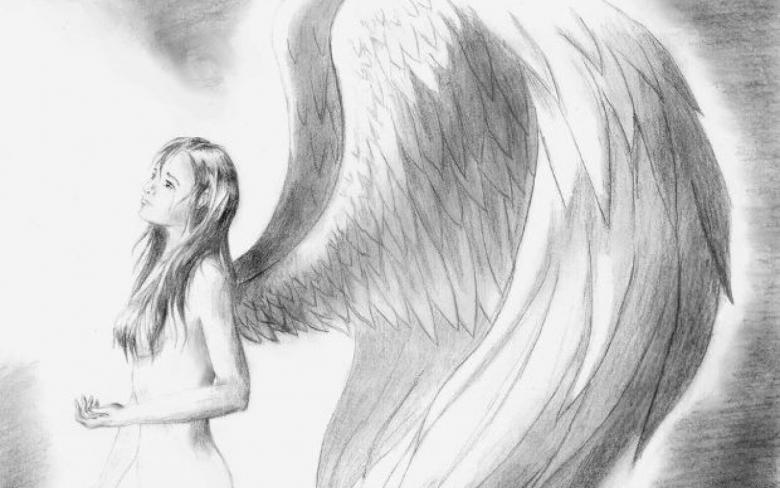
As you can see, there are several techniques for drawing this mythical creature. Using each of them, you will get completely different people with wings.

