Applique lion from cardboard, paper, other improvised materials (62 photos)
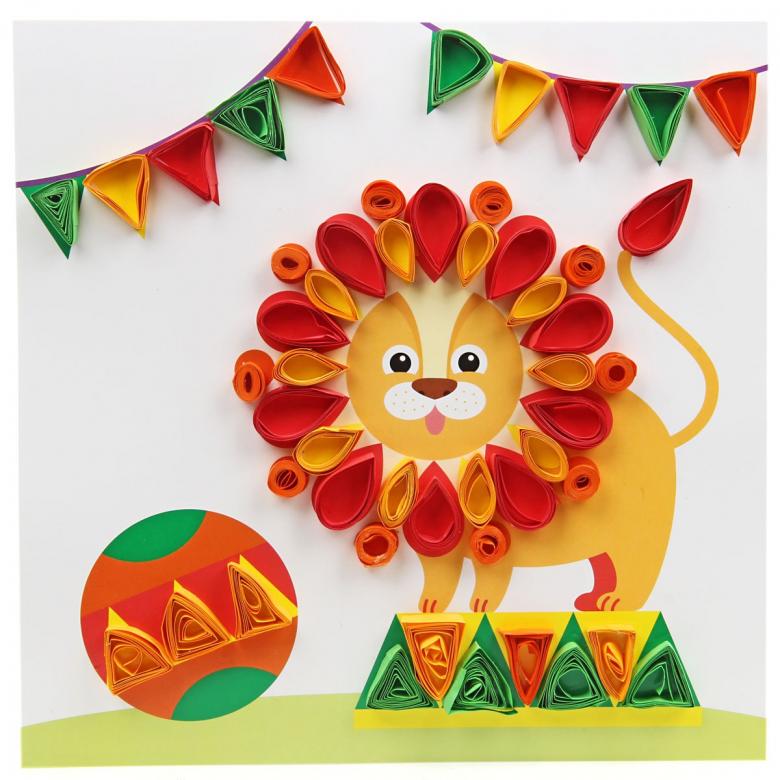
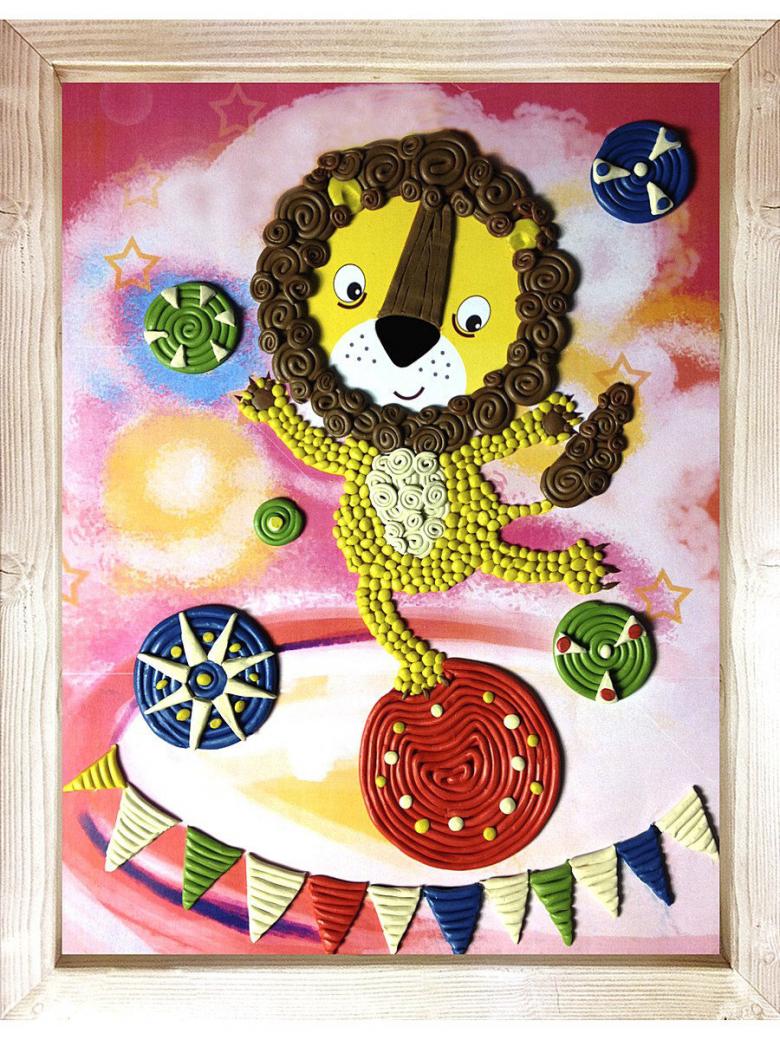
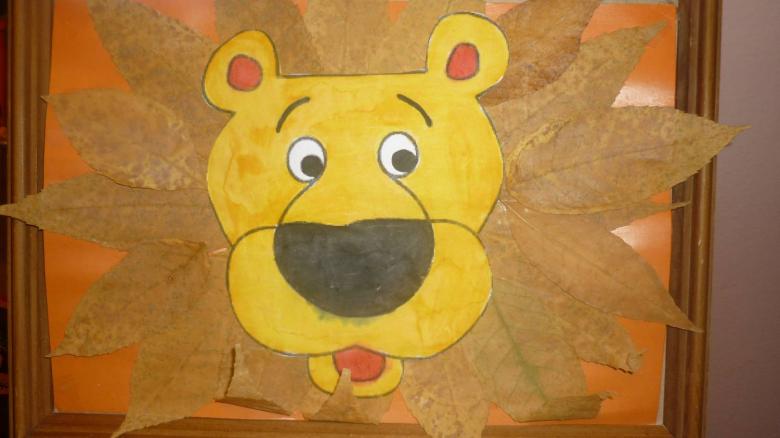
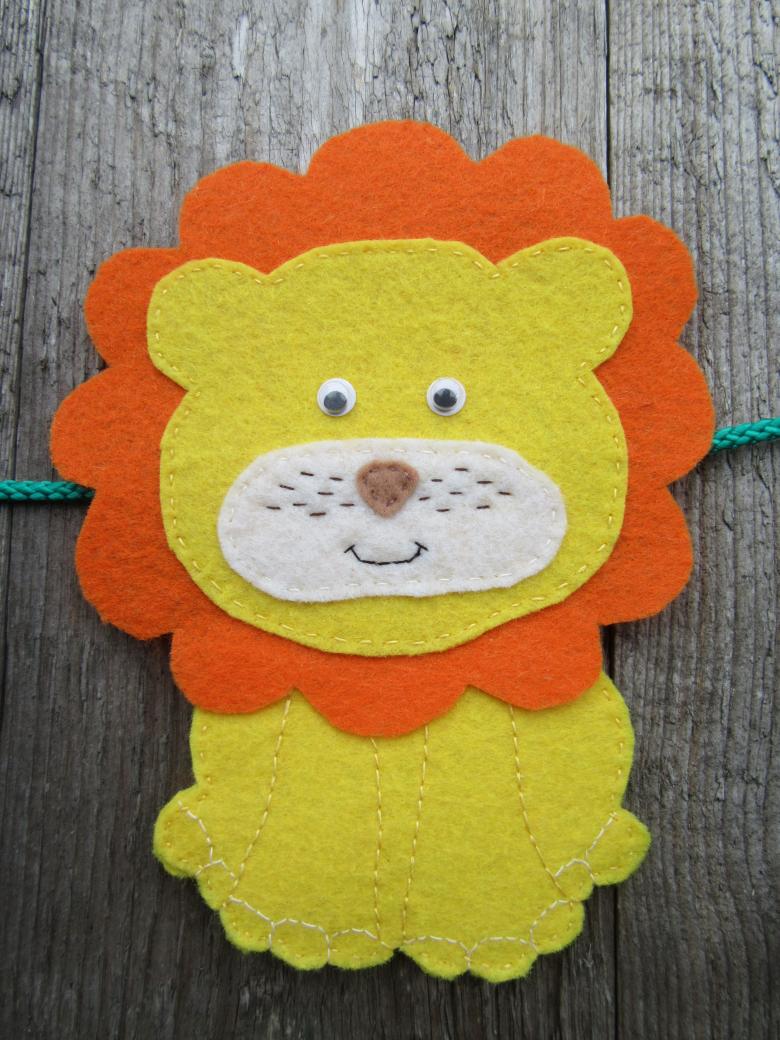
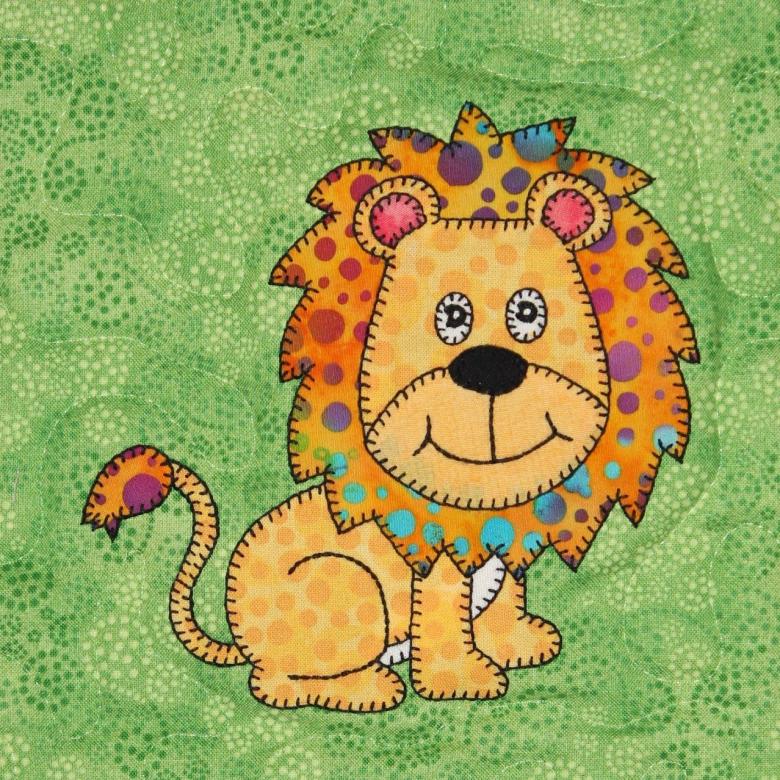
Everyone knows that children adore creativity and applique, one of its favorite types for kids. Also note that kids like animals and make them with their own hands, for them a special pleasure. Therefore, today, we decided to tell you how to create a collage of the king of beasts.
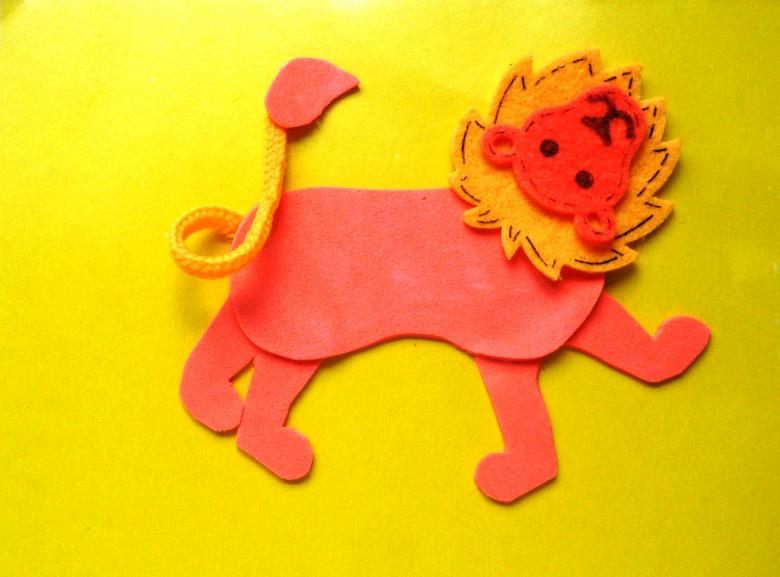
Initially, we note that all adults, often have different boxes from purchased goods and often, all of them are thrown away. But this should not be done, because with their help, you can make cute crafts. After all, it is the cardboard that is often used in the process of creating them.
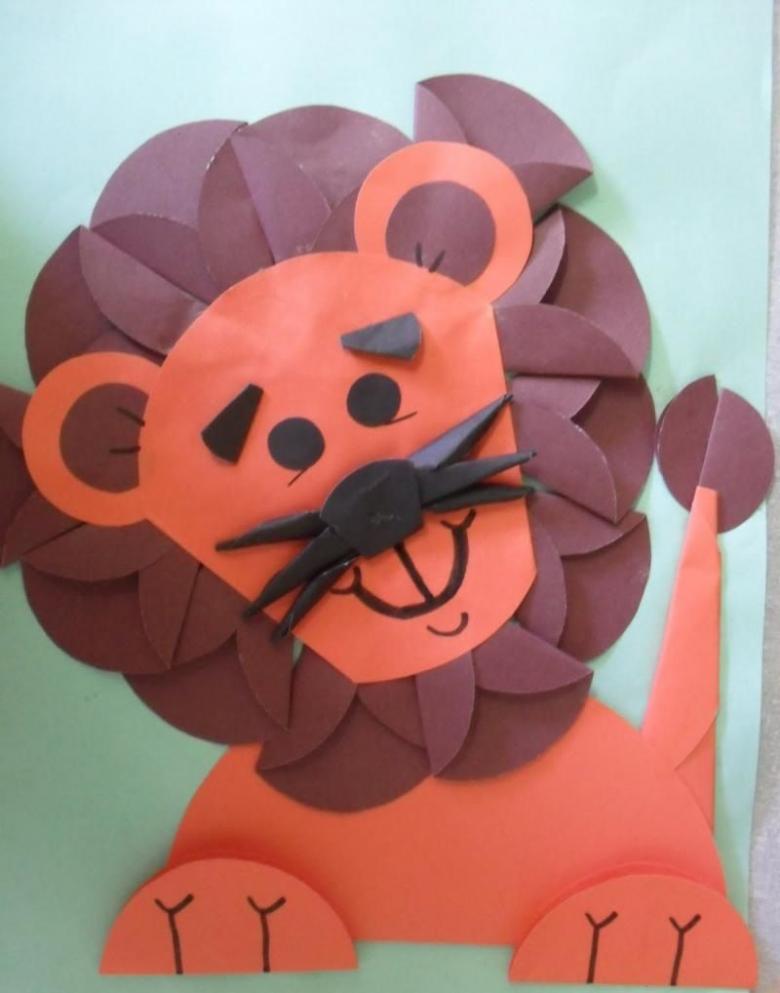
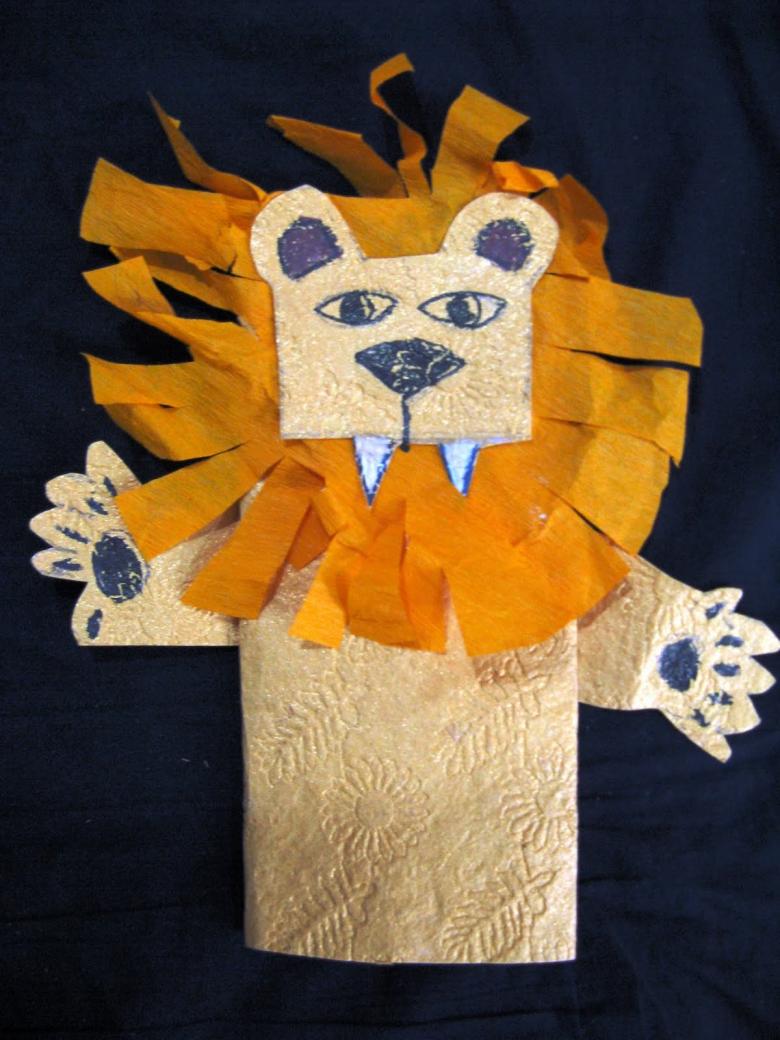
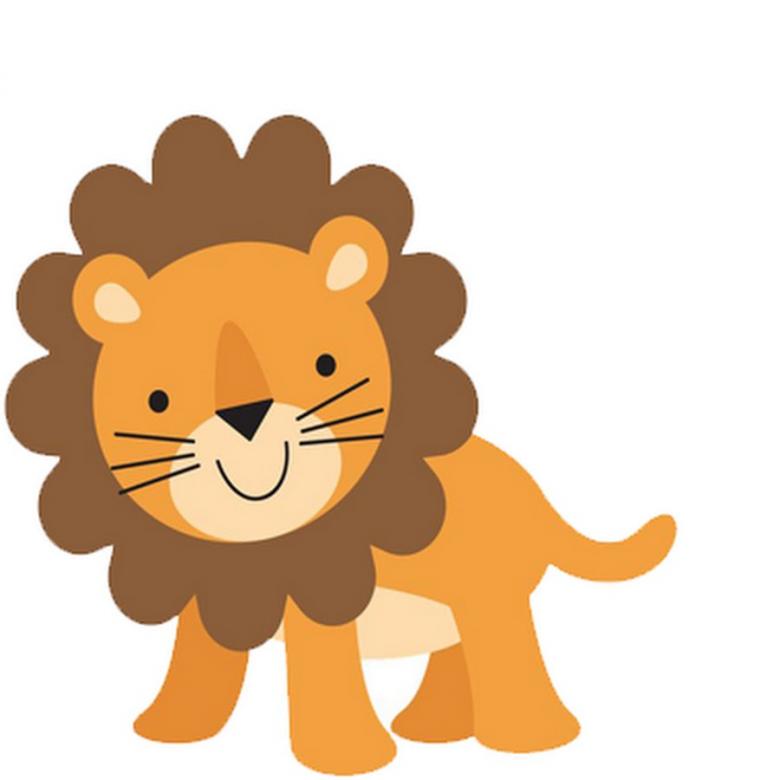
Applique lion from cardboard
First of all, prepare the necessary materials:
- A piece of corrugated cardboard;
- a set of colored paper;
- eyes for crafts;
- marker and a brush.

Manufacturing process:
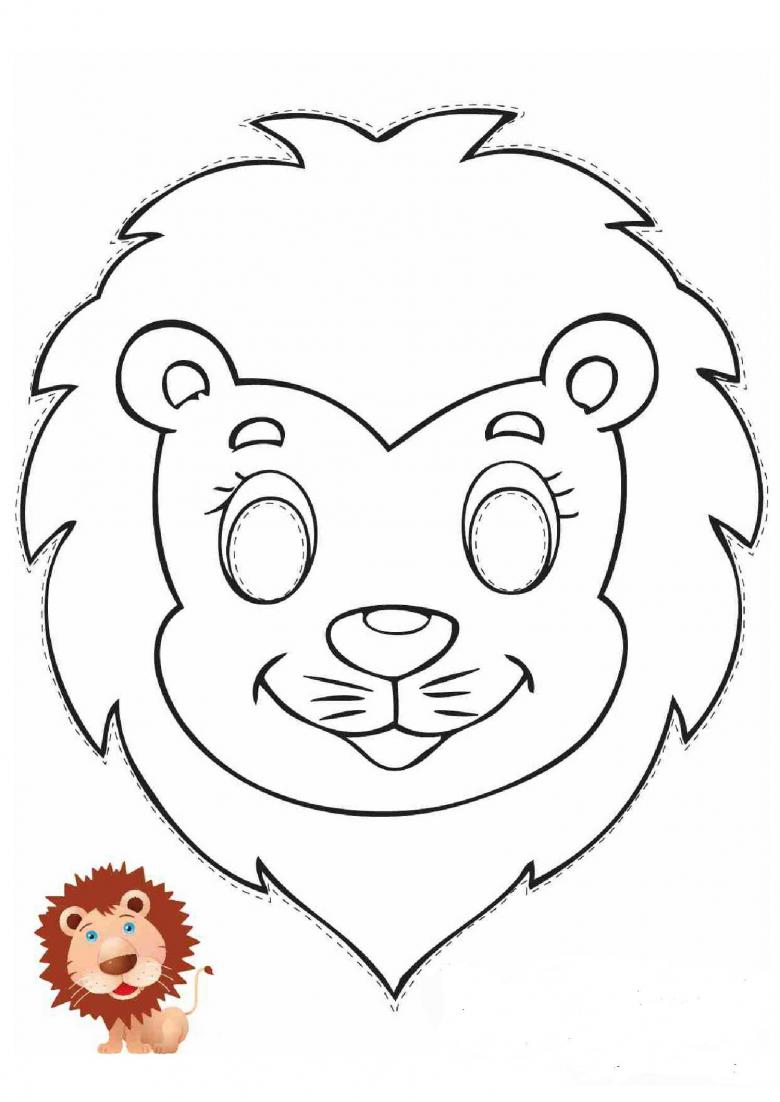
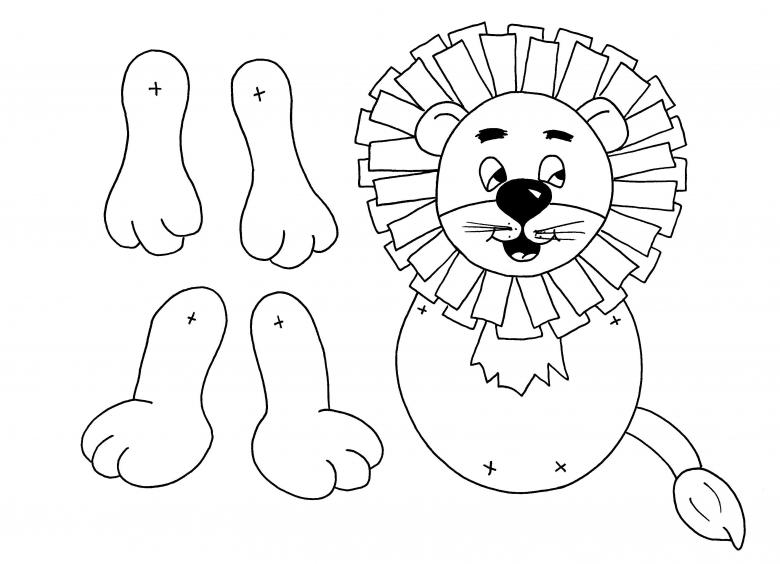
- Initially, we draw the details of the future craft.
- Cut out the elements.
- We paint the resulting blanks in yellow. You can use paint or felt-tip pens.
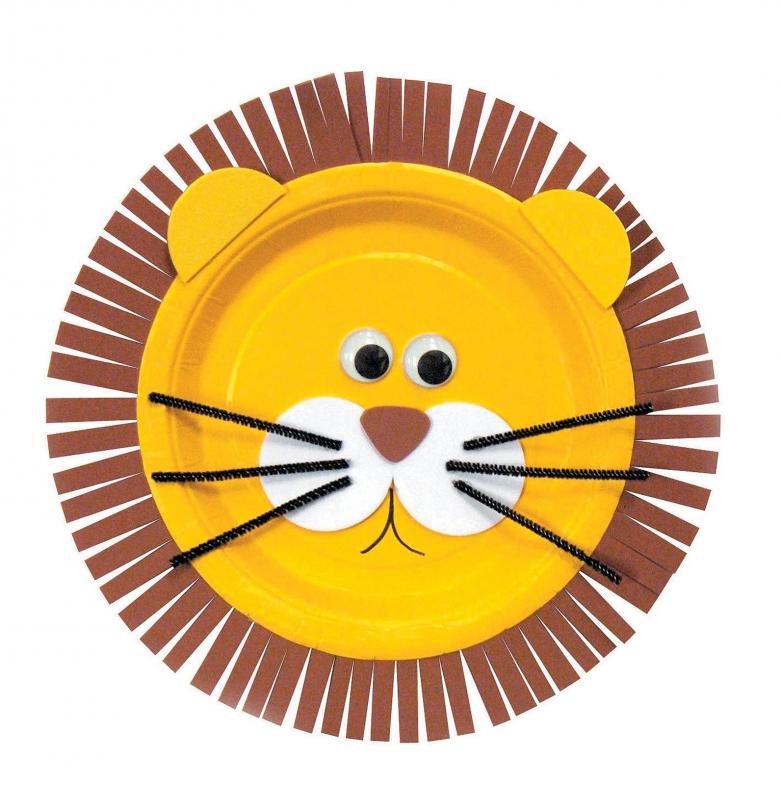
- Cut strips of orange paper 1 × 4 cm for mane.
- Glue the strips on the back side of the cardboard circle.
- On the front side, glue pre-prepared whiskers, eyes, nose and tongue.
- Take a circle with ears and glue it to the resulting muzzle.
- Draw and cut out the tail of the animal.
- We take the remaining parts and glue them to the selected basis, in sequence.
- Glue the tail and torso with hind legs.
- On top place the front paws.
- At the location of the head, glue two squares.
- On the squares, glue the head and finally, draw the claws.
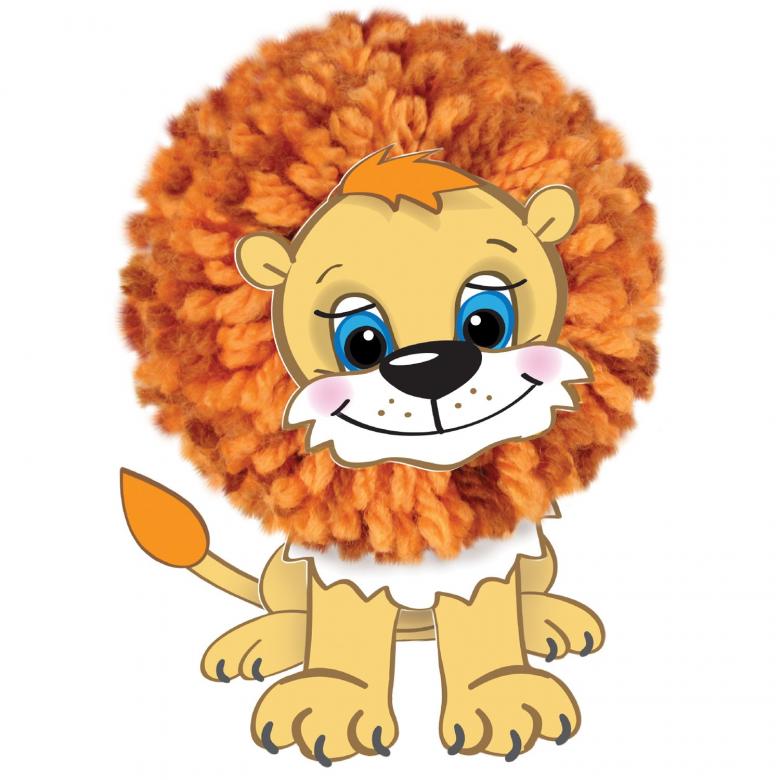
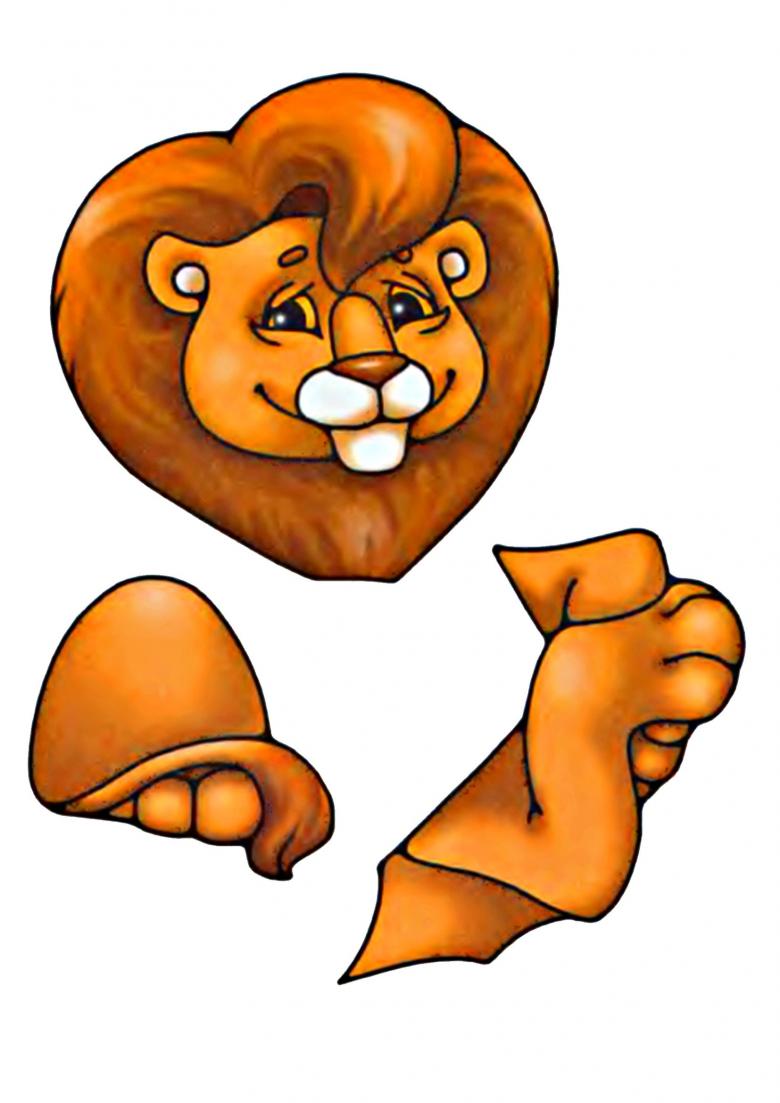
Templates for creating applications, you can draw yourself or use ready-made, placed on the Internet.

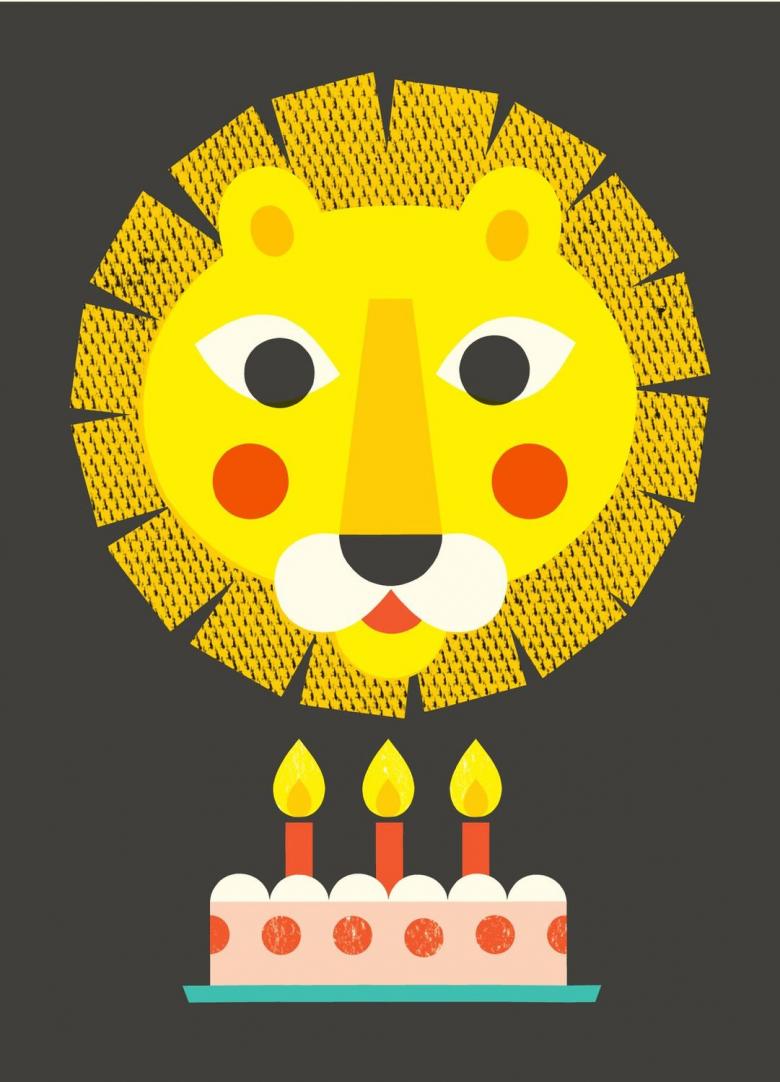
Paper lion
Materials needed:
- colored paper;
- glue;
- cardboard;
- scissors;
- felt-tip pen.

Work steps:
- From orange paper, cut two squares of the same size.
- Bottom corner of a square of the bend and turn the workpiece.
- On both sides, draw a line, indenting from the edge of the 1 cm.
- Cut along the marked line of the strips, like fringes and fluff them.
- With the second square, do the same.
- Take the square, where the bent end and glue this end of the inside of the other square.
- Cut another square piece and wrap the corners to the center, a little short of the exact point.
- Do the same, turning the square over.
- Turn it over again and glue it to the chosen base. This will be the body of the lion cub.
- Next, we place the head and glue the eyes, nose, mouth and mustache on the face.
- Paws and claws draw a felt-tip pen.
- Cut out the tail and make a brush similar to mane.
- Glue the tail to the body.
In completing the handicraft, you can complement it with various elements at your discretion.
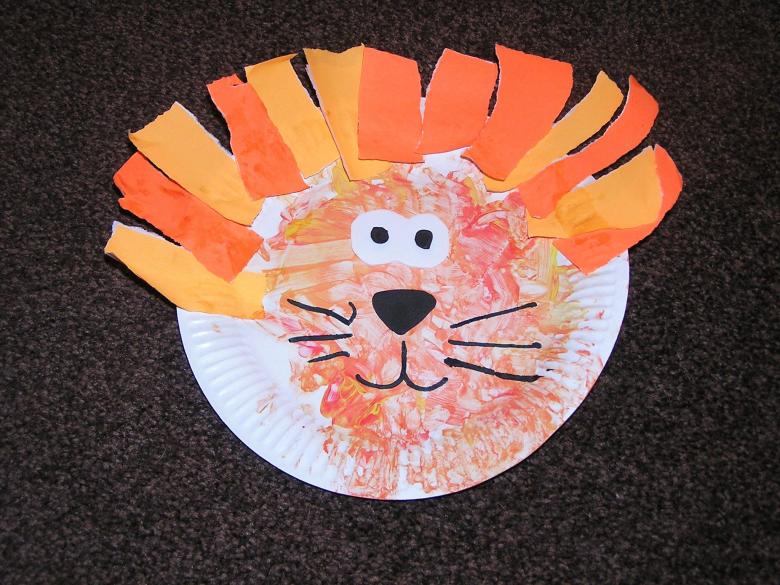
Lion cub with three-dimensional mane
You will need:
- orange and yellow colored paper;
- glue;
- scissors;
- felt-tip pen and pencil;
- colored cardboard.

Step by step instructions:
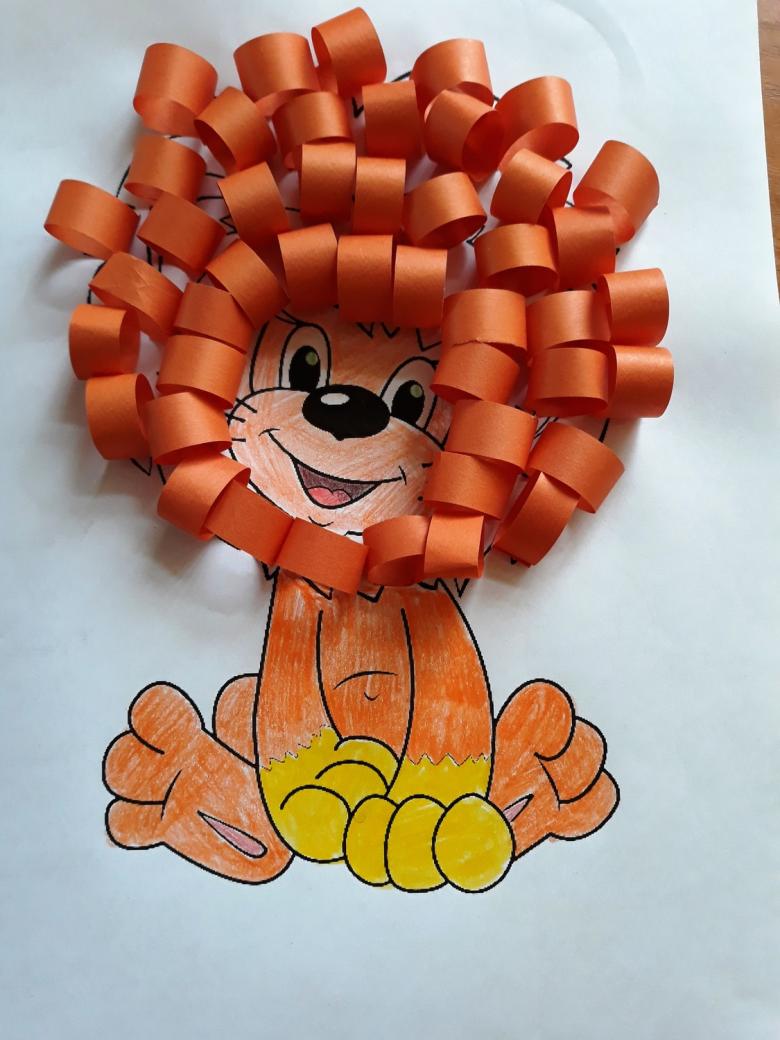
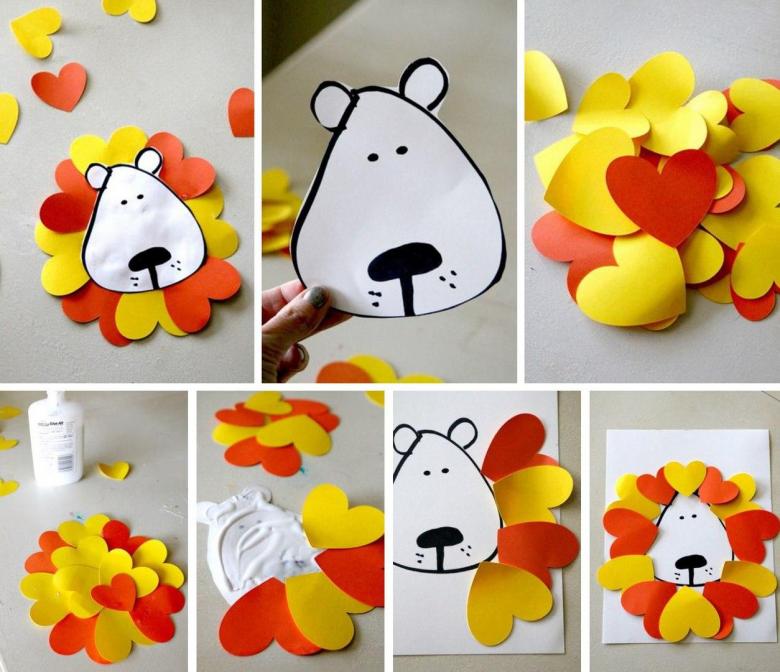
- On yellow cardboard, draw a pencil lion cub head with ears.
- Cut out the detail.
- Cut orange paper long strips of width 1 × 1.2 cm and cut them into small sections.
- Fold the ends of strips and glue them together. Wait a while until the glue dries.
- The resulting elements, glue at a small distance from each other, on the back side of the head of the animal. If desired, you can make two tiers for more volume, gluing strips in staggered order.
- On the front side, draw a felt-tip pen muzzle and contours of the ears.
- We take the yellow paper and draw the body together with the tail.
- Cut out the resulting pattern.
- Glue ready muzzle and finish drawing elements on the tail and paws.
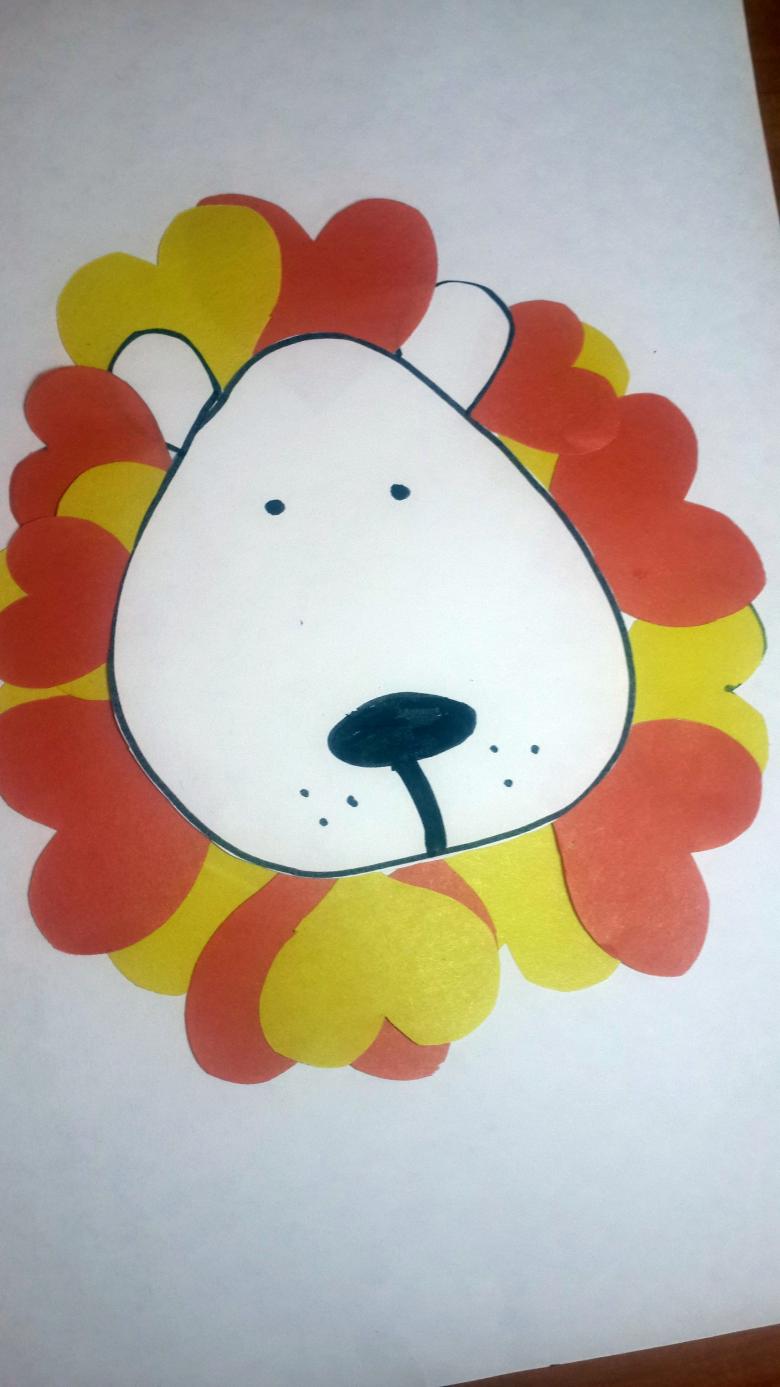
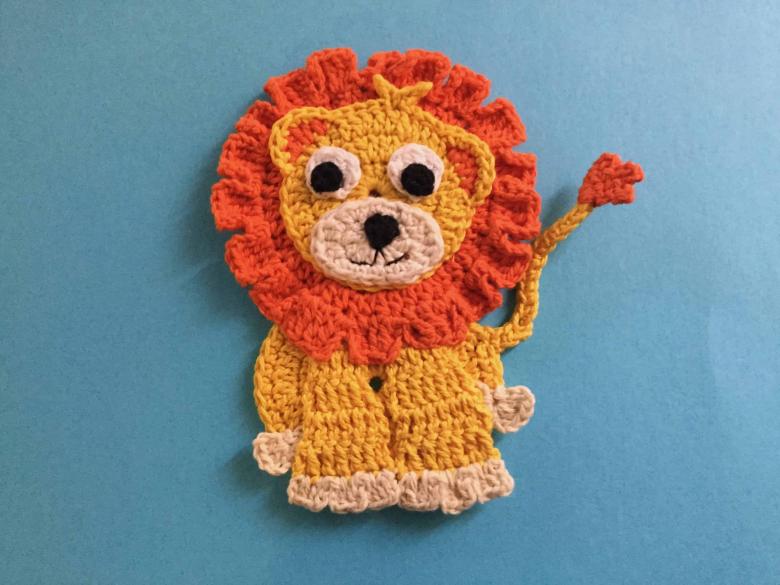
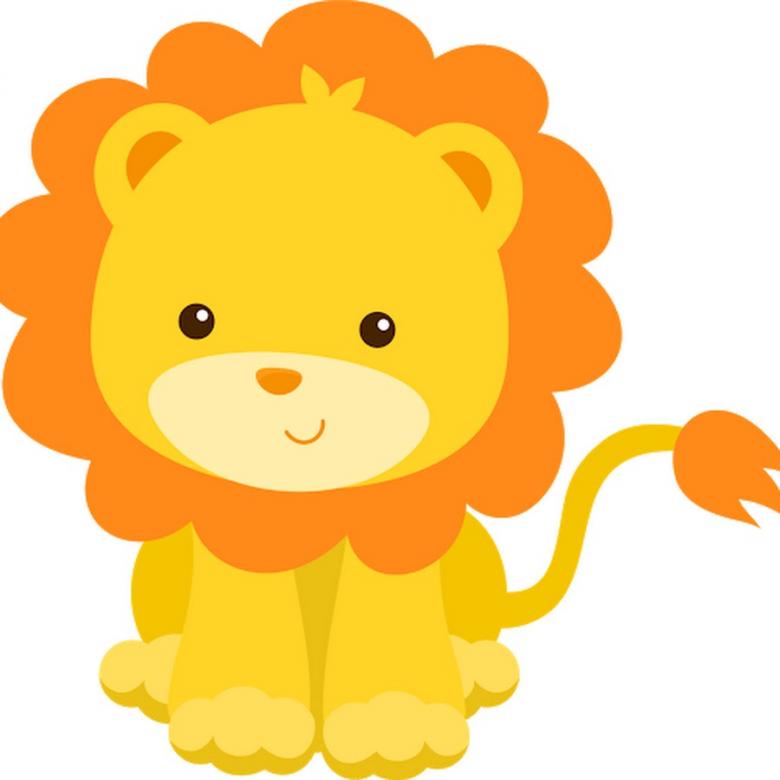
Little king of beasts, it turns out very cute and kids like. Such a craft, you can decorate a child's room or something of his personal belongings.

Applique lion for preschool children from cupcake molds
Materials needed:
- Cupcake molds made of paper - 3 pieces;
- colored cardboard;
- colored paper;
- felt-tip pen;
- scissors;
- blanks of the eyes;
- glue.
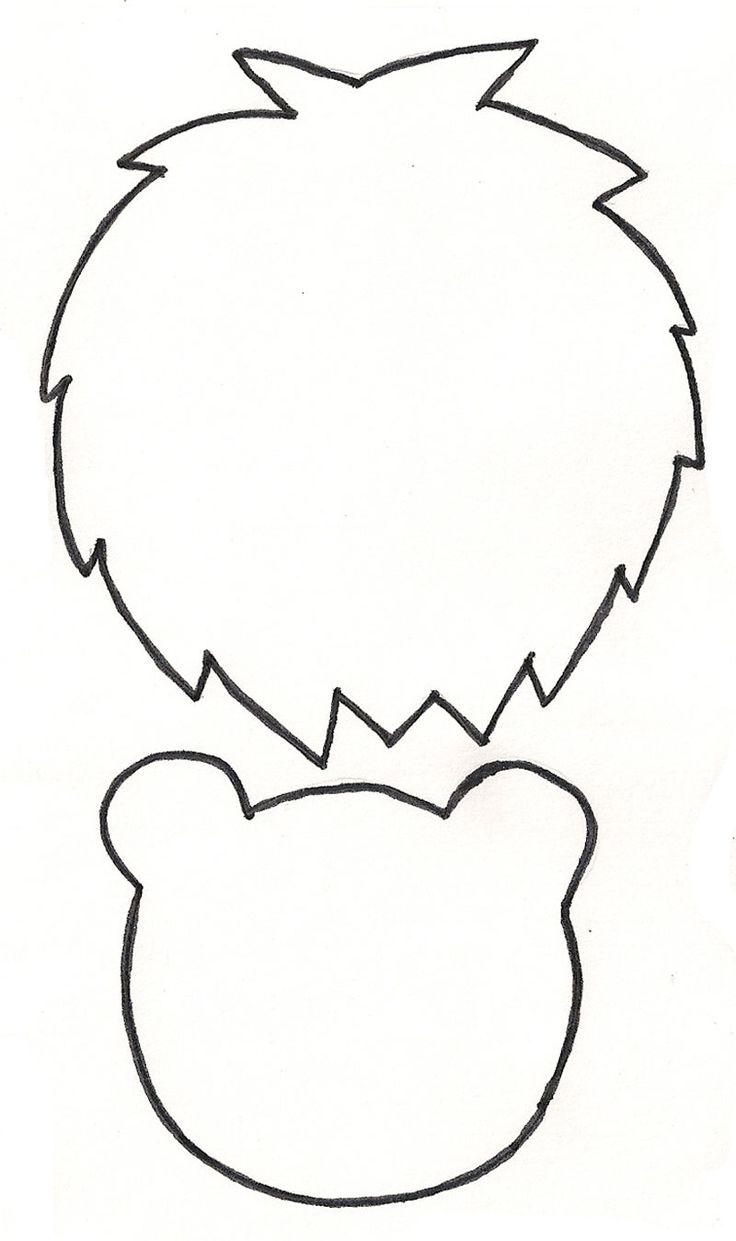
Work Stages:
- Cupcake molds should be painted, two in yellow and one in orange.
- Cut the bottom of the yellow mold and glue it to the orange.
- The edges of the orange form, cut the fringe.
- We take the cardboard base and glue the yellow form on it.
- Next to it, with an overlap, we place the made head blank.
- Take the paper and cut four strips and the tip of the tail.
- Glue them to the torso.
- Using marker, draw a muzzle and glue the eyes.
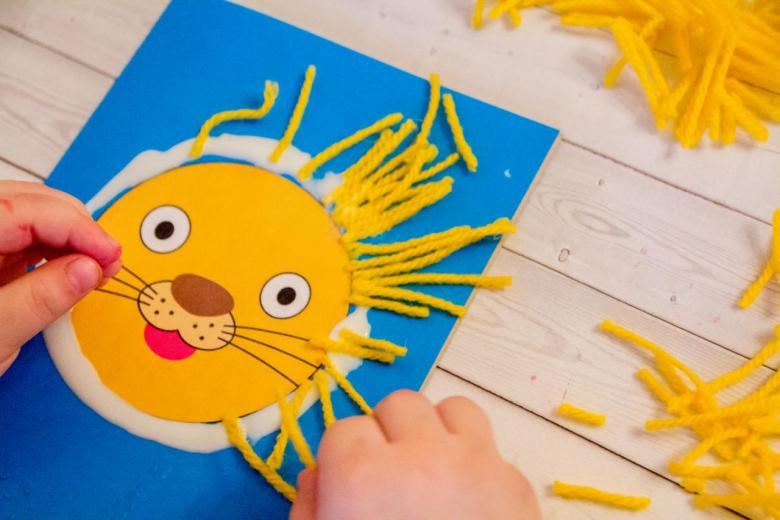
If desired, you can add on the applique, various elements. With this handicraft, cope even a small child of kindergarten age, allowing him to independently make a fake.
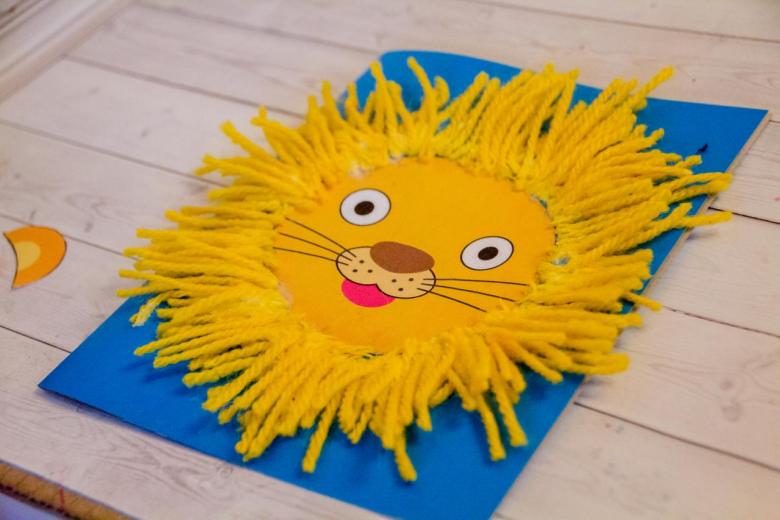
As you can see, even one animal with applique can look very different. And each applique, can become a real masterpiece, which will long remind you of the achievements of your baby.

