Bullfinch crafts by hand - step by step master classes of paper, cardboard, pompoms and papier-mache
With the onset of winter colds, bullfinches fly into town. They can be seen on the branches of city trees. Red-breasted beauties are known to everyone since childhood, they are depicted on numerous postcards dedicated to the New Year holidays and on the illustrations in books.
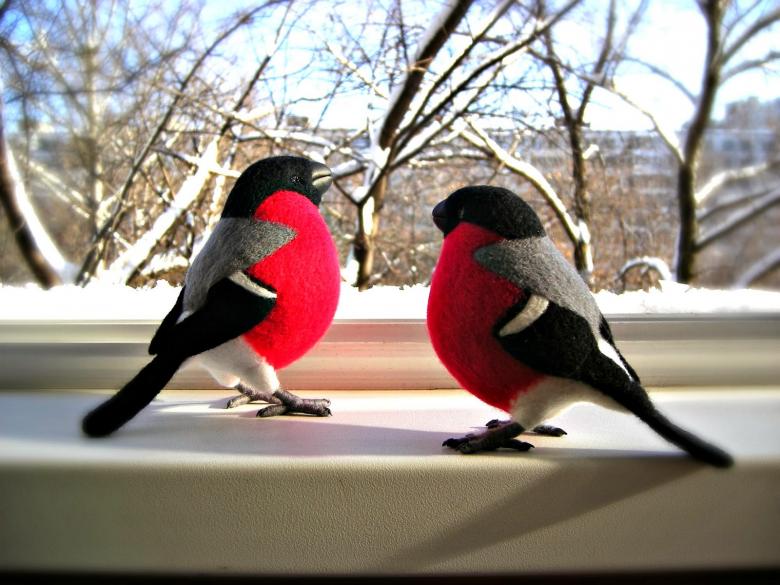
Bullfinches are recognized as a symbol of winter. There is an opinion that their number has decreased and it is rare to see the winter birds in the city. Let ornithologists deal with this issue, and for themselves, everyone can make a snowbird from improvised materials, decorate their home or give a souvenir to loved ones.
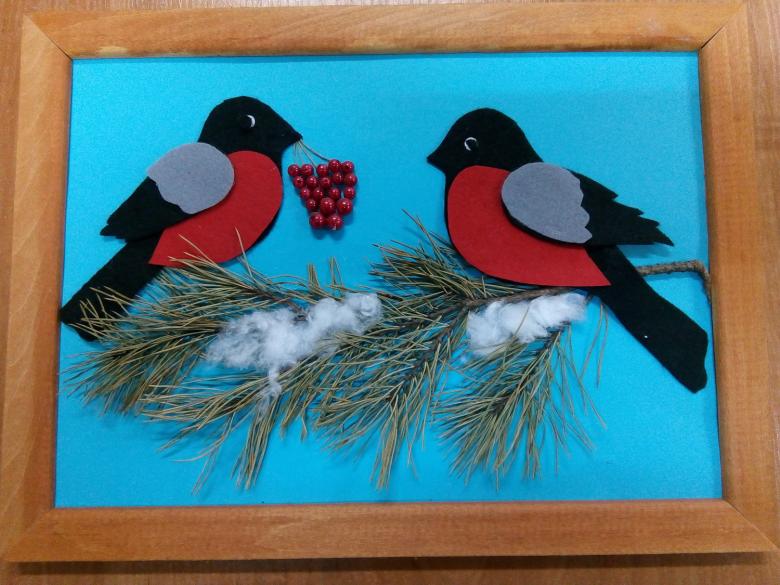
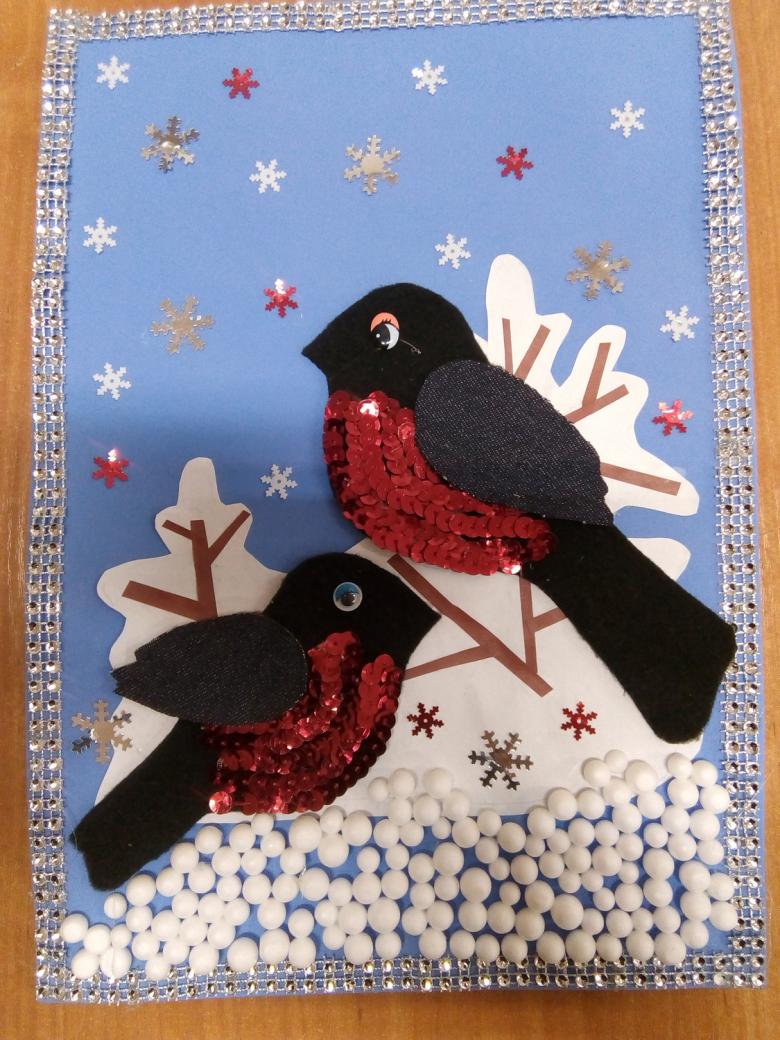
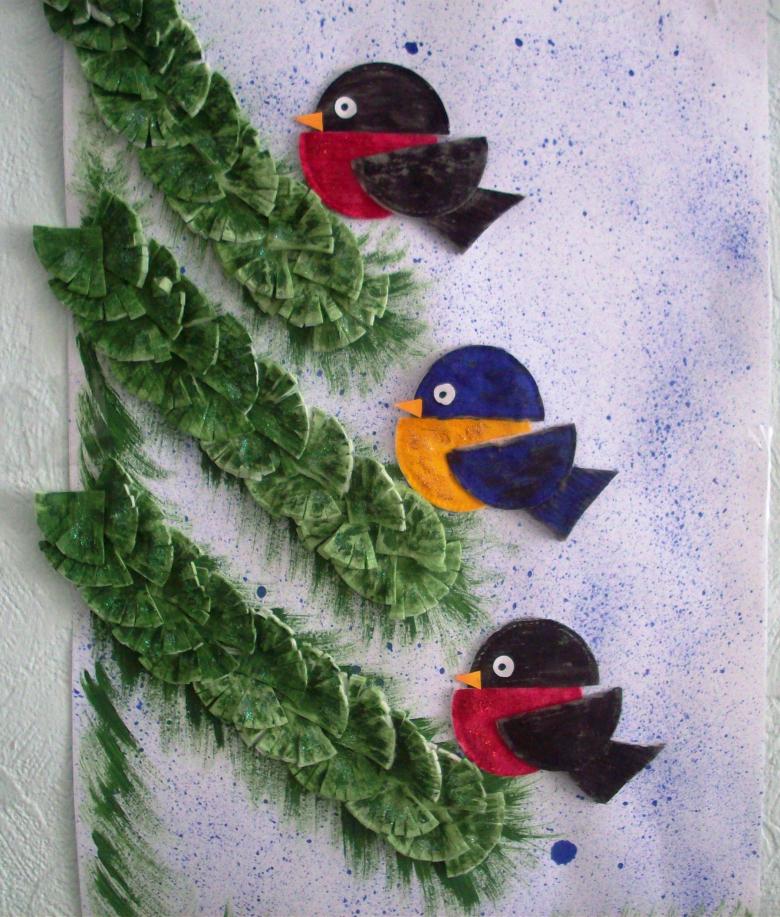
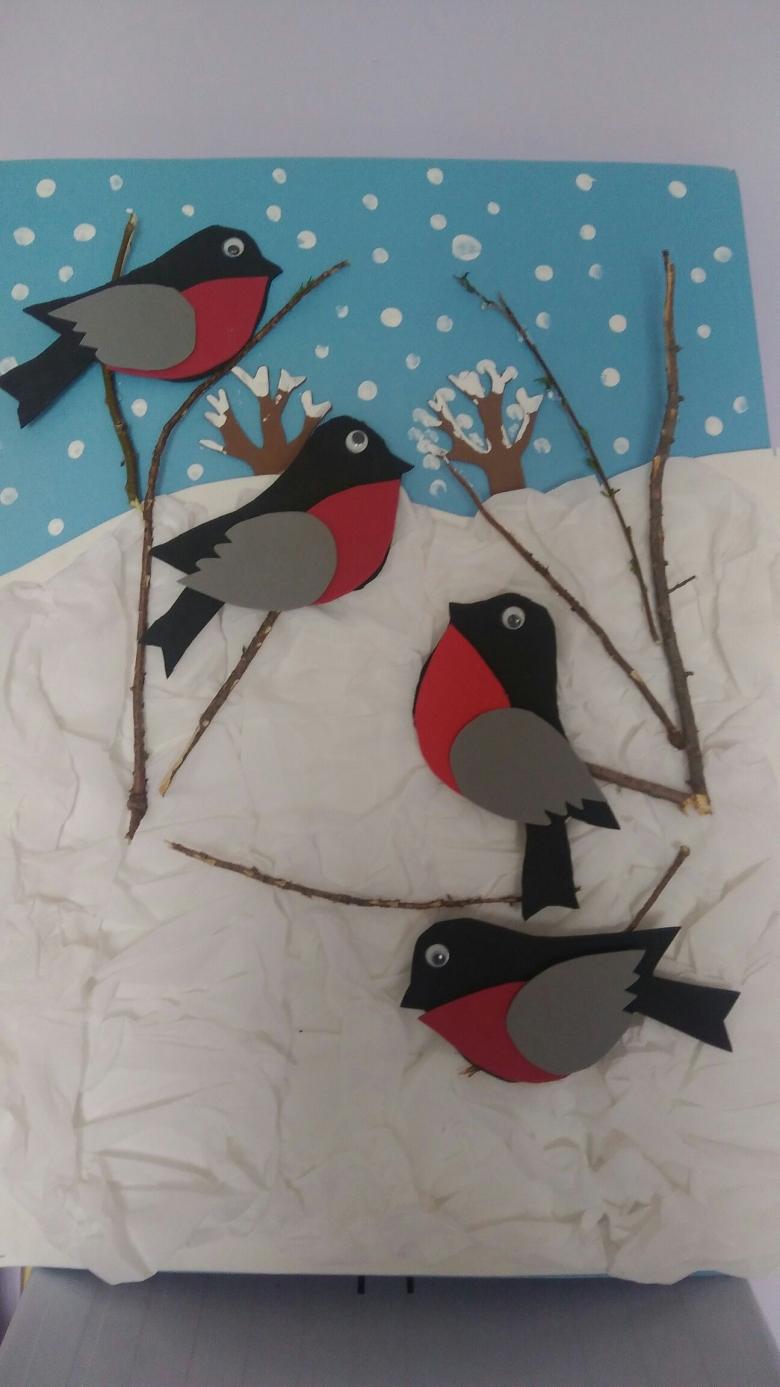
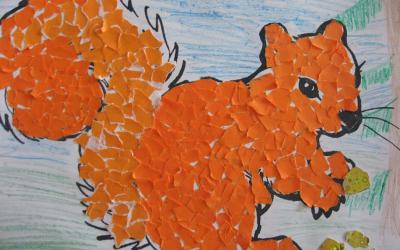
Bullfinch applique
Children at the age of two or three years is time to get acquainted with the geometric shapes. Learning is effective in the form of a game, or during creative work. Applique helps your child learn two topics at once:
- shapes (circle, oval, square);
- season (spring, winter, summer, very).

Snowbirds are associated with winter, so it is logical to master it at this time of year. For the work you will need:
- colored paper;
- scissors;
- office glue;
- Adult help.
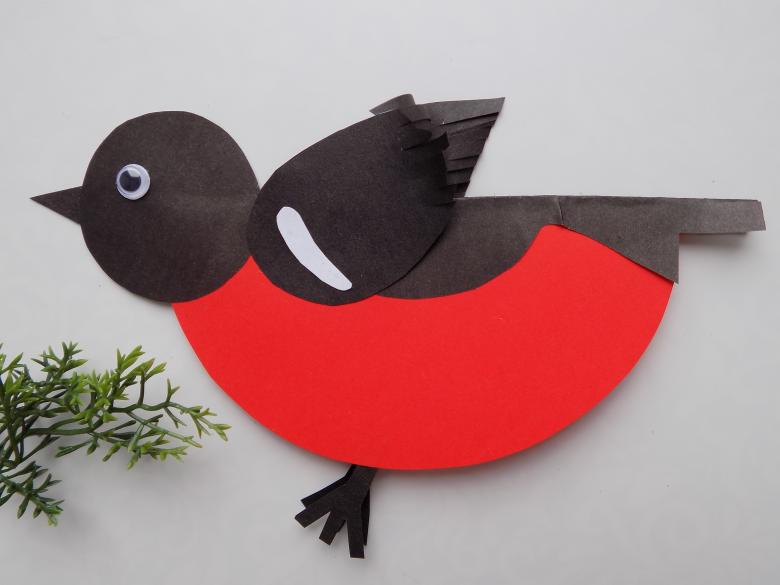
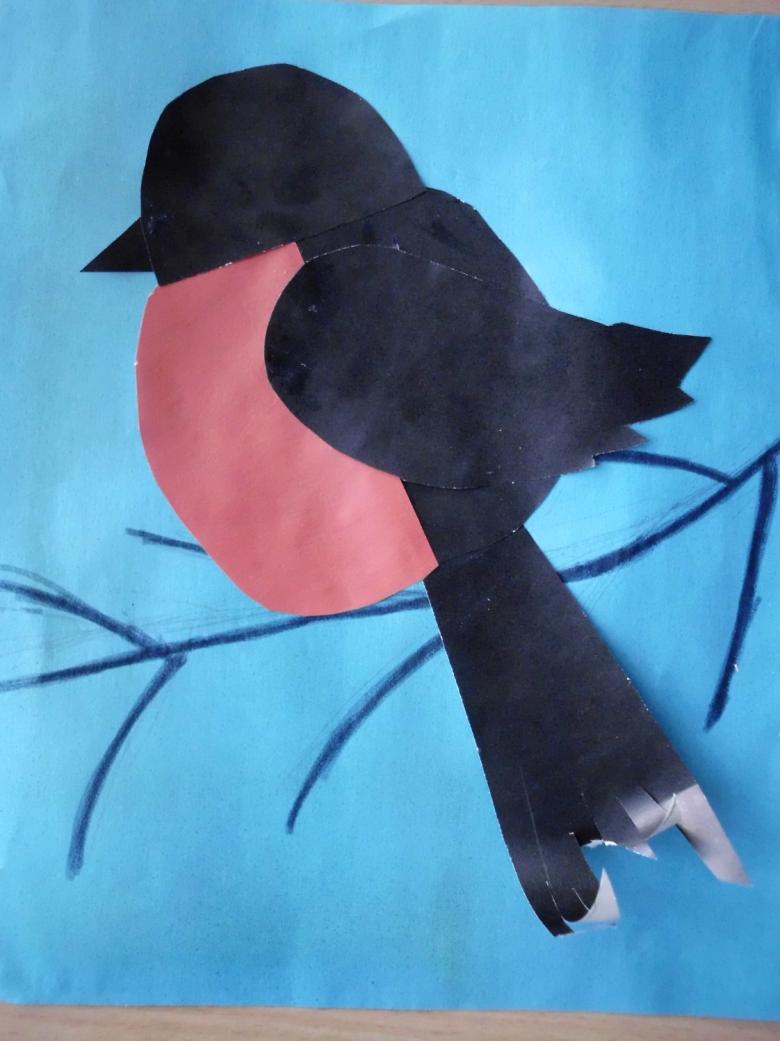
The tutor or parent cuts out a red circle (5 cm in diameter), a black circle (smaller by half), and an oval (slightly longer than the diameter of the red circle) from colored paper.
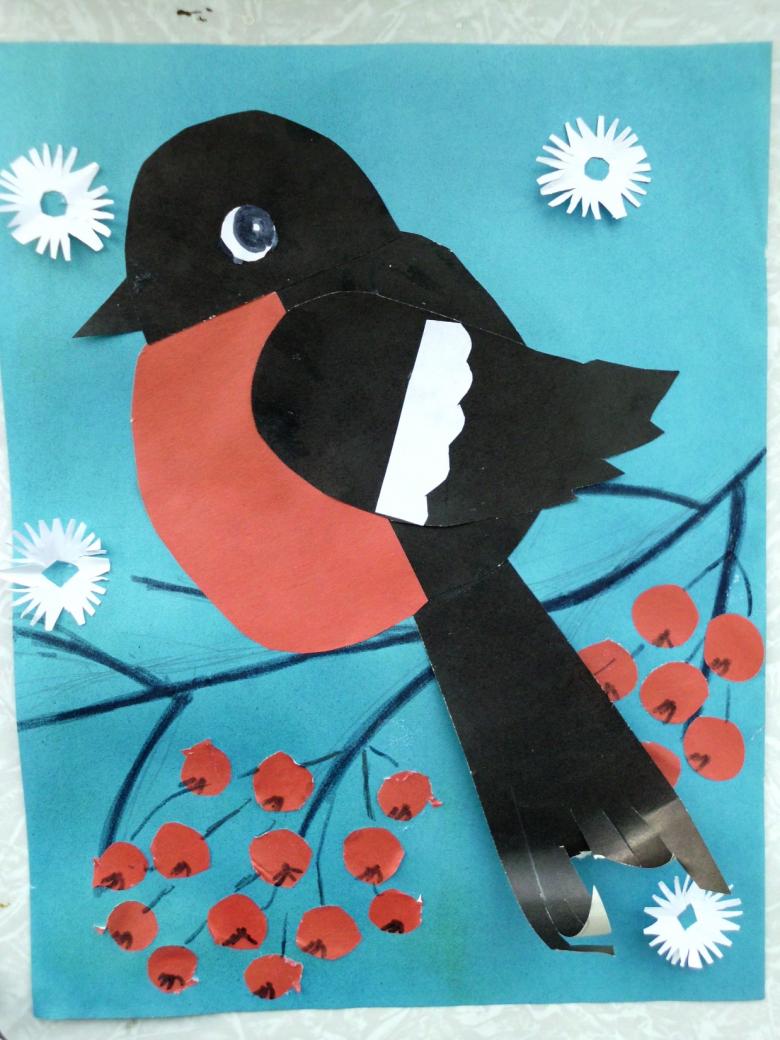
A master class for joint creativity with a child:
- Glue the red circle in the center of the sheet;
- Place a black circle on top, this is the head;
- The black oval should be glued on top of the red circle, with a slight shift to the left - it will be a wing. The adult explains each step to the child, focusing his attention on the figures, saying their name and color.
- On the head draw a sharp sharp beak, an eye. At the bottom of the body - two paws.
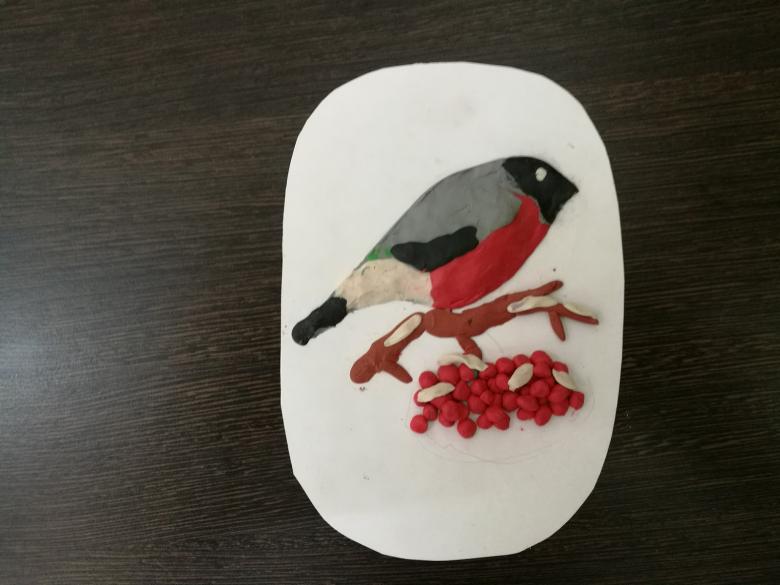
Applications can be hung in a prominent place in a room or kitchen and draw attention to her guests, be sure to specify that the child made it on their own. So he will understand the meaning of creative work, he will have a desire to make something else.
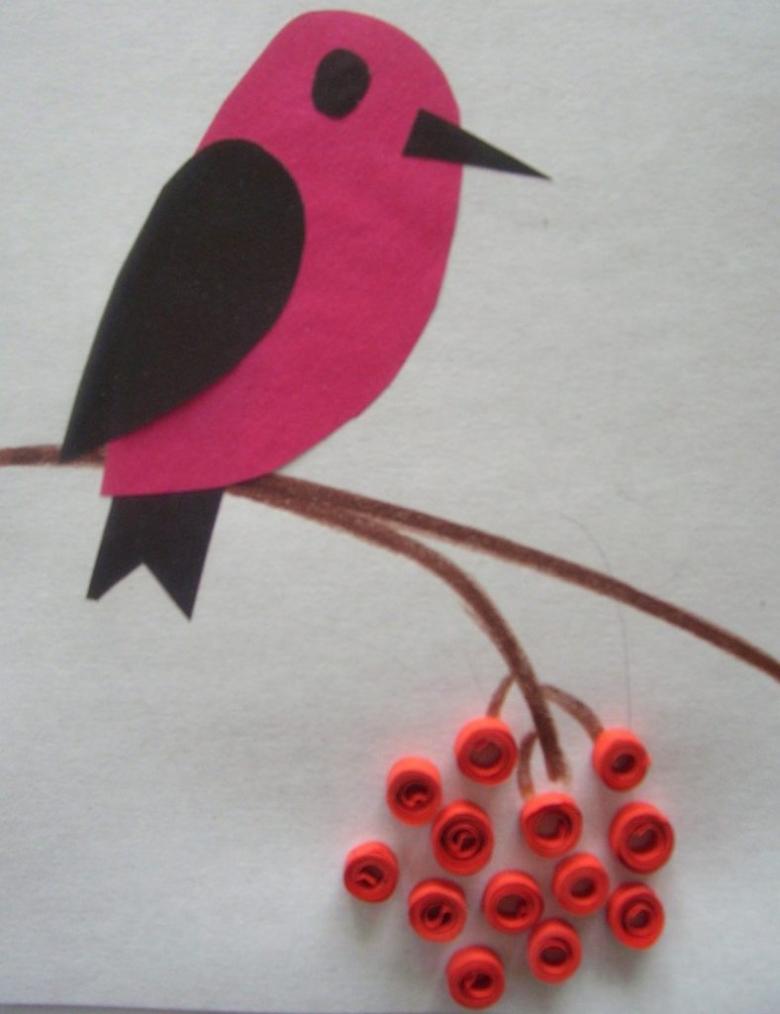
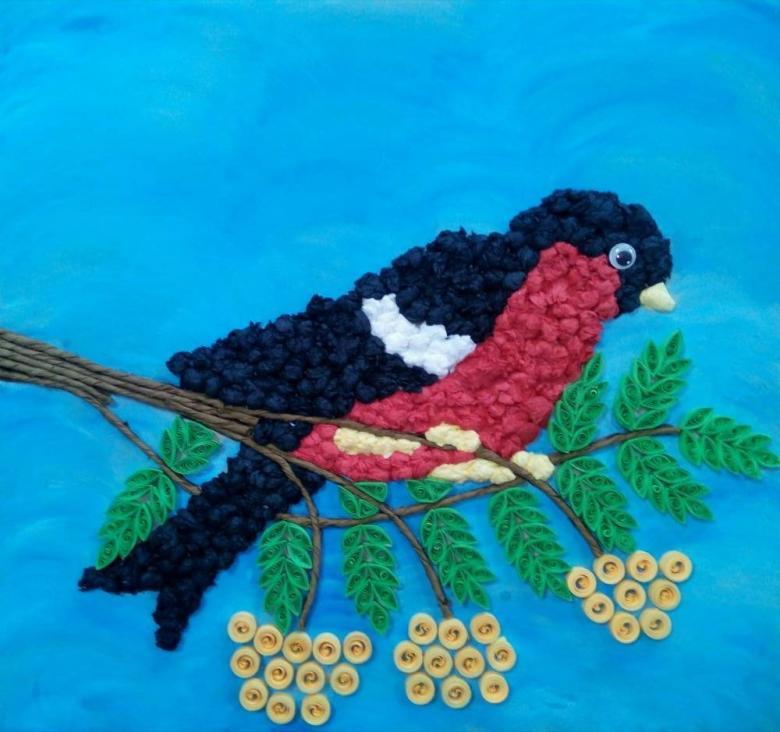
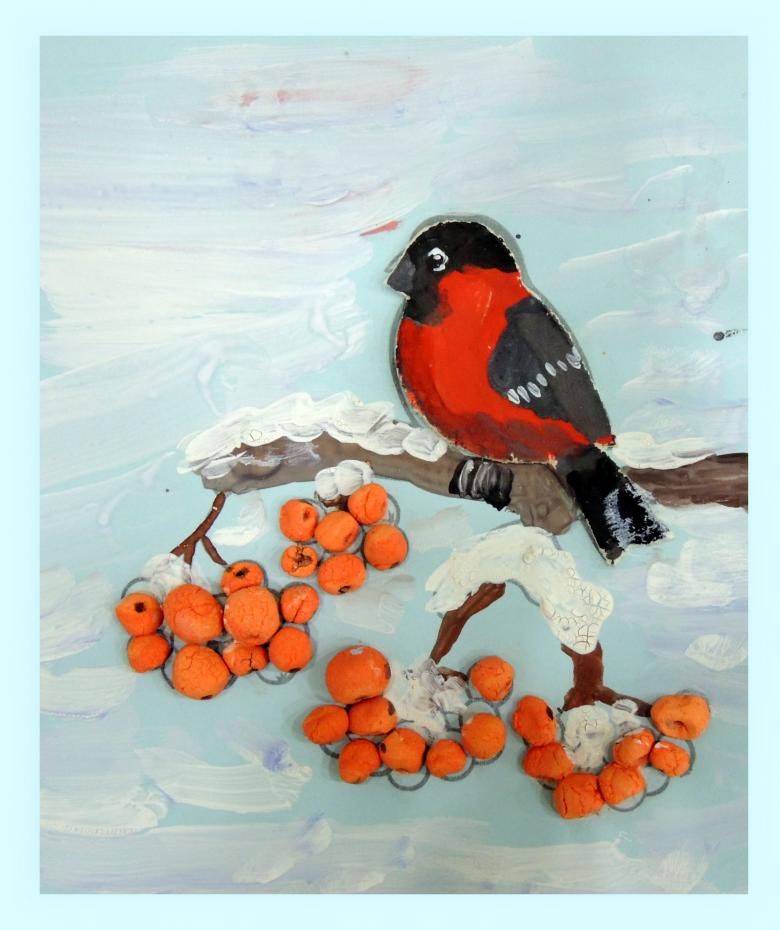
Bullfinch from absorbent cotton and cardboard
This handicraft is made in the technique of applique, but it is considered more difficult compared to the previous version.
- On a sheet of cardboard, carefully draw a simple outline of the future bird, indicating the parts of the body (wing, abdomen, beak, head).
- Then smeared with PVA glue and fill the contours with absorbent cotton.
- After waiting for the glue to dry, you take gouache and, without diluting it with water, carefully dab the absorbent cotton with a brush.
The result is a three-dimensional, textured snowbird on flat paper. For completeness of the composition, add branches made in any of the techniques:
- drawing with paint;
- glue a stylized string or thick thread;
- make in the same style as the bird itself (with absorbent cotton).
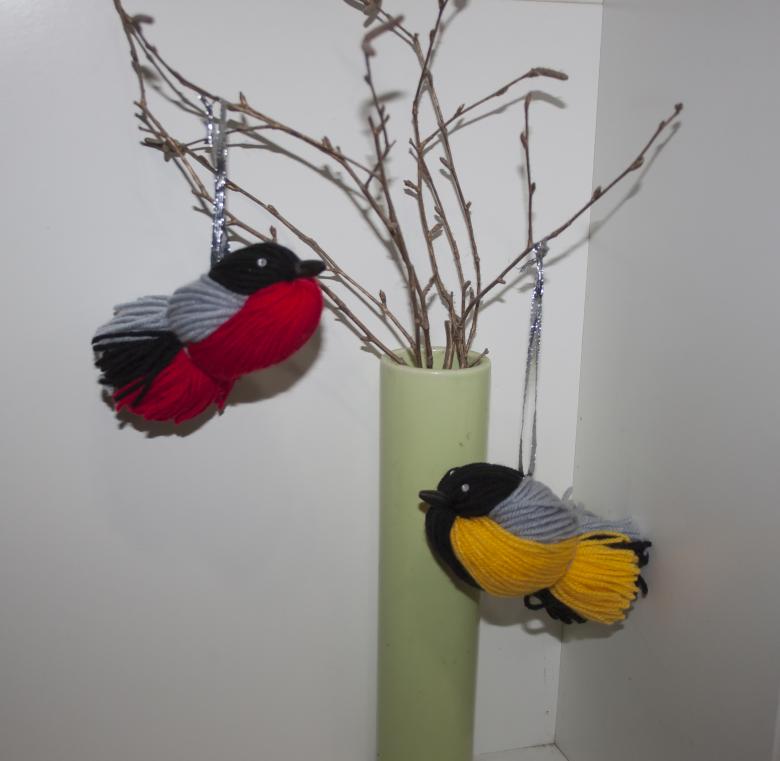
Instead of absorbent cotton, they often use remnants of yarn of appropriate colors, cut into small pieces (up to 5 mm). This material is even easier to work with, there is no need to paint it and wait for it to dry. For the small fragments of yarn not to be mixed up, they are placed on plates and taken as needed in the required quantity.
A feathered beauty of pompoms
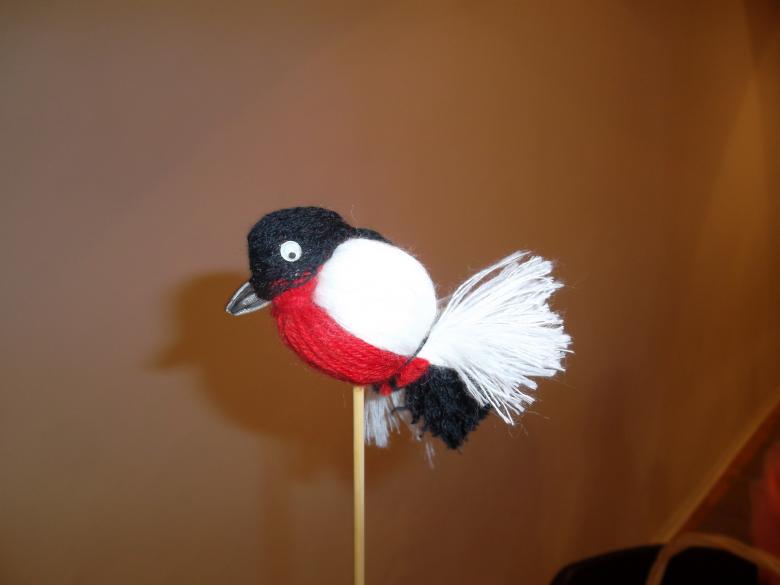
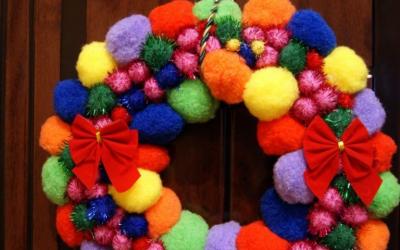
Toy made of pompoms is very soft, fluffy, pleasant to the touch. Practice shows that it is quite robust, can withstand children's games and not fall apart. If you attach a loop to the head, you get a keychain or backpack.
In any case, the pom-pom craft is not only beautiful, but also useful. For the work, you can involve children of preschool age, winding threads develops perseverance, the ability to bring things to completion, to show patience.
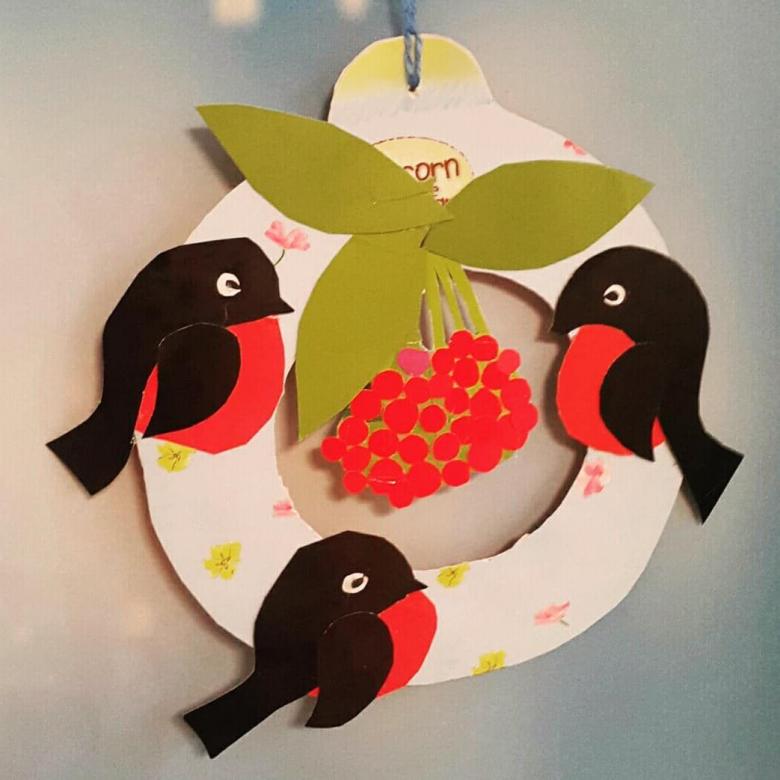
Materials:
- thick cardboard or a set for making pompoms;
- scissors;
- felt;
- beads;
- super glue;
- acrylic yarn in white, red and black.
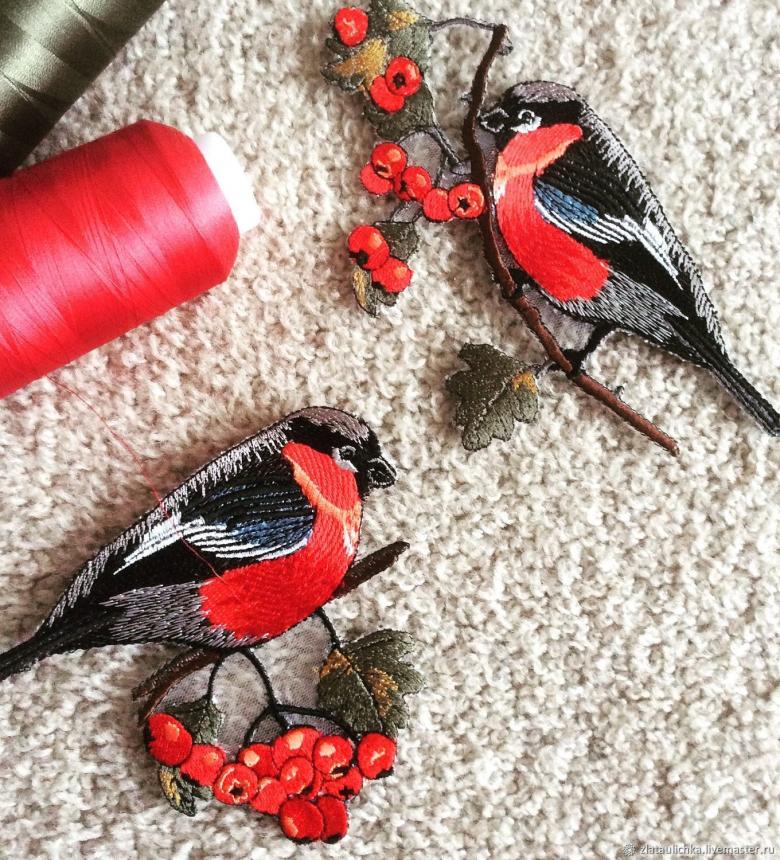
Acrylic yarn is suitable for creating a toy because it is durable, fluffs beautifully, does not burn out under the action of sunlight, and has a rich palette of colors.
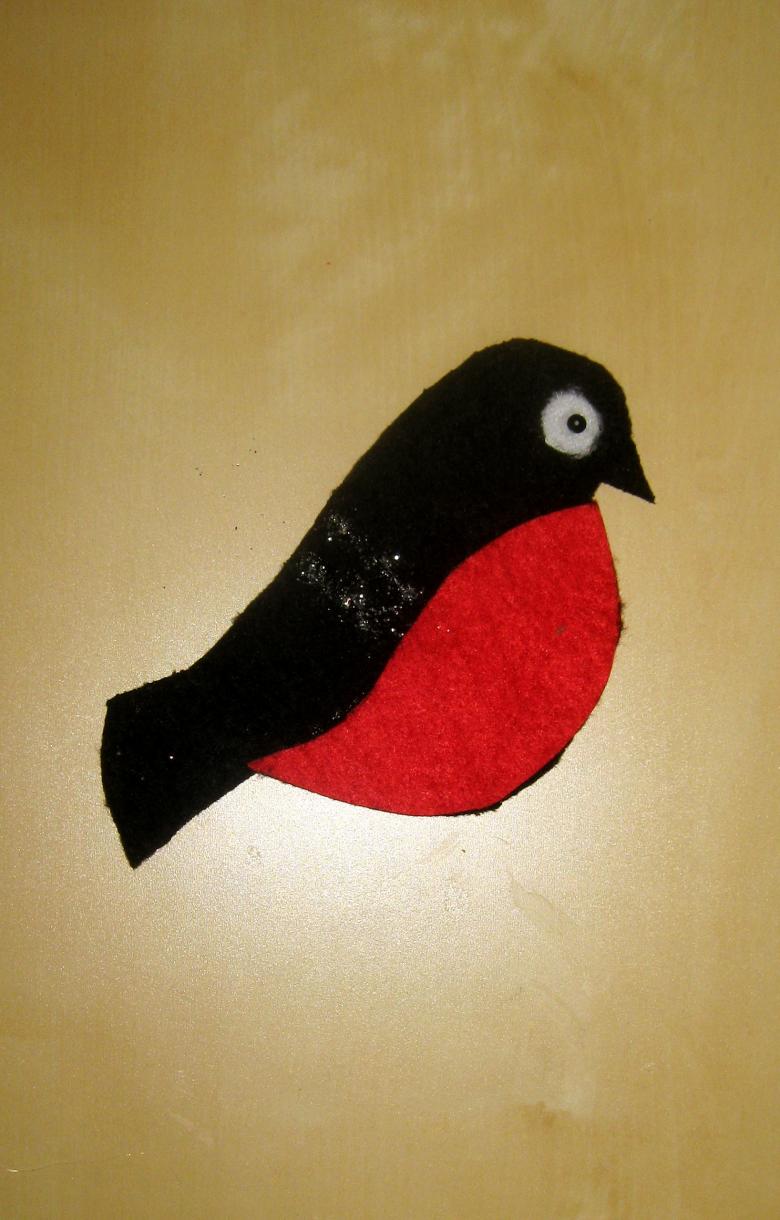
Snowbird begins with the making of pompoms. To do this, follow a sequence of steps:
- From cardboard, two loafs of different widths are cut out. The width of the loaf is equal to the pile length of the future pompom and determines its size. For the body you need a ball with a diameter of 5 cm, for the head 2-3 cm.
- Put two cardboard pieces together, take the thread and begin to wrap them evenly around the entire circumference. In order not to lose the initial tip, it is pulled out at 20 cm, he will be useful for tying a knot in the finished pompon.
- For the body wind a small sector of white thread, a little more red, the remaining space is filled with black thread.
- After enough winding, you need to take scissors and carefully cut the thread on the outside. It is necessary to cut all layers.
- Firmly holding the passamas, tighten the thread in the center, tie a knot. Do not cut the thread, you will need it to connect the parts.
- Trim the length of the nap with scissors, forming a smooth ball. The body is ready, it has a black base and red belly.
- Similarly, make the head, using black and red yarn.
- Head and body are connected using the remaining ends of the working thread.
- A small triangular beak is cut out of black felt.
- The beak and beady eyes are glued on super glue.
To give the bird a finished look, wings can be cut out of felt and glued to the sides with super glue.

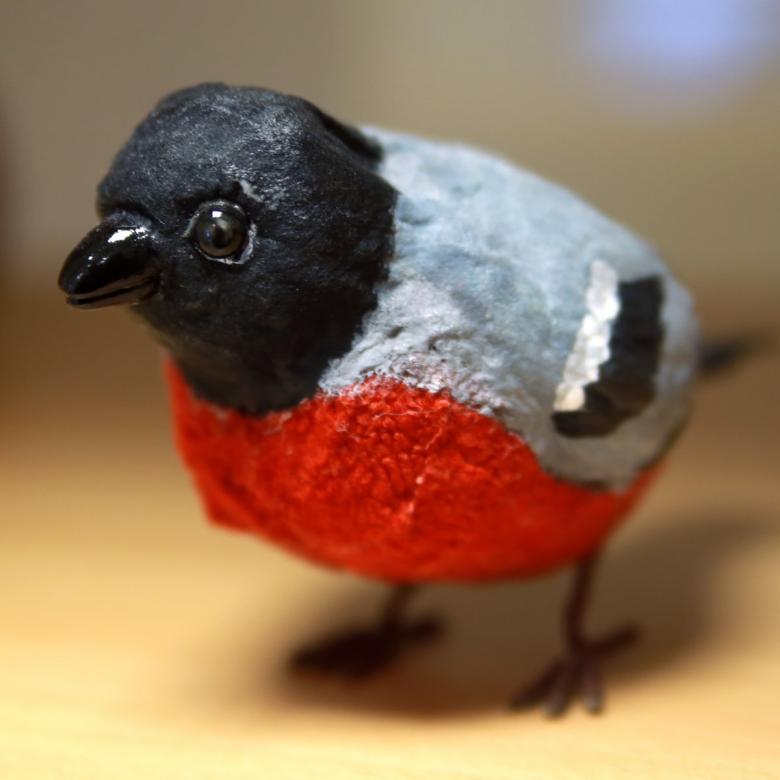
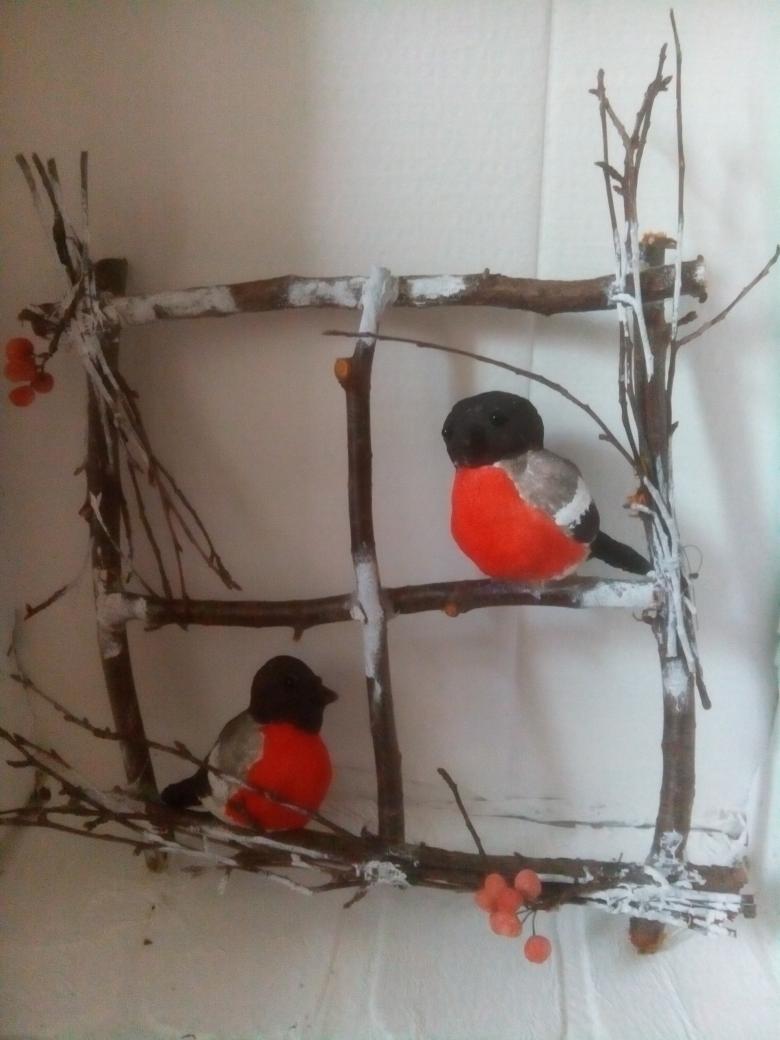
A papier-mâché snowbird
The papier-mache technique is based on creating figures from chewed paper. Papier-mache crafts practiced in classes in kindergarten groups. Working with their hands adds positive emotions, relieves internal instability, besides children like to observe how human figures or fantasy animals appear from a wet lump of paper.

For the work we will need:
- tattered paper, cardboard trays from eggs, old newspapers will do;
- PVA glue, water, a brush;
- scissors;
- a Kinder-surprise egg, any blank of a matching shape;
- String, tape, masking tape.
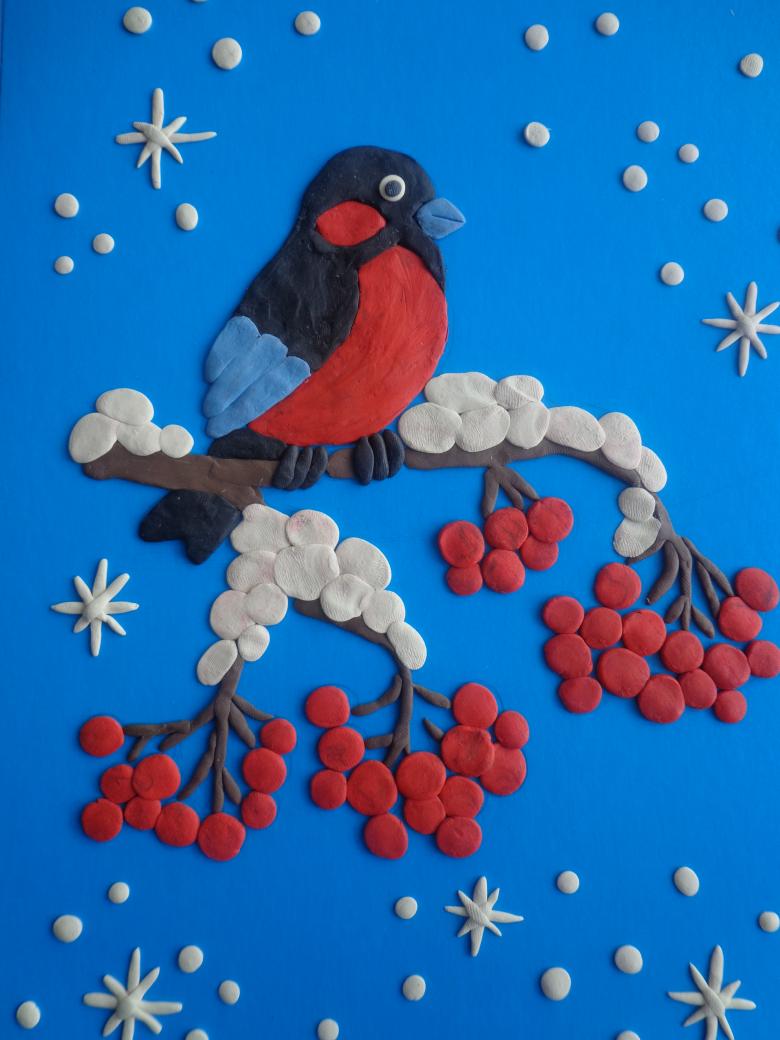
Description of the work looks like this:
- Tear the paper material into small pieces, put them in a large container.
- Cover the blank with paper and newspaper pieces with PVA glue, diluted in water.
- From a ball of newspaper form a tail and head.
- Glue the tail to the body.
- Wrap threads around the head.
- Attach the head to the body with duct tape.
- Wrap masking tape around billet, use it to form a small beak on the head.
- Make another layer, cover the workpiece with paper pulp, which soaked in water before.
- Wait until it dries.
- Paint a bullfinch with acrylic paint.
- For the eyes make small holes and insert beads, you can glue purchased eyes.
- Varnish with a matte lacquer.
Finch is ready. In this technique it turns out especially realistic.

Work on the construction of bullfinch is not difficult, but laborious, helps instill patience, perseverance, diligence. Used are improvised materials that are in every home. Children are always enthusiastic about handmade crafts, give them to family members or put them in a prominent place in their home.

