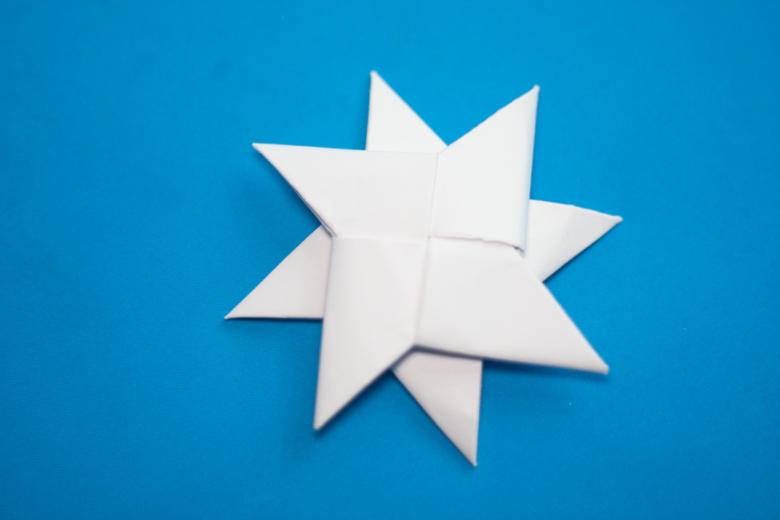
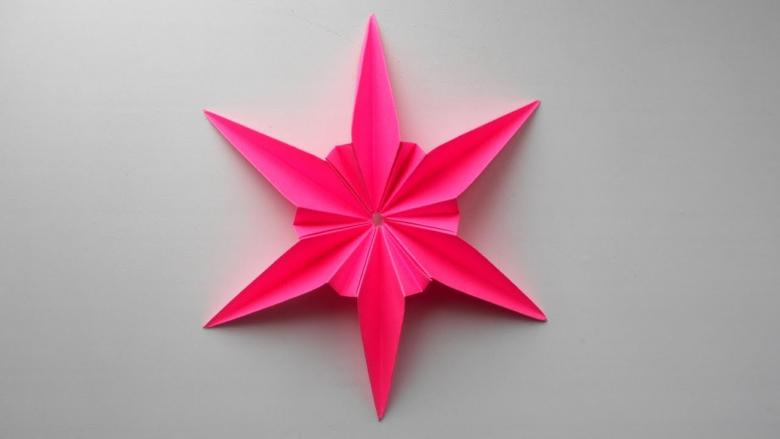
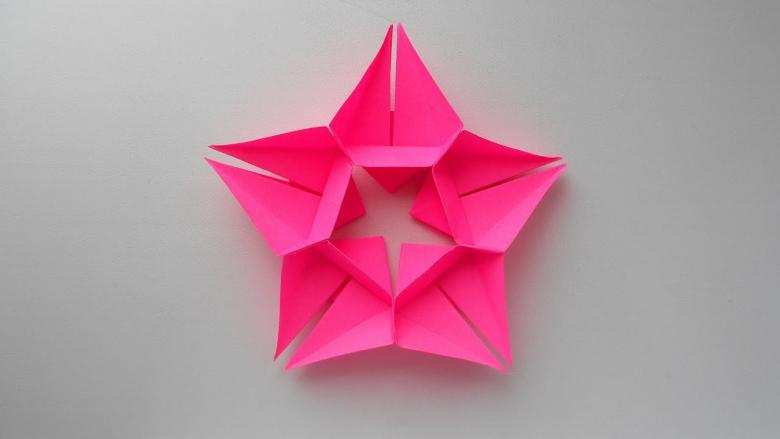
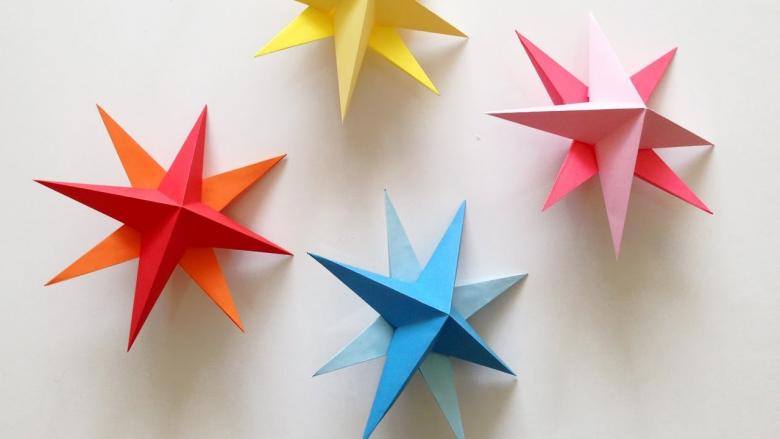
Paper stars with their own hands - three step by step master classes for beginners
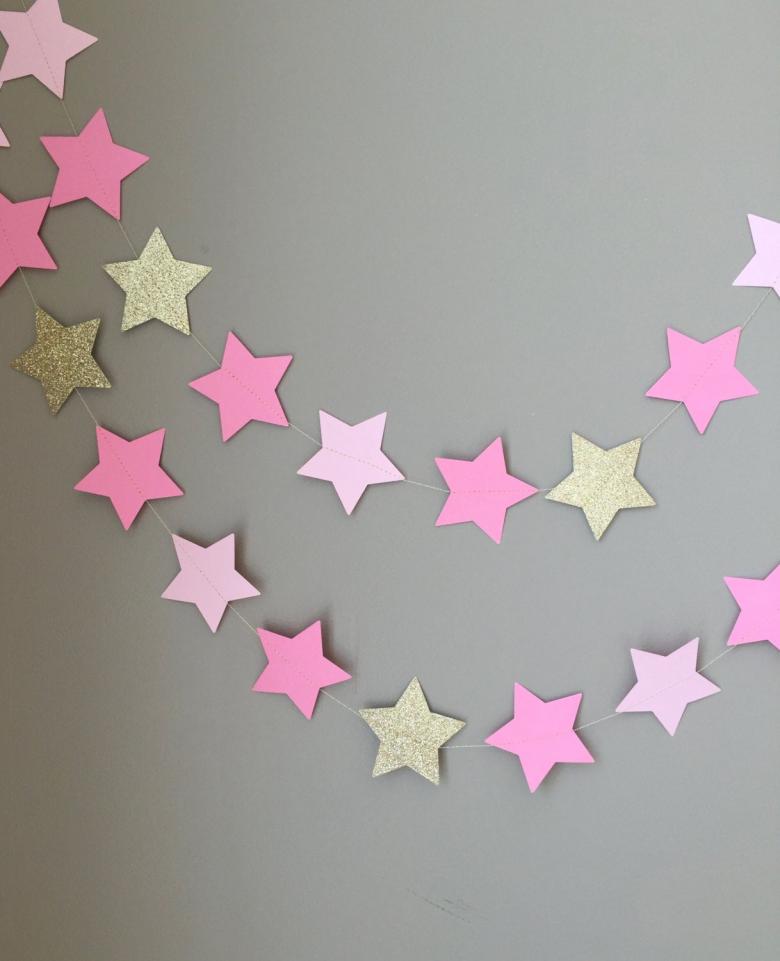
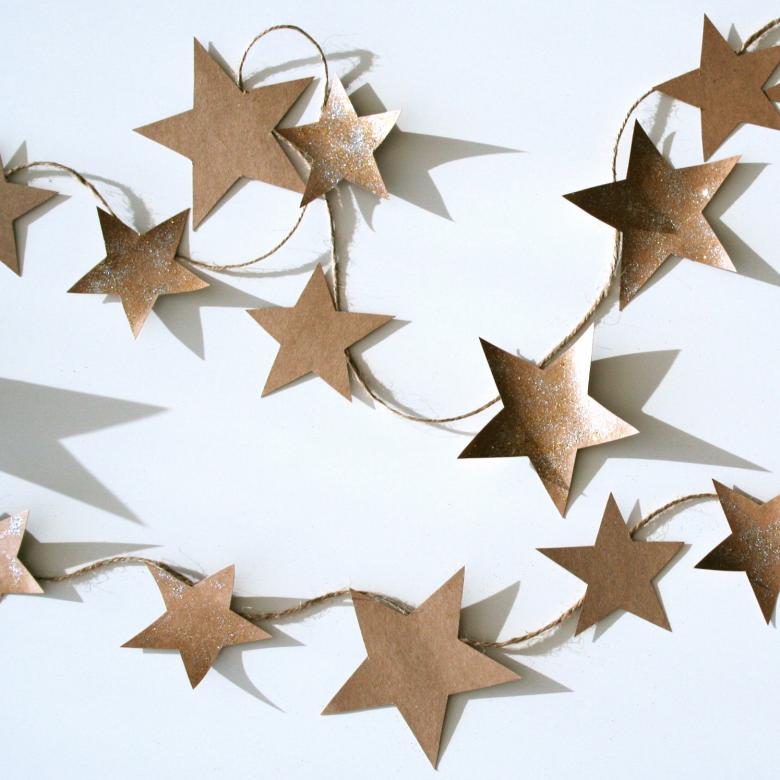
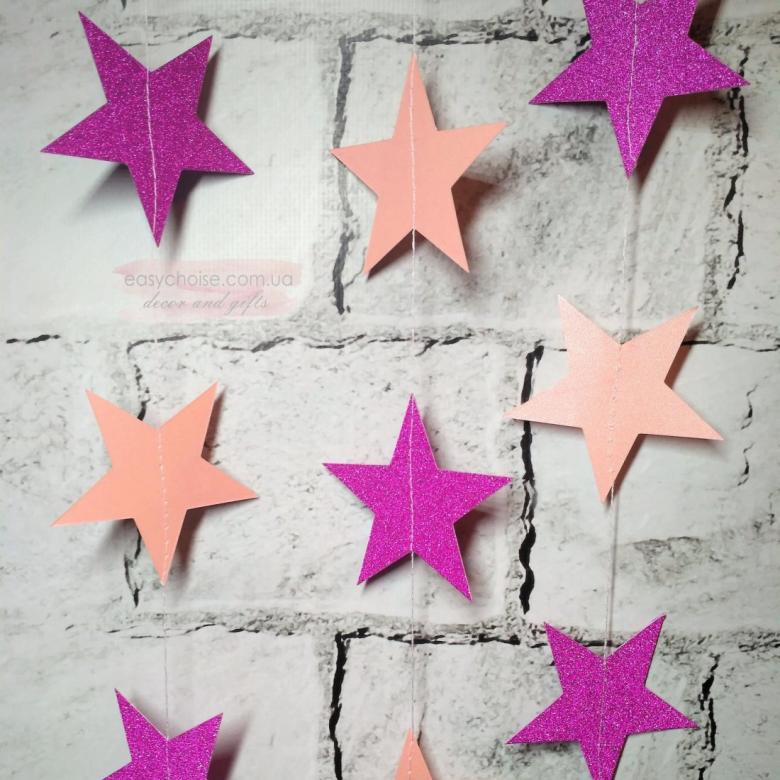
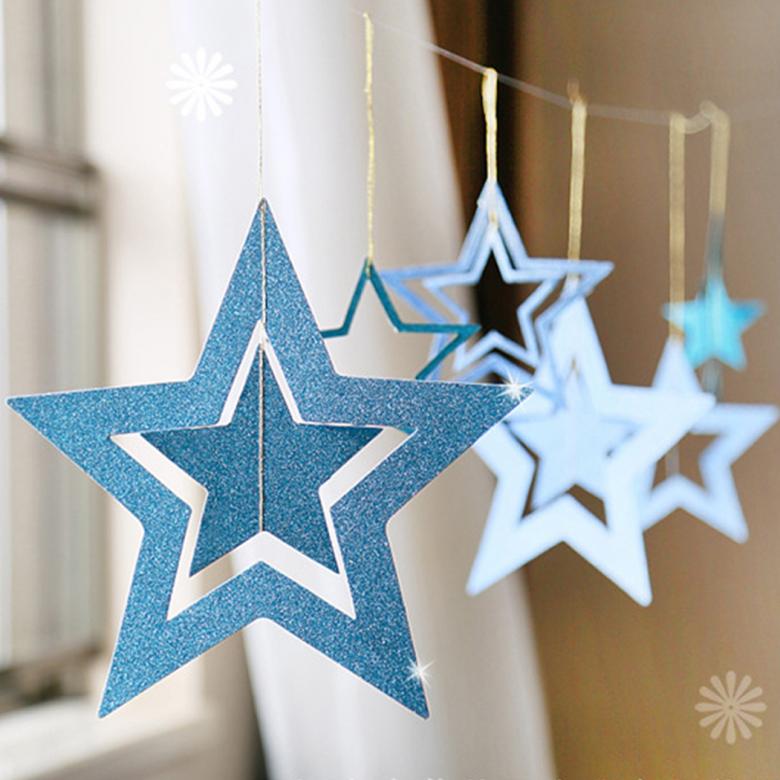
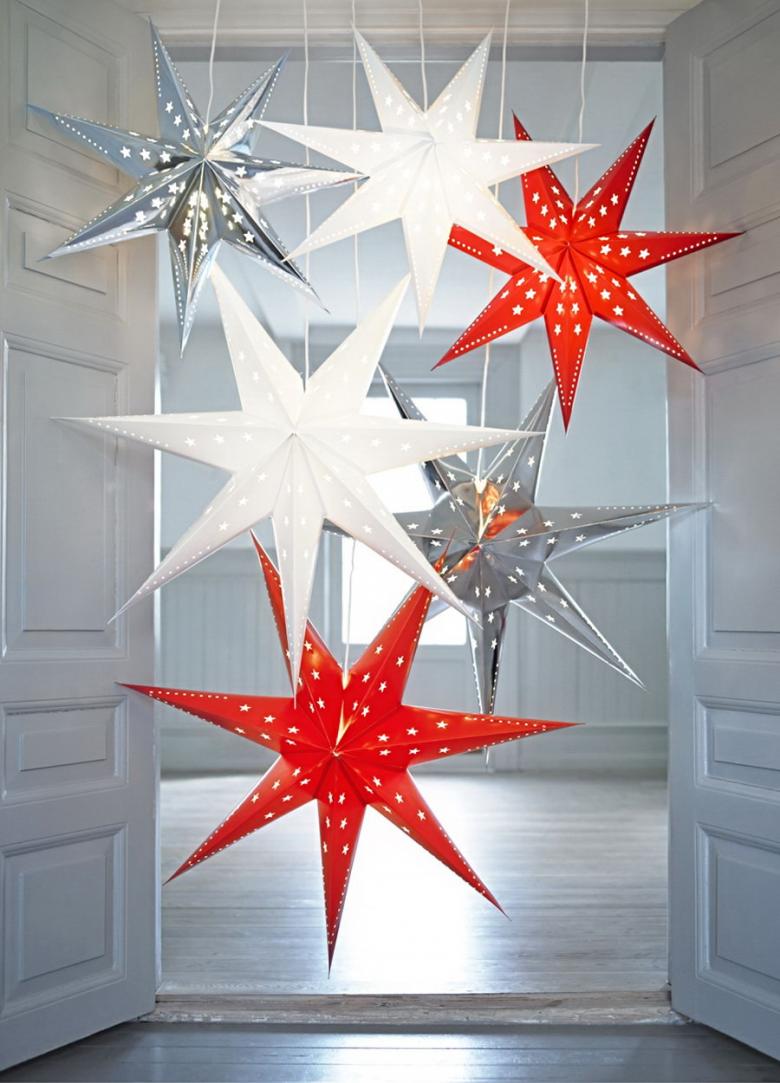
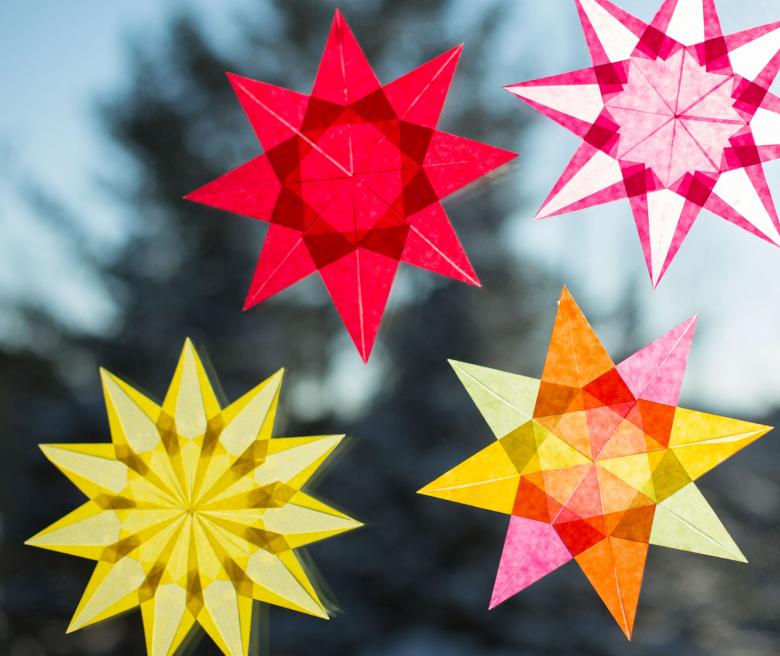
The star is one of the most common items of decor and interior decoration during the holidays. There are many options on how to make the original decoration. The star can be different sizes, shapes, colors.
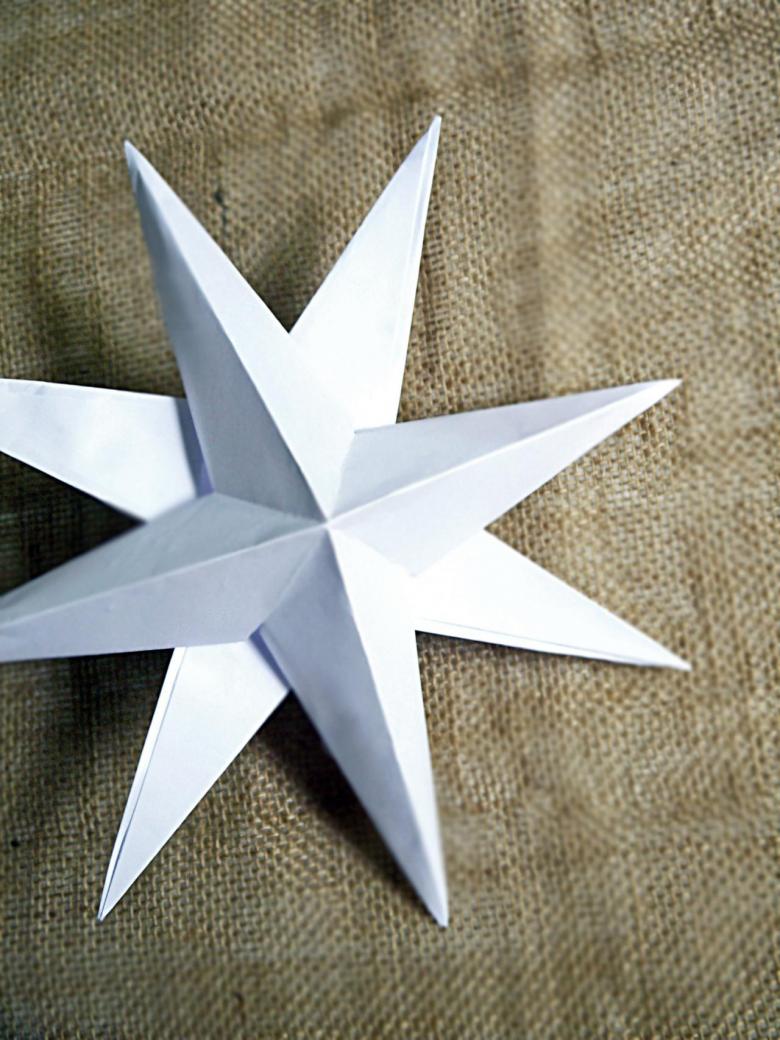
A variety of materials can be used to make it, from plastic and foil to complex materials - decorative wire, fabric. However, the easiest and most common way is to create a star out of paper. Today's master class will show a few original options.
Paper star for home decorations
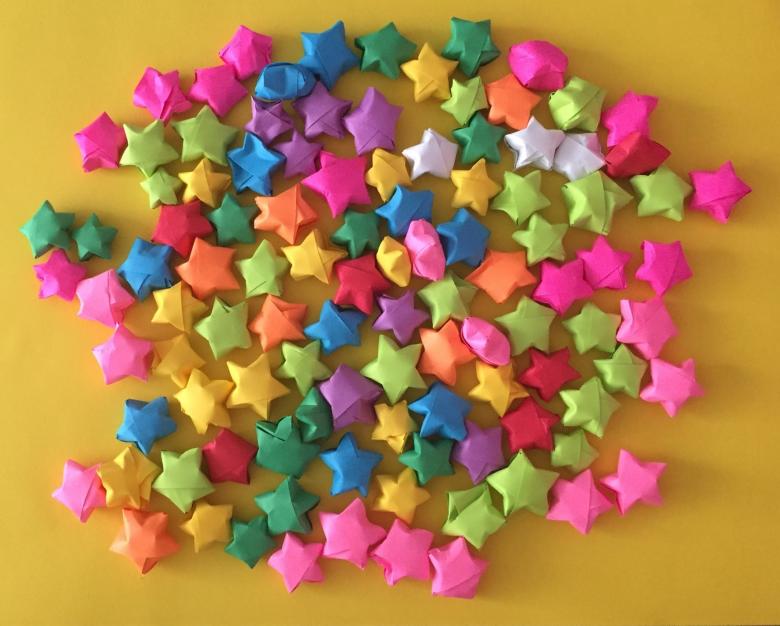
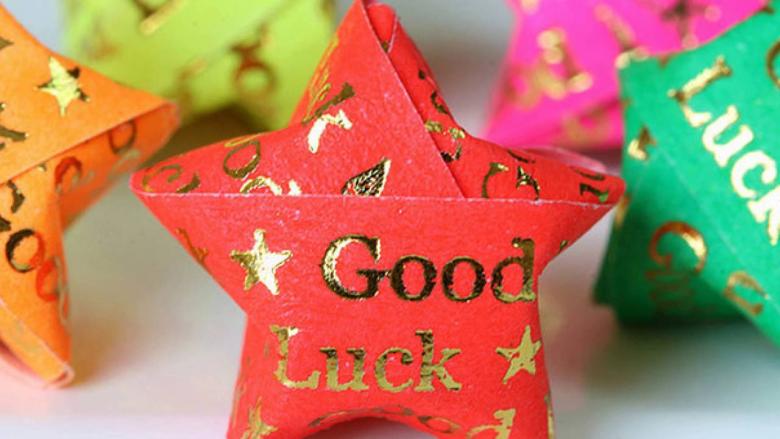
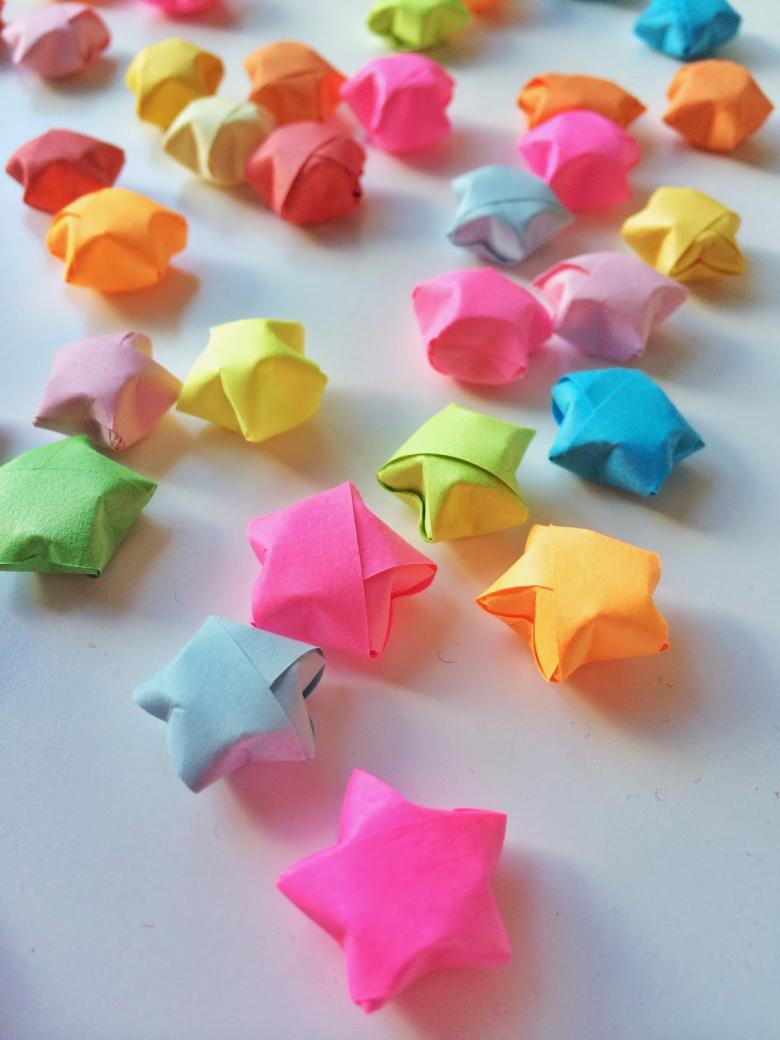
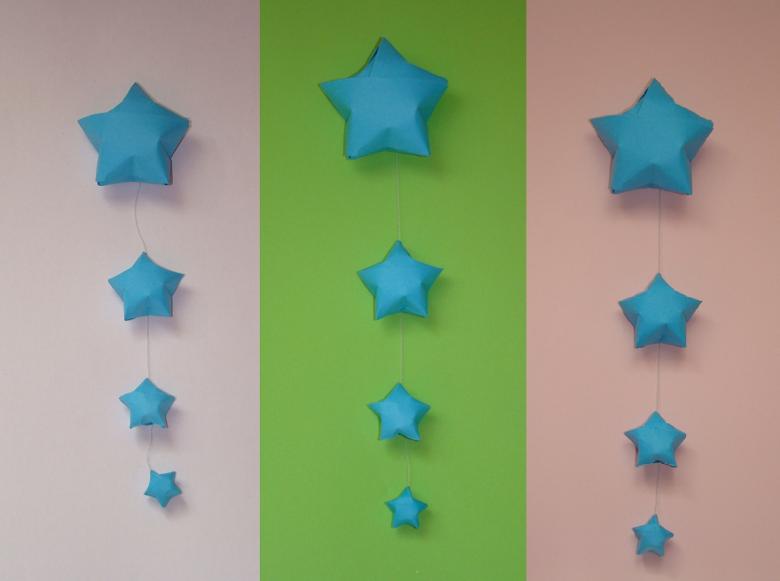
You can prepare the house for the Christmas holidays not only with snowflakes, but also with a scattering of small stars. Making about 15-20 of these decorations, not more than 1.5-2 centimeters in size, you can recreate the night sky of winter on a wall or ceiling.

For the craft will need any colored paper in the house (work even glossy magazines or old notebook pages).
- The star is based on strips of 29 centimeters long. The width is adjustable as desired, but for small stars it is better to prefer 1.1 centimeters.
- At one end of the strip make a loop. To do this, slide the free edge under the colored side of the strip, and then hide it in the circle that is formed.
- After you press and smooth out the strips, you should get a pentagon at the end.
- The remaining end of the pentagon is gradually around all the faces of the pentagon at least 10 times - 2 times for each face.
- Remove the remaining piece of paper inside the pentagon.
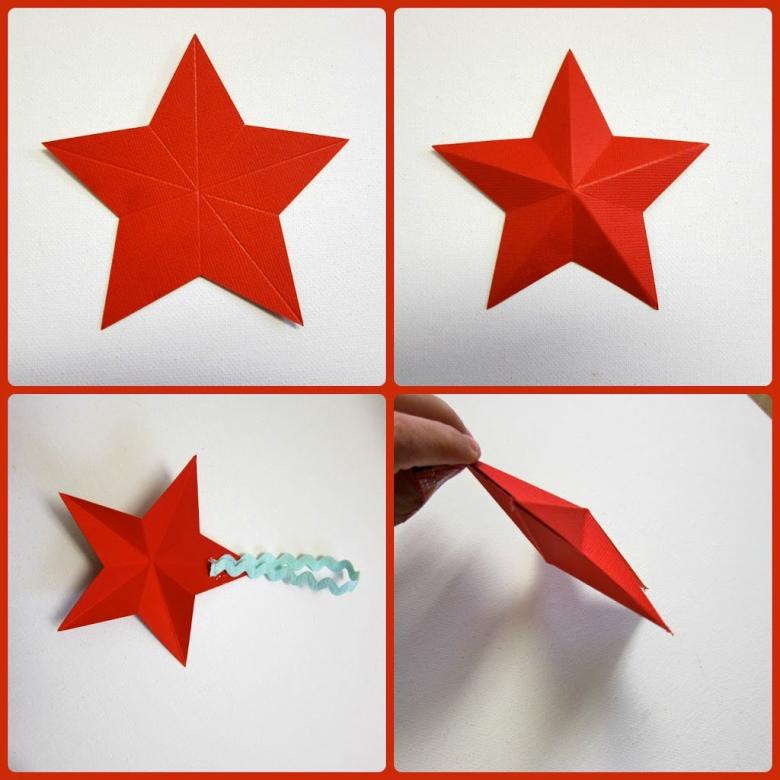
- Put the pentagon facing you and holding a hand, press the back of the figure in the middle. Star rays will spread, and get a three-dimensional figure.

It takes time to learn how to make these stars quickly, but even after, you can make them enough to decorate their glass vase, a decorative jar or a wall in a child's room.
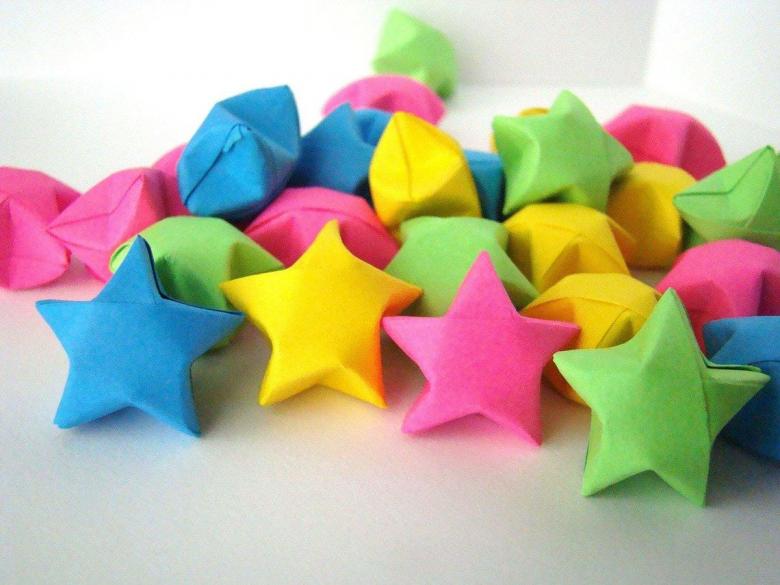
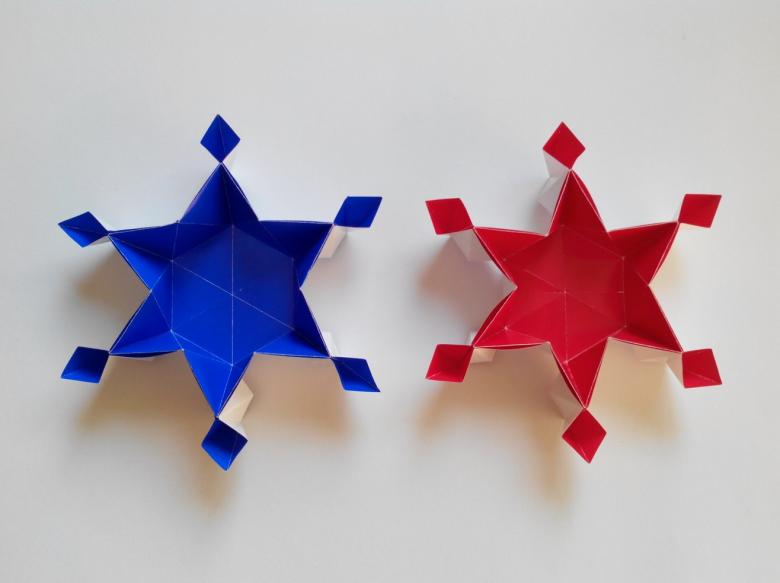
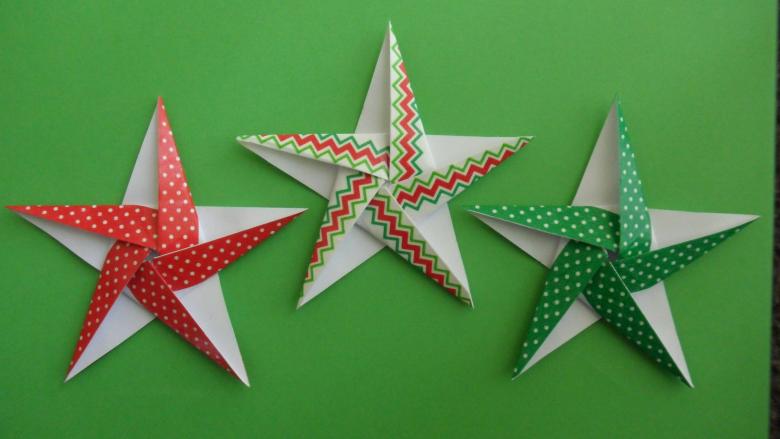
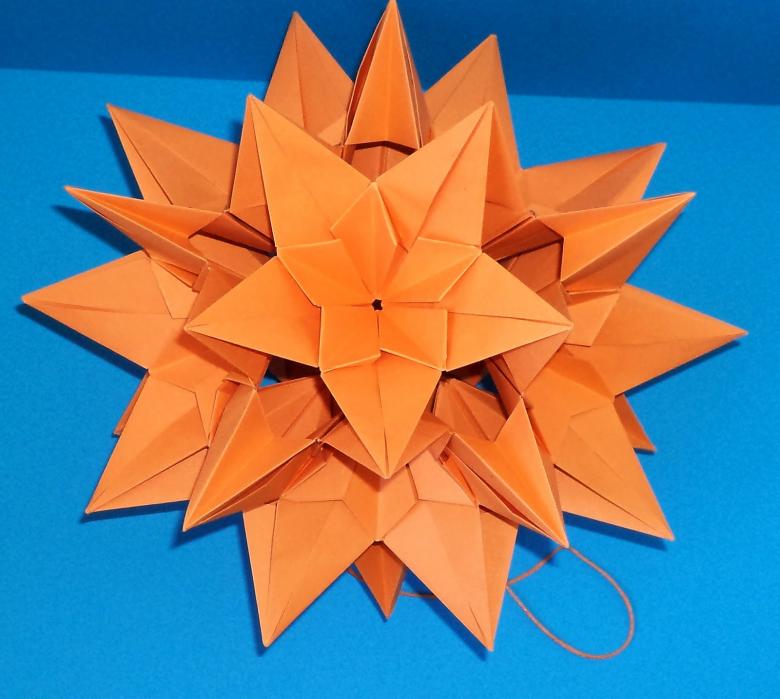
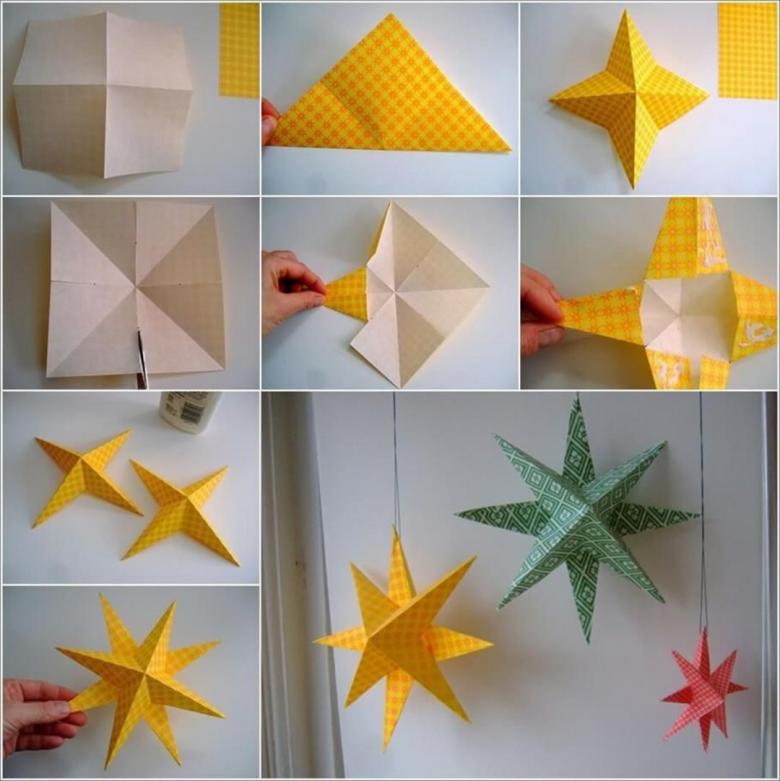
Star with origami
Origami is a more difficult technique for needlework, but it does not require templates and auxiliary items. In addition, this method will give the opportunity to spend one of the New Year's evenings together with children, making cute decorations.
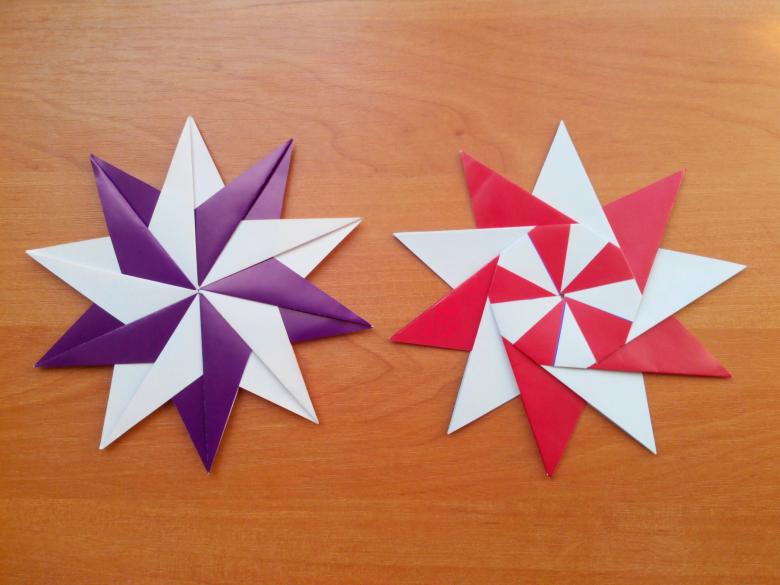
The preparatory stage
For origami crafts suit any paper, even newspaper. Prepare several square sheets.
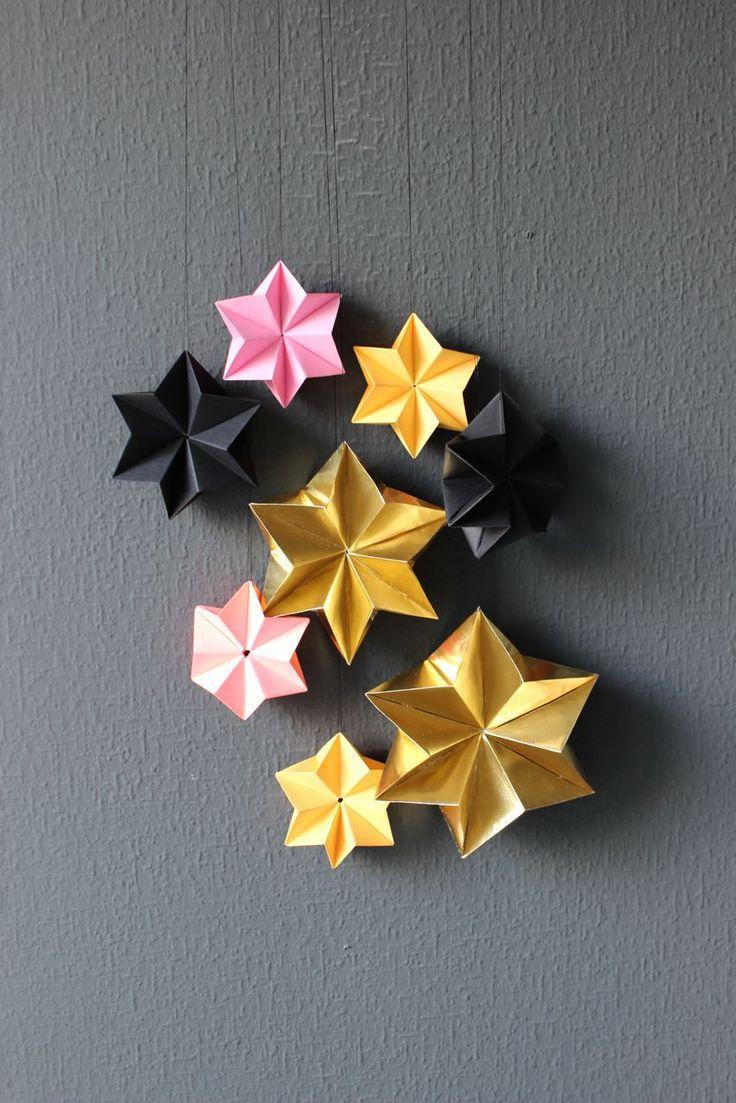
Fold the square in half to make a rectangle. The resulting rectangle - the basis of the future star. Fold the top left corner into a triangle, then do the same with the bottom left corner. The result should be two intersecting lines.

Stage of folding a star
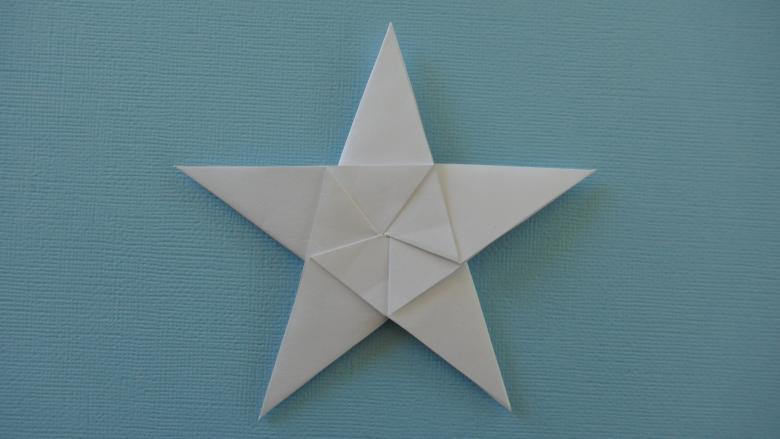
In the resulting center of the intersection, apply the bottom right corner of the rectangle. Next, bend the corner from the center to the right edge - from above there should be a pattern of a pentagon.
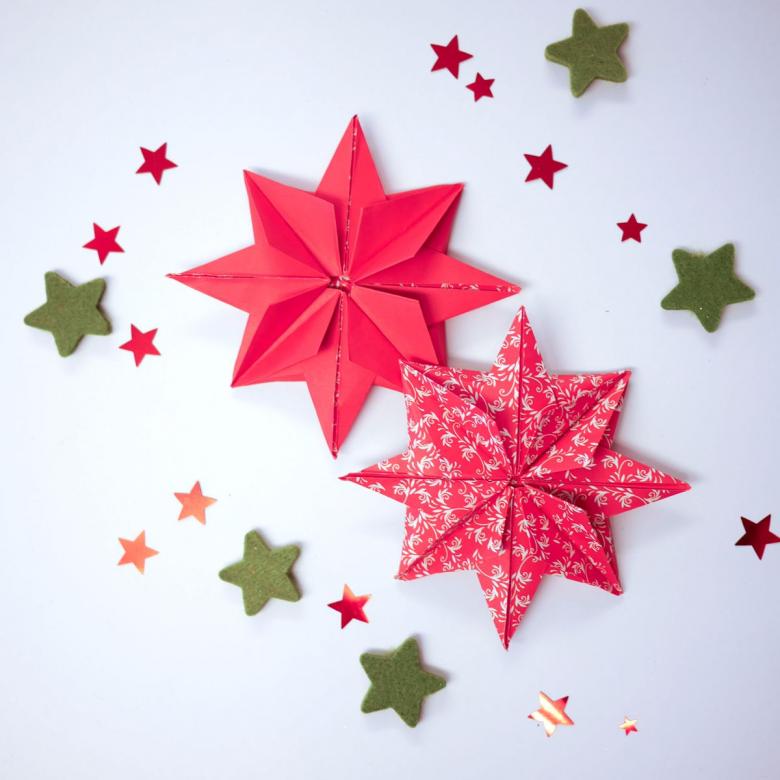
Lower left corner bend to the left edge of the pentagon, then flip the figure and fold in half. Cut off the top part unnecessary, so you get a folded triangle.

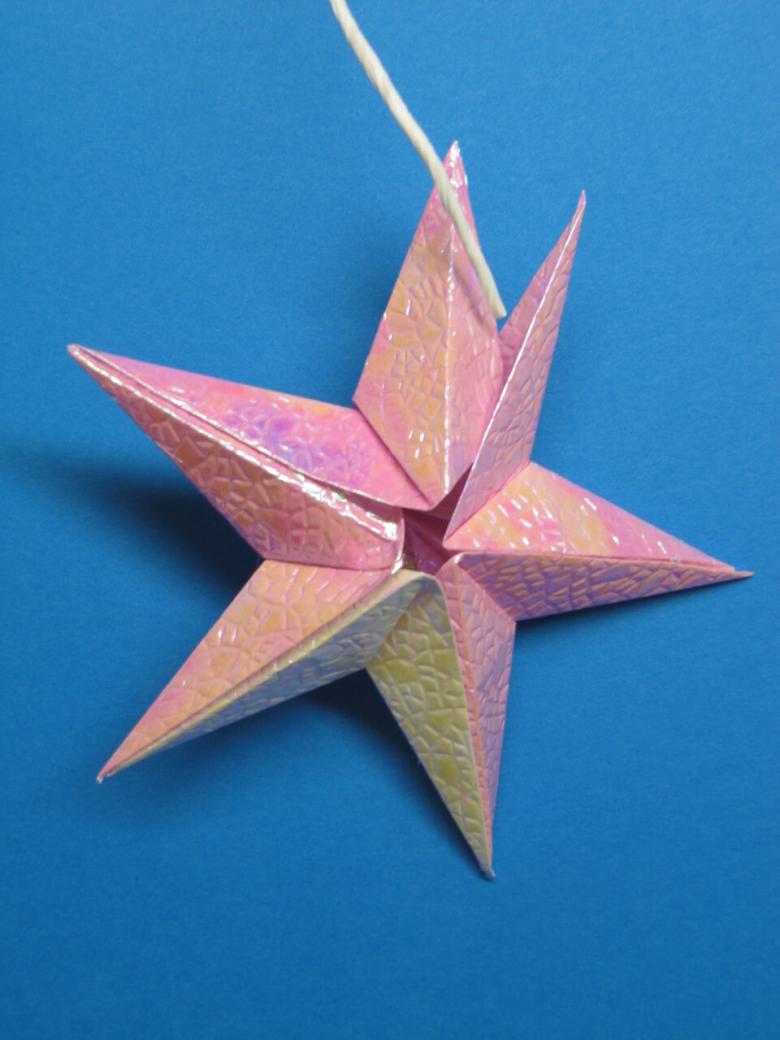
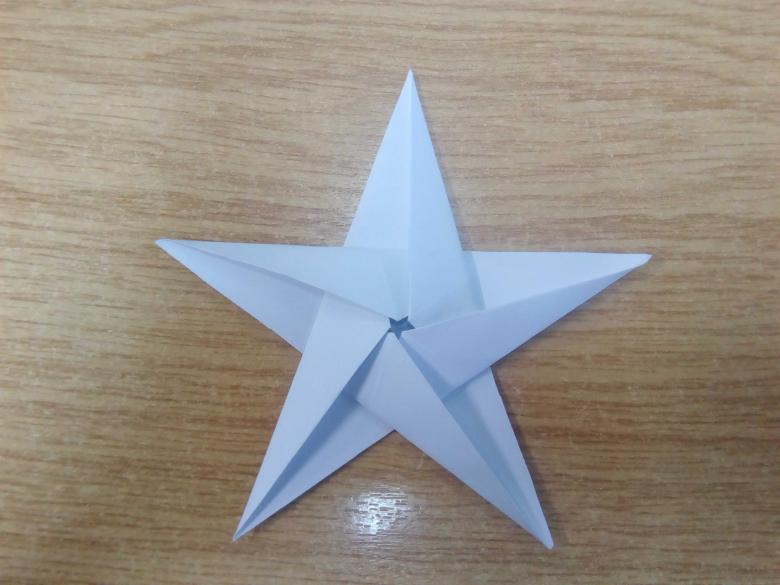
Expand the handicraft into a pentagon. Fold the bottom edge, so that its top line went through the line of intersections between the two middle faces, to mark a further line of flexure. Do the same, turning the pentagon in a clockwise direction. After folding all sides of the pentagon, you get a line to fold. Fold out at the same time to make a "pouch", and then press down - this will be almost complete star model.

Alternately bend all edges to the center, so that the star does not fall apart. Such stars can be made in different colors and sizes, allowing you to create toys for the New Year.
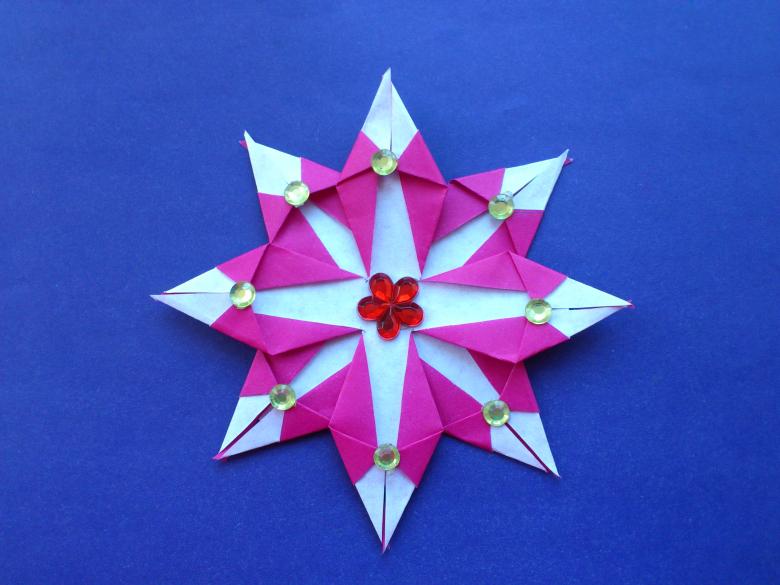
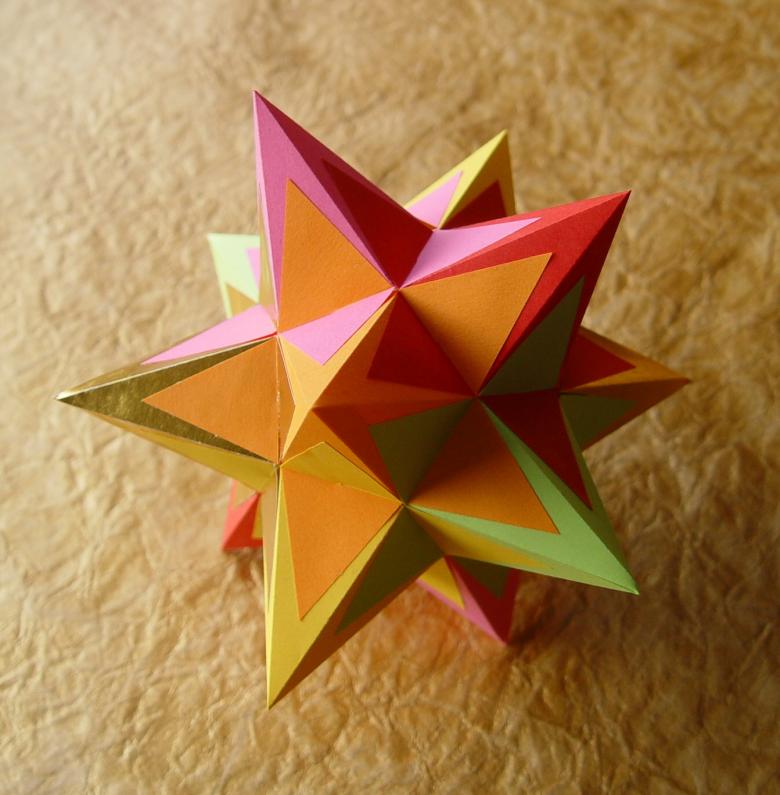
A big three-dimensional star
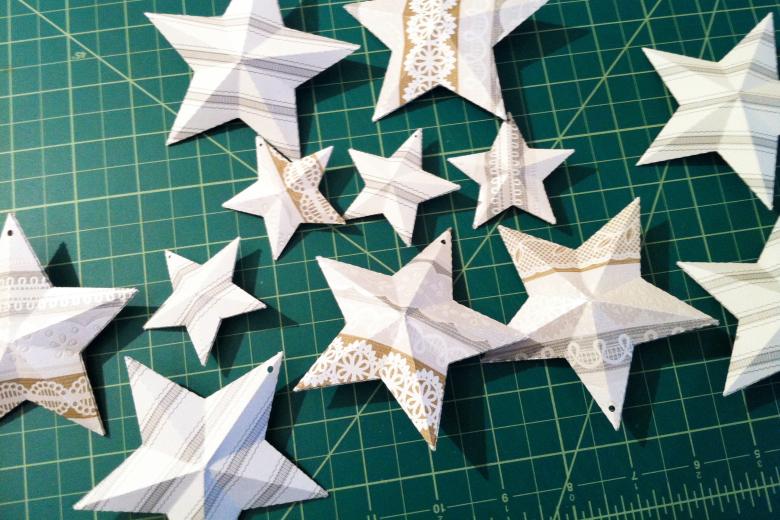
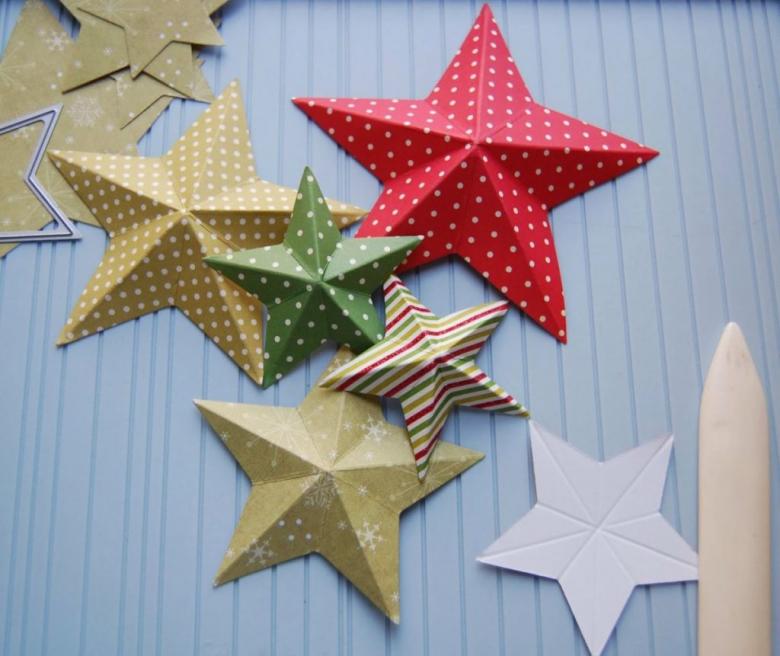
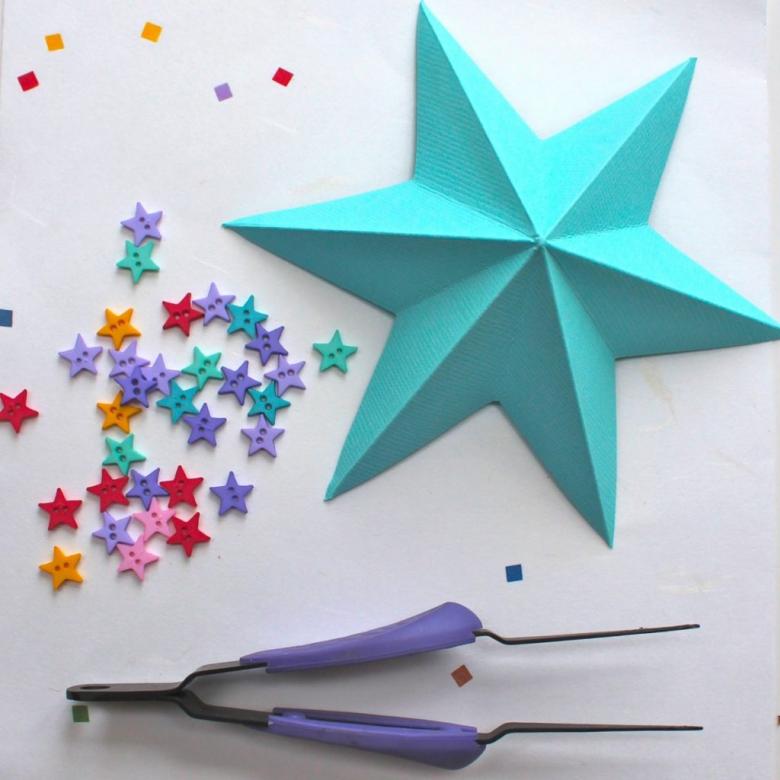
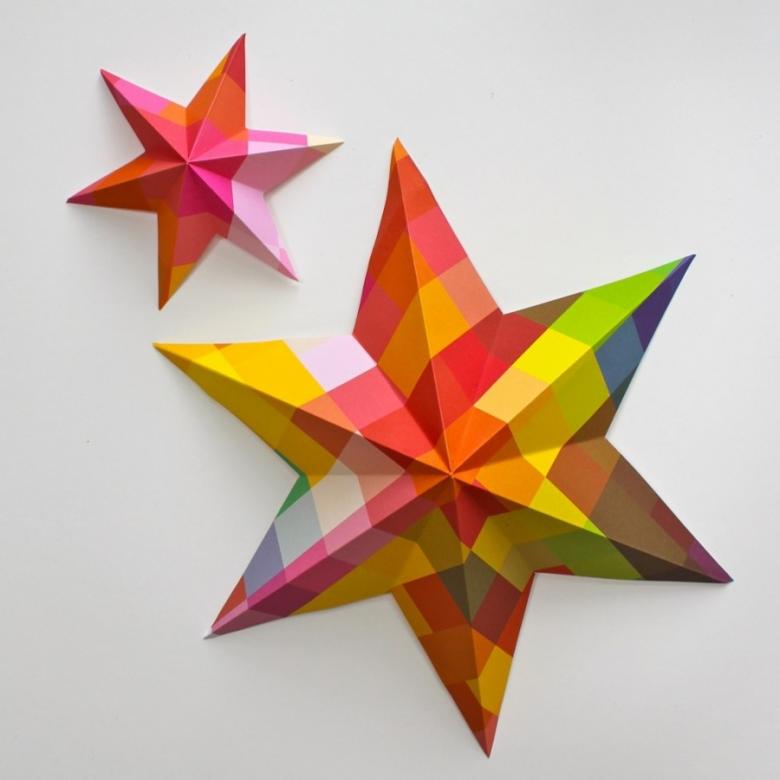
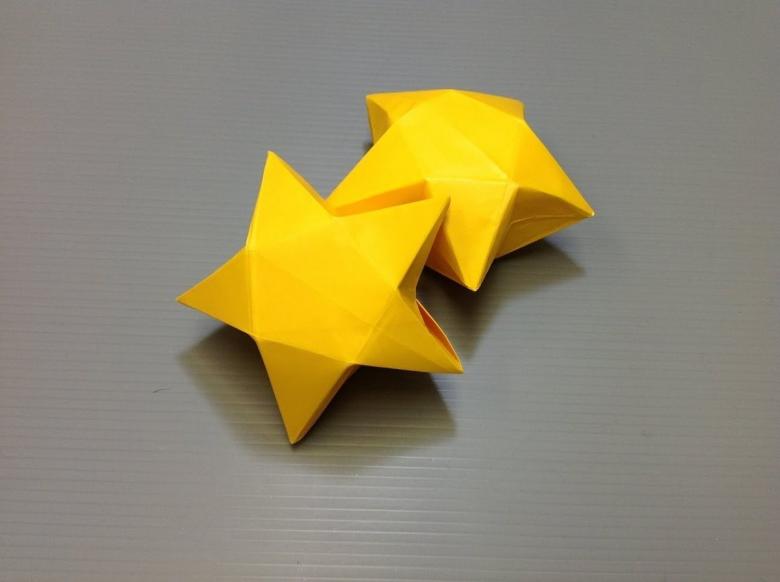
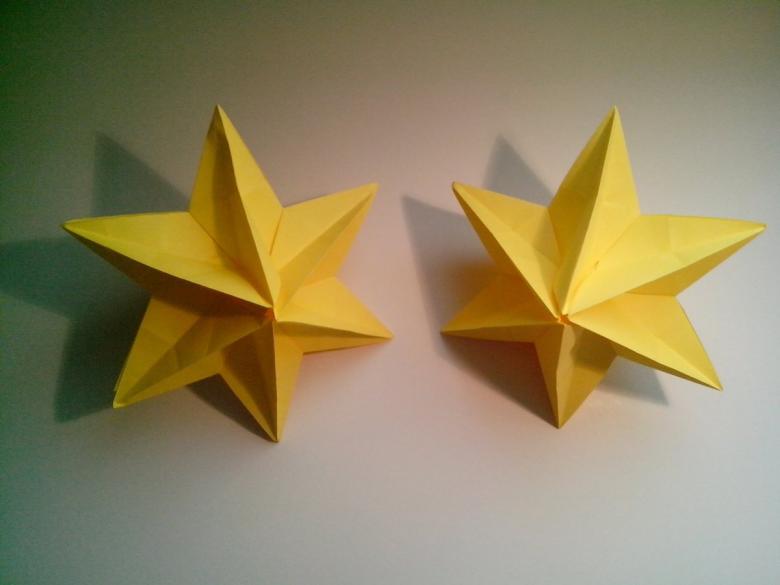
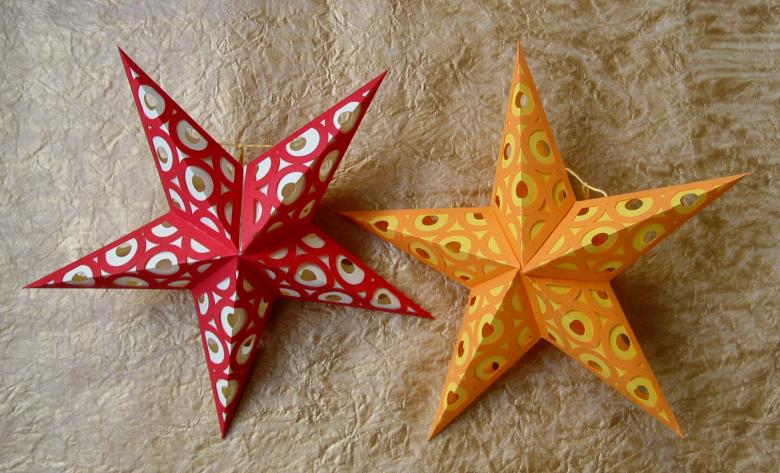
You can also decorate the Christmas tree with a large volumetric star, saving yourself from having to buy it in the store. For the craft you will need thick paper, scissors and glue.
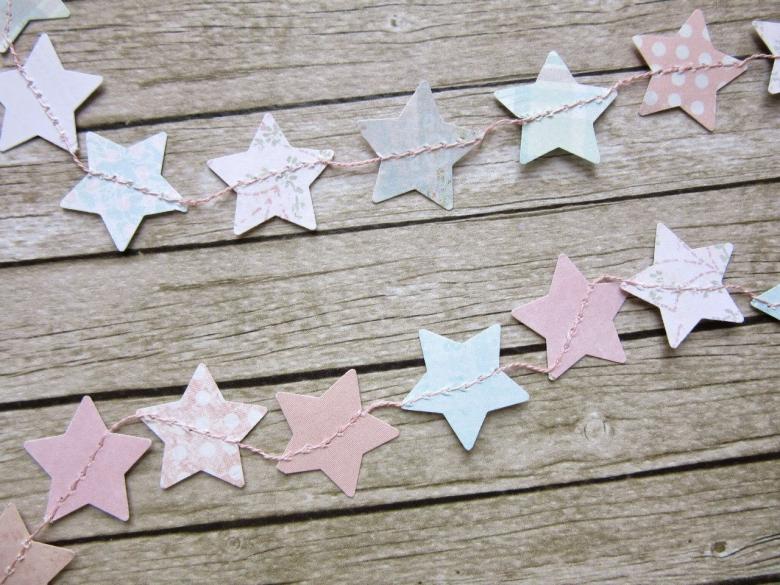
Such a star is easy enough to make, you do not need photos from the internet.
For the blank, draw a rectangular triangle on the paper. Then another of such size that it was in contact with the first base. Draw a third triangle, so that it was in contact with the third of the larger side, and the fourth - again the base. To the right edge (the larger side of the triangle) add a small strip of bonding paper. Do the same for the two free edges of the second and third triangles (stripes should be located on the smaller side of the figure).
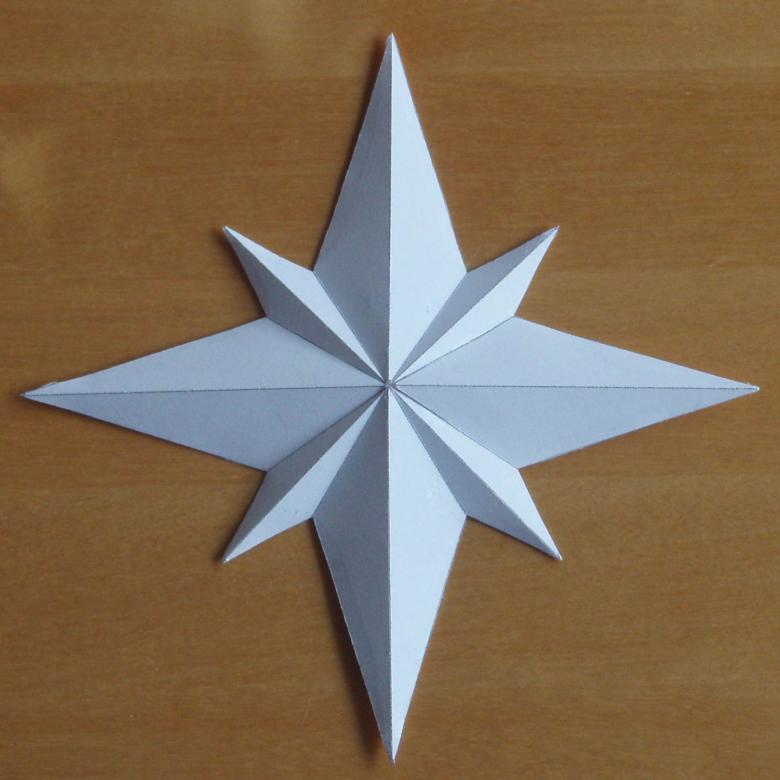
Prepare five such templates. First, glue together the sides of one vertex star with a strip on one of the edges, it is on the right largest side of the fourth triangle. You should get five separate star vertices from each other.

Leave the modules to dry, so that the shelf did not fall apart and did not lose their shape later on, and only then proceed to connect all five vertices. Glue the five templates together, following a clockwise direction.
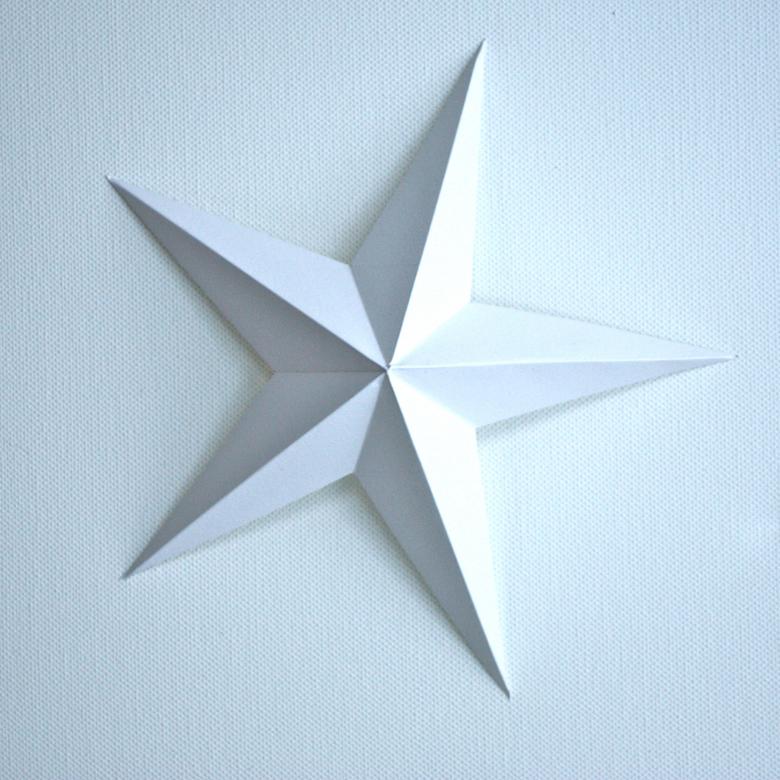
Particular attention should be paid to the final stage, because gluing the first and fifth of the star will be difficult. To avoid damaging the figure, lubricate both strips of glue in advance and hold the star by the middle. If possible, ask someone to help you.
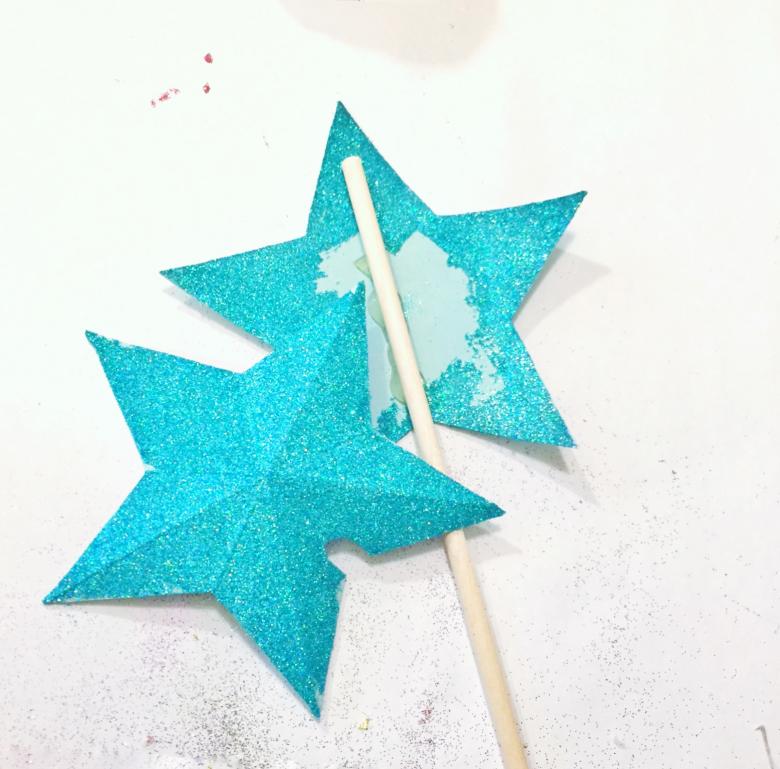
Wait for the star to dry and decorate it with sequins, beads or foil.
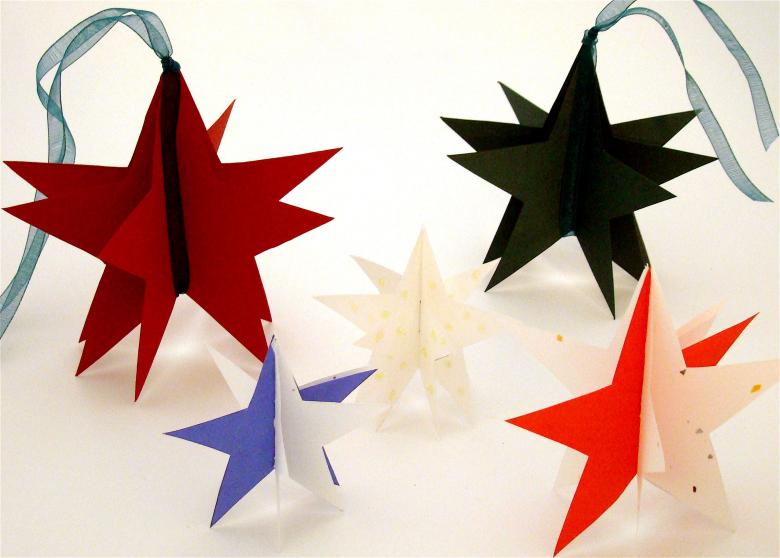
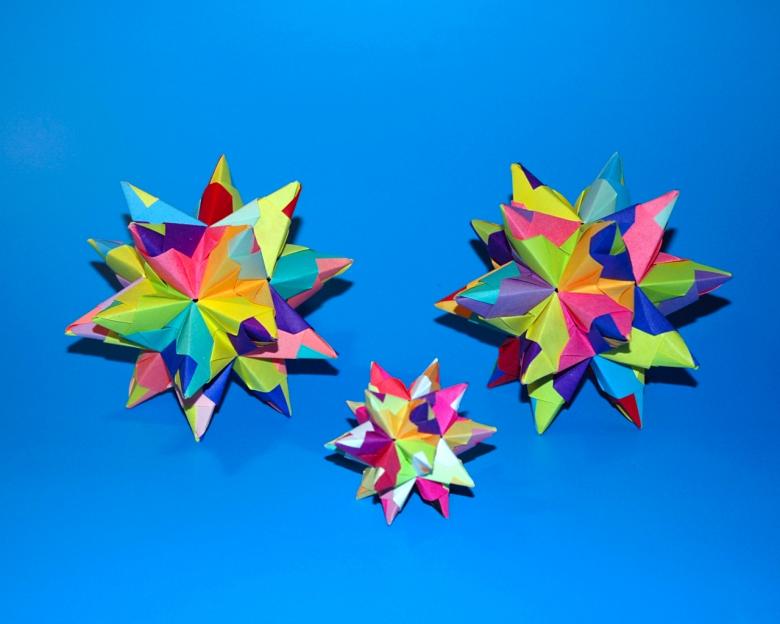
The amount of crafts depends only on the amount of time you have and your desire. Combine different ways to create a starfish and create your own ornaments. For example, make a sick three-dimensional star (way 3) and glue a scattering of small colored stars to it (way 1). They can be from ordinary colored paper or from shiny paper, which is sold in specialized stores.
By experimenting, you can come up with many different combinations and decorate the house for the holidays in a stylish and tasteful way.

