Handmade crafts for school - interesting topics, photo examples and comprehensible master classes
Almost every parent who has a child of elementary school age, with horror hears the phrase: "make a craft for school. Many are thrown into a stupor: again, you need to think of something, buy the necessary materials, and most importantly - to give a huge amount of free time. But do not be afraid of this. In today's world, with such a huge number of ideas, advanced technology and materials, to make a handicraft - you can do in minutes.
This article tells how to make handicrafts without unnecessary financial cost and save precious time. We will also look at the basic aspects and rules of working with children in order to involve the child in the process with interest, in a good mood, and in a positive way. And we will learn how to implement creative projects using examples.
Simplicity is the key to success
Beautiful, colorful, unusual work always captivates a child, but the main rule when making crafts with children is simplicity. A child will be interested in making a handicraft if you use the simplest materials, prepare the necessary blanks, and better yet clearly show what you have to do and how. Consider a few examples of these.
Toys "little animals" out of the caps from plastic bottles
Basic materials and tools: plastic bottle caps (preferably multicolored), colored paper or cardboard, felt-tip pens or paints, if desired - plasticine, glue, scissors.
Fabrication technique:
- The first thing is to prepare a platform for the toy, which is either a square or a circle of colored cardboard.
- Then we attach the lid to the platform with glue.
- All further action is a flight of fancy you and your child. You can draw the legs, handles, eyes, tail, or cut them out of paper and glue.
If you prepare in advance, you can buy special eyes for crafts on self-adhesive base - they look original and are very fond of children. According to the same principle, you can also do the toy-caterpillar, using several lids at once.
Fun airplane" toy
Used materials: clothespin (wooden), sticks of different sizes (any wooden, or plastic), a button or a bead, paints and glue.
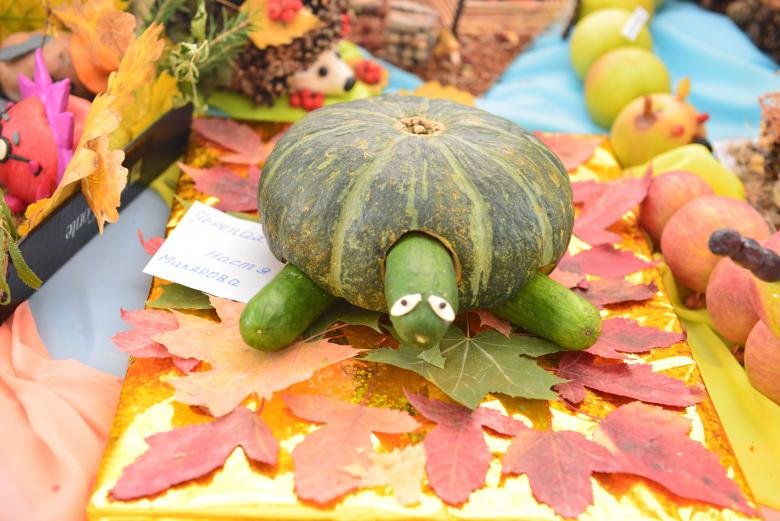
Fabrication technique:
- To begin - it is necessary to paint all the individual elements. The clothespin serves as the base of the plane, and the sticks are the wings, tail and propeller, so we paint in different colors.
- Next, using glue, attach two long sticks in place of the wings, and one shorter stick as the tail.
- Glue one more stick in place of the propeller and fasten it with a button. All - the handicraft is ready. If desired, you can add fun drawings.
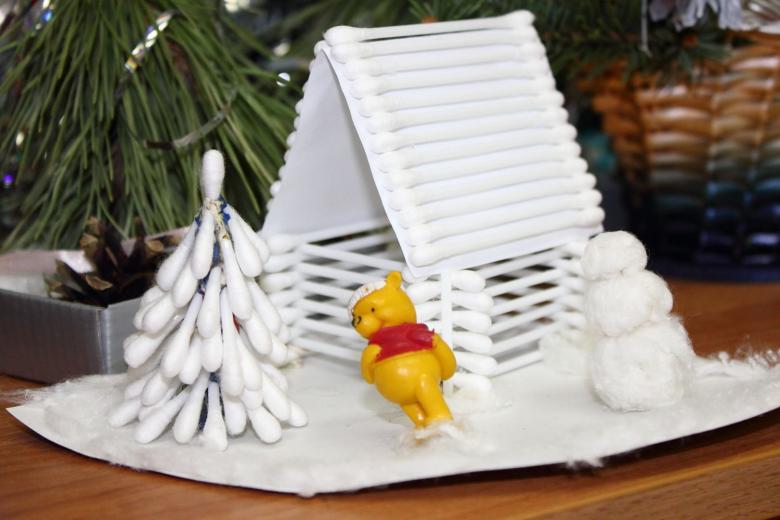
Such work is more appropriate for younger children and graduates of kindergarten. Such toys always turn out original, non-standard, and easily fit into any interior of a child's room. Most importantly, everything is simple!!! Everything is clear to a child and does not cause difficulty.
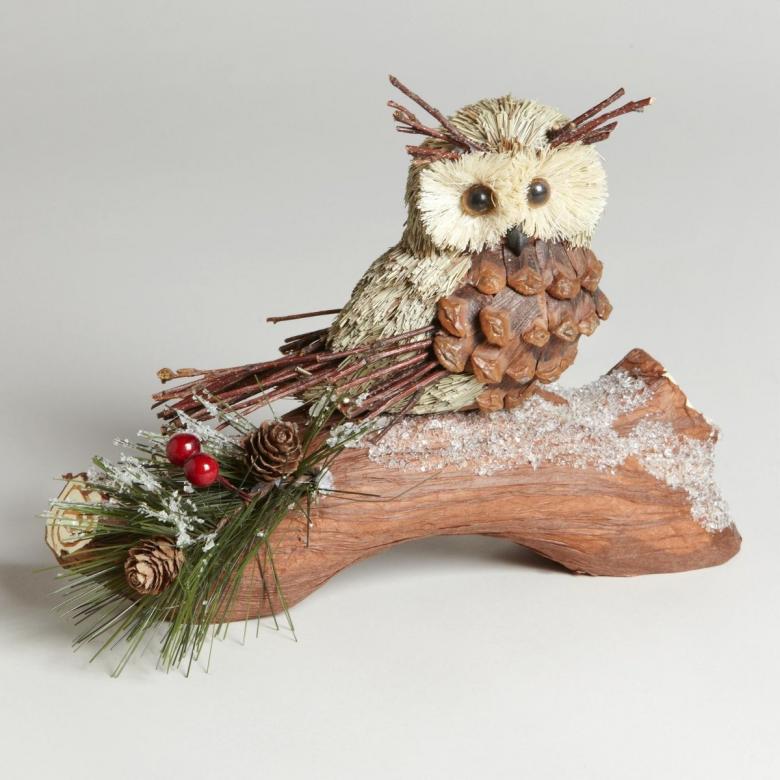
Emphasis on the interests of the child
The second important aspect - the interests of the person. Suppose your child likes to draw - and if you offer him to do a stained glass panel, or sculpt something out of clay - he will certainly prefer the former. And rightly so. When it is necessary to make a handicraft on a free theme - give the child the right to choose, taking into account his hobbies. Such work will open up the baby and teach him how to express his thoughts and ideas.
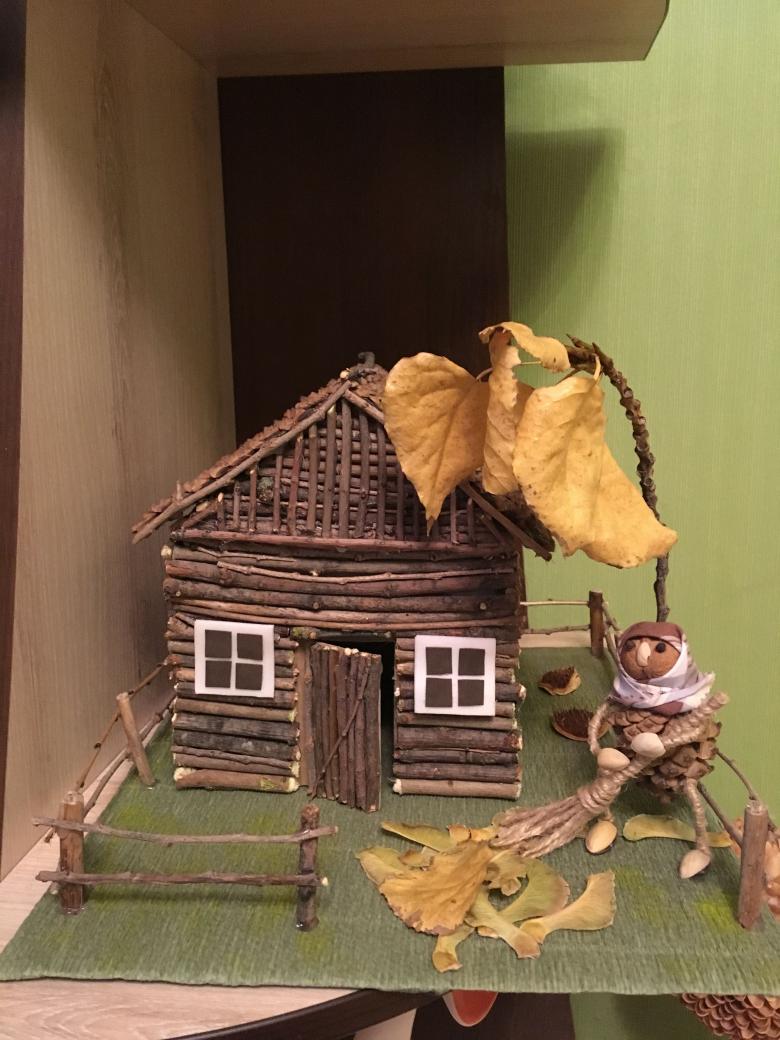
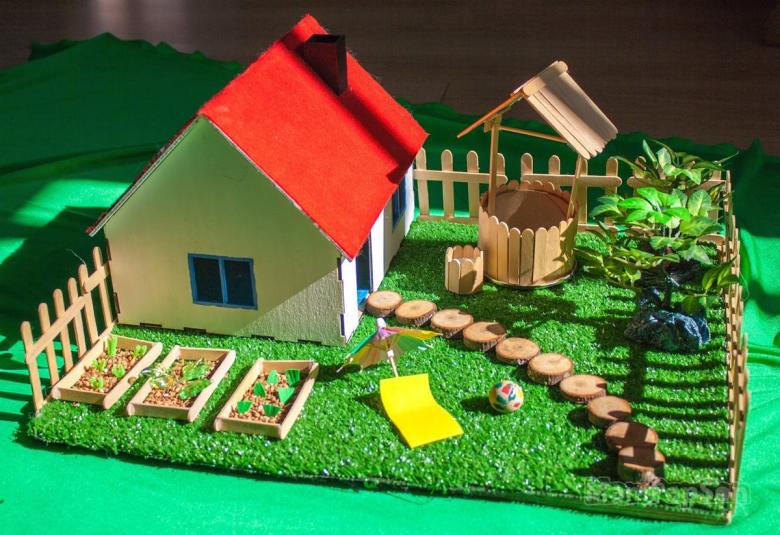
If your child likes something to fold or assemble - do, for example, with him origami, or come up with a simple design. Girls will be interesting to do dolls-girlfriends, butterflies, and boys can offer to make a house in miniature or a tank. Consider a few options for such works.
Dolls of paper "girlfriends"
Necessary materials and tools: 2 sheets of colored paper, 2 wooden skewers (or any other sticks), rope (a section - about 20-30 cm), PVA, scissors, you can beads or buttons (for the eyes).
Working technique:
- Cut out of colored paper 2 squares, you can have different sizes.
- Each square bend into an accordion shape.
- The resulting element to tie a rope to the stick so that the top was formed the head of the doll and the rope turned into hand. Do the same with the second square.
- Then cut out two circles, make faces (eyes, smiles) and glue.
The result is a beautiful handicraft, which can carry not only the function of decorating a room or classroom, but can also be a wonderful gift for younger girls.
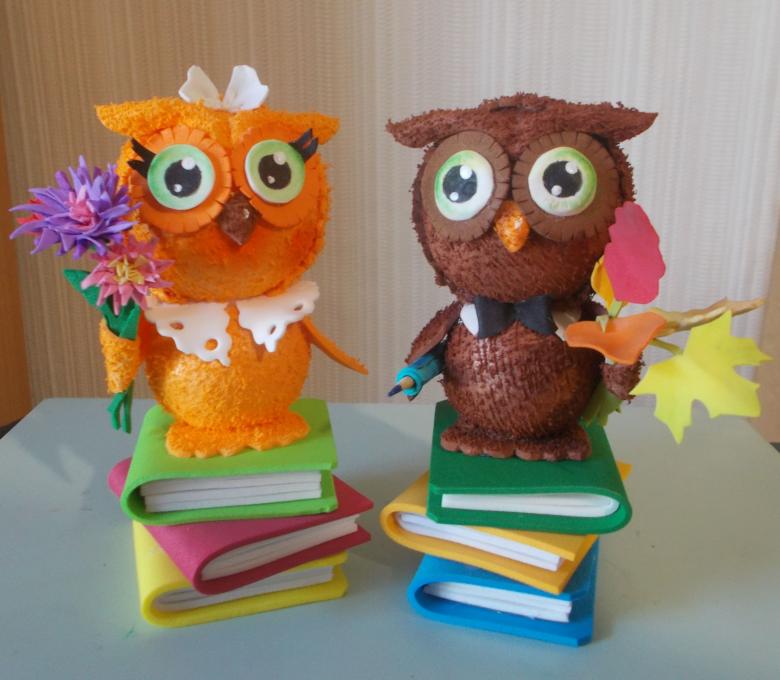
For fans of molding, there are also many techniques and ideas. For example, it is possible to model with different kinds of plasticine, clay, and dough. Let's study one of these techniques.
Toy made of dough "Magic Fish".
For work you need: dough, rolling pin, cardboard, stack (knife for plasticine), toothpick, acrylic or gouache paint, varnish and brushes.
Technique:
- Prepare in advance a fish stencil of cardboard (there are no standards - at your discretion).
- Knead dough (flour, salt, water), roll with a rolling pin into a layer 5-7 mm thick.
- Cut out the fish from the dough according to the prepared stencil. From the remaining dough, if desired, make eyes, fins; also, if desired, you can use a stecker to print various patterns, waves, dents, and more. It is possible to make a few holes with a toothpick so that you can later put strings of beads through them, but this is not necessary.
- Then dry the resulting figure in the oven (at 40-70 g, for 1.5-2 hours). Use electrical appliances and gas equipment only under adult supervision!
- Paint with paints as you wish.
- And the last step is to varnish the figure.
Such handicrafts are now at the peak of popularity. They are made not only in the form of fish, but also come up with a variety of configurations, such as "hand", various animals, as well as medallions with their paw prints. These toys will serve as a great souvenir for years to come.
To make an interesting, unique handicraft for school, the child must express in it all their emotions, feelings and moods. Therefore, the relevance of the chosen topic is an important aspect in the creative work with children.
Relevance
It would be strange to make snowflakes and snowmen, if it is summer outside, and it is probably silly to give the handicrafts in the form of flowers on February 23 to Dad. Students are already consciously approaching the matter, they understand what and when to do, but still this issue should remain under control. Therefore, the teacher sets the theme according to the season, or the approaching holiday.
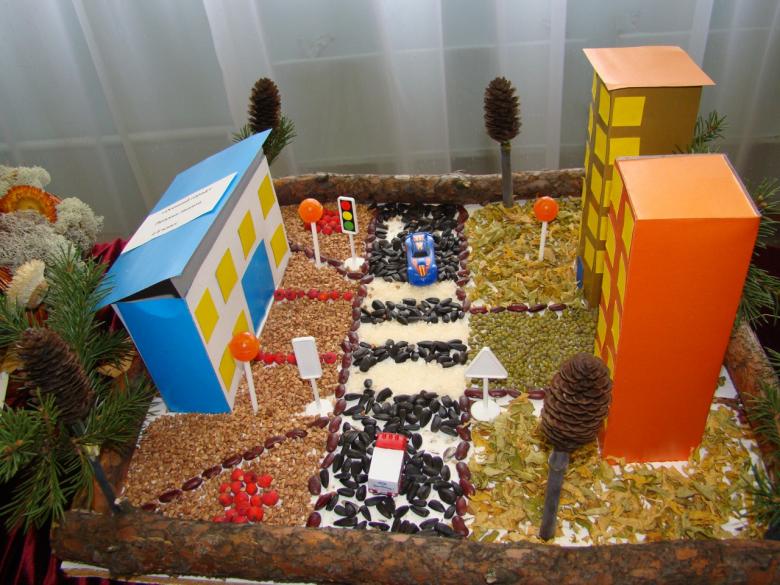
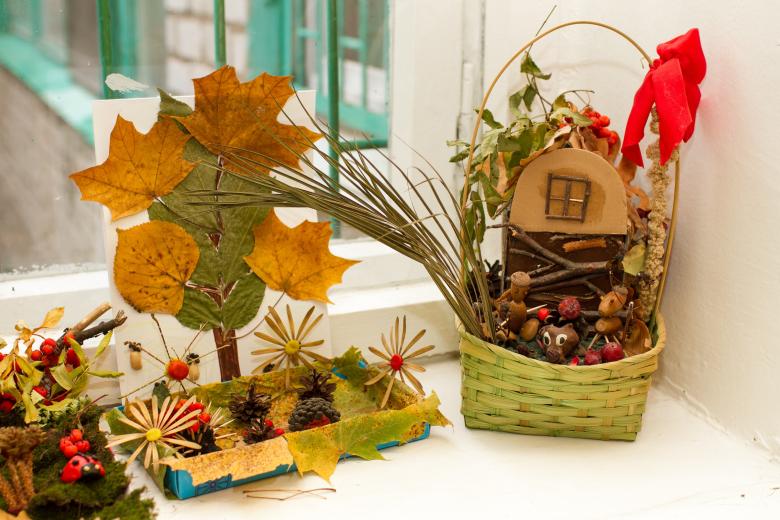
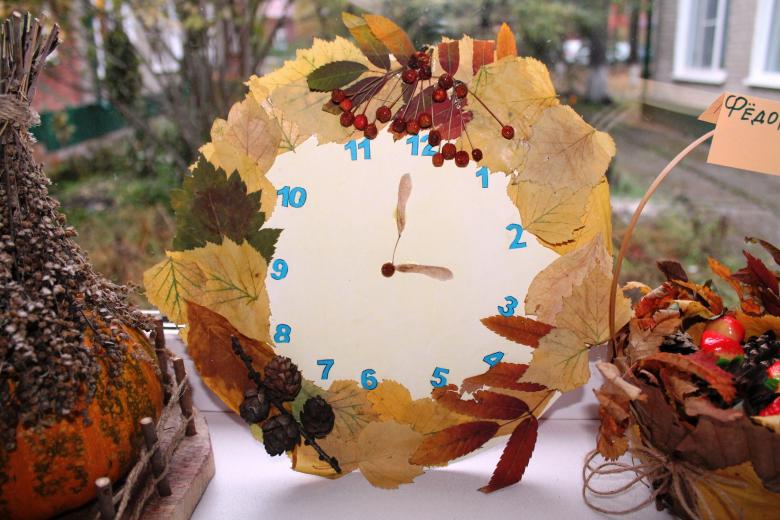
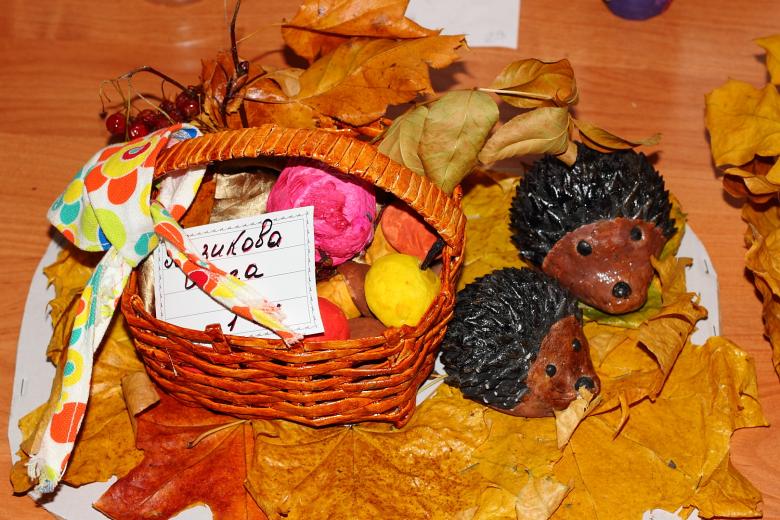
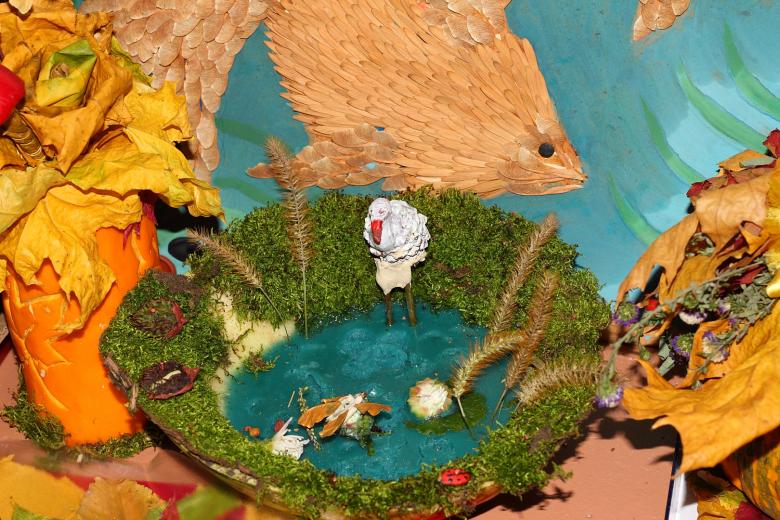
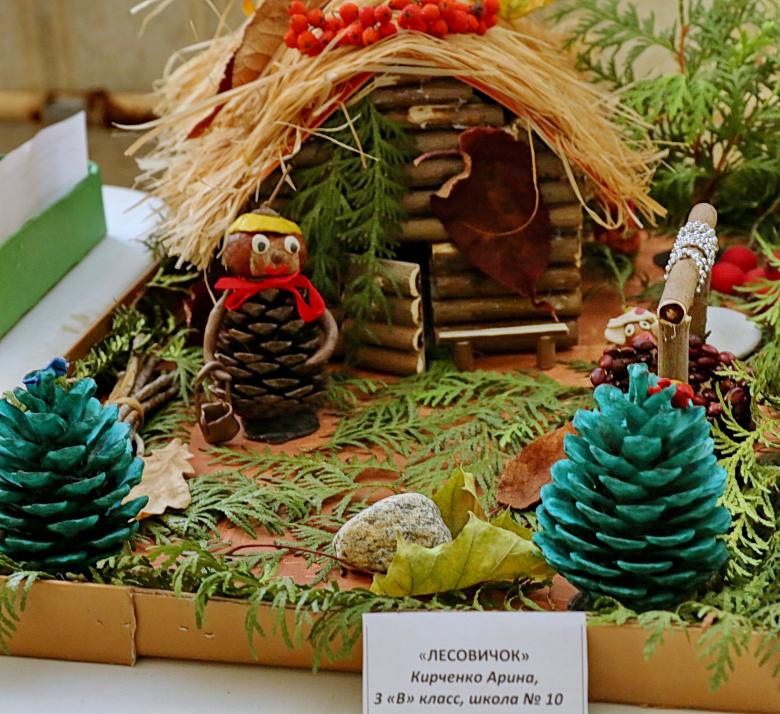
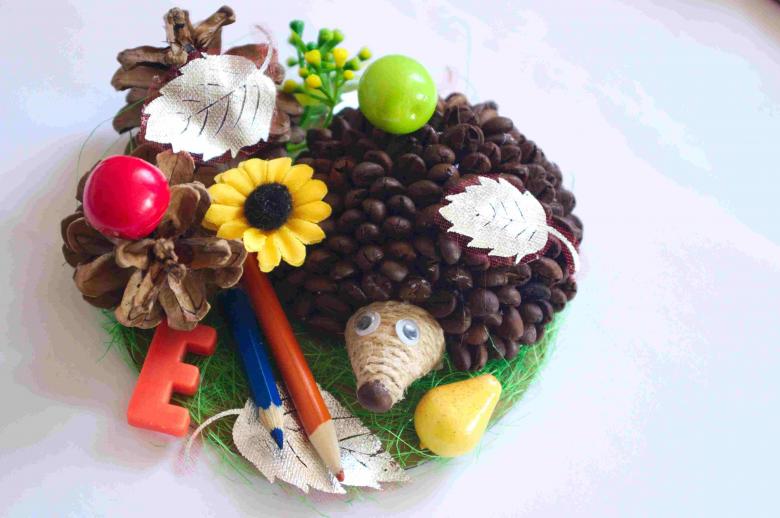
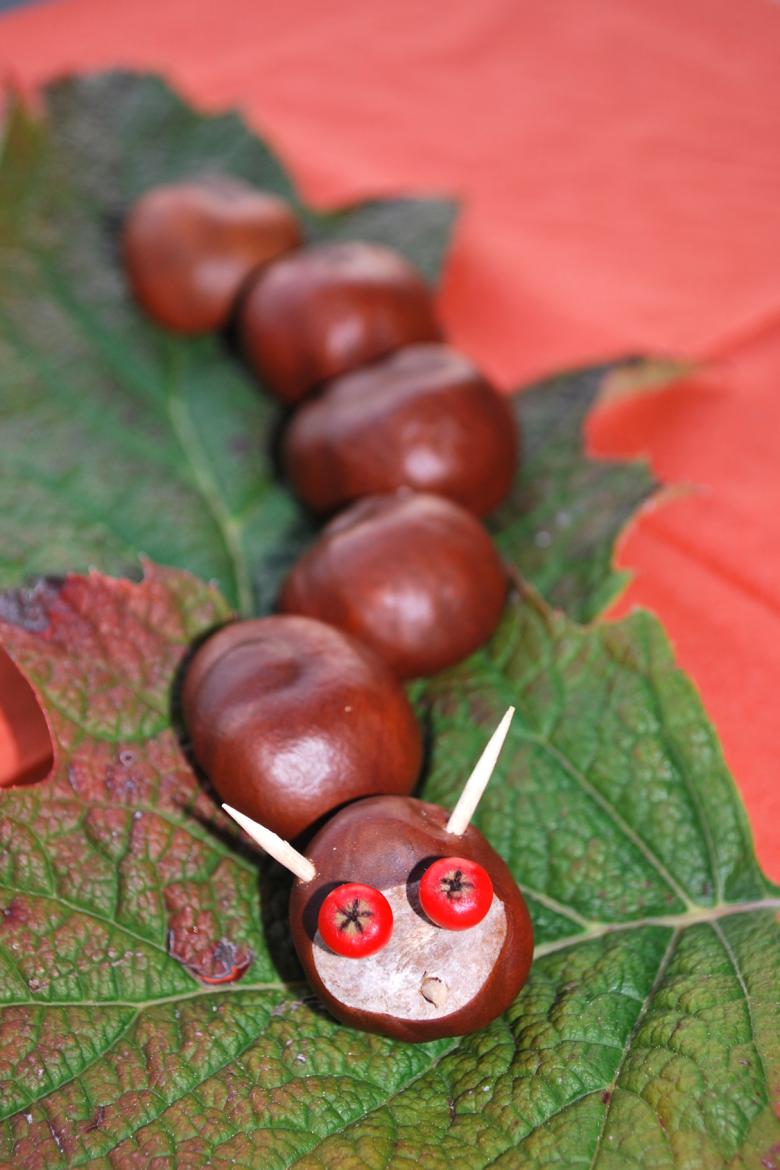
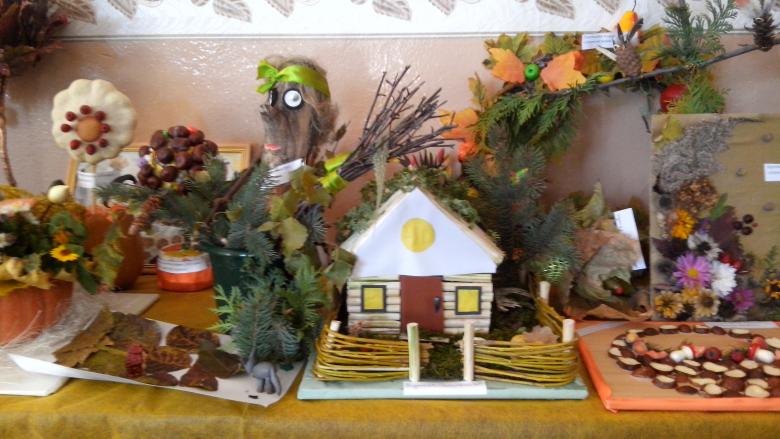
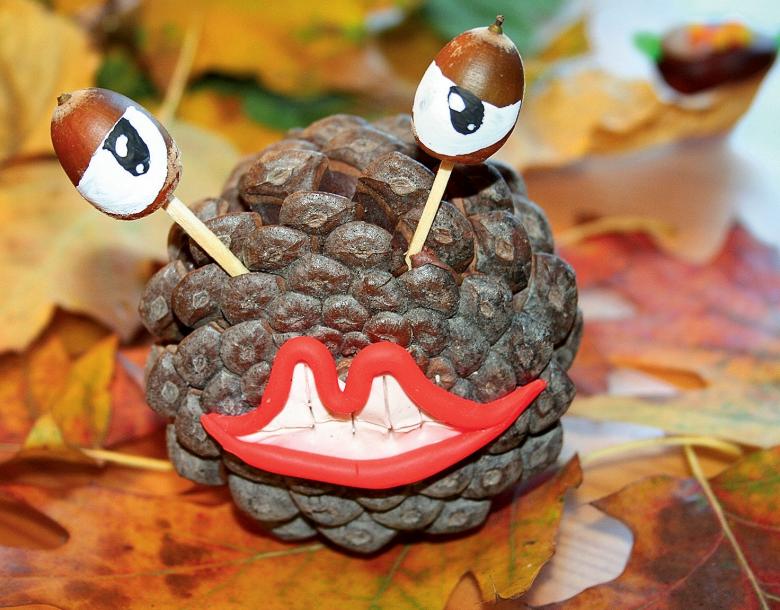
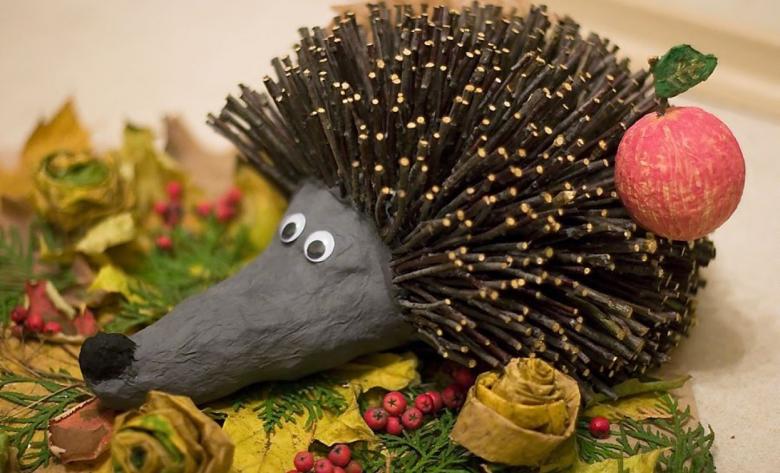
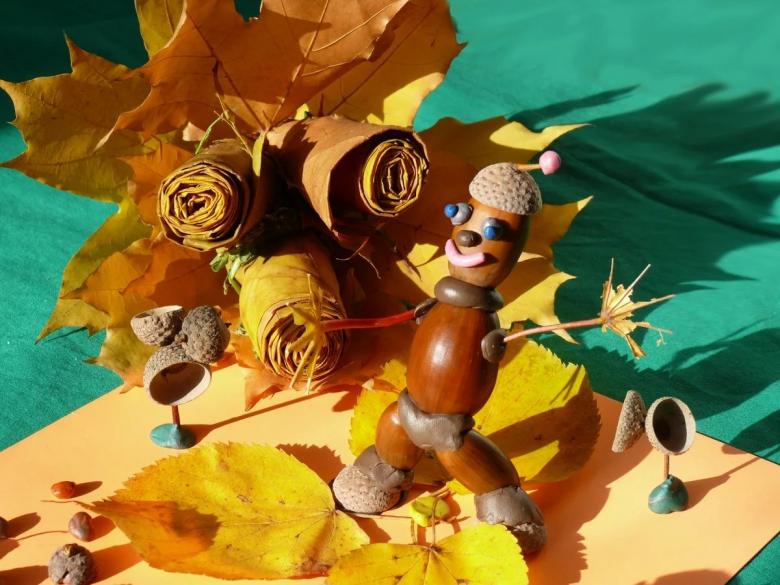
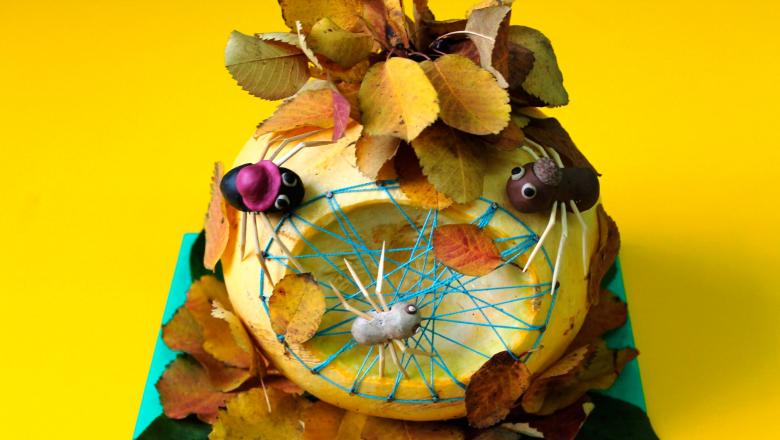
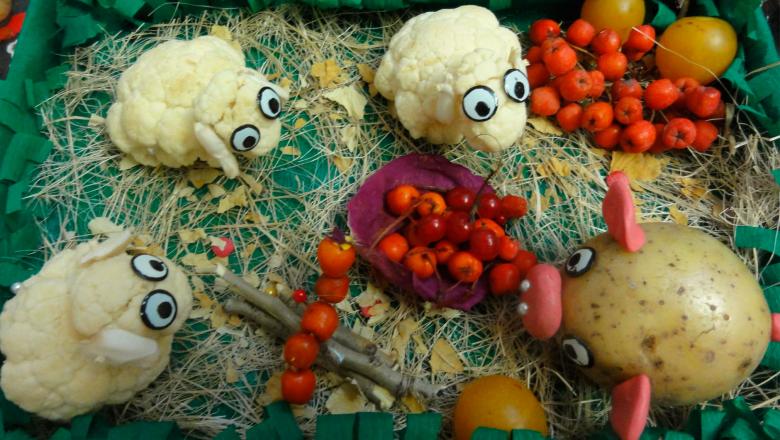
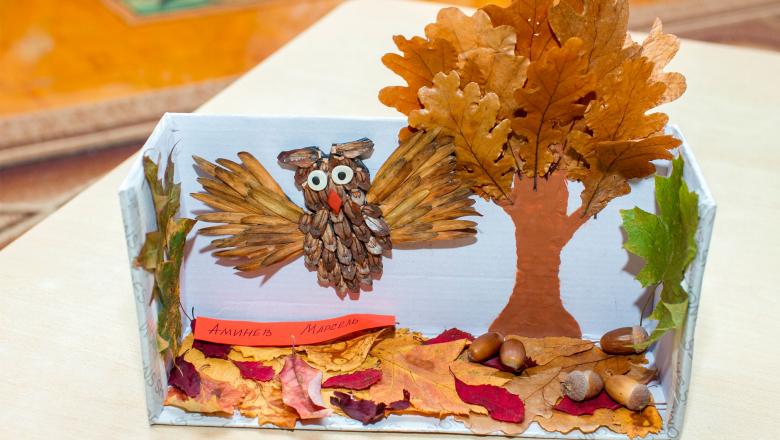
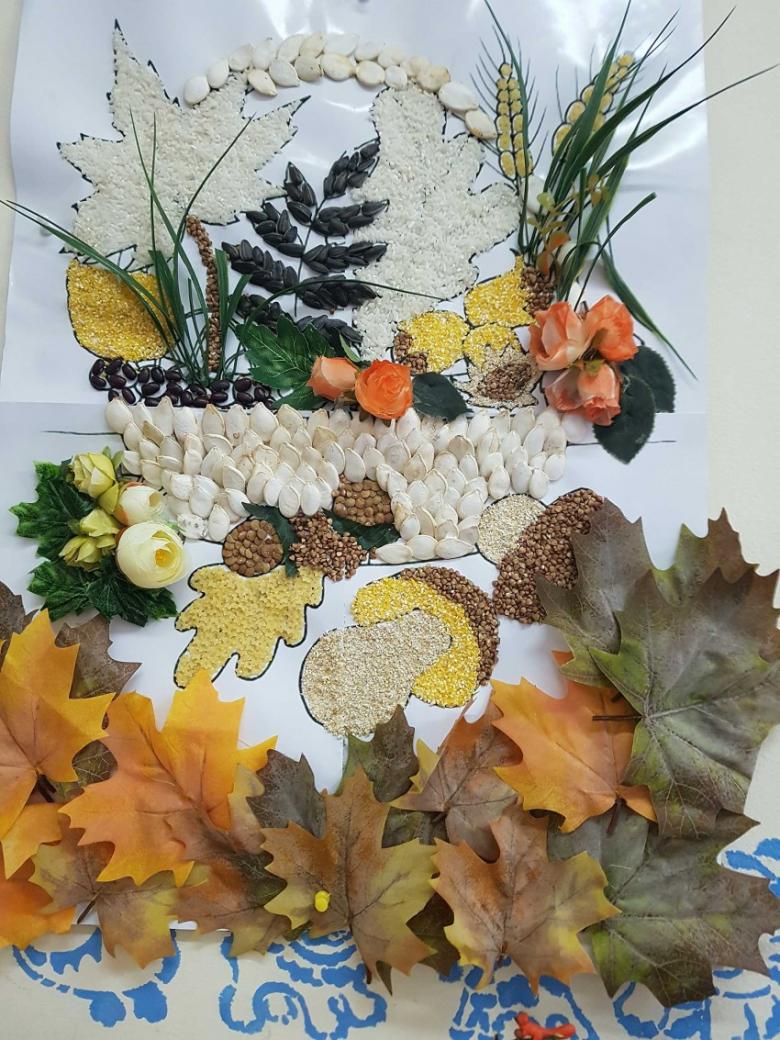
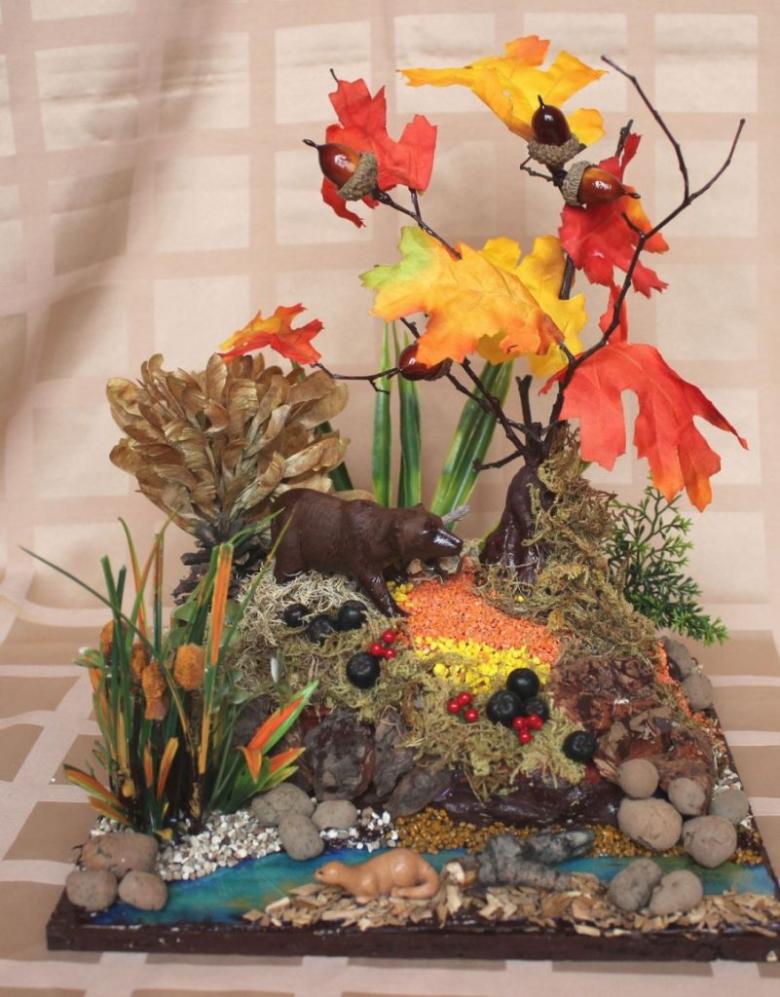
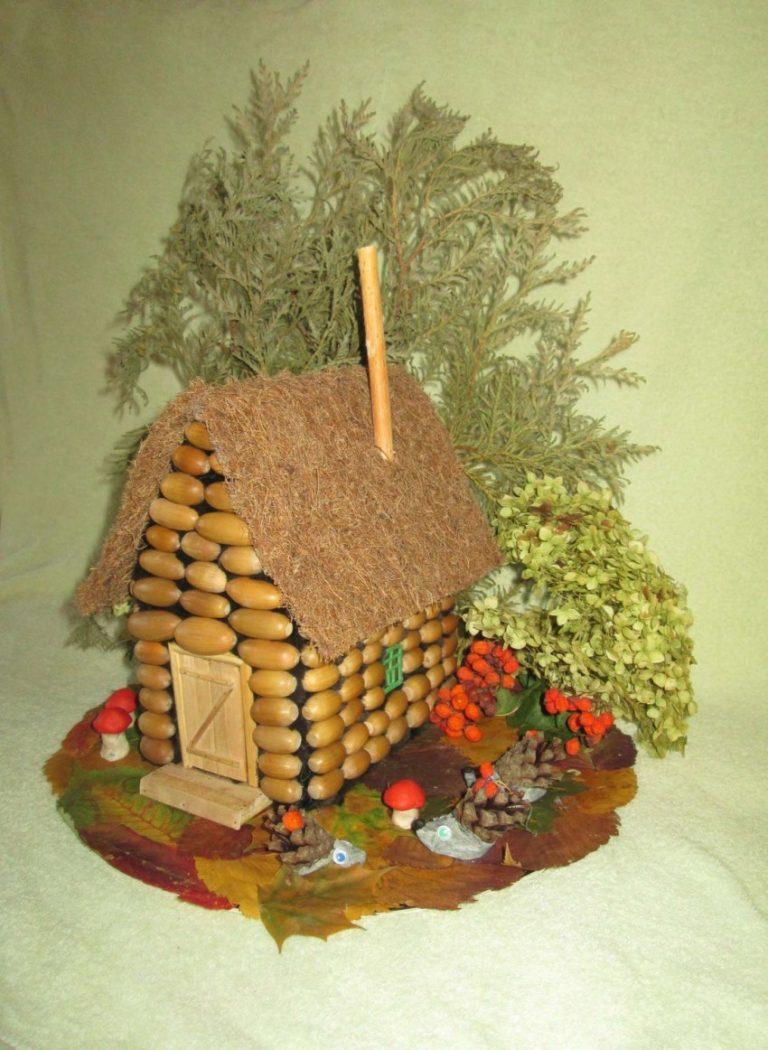
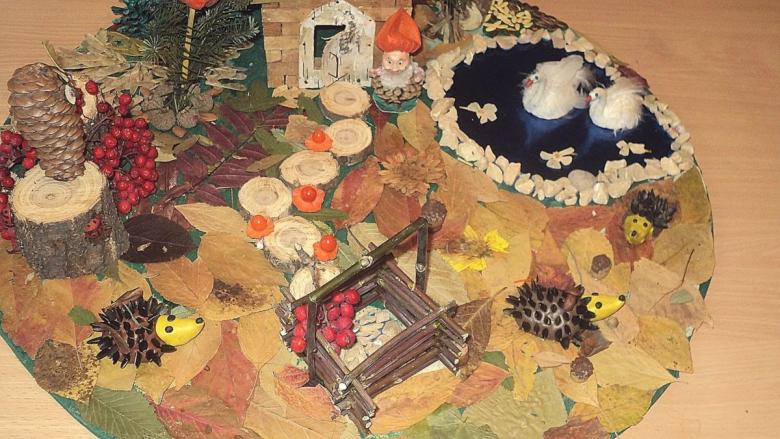
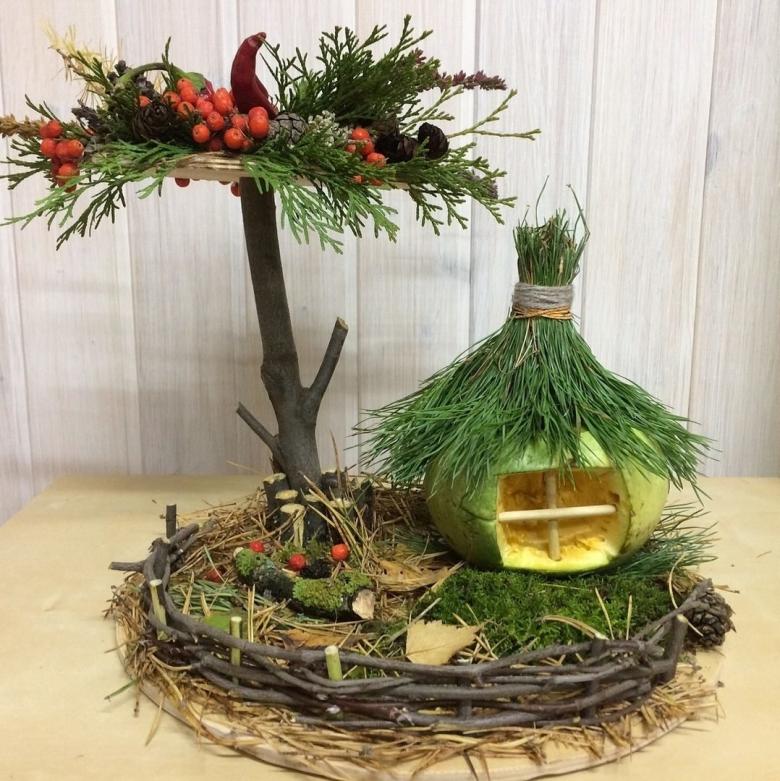
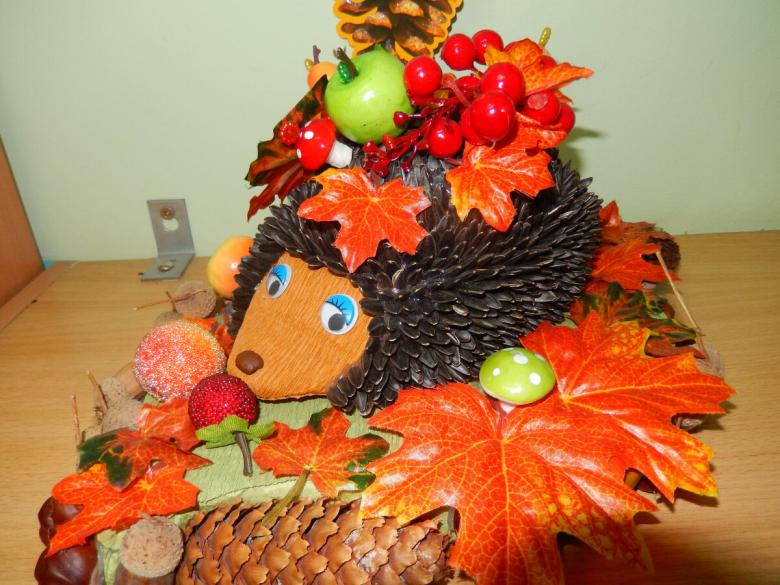
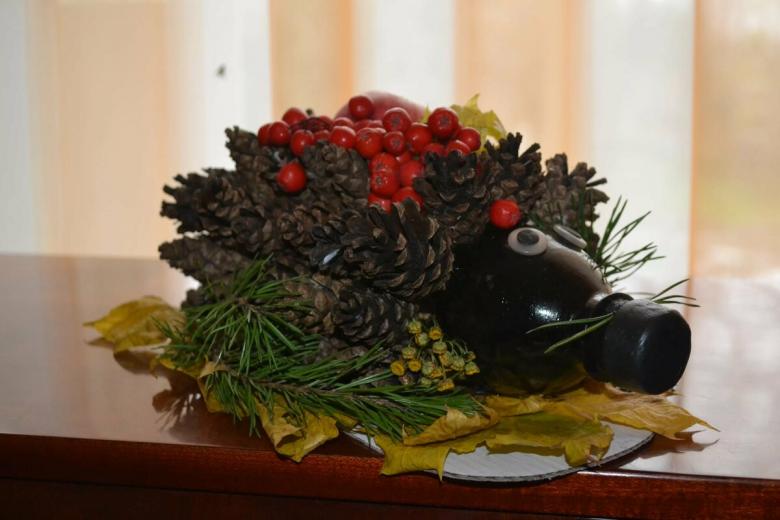
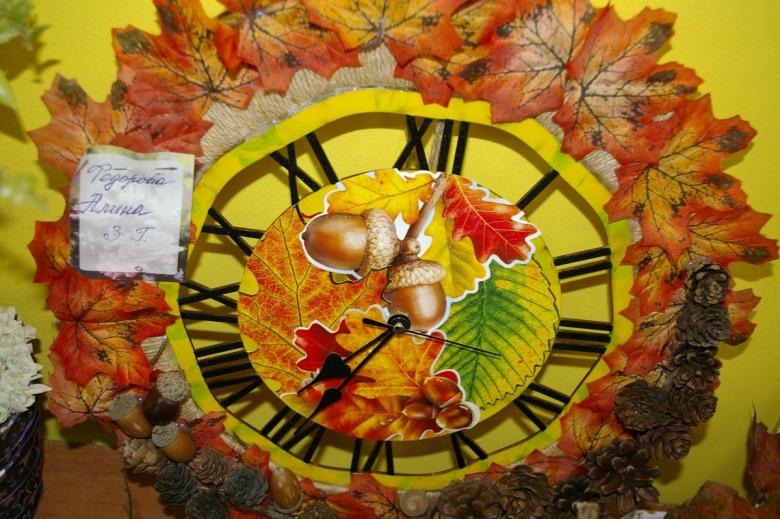
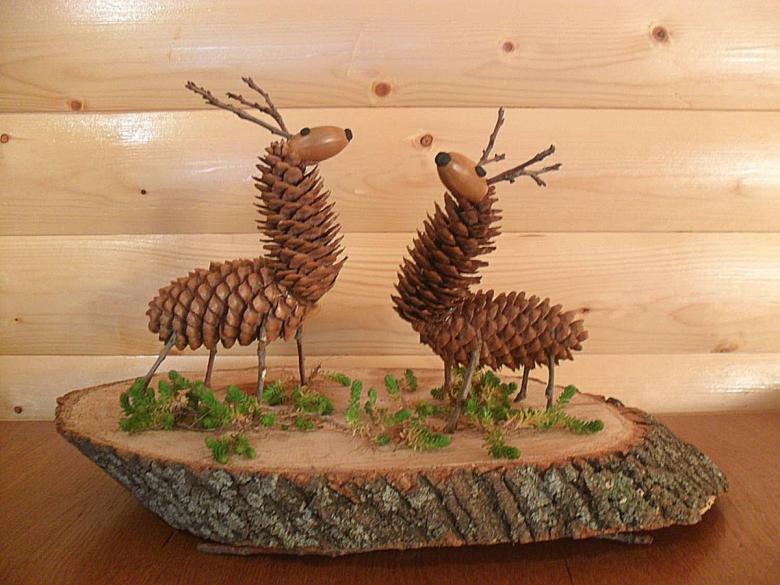
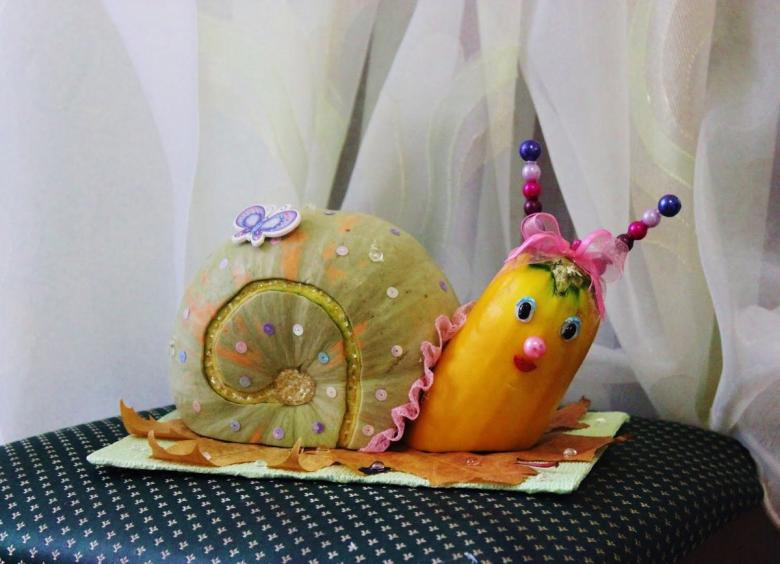
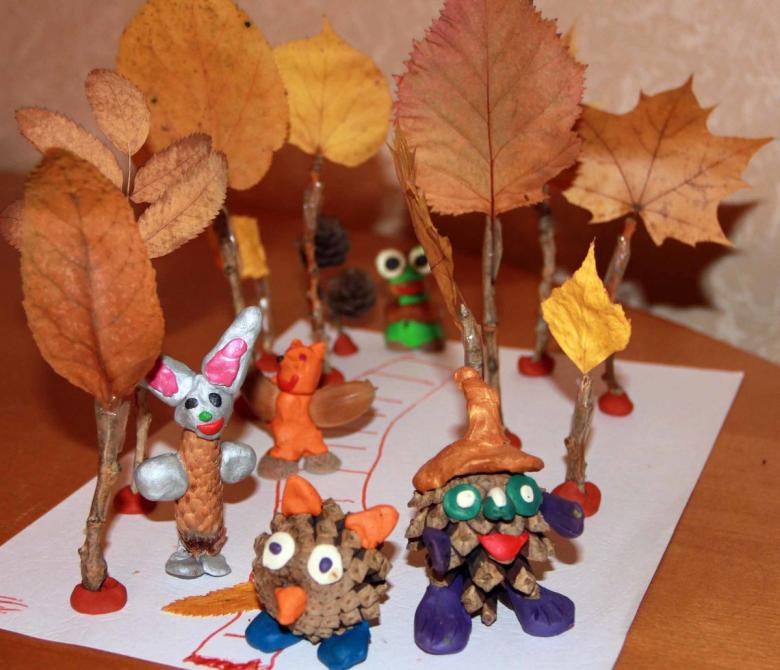
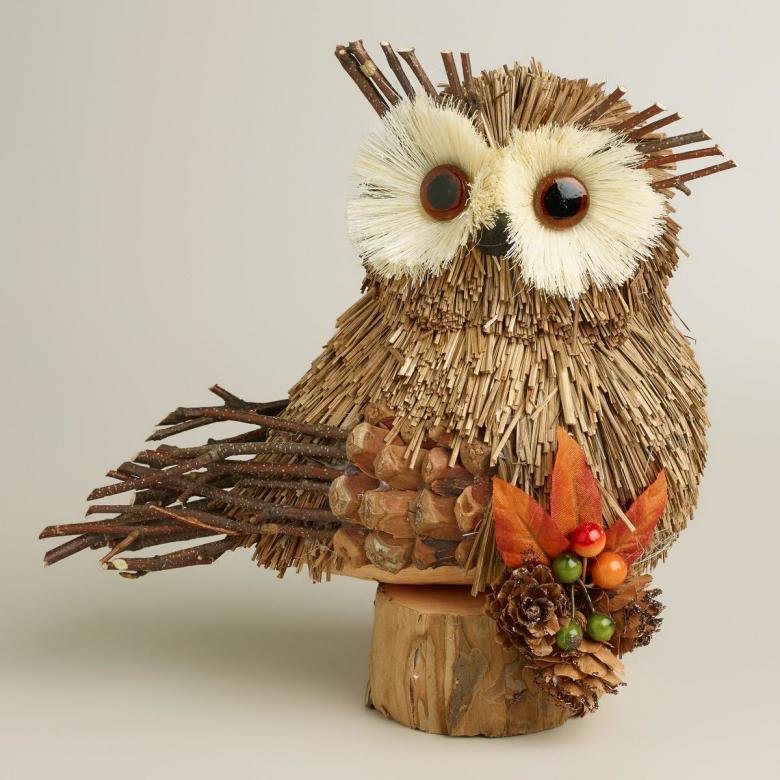
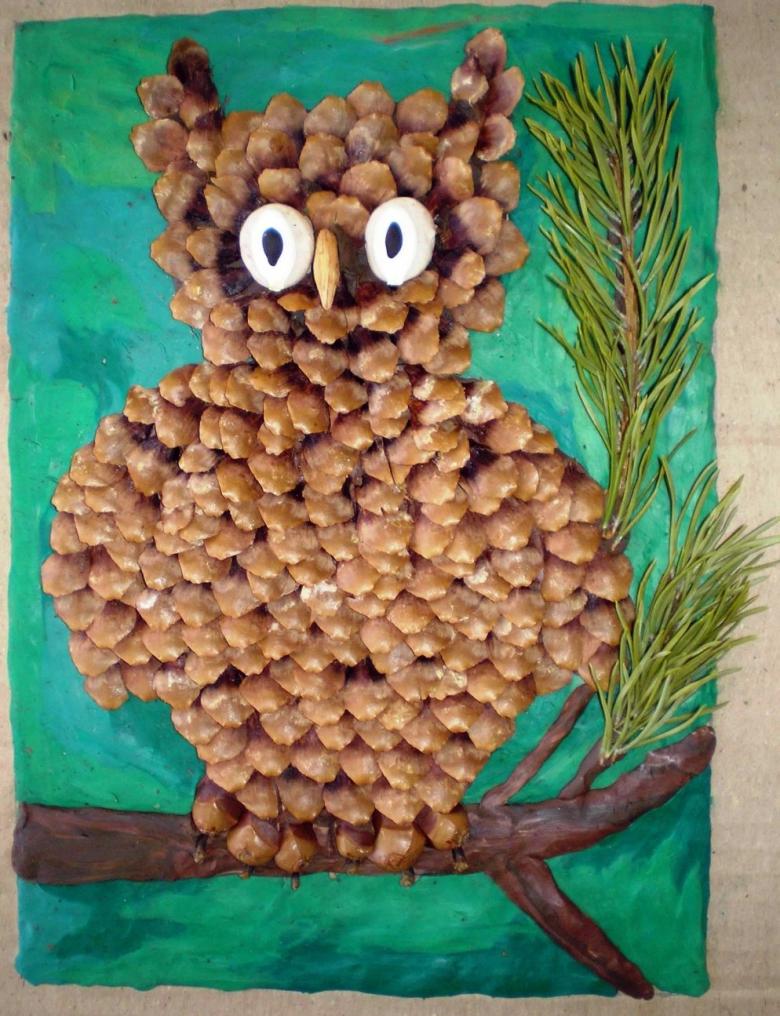
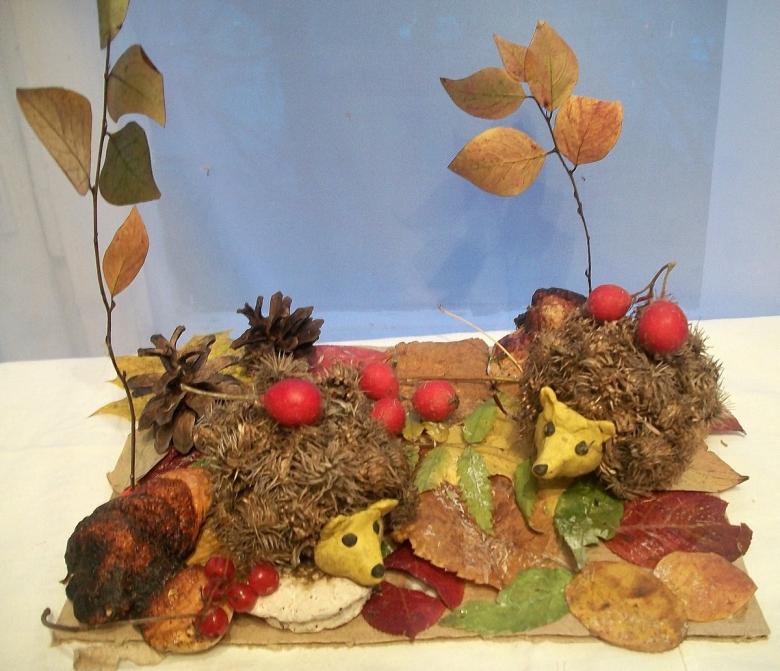
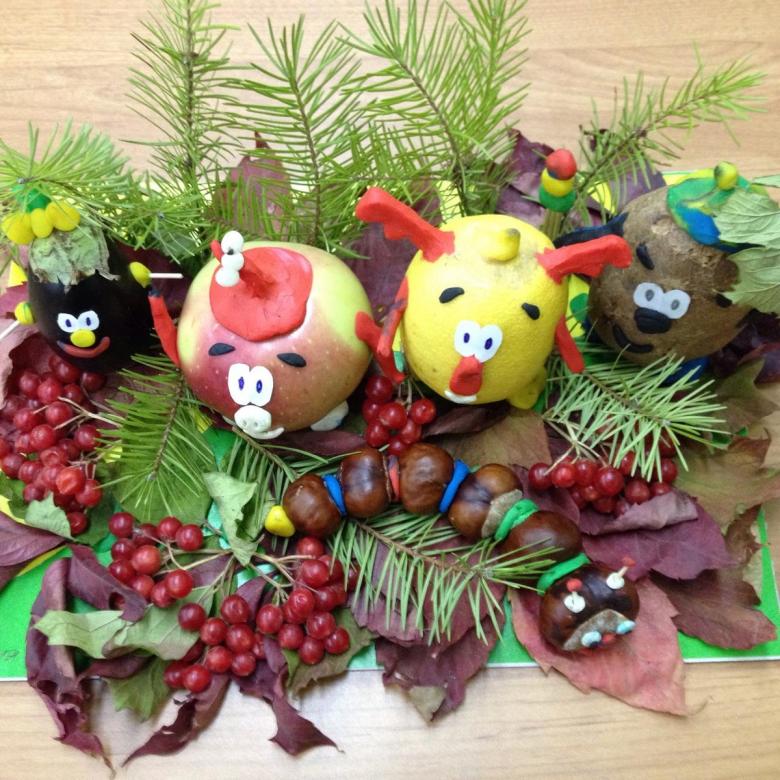
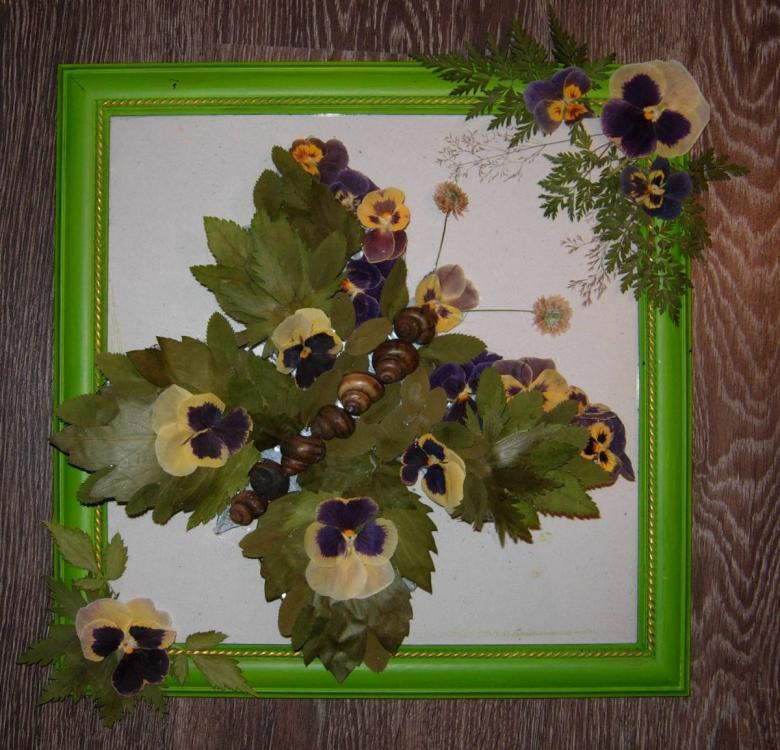
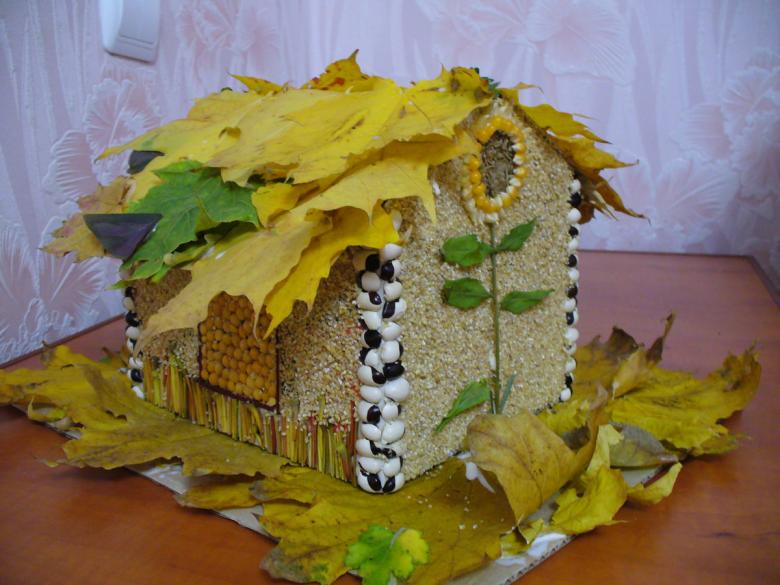
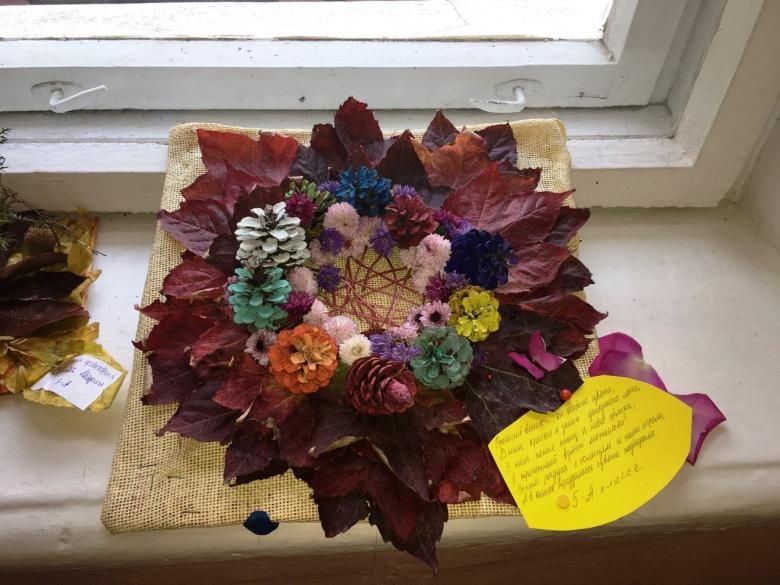
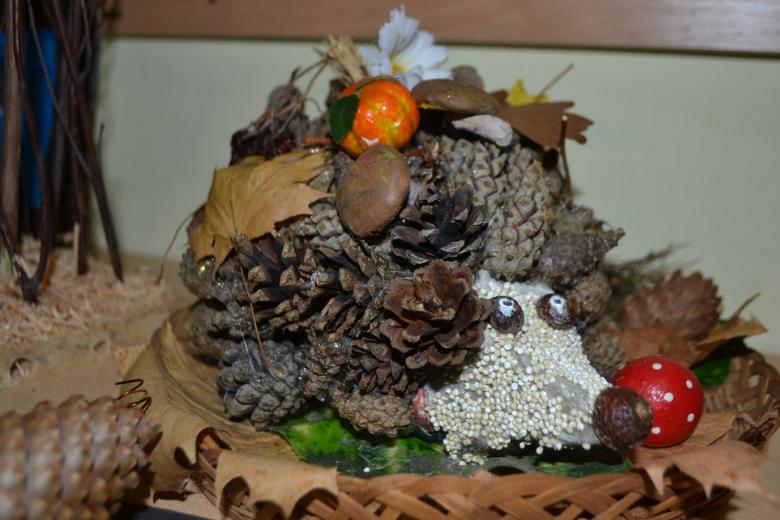
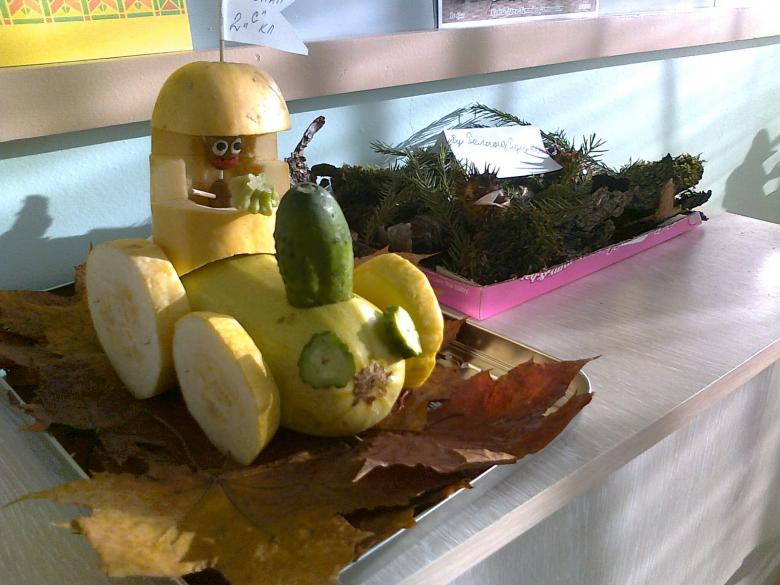
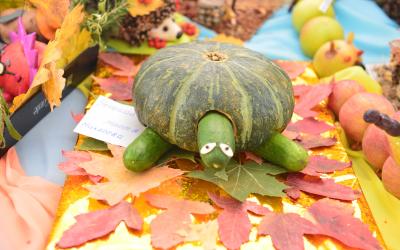
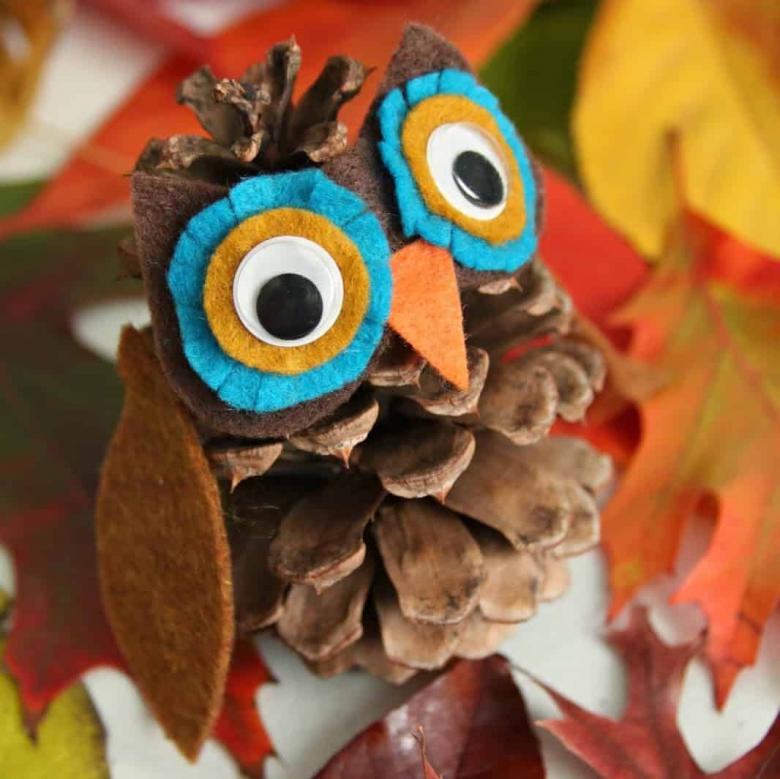
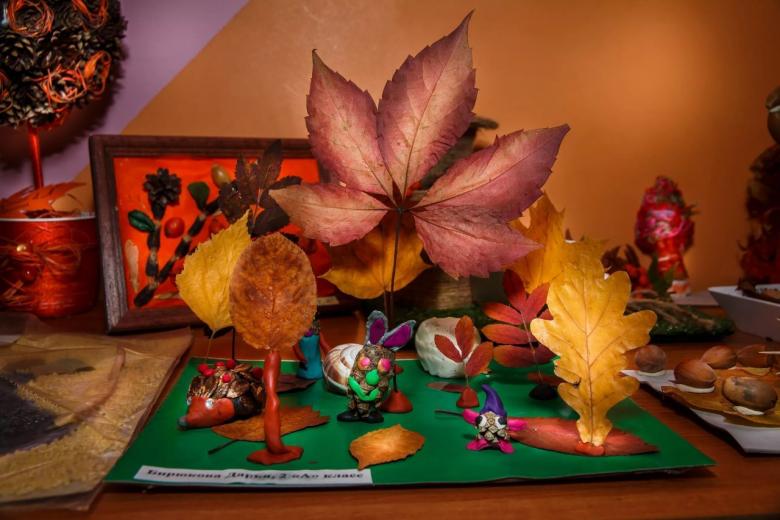
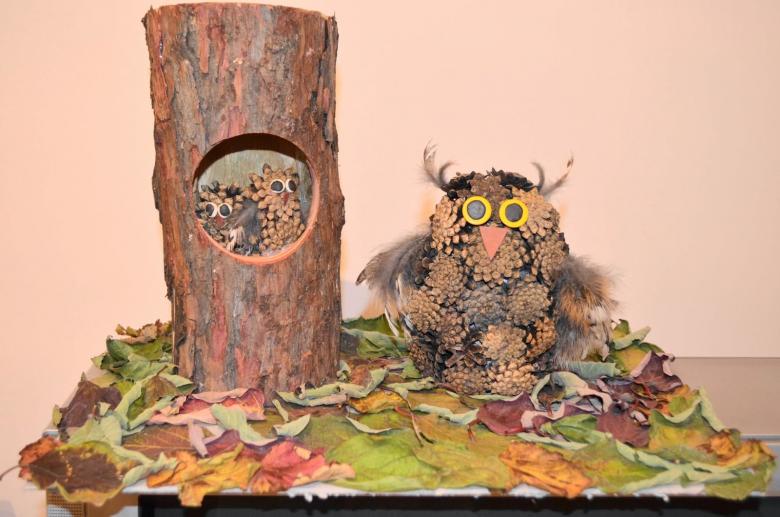
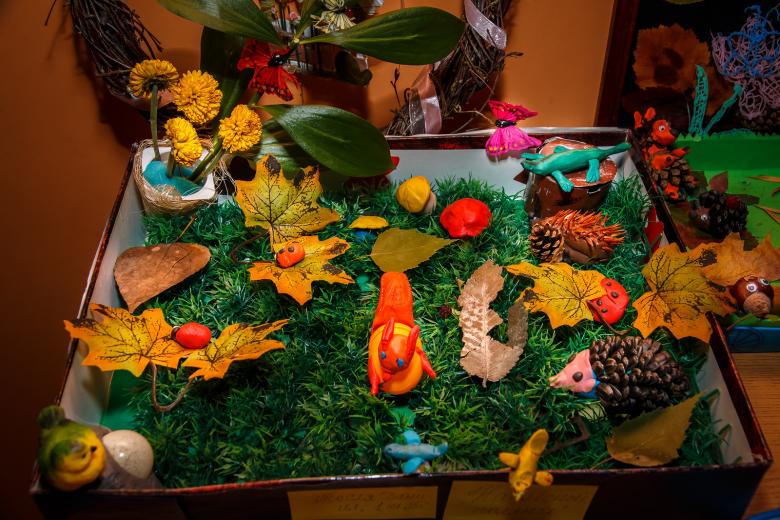
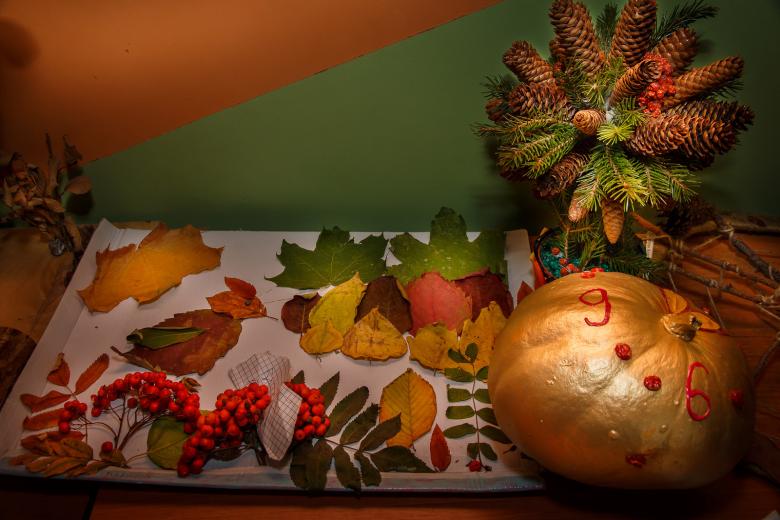
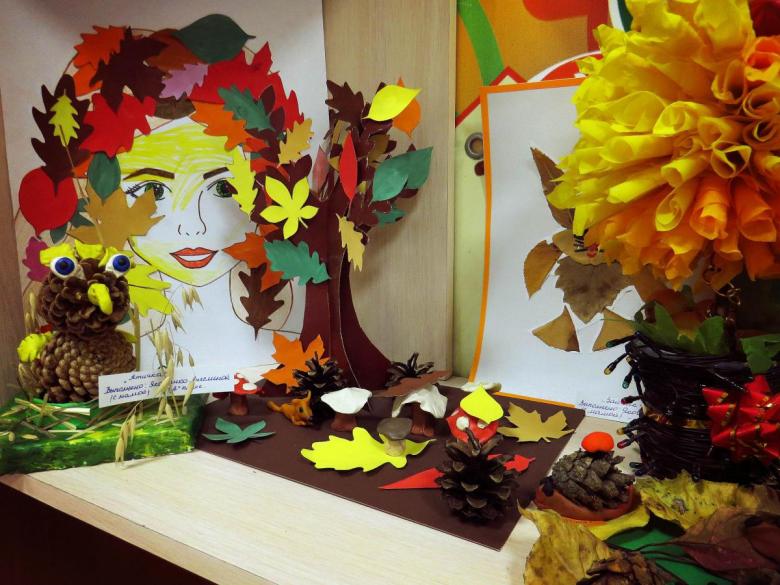
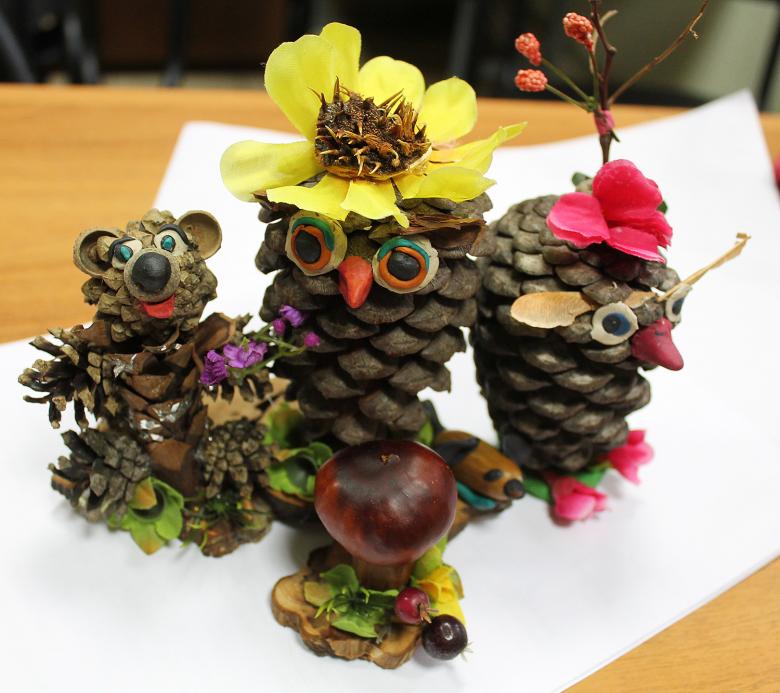
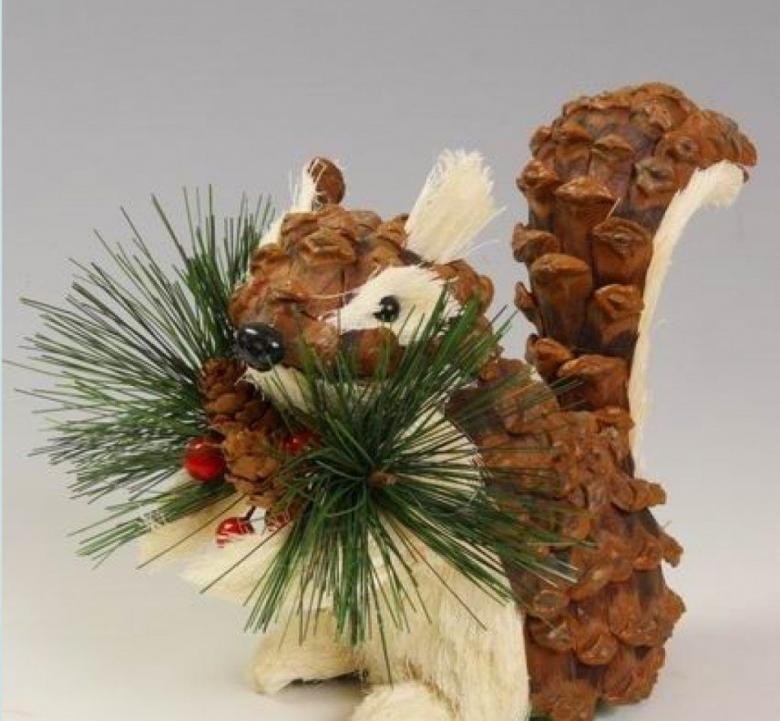
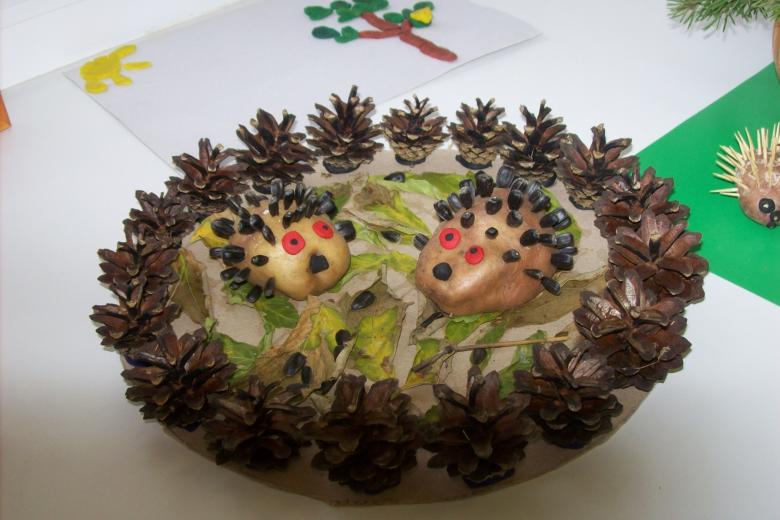
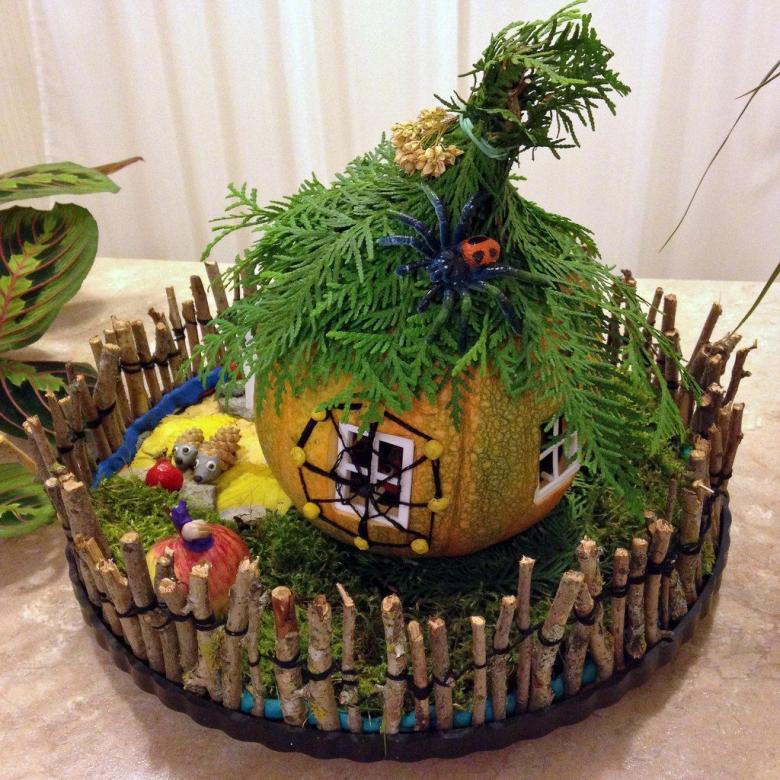
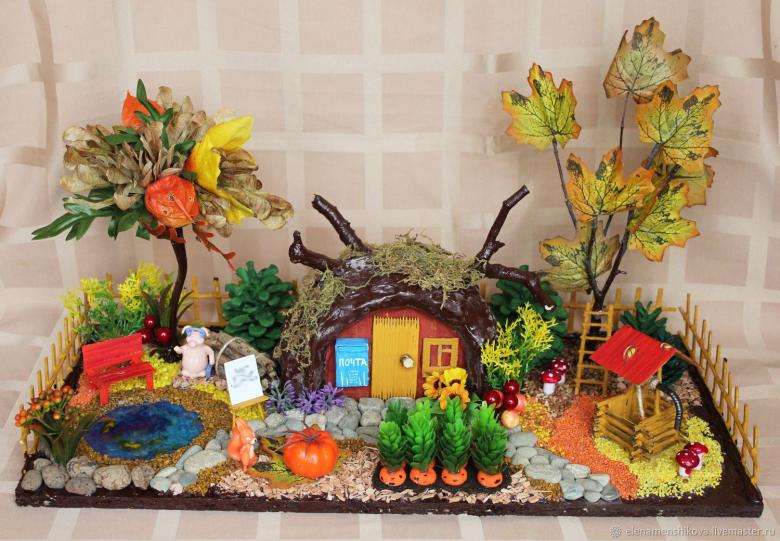
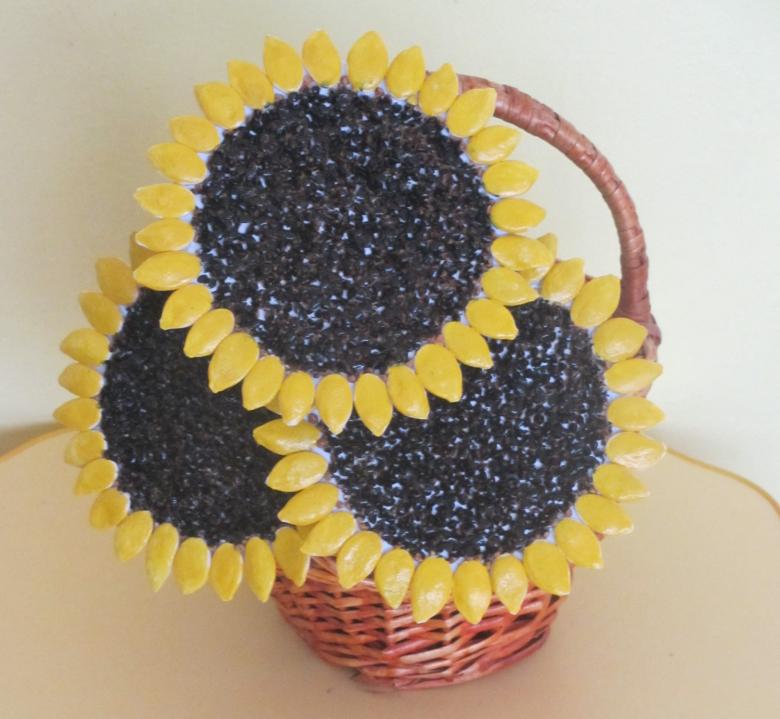
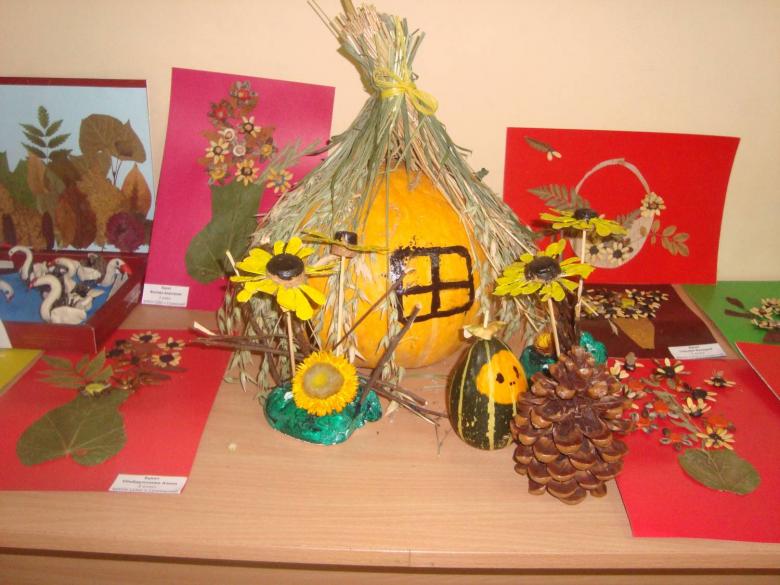
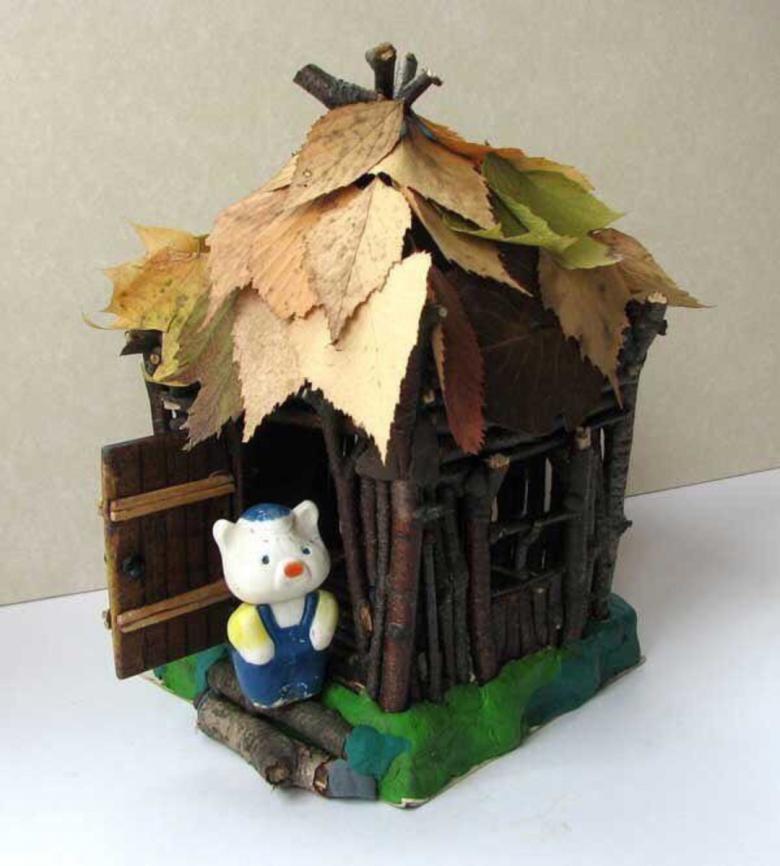
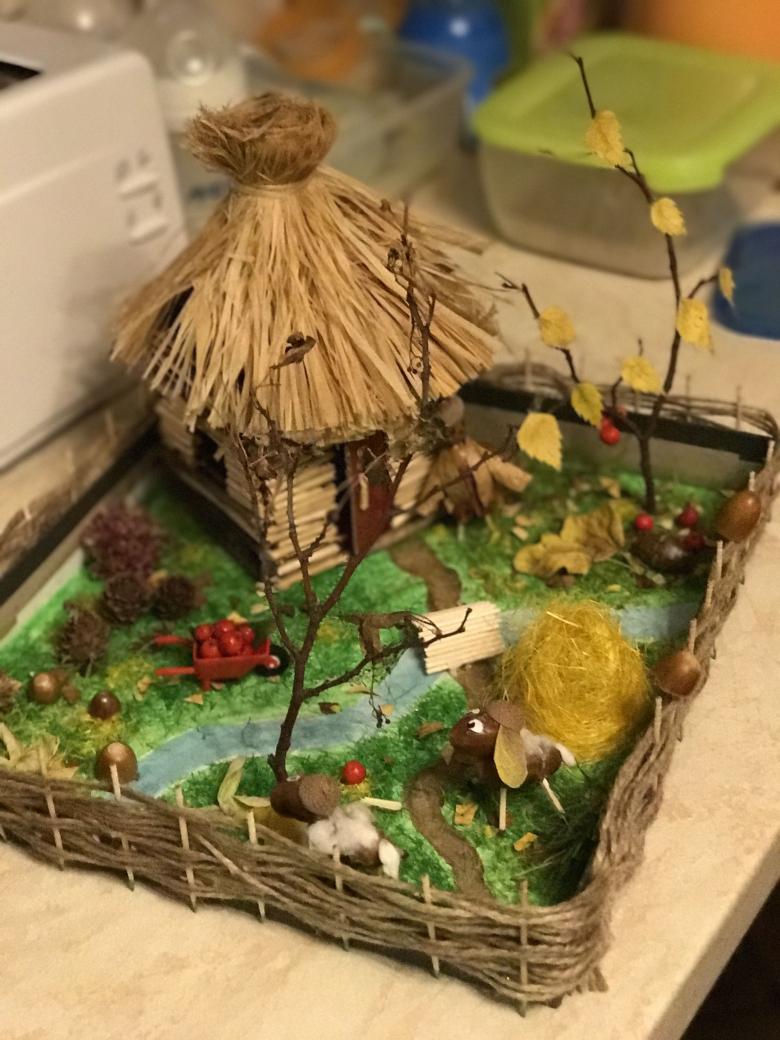
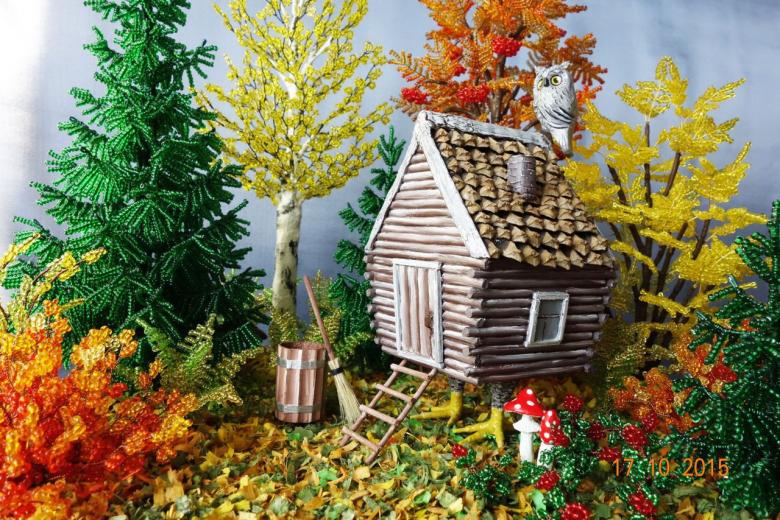
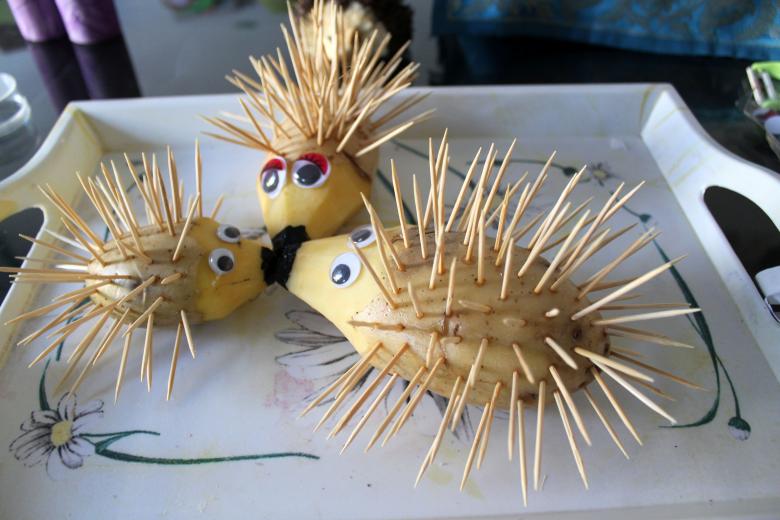
The autumn theme is very rich in ideas, and the variety of natural materials allows for unimaginable compositions. For work they use almost everything that can be collected, or picked up under the feet - leaves, cones, flowers, vegetables, twigs, seeds and more. Also a favorite material for crafts, are still cereals, almost all kinds, and seeds. Let's look at one of these options.
"Seed Hedgehog".
To make such a hedgehog, you will need a small piece of plasticine and seeds. Everything original is simple.
Technique of work:
- The first step is to make a base of plasticine. Plasticine, as a rule, is taken in light shades (beige or white), so that the head of the hedgehog does not merge with the thorns.
- Then from the same clay, only black, we do eyes and nose.
- And finally, draw the back of the hedgehog thorns, using seeds so that the sharp edge was outside.
Such hedgehogs are made not only from sunflower seeds, as thorns can be used as pine nuts, pumpkin seeds, pine needles and everything that your imagination is rich. And when you have trouble choosing a material or theme, you're always entitled to turn for help to the Internet, where you'll find thousands of photos and videos with clues.
Fiction and imagination in working with children is something that no creative process can do without. If you create all the comfortable conditions for the child, give him the right to choose, tell him how to simplify the craft and help with the theme, then your "little master" is sure to create a real masterpiece.

