Handmade crafts for children 7 years - a selection of interesting ideas and photo examples
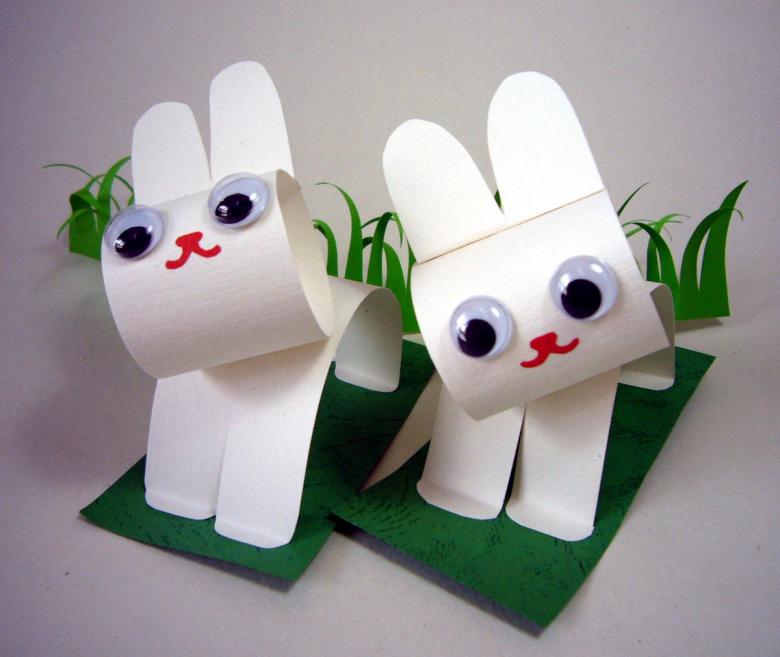
Seven-year-old children already know how to do many things for themselves: use scissors, design, glue. Uncomplicated creative ideas they are able to implement without the help of adults. Tasks that are more complicated can be solved together.
The learning process is best combined with play, then the child is more interested and better absorbs new information for him or her. For future schoolchildren and first graders, this is especially important.
Making crafts contributes to the all-round development of the child, teaches diligence, perseverance, the ability to achieve the goal, to look for a different approach to the problem. In the process of creativity, the child receives new information about the world around them, the features of different materials, activates spatial thinking.
Features of Creation for Children of 7 years old
By the age of 7, children already have experience with different tools and materials. Therefore, at this stage it makes sense to move from simple crafts to more complex creative tasks. An important point in this case is the example of adults. If the parents have a hobby, the child also tends to join this hobby.
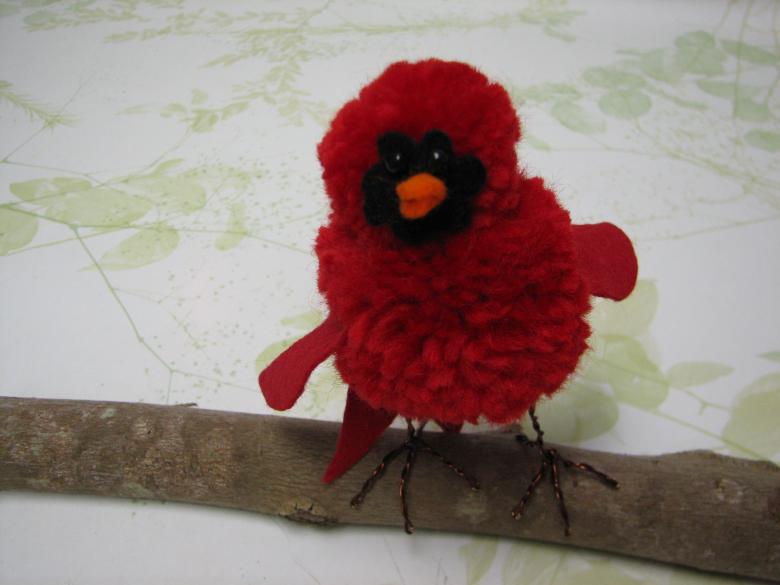
Children love to make something with their own hands. We only need to direct their creative energy in the right direction. At this age it makes sense to introduce the child to new techniques for making crafts and different simple things with their own hands. Ideas can be seen on the Internet.
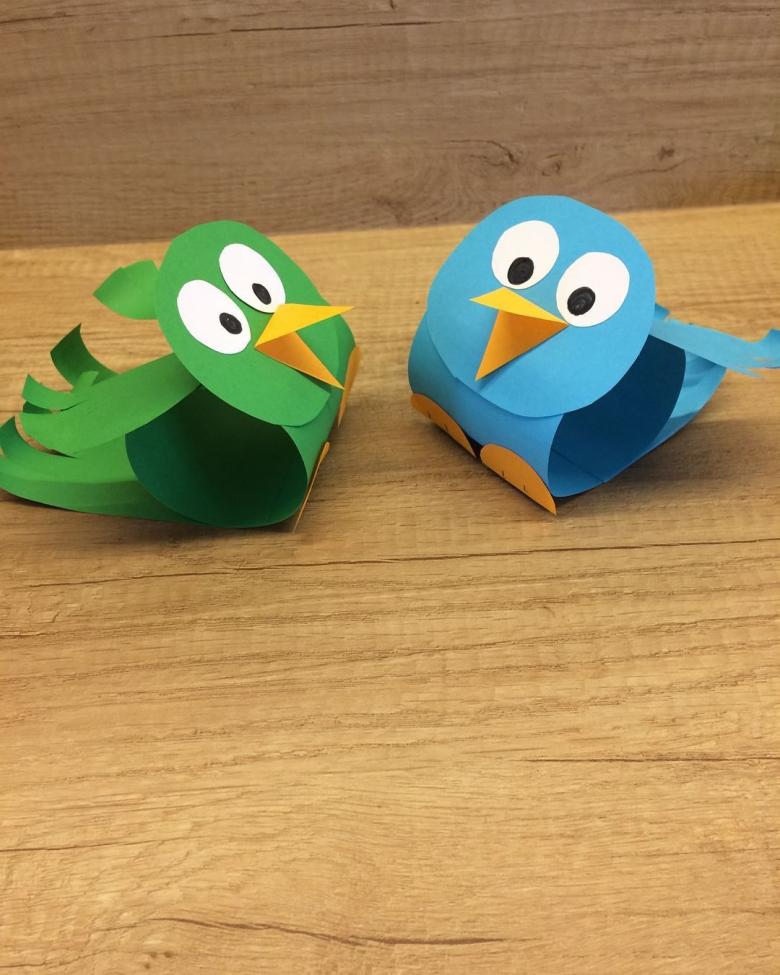
Crafts options for children 7 years old
There are many ideas for independent children's creativity. At the first stage it is necessary to interest the child by showing him/her the technology of work and the final result by personal example. New and interesting contrivances will certainly appeal to children.
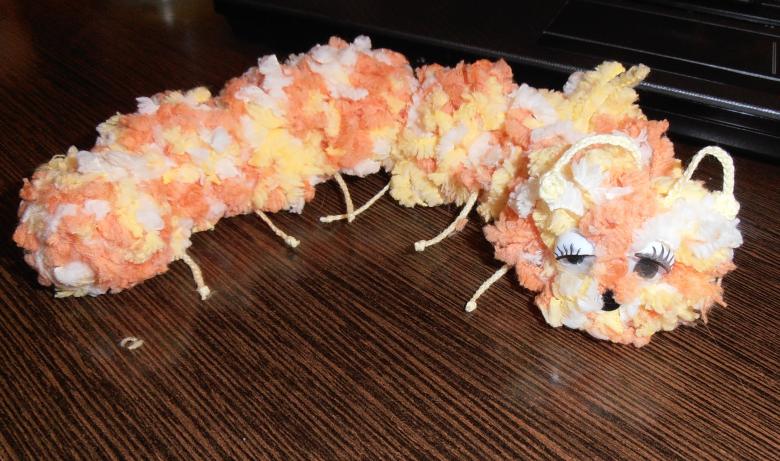
Pom-pom caterpillar
The technology of making this funny toy has a few simple steps, with which a seven-year-old child can cope independently.
For the work you need to prepare:
- Thread for knitting (acrylic yarn will be the best option),
- cardboard,
- thread and a needle,
- glue,
- scissors,
- pencil,
- compass,
- cloth (thick material).
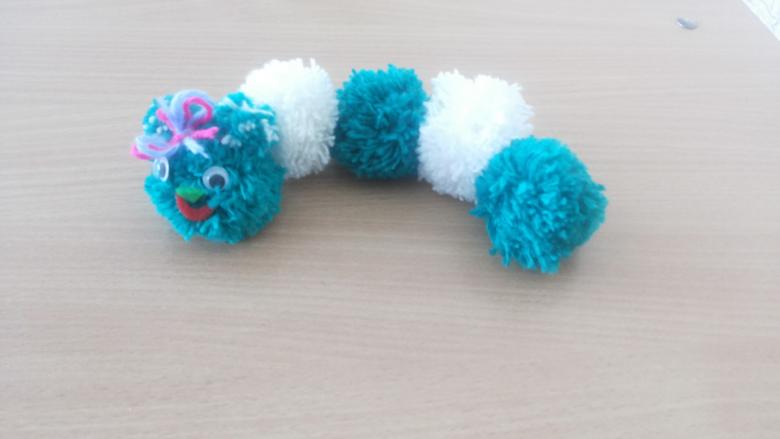
Before starting work, it is important to explain to the child the safety rules for working with a needle. The needle must be stuck into the thread spool or needle holder, you can't take it in your mouth.

Step by step master class
- Using a compass and scissors, two circles with holes inside should be made from cardboard. They are necessary for making pompoms. The two cardboard pieces are put together and wrapped with knitting yarn. The more wrapped, the more fluffy the pompom. Yarn carefully cut with scissors along the outer edge. Cardboard circles slightly apart, the middle of the winding tied tightly with thread. The circles are removed, the resulting pompon is shaken and spread out.
- The number of pompoms depends on the length of the future caterpillar.
- Pompoms are better to sew together. You can glue, but in this case the caterpillar will not be mobile. Stitch should pass the needle with thread through the middle of each piece. No need to pull them tightly together, the toy will not look the most advantageous way.
- From the fabric elements are cut out to decorate the muzzle and glued. You can use appropriate beads.
- In addition, you can make antennae antennas, decorate the toy with bows, make a puppet.
The work is simple and interesting, and the result will please the child.
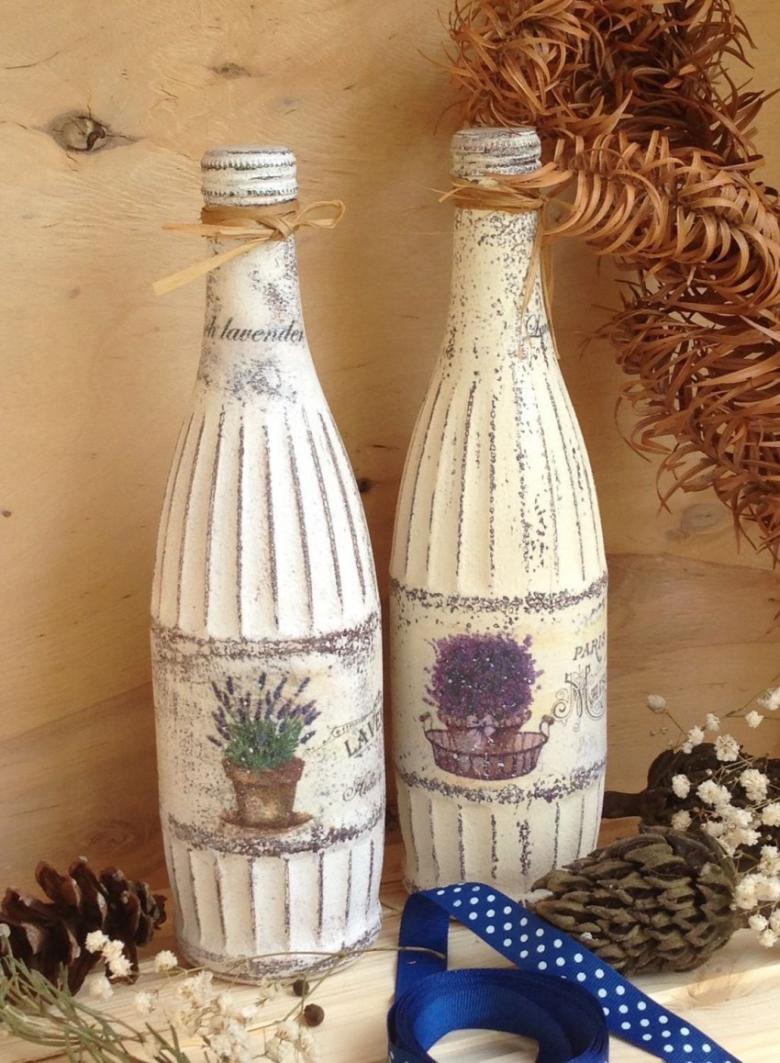
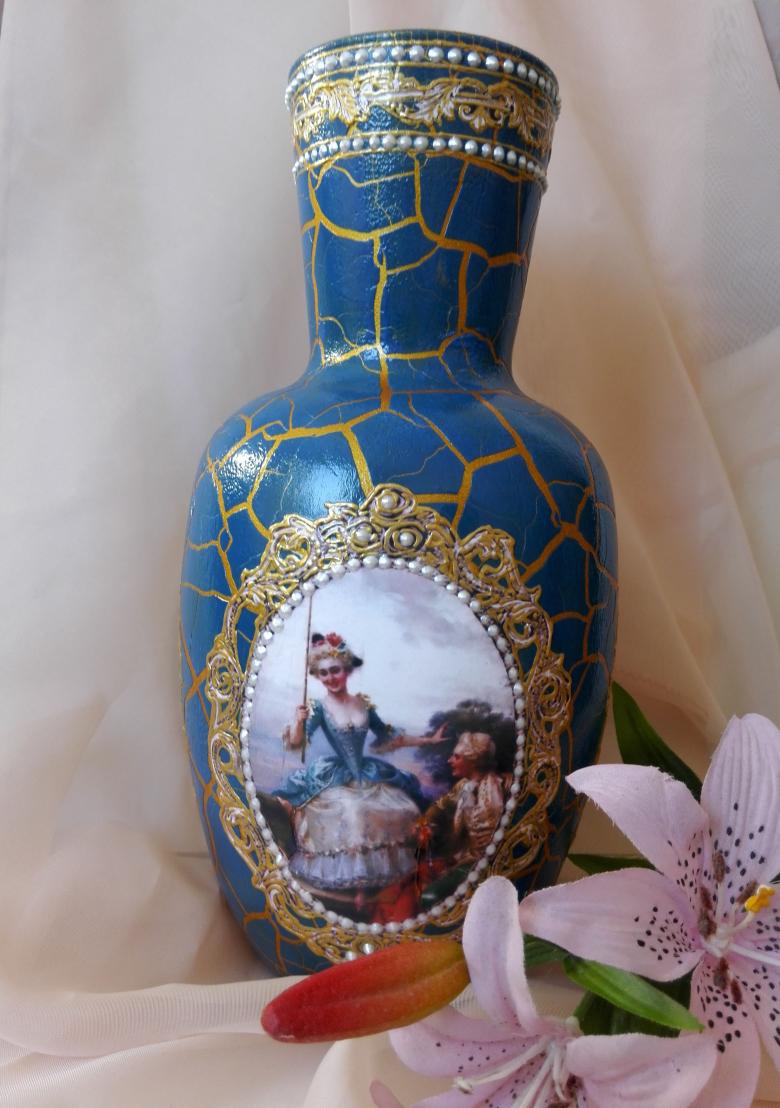
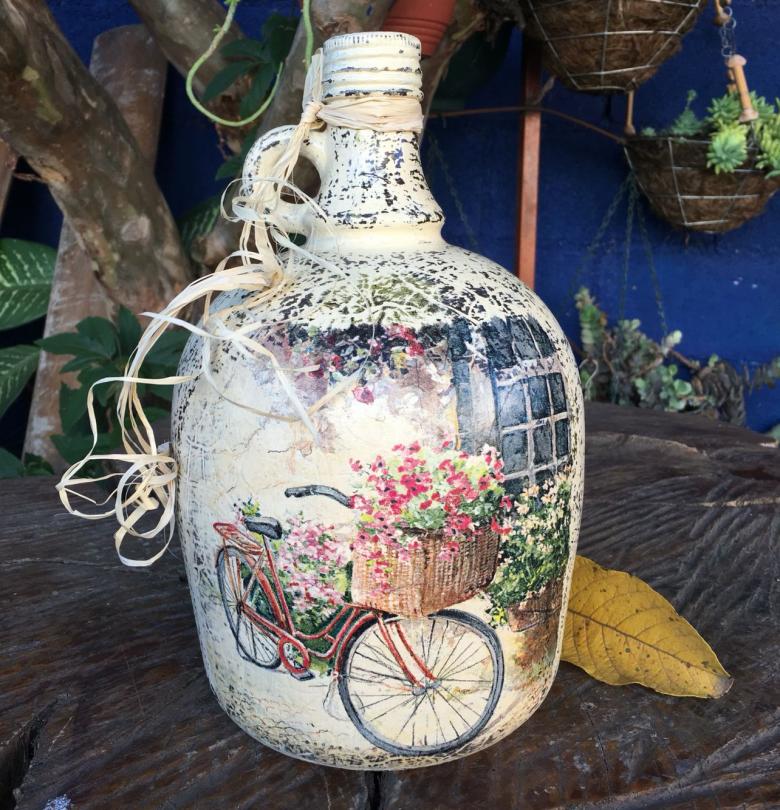
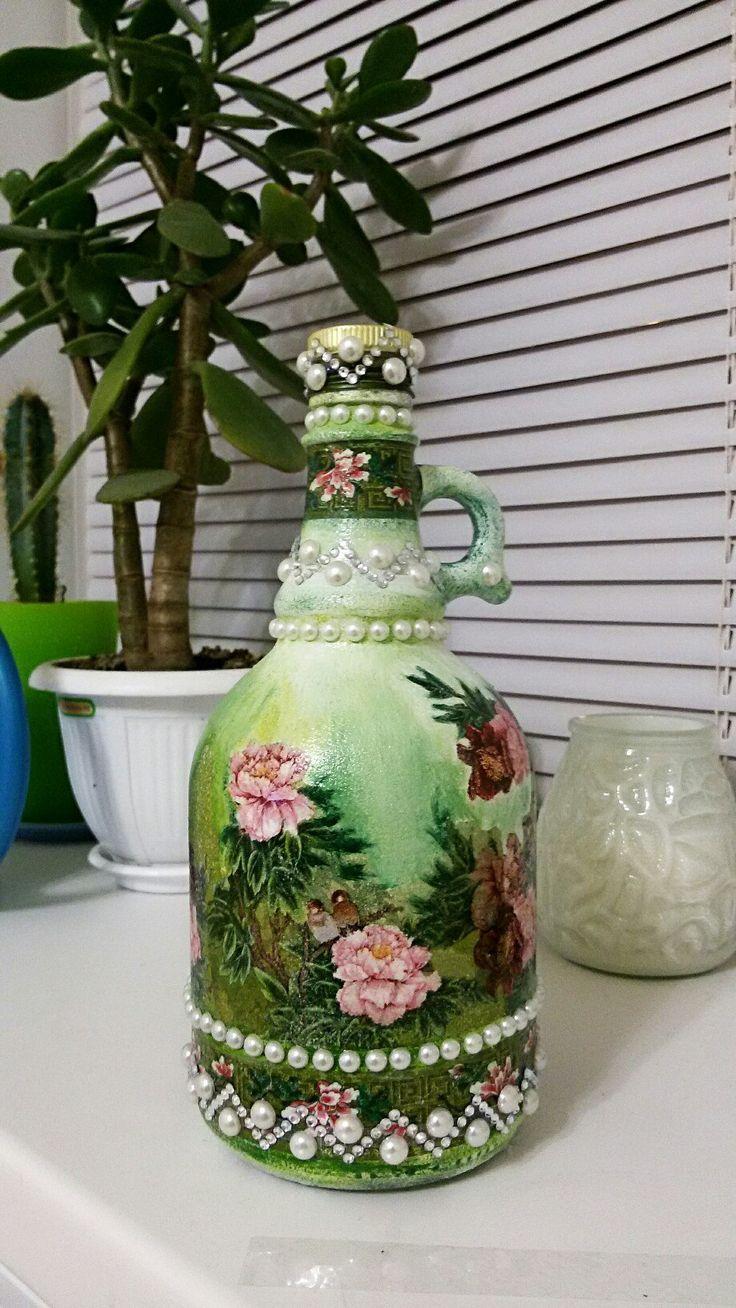
Vase from a bottle in the technique of "decoupage
It is useful to introduce your child to new creative techniques. It will be a pleasure for him to make a beautiful thing to decorate the interior with his own hands.
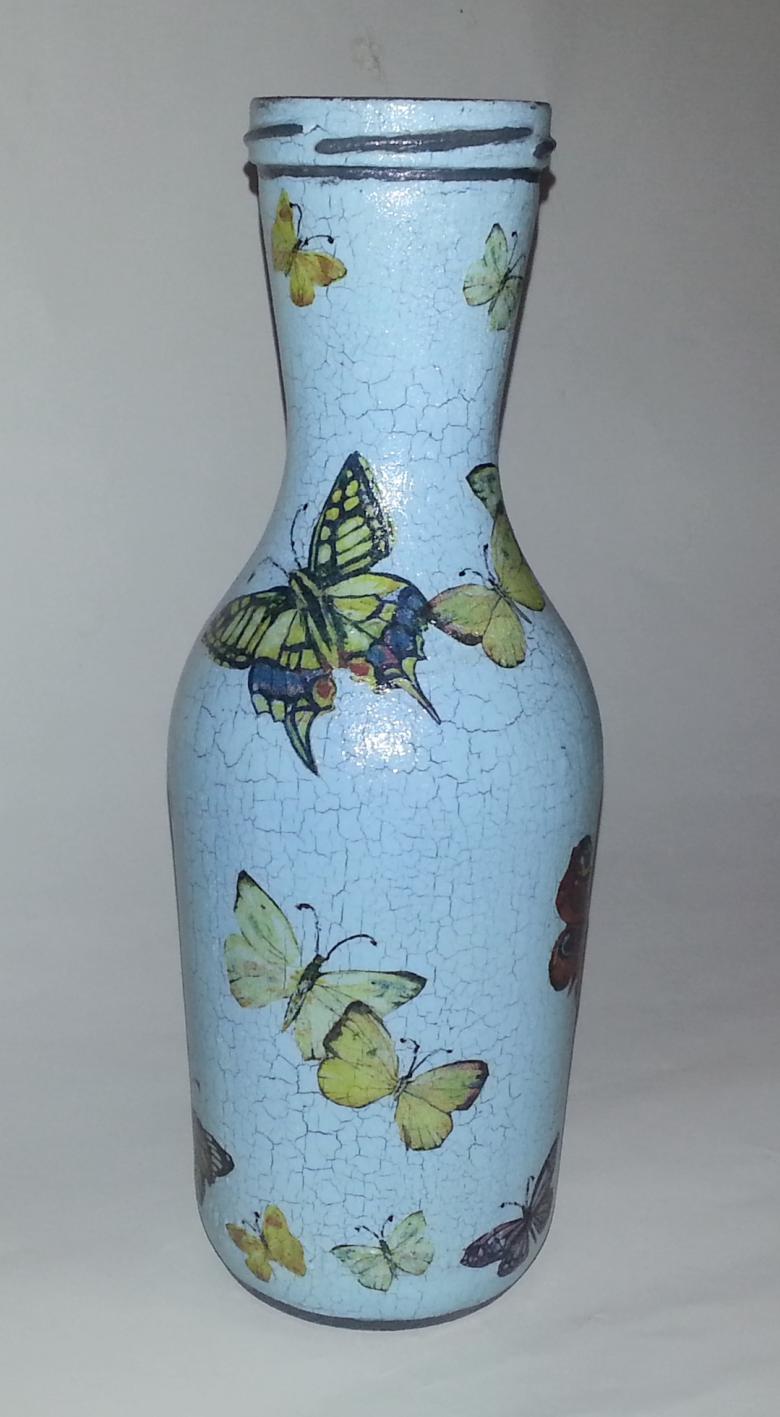
To bring the idea to life, you will need:
- a glass bottle,
- dishwashing detergent,
- Paint (gouache or acrylic paint),
- brush,
- Decorative napkins for decoupage.
For the first works in a new technique, it is better to use gouache.
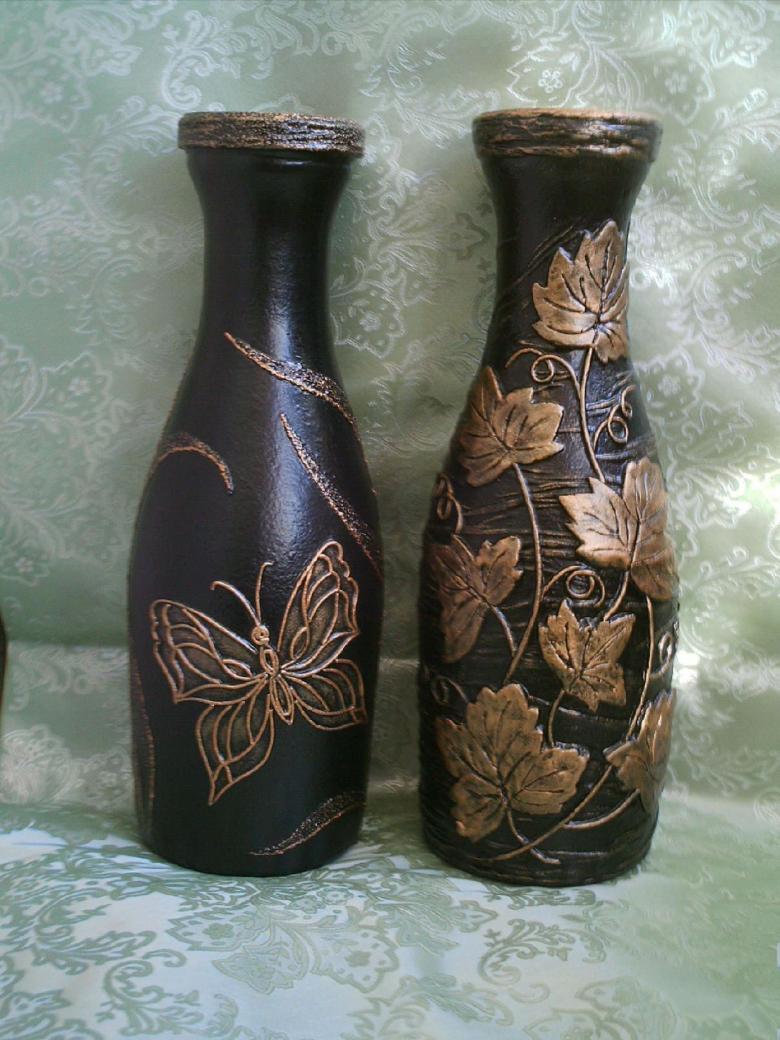
Step by step master class
- First of all, the bottle should be thoroughly washed with dishwashing detergent. Then wipe and dry it.
- In the next step, the bottle is painted white. Several coats of paint are needed.
- Prepare decorative napkins, dividing them into layers, cut out the picture and paste the bottle.
- Dry and varnish the product.
You can decorate different objects in that way.
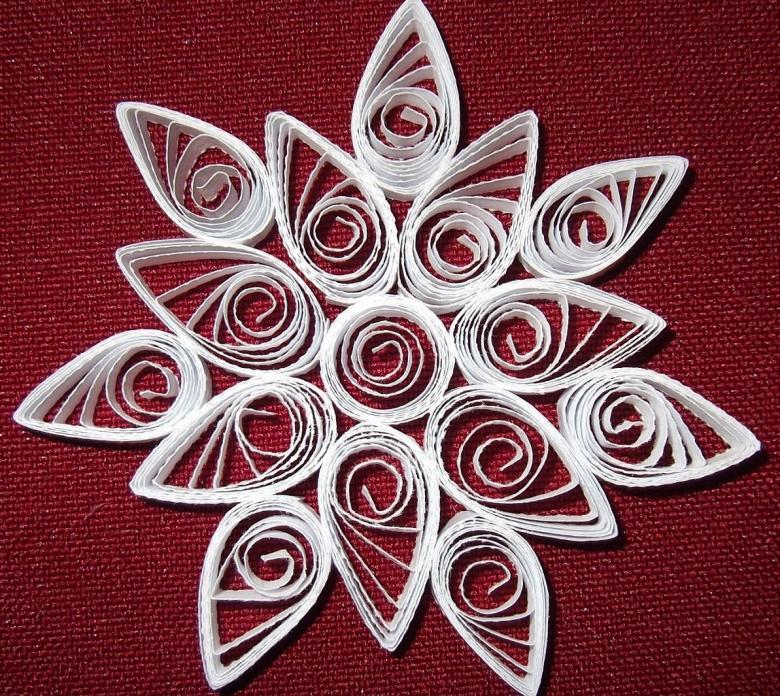
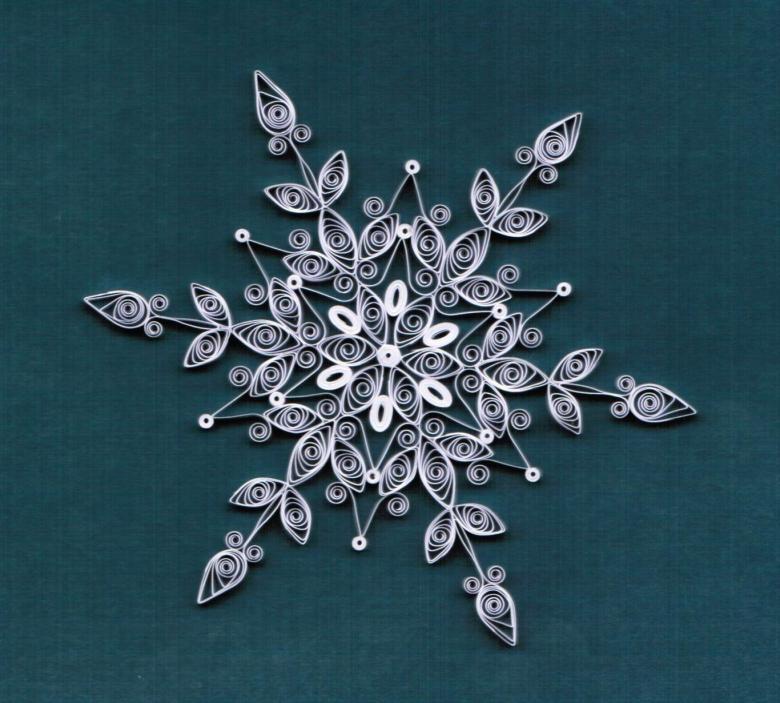
Snowflake
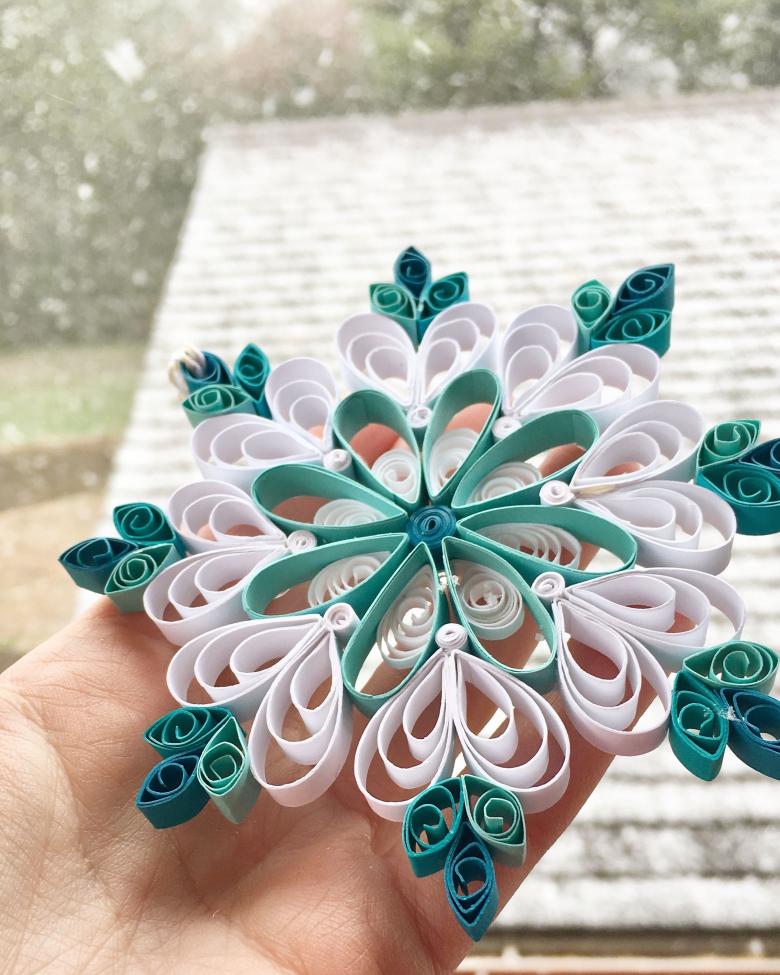
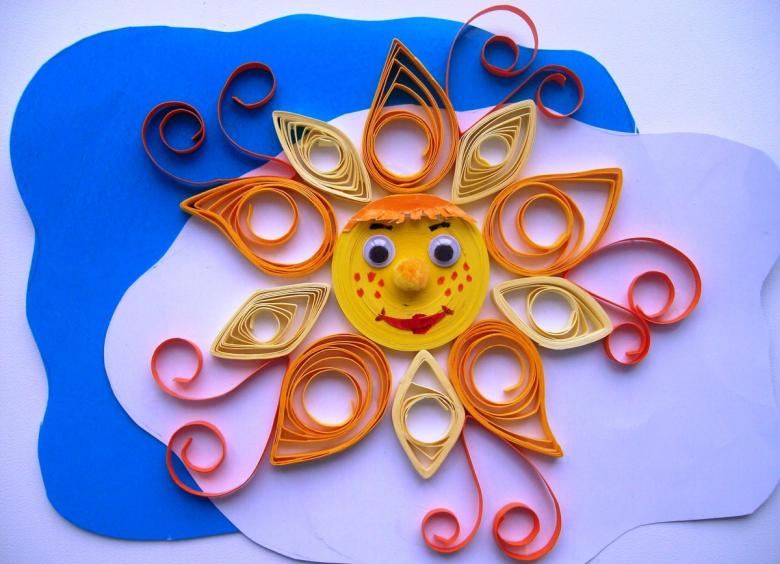
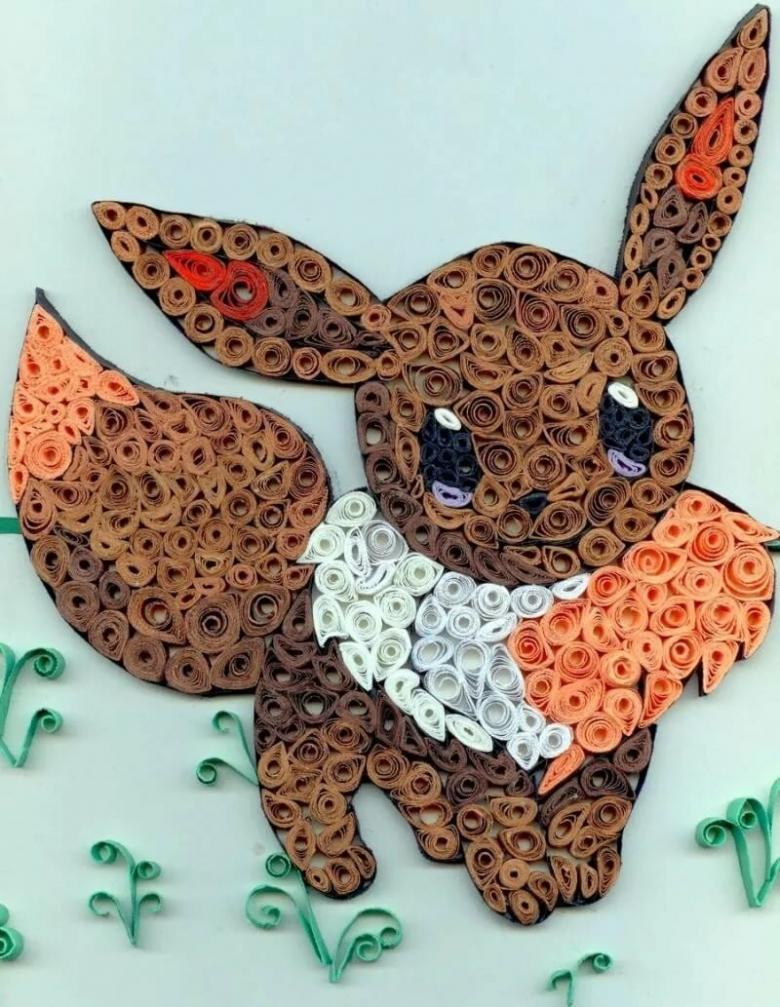
Making this snowflake is a good way to acquaint your child with the technique of "quilling".
For work it is necessary to prepare:
- double-sided colored paper,
- a hollow tube,
- a thin needle (or awl),
- a box cutter,
- scissors,
- a ruler.
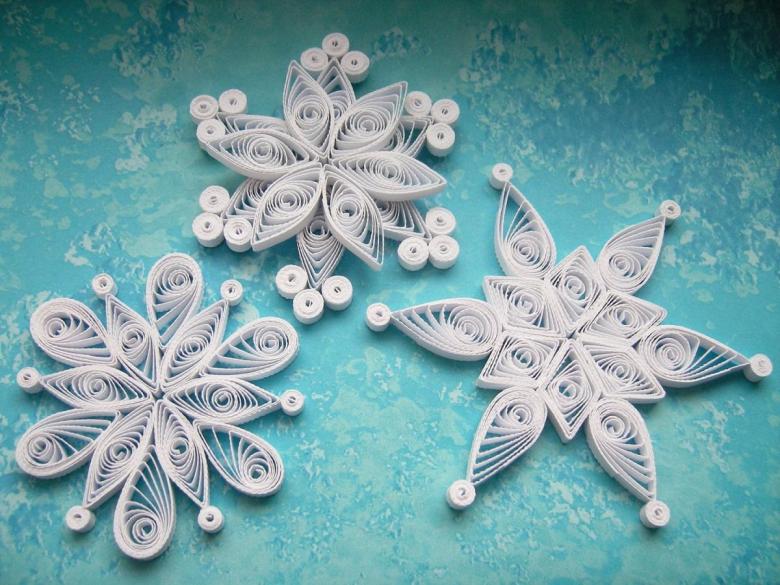
Before you begin to realize your idea, you have to cut strips of colored paper 50 millimeters wide. It is possible to avoid this work by buying special paper.

Step by step master class
- With the help of a needle, paper strips are twisted into coils as tightly as possible. The number of blanks depends on the idea. For this handicraft will need 13 parts.
- The central coil a bit stretch.
- 6 blanks squeeze, giving them an ellipse shape.
- The edge of the paper with a strip of glue to each part so they do not unravel.
- The central part is glued around the circle of oval blanks.
- The remaining 6 parts slightly stretched and also glued to the resulting structure.
- Handicraft ready.
The shape of blanks can be changed to a leaf or heart. Number of spools can be different.
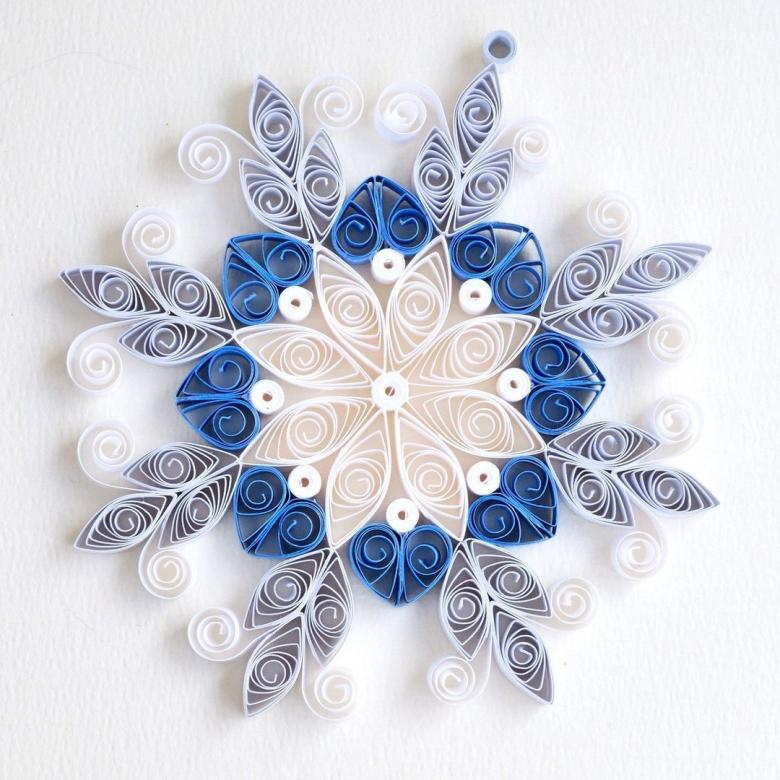
In this original technique can make different crafts and applications. A funny lamb or poodle, an apple tree, a fabulous firebird, an autumn forest.
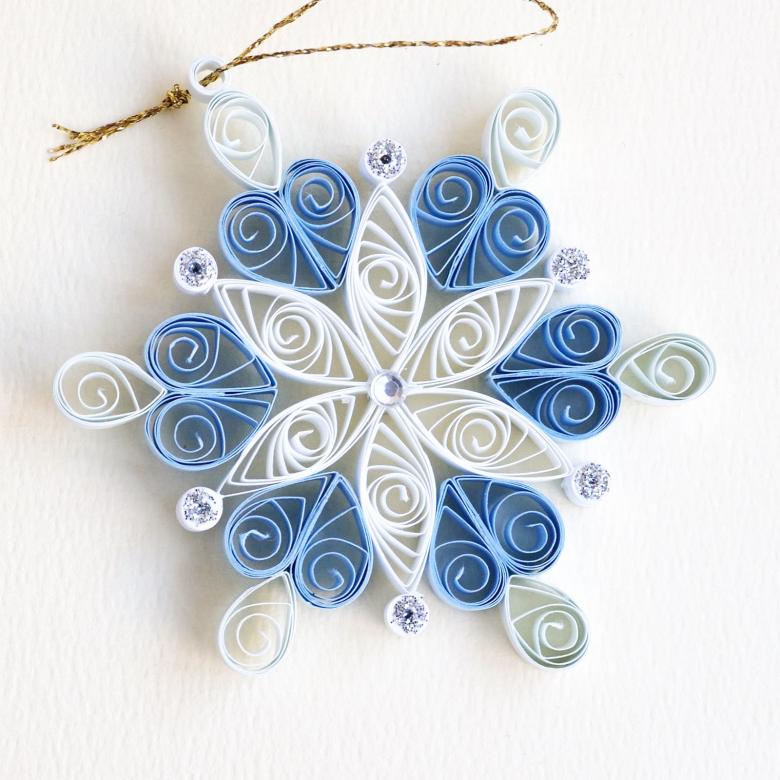
Handicrafts in this style can be made for a school exhibition or decoration of the home interior.
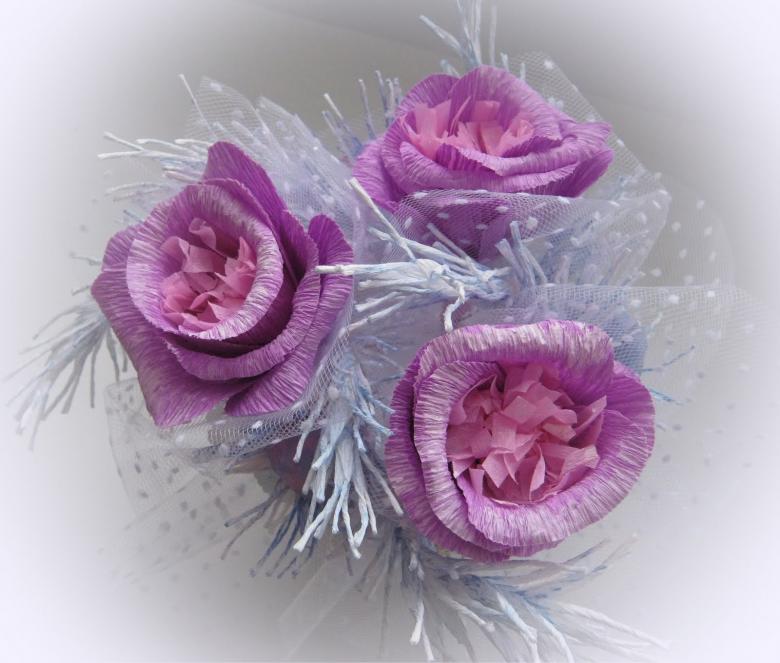
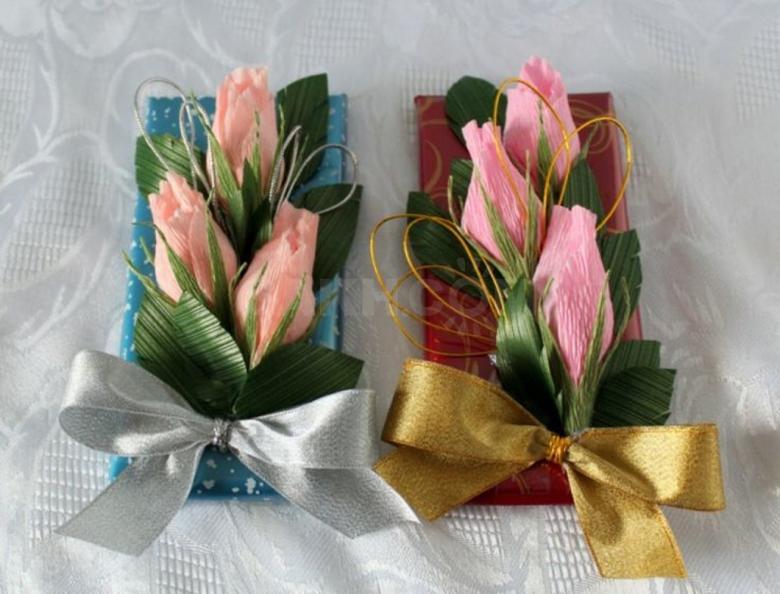
Decorating a candy with corrugated paper
Handicrafts of this plan are easy to perform and are a good option for a gift.
For work it is necessary to prepare:
- corrugated paper of different colors,
- wire,
- cardboard,
- scissors,
- glue,
- threads.
Step by step master class
- Make the handicraft begins with cutting the petals. They need about 20 pieces. Cut from paper, observing the direction of corrugation.
- 5 petals roll up into a bud. In the middle it is necessary to put a candy.
- Glued petals to the bud, giving them the desired shape.
- The flower is attached to the wire, which wrapped with green paper.
Handicraft finished.
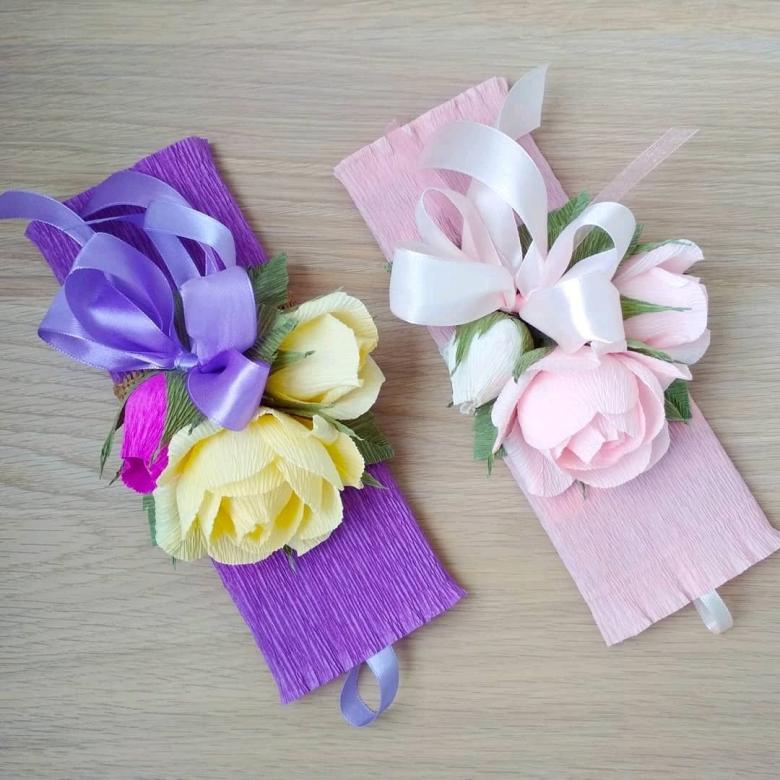
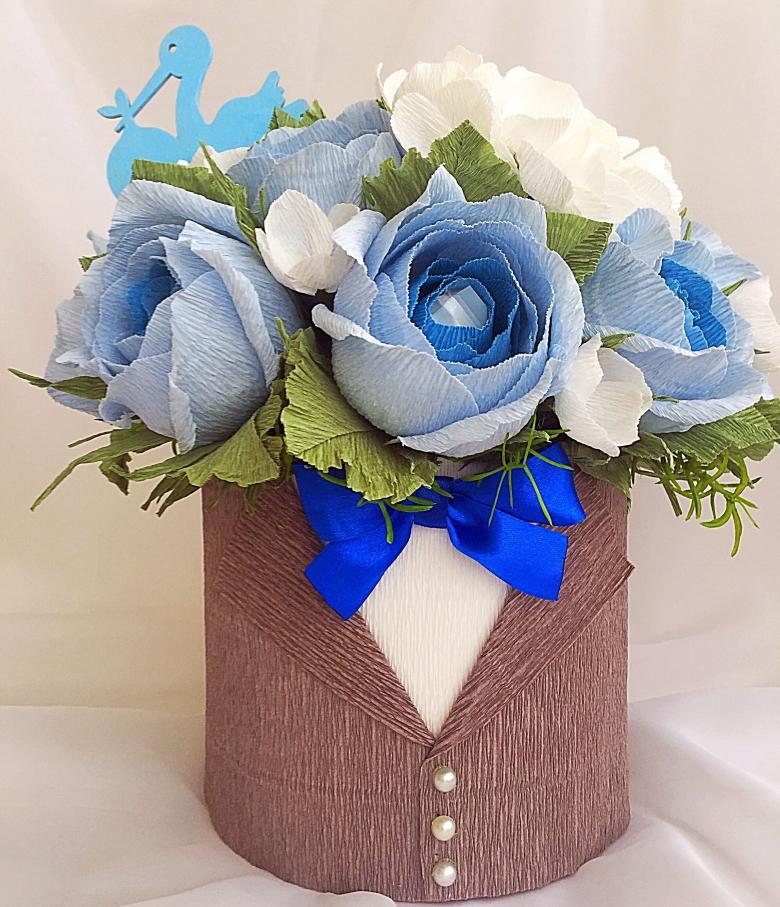
Using the skills acquired during the work, you can make a bouquet of candy of any shape and size.
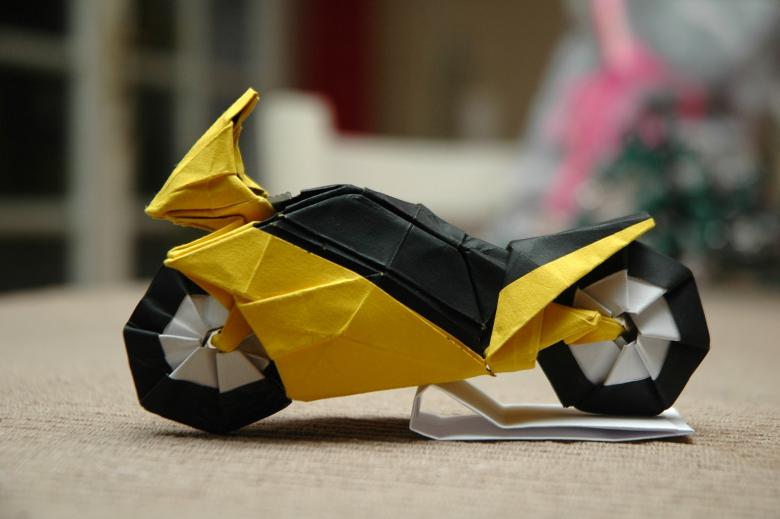
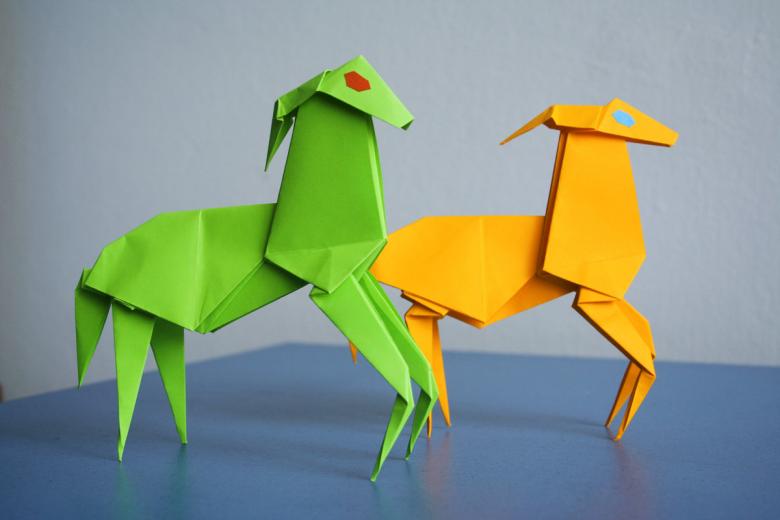
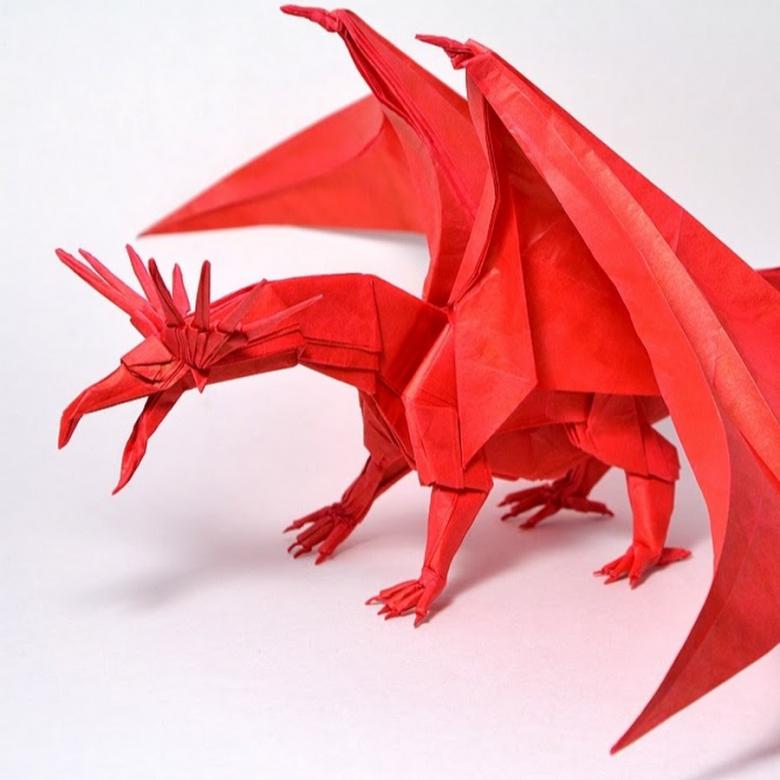
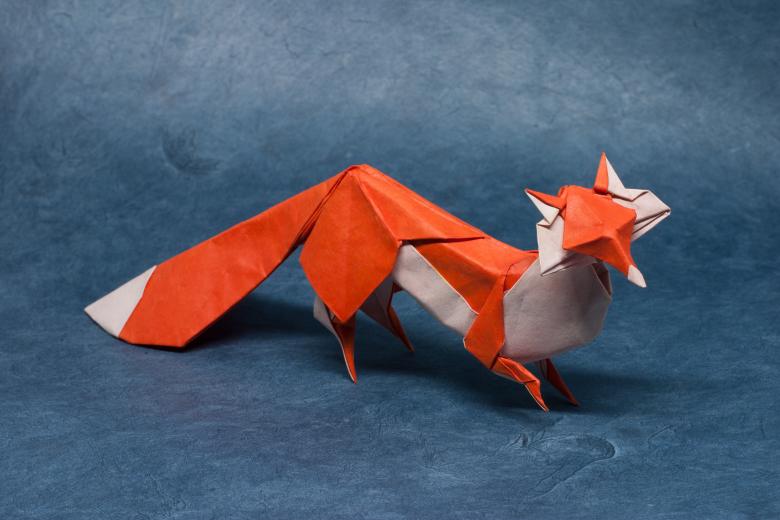
Origami
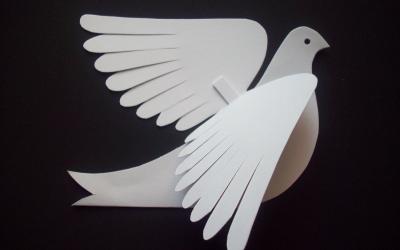
A fascinating creative process, interesting not only for children, but also for adults. Folding different figures from paper helps develop spatial thinking and assiduity.
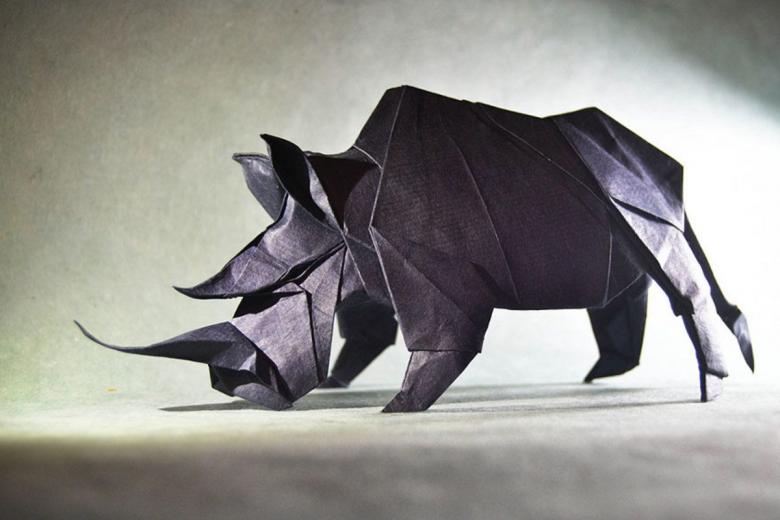
Detailed instructions, photos of the work and templates for crafts can be found on the Internet.
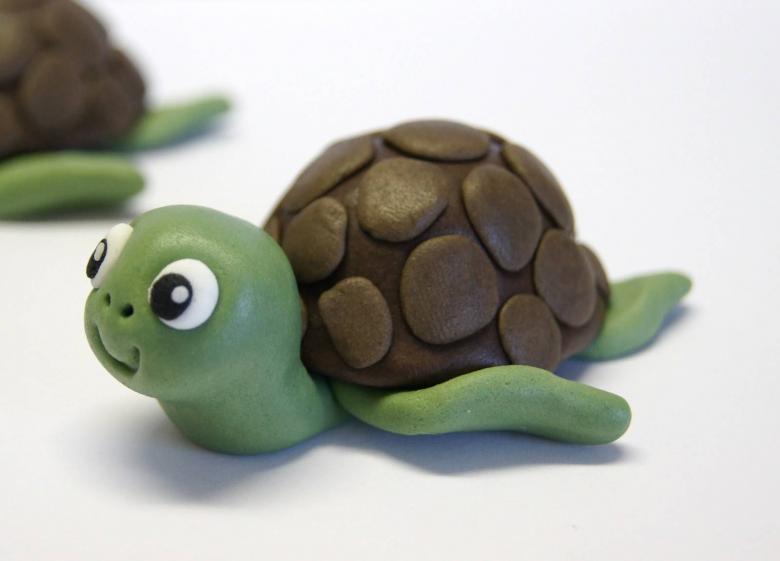
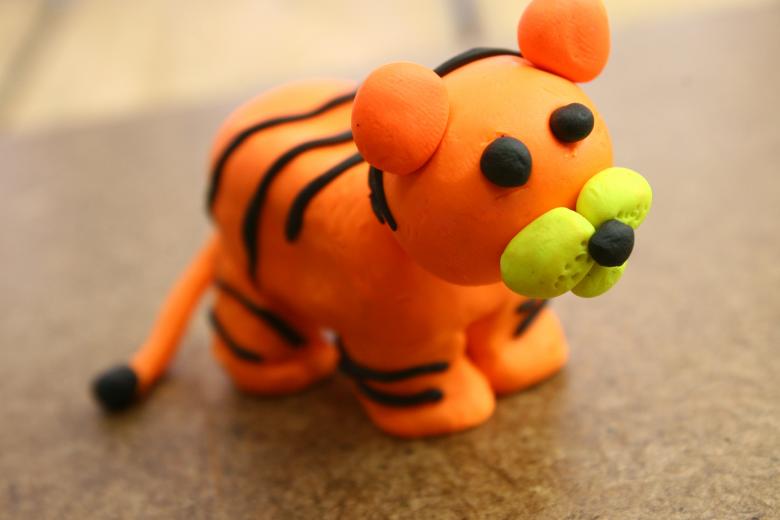
In plasticine modeling
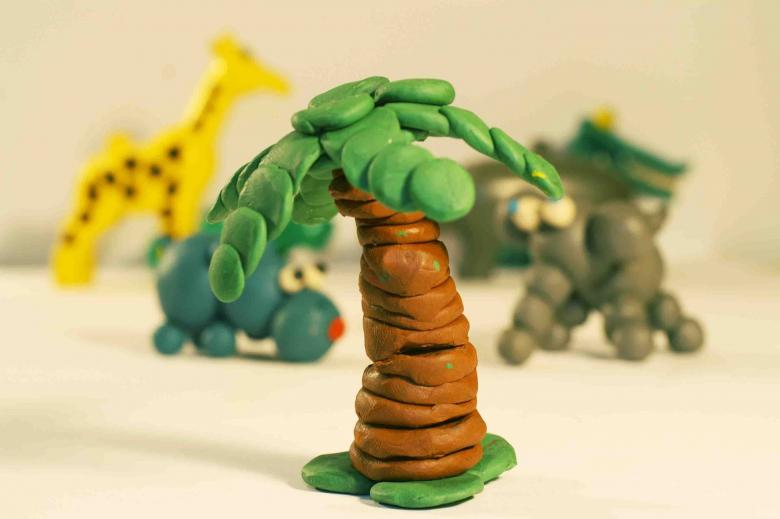
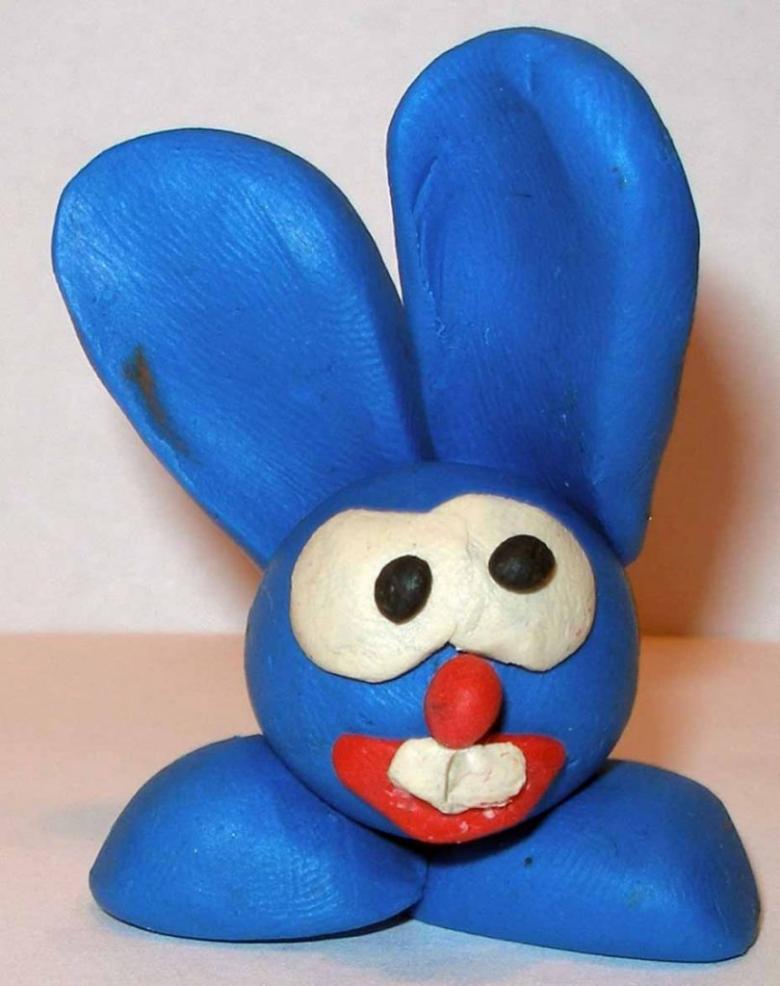
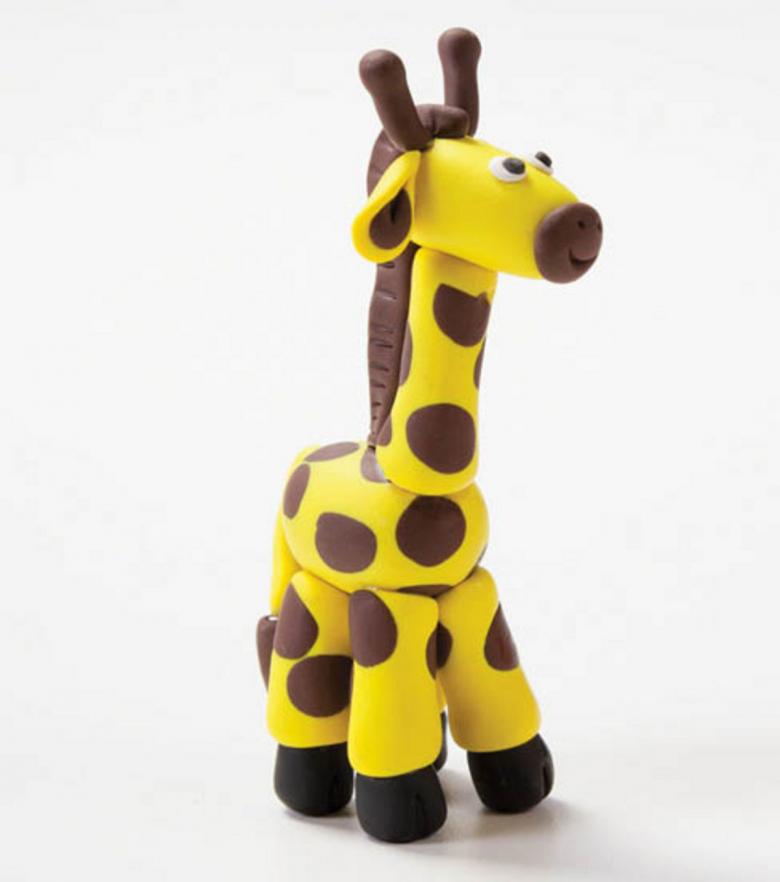
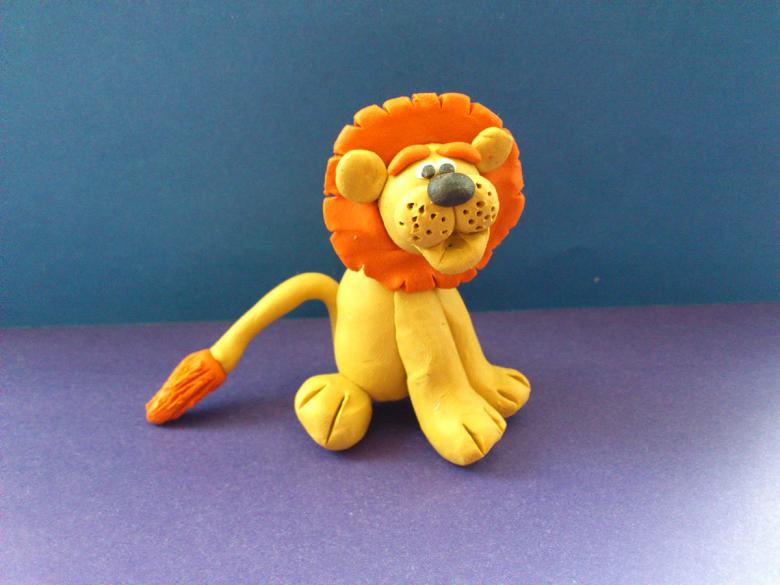
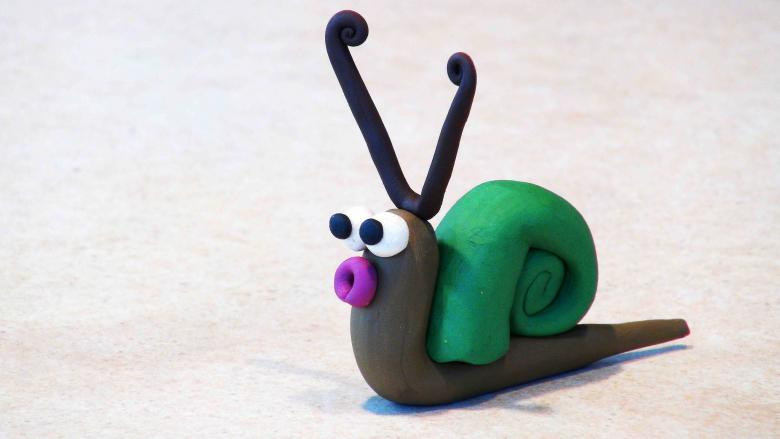
Modelling with clay or salt dough is an interesting and useful activity. At seven years of age, children are able to mold complex figures of animals, fairy tale characters and favorite cartoon characters.
To make the process of molding became even more fun, you can offer your child to shoot a cartoon with the characters molded with his hands.

To do this, prepare a simple set of paper and cardboard, mold characters. The creative process of shooting requires patience and concentration. Need to think of a plot, shoot footage for the future reel. And editing can be done with a simple program on your smartphone.
For seven-year-old children, the sphere of creative activity is much broader due to their skills and abilities. Adults only need to give impetus and support the child's initiative.

