Clay crafts for children with a step-by-step description of the master classes - photo examples, tips, ideas
Modeling is one of the most popular types of children's art. It not only trains fine motor skills, but also contributes to the development of imagination, forms the kids' idea of shape and color, is useful for the nervous system and the psycho-emotional state of the child. Little fidgeters become more diligent, if you take them such an interesting case, from colorful pieces of ordinary plasticine they are able to mold a whole fairy tale world.
Clay or plasticine?
Undoubtedly, clay crafts are more durable, but clay is also more troublesome. This includes not only washing the young sculptor after work, but if you want to keep the clay product, it must be burned after molding. Clay is almost no trace on his hands, does not require burning or coating after work, and can also be used repeatedly.
At what age can sculpt with clay
It is believed that the best time to start modeling is 1 year. Until a year old kid is more likely to try to chew on plasticine than get interested in the creative process. But children are all individual, so you can try to show your child the process, and if interest is not shown, then postpone this matter for later.
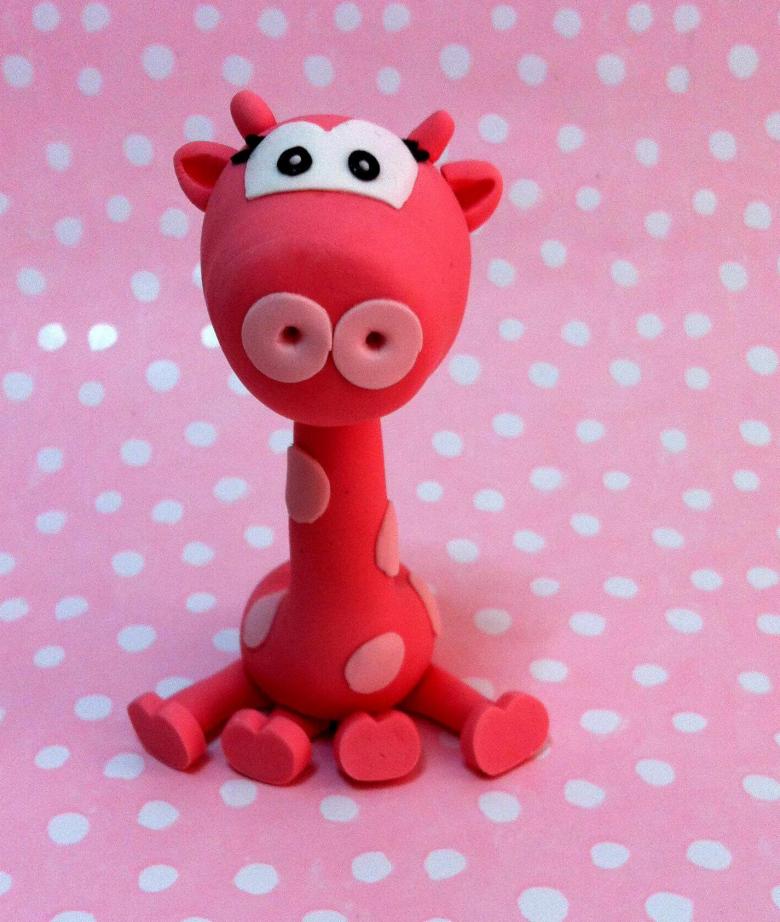
From one to three years, children learn to handle their hands, and at this age it is good to show a child simple actions with plasticine:
- tear off pieces of plasticine;
- Rolling balls;
- flatten, crush balls with the palms of their hands or improvised means;
- Make sausages of different thicknesses;
- twist sausages into rings;
- connect the finished pieces into a common craft.
Up to three years it is better to use a special soft clay for kids.
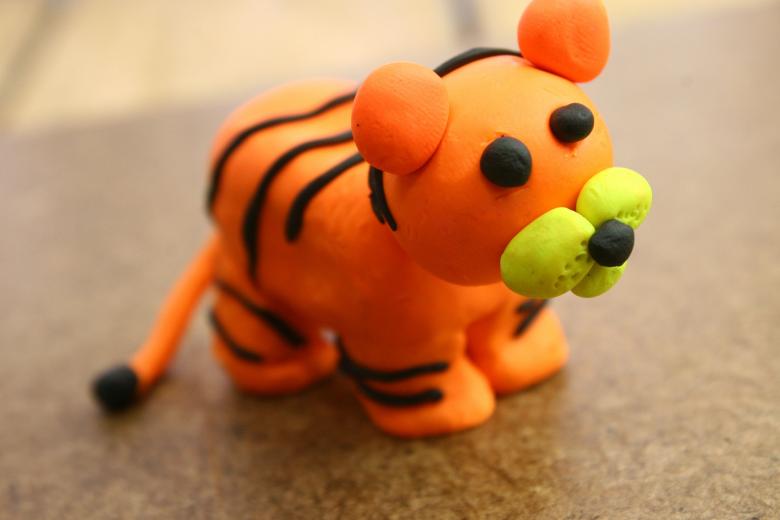
In 4-5 years, a child is fairly well used hands and is quite able to work with regular clay, and the crafts can be more complicated and interesting.
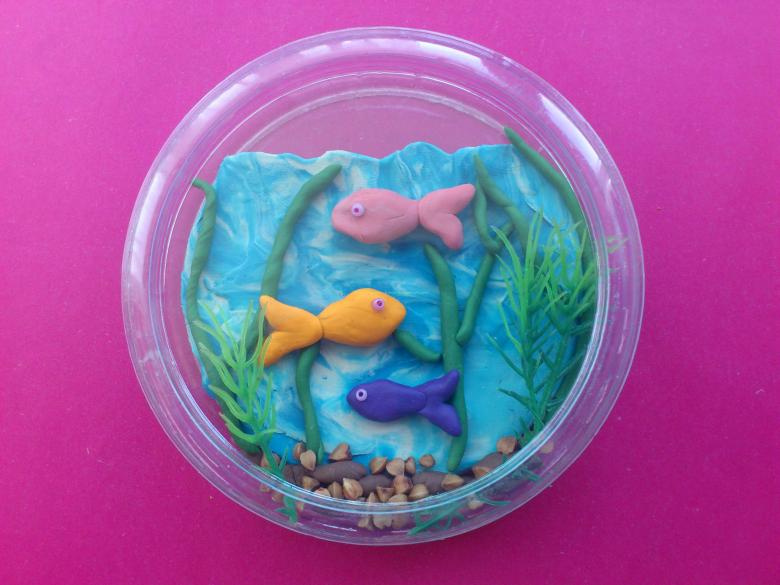
What to model with clay
The choice of what will sculpt the baby depends entirely on the preferences of the child and parents, for example, consider the following groups of crafts:
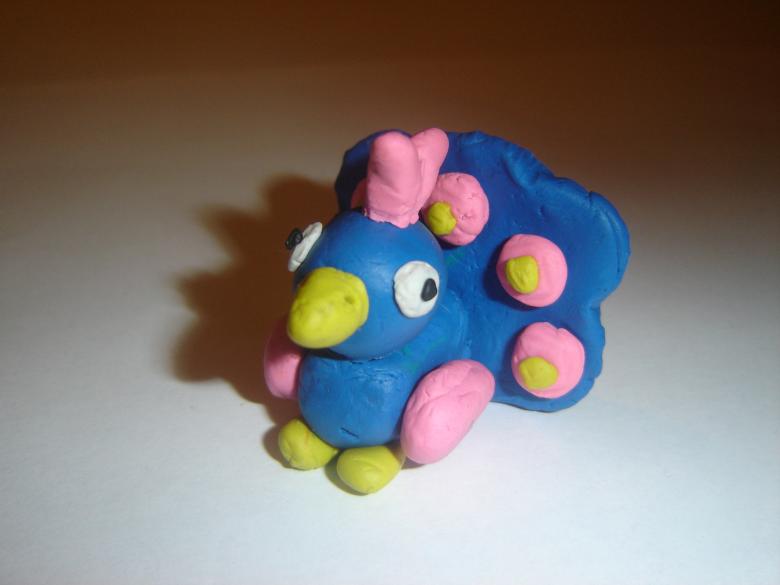
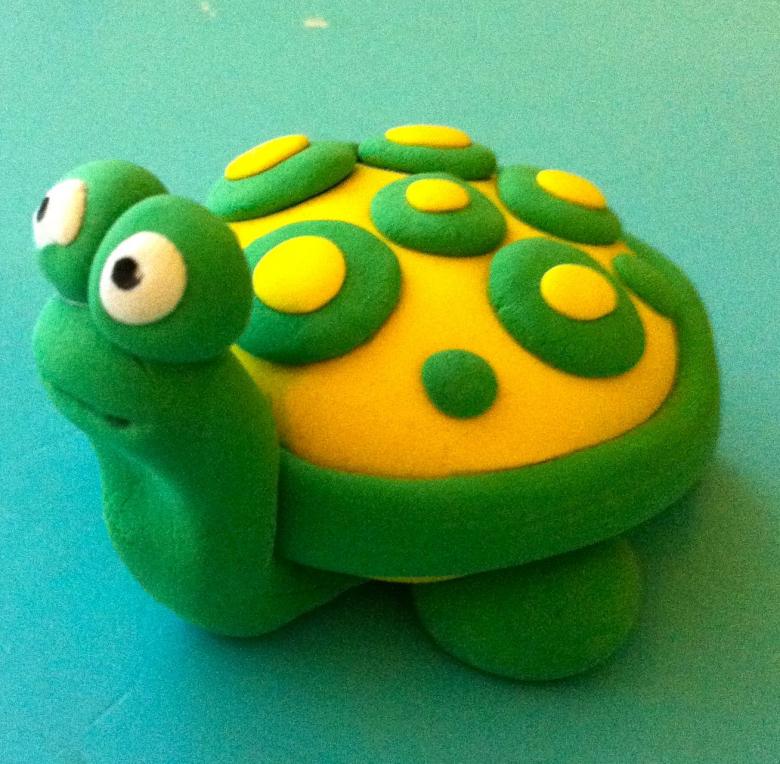
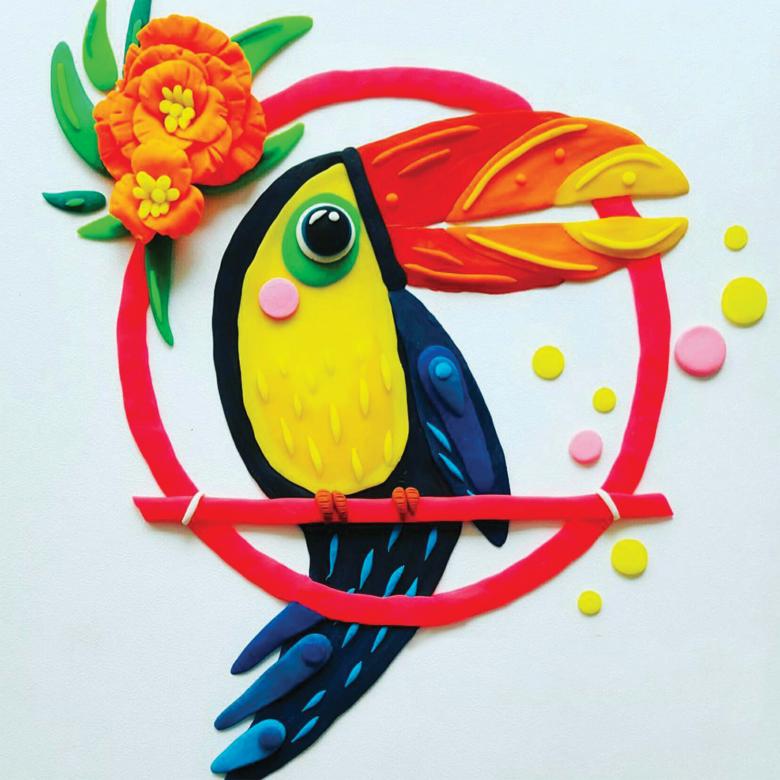
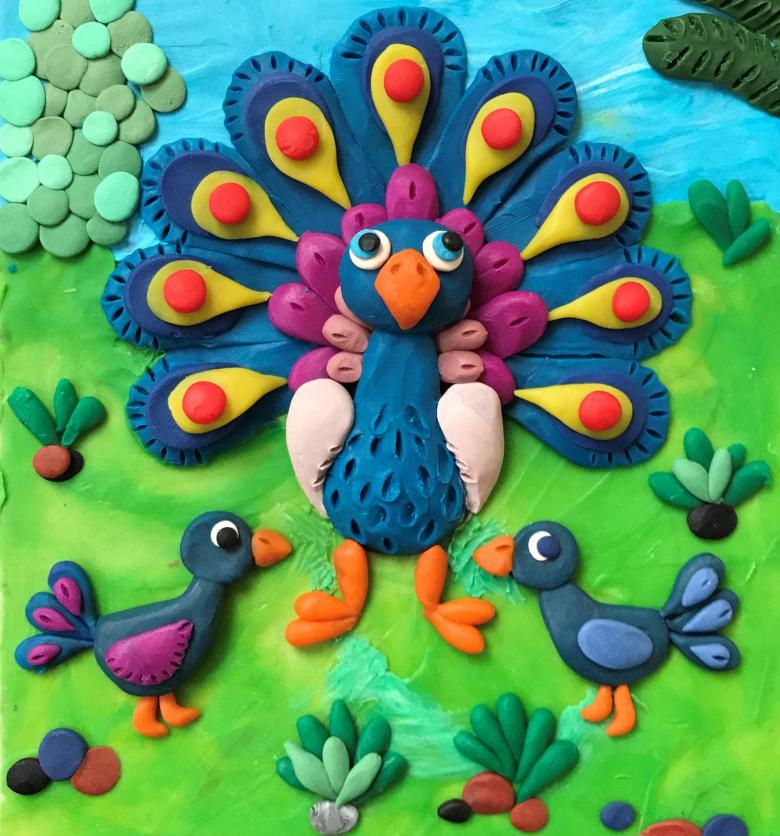
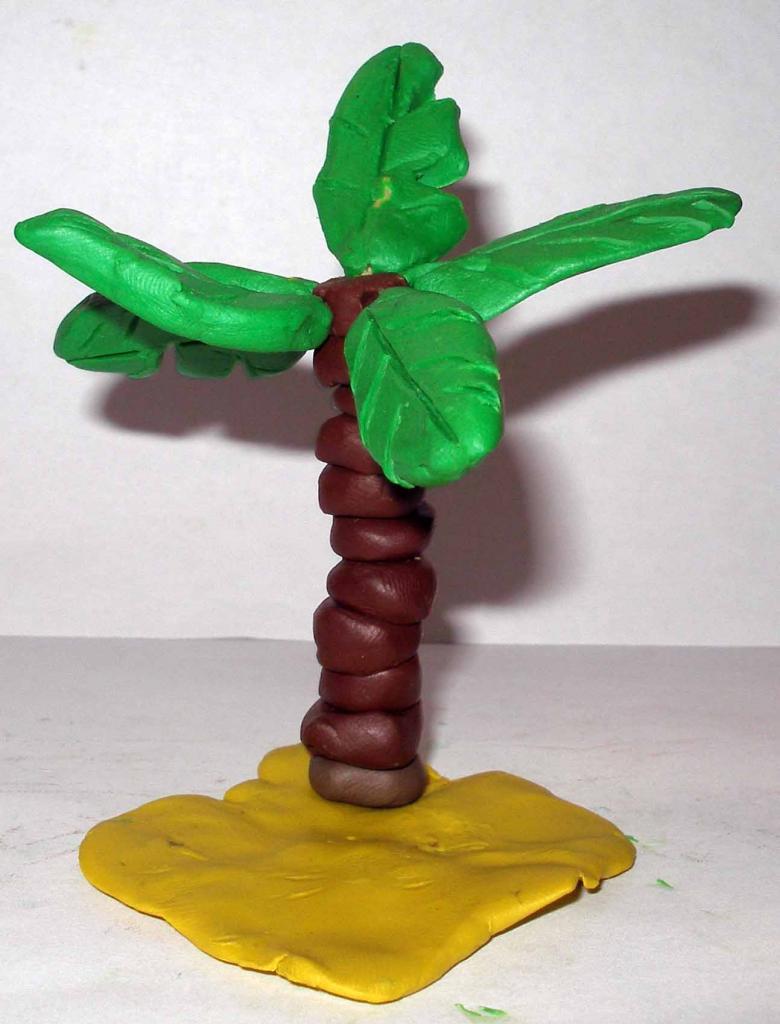
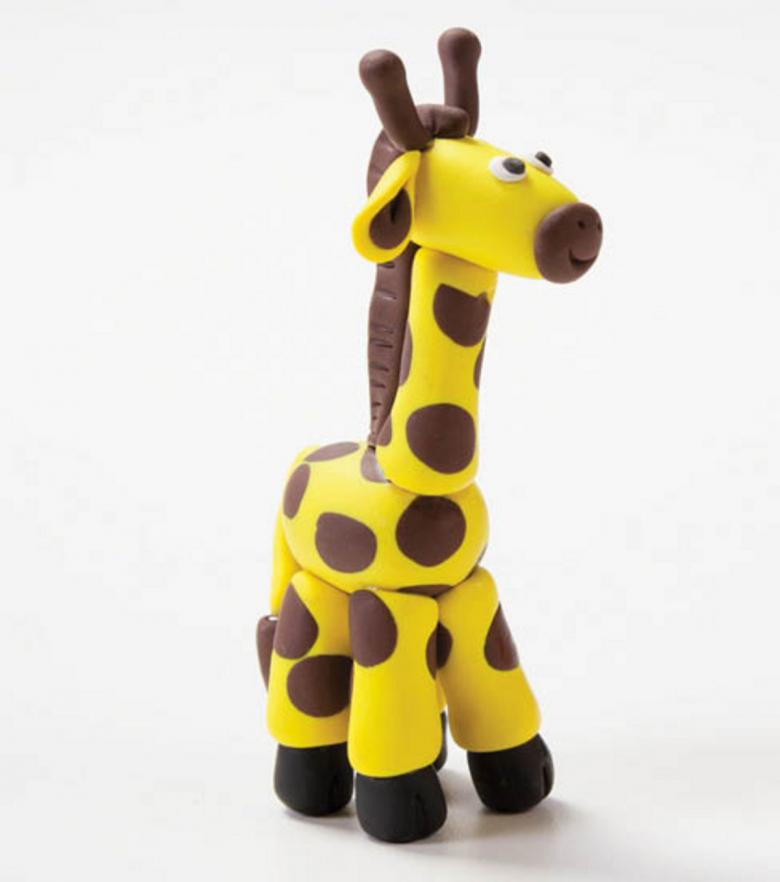
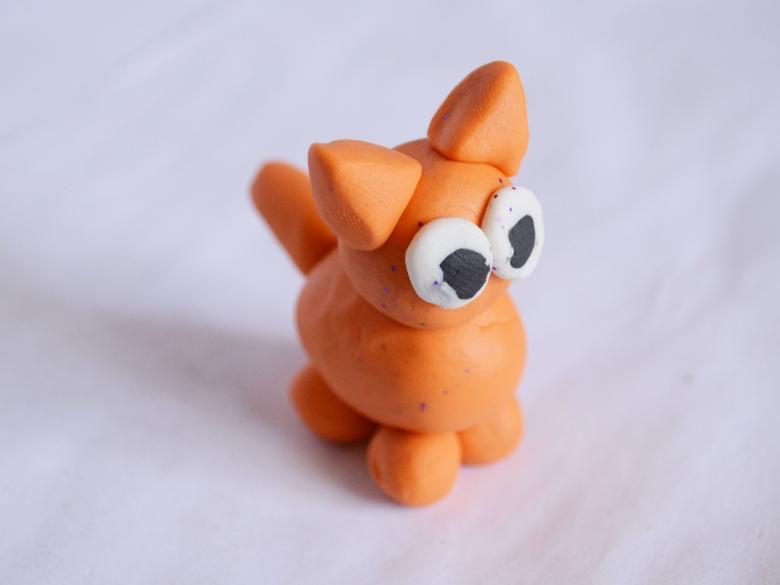
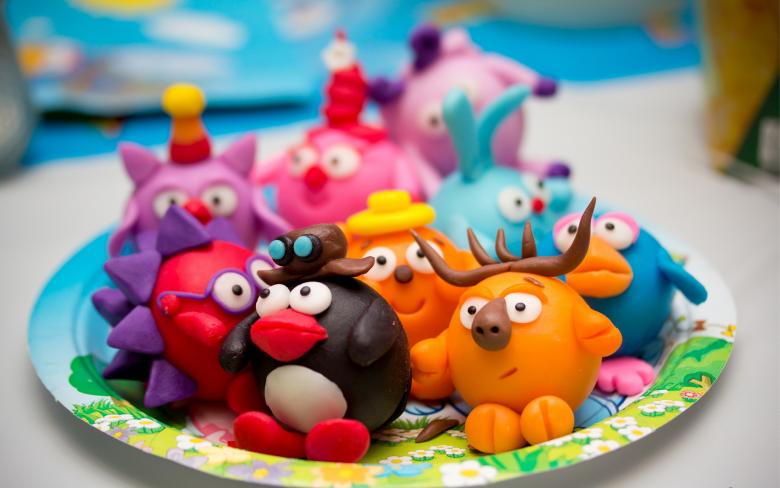
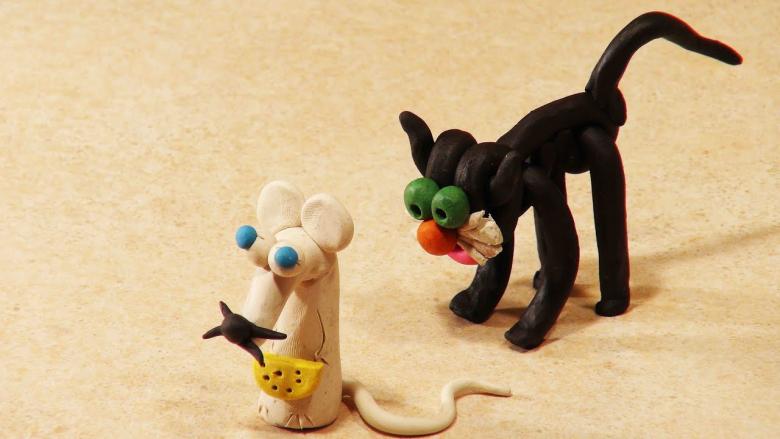
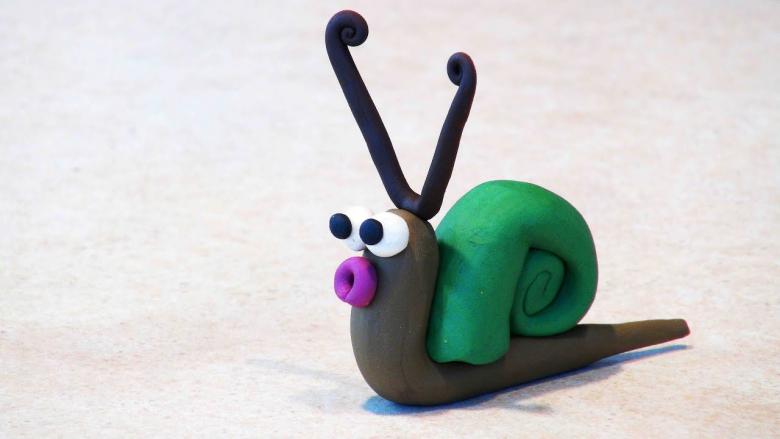
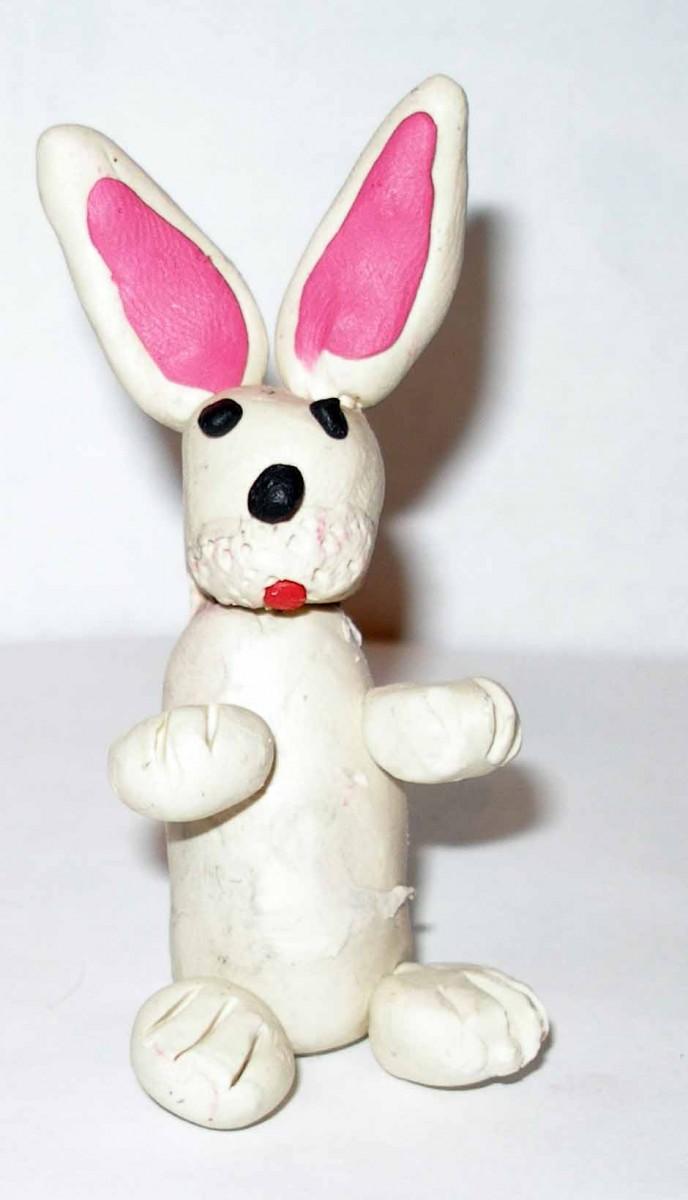
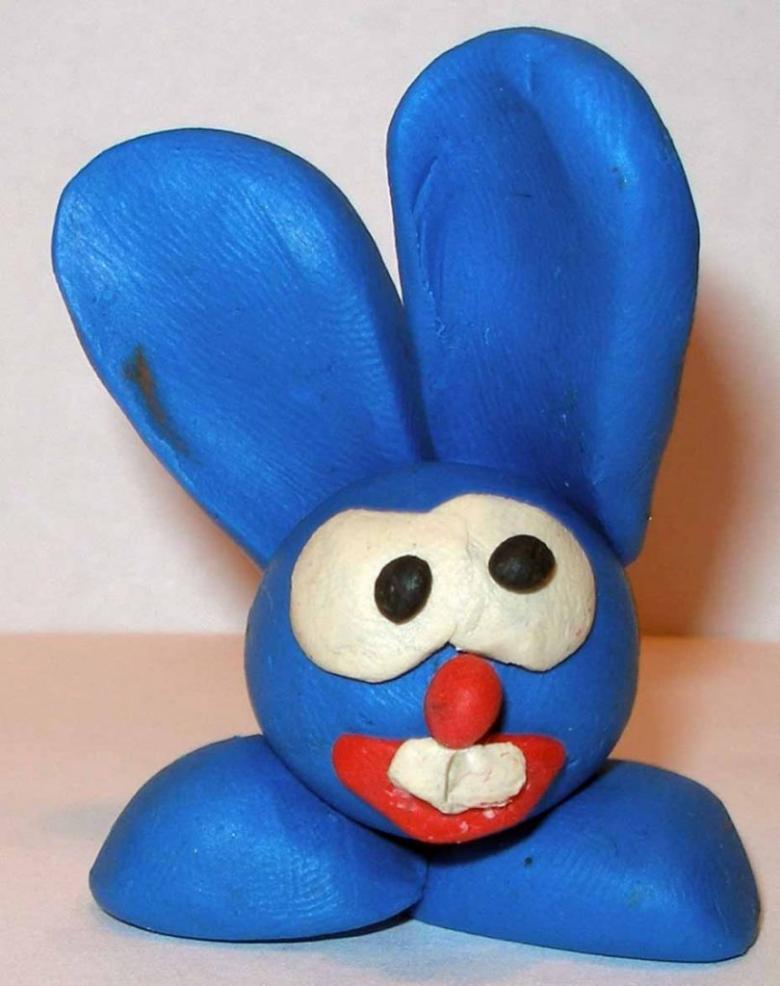
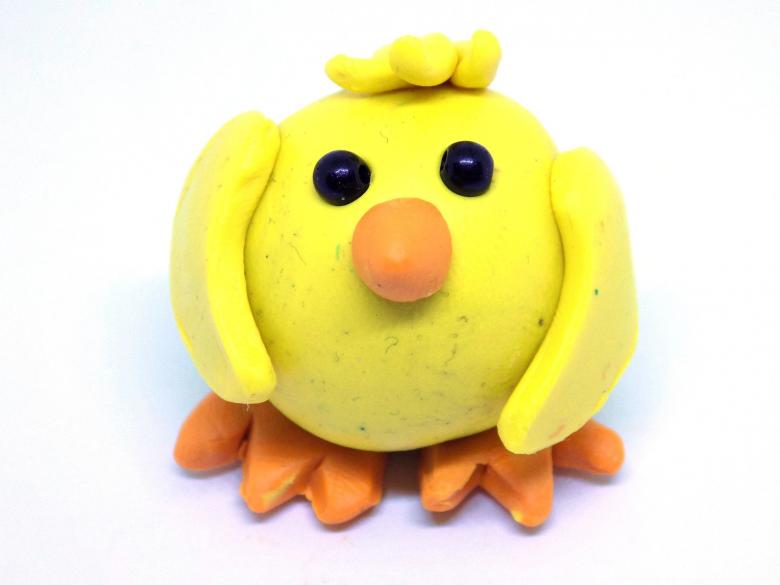
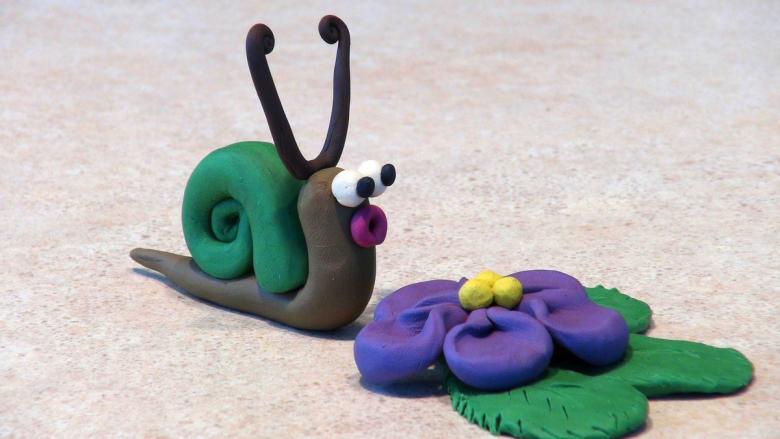
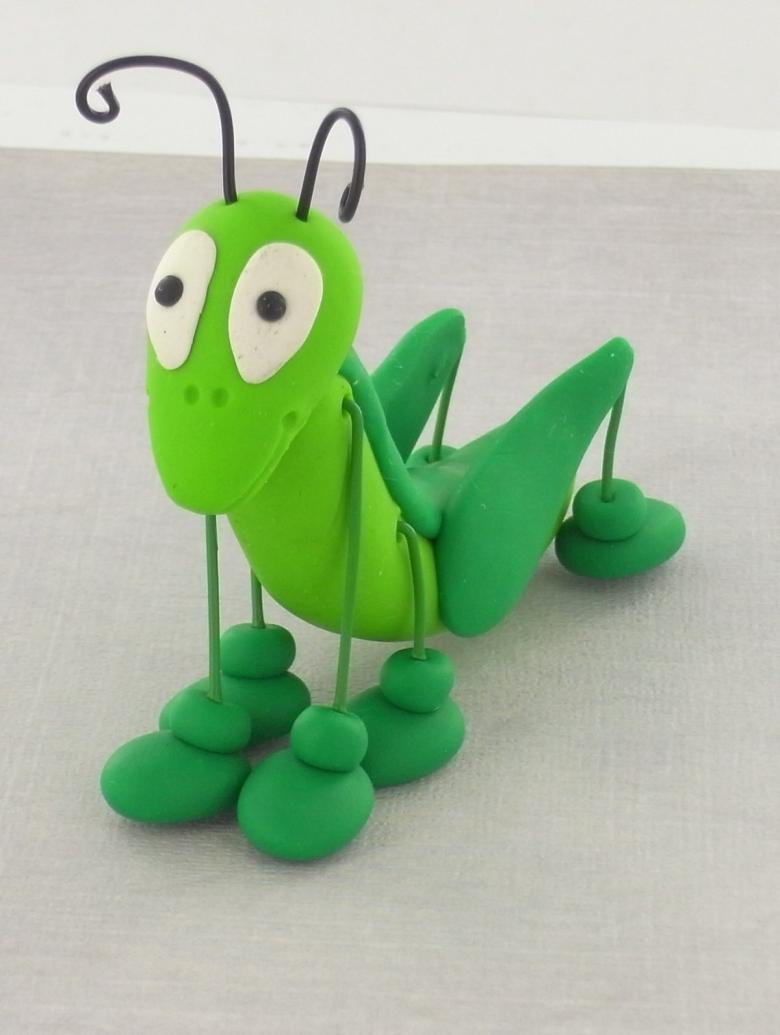
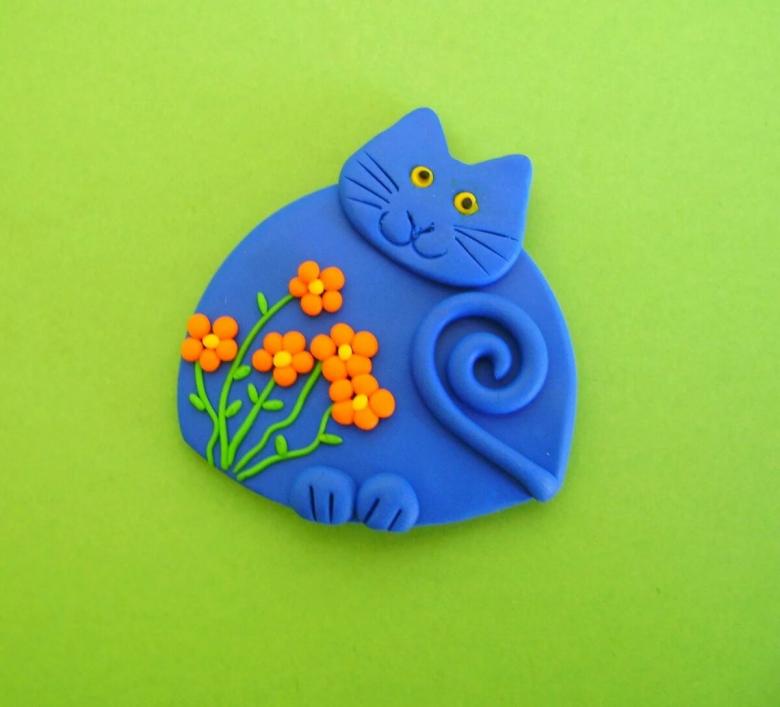
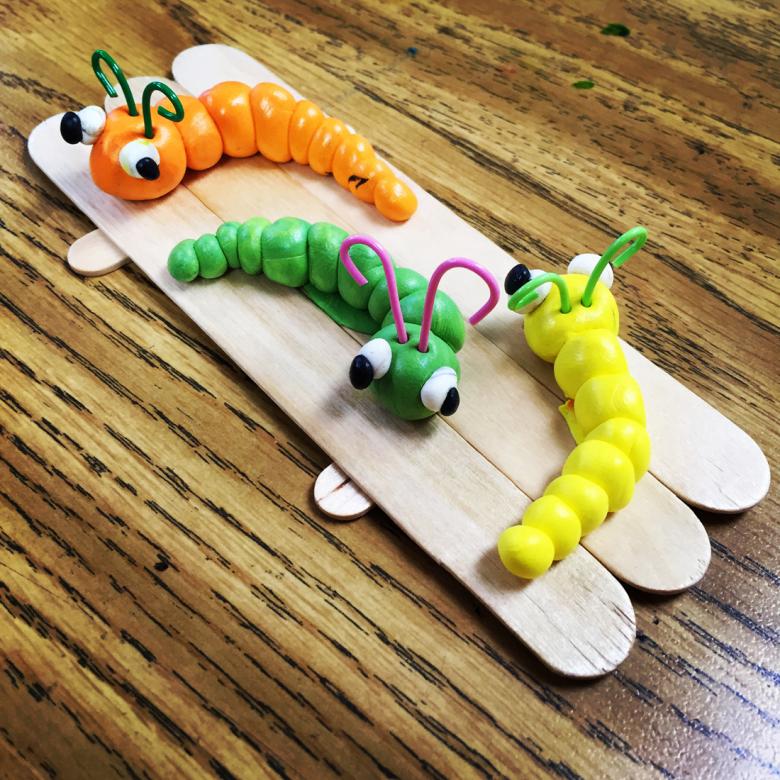
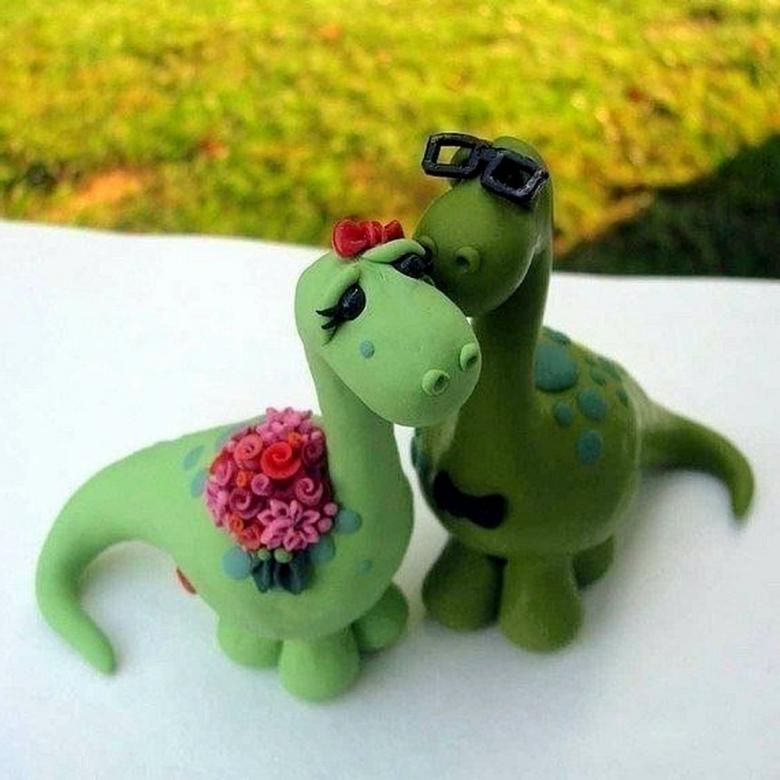
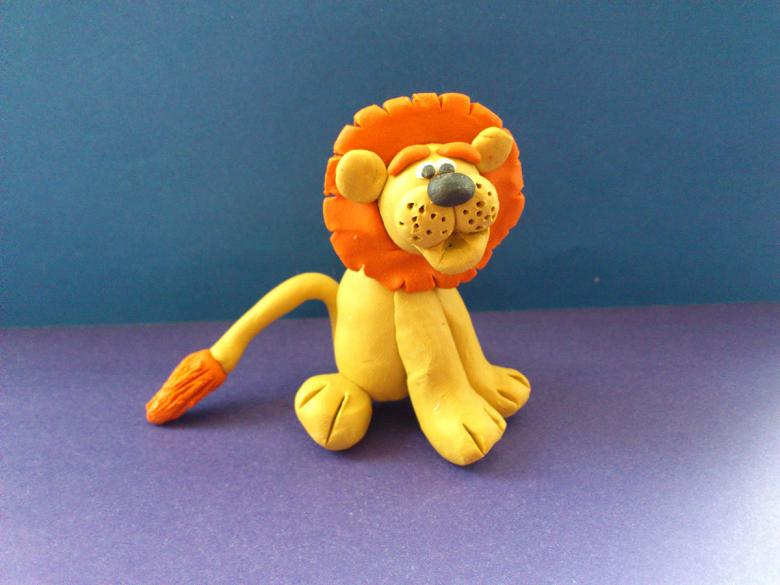
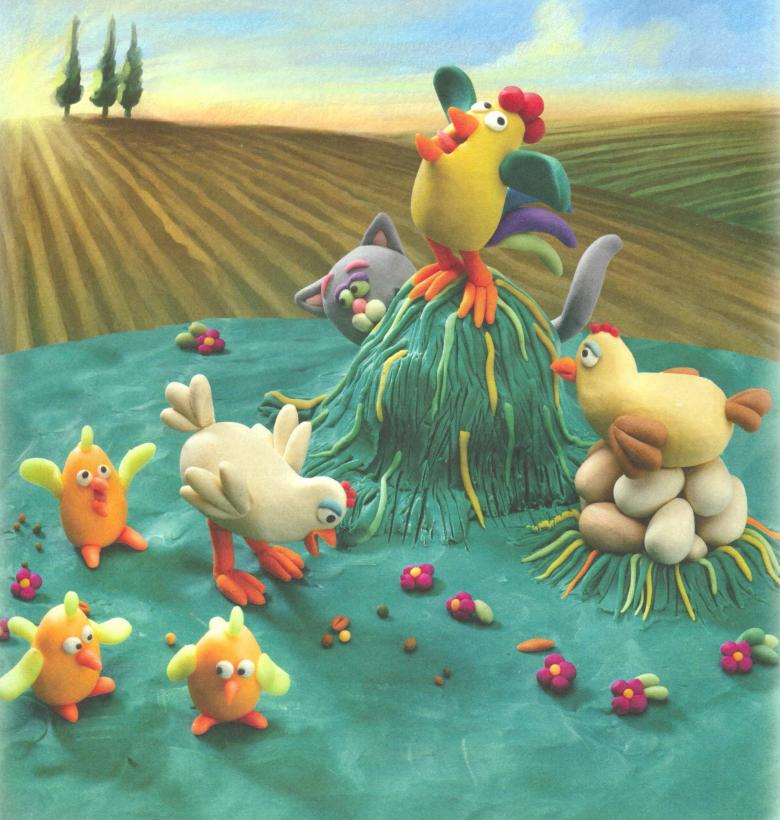
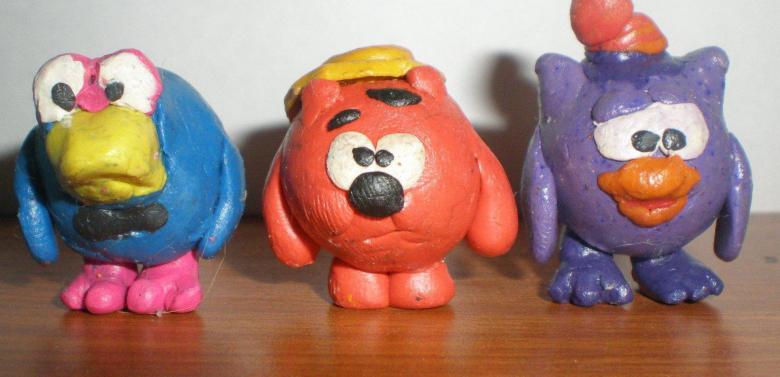
- Animals, birds, other animals. A favorite theme for most girls and boys. Simple to make and easily recognizable figures. For any level of young sculptor - from snakes and turtles to flamingos and giraffes, whatever your imagination holds.
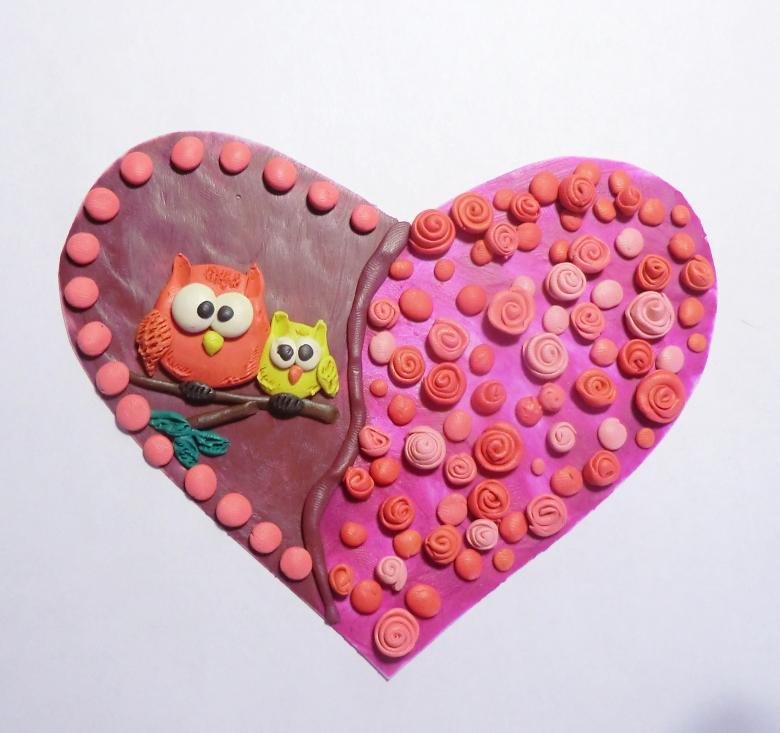
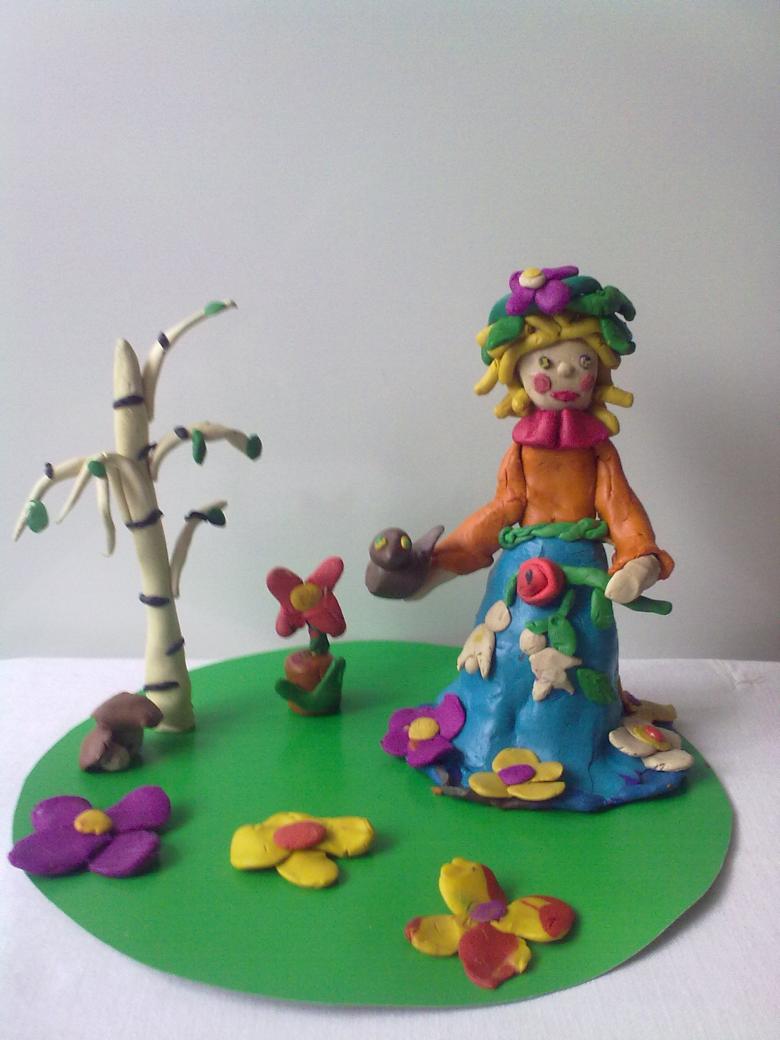
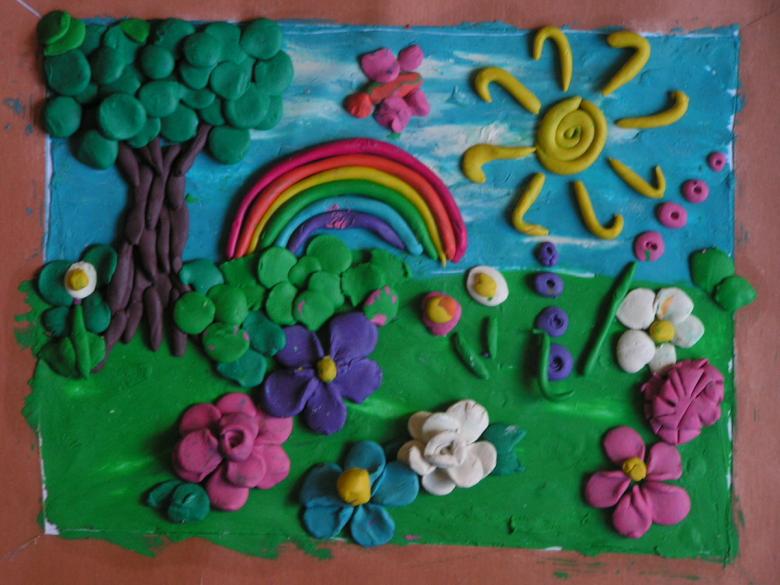
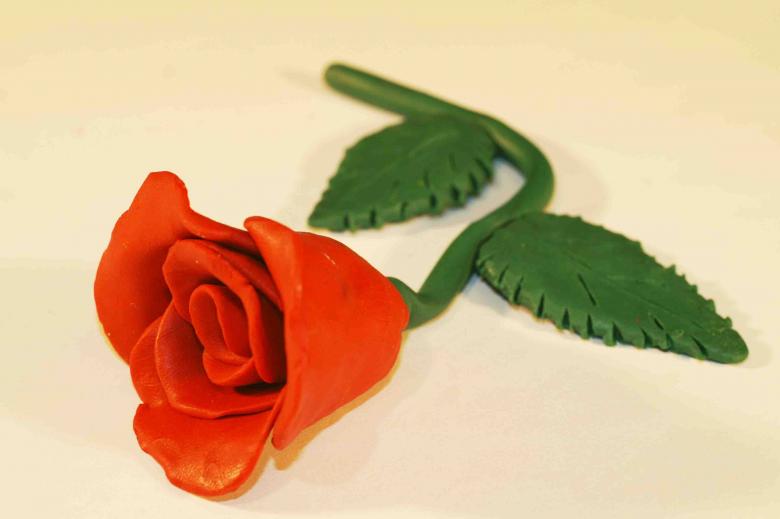
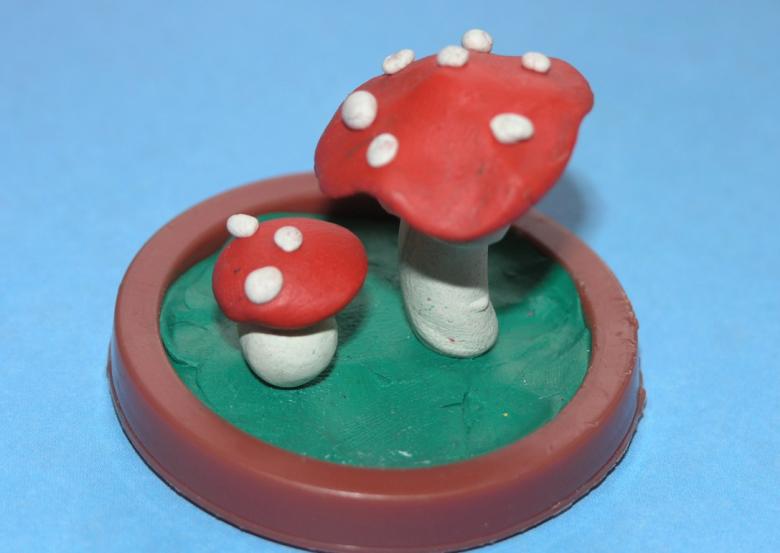
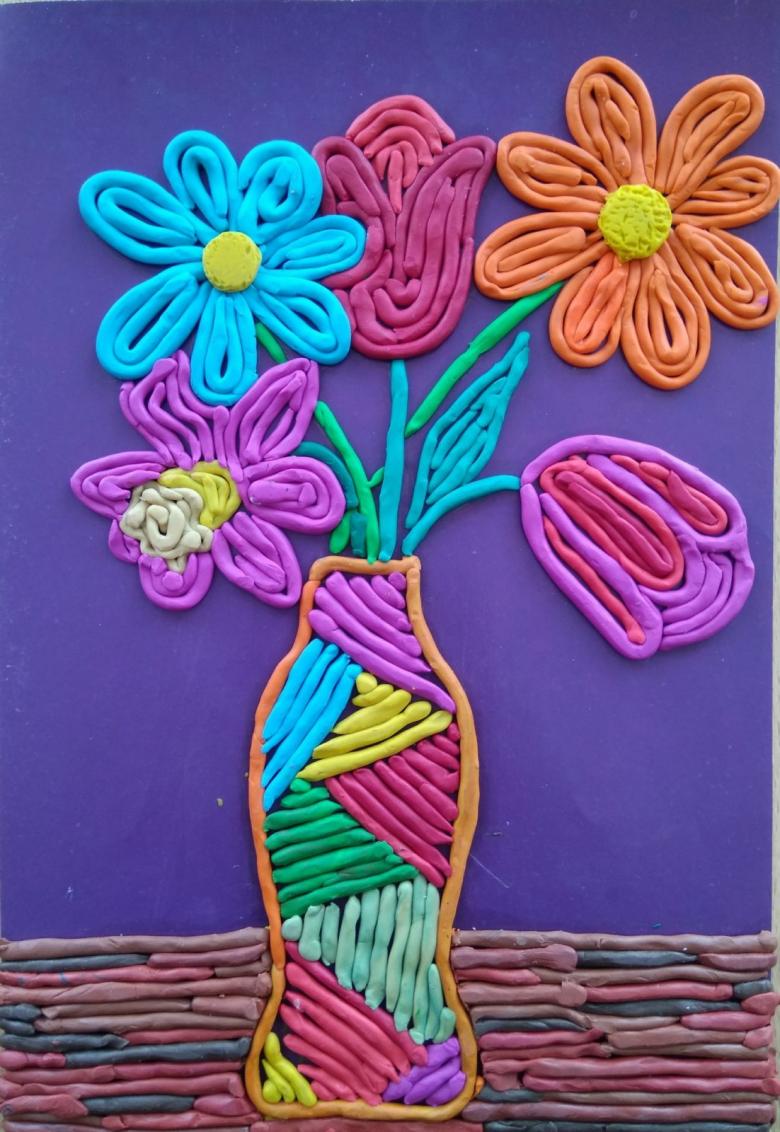
- Flowers, plants. The complexity and detailing of the crafts depends on the age of the kid. Colorful compositions are excellent for the development of aesthetic taste.
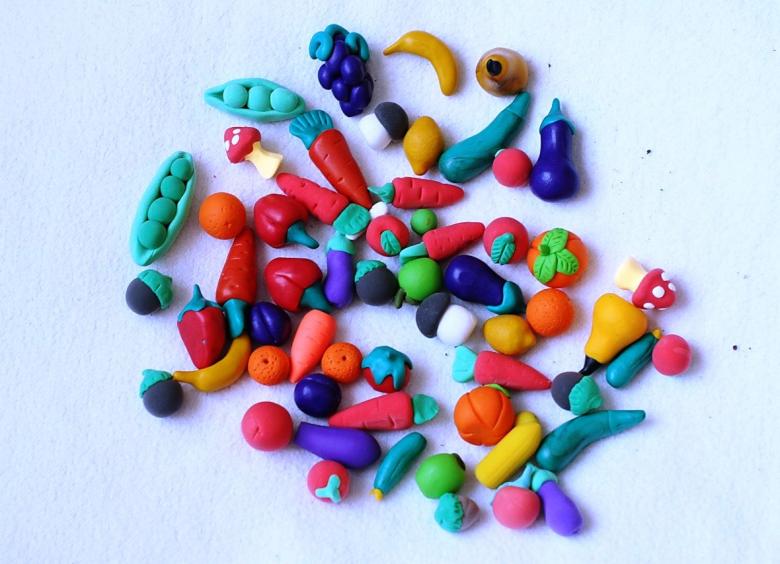
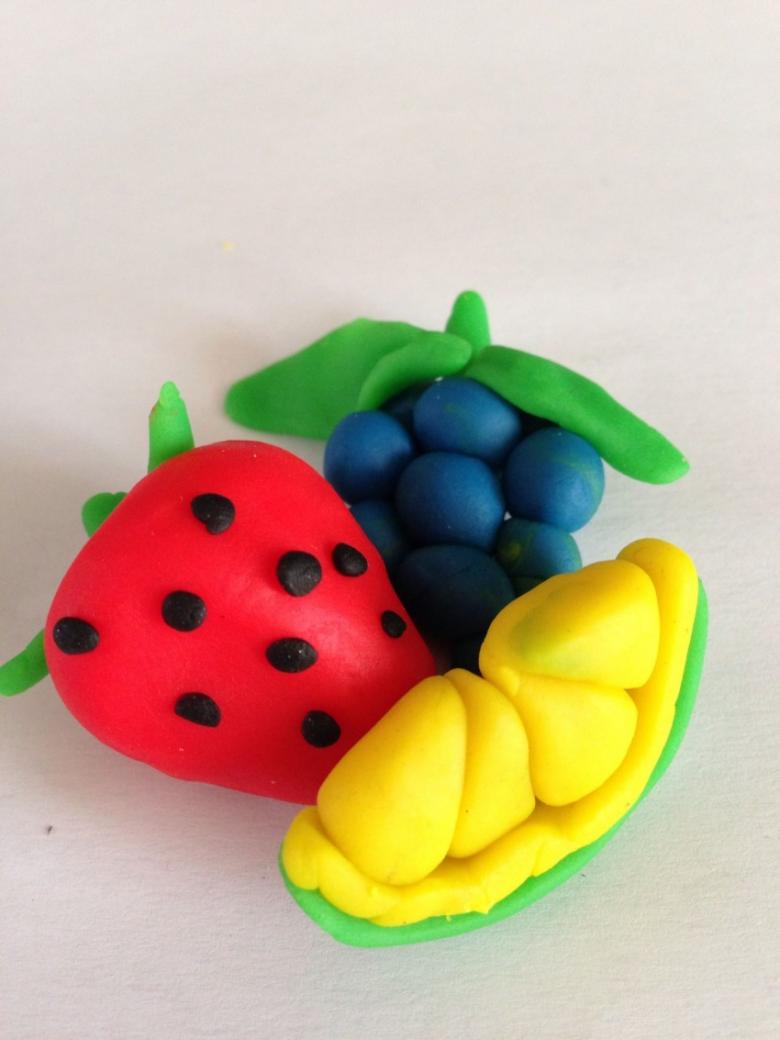
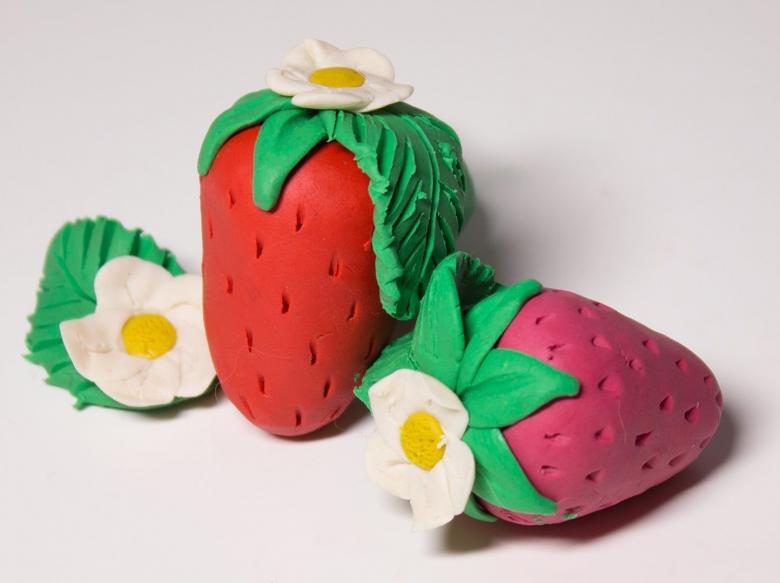
- Food. again, a wide theme for all ages. the youngest will cope with vegetables and fruits, and older children can make miniature cakes and pastries, real exquisitely decorated restaurant dishes.
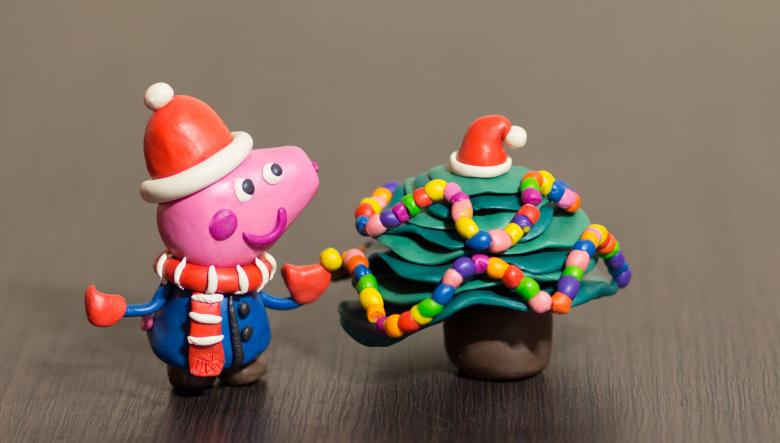
- Themed figurines. In the run-up to the holiday, figurines with a holiday theme will be a great choice. Pumpkins and spiders before Halloween, Christmas trees and snowmen before the New Year will lift the spirits of both baby and parents.

What you need to work with clay
In addition to a set of colorful plasticine, think about a work surface for modeling. What would not spoil the furniture, you can use a special board for modeling, or replace it with a piece of cardboard, oilcloth, an ordinary cutting plastic board.
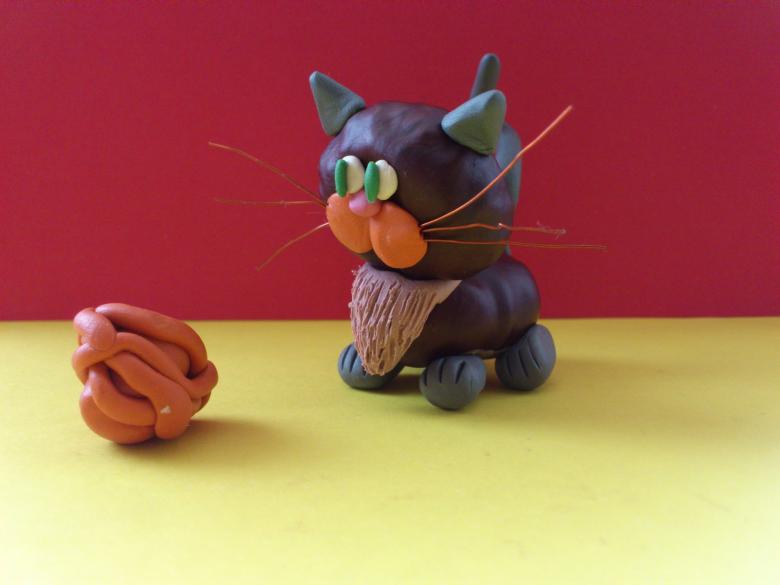
Useful in the work of the stack, shovel for modeling. Just approximately imagining what you will sculpt, you can prepare additional accessories for the handicrafts. It can be natural materials such as nuts, cones and pebbles, or artificial jewelry such as beads, it all depends on the idea of the authors.
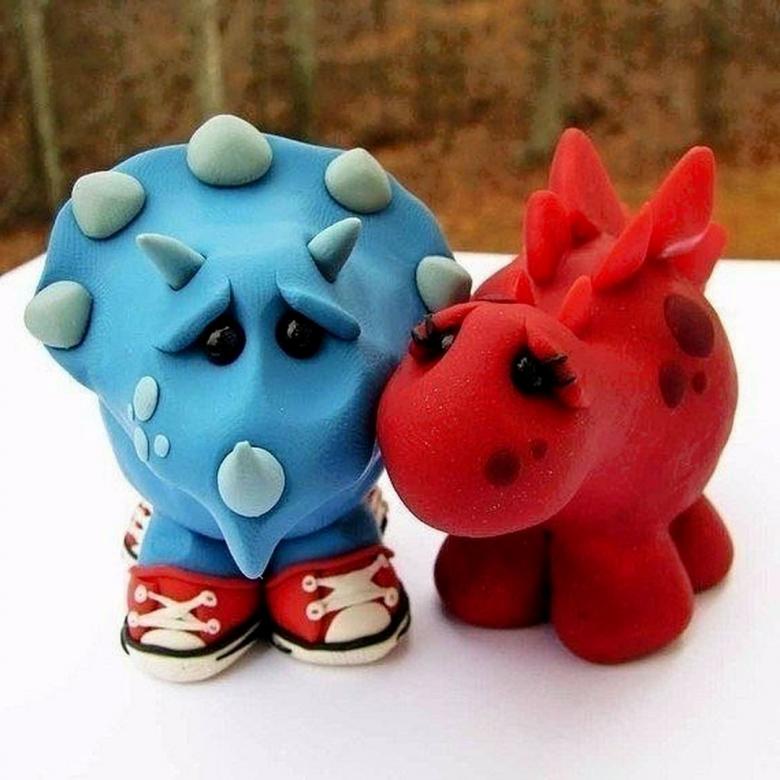
Step by step description of the crafts
So, everything is ready to work, you can start to create. Consider a few simple examples of interesting crafts for kids step by step.
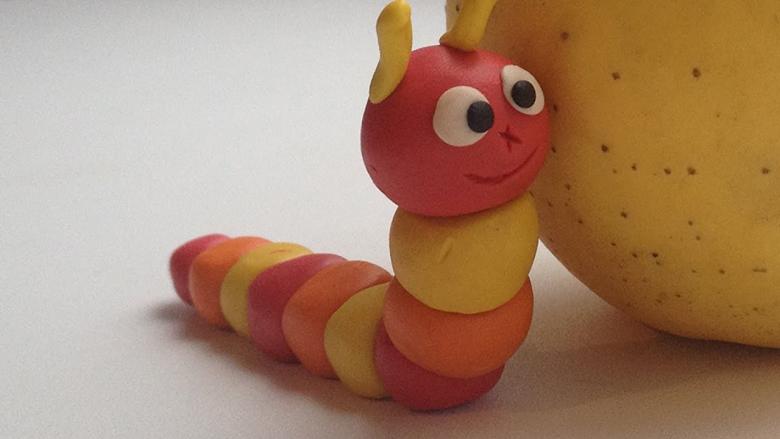
Plasticine hedgehog with seeds
Funny hedgehog is easy to do, and looks very creative and cool. For the work you will need brown plasticine for the body, beads for the eyes and ordinary black sunflower seeds.
- Roll a ball of brown plasticine.
- On one side of the ball a little stretch, which would have appeared similar to a drop.
- Eyes and nose can also be made of clay, or you can replace the beads.
- Place sunflower seeds on the back of the hedgehog, sharp ends up.
- When the entire back is covered with "needles", place the finished creation on a piece of cardboard. You can decorate the back of the hedgehog with a miniature plasticine mushroom or apple.
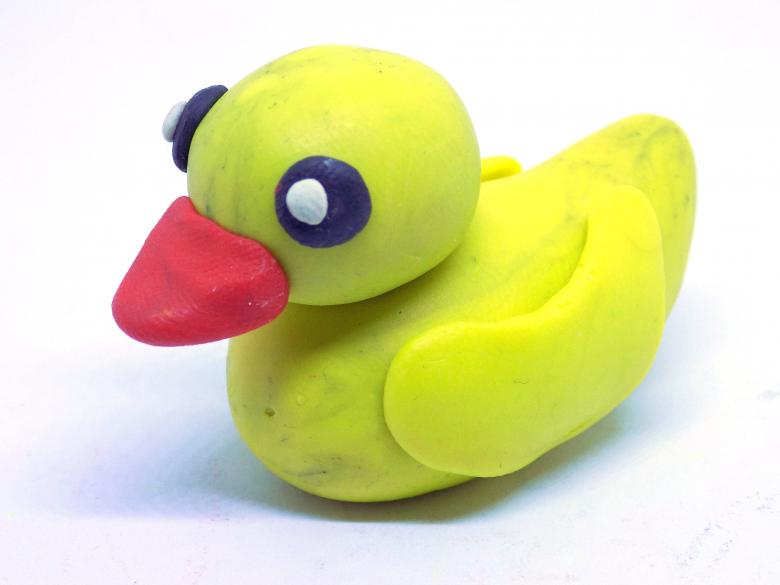
Candy on a stick
Multicolored plasticine lollipops on sticks will undoubtedly enjoy the kids. To work you will need colored plasticine and matches or skewers for canapés.
- Make as many small balls of different colors as you want.
- Roll the balls into thin sausages.
- Next you can improvise with the appearance of our lollipops. Take two sausages of different colors and twist them into spirals. The sausages can be pre-twisted into plaits. Thread the finished lollipops on sticks and you can make a colorful photo.
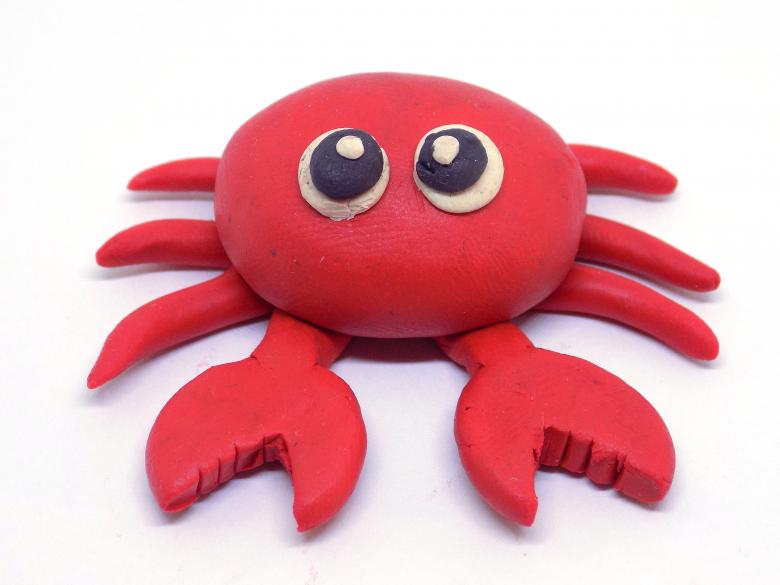
Bouquet of flowers
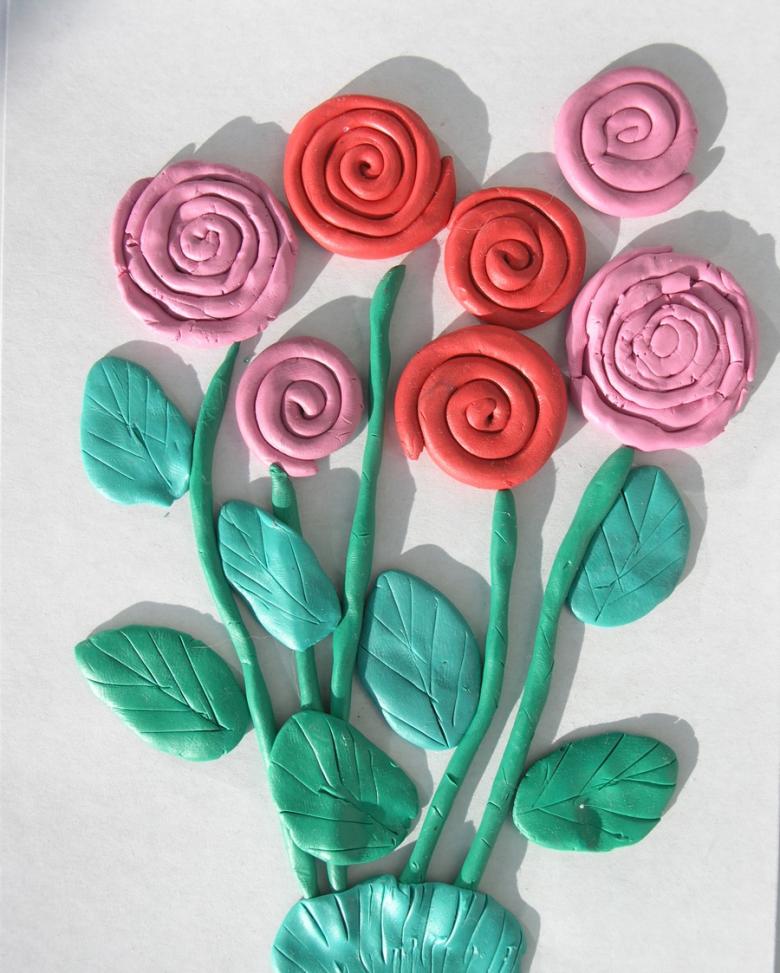
The variety of bouquets created from plasticine is limited only by the imagination of the sculptor. Lead a small master class on making a simple version of this handicraft.
- Prepare a red, pink and green clay.
- Roll the green one into thin sausages and cut it into seven approximately equal parts.
- Roll out the pink plasticine into a sausage, then turn the sausage into a strip by flattening it.
- Divide the strip into seven parts and roll each part into a spiral, these will be the rosebuds.
- Rosebuds plant on the green stems.
- Assemble the bouquet and decorate it with a bow of red clay.
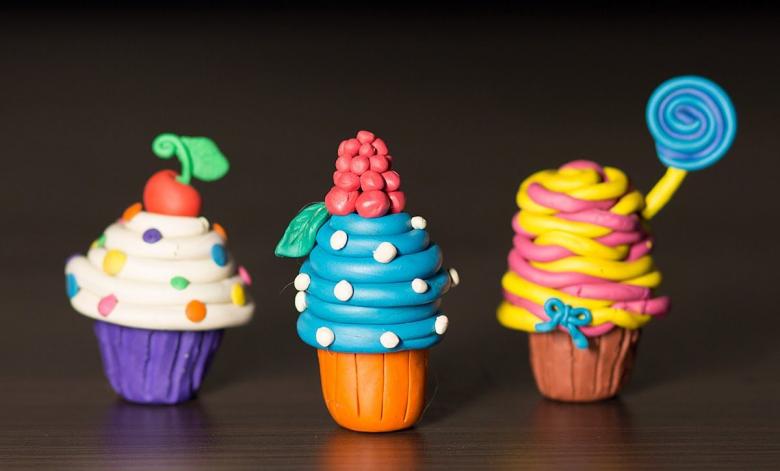
Plasticine Christmas Tree
On New Year's Eve you can make with children a beautiful Christmas tree. This will require green plasticine, a bamboo stick and scissors.
- From the green plasticine build a cone, the size to suit your taste.
- Place the cone on a bamboo stick, the trunk of the Christmas tree.
- The tips of the scissors make small cuts all over the cone in a staggered pattern, the tips of the resulting "needles" slightly bend upwards.
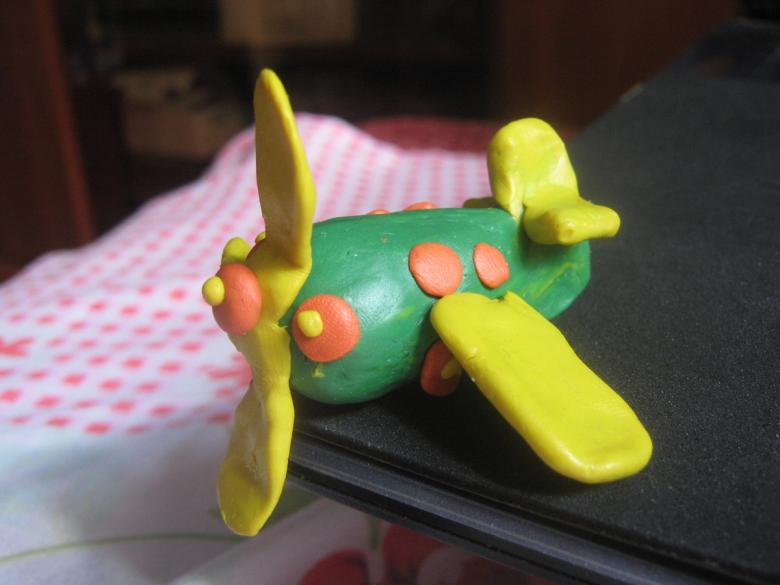
Funny turtle
Step by step instructions will help you easily make together with your child a funny and cute turtle.
- For the base, you will need plasticine of brown and green colors. For the eyes you can use beads, or you can mold the eyes out of white and black plasticine.
- Roll six balls of green plasticine. One larger one for the head and five smaller ones for the feet and tail.
- Make a large ball of brown plasticine, then form a shell.
- Glue small flattened circles of brown plasticine onto the shell, imitating the texture of the shell.
- Glue the head on the extended neck, paws, and tail. Attach them to the shell.
- With a toothpick make nostrils , draw a smile. Make a turtle eyes and crafts are ready.

Sculpting a child, parents help their own child to develop creatively, but there is still a chance to discover the true talent in his kid.

