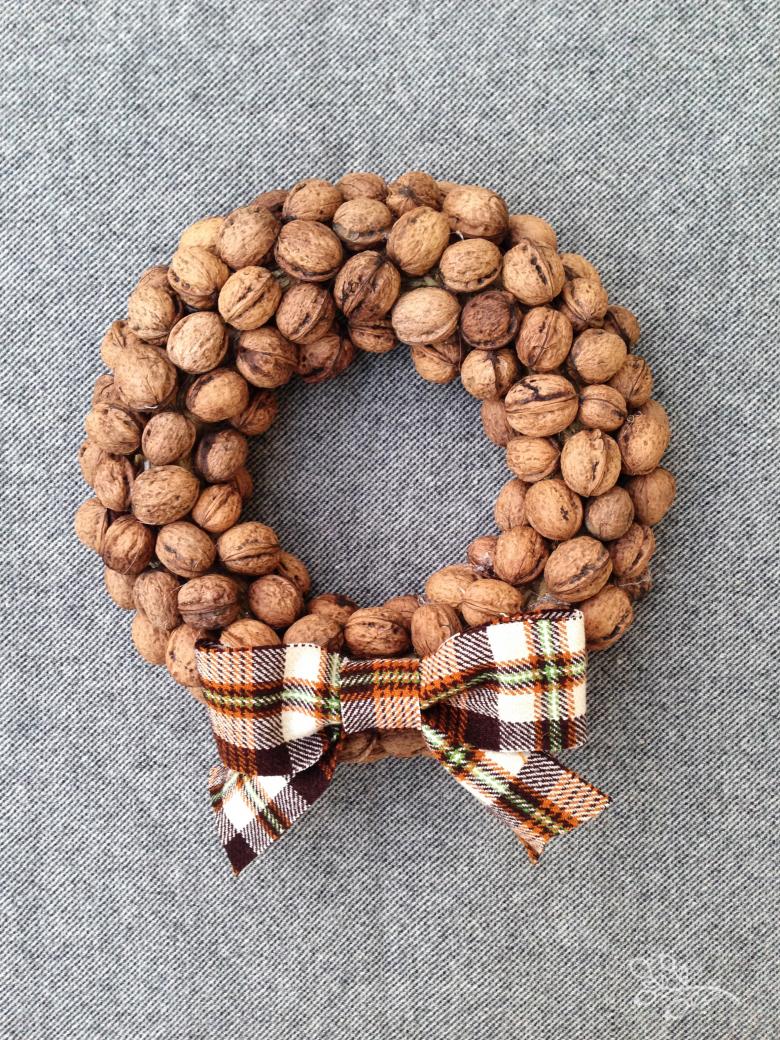
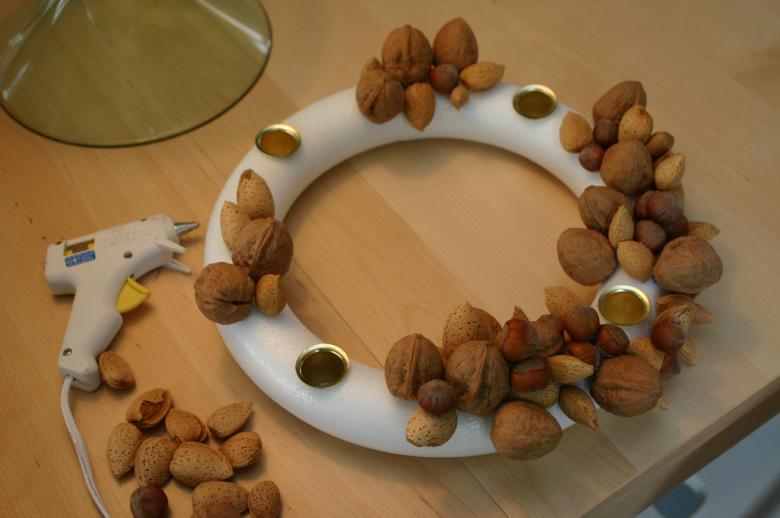
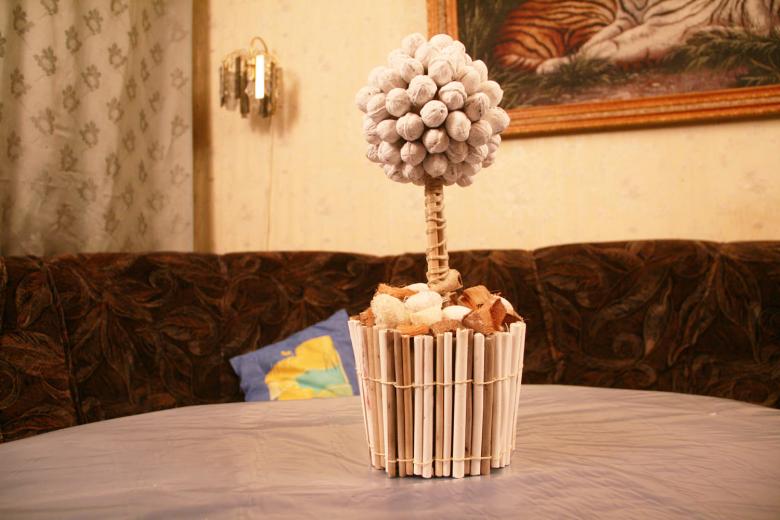
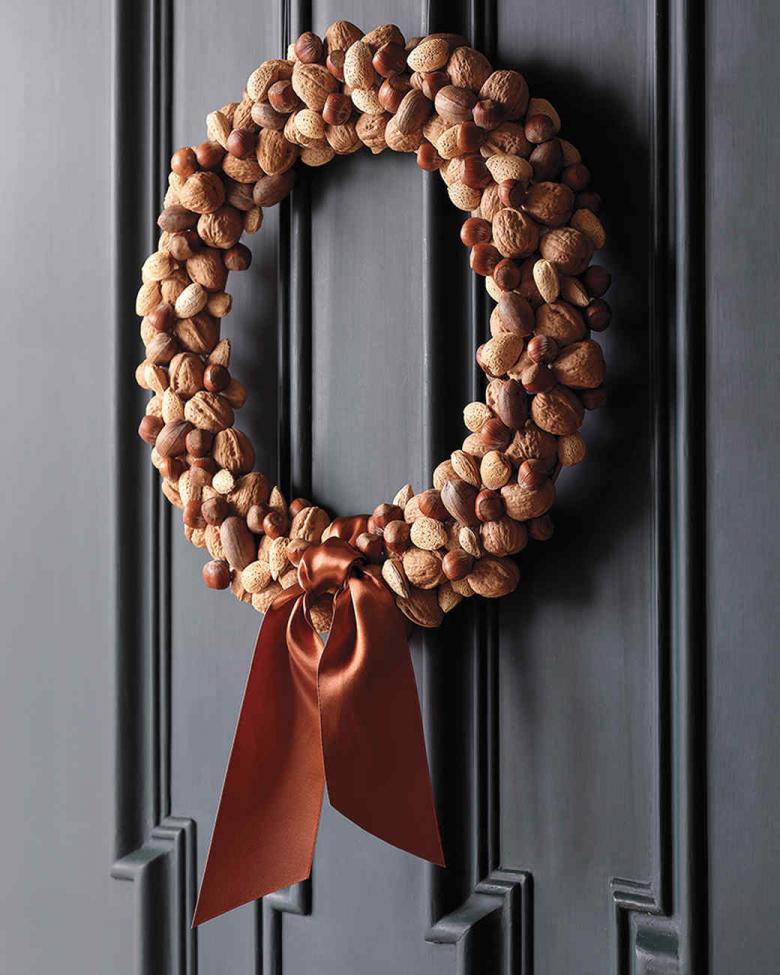
Walnut crafts with your own hands - a selection of interesting master classes with photo examples
Do you want to please yourself and your loved ones with a new original decoration for the holiday? Want to decorate a wedding, anniversary or a corporate party, but do not know how to go about it? Today we will learn how to create amazingly beautiful models of decorations from nuts in different directions.
Familiarizing ourselves with the material and basic models
Nature gives us a great choice of materials, not to take advantage of which would be simply disrespectful. So, we will get acquainted with the available means, which will be useful to us today:
- Walnut shells are a valuable natural material for creating a huge number of handicrafts, in addition, they are available to absolutely everyone.
- A small rounded hazelnut will serve as a wonderful element of decor in the formation of applications for school exhibitions.
- Pine nuts. This base is not available to everyone, due to its low availability and high price. But those who have open access to a valuable product can easily use it in the process.
- Walnut kernels. This part of the nuts is often used to create decorative baskets with fruit or flowers. Let's tell you a secret: we're going to do that today, too.
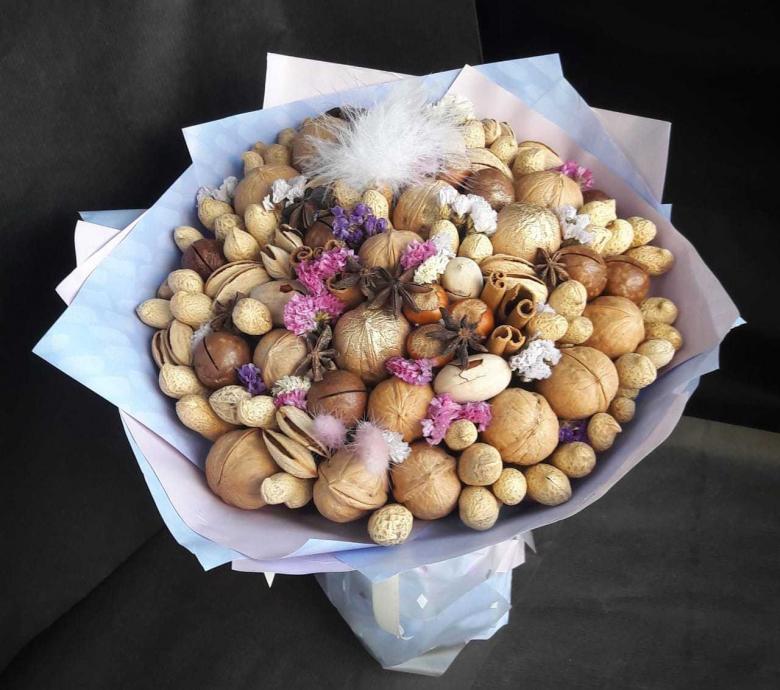
What models are we going to work on today:
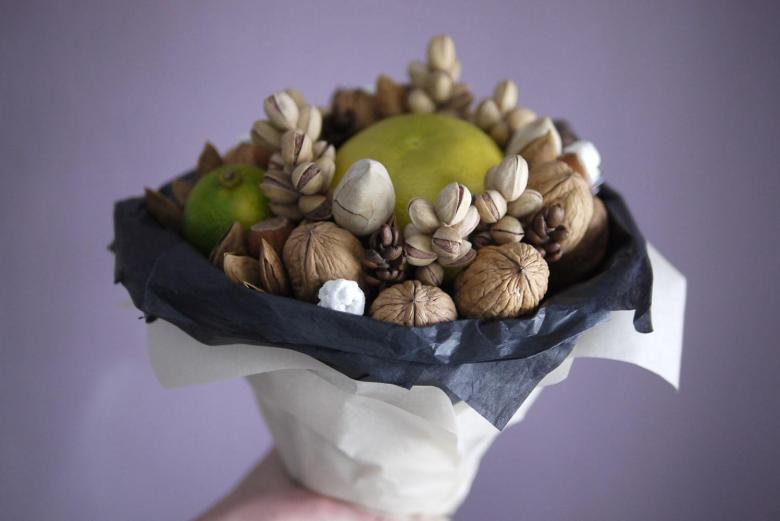
- A decorative basket with cones and nuts.
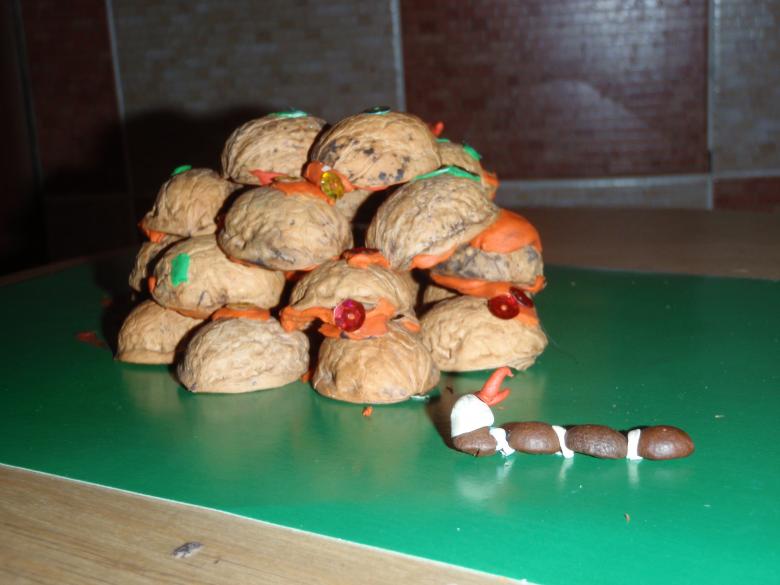
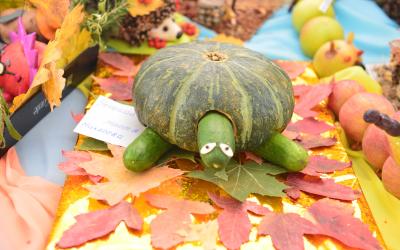
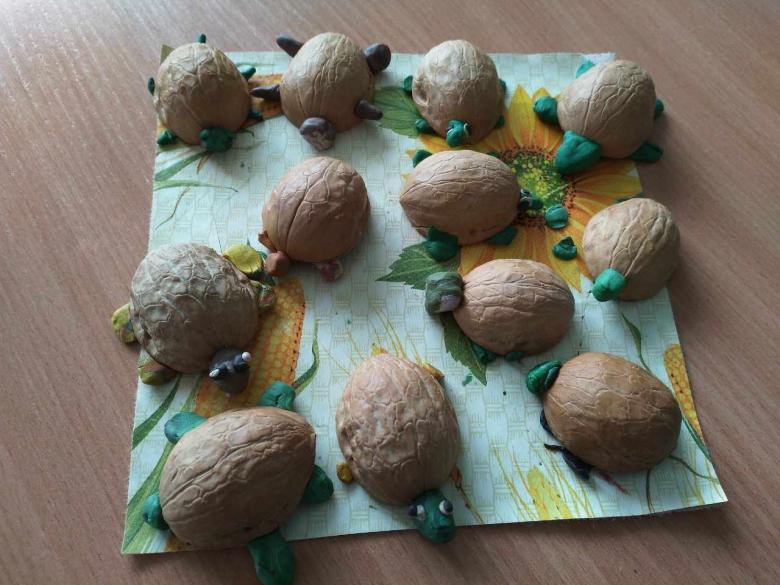
- A turtle bridge made of walnut shells and plasticine.
- Children's walnut stamp.
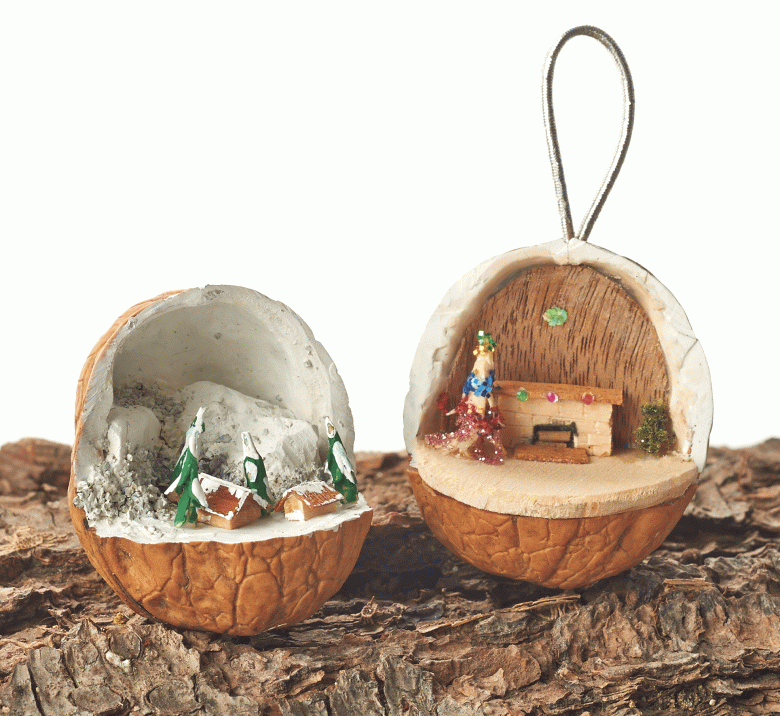
- Miniature bowls of flowers.
Master classes with step-by-step instructions
We have learned a lot about this accessible natural material, about ways to work with it. Now let's start our practical work. As always, we will prepare the necessary materials and take apart all our actions step by step.
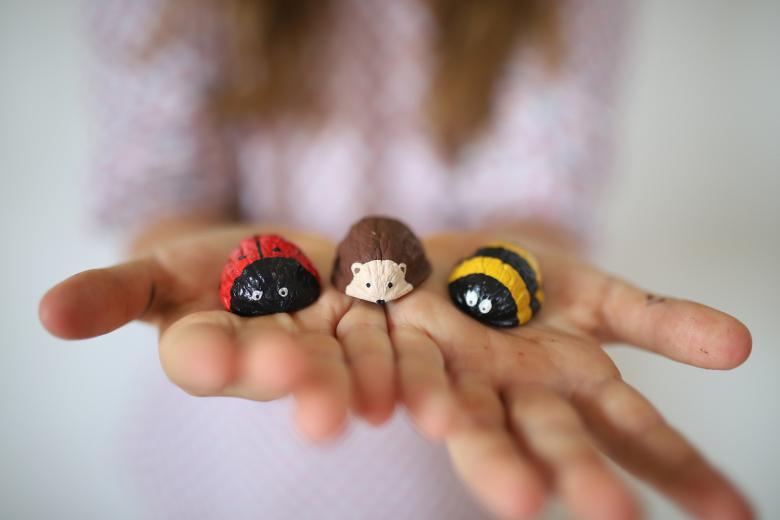
Decorative basket with cones and nuts as a gift
This gift will impress any jubilee or birthday boy. For the work we will need to prepare:
- A small wicker basket.
- Several satin ribbons.
- Illustrated paper.
- Glue.
- Fir or pine cones (we will need very green cones).
- Walnuts.
- Lacquer gold color.
- Transparent varnish.
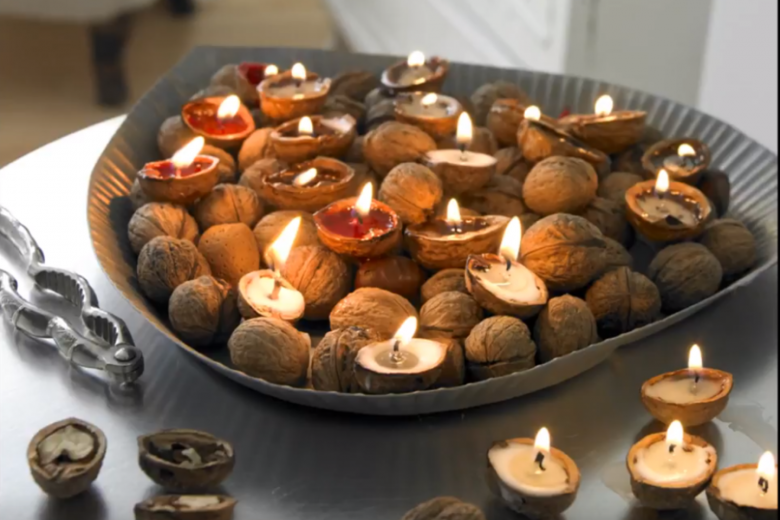
Step by step sketch-instruction for the master:
- Let's prepare the basket. Cut a piece of illustrated paper in the form of a square. Put it in a basket so that the corners of the sheet hang slightly outward.
- Wrap one of the satin ribbons around the handle of the basket. Use glue to keep the slippery tape from sliding off the handle at the most inopportune moment.
- Let's start processing the cones. Use a brush or brush to shake off any excess elements from the cones. Coat each piece with clear varnish, and send it to dry. When working, be sure to use personal protective equipment: mask, goggles and gloves.
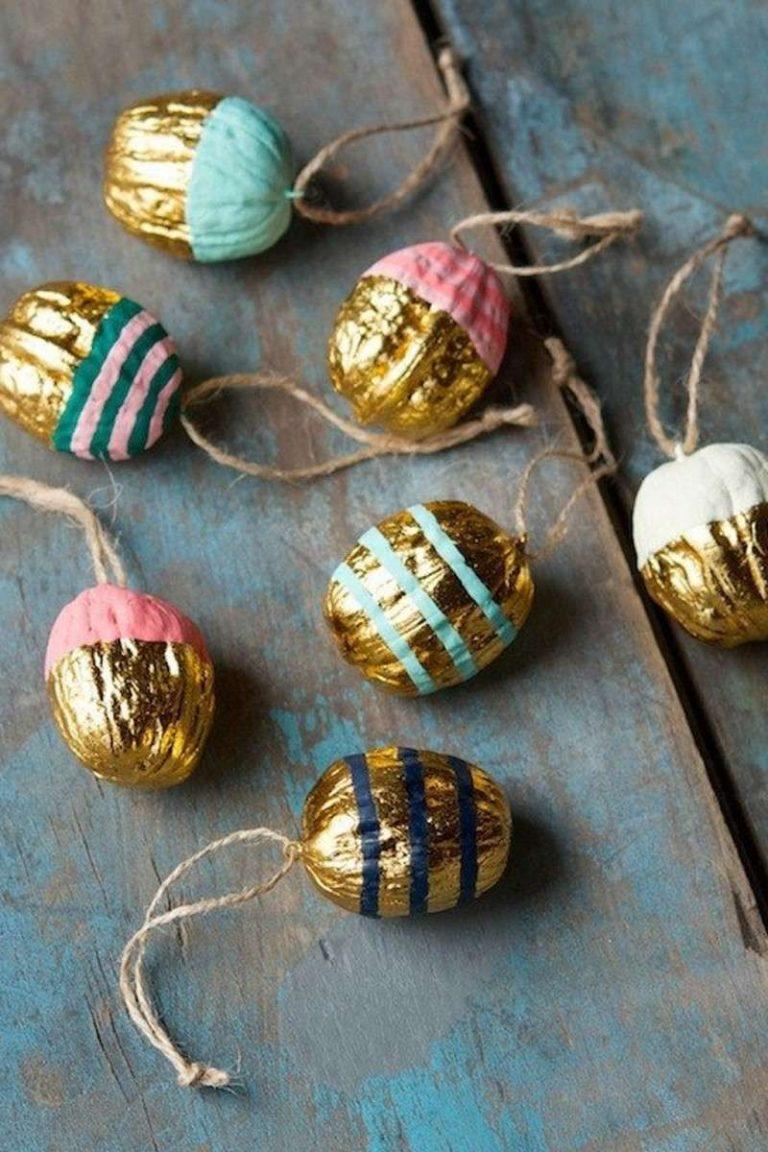
- We cover the walnuts with a goldish varnish. You can first cover their surface with gold paint, and then - varnish. The sequence is not the main thing. In this case, it is the result that matters.
- After drying, we put our blanks in a basket on a layer of paper. For elegance, make a few flowers from corrugated paper or quilling style flowers. Add them to the basket.
- Important tip: Put one or two limes in the basket. They will give freshness and flavor to our decorative product.
- From one edge of the handle, tie another red ribbon with a bow.
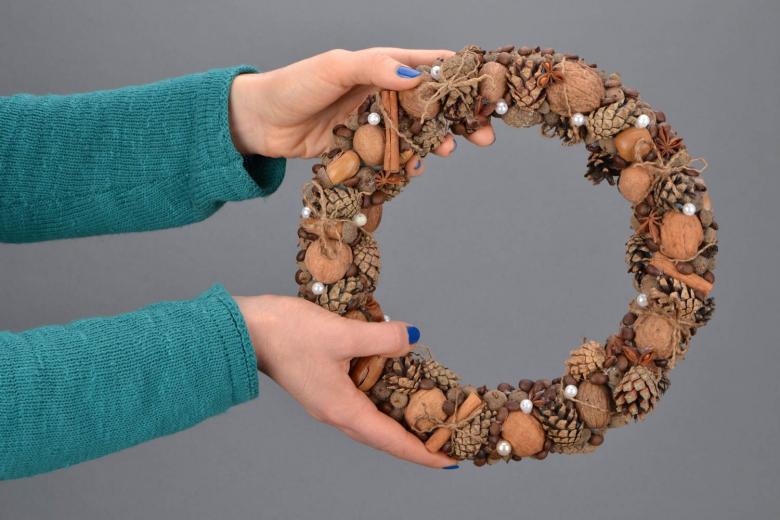
Now you can safely go on holiday to your family and friends, because you have in your hands an excellent gift, created with your own hands. Stylish and practical. You can also make such a "bouquet" for the New Year. Place it under the tree, and it will become a second symbol of the holiday!
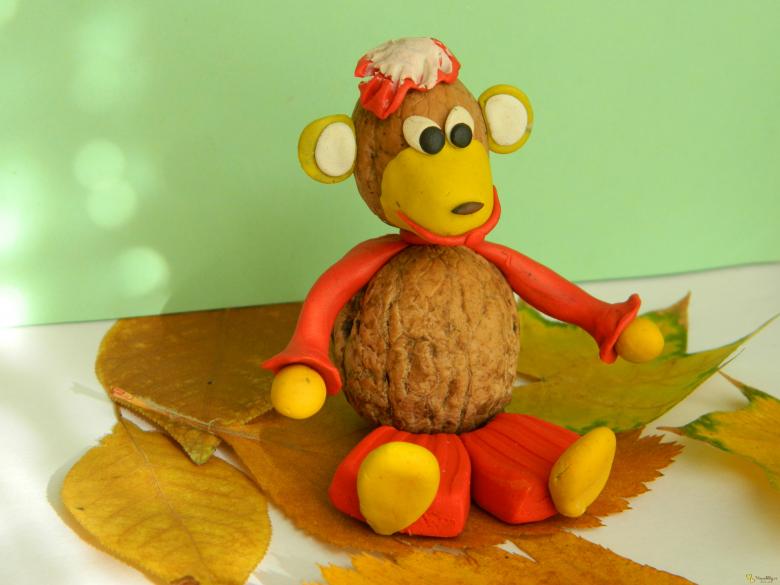
Making a turtle bridge with your child
Today we will work together with children, because modeling with plasticine is a joy and active creativity for the baby.

For the work we will need:
- Dense cardboard or foam plastic to create the bridge.
- Glue.
- Paints, brushes.
- Hazelnuts 15-20 pieces.
- The shells of walnuts.
- Plasticine.
- Board and knife for working with clay.

Step by step schematic instructions for the master:
- Preparing the bridge. Our bridge will be made of cobblestone. To do this, we will paint a sheet of cardboard in blue, imitating the river. After the paper dries, we apply a layer of glue. On top of it we place hazelnuts. Stack them densely, but so that was enough for the entire bridge. If you are not limited in supplies, make the bridge a little bit wider and longer. The height of the bridge should be slightly increased about the middle, and then gradually reduced.
- Let's take care of our turtles. Roll out the dark green clay in your hands and divide it into 8 small balls. Also prepare 24 very small balls of very light green plasticine to make mottled shells.
- Cover the eight shells with dark green plasticine. Carefully incorporate the lighter balls into the resulting layer so that the spots are visible to the eye.
- Arrange our turtles on the bridge: from beginning to end.

You have made an interesting and entertaining work with your kid. Leave the craft in a prominent place, as a memory of the work done.
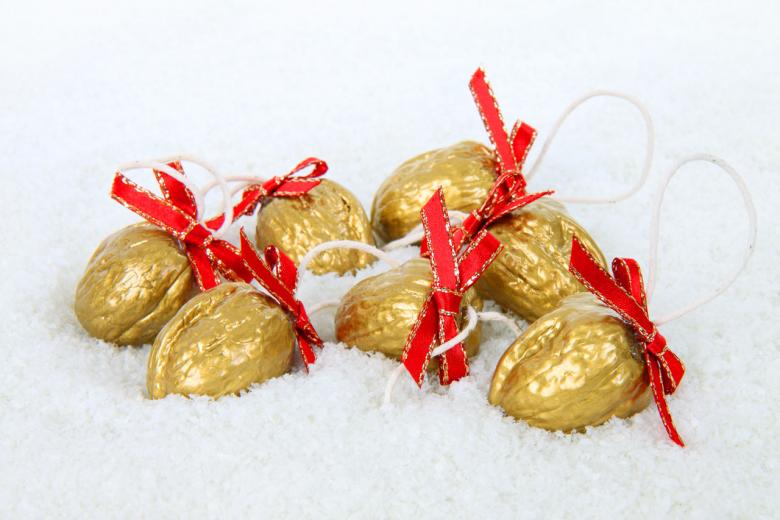
How to make a children's stamp out of walnuts
Playing adult occupations for children will always be interesting and exciting activities. Play a salesman using a cash register. Put stamps on worksheets and diaries. Today we will learn how to make a children's stamp from an ordinary walnut shell.
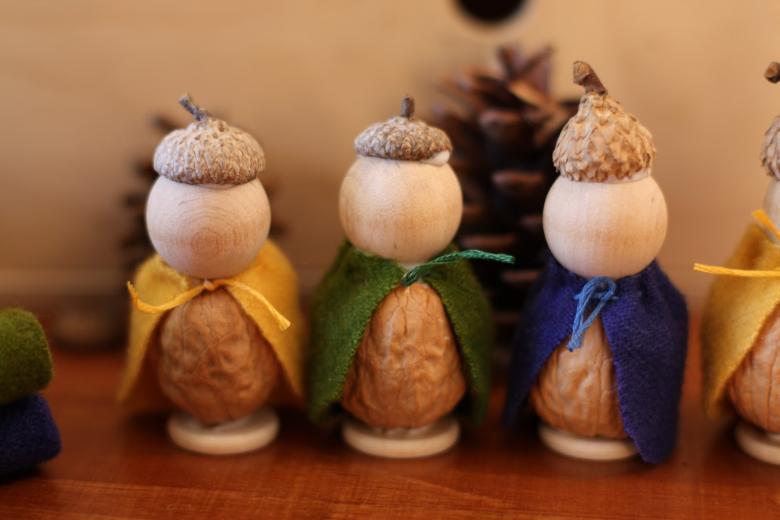
For the work we will need:
- A walnut shell.
- An eraser.
- A box cutter.
- Ink.
- Glue.
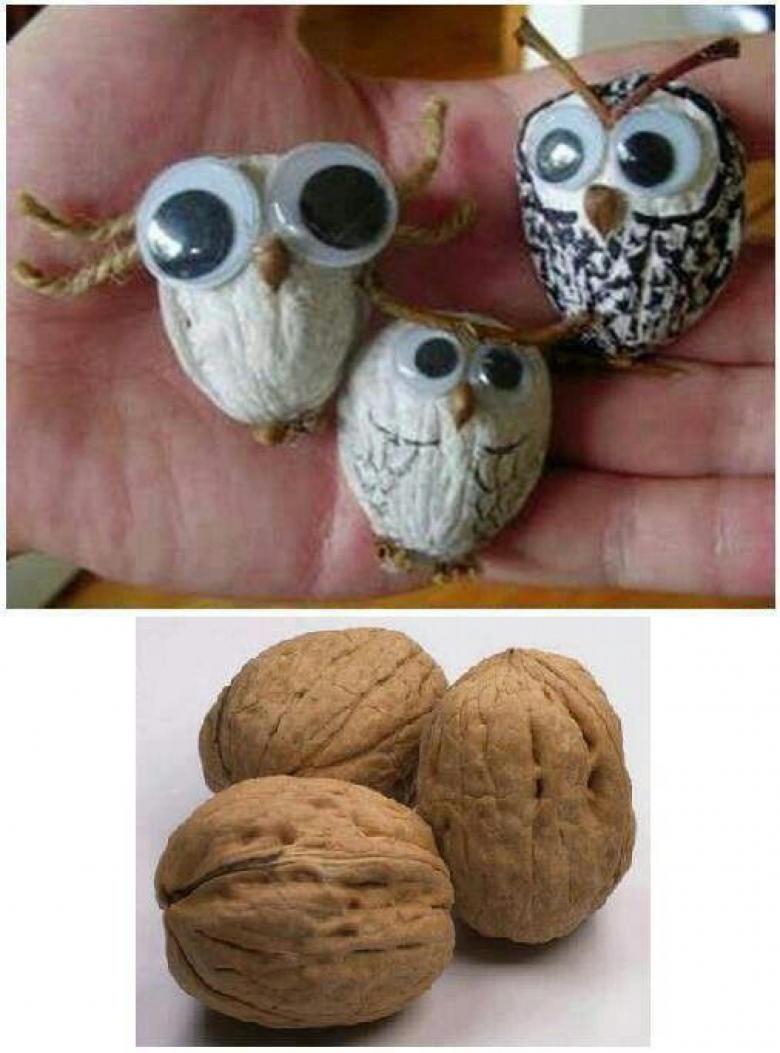
A step-by-step scheme-instruction for the craftsman:
- We choose an eraser of the right shape. We need a round accessory. If we do not find such a shape, we cut the existing copy with a knife, trying it on a walnut shell.
- On the eraser with a stationery knife cut out the shape we need. The depth of incision should be about 2-3 mm.
- We insert the eraser blank into the shell.
- It only remains to dip our seal in ink, and the "grown-up" work begins!
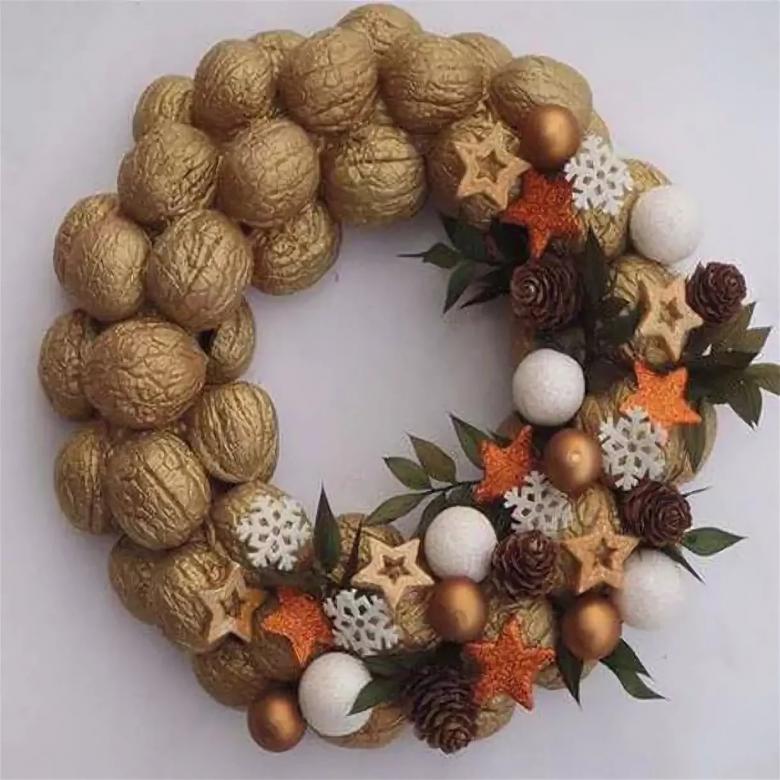
Making miniature flower bowls
This model would be perfect for decorating a festive hall, for a school craft show or as a symbolic gift for a loved one. You can make the flowers from multicolored crepe, or you can use fresh flowers.
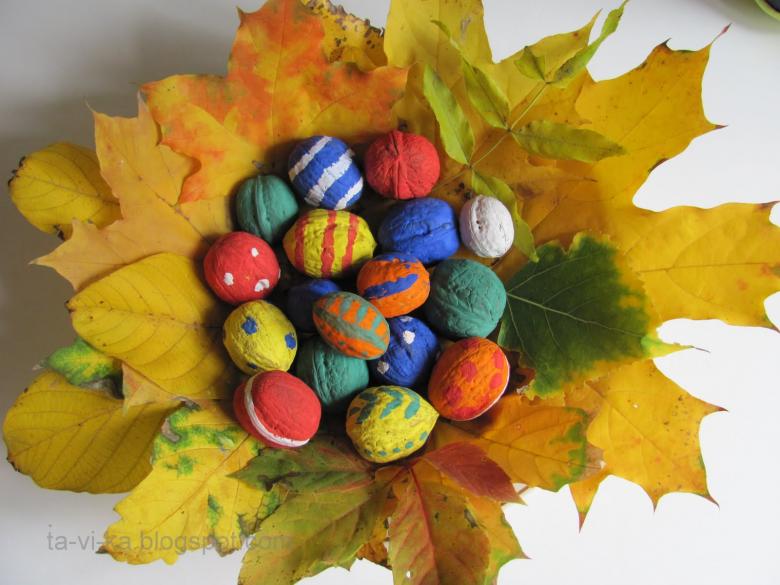
For work we will need:
- Walnut shells.
- A knife.
- Corrugated paper.
- Glue.
- Live flowers (use varieties with miniature flowers: violets, mini daisies, braided roses).
- Transparent varnish.
Step-by-step scheme-instruction for the master:
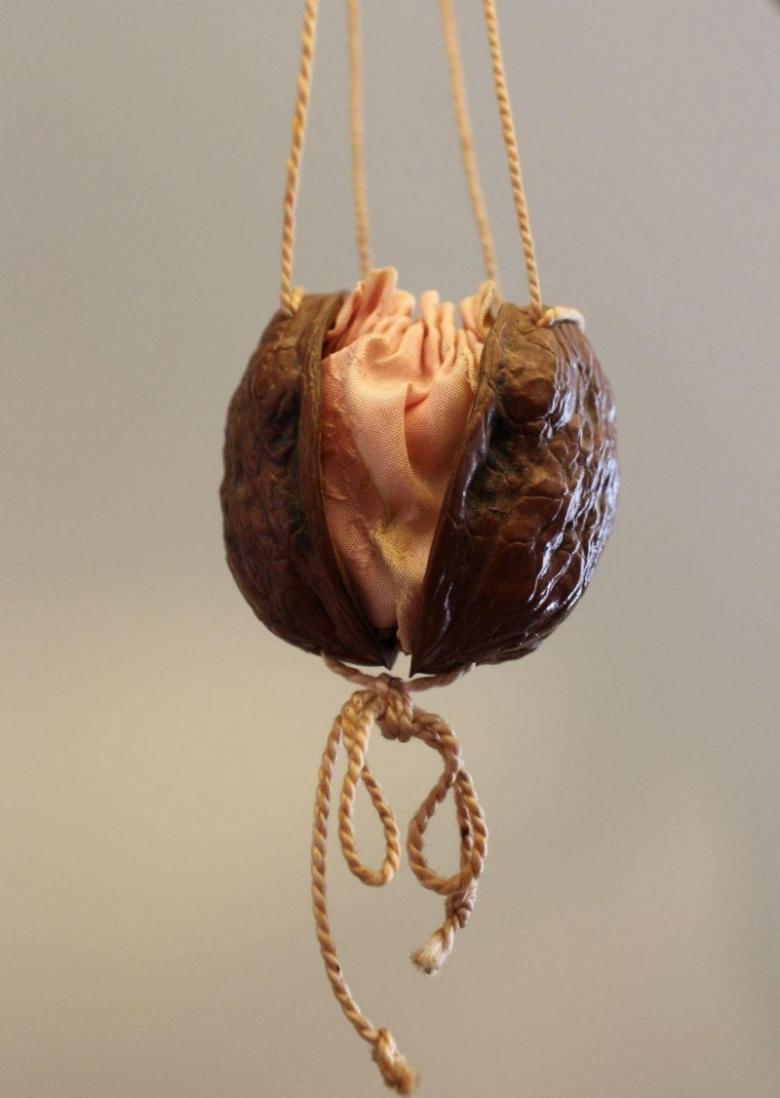
- Ask your daddy or husband to give the shells the shape you want: pouches with handles.
- First consider the option if using crepe.
- From paper cut small squares 2 * 2 cm, lift the corners up and lightly glue.
- Slightly stretch the crepe "petals" and let go, giving them a realistic look.
- Fill the walnut basket with such multicolored blanks.
- The second option is to use fresh flowers as a source material. In this technique, we will cover the flowers with a transparent varnish to preserve their natural appearance for as long as possible.
- We select the most intact and undamaged flowers and varnish them, using personal protective equipment.
- After drying we put them in a basket. Some of the flowers can be glued along the course of the handle of our basket.
- Arrange such miniature sets of bouquets on some base, and you will get a better appreciation as a novice designer.
Today we learned about another great natural material for creating unique crafts. And we also learned many ways how you can show your creative skills with a minimum set of materials at hand. Learn new ways, create new models and study our modern master classes!

