Sock crafts with your own hands - interesting master classes and beautiful photo ideas
Sock crafts - this is extremely simple and positive. The ideas are implemented in five minutes, the necessary materials are always on hand, even a kindergarten student can easily cope with the work, and the result is funny and uplifting. Nice trinket is not ashamed to give as a gift.
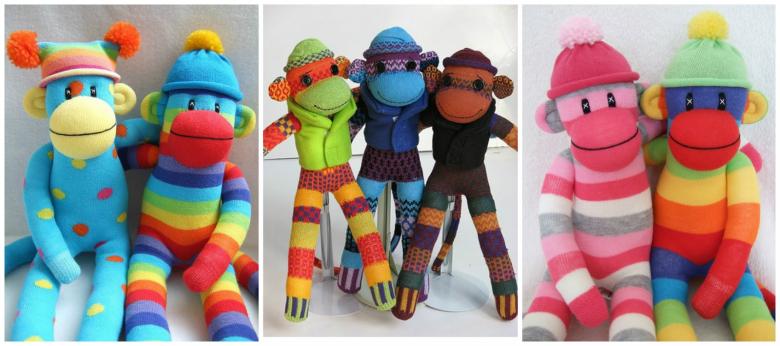
We offer a selection of six schemes, choose which one you like best.
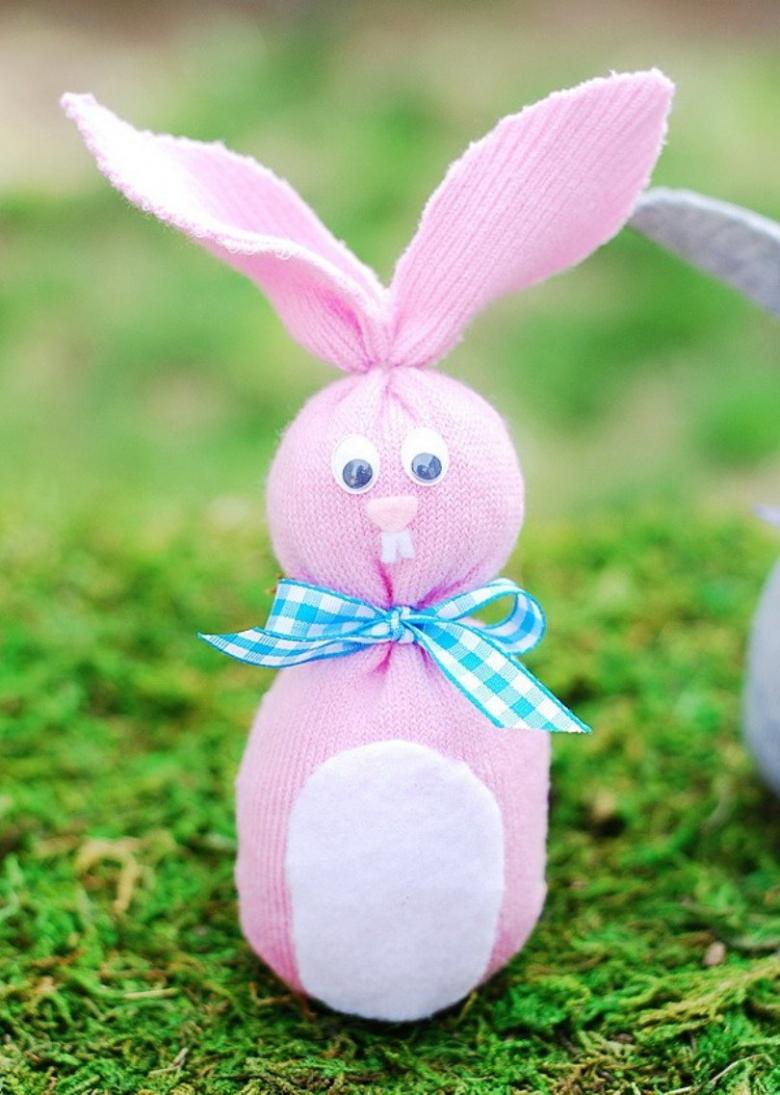
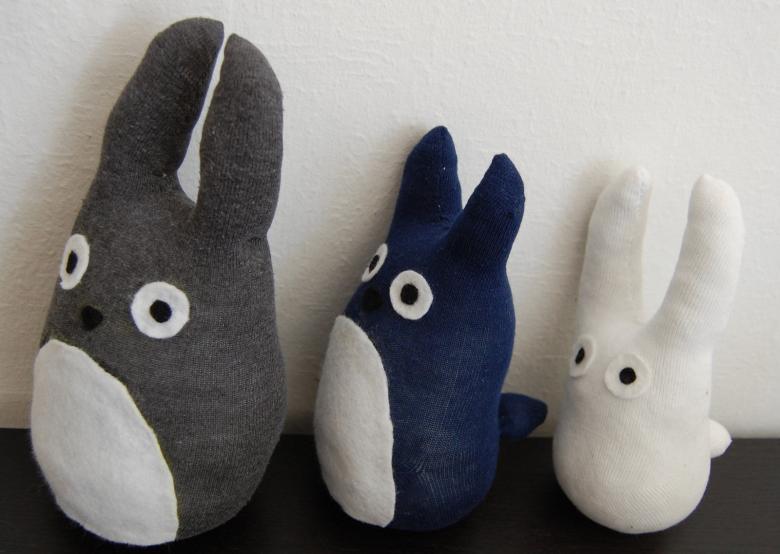
The "anti-stress" bunny
Such a toy can be done in a simpler or more complicated way (the complicated way is also quite feasible, you will now see).
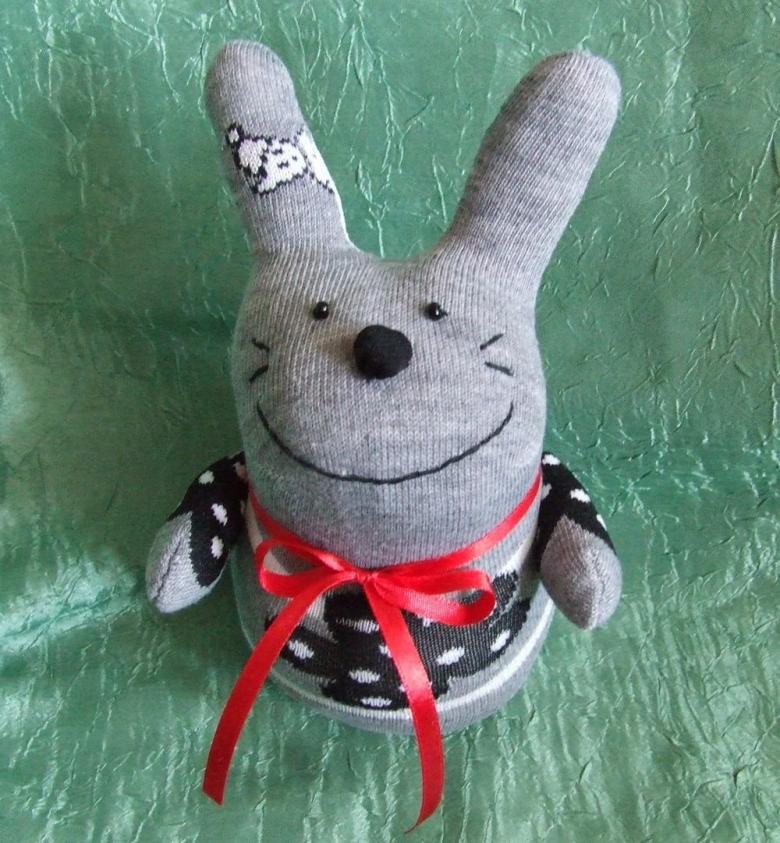
A simple version (without sewing)
It takes no more than ten minutes to make a toy. No skills are required, you don't even need to know how to sew. This bunny is good to make with a small child - the work is just right for him.

Gather materials and tools. You won't need much:
- A sock. A gray or white one if you want the bunny to look like a real one. But you can take a colored or even striped - the toy does not have to meet the requirements from the zoology textbook;
- 200-250 grams of groats, buckwheat or rice will do;
- thick thread;
- a piece of lace;
- felt-tip pens, markers are okay;
- scissors.

The sock hare in five steps
All manipulation is extremely simple.
- Sprinkle the grits inside the sock.
- Take the thread and form the bunny. We need to pull the sock twice - so that the future toy appeared torso (larger), head and billet for the ears.
- Make ears out of the upper third of the sock. Cereal in this part is not. Take scissors and cut out a triangle in the center. We have two ears from the loose pieces of fabric.
- Use a felt-tip pen to draw a "face" for the rabbit.
- Tie a bow of lace around the neck.
Our handicraft is ready. We obtained soft "anti-stress" hare. It can be crushed, squeeze, throw - the toy will not hurt. A located inside the grits has a useful massage effect on the hands.
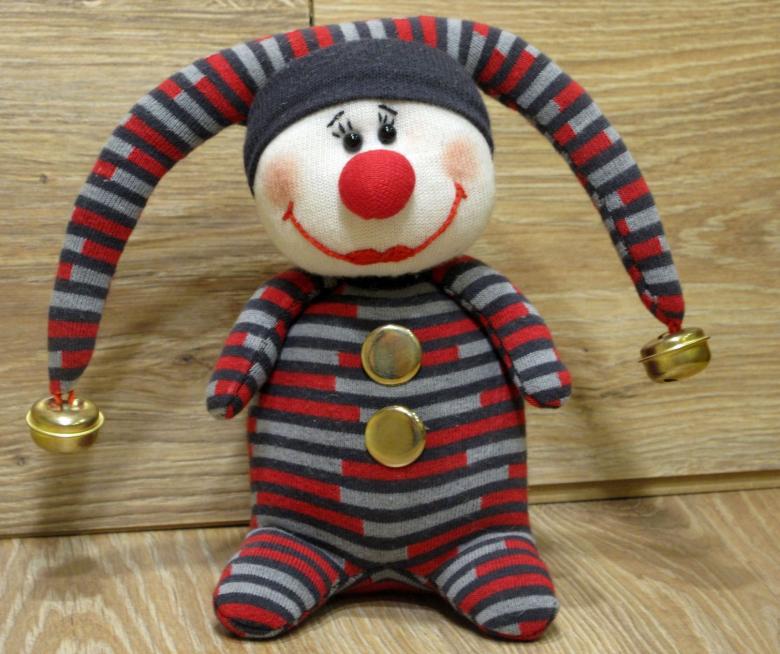
A complicated version (with sewing)
If the first bunny a child can make independently, then here you may already need the help of a master - a mother or a teacher.

Materials and tools:
- a pair of socks;
- thread;
- scissors;
- needle;
- padding, absorbent cotton - any material for stuffing;
- two beads.

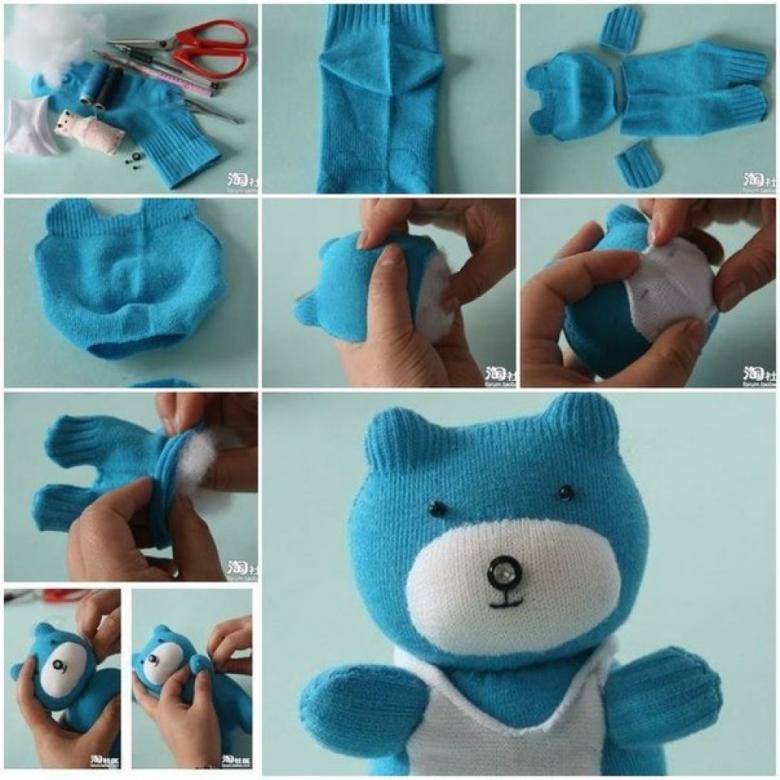
Hare socks step by step:
- On the first sock make a blank for the head. To do this, cut with scissors rounded part, and at the neck make a triangular notch. Two remaining triangles will be ears.
- Turn out the blank, sew the edges of the former neck.
- Through the remaining free part of the stuff the head. The heel is the muzzle of the rabbit. Push the material into the ears with a pencil.
- Begin making the torso. Cut the second sock on the side opposite the rubber, forming the legs. They should get rounded and not very long. On this blank heel sock will be the fillet part of the toy.
- Turn out a blank, stitch, stuff through a loose neck.
- Sew the two parts together.
- From the cut parts form the front paws and tail pimple. Connect them around the edges and stuff them as you did earlier with the body and head.
- Sew paws and tail.
- Make a hare eyes out of beads. Attention! If this is a toy for a small child, better details such as beads do not use - they can be dangerous for him. In that case, the eyes and mouth of the rabbit can simply embroider or draw.
The toy is ready!

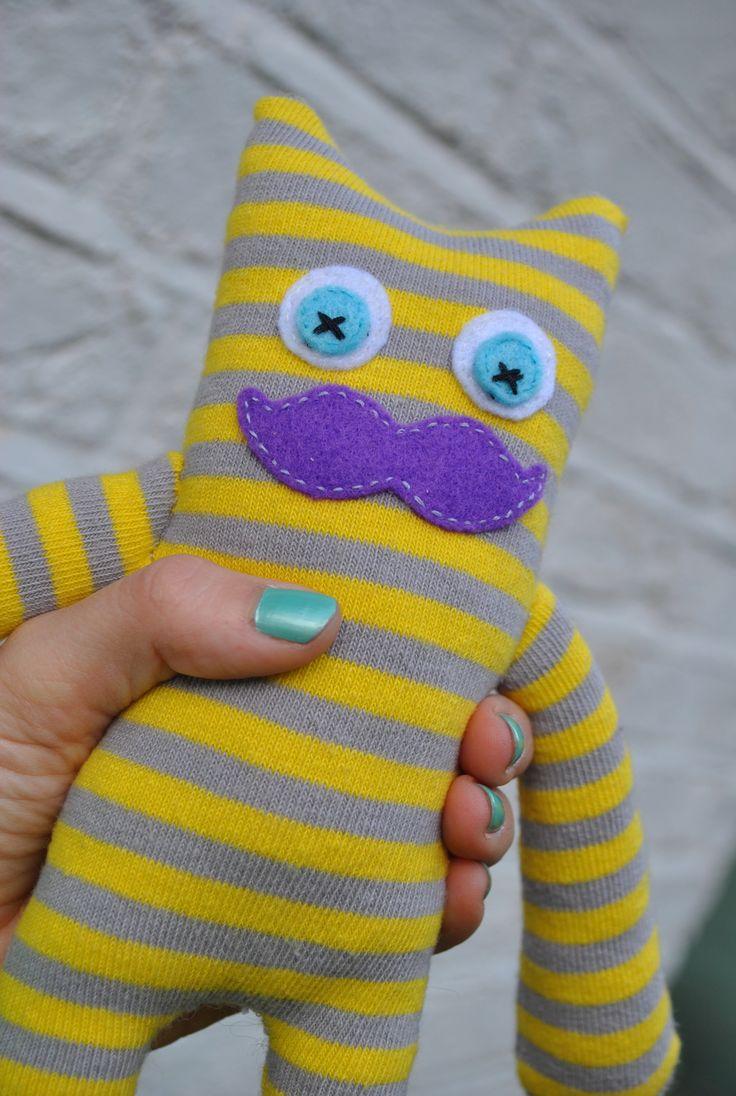
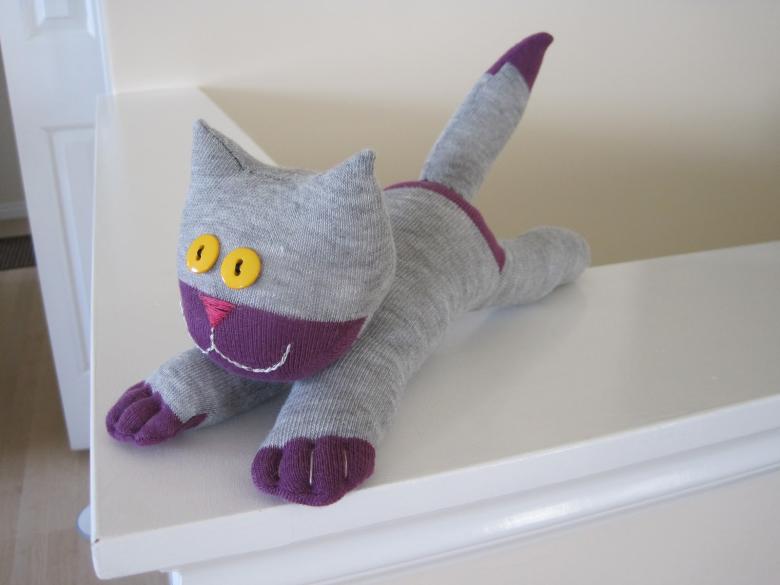
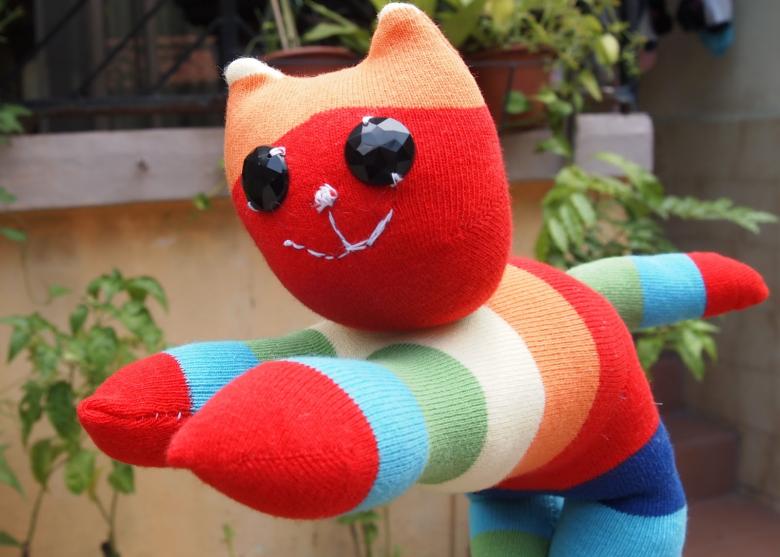
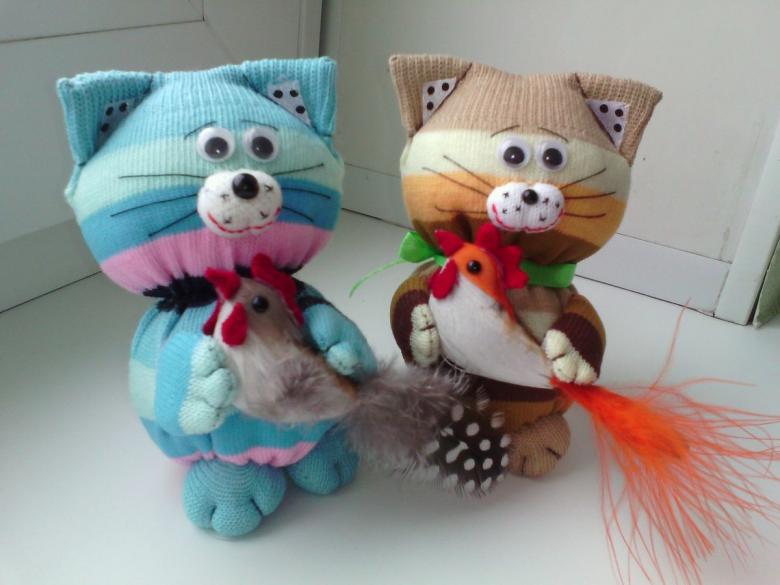
Bully cat .
Here you can play with color. If you have unnecessary striped socks, then for such a craft, they will do just fine, but also need a monochrome pair. The whole job will take about 40 minutes.
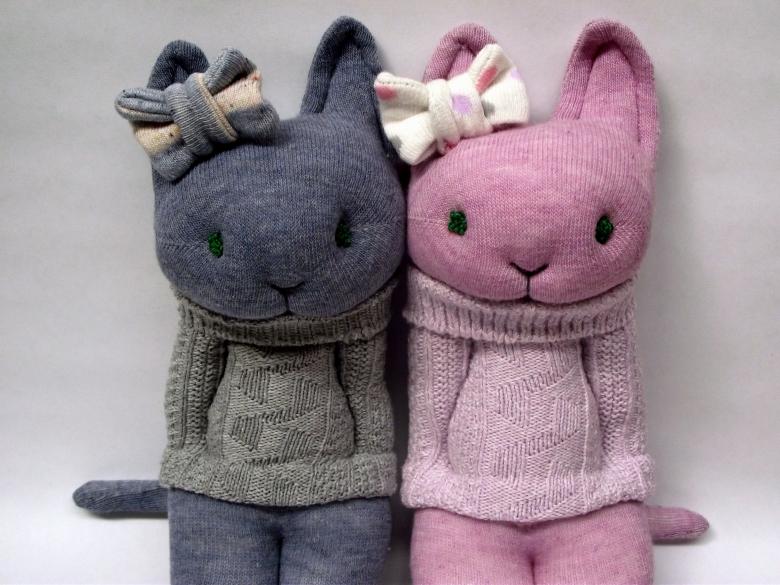
A sock cat in nine steps:
- We take a solid color sock. This is the future head, the heel will be the muzzle. Trim it from the neck to form small pointed ears.
- Turn it inside out, stitch the edges, fill it in and attach a rubber band around the neck.
- From a striped sock form the body. The neck will be adjacent to the head. Cut around the heel, sew, fill with any grits.
- Connect both parts.
- The next step is the design of the cat's "face". First the nose. Take a button, cover it with fabric (play with colors, let the nose contrast with the muzzle) and fasten it.
- Under the nose stitch the fabric vertically downward and pull - you get puffy cheeks.
- For the eyes choose fun buttons.
- Front paws will be "solid-stitched. Make two seams on the body, stepping on the right and left a centimeter. There will be a full illusion that the hands of a hooligan cat are in his pockets.
- Remains the final step - the tail. Cut a narrow piece from the remaining long part of the sock, turn it out, sew, stuff it and attach it to the desired place.
Our kitty is ready. If desired, you can tie a bow around its neck or make a simple bead pattern on its chest.

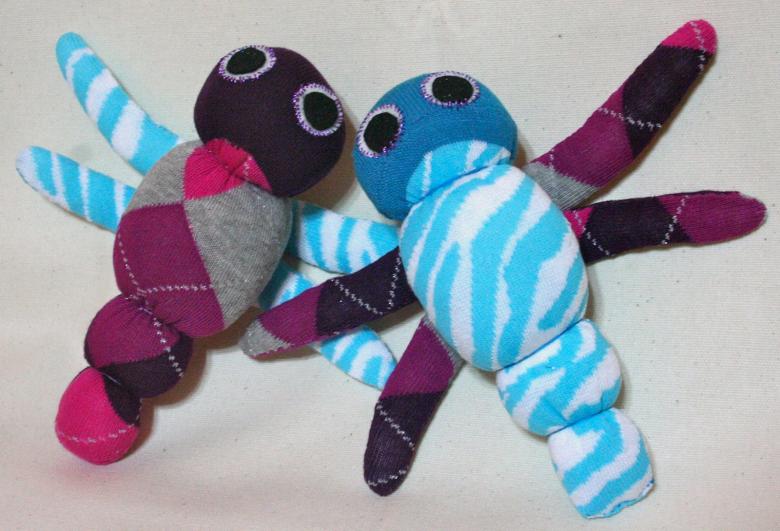
Caterpillar: crawl and sing
This toy can be made in five minutes from almost nothing, and you can spend more time, but you will get a doll in the end.
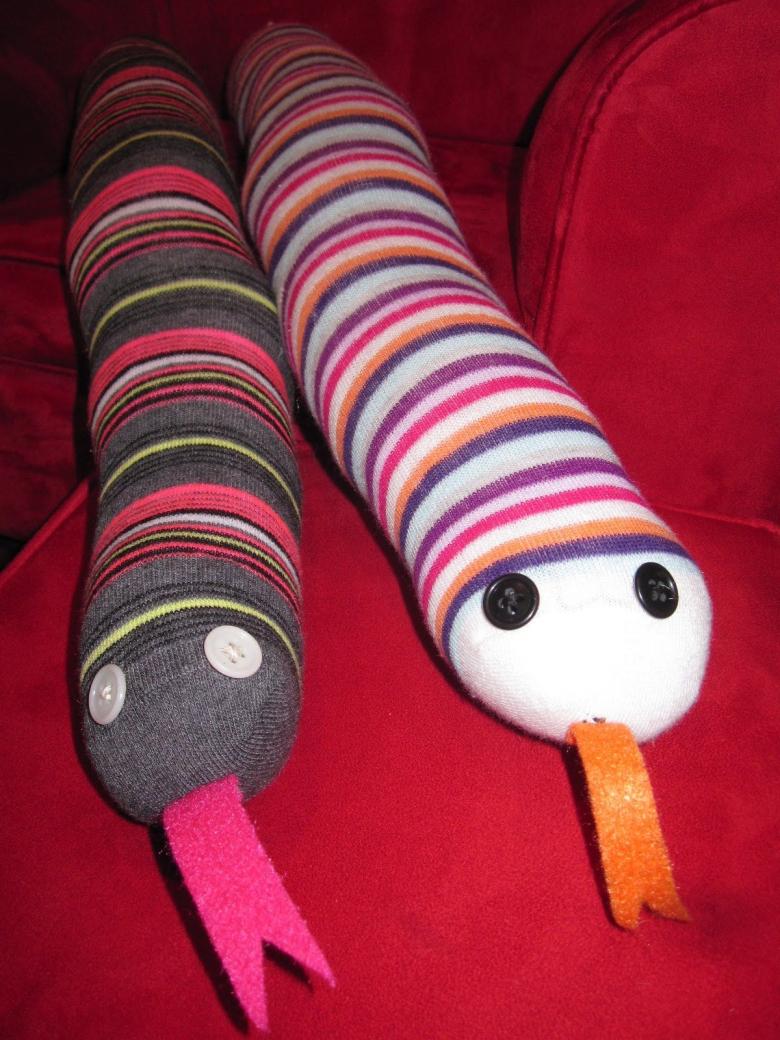
For the littlest ones
A very small child can make their first caterpillar. The starting material is old pantyhose.
- Cut the pant leg, turn it out and sew up one side. Should get a tie.
- Turn back inside out, stuff the caterpillar, sew.
- Pull the body thread in several places to form rounded "sector".
- Eyes made of beads or buttons, embroidered mouth.
All! The simplest caterpillar is ready.
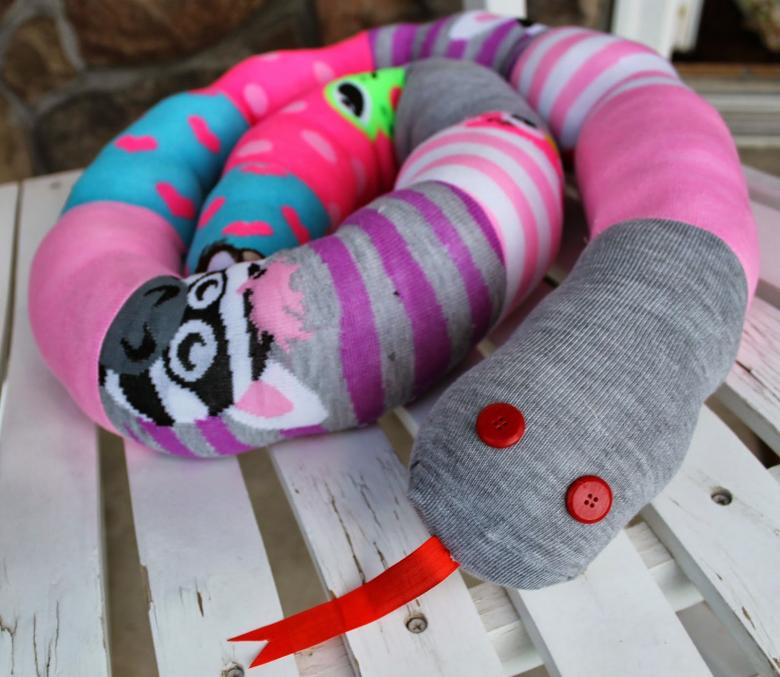
For older children
There is also a more complicated version of this handicraft - a funny singing caterpillar, worn on the hand.
Materials and tools:
- old terry socks, the brighter the better;
- felt or velvet;
- a piece of cardboard;
- Styrofoam ball;
- Buttons (you can have ready-made eyes if you can find them);
- Tinsel, which will become a fashionable haircut.
Work to be as easy, though more difficult than in the previous case. All we need to do a total of 4 steps.
- We start with the mouth (this is not just a caterpillar, a singer). Turn inside out sock. Cut a circle of cardboard (or any other thick paper) and glue on the toe. Turn back and fold the cardboard inside the sock so that you get a mouth opening.
- Cut out two half-circles of felt and glue on the mouth halves from the outside of the sock. You can cut a circle and fold it along the axis.
- Moving on to the eyes. Cut a Styrofoam ball into two pieces, glue the pupils as buttons to each of them, and set them in place.
- Glue a tinsel hairstyle to the top of the head.

That's all, you can stick your hand inside the caterpillar and have a master class on singing. By the way, there were two socks. Do not be lazy, make a caterpillar girlfriend and create a duet.

Tank: toys for adults
This craft can be a good decoration for a gift for dad or grandfather. Besides imagination, little is required for it, and the original shape will allow you to please your loved one even with classic socks.

Proceed to the assembly of the tank.
- Take a few pairs of black socks, roll them in rolls and fasten elastic bands.
- One red sock lay flat, heel up. On top of him lay the black and wrap a red scarf around the construction. To composition does not fall apart, you can bind it with staples.
- From the second red sock roll the turret of the tank. Place it on top of the "caterpillar" and tie it with ribbon.
- Stick a nice (expensive) pen as a muzzle, for example.

The gift is ready. This is a "light" option. If you want to give a larger gift, increase the size of the base (10 pairs of black socks are also useful). On it, you can mount not a small pen, but a bottle of good wine or any other item. The main thing is that it should have a cylindrical shape and resemble a cannon.

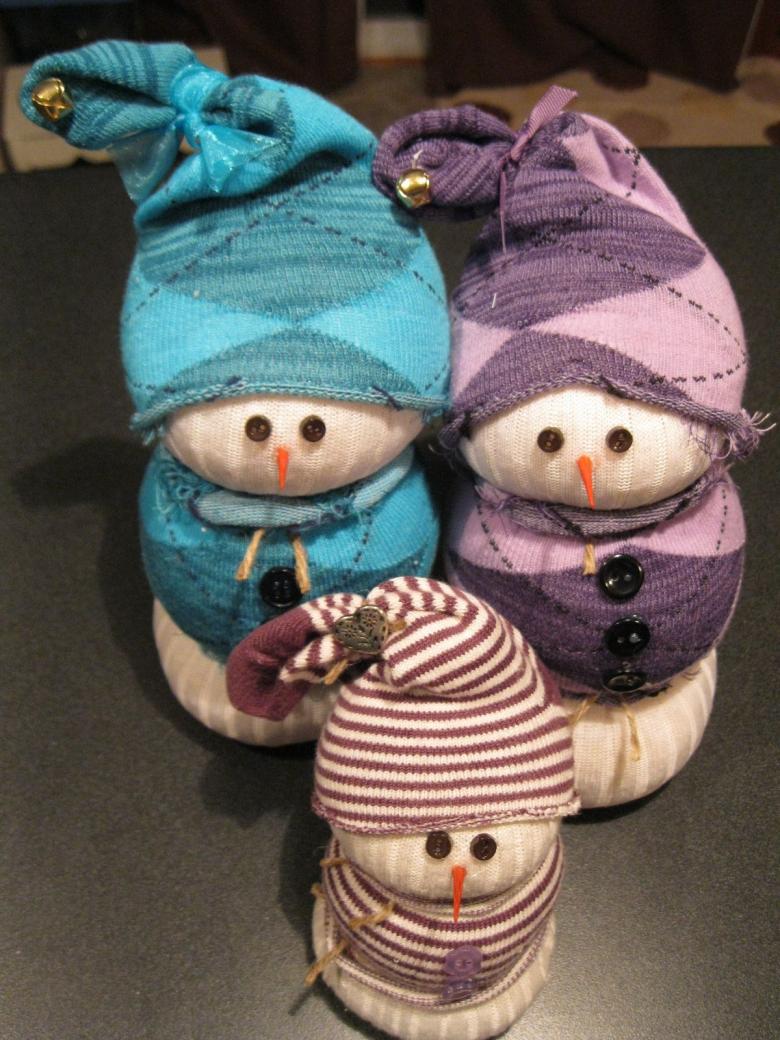
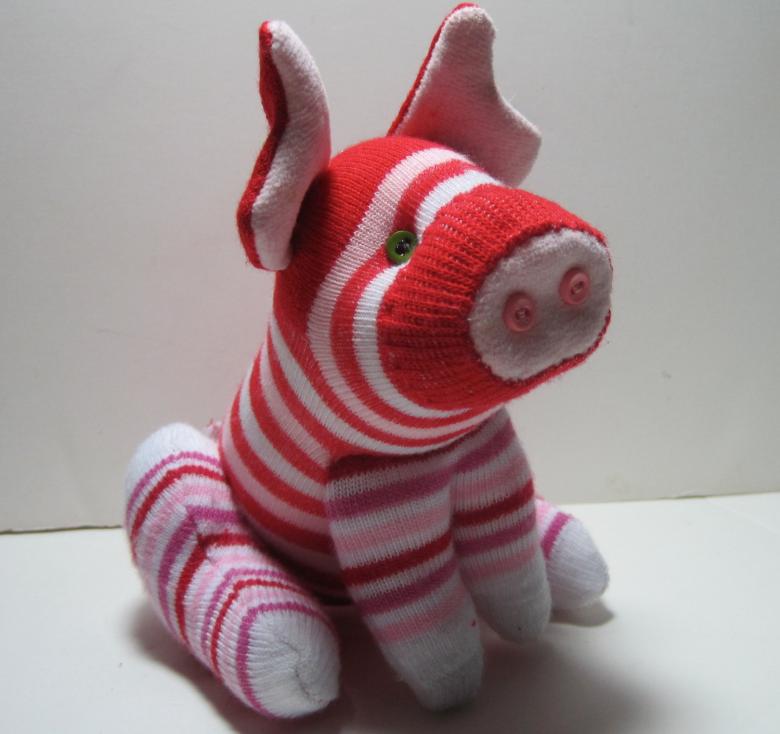
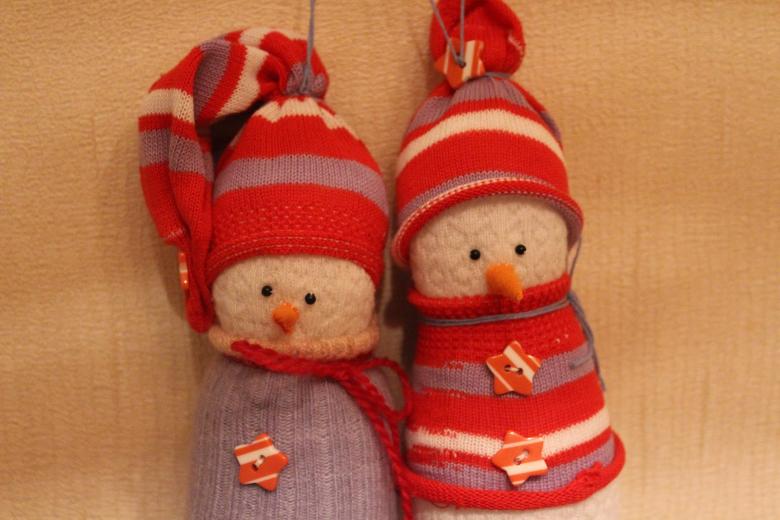
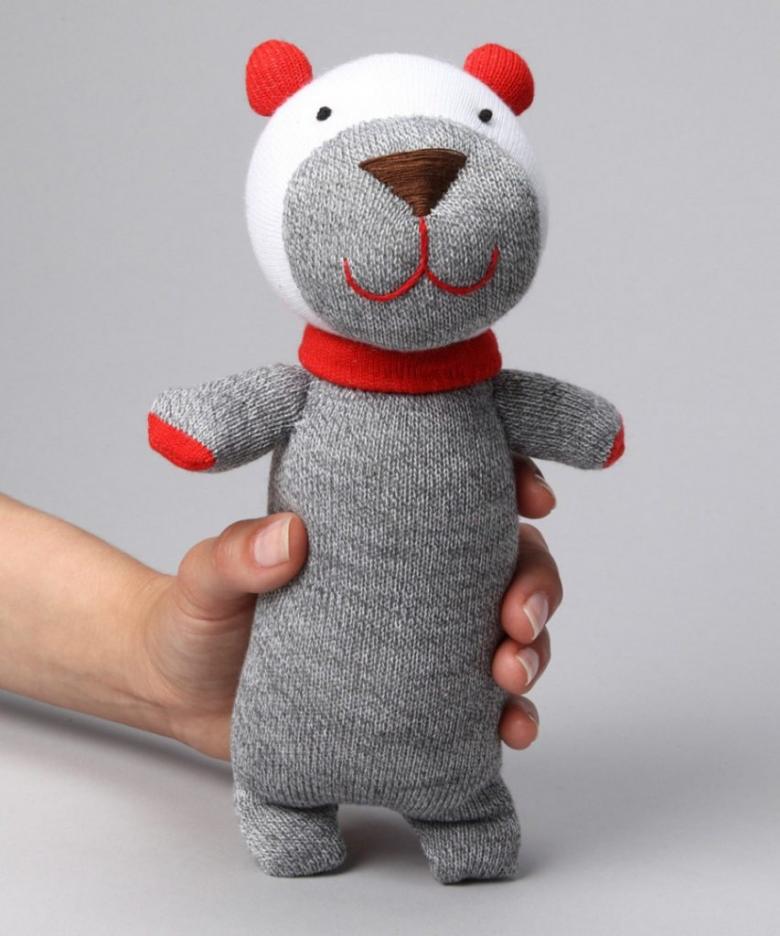
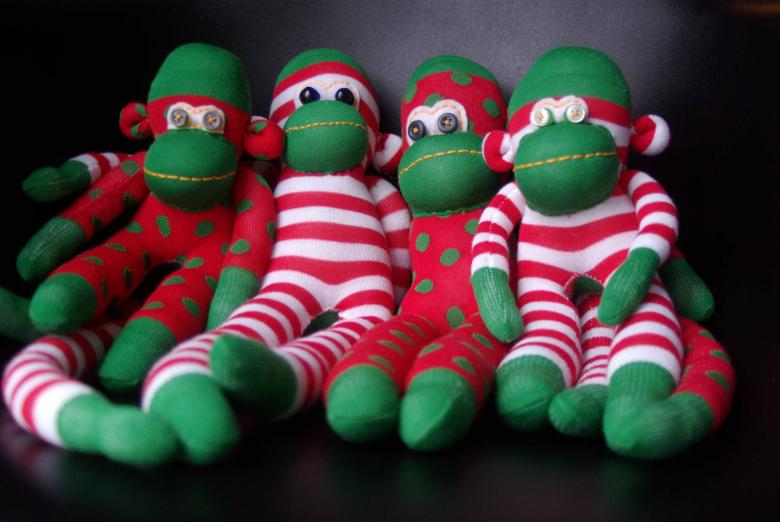
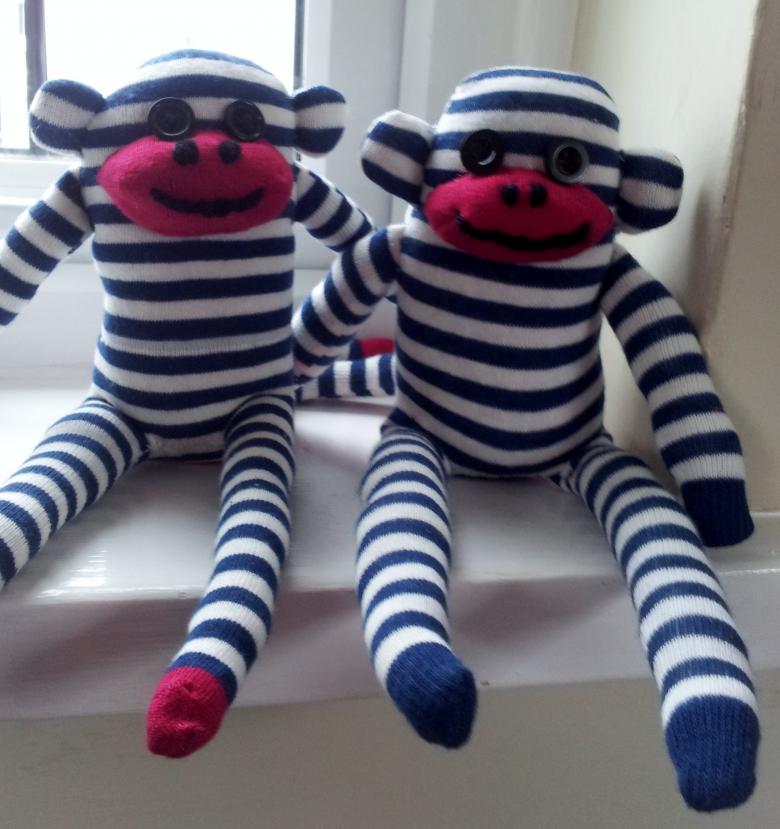
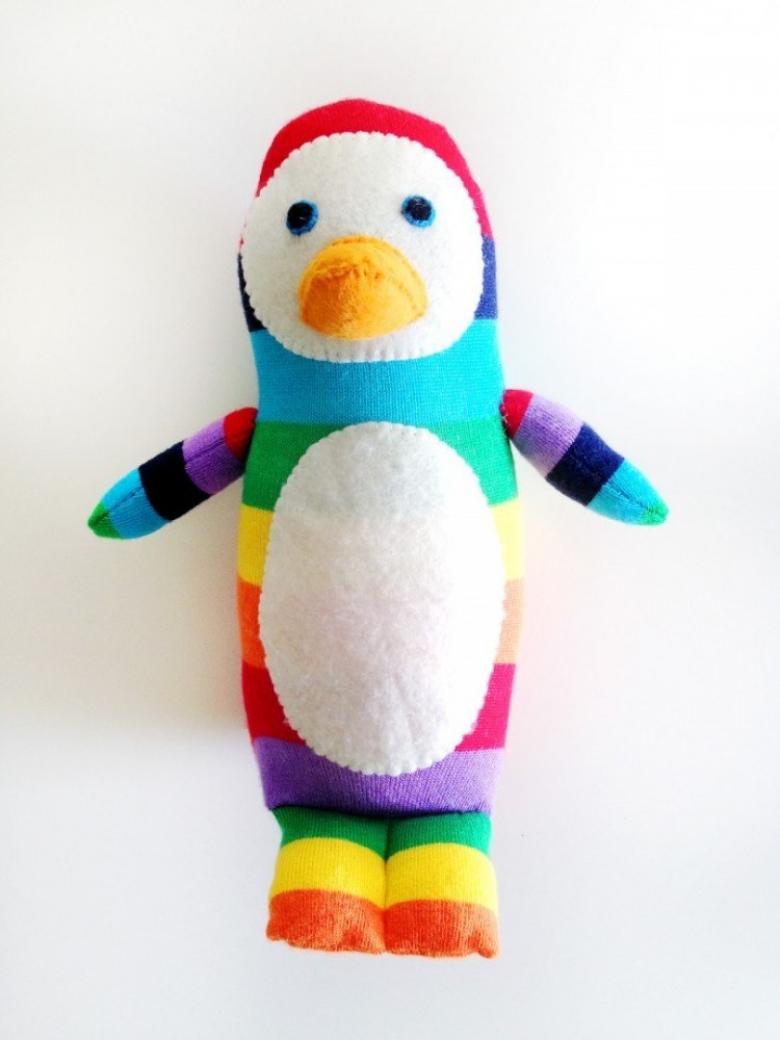
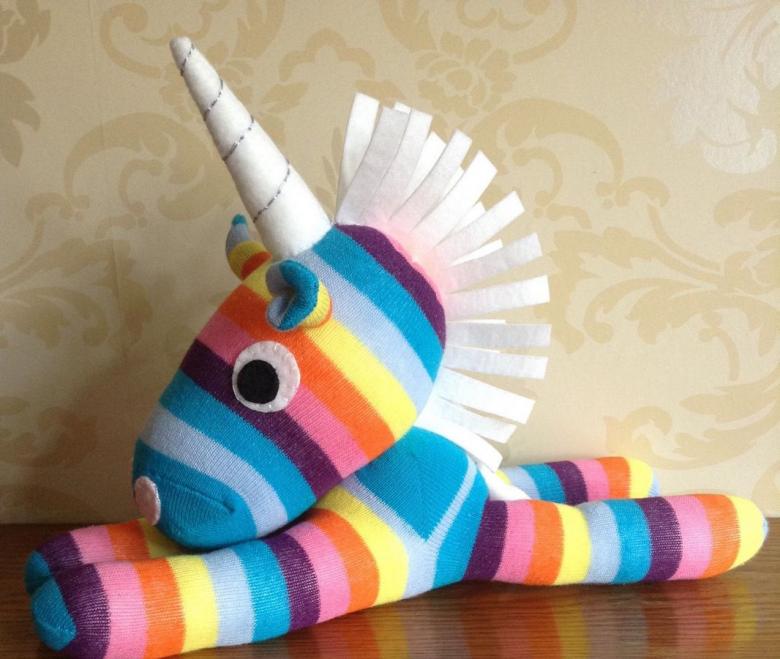
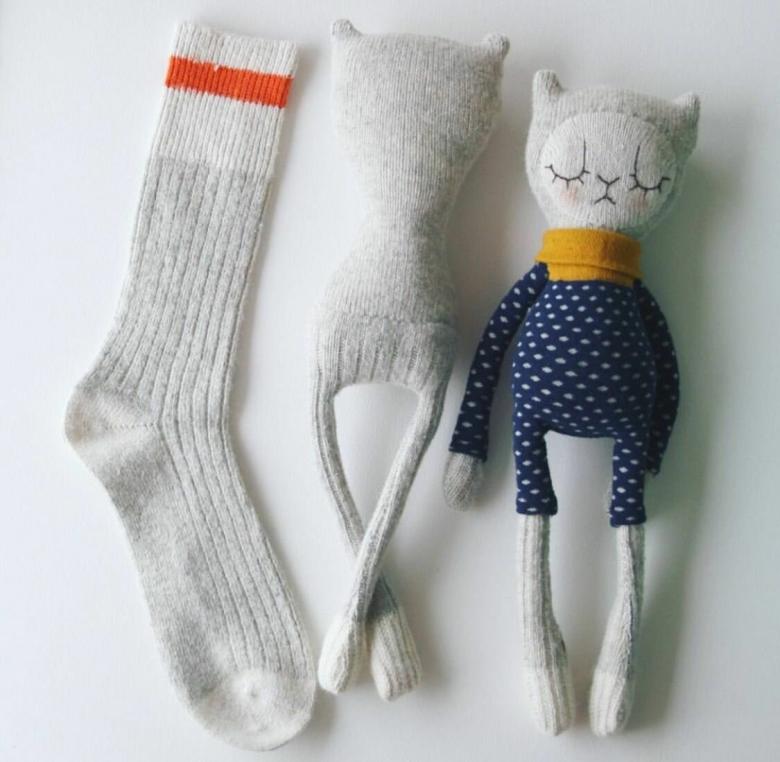
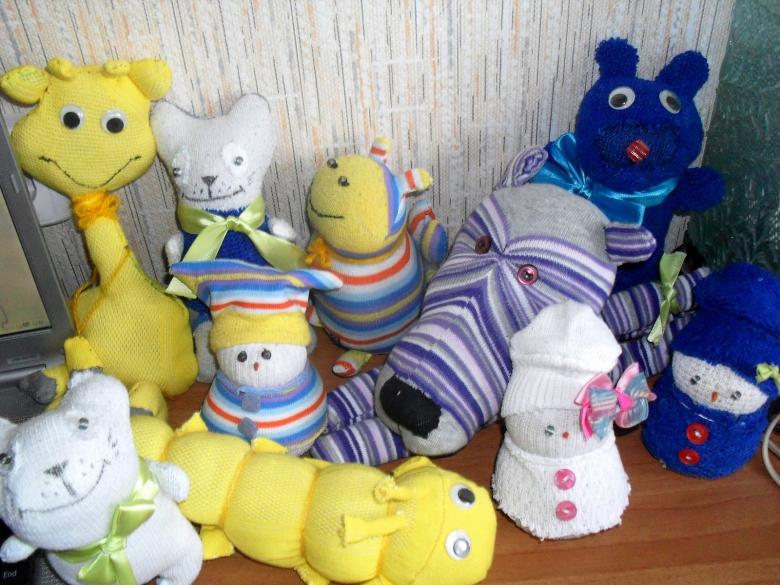
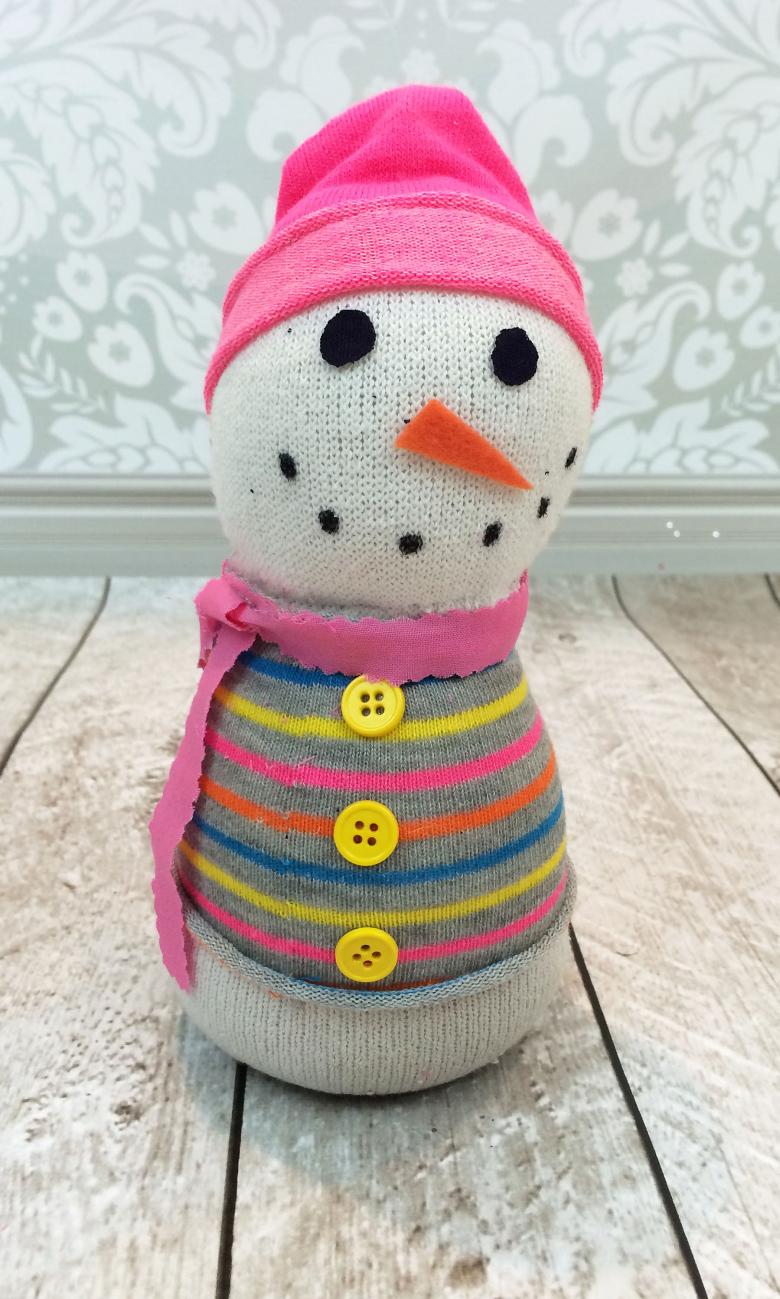
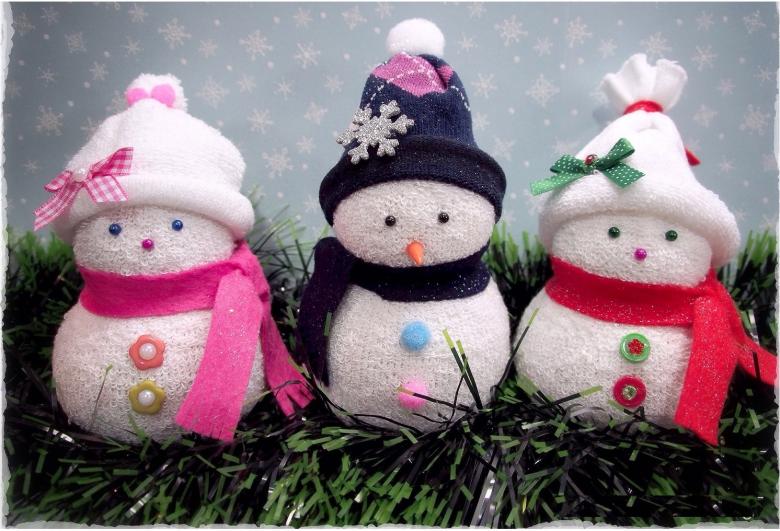
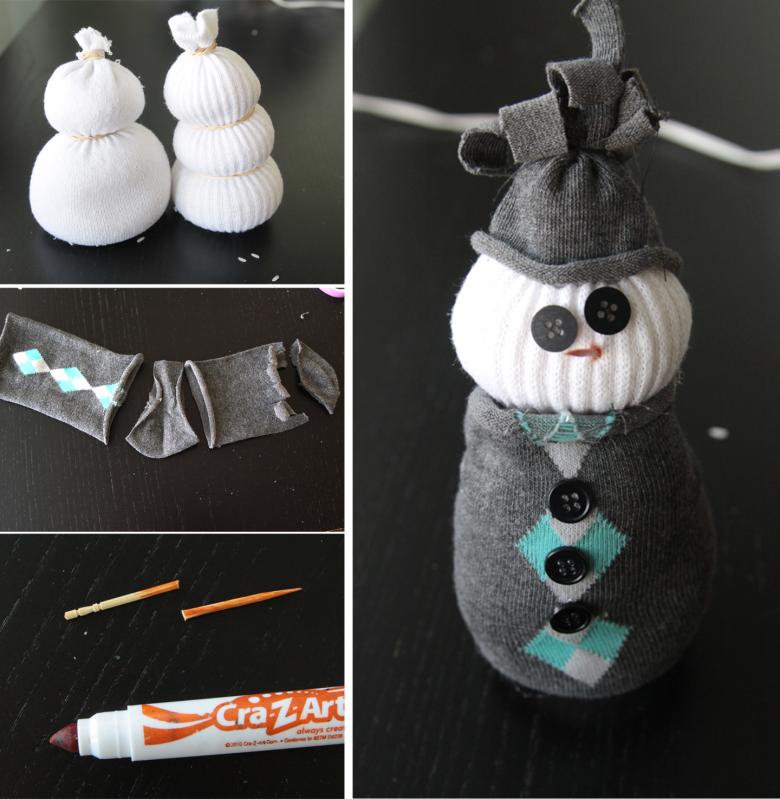
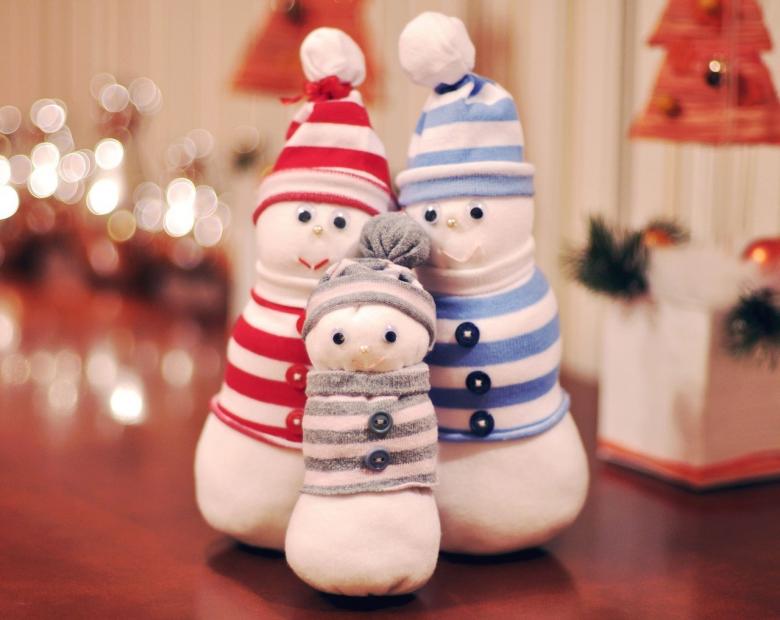
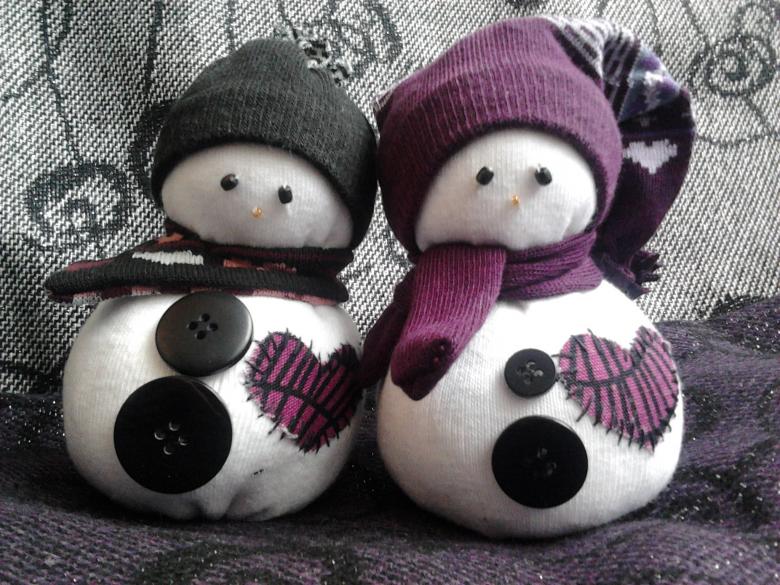
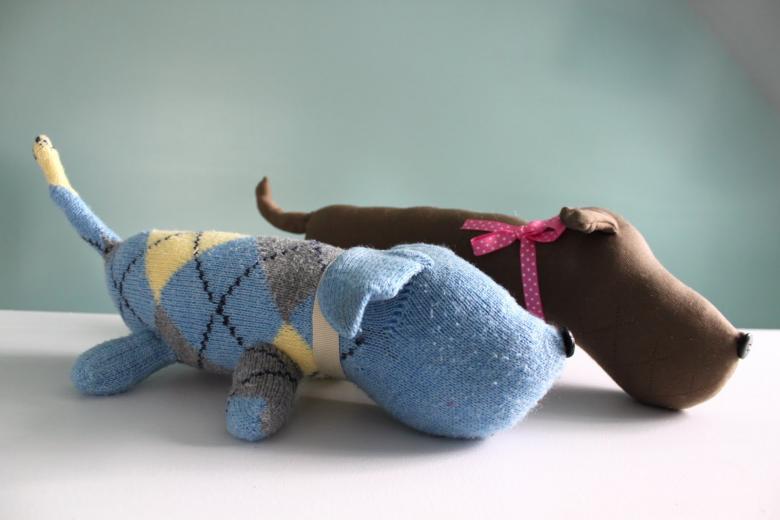
We have not presented all possible crafts of socks. There are still options such as snowmen, dogs, dolls, chickens. The basic working techniques are described above, so, boldly combining them, you can invent and make a handicraft, even without detailed instructions, and the photo - find it on the Internet.

