Handmade crafts out of the hands of a child - interesting master classes with photo examples
To make a craft out of children's hands means not only to spend time with benefit, but also to keep pleasant memories for years to come. The child will definitely enjoy this exciting activity. In addition, it will benefit the multi-faceted development of your baby.
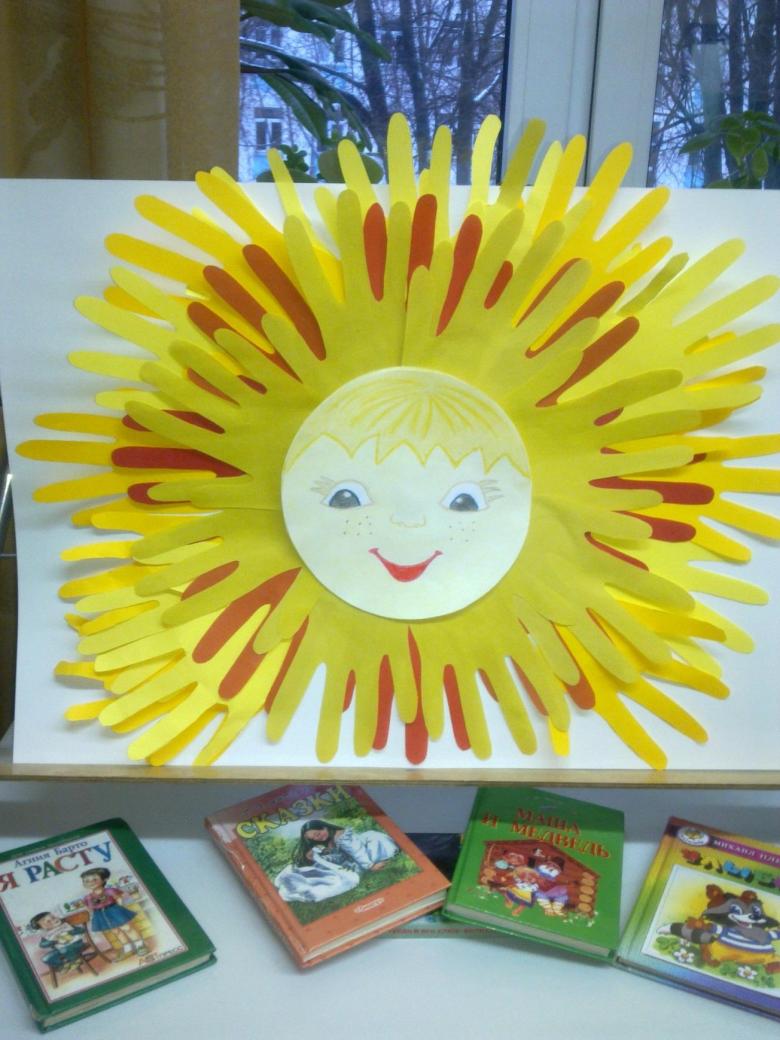
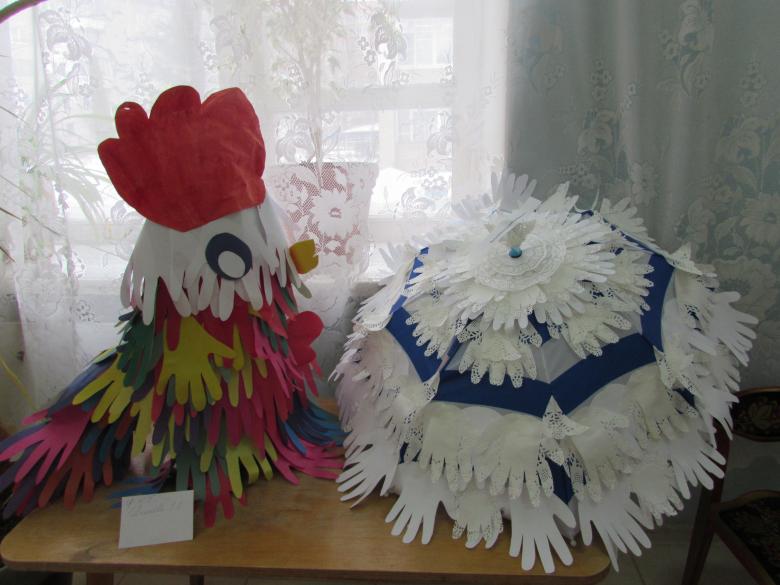
Make a collage out of these original parts can be done not only in the home classes. The result of collective creativity in the kindergarten or school will be even more interesting.
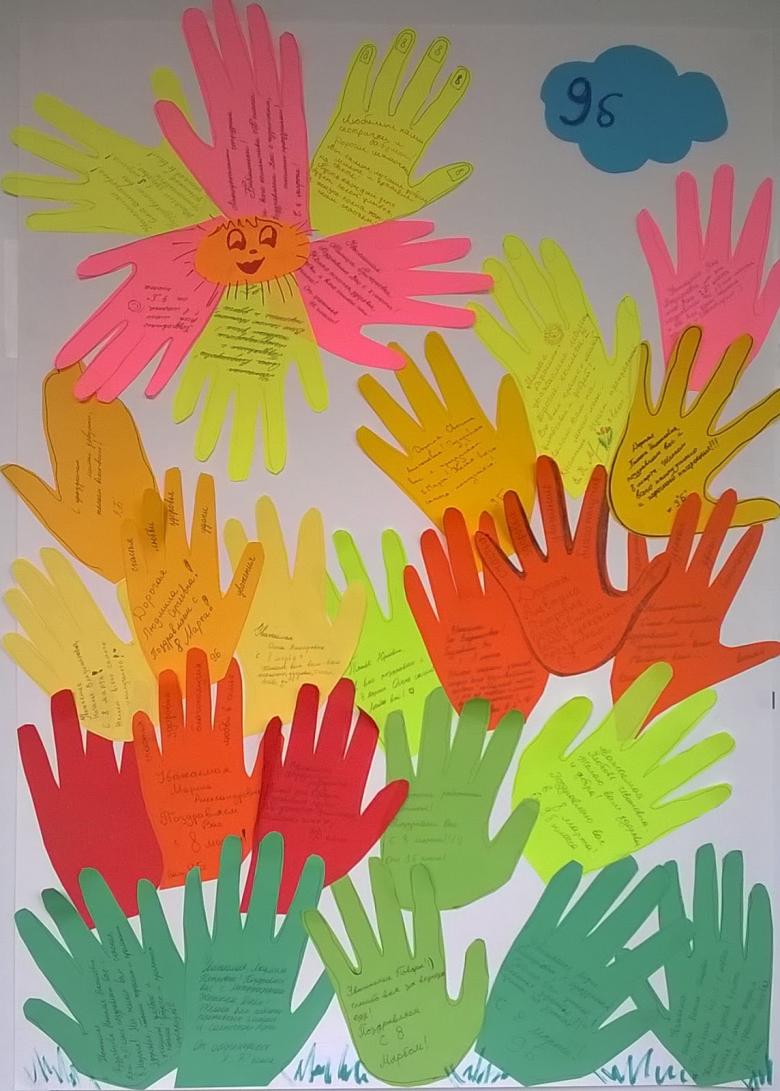
For the work will need colored paper, cardboard, glue, pencil and scissors. Your child's hand can be traced once and made cardboard stencil. On it it will be convenient to cut out details for the craft.
Palm and flat applique
The very first activities that involve children's palms, you can start with a year-old child. But these will not be applications, and prints of children's hands made with finger paint. Children love this kind of activity. You can make prints of a little hand in the form of a flower, in the middle of which you can place a photo of the child. You'll get a nice keepsake card. When the child is older, he or she will be interested in knowing the size of his or her palm at one year of age.
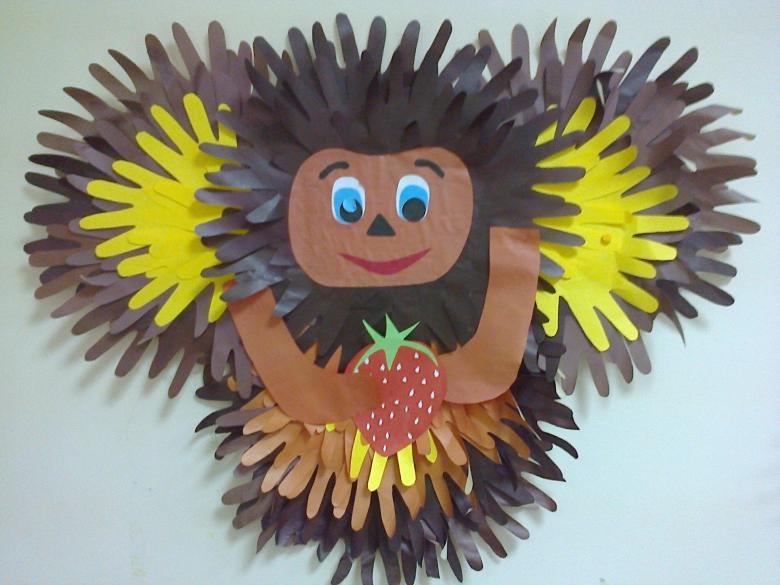
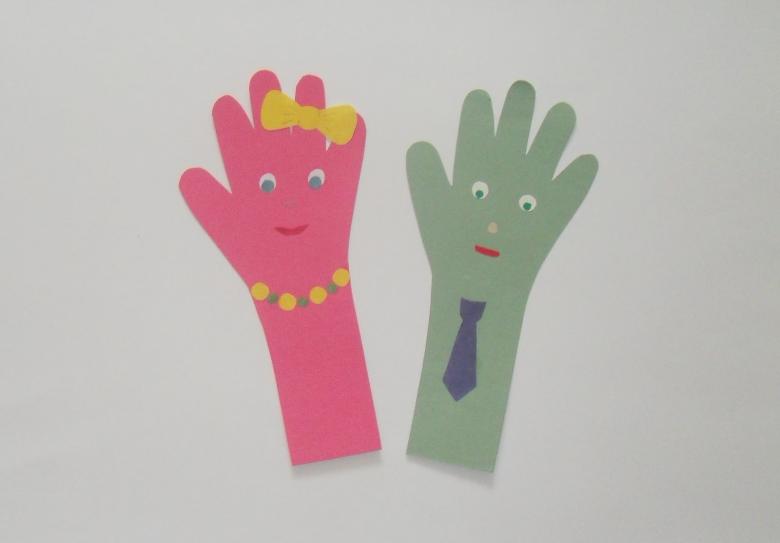
From 2 years on, you can move on to paper applications. A child can't do without adult help. The creative process will be more interesting because it is necessary to trace the hands. Baby feel the importance of their participation in the making of crafts.

If you need a lot of parts, it is easier to make a template so as not to tire a fidget.
There are so many creative ideas for these. Taking one as a basis, you can improvise and create something of your own.

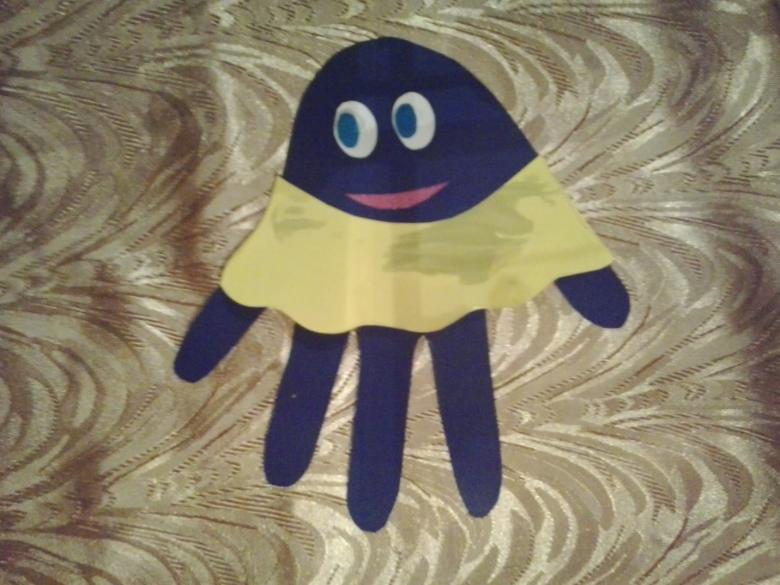
Funny octopuses
- To make this simple craft, you will need a pair of palms cut out of brightly colored paper.
- You can choose a colorful background or use a white sheet on which it is easy to finish drawing seaweed, shells and pebbles.
- Palms are glued down with fingers. These are the octopuses.
- Octopus need to draw or glue the eyes and mouth.
Simple flat crafts ready.
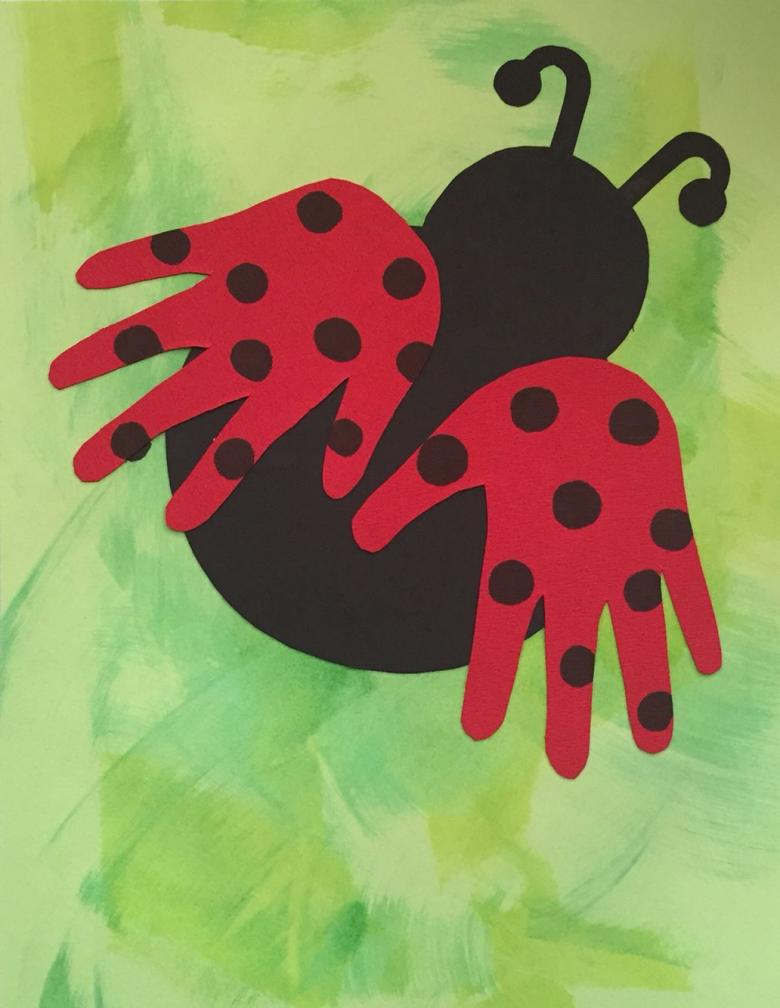
Swan .
- To perform this work requires a piece made along the contour of a child's hand, white in color. In the process of tracing his hand thumb should bend away.
- The palm is glued to the base of the blue color with the thumb up. It acts as a swan's neck.
- For the head necessary to cut out of white paper a small ellipse and a triangle-beak.
- Glue the head.
- Background can be complemented by a sun and a cloud.
Application ready.
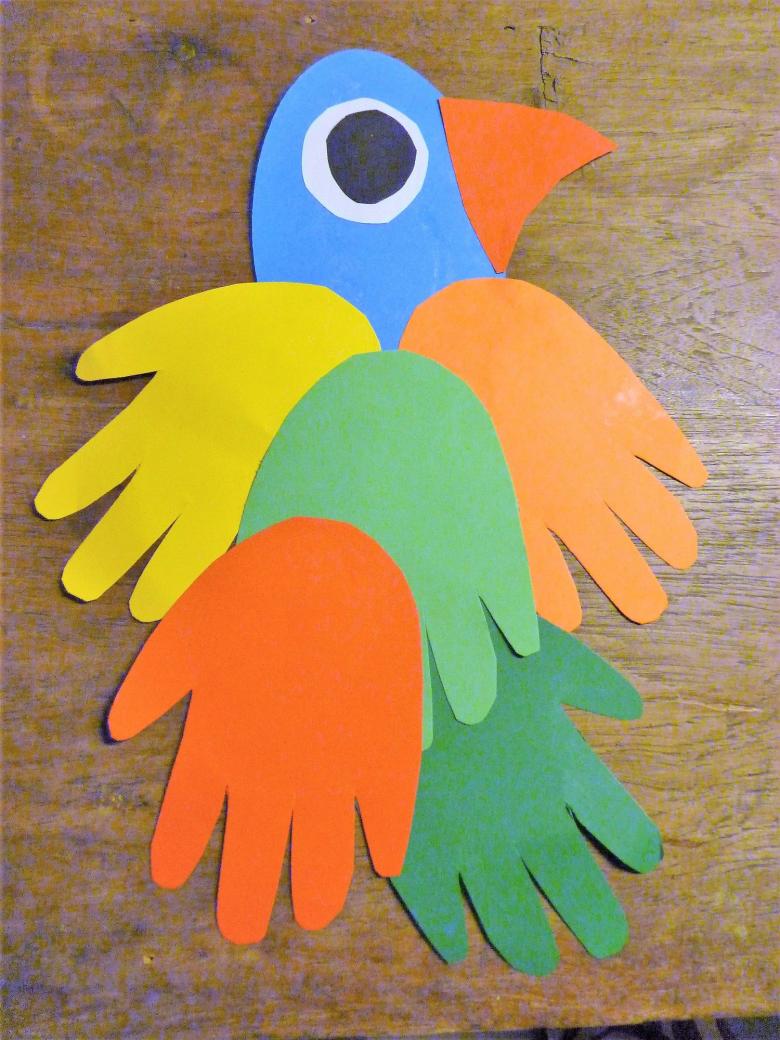
Similar options with palms can come up with a lot. Four of these elements can be used to make a butterfly applique. Details can be painted with bright finger paints. Children like to draw with their fingers.
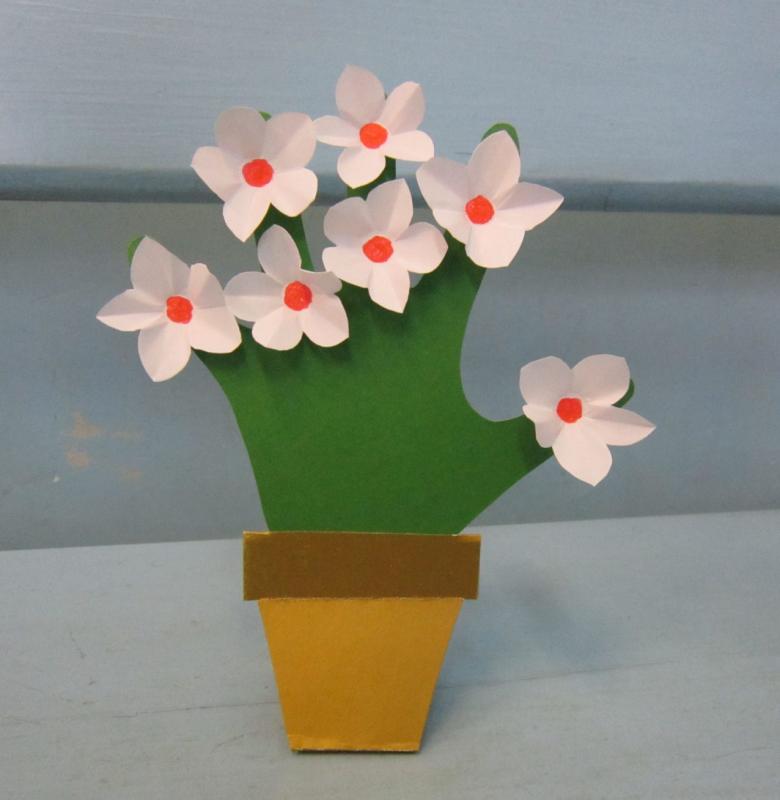
Bouquet of daisies
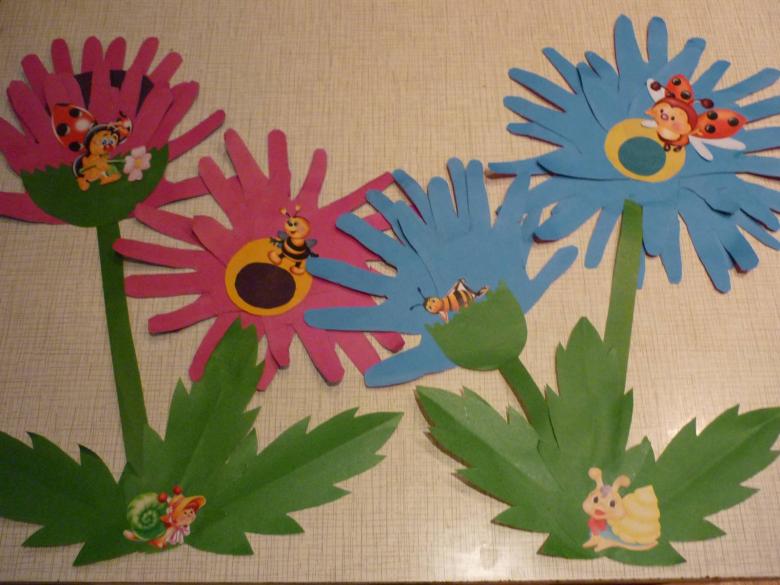
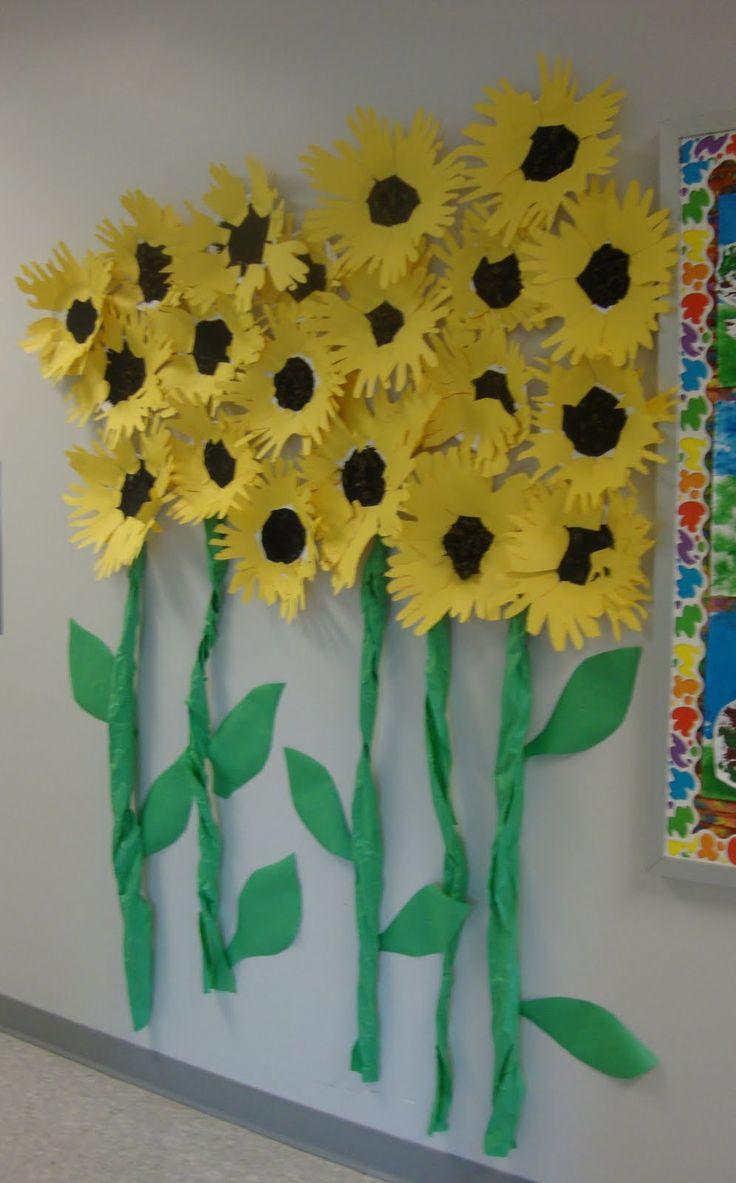
From palms you can make a very beautiful bouquet of daisies as a gift for mom or grandmother. Work on the manufacture of such a handicraft is simple, but fascinating task.
To implement the idea, you need to prepare:
- white and colored paper,
- yellow paper tissues,
- glue,
- scissors,
- a pencil.
Order of work.
- To decorate one daisy, you will need 6 parts. Therefore, it is reasonable to fold white paper in several layers, cut out several palms at once.
- Yellow napkin is folded into a square and cut out the middle of the flower.
- From the green paper cut out palm leaves and a straight stem.
- If desired, you can supplement the handicraft vase. It should be cut out of colored paper and glued to the base of the application.
- Glue stems and leaves.
- Glue white palms in a circle, marking the middle of the daisy. There are 6 parts per flower.
- Glue the middle piece of tissue paper.
The original bouquet of white field daisies ready.
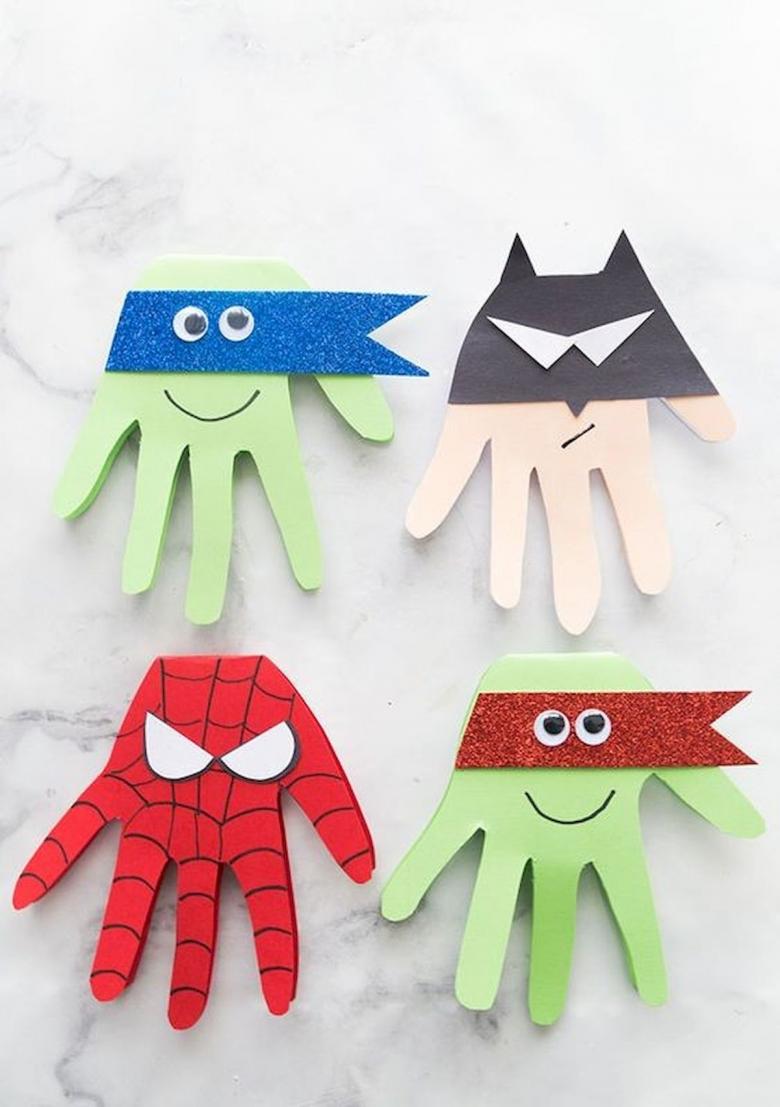
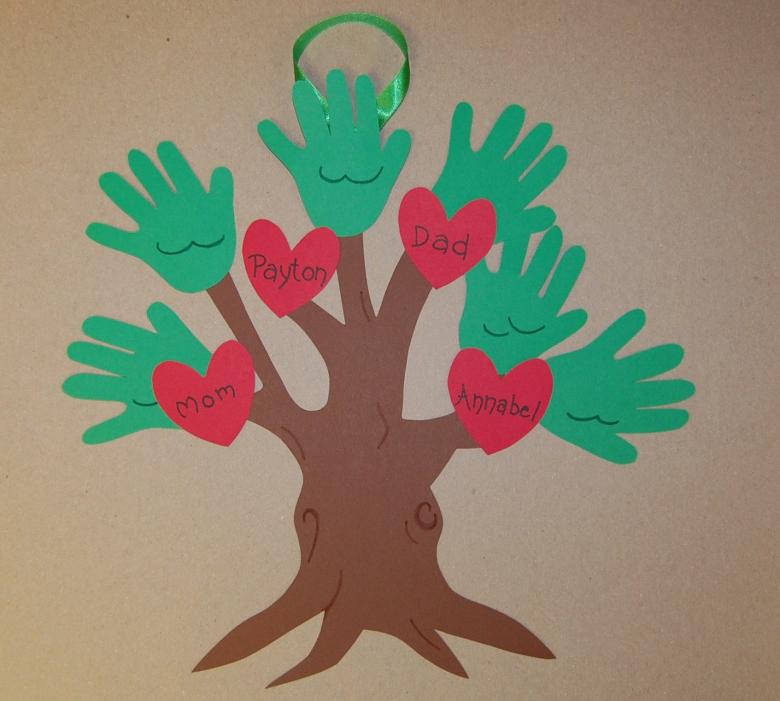
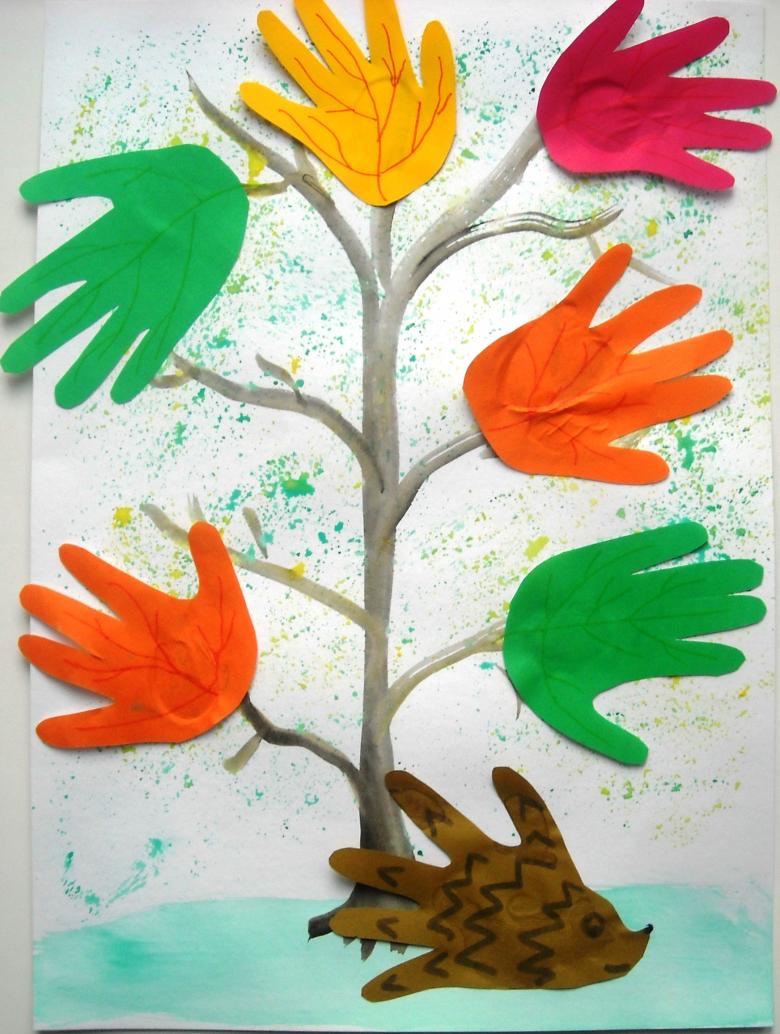
Tree from the palms of hands
Funny tree can be made in different versions according to the seasons.
To work, you need to prepare:
- cardboard for the base,
- colored paper,
- glue,
- scissors,
- pencil.
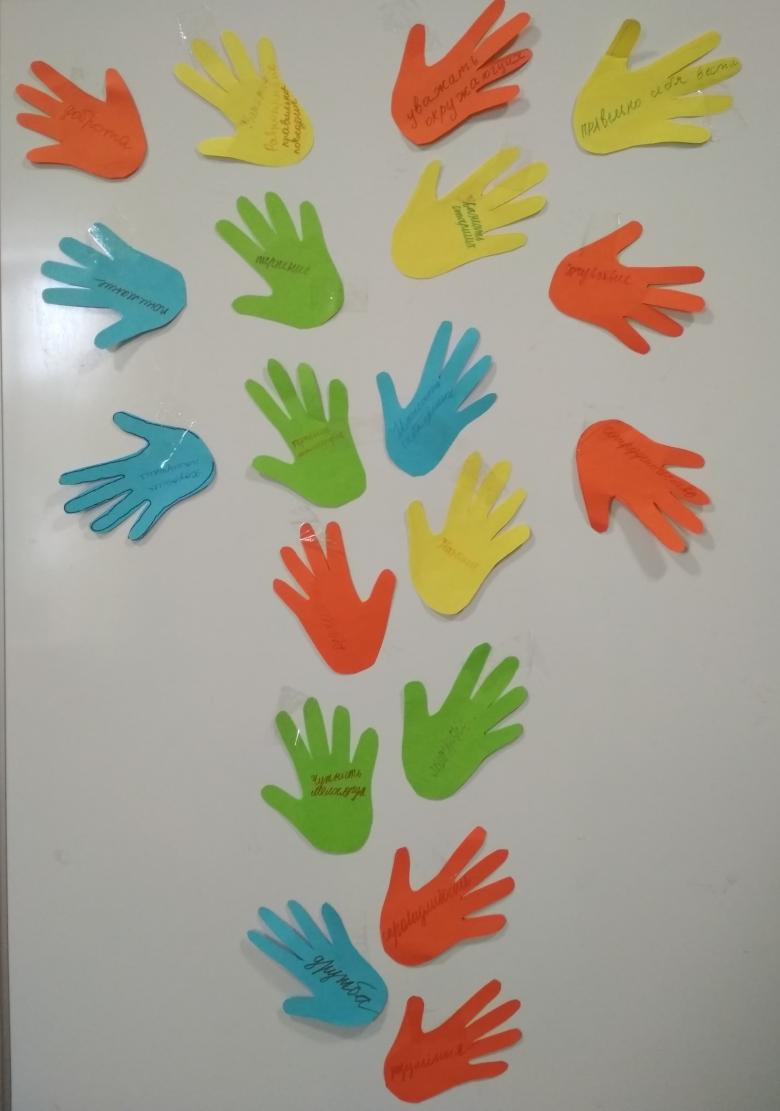
Order of work.
- Circle and cut out palms of colored paper. Choose a color at random or according to the time of year.
- Cut out a trunk from brown paper and glue it to a cardboard base.
- Glue parts with fingers up.
- Add flowers or fruits to the tree if you want.
Ideas for flat applications can be found on the Internet or come up with your own.
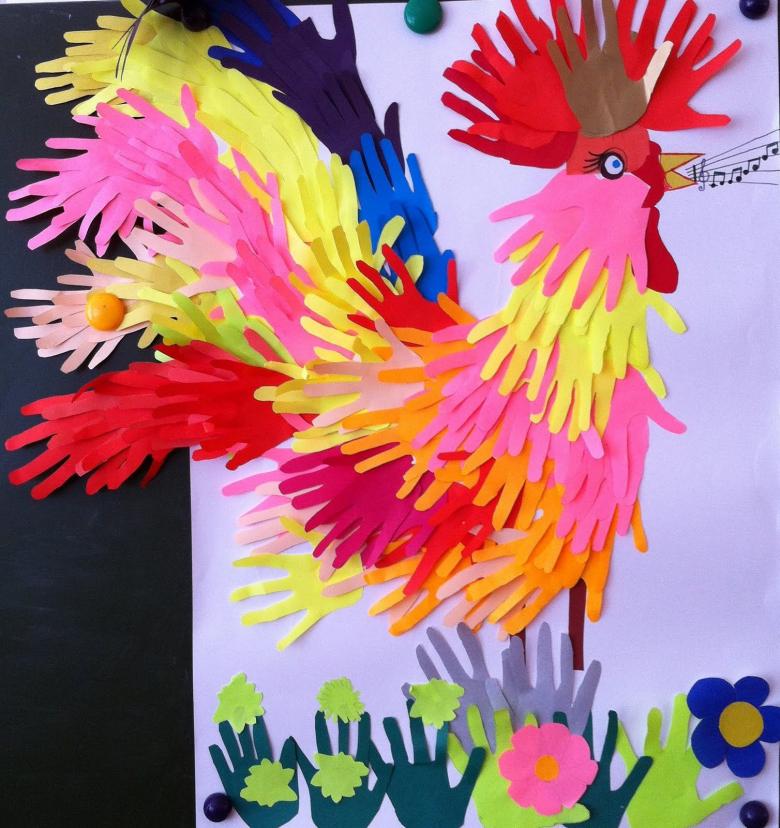
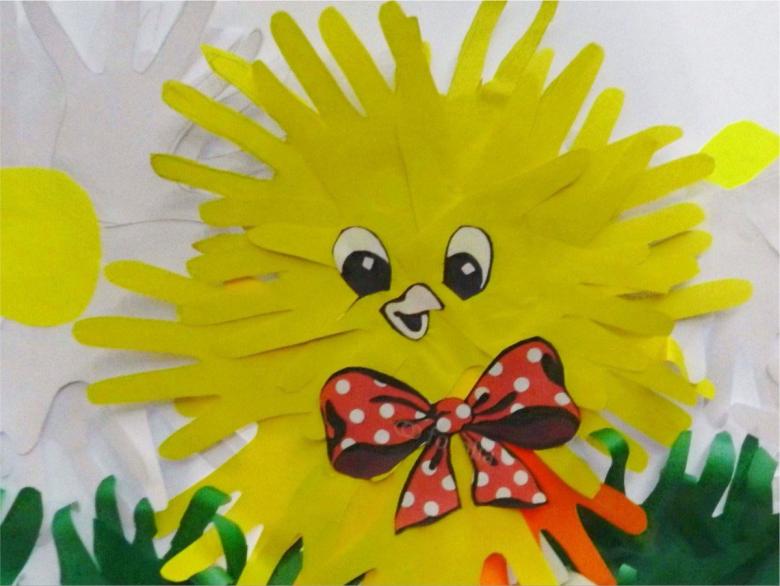
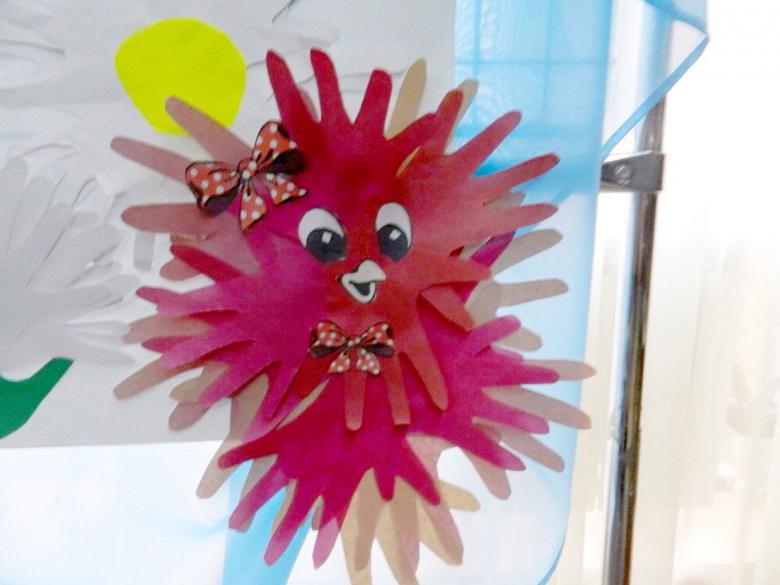
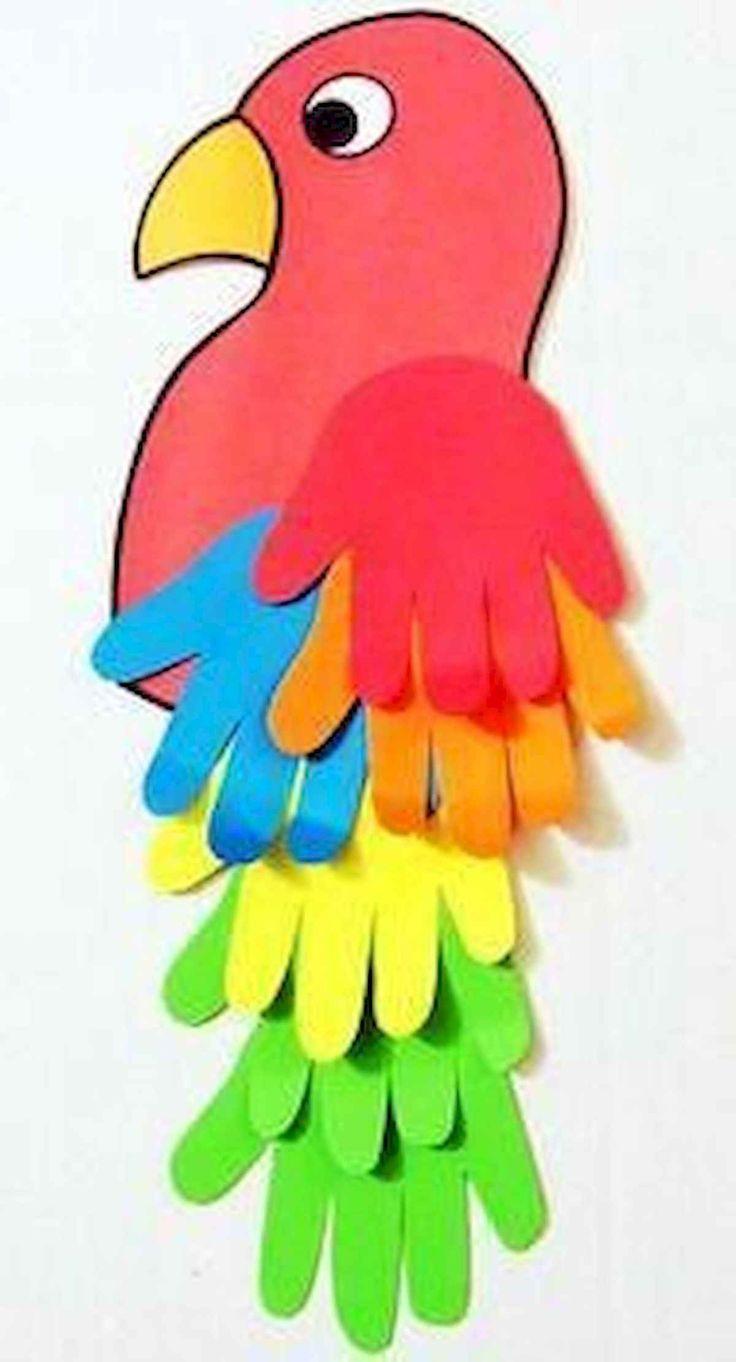
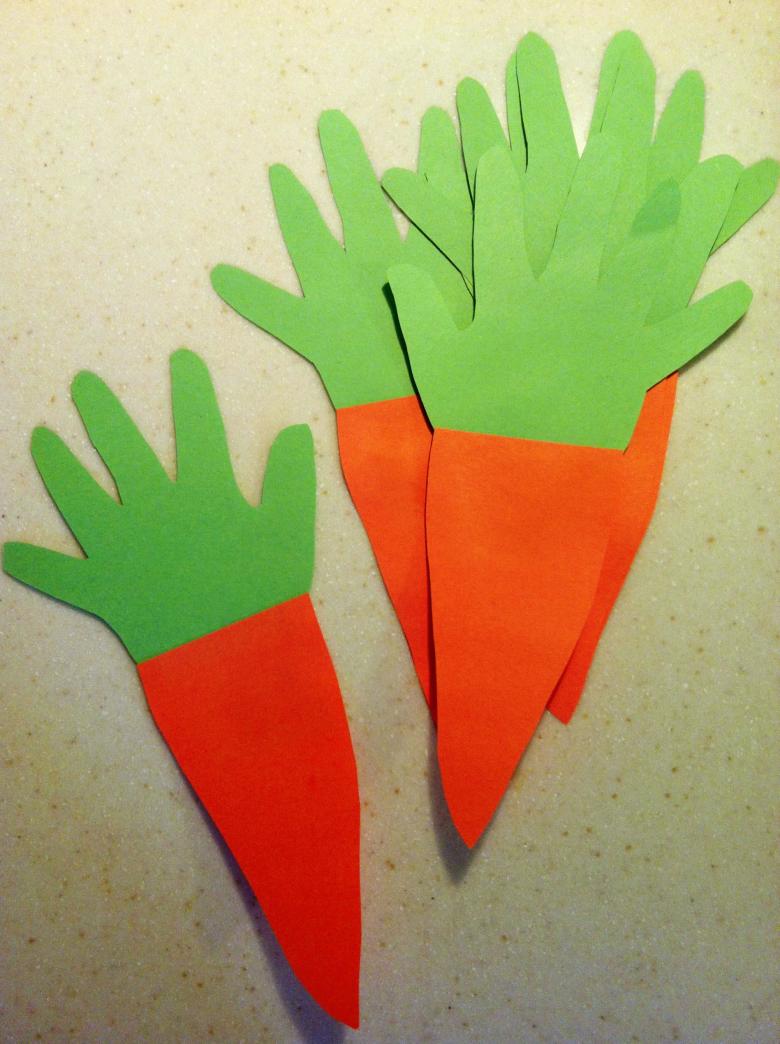
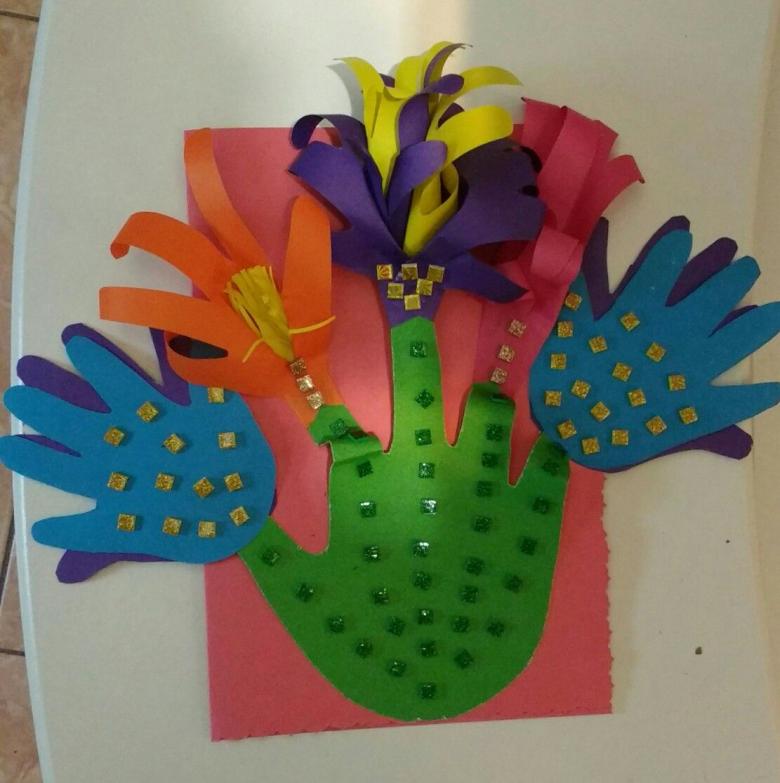
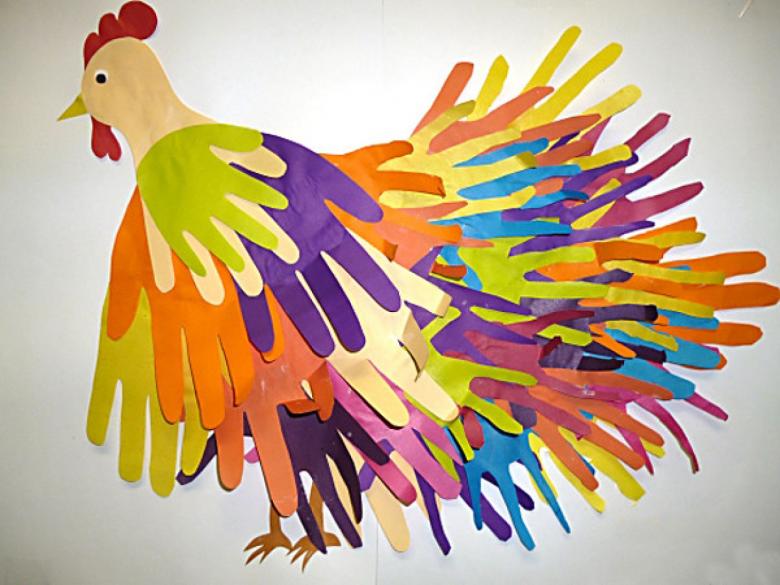
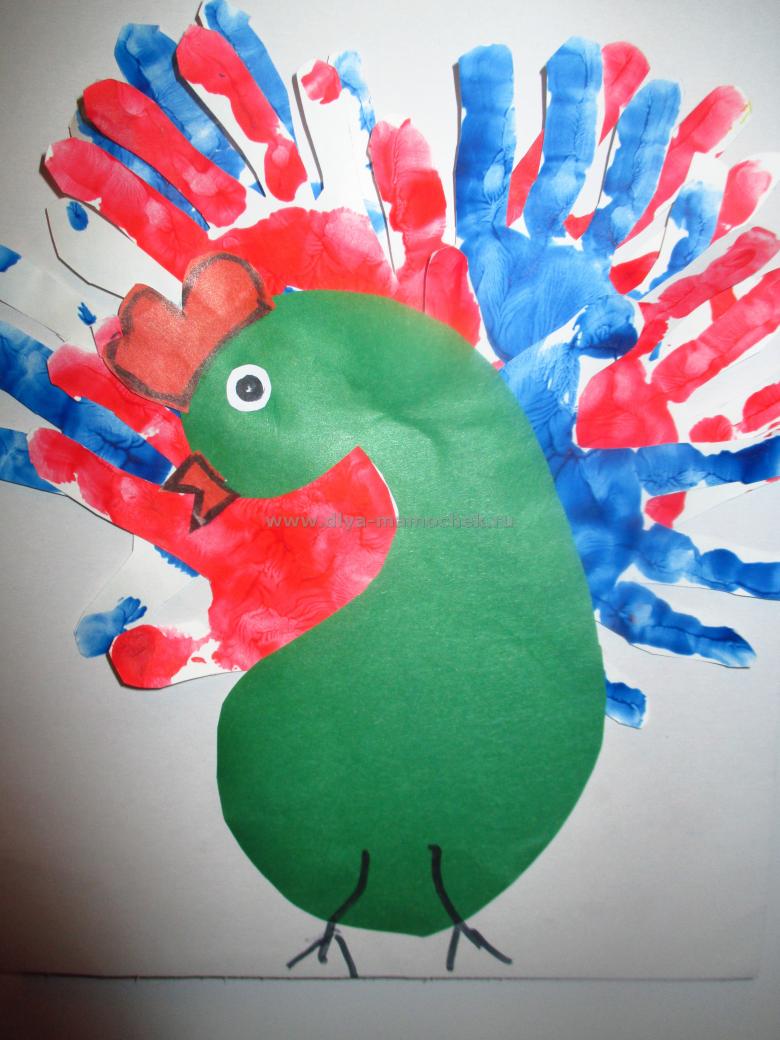
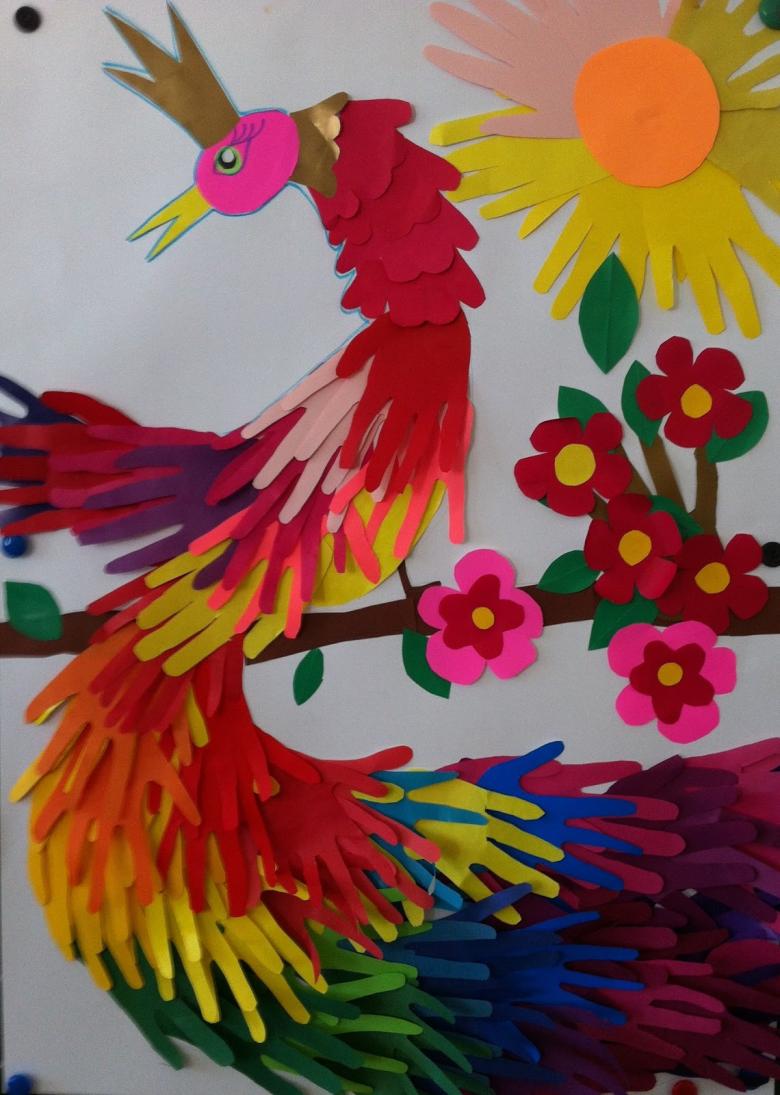
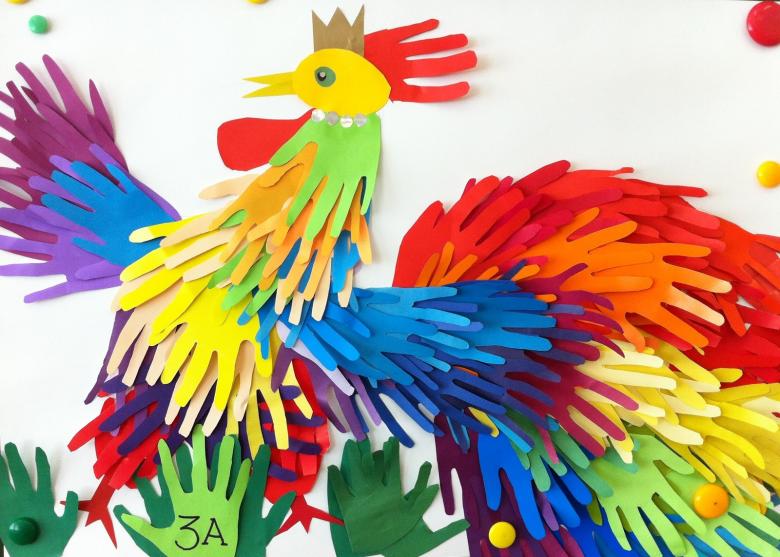
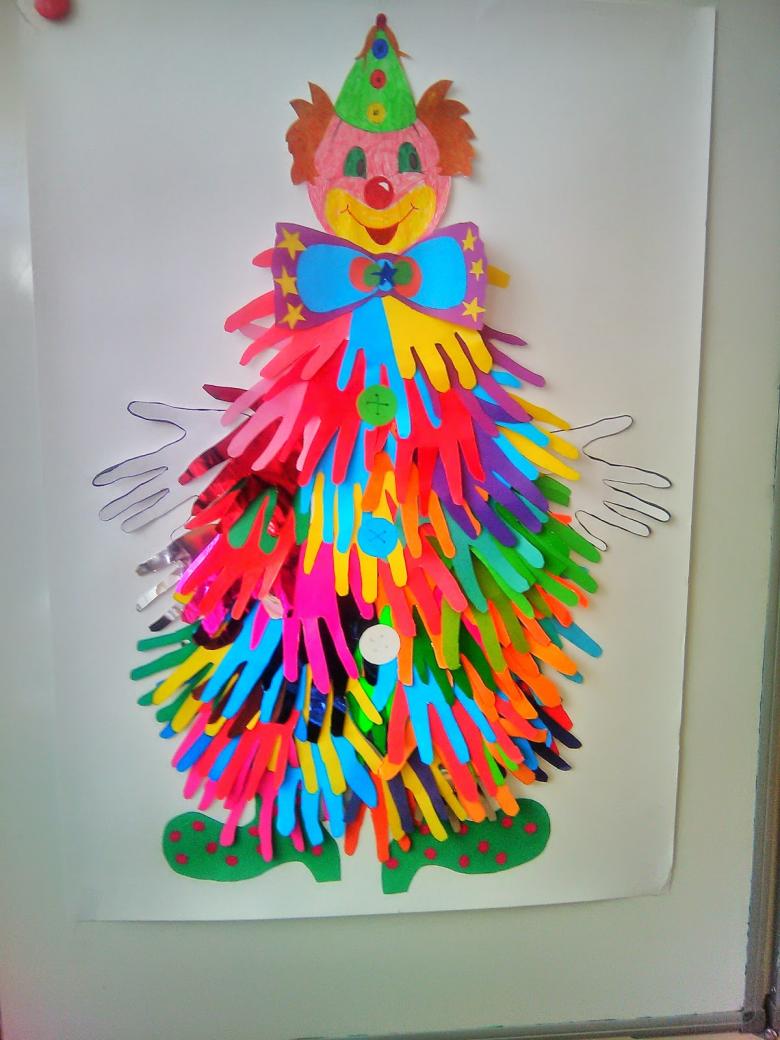
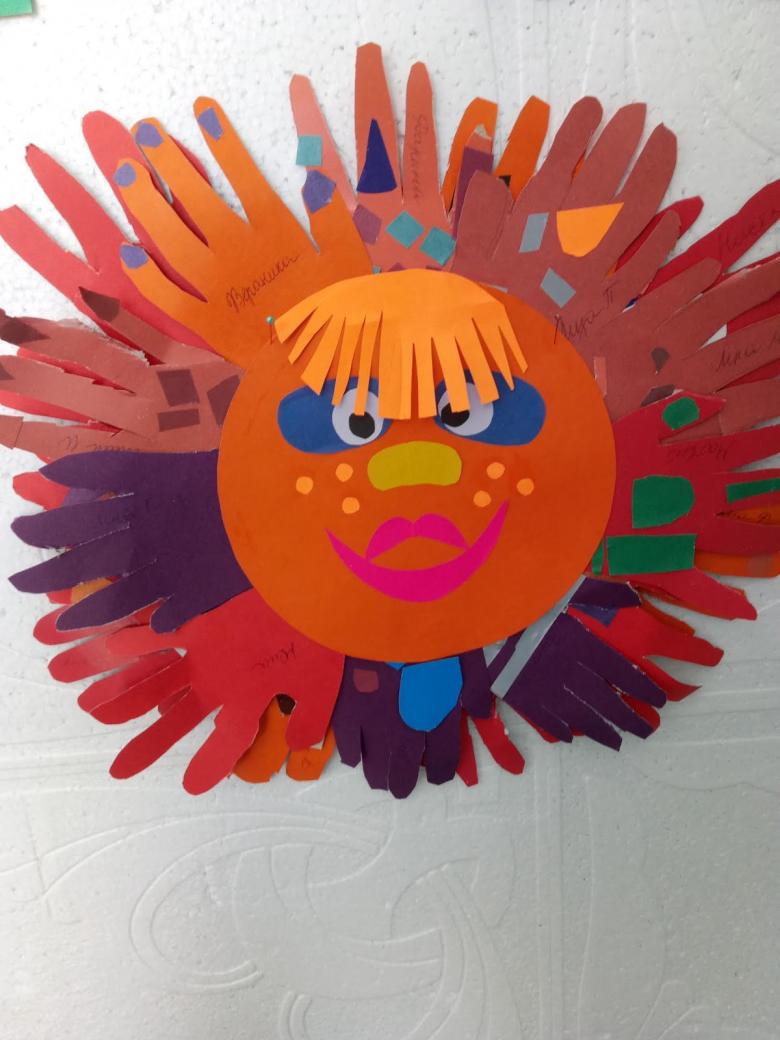
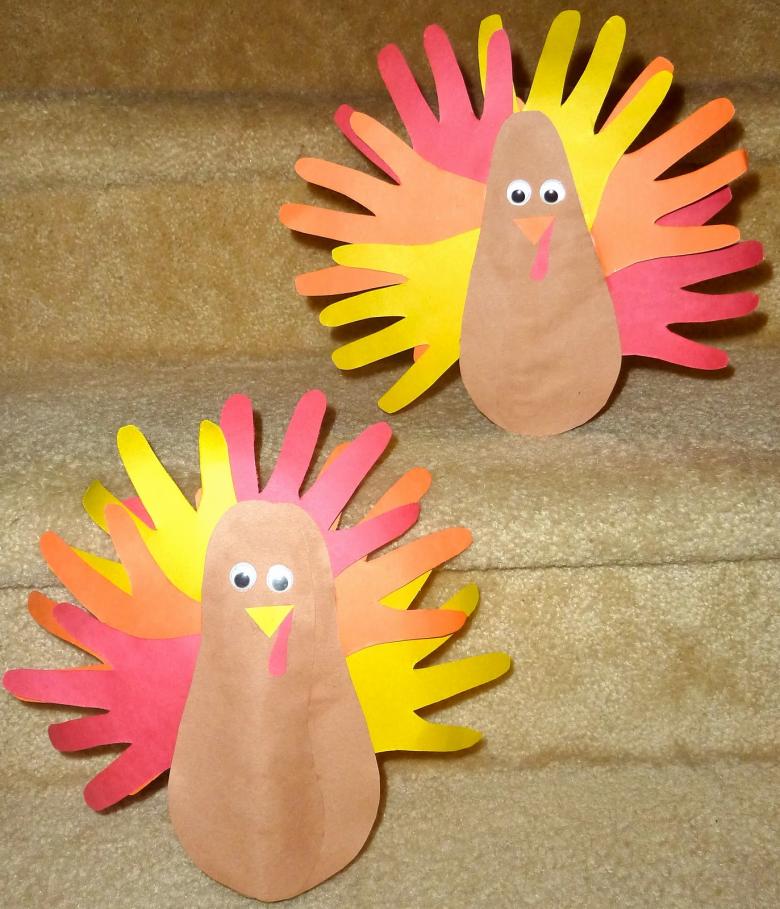
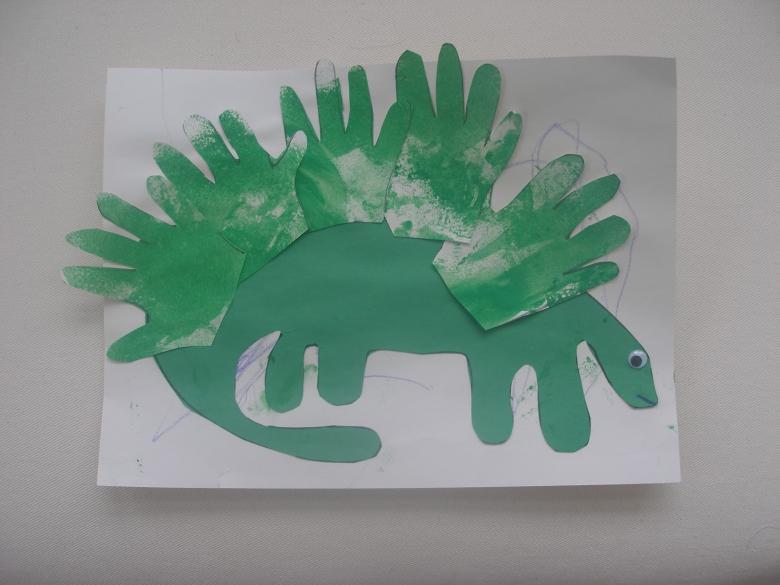
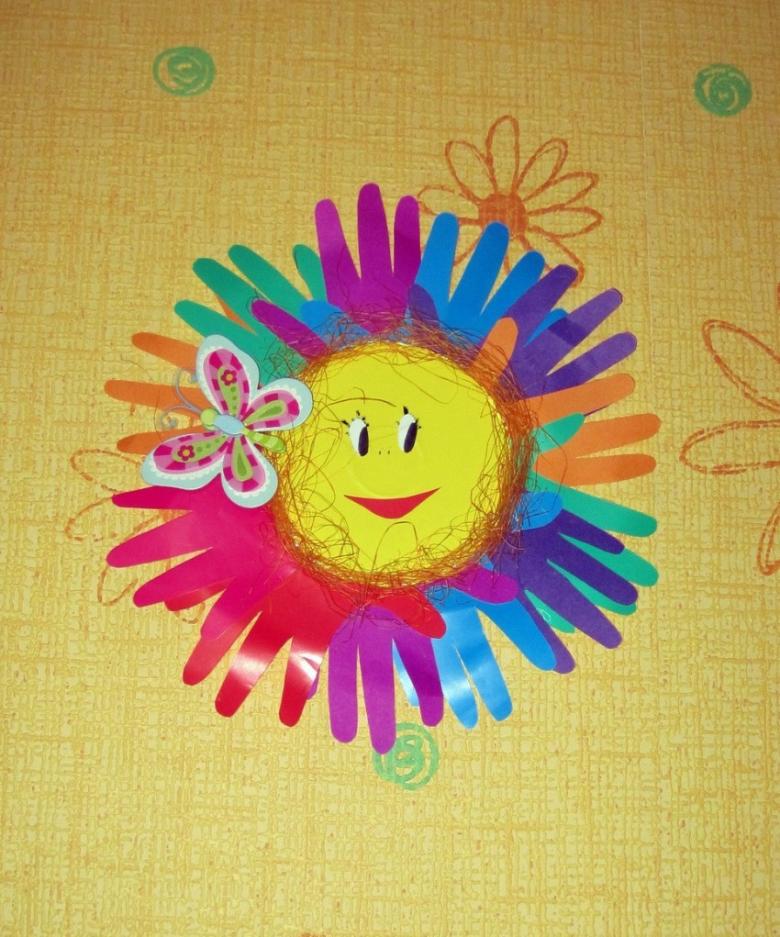
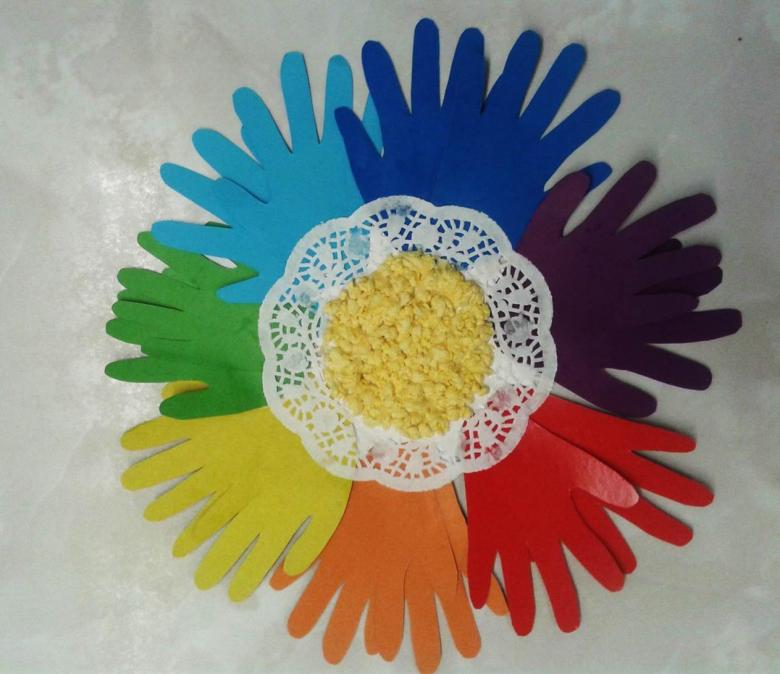
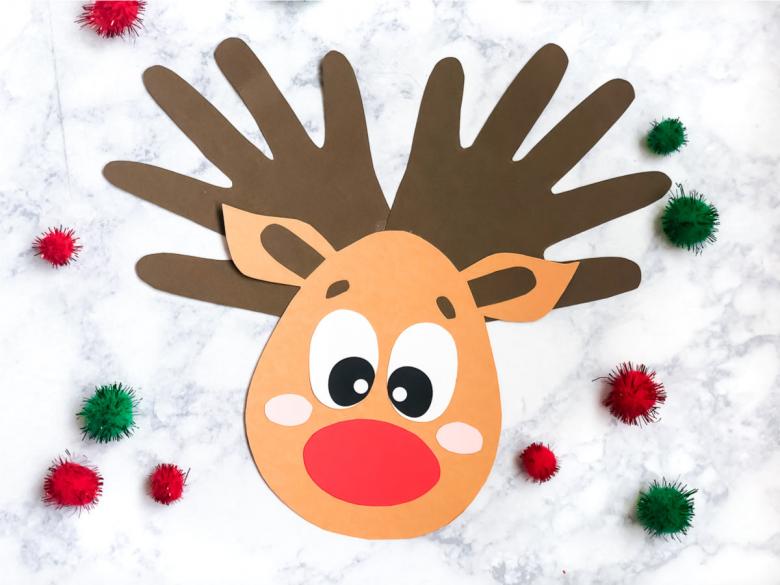
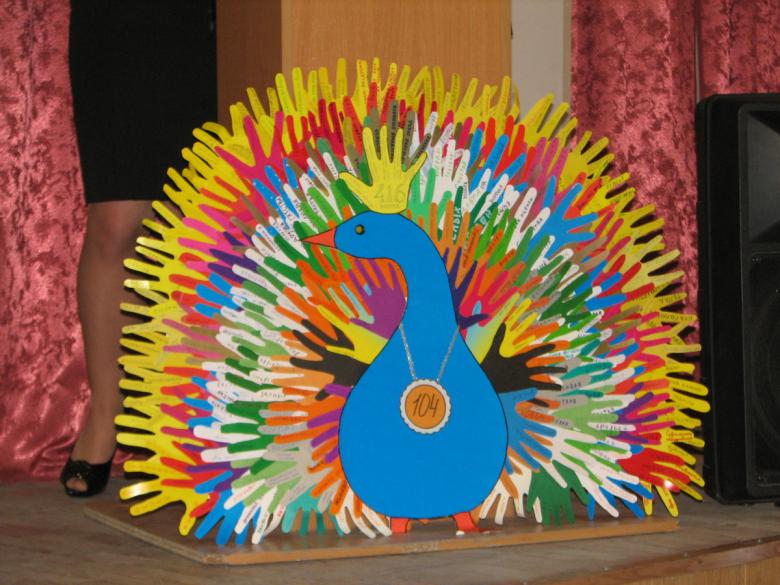
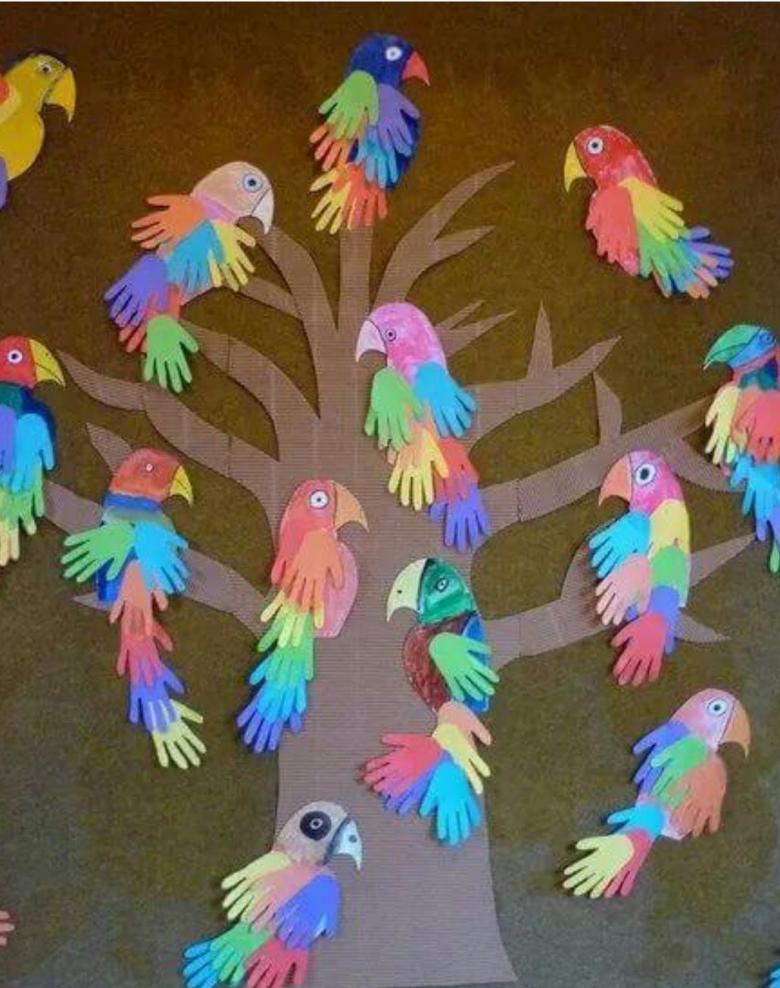
It can be a peacock with a lush multicolored tail of palms, a sun with rays, a fabulous firebird, flowers and more. The paper elements can complement the drawing.
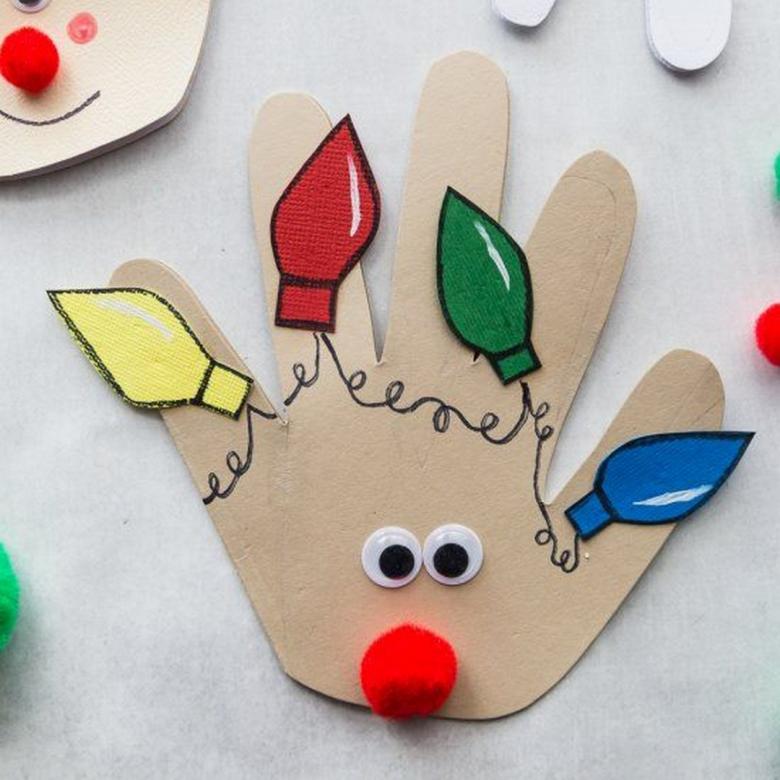
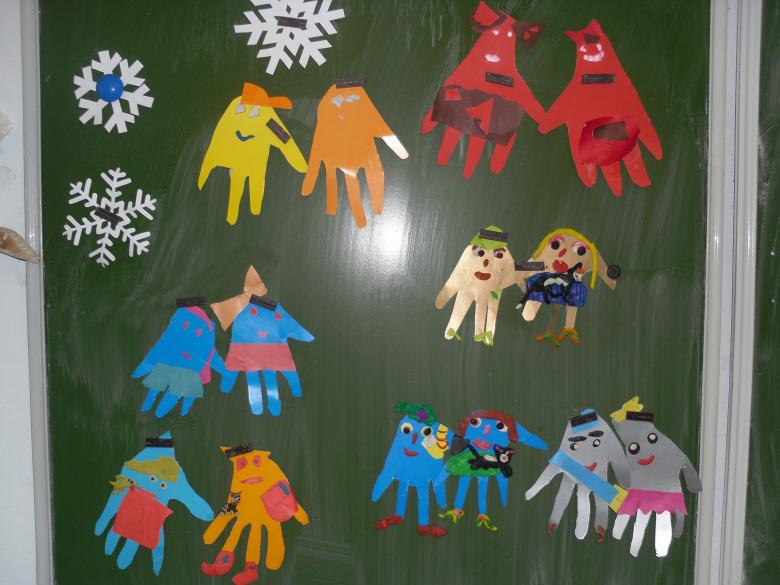
The idea with palms is also good for collective creativity. It can be a "friendship tree", a collage for the graduation in kindergarten or work on the environmental theme, made by the whole class.

Three-dimensional handcrafts
Older children will also cope with more complex volumetric works.

Postcard for Mom
A child can make a nice gift for mom or grandmother independently.
For the work, you need to prepare:
- thick colored paper or thin cardboard,
- scissors,
- glue,
- A narrow satin ribbon,
- a pencil.
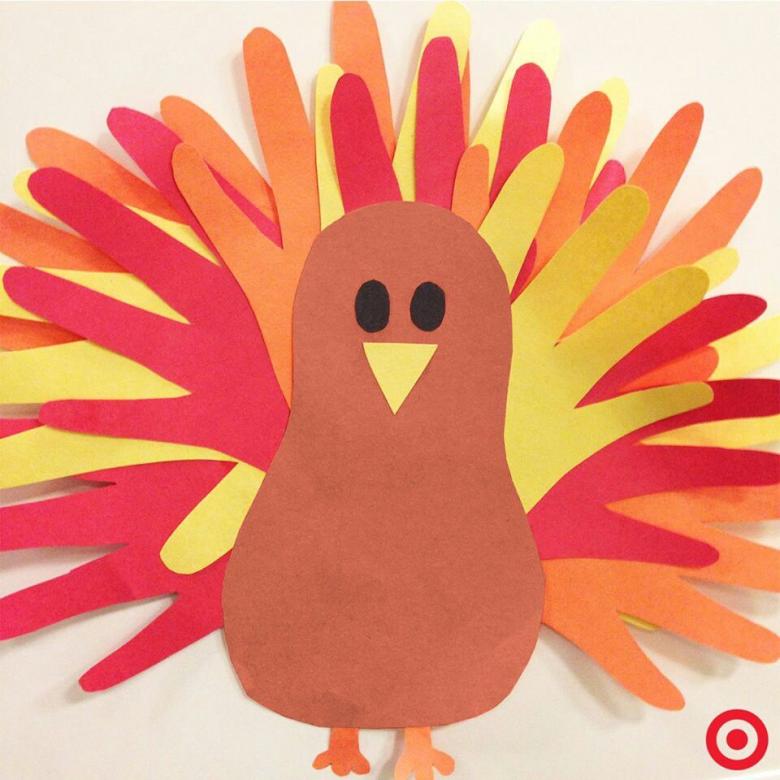
Step by step master class.
- A sheet of colored paper or thin cardboard fold in half, smooth out the fold line, circle the palm, cut along the contour. The line of folds do not need to cut.
- Of green paper cut stems, leaves and small circles. This is part of the plant. Glue the leaves and stems inside the card.
- From blue or red paper cut out petals of rectangular shape, glue, on top of the junction of the stem and petals cover the green circles.
- Decorate the bouquet with a bow of satin ribbon.
Beautiful greeting card is ready. On the basis of this work, you can think of other flower arrangements.

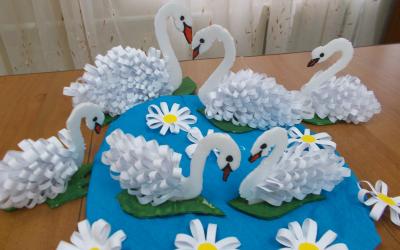
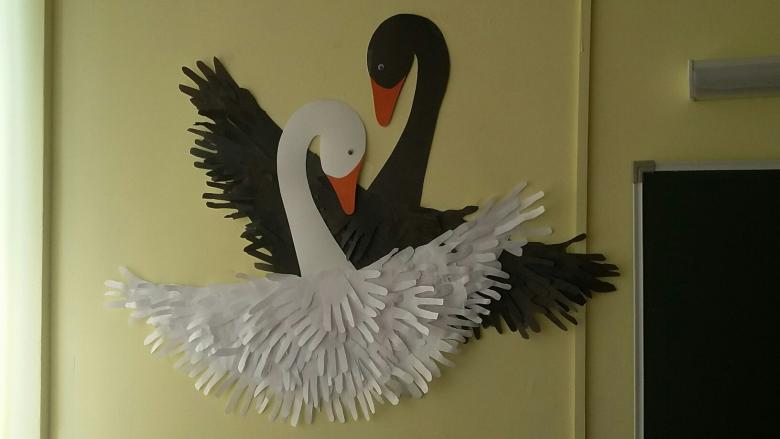
A swimming swan
Uncomplicated, but spectacular handicraft, which can be made by elementary school students.
For the work you need to prepare:
- thick cardboard of blue color,
- white paper,
- a pencil,
- glue,
- scissors.
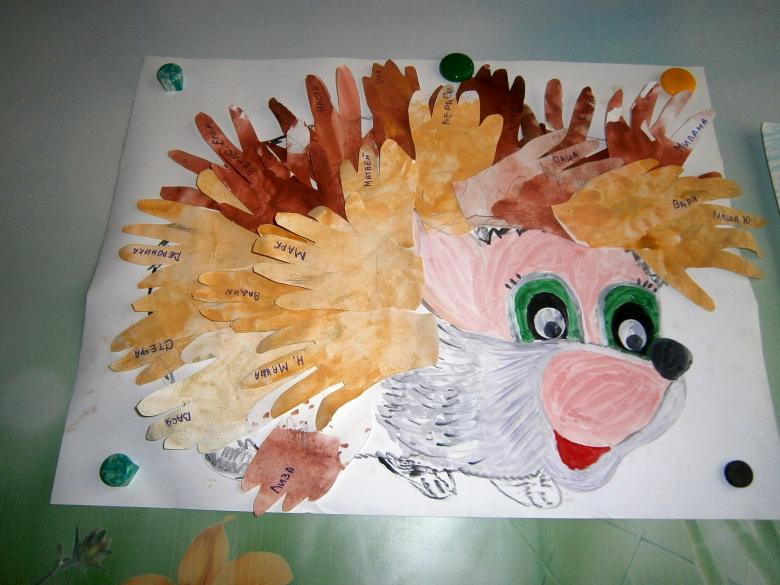
Step by step master class.
- On a cardboard base you need to draw the outlines of a swimming swan.
- Cut out a white paper head on a long neck and glue it to the base.
- Prepare a lot of white palms and twist them a little for puffiness with a pencil or scissors.
- Glue the parts to the base. Glue part of the part, leaving the fingers behind. This will make three-dimensional plumage bird. Glue should be from the tail to the head.
- Complete the work with eyes and a beak.
A beautiful swan is ready. This craft looks good in a frame on the wall.
New Year's Eve handicrafts
For the New Year's holidays, you can also make simple handicrafts.
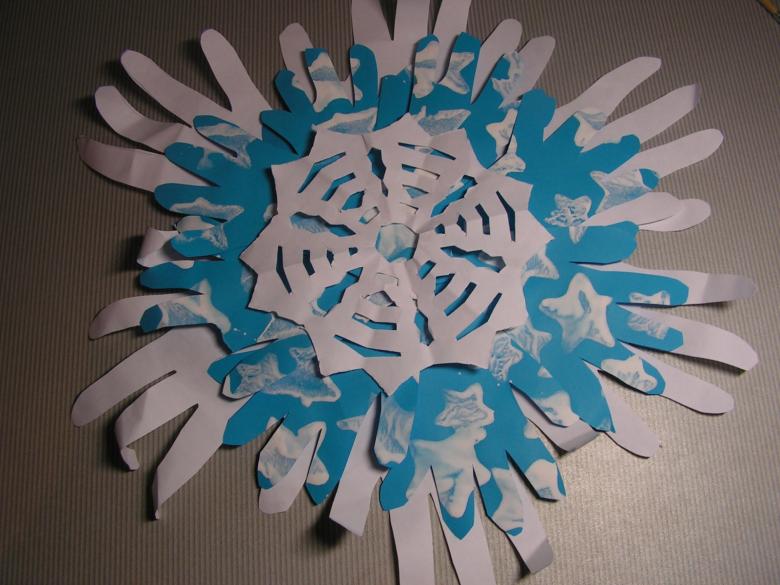
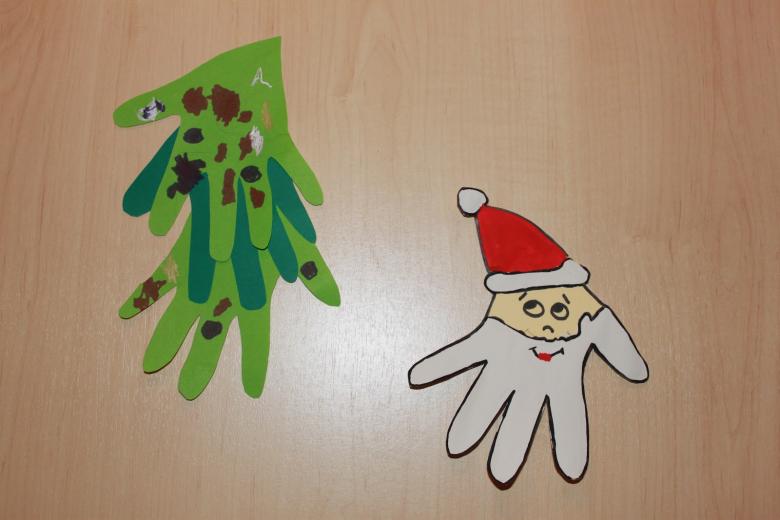
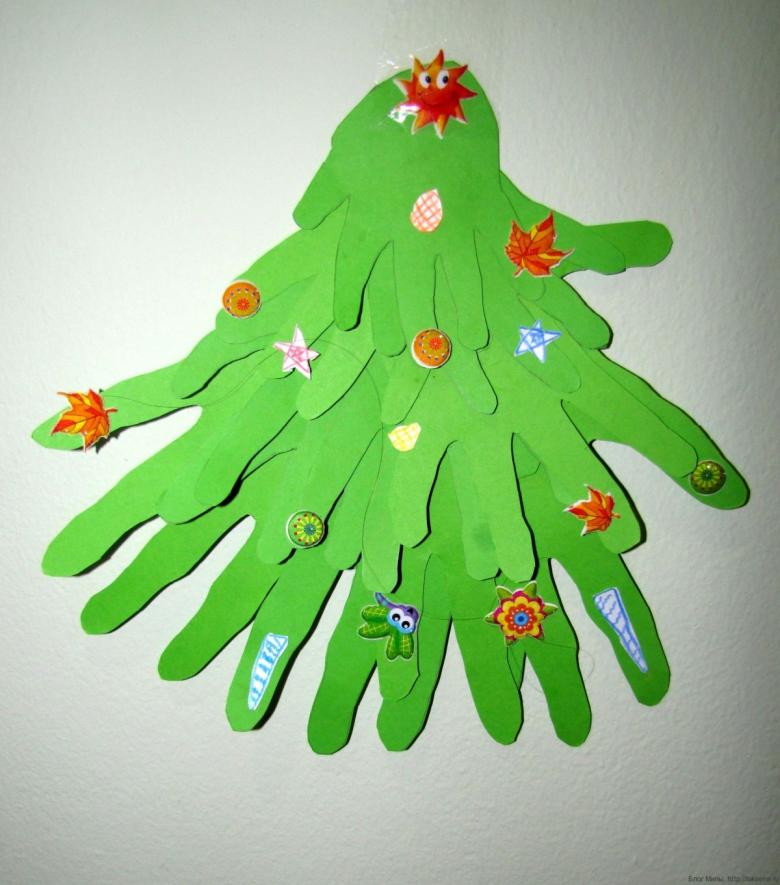
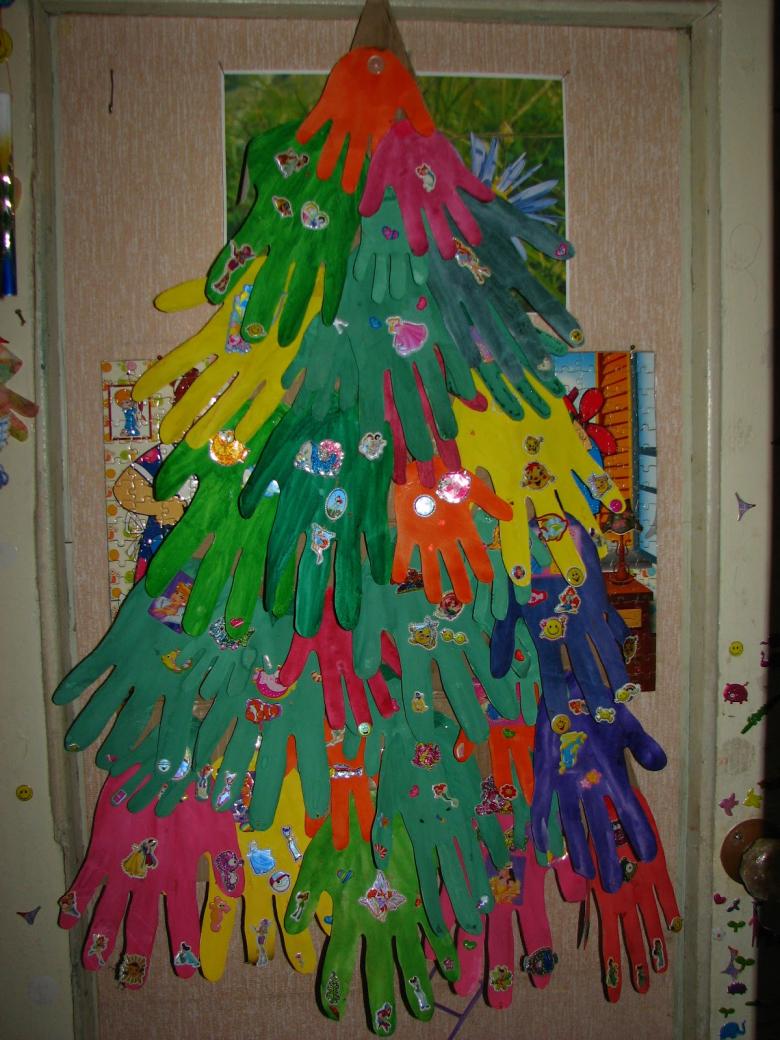
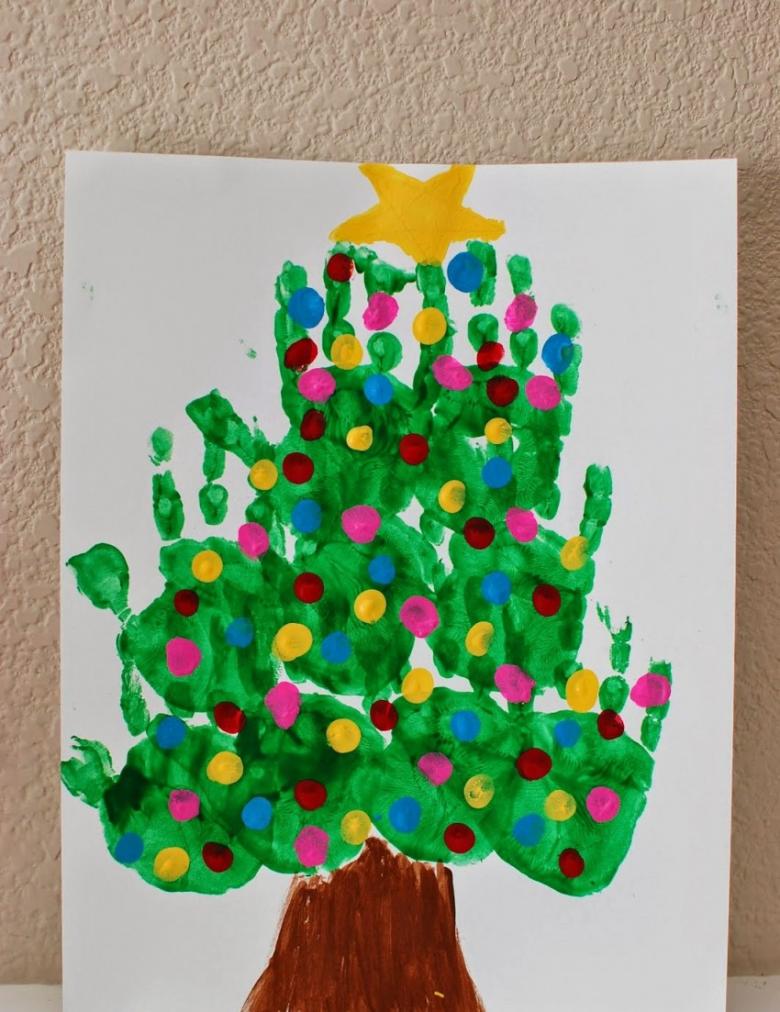
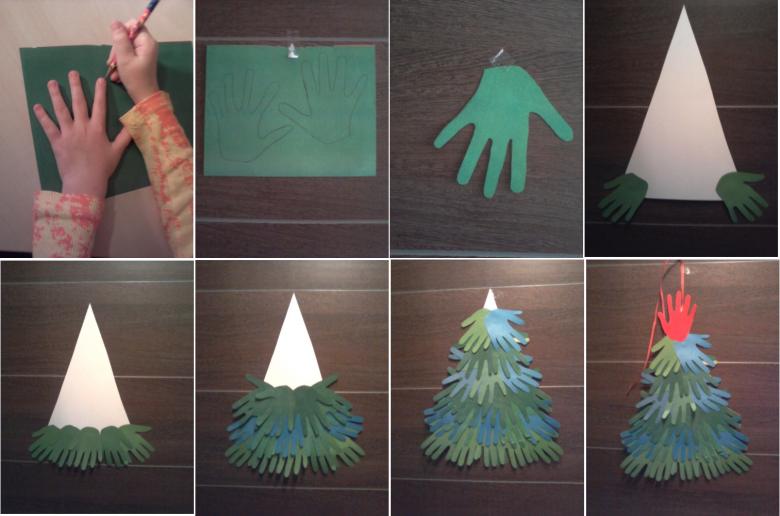
Christmas tree .
To make the application it is better to prepare green paper of different shades. Such a Christmas tree looks more effective.
- From the green paper cut outlines of palms. They can be real or imaginary details.
- Glue the parts on a paper base, starting from the bottom.
- Details can not glue completely, slightly twisting the fingers. In this case, the craft will look three-dimensional.
- If desired, a Christmas tree can be decorated with toys from paper.
Decorative wreath
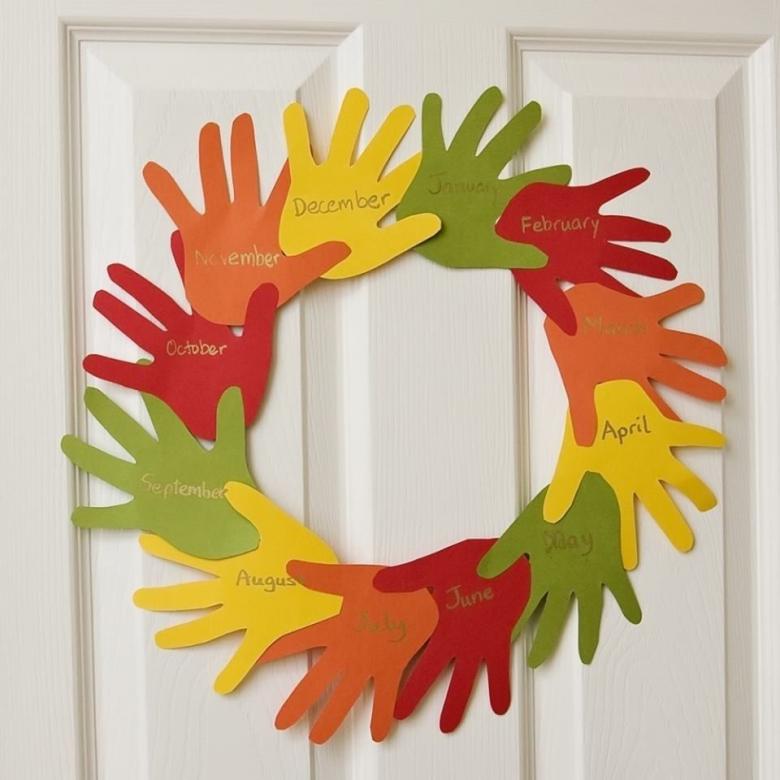
From palms you can also make a wreath for decorating the door.
- It is necessary to cut a circle out of cardboard. This will be the basis of the wreath.
- From green paper cut out palms, glue them to the base.
- For puffiness, you can glue the elements only along the edge, thicker, so that the elements on the base turned out more.
- The fingers can be twisted for plumpness.
- Decorate the wreath with ribbons, tinsel, balls or bells.
Making crafts from parts that copy children's hands, a fascinating creative process. It's useful for developing spatial thinking in a child, helps develop accuracy, diligence and perseverance. Engaged in making such crafts can be from an early age, accustoming the child to creativity.


