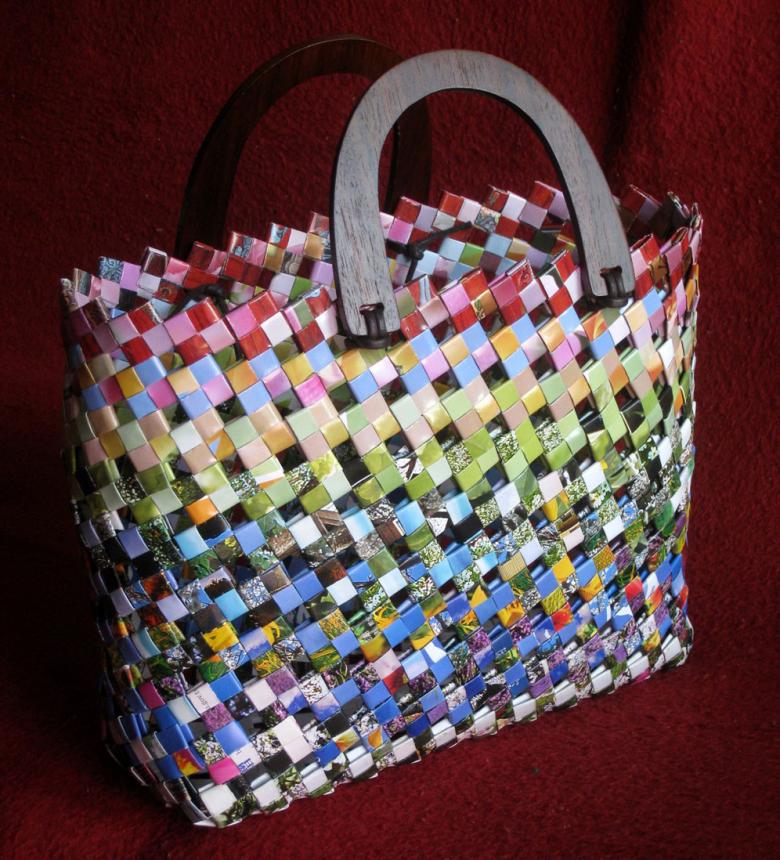
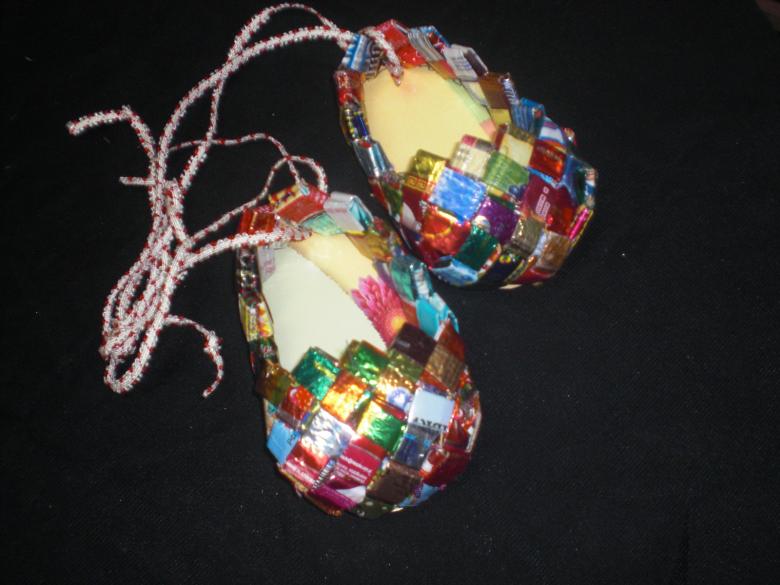
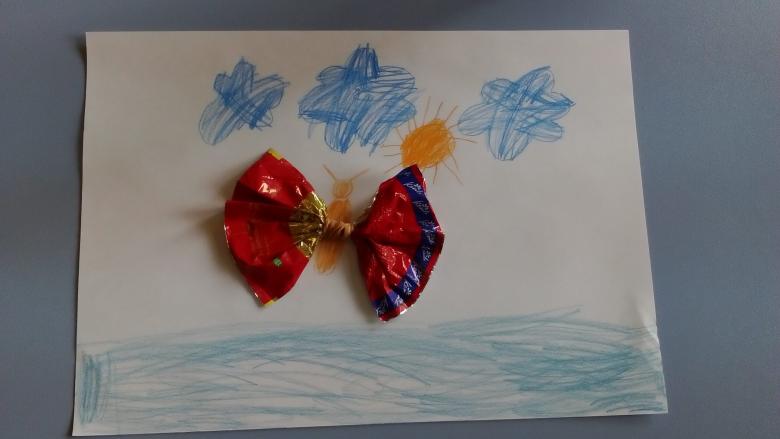
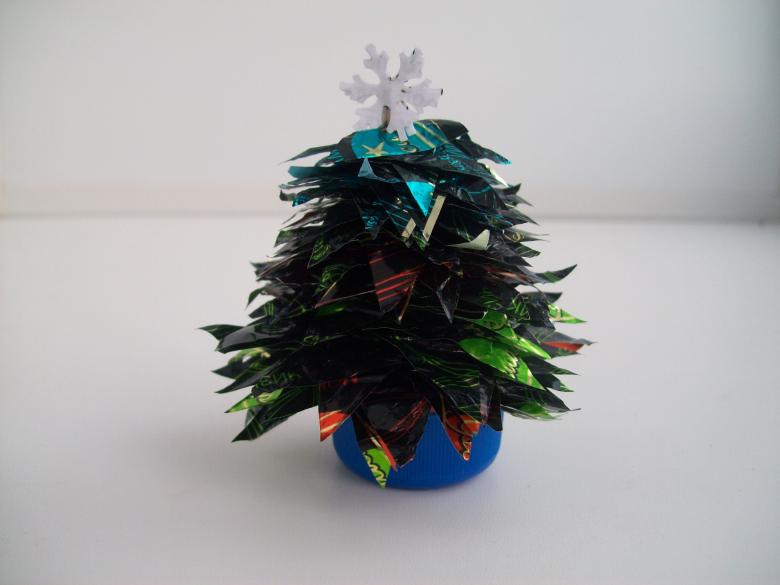
Handmade with candy wrappers - Features of the work, step by step master classes, interesting photo ideas
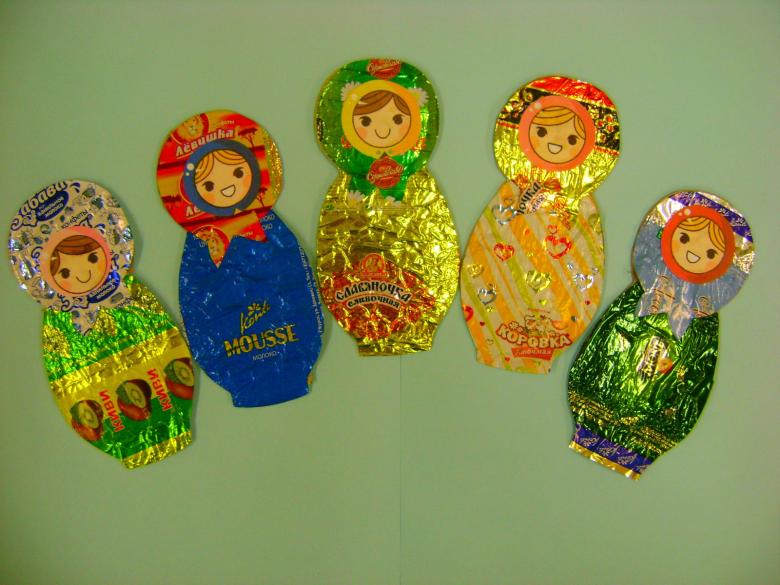
Children who have a sweet tooth often do not throw away candy wrappers. Bright, rustling wrappers become an item for the collection and find their place in an album or a book. Can I offer my child an alternative? Yes. Show him a new, unconventional way to give a second life to colored pictures and bring them to life in crafts and homemade toys.
What will be needed for making crafts?
Of course, first of all, a good mood and developed imagination. But also improvised materials will be useful. Assemble the following set on the table for the child:
- Thread and needles for forming loops, tying parts of the future toy;
- Scissors and a box cutter: a small knife will be used for very fine work;
- PVA glue and ordinary paper clips. To make a future craft more vivid, prepare a set of colored paper clips - they are larger in size and the kid will be more interesting to work with them.
- Wide tape, colored paper and colored cardboard: kids love everything bright.
- Beads, a set of fine wire and hole punch, beads can be found in any craft store - bright, shiny, colored.
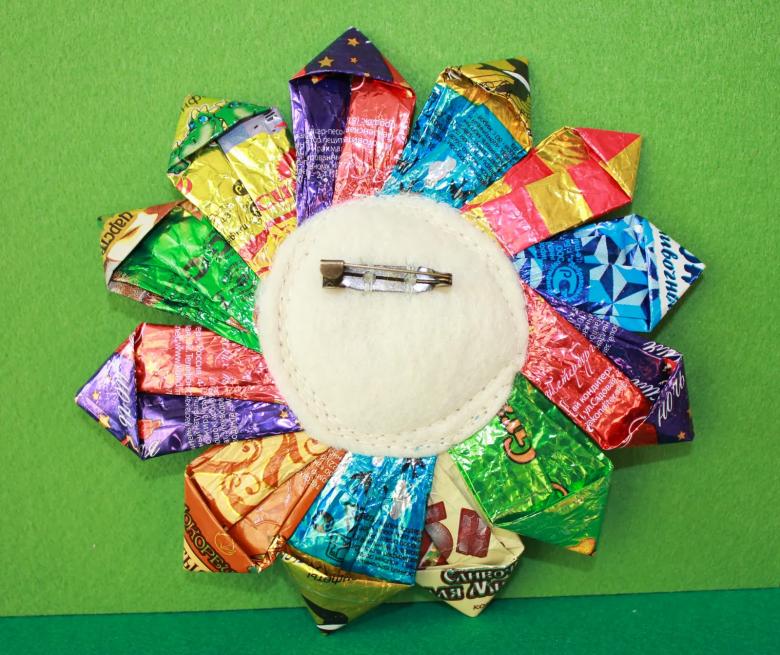
- Most importantly, a huge collection of wrappers: you can take a variety of candy wrappers - small and large, thick and foiled, bright and monochrome. Models of toys and crafts are many, the main thing - turn on your imagination!
What kind of crafts can be made out of wrappers?
A child's imagination has no limits, and if mom or dad helps him... We've put together a list of the most attractive crafts for a child to make with their own hands.
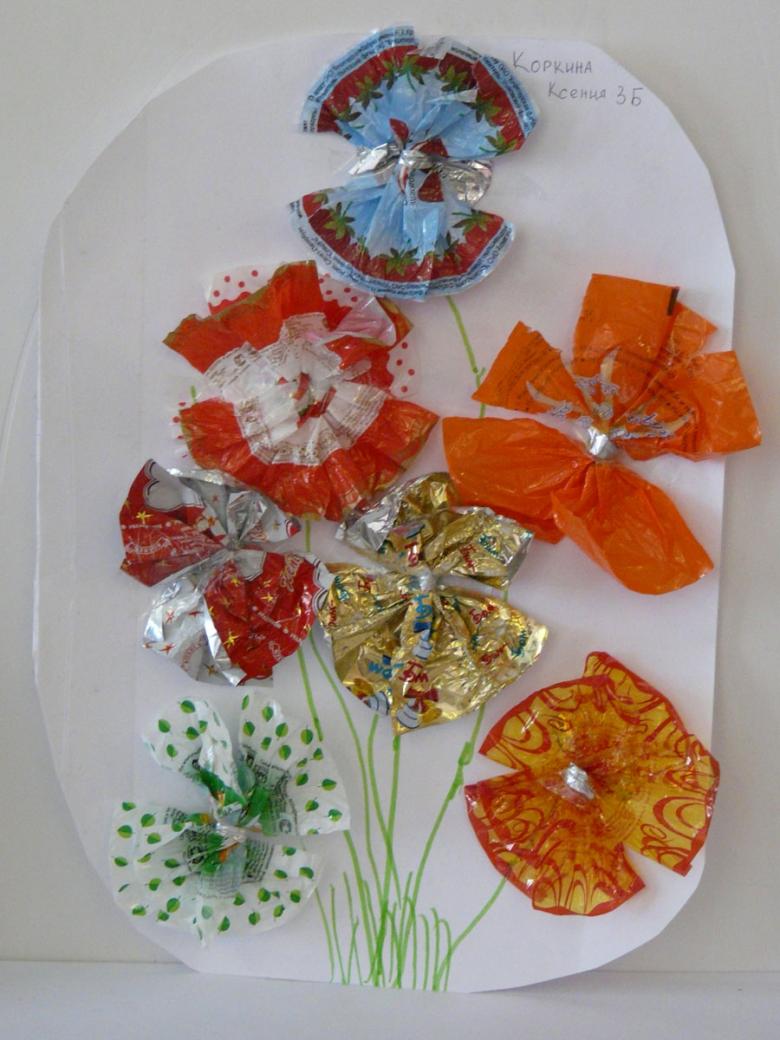
Holiday applique
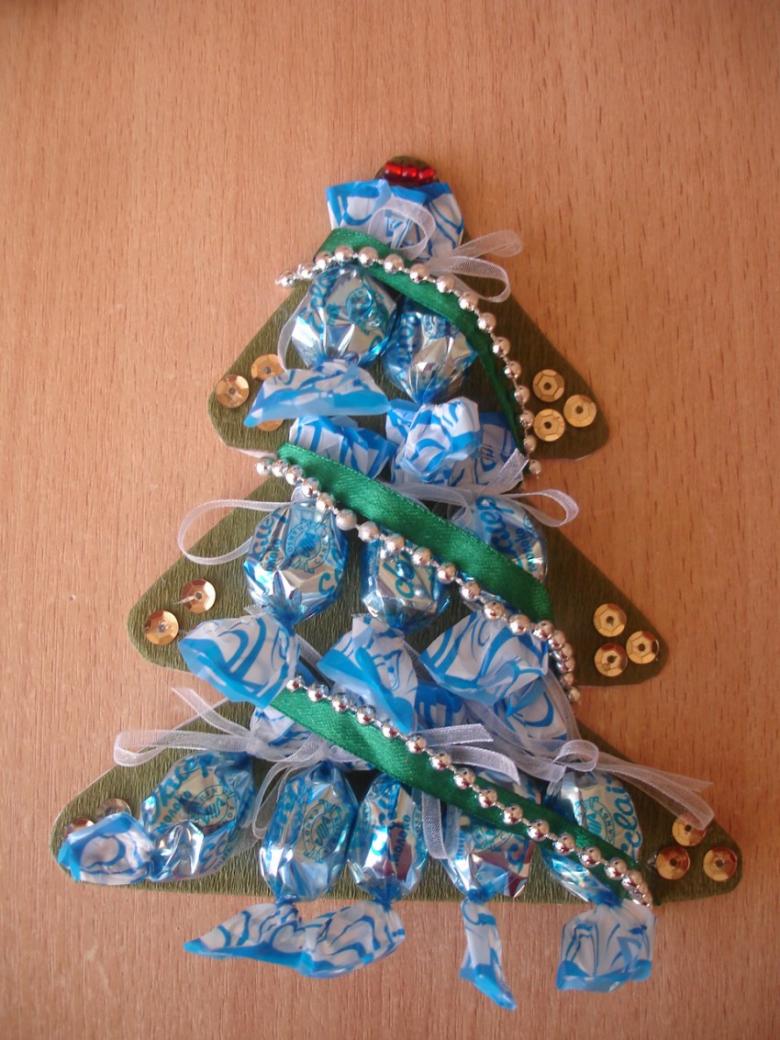
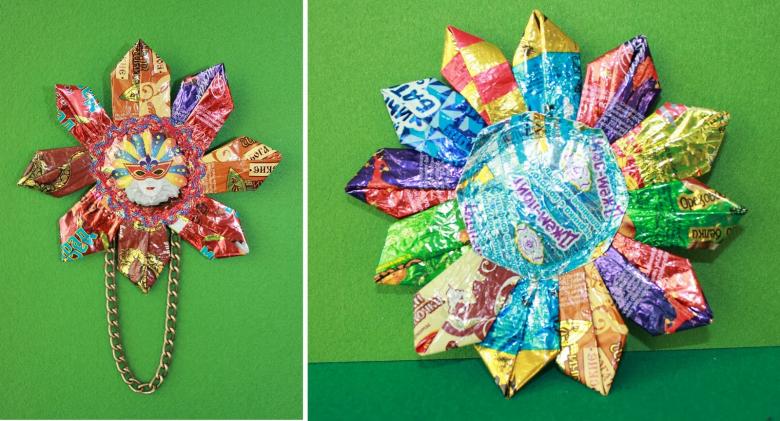
Surely everyone in school has been involved in creating applications in art classes, but has anyone ever had to make them out of wrappers? With a small set of colored wrappers, a circle of cardboard, glue and paint, and an original idea, you can create a real miracle. For example, for the New Year's holiday.
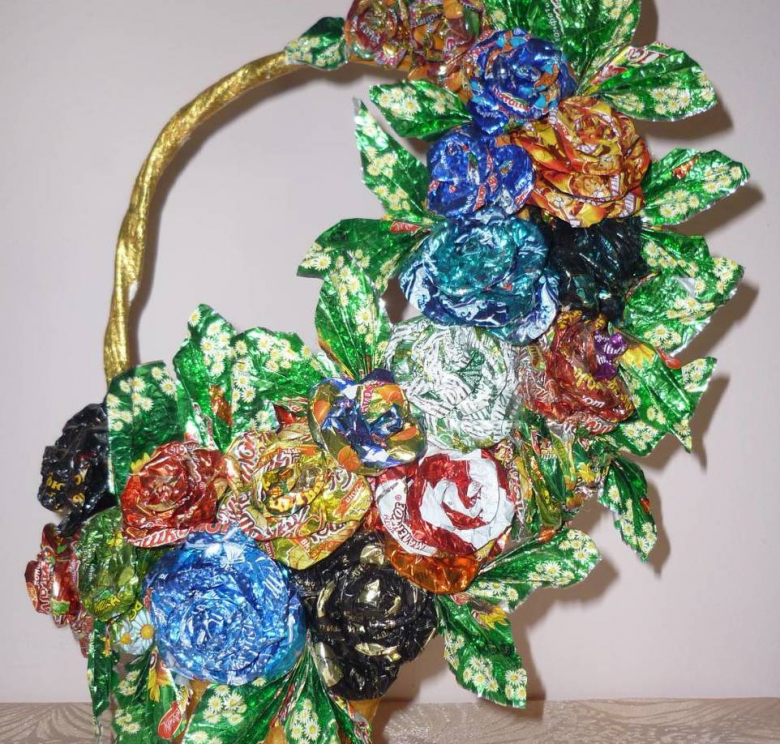
So, step by step instructions for young artists:
- From colored cardboard of the desired color, cut out a small circle; you can also use white cardboard, but before applying the pictures, be sure to paint it in the desired color.
- From the wrappers cut out figures: houses, animals, Christmas trees.
- In addition, from white paper to cut circles of snow;
- Glue the resulting figures with glue on a cardboard base;
- The figures can be arranged as the author wishes.
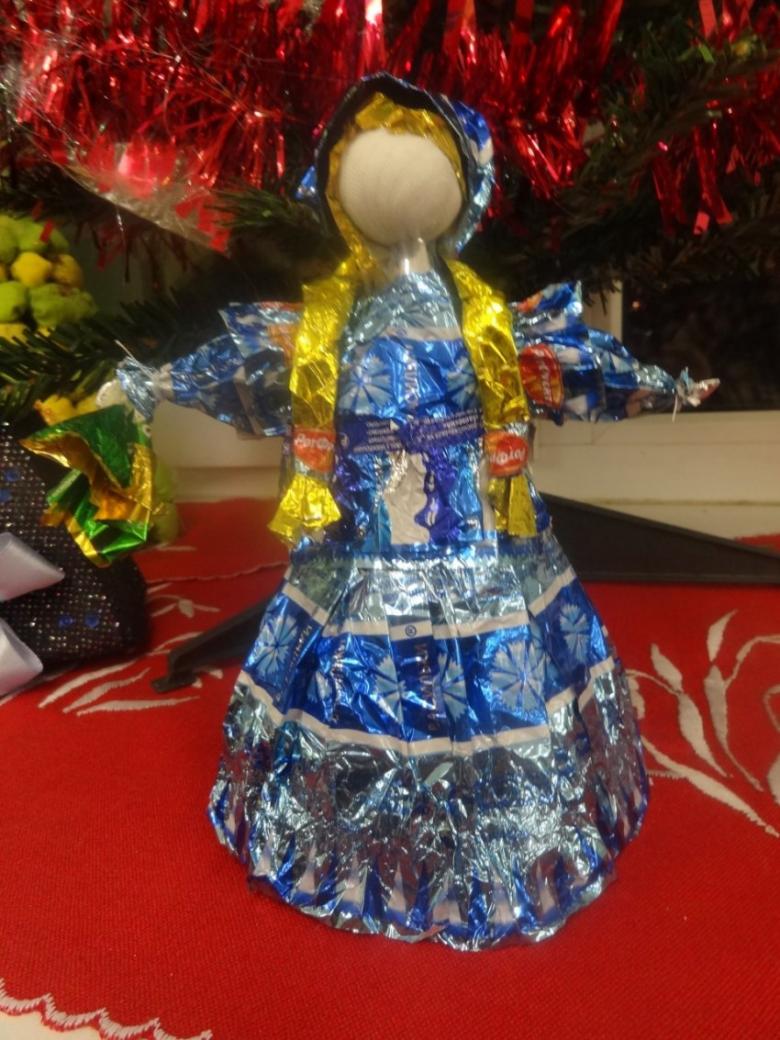
And now we need thread: you can make a small hole in the cardboard base, put the thread through and hang the finished applique on the wall. You can create a whole series of such funny appliques and for the new year show the guests the creations of your little master.
Fancy candy umbrella
For girls, this is a universal craft - it will come in handy for decorating a doll's house - and to make it is very simple. Of materials we will need the same set: colored paper, wrappers, glue.
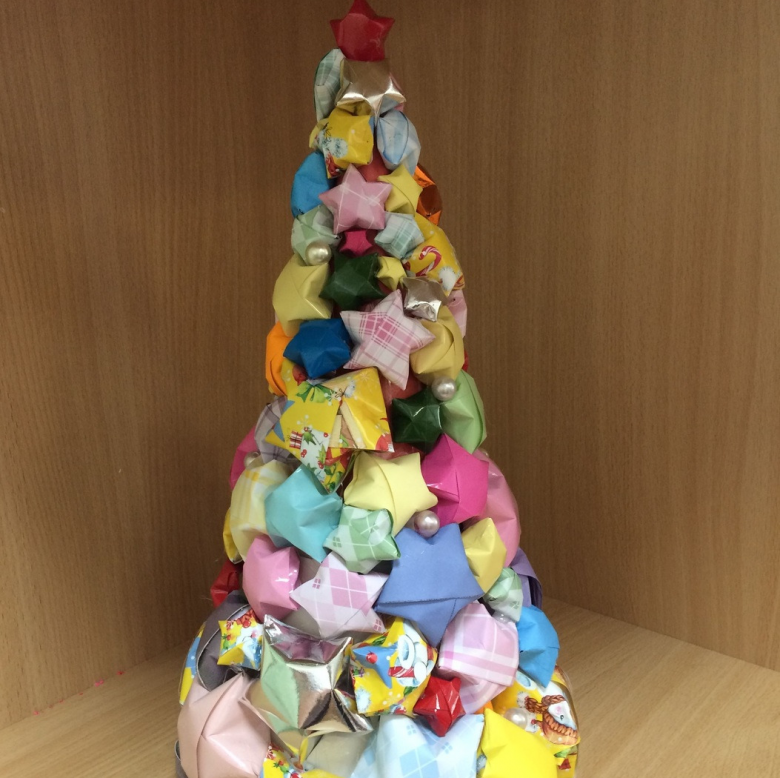
We start with a simple one:
- On colored paper or cardboard we draw the handle of the umbrella;
- Next, you can either cut out the details from the wrapper, or fold the most elegant wrapper accordion;
- Apply glue in thin strips to the base and glue the candy wrapper plisse.
You can create a whole composition for a crafts contest in kindergarten or school: cut out raindrops from blue or blue paper, glue a puddle under the umbrella, a bench or a kitten. In general, anything your child desires!
Christmas Angel
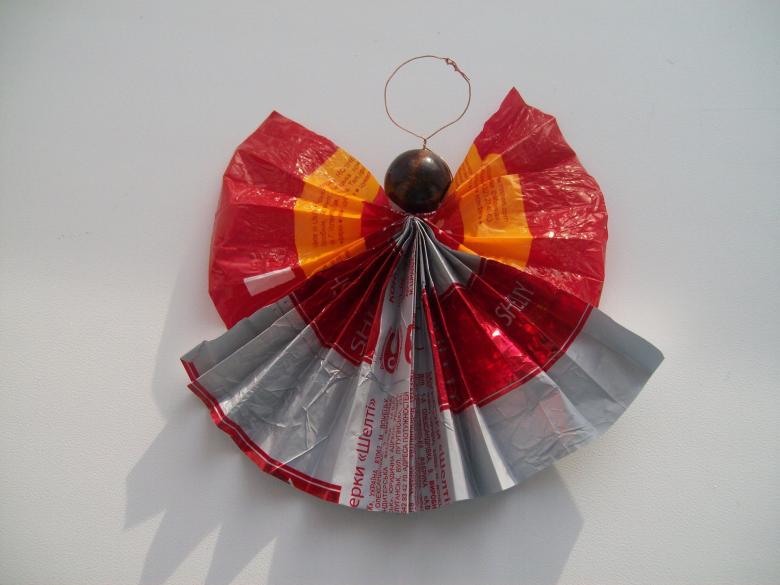
The idea of a Christmas holiday is carried to us by Disney cartoons, from which we first learned about winter gifts, Santa Claus and reindeer in a carriage. But why not try to create your own angel, as a fashionable and creative decoration for the Christmas tree?

Materials for creating an angel:
- Two wide wrappers;
- One large monochrome bead or button with a rounded edge;
- A narrow strip of white paper;
- Wire (string will not work here, since the figures need a strong support).
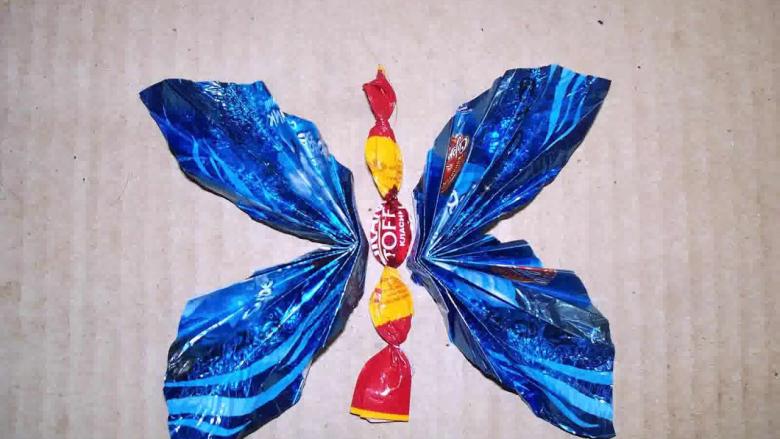
Fold the two wrappers in an accordion (like a plisse for an umbrella), but one of them wrap a strip of paper in the middle - it will be the back and wings of an angel. The second wrapper simply fold in half and hang it on the "back" like a dress. Bend a piece of wire so that you get a loop. The free ends of wire twist and put it inside a bead, which will be used as the head of our figure. You only need to connect the bead to the body and the angel is ready!
Multicolored table mat
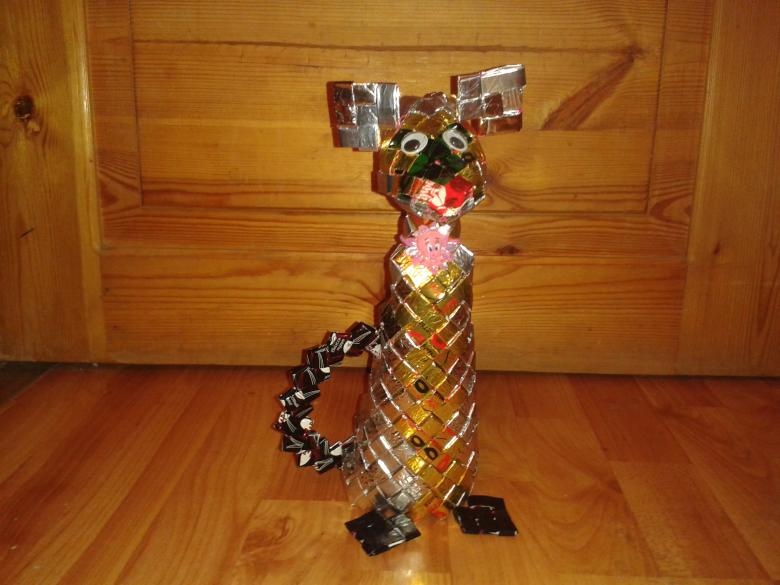
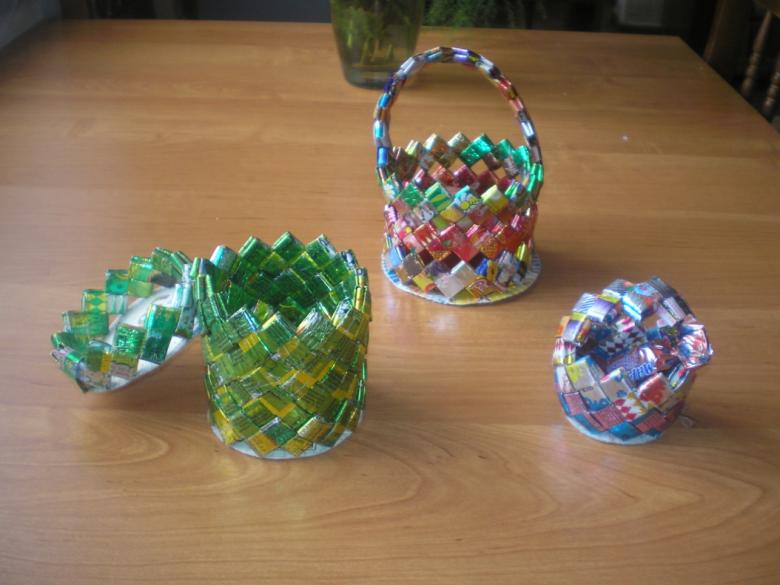
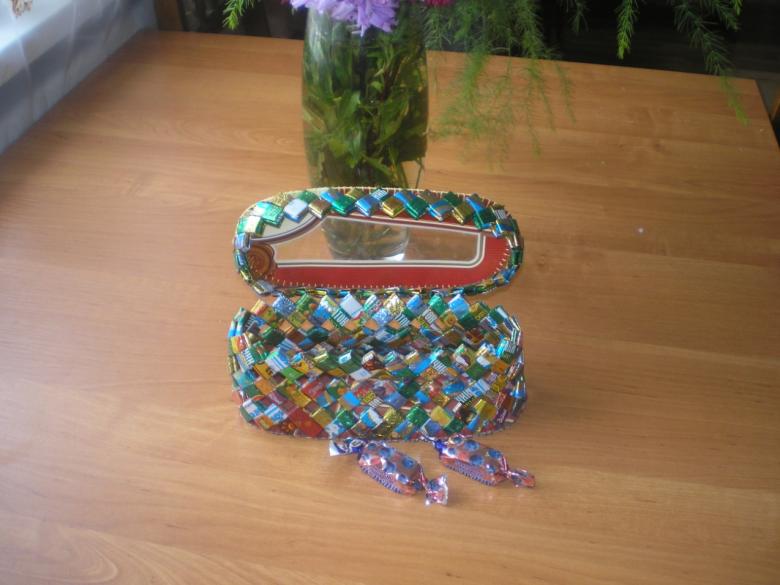
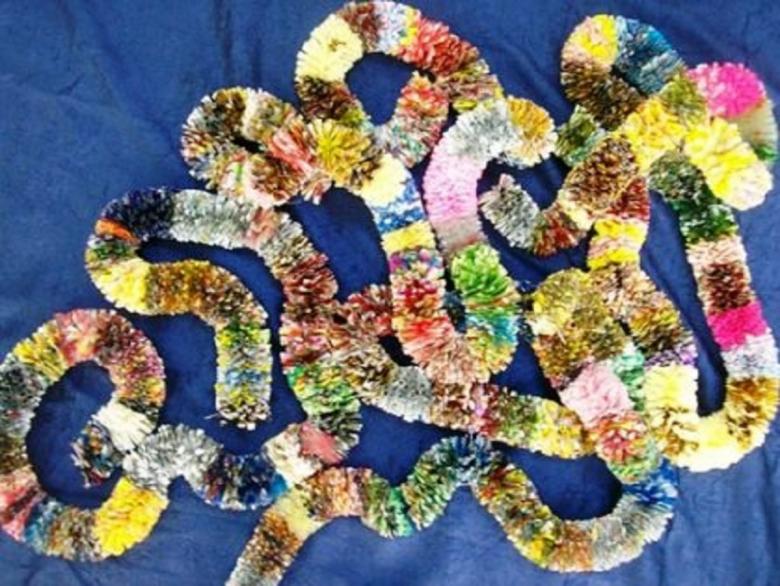
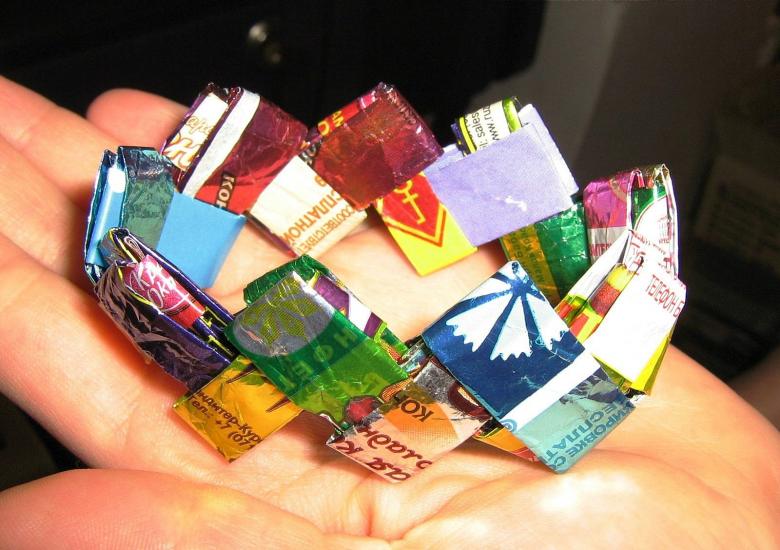
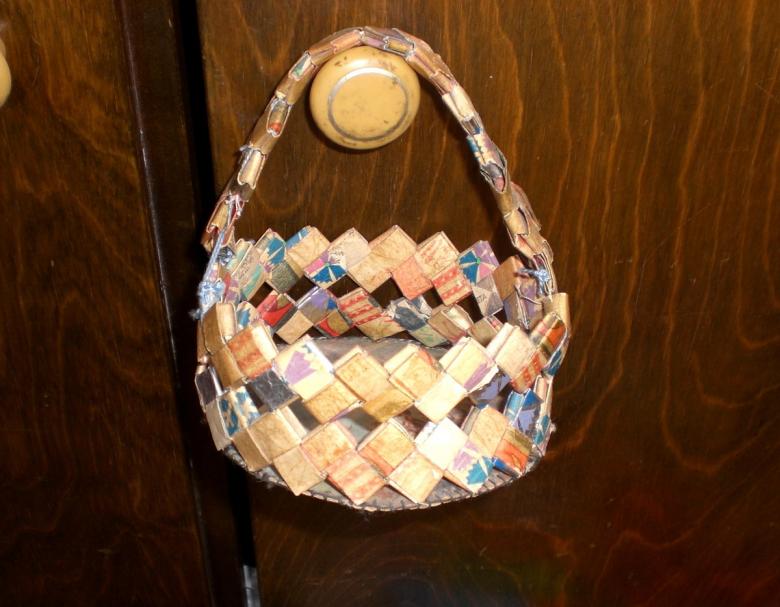
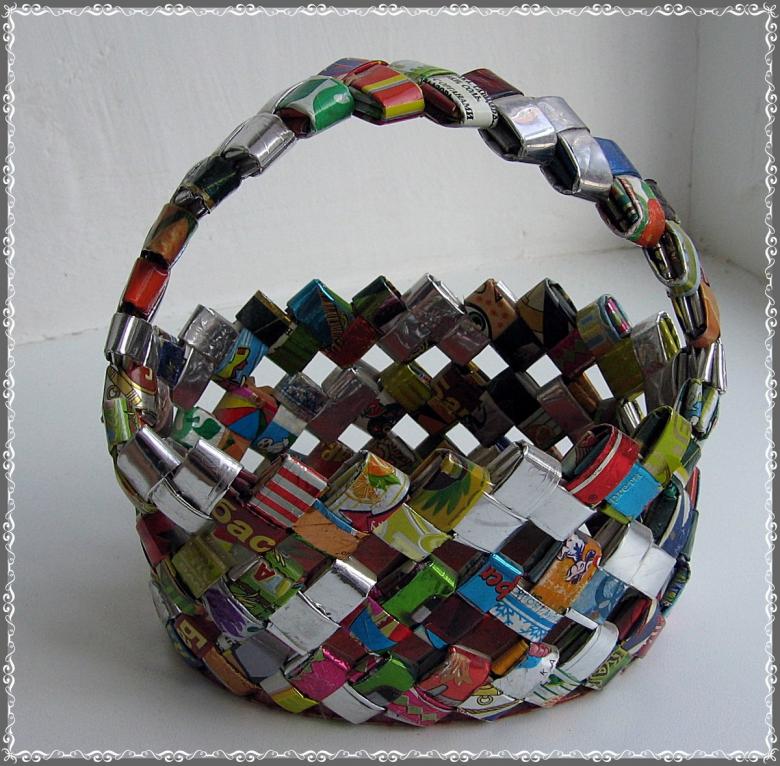
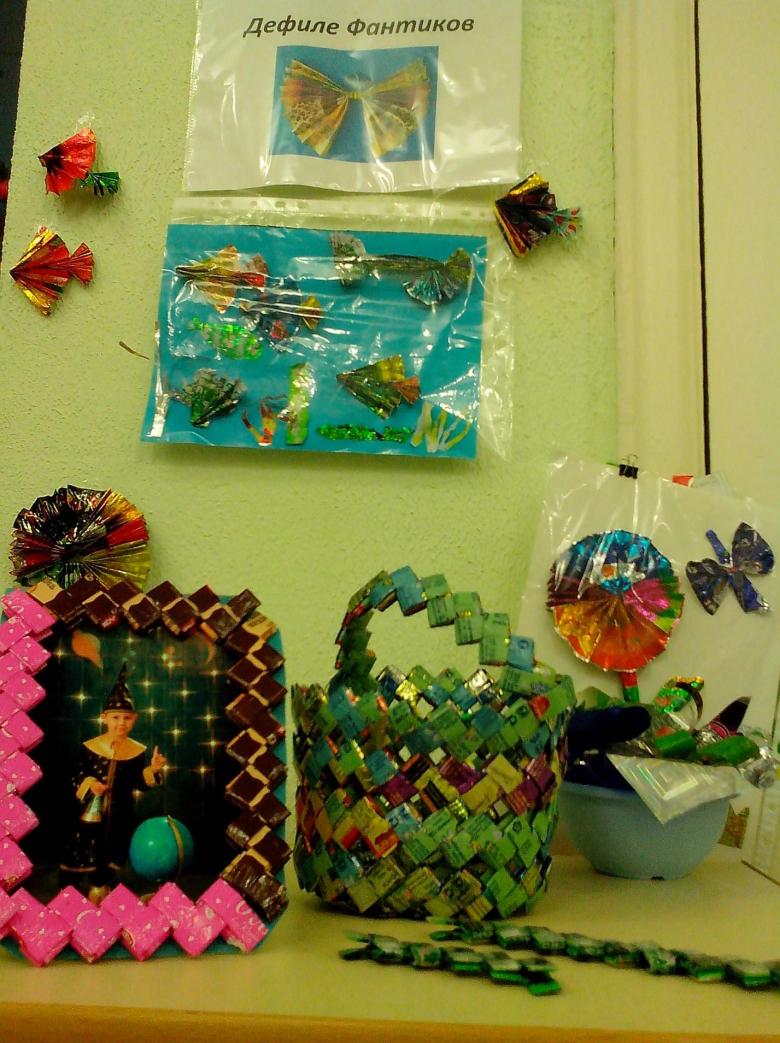
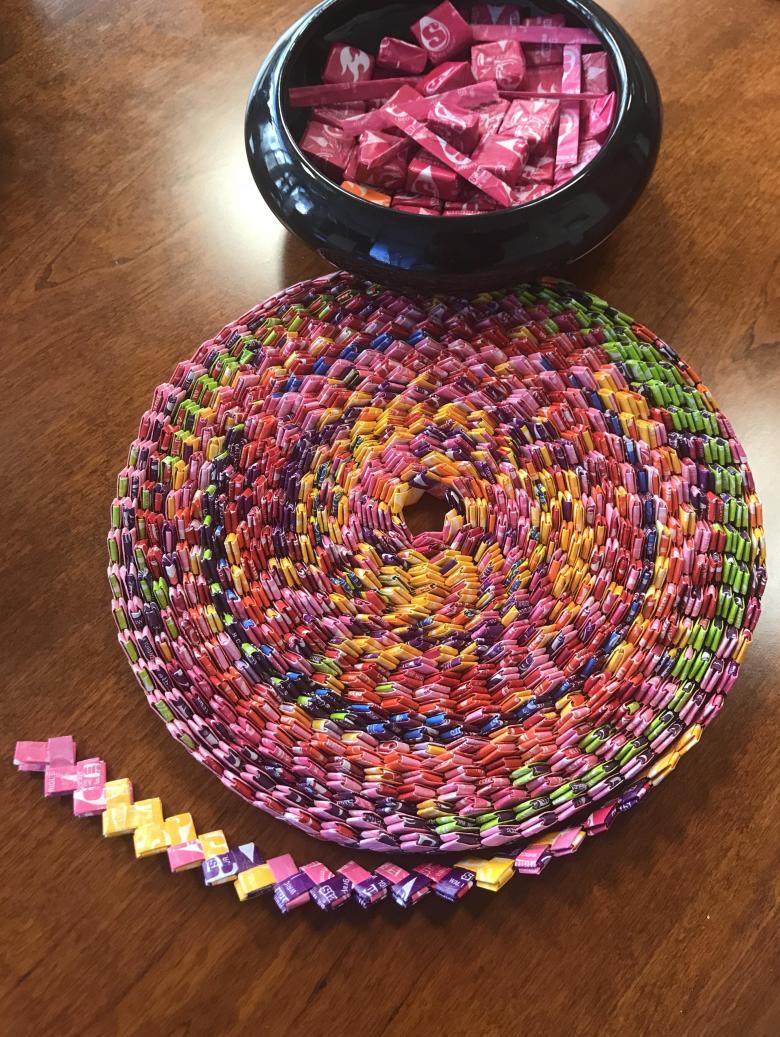
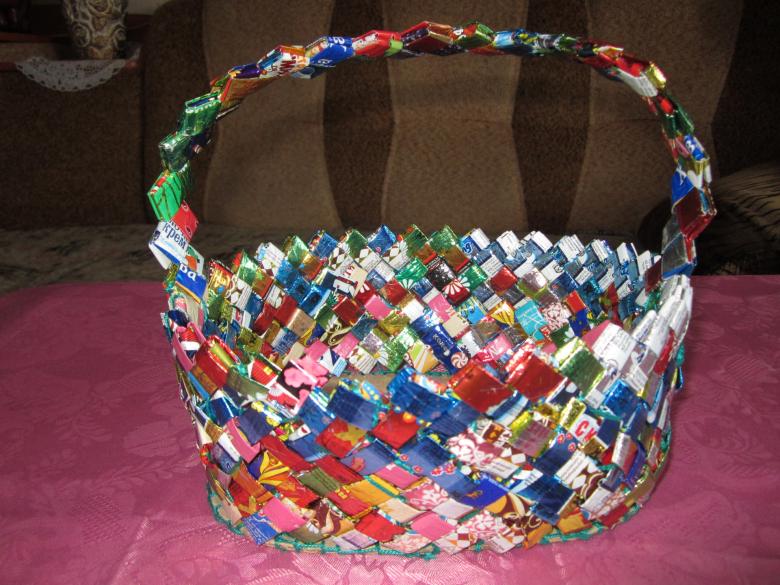
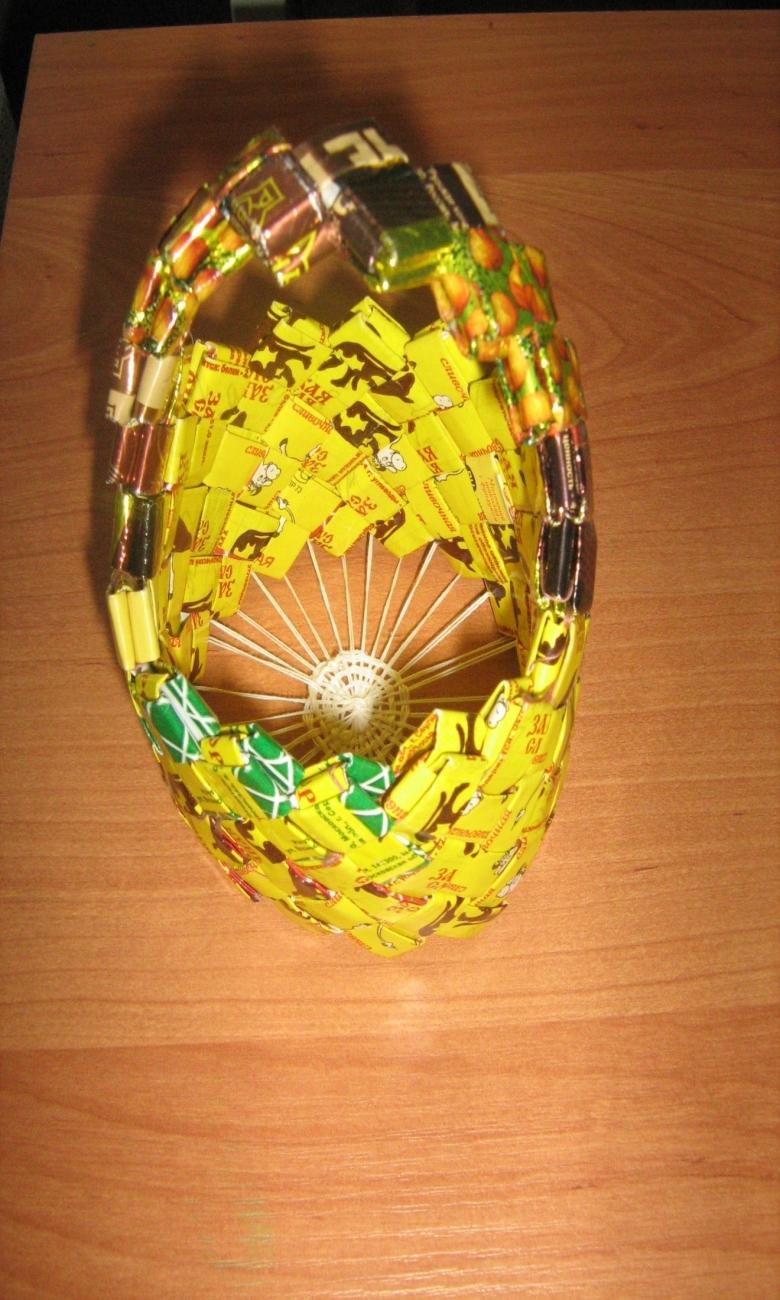
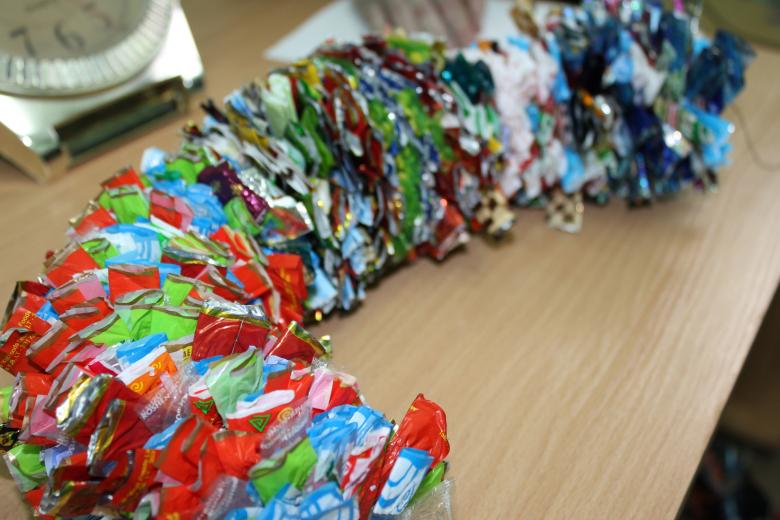
This work will take a little more time than the previous crafts. First, you will need to make blanks - strips of wrappers, which we will then combine into a single braided rug. To create the strips themselves, you will need only wrappers in large quantities and dexterous hands of the master.

Step by step instructions:
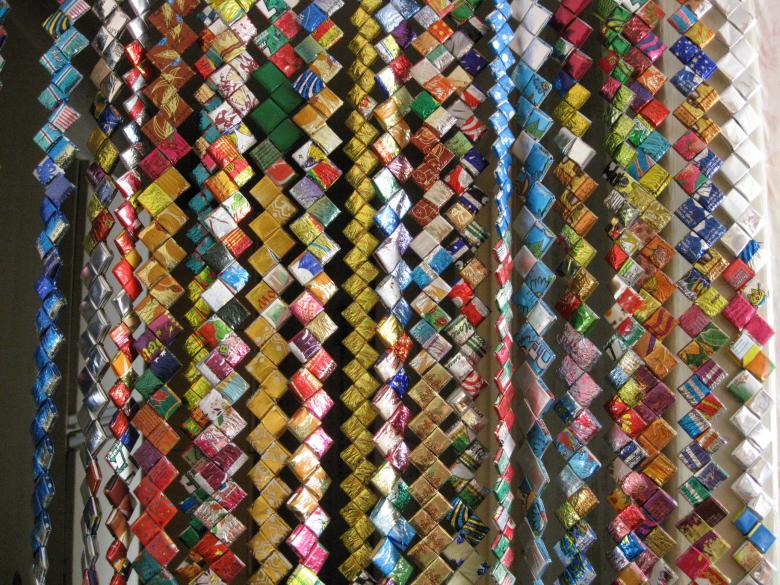
- Fold the wrapper in half lengthwise, then again until you get a narrow strip;
- Then fold the strip across and put its ends into the resulting "rings" of another wrapper.
- In this way we can get an infinitely long chain.
- Here's a secret: the brighter and more varied the wrapping, the cooler the rug looks on the table.
- Start wrapping the ribbons in a flat spiral, gluing the sides of the strips with glue.
- The finished mat can be sprinkled with a scattering of rhinestones, beads or sequins from foil.
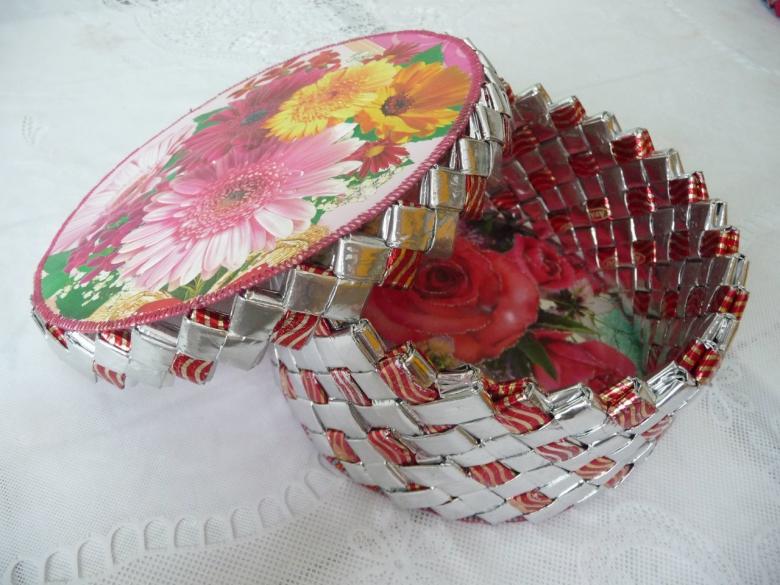
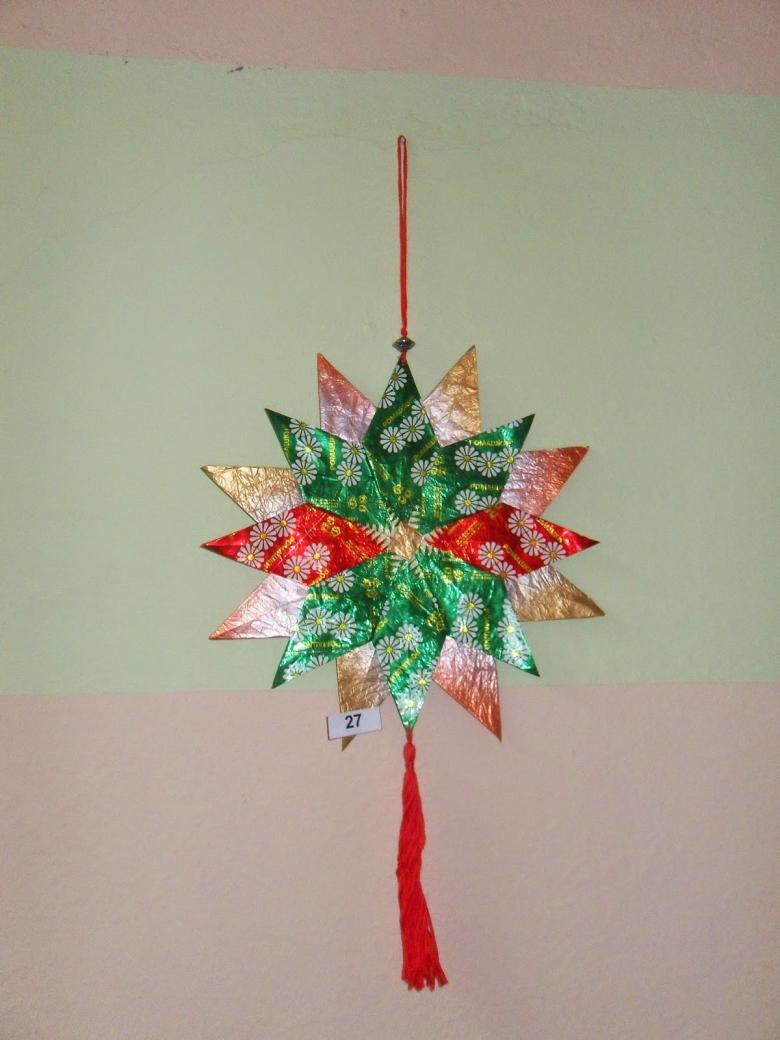
The resulting work can be captured in a photo and sent to any children's contest: the child will be happy, and, perhaps, receive a diploma for their skillful work.
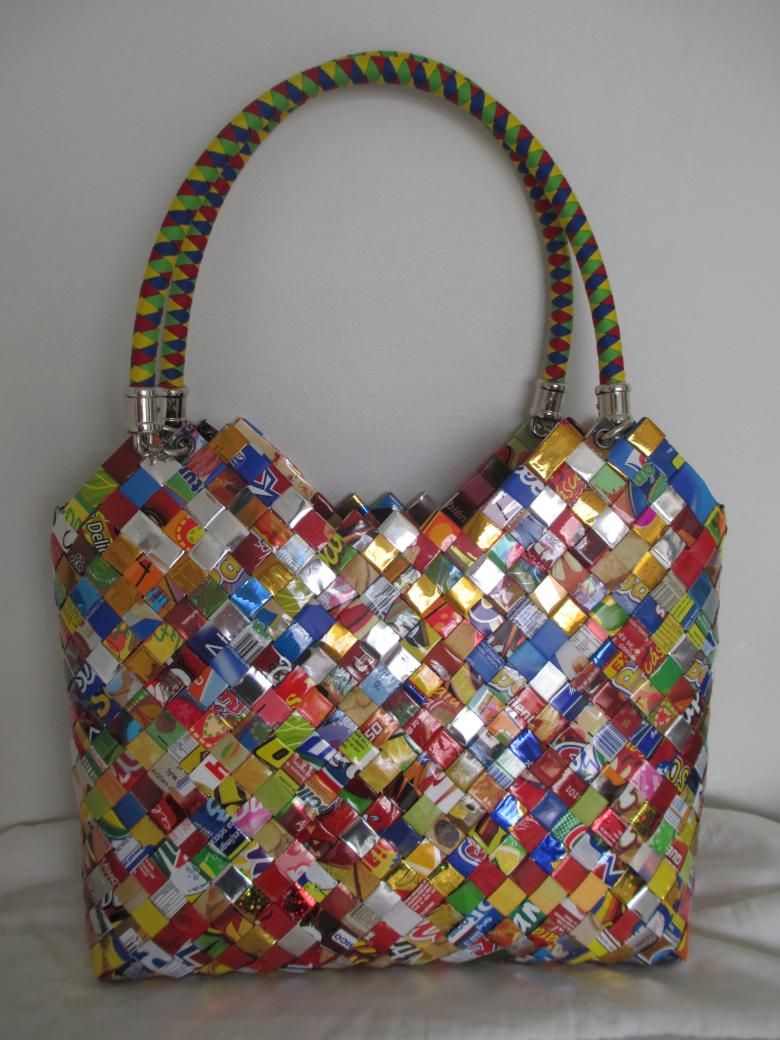
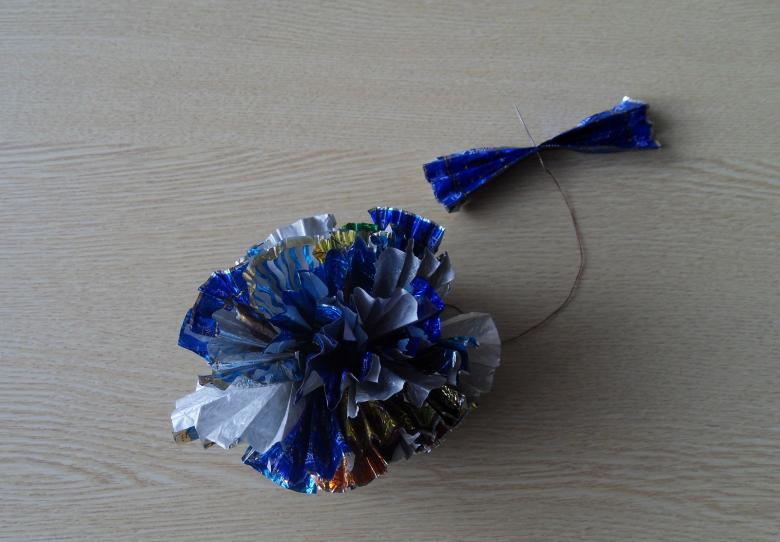
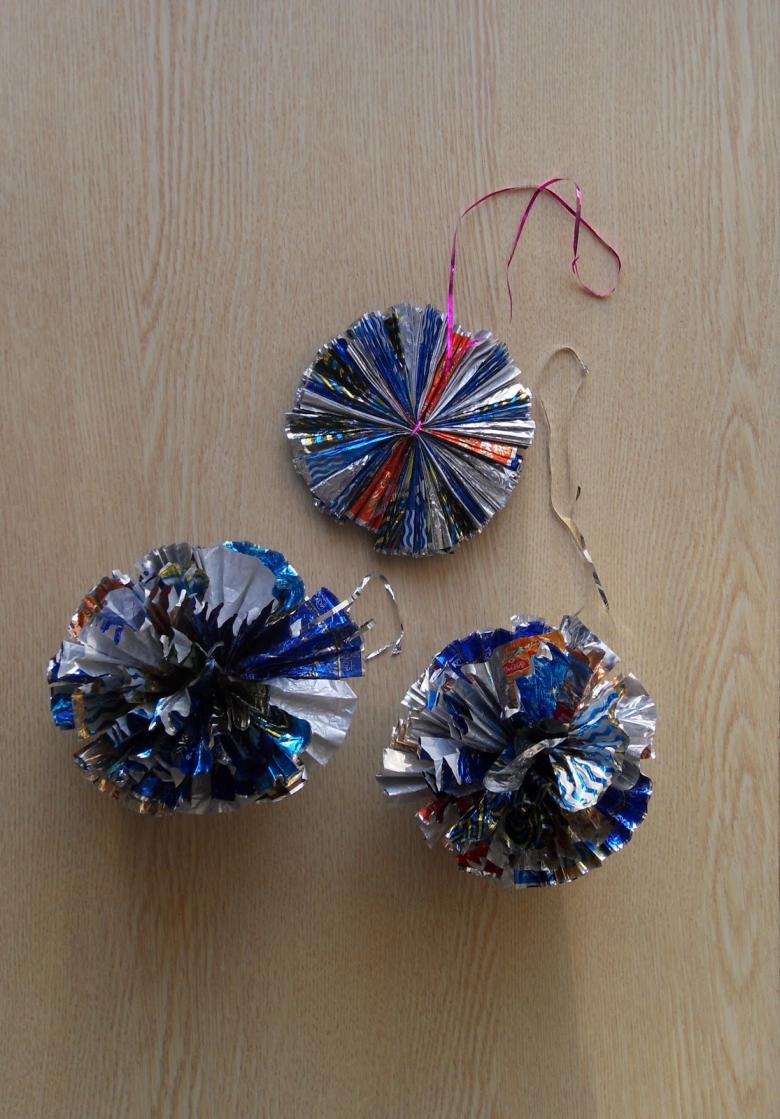
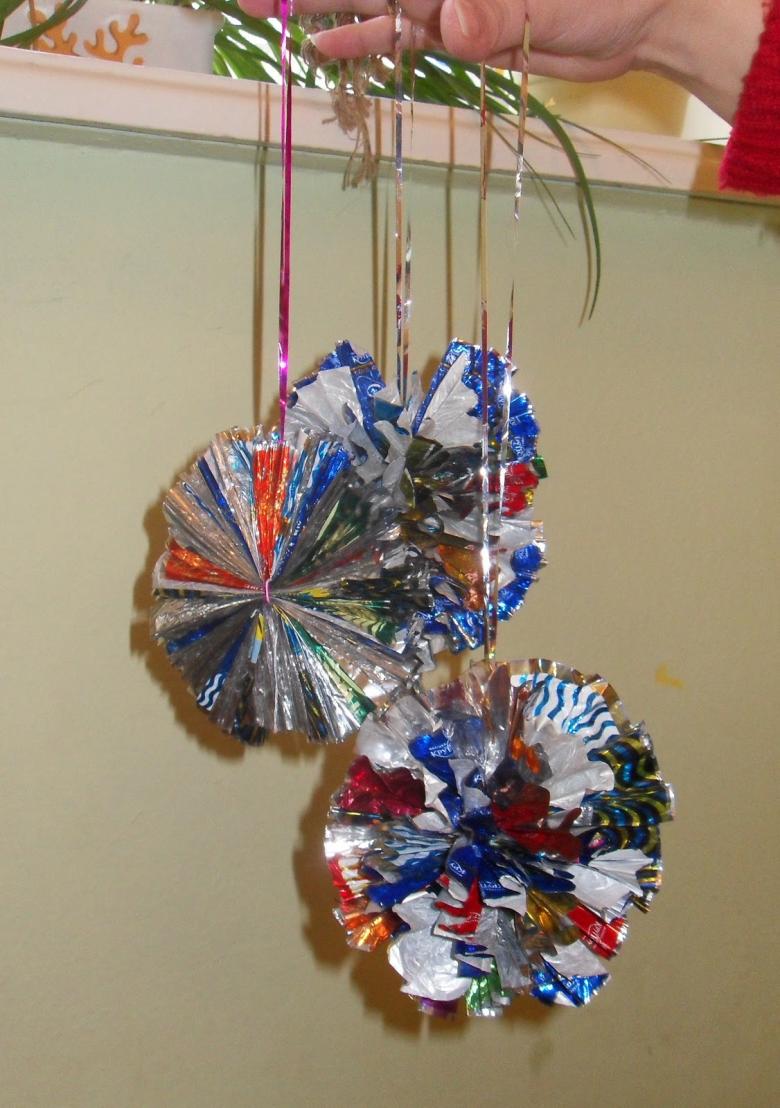
Balloons-toys .
Materials for making crafts: wrappers (25-30 pieces for 1 toy), clothespin, thread, scissors.
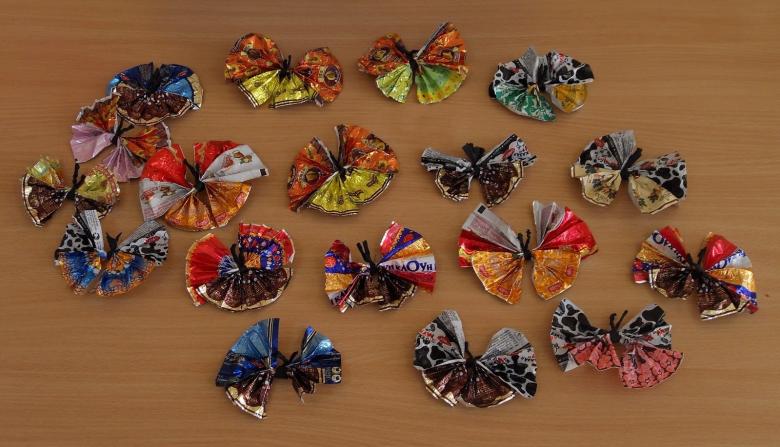
Instructions:
- Fold all the wrappers "accordion" along the long axis of the wrappers;
- The resulting accordion stack, align the edges and the center fix the clothespin;
- At the point of fixation firmly pull the pile of "accordion" and remove the clothespin;
- Make a loop on the loose end of the thread (you can use a colored raincoat instead of the thread);
- Spread all the ends of the wrappers and that's it: the toy is ready. You can use it as for the Christmas tree, as well as for any holiday.
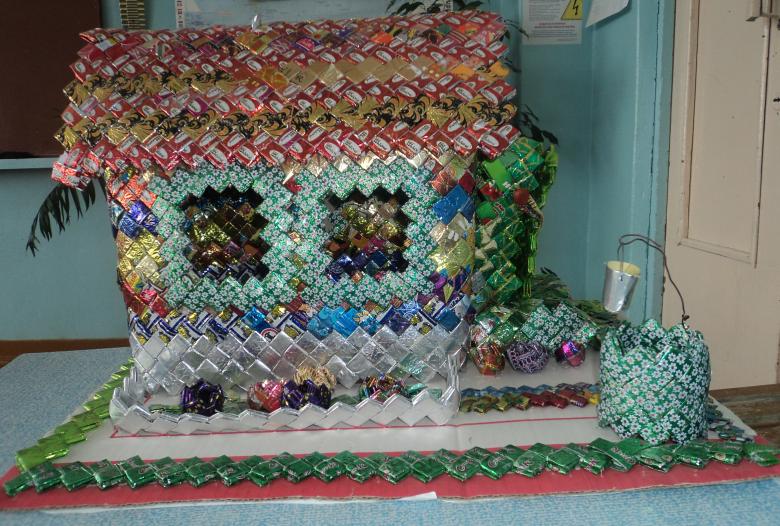
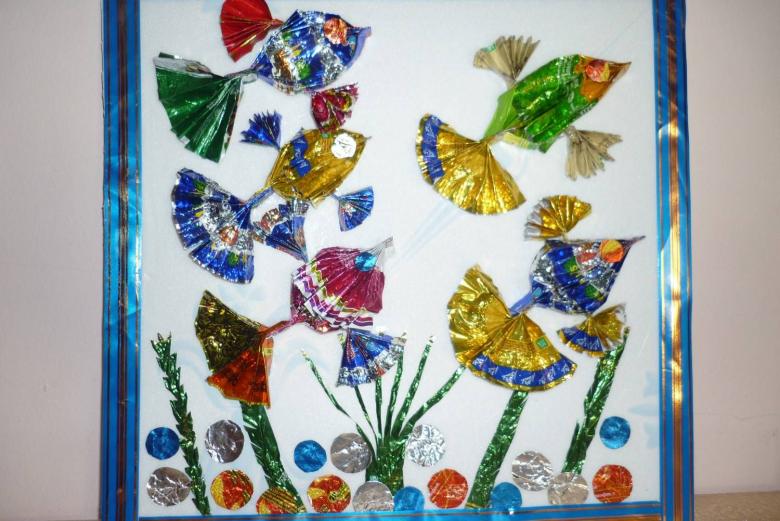
The panel with fish on the wall
Let's complicate our task a little: let's add sea sketches to the children's room. Let's gather on the table the necessary materials:
- Bright wrappers. It is desirable to pick up some striped drawings for fish and green wrappers for seaweed.
- A sheet of white paper and ordinary watercolor.
- Glue, scissors.
So, let's make our panel:
- Let's prepare the "aquarium": cut out a circle of paper, paint the bottom 2/3 of the sheet with blue.
- From the green wrappers we will cut thin ribbons of algae. If we manage to make them curved, that would be just great. This will add originality to our sea kingdom.
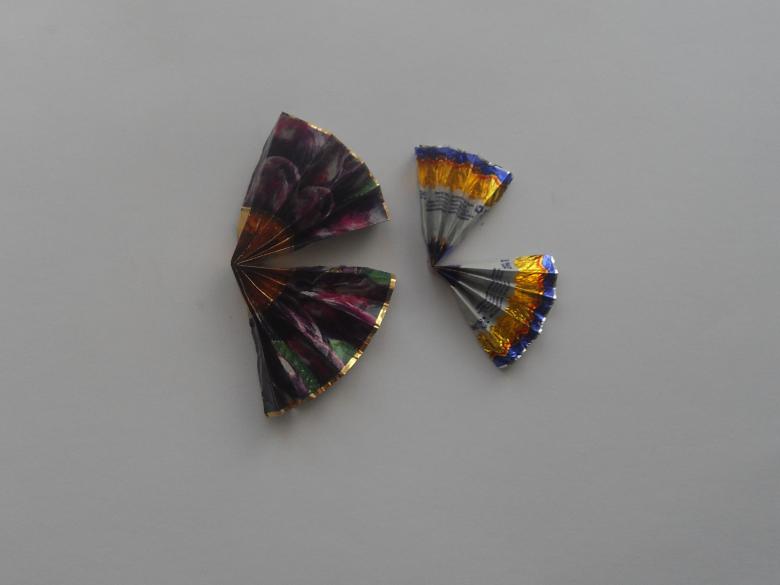
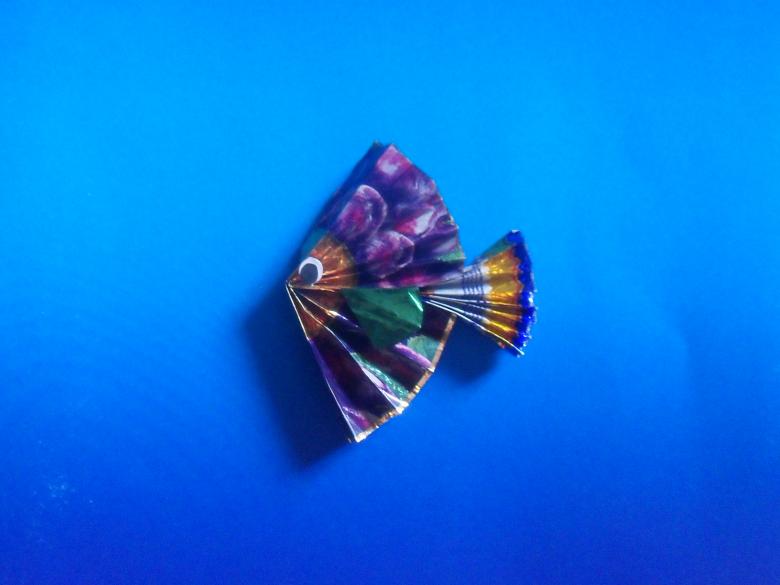
- Prepare the fish for placement in the aquarium: give the wrappers the shape of a square, which folds into a triangle. Cut strips are destined to become fish tails, which we glue into the body of the fish.
- Place our residents in the aquarium. For a complete picture, you can cut stones or pearls in shells on the bottom.
Glue a circle of heavy cardboard to the back of the sheet, form a loop, and send our panel to a prominent place!

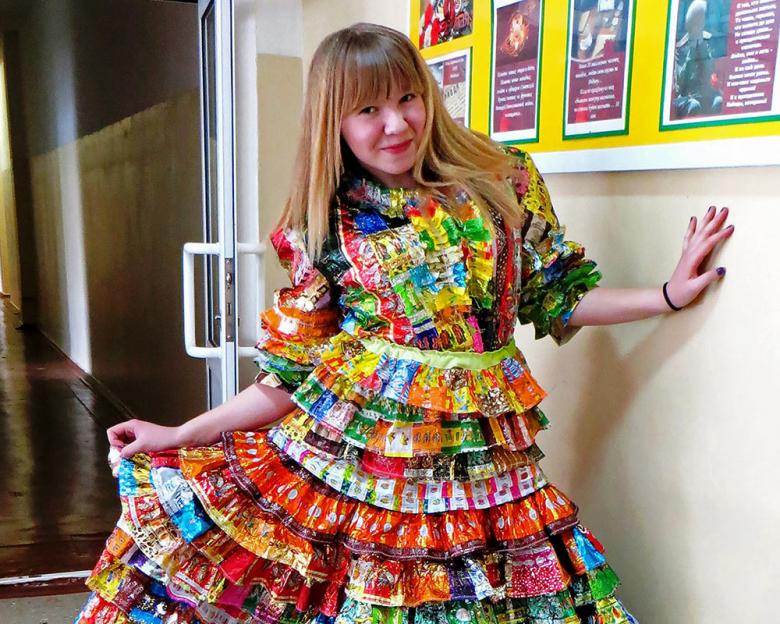
As you can see, there are many ways to give a second life to colorful wrappers, applying a minimum of material and maximum imagination. And the skillful hands of a true master can create a true miracle from ordinary candy wrappers.

