How to make a butterfly craft from paper, cardboard, fabric - master classes, tips, photo examples
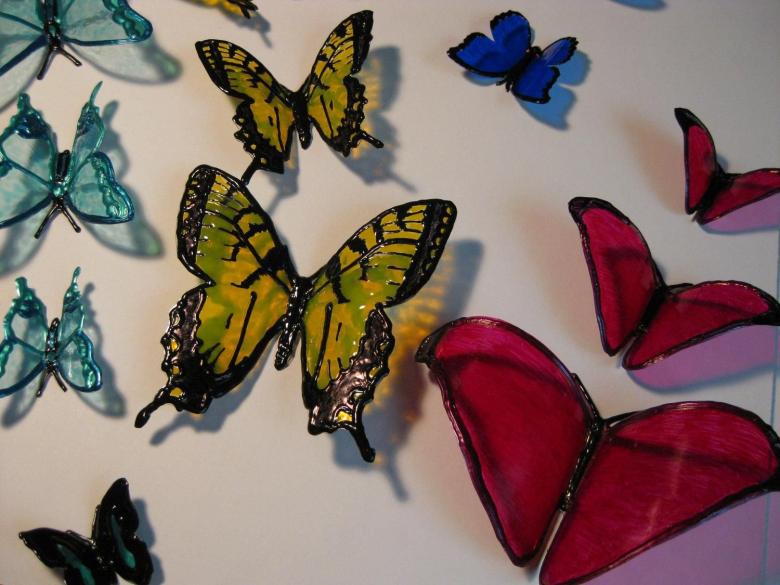
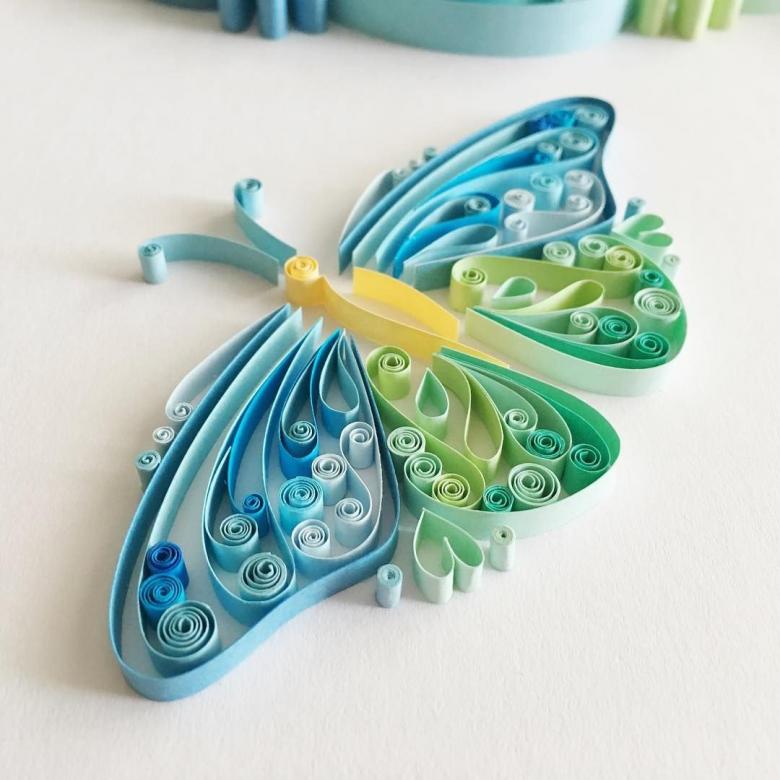
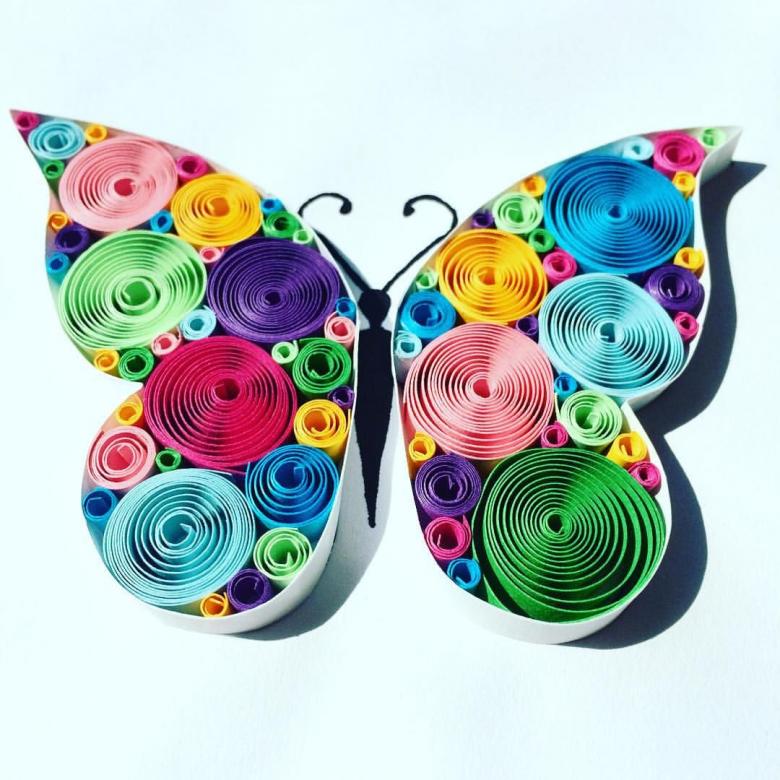
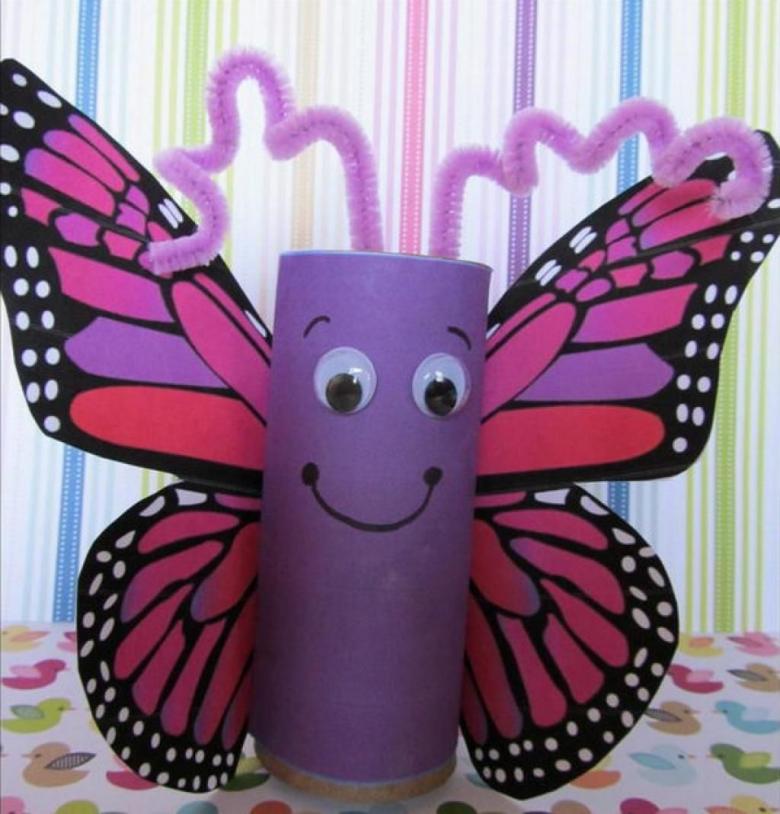
The fragile butterfly lives only 24 hours, decorating our world with amazing colors and wing patterns. But why not settle in your house a swarm of miniature creatures, which not only will not disappear after 24 hours, but also will not give any trouble to your family. We've got an interesting collection of materials today on how to create a whole series of butterflies.
What materials do we need to prepare?
We will try to look at all possible models of butterfly-shaped crafts today, so we will prepare the following set of materials:
- White and colored paper, colored cardboard;
- Scissors, a knife, thread and needles;
- Glue;
- A set of toothpicks;
- Metal wire, fishing line;
- Elements of decoration (beads, rhinestones, buttons);
- Natural materials: leaves, twigs, cones.
- Yarn for knitting in several colors.
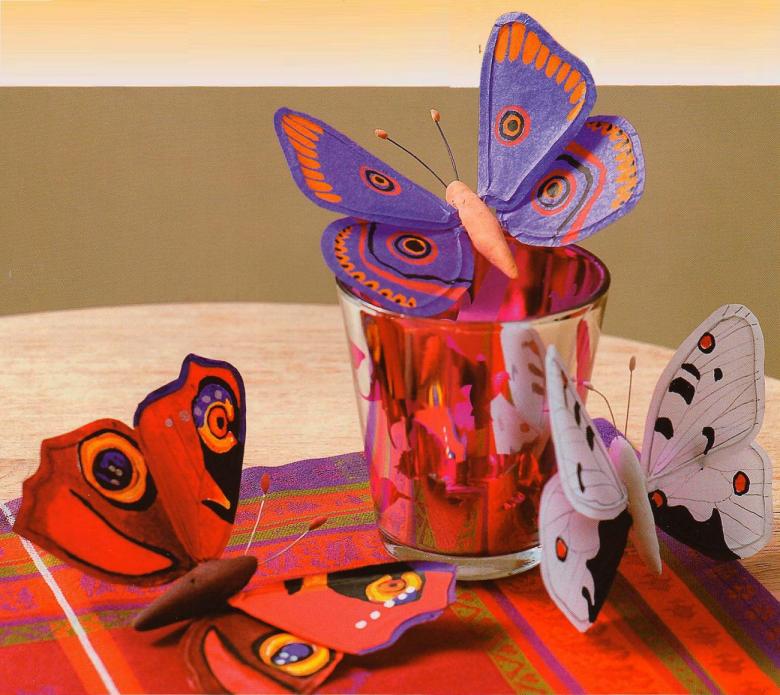
This list can go on for a very long time, but we will not. If for the creation of any model we need additional material, just clarify its availability in the course of the work.

Butterfly crafts for decoration and style
Why are we talking specifically about decoration? Because our goal today is to create not only crafts from improvised materials, but also extremely practical things that can be used in everyday life. But about that a little later.
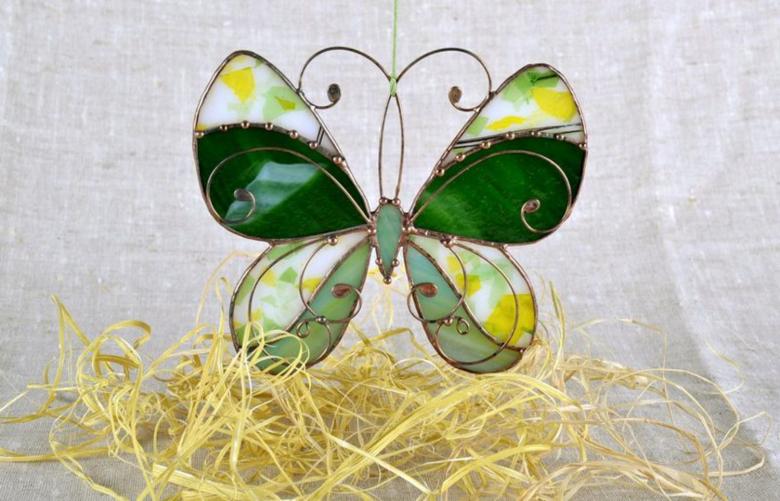
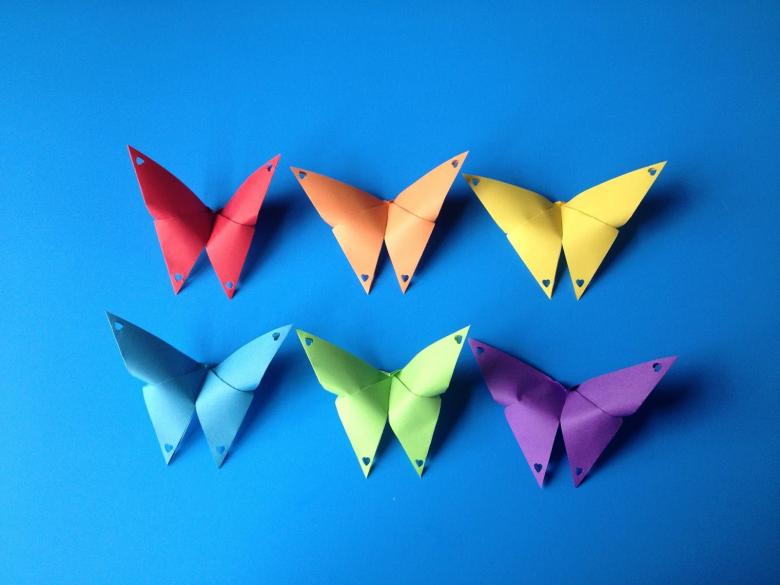
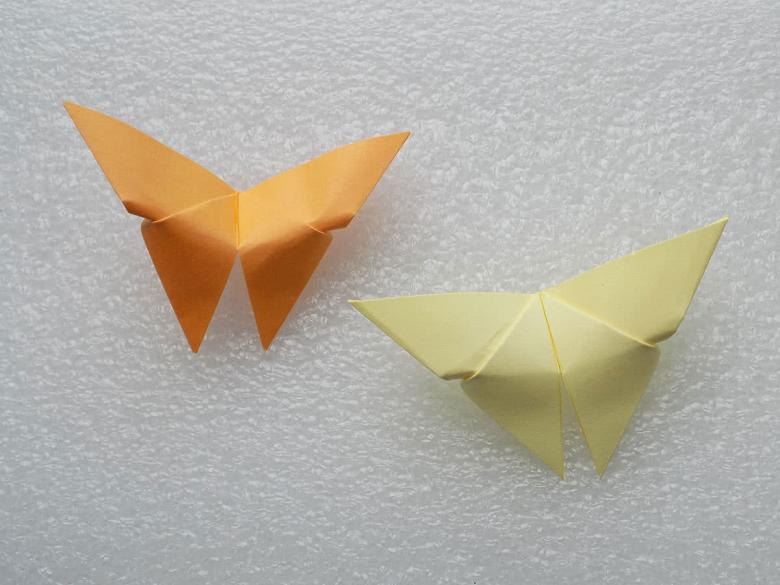
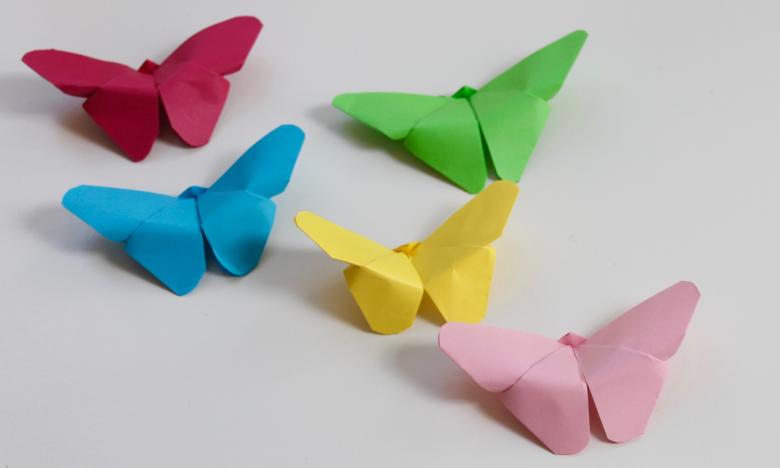
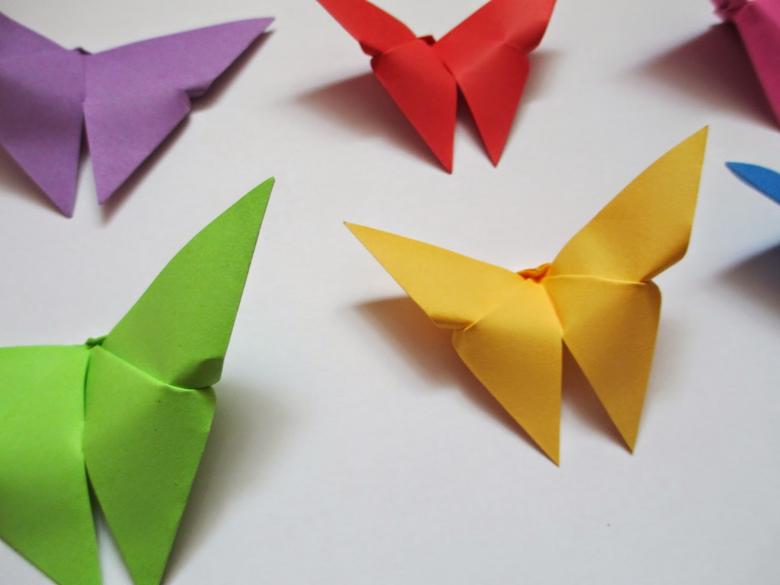
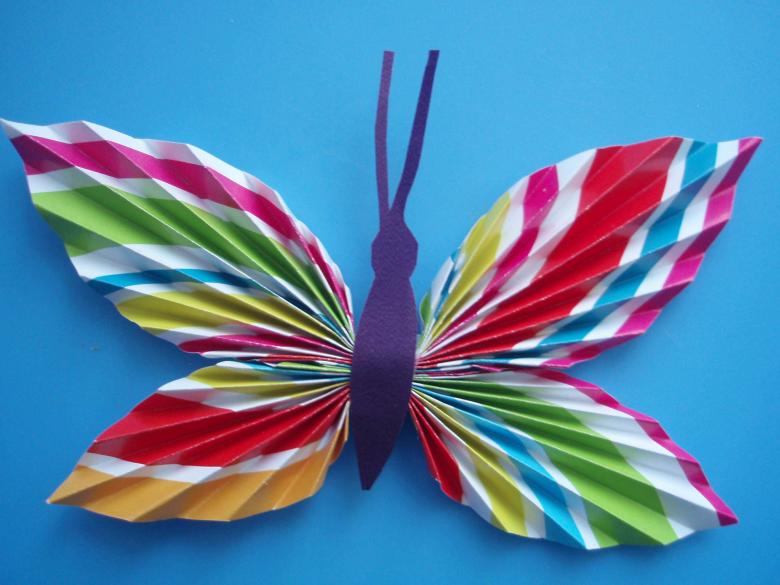
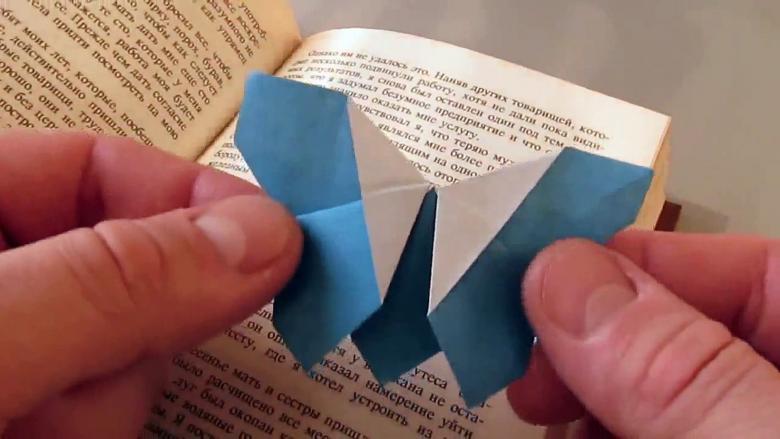
Origami style butterfly
Today we will look at a model of a butterfly for the little ones. Such products do not require the creation of modules or the use of complex step-by-step instructions.

Detailed scheme for the master:
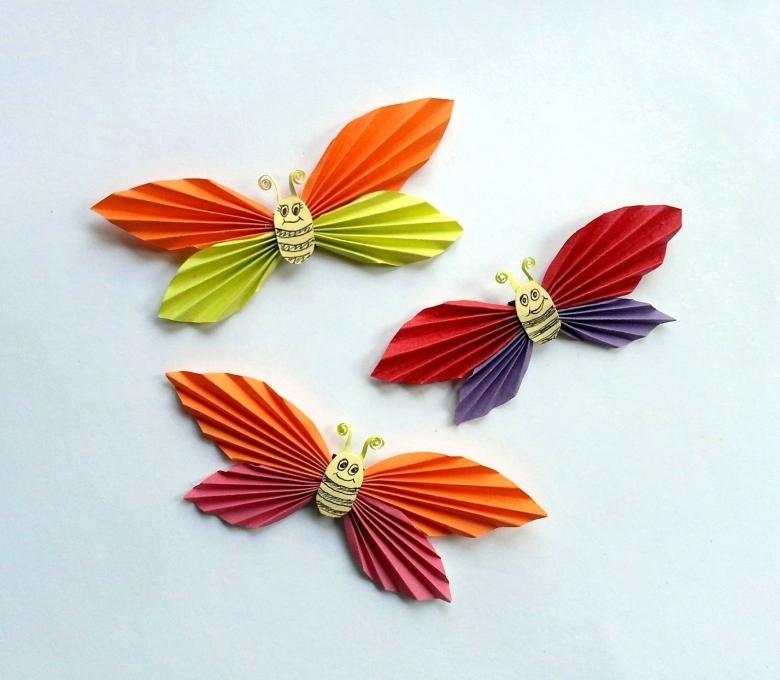
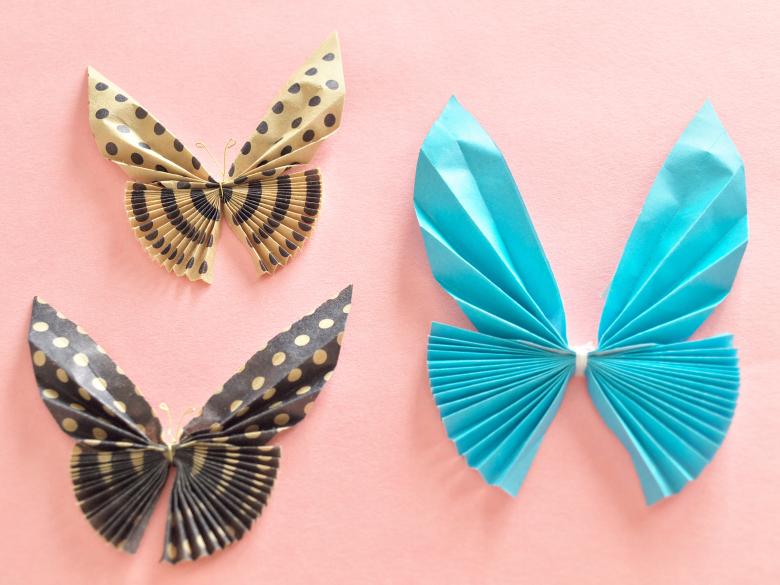
- Prepare a square sheet of paper. Ask your child to paint it with paints or felt-tip pens in bright colors. Lines or circles will look just right.
- Fold the sheet of accordion, starting from one corner.
- In the center of the accordion tie a beautiful ribbon, decorate a large bead or just glue a solid figure of cardboard - the body of our butterfly.
- Now add the tendrils - the main attribute - the handicraft is ready.
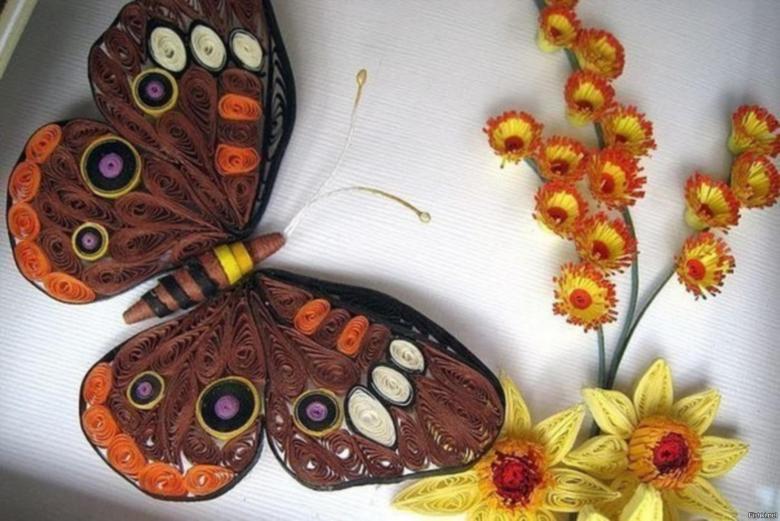
Toothpick and yarn: a butterfly for the exhibition
Let's prepare the necessary material:
- Toothpicks;
- Glue;
- Yarn in any color;
- Metal wire;
- Rhinestones or beads.
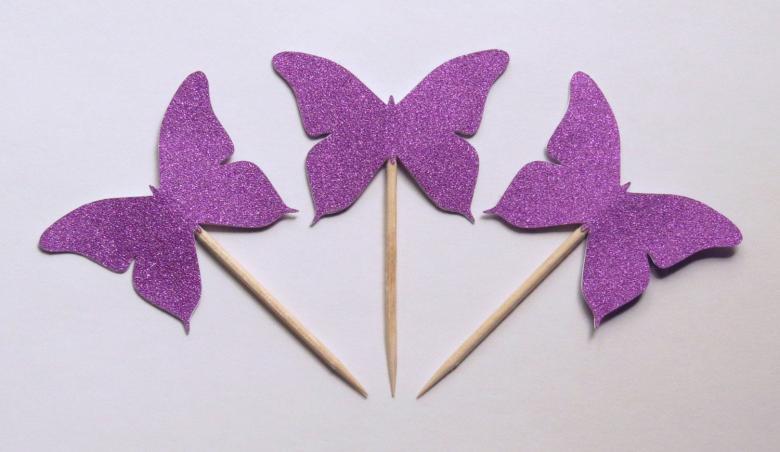
Step by step scheme:
- Two toothpicks fold in the shape of the letter "X" and fasten with thread or thin wire.
- On the basis of winding yarn thread of your choice of color. The yarn should completely cover the gap of the letter-base. In the center of the crossed toothpicks lay a tight ring of thread to give the side elements a triangular shape.
- Using thicker gold or silver wire, form the body of our butterfly. Take off the antennae, to the ends of which we glue the beads of darker color.
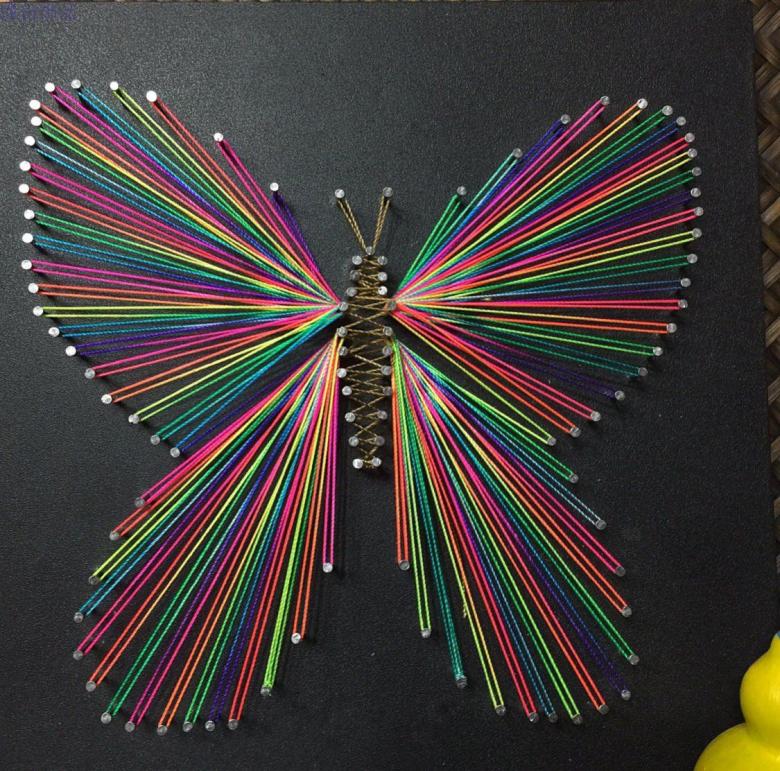
Here is a fairly simple model, with which even a child can cope. However, joint work with the baby will undoubtedly bring you pleasure.
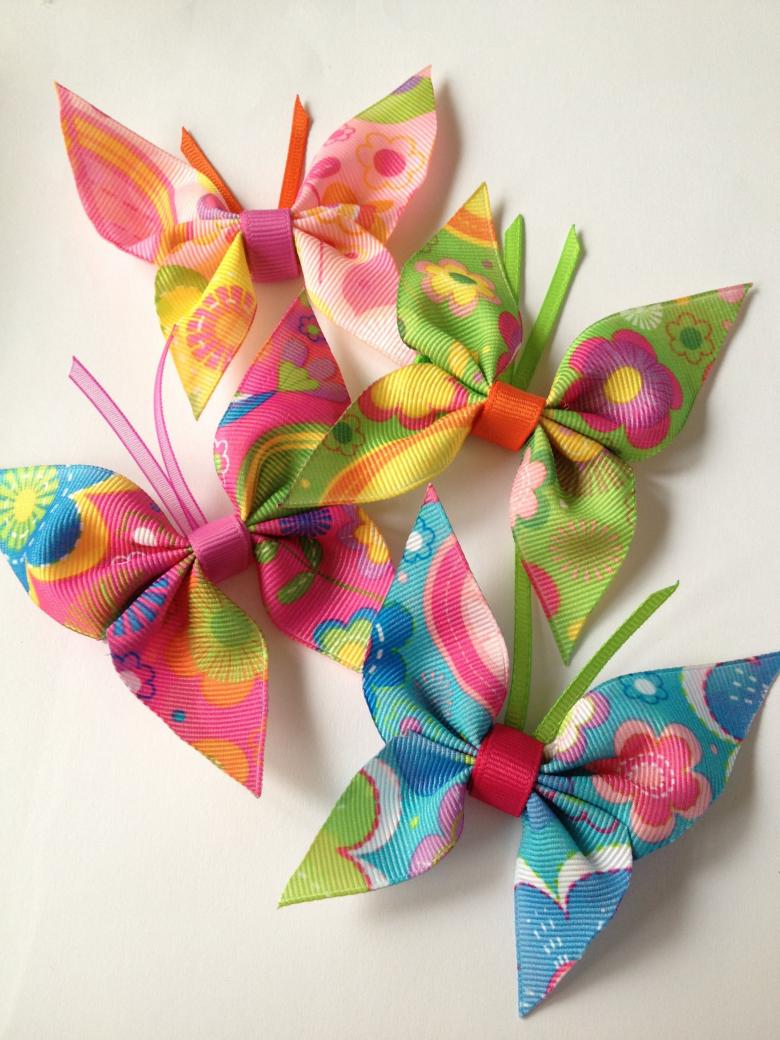
Figure-butterfly: practical use
As we have already mentioned, today we will consider the creation of not only beautiful crafts, but also practical things. These products can become an ordinary decoration in the house, and can be useful in everyday use.
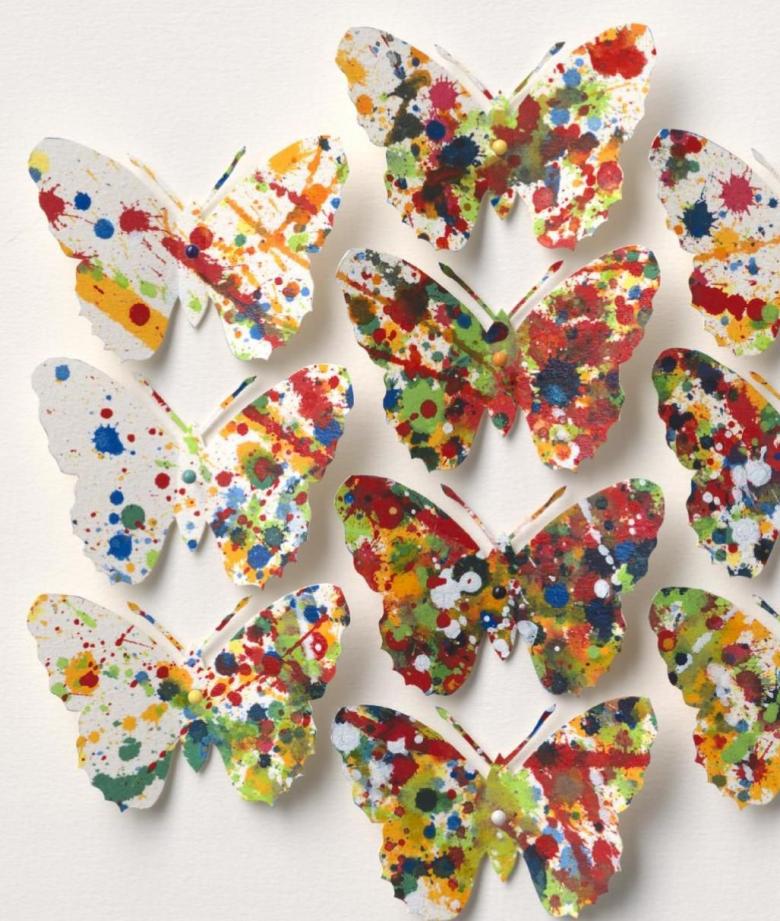
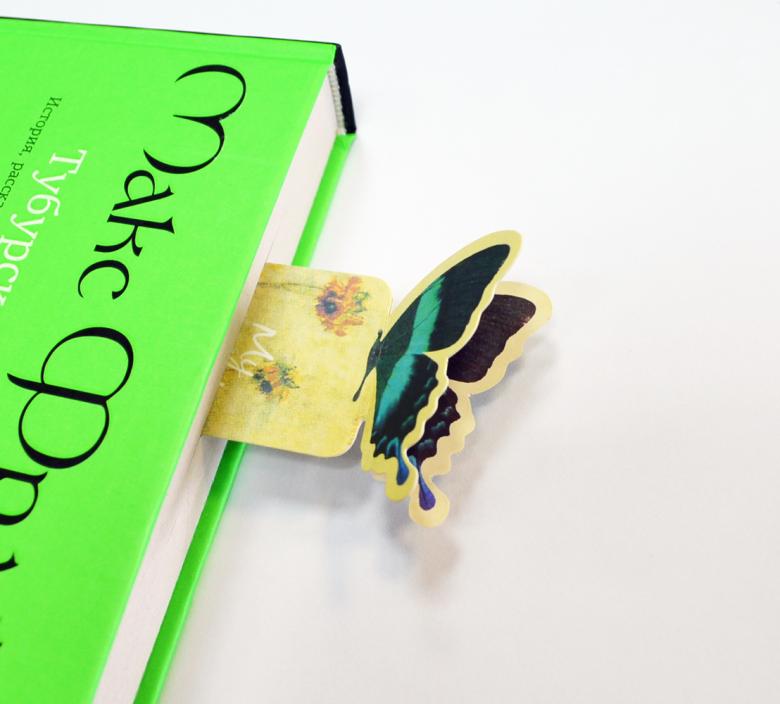
Butterfly bookmark in a book
We will look at two variants of our accessory.
Option 1: bookmark-corner
- From thick fabric (cardboard, plastic) prepare a shape in the form of a corner. Check how well the corner fits on the pages of the book.
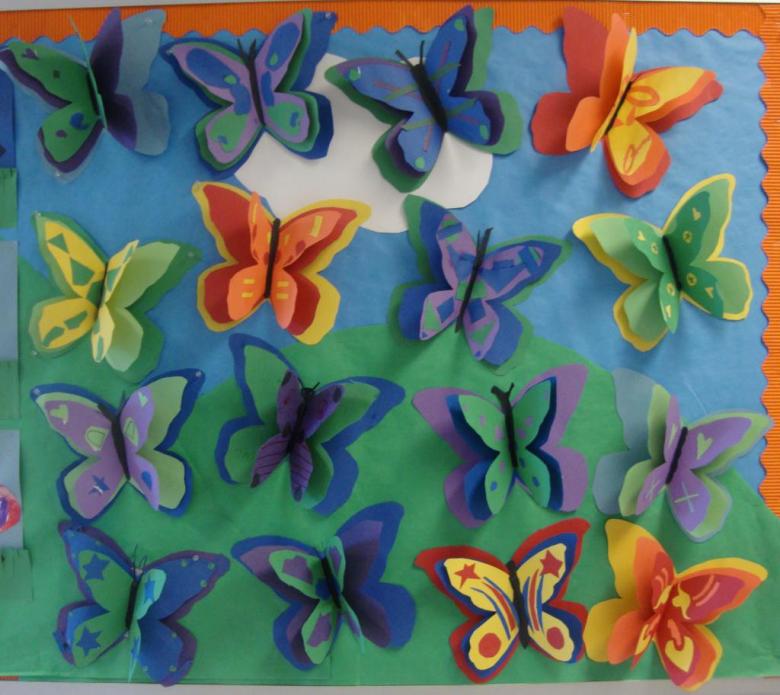
- Cut out three butterflies of different sizes and colors from illustrated or colored paper.
- Glue them to the base so that the larger figure is at the bottom and the smaller one is on the surface.
- Cover the figures with a layer of glue and decorate with shiny sprinkles or rhinestones.
Allow the craft to dry and use in your leisure hours!
Option 2: Butterfly on a leaf
- From heavy cardboard, cut out a figure in the form of a large and curved leaf. If you used colored cardboard, continue the work further. If it is ordinary thick paper, paint the sheet green.
- According to the finished template, cut out a small butterfly from cardboard, another layout is prepared from fabric (felt or any other). Glue the linen figure on the cardboard one, decorate with rhinestones.
- It only remains to "plant" our butterfly on a leaf-base and it's done!
A hanging toy for a baby
Materials for work:
- To create an interesting and exciting toy for your baby, you can take the base from a broken hanging merry-go-round. If you don't have one, ask your dad to help: you will need a sturdy ring for hanging butterflies.
- String and thin wire.
- Glue, scissors.
- Decor elements (however, do not use a lot of small parts if the toy is prepared for a very young child).
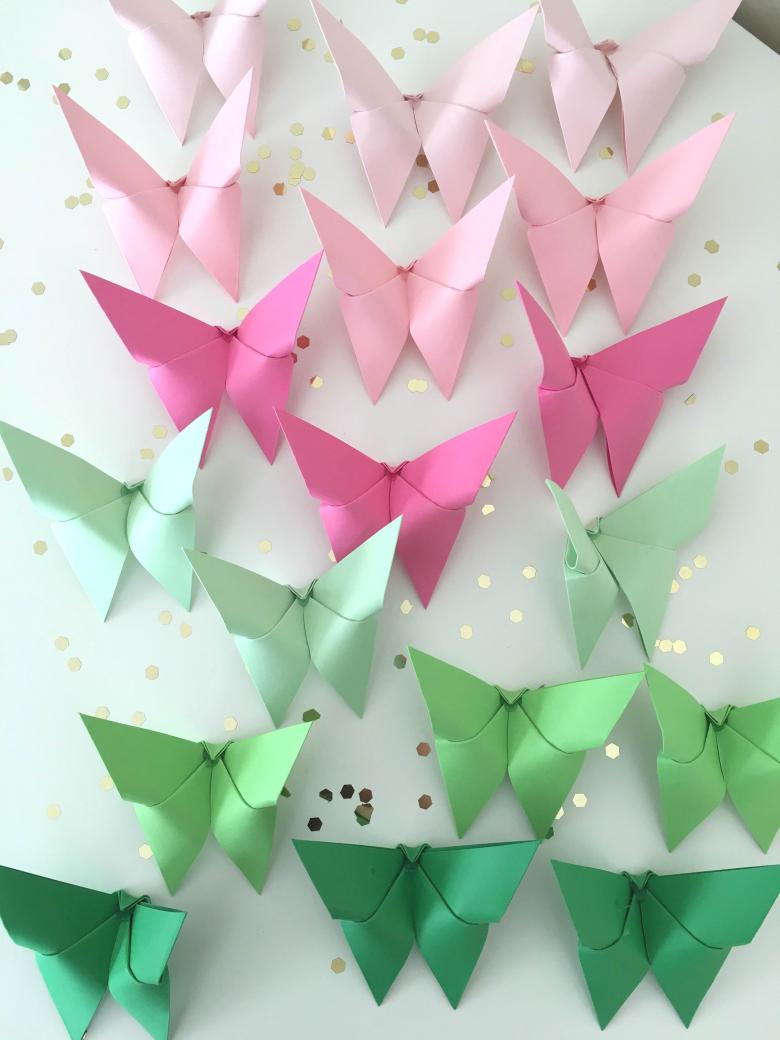
Step by step instructions:
- According to ready-made templates, cut out butterfly figures of different sizes and shapes from dense cardboard.
- According to the same patterns do patterns, indented from the edge of the sample of 1.5-2 cm. Cut out figures from any soft fabric.
- Sew the linen figures on cardboard bases, leading the thread along the edge of the product (such a stitch will be visible, but will give our butterfly an elusive charm). Leave a small section of fabric without a seam.
- Our product should be voluminous, so we fill a "bag" of fabric with cardboard inside with absorbent cotton. Sew the last section.
- On top of the butterfly, form a loop, which will hang our beauty to the ring.
- Make several different shapes and decorate them with satin ribbons, bows or fabric flowers. Do not use beads, buttons or beads: the toy is designed for babies, children are curious, and small details always want to taste.
- We make pendants on the ring, on the ends of which we hang our butterflies. Try to make such handicrafts yourself, and make sure that the products are not only three-dimensional, but also very soft.
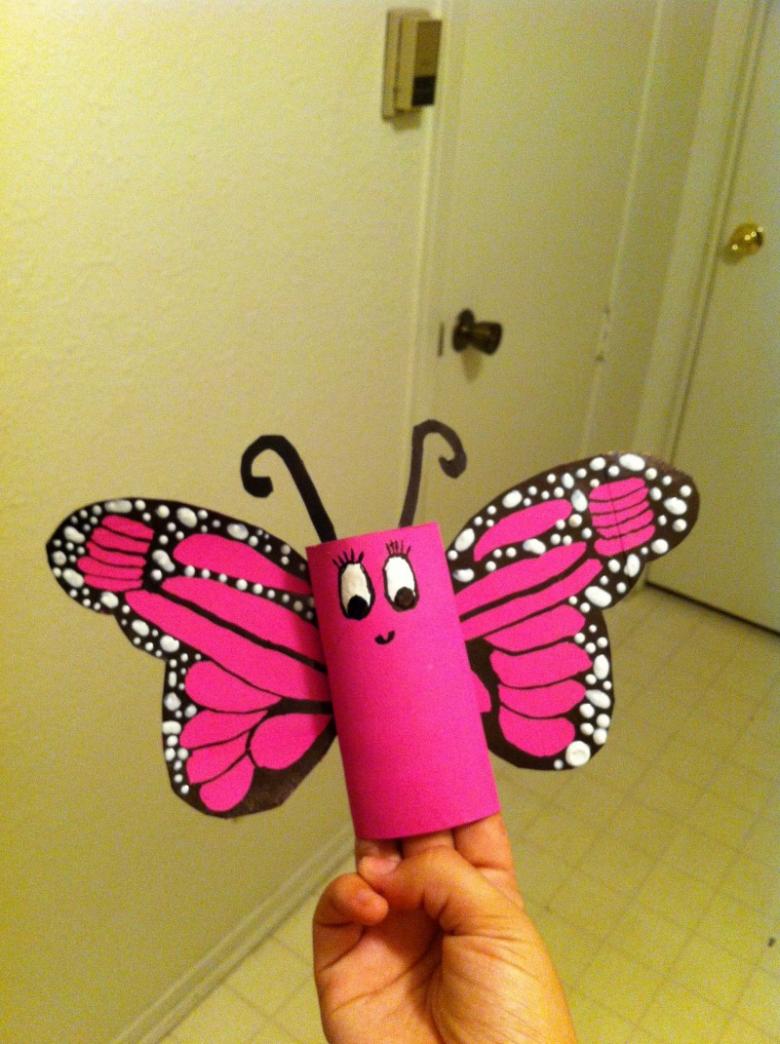
A butterfly for the New Year
A new idea for craftsmen: a Christmas tree toy in the form of a butterfly. The craft will help to decorate your home in the bright winter holidays, and we will teach you how to do it correctly.

Let's prepare the following materials:
- A template of a butterfly (it is desirable to find an openwork ready-made sample).
- Cardboard, glue.
- A box cutter;
- Openwork fabrics (guipure, cotton or any other kind).
- Large paper clips.
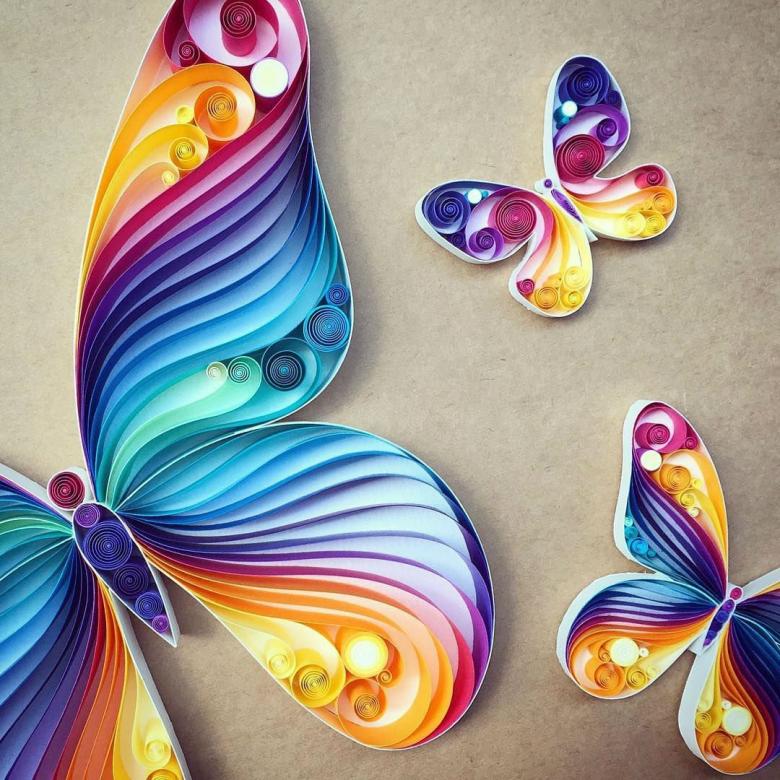
Step by step instructions:
- From cardboard according to the template, cut out blanks of the butterfly. The same pattern is used to work the openwork fabric.
- At the upper edge of the cardboard base pierce with an awl or thick needle.
- Glue our patterned layout to the cardboard figure. Decorate it with sequins or ribbons.
- Through the hole we pass the unfolded paper clip and hang our butterfly on the Christmas tree.

There are many more ideas for creating butterfly crafts. You can use any or offer your own idea. As you could see, making our winged beauty was not very difficult. So, choose a scheme to your taste and go ahead!

