Scrap fabric paintings with their own hands - history, features, master classes and photo ideas
There are many ways to make your home cozier, and breathe into its walls a living soul, making the environment of daily living, which will be comfortable for its owners. Small little things that are thoughtfully incorporated into the interior, Well-chosen furniture, curtains on the windows, lamps, mirrors and images on the walls - all this makes your home unique and special, reflecting the character and interests of its inhabitants. It's not necessary to make your home with antiques and buy expensive furniture. If you have the desire and imagination, it can be done at a small cost, but the result will be just perfect.
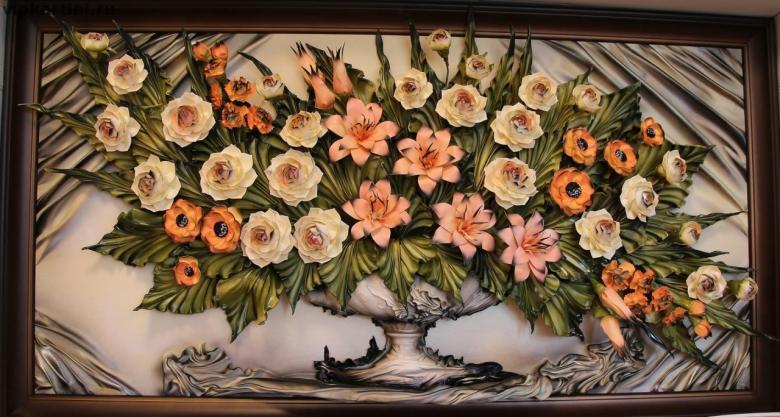
One of the options for adding originality to your surroundings are handmade paintings, for the creation of which you do not need paints and brushes, but only your patience, free time and the simplest materials. Given that the popularity and demand for "handmade" items is now at its peak, you are guaranteed to become the owner of an ultra-fashionable and one-of-a-kind, home decoration.
A little history and modern trends
Historically, in many countries, craftswomen made objects from leftover threads, pieces of fabric, planks, and what was at hand to decorate their walls. Japan was the birthplace of oshie and kinusayga, North America and England gave the world patchwork and quilting, and the Russian version was the patchwork (or chintz) mosaic. Economical and thrifty housewives all over the world could not allow throwing away the then-expensive cloth, and it was put into action, creating household items, clothing and handmade masterpieces.
Benefits and accessibility for self-expression
The advantages of this type of handmade creativity are obvious:
- Economical, because materials are available in every home;
- practical, because it is used what is often thrown out;
- it is available even for beginner masters;
- durability;
- original;
- unique;
- beautiful.
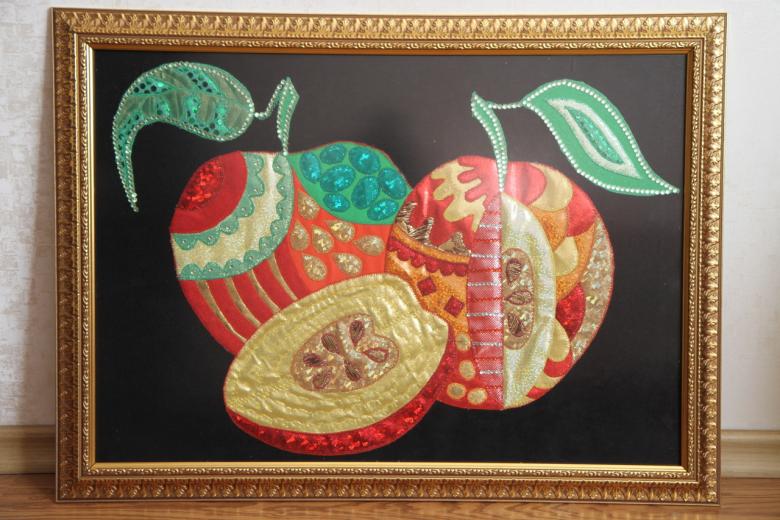
In addition to the above, such creativity is a wonderful option for self-expression and realization of their fantasies, joint work with children, as well as the development of their creative imagination, assiduity and ability to work with fabric.
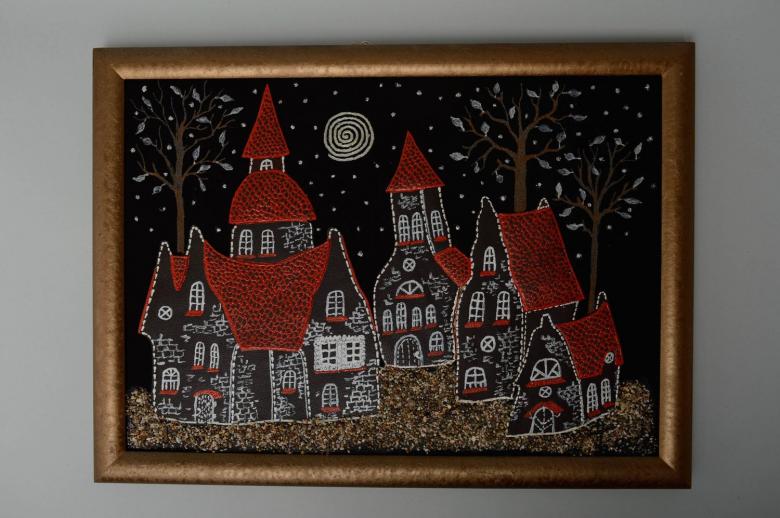
Simple steps to create your own masterpieces
Any painting for starters must be framed in the idea, that is, you must clearly imagine what you want to get in the end. It can be an idea you can look up on the Internet, or you can sketch it yourself if you have drawing skills, or it can be a printed out scheme of a future painting.
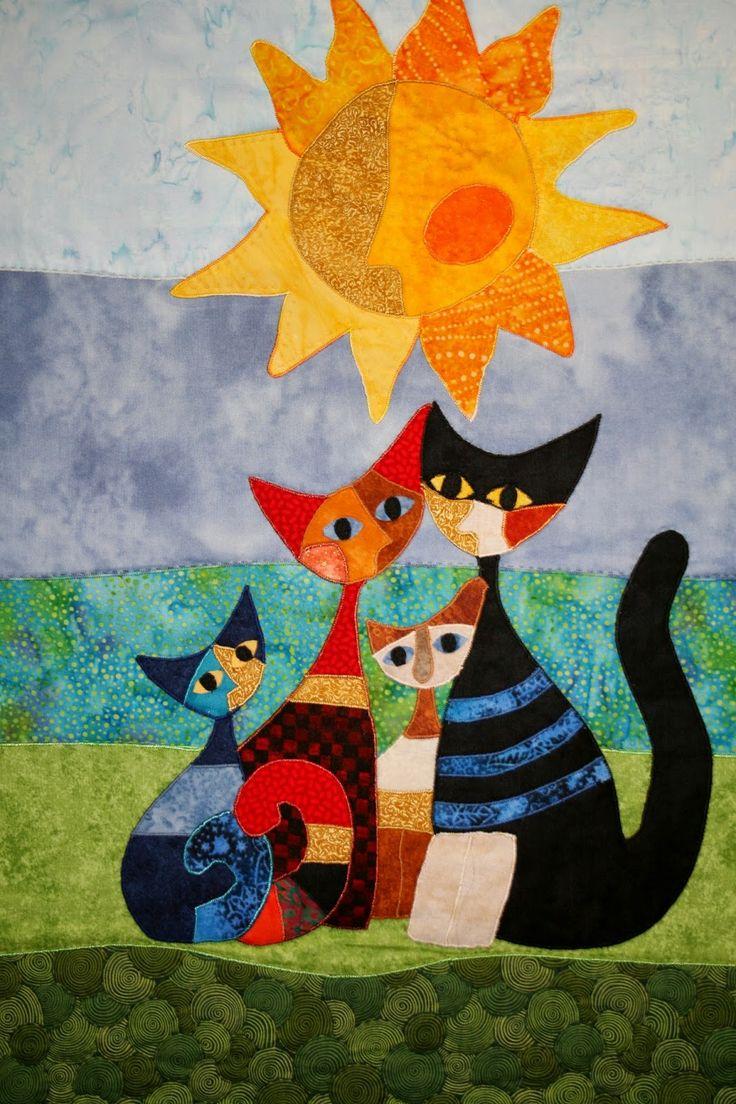
The next step is the selection of material, based on your idea. Choose a color scheme and texture of the scraps of fabric. It is desirable that the fabric is not strongly stretched, to avoid deformation, and its edges do not crumble. If it is a picture in the technique of patchwork or quilting, and threads in tone, synthetic or other material that will be used to give volume. If the picture will be in the technique of kinusaig, then stock up on Styrofoam. Tools such as scissors, a ruler, a needle, a tracing knife and a paper knife are a must. You may also need wooden frames, stapler, nails, glue.

Ideas for homemade paintings from fabric - master classes
Let's consider the peculiarities of some options for such paintings.
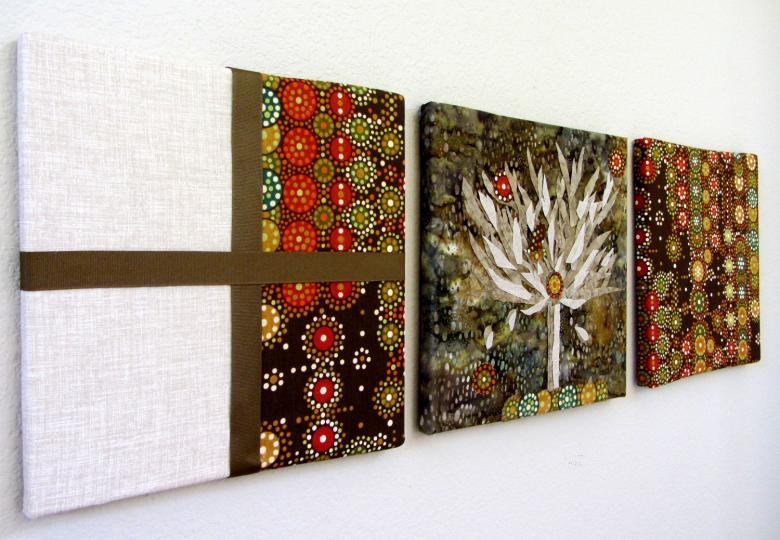
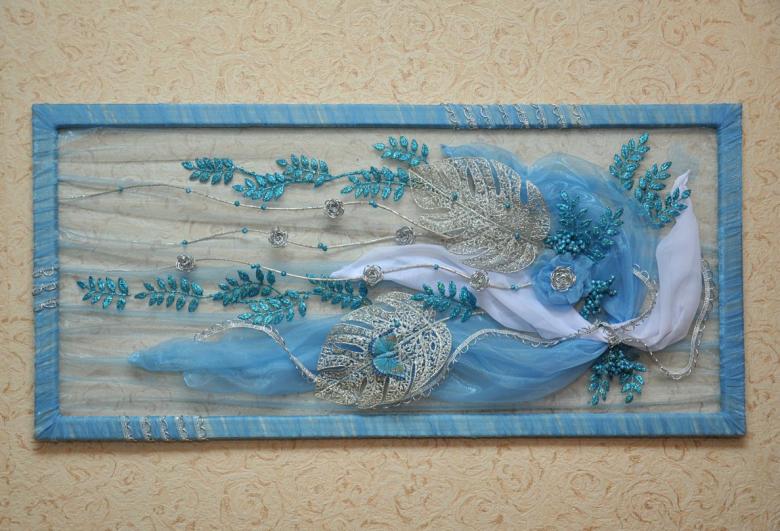
The most basic idea is to choose an interesting in structure and pattern fabric, and arrange it in a frame, or stretch it on a frame. Expenses of time and means are minimal, and the result can be a bright color accent in the right place, or the whole composition of such simple and textured solutions in the style of minimalism.

We will need a whole piece of material, a stretcher (frame), scissors, an ordinary furniture stapler, a hammer and small nails.
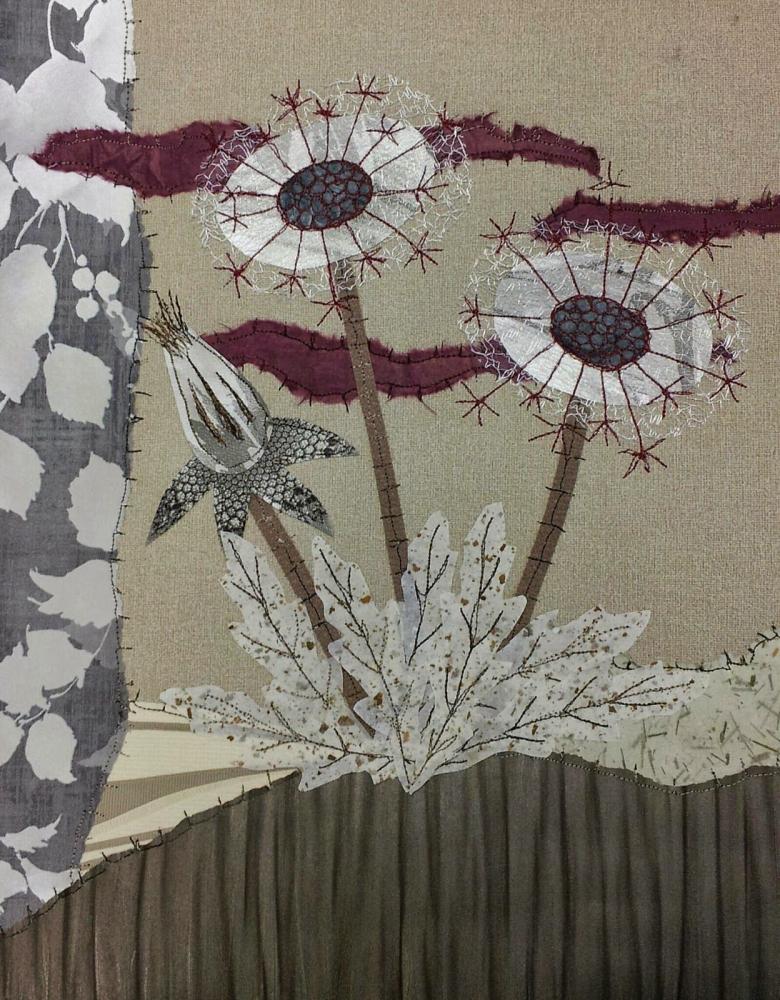
The most important thing is to prepare the fabric correctly, to decide on its size (it should be a few centimeters larger on all sides of the frame). It is necessary to smooth it out well, so that there are no "bubbles" and crumpled fabric on the picture. Lay the cloth with the right side on a hard surface. On the wrong side of the wooden stretcher, leave an equal amount of fabric outside the stretcher. Then the material is tucked (to avoid crumbling) and led behind the bar, and then fixed with a stapler. The same operation is done on the opposite side. First of all, the fabric is fastened in the corners and the center of the frame slats, and then it is evenly stretched along the entire perimeter. Our picture is finished and can take the place prepared for it.
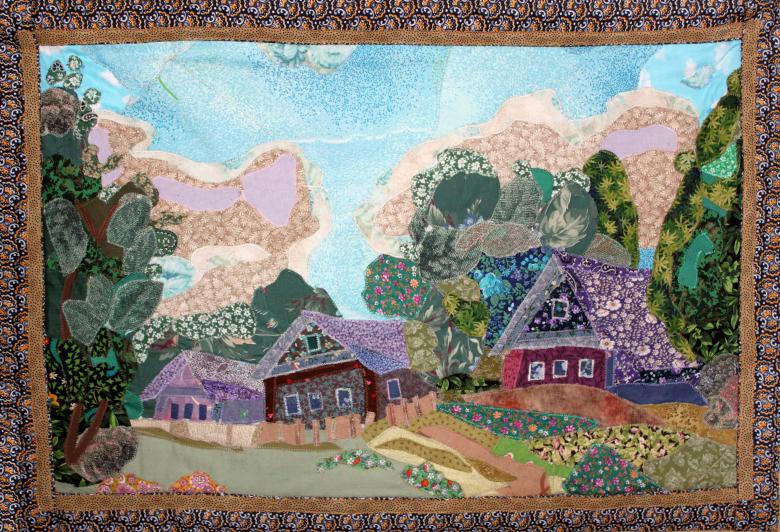
A more interesting variant - patchwork
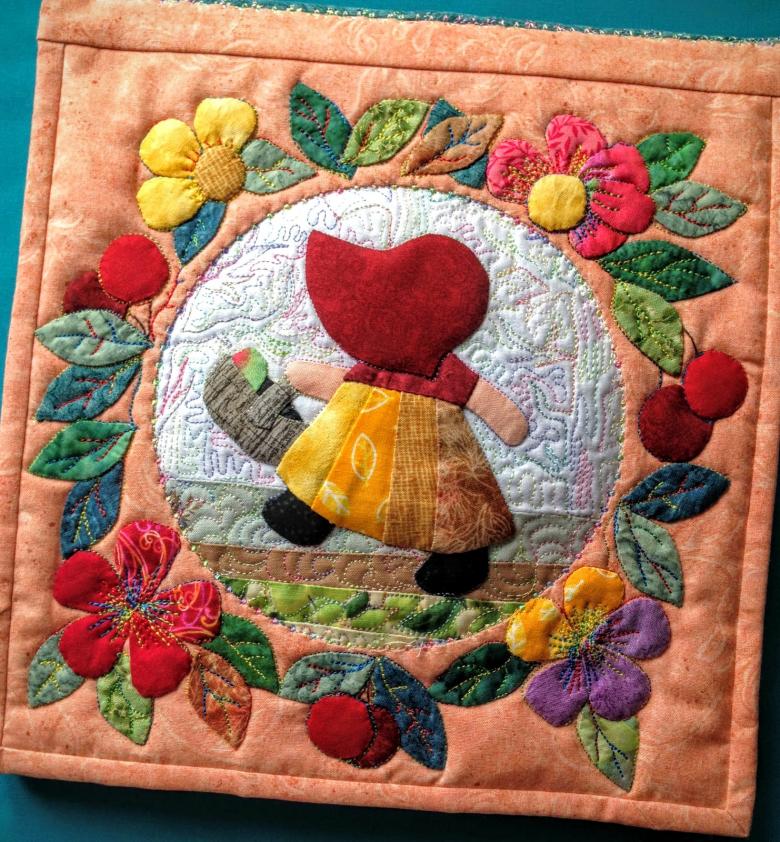
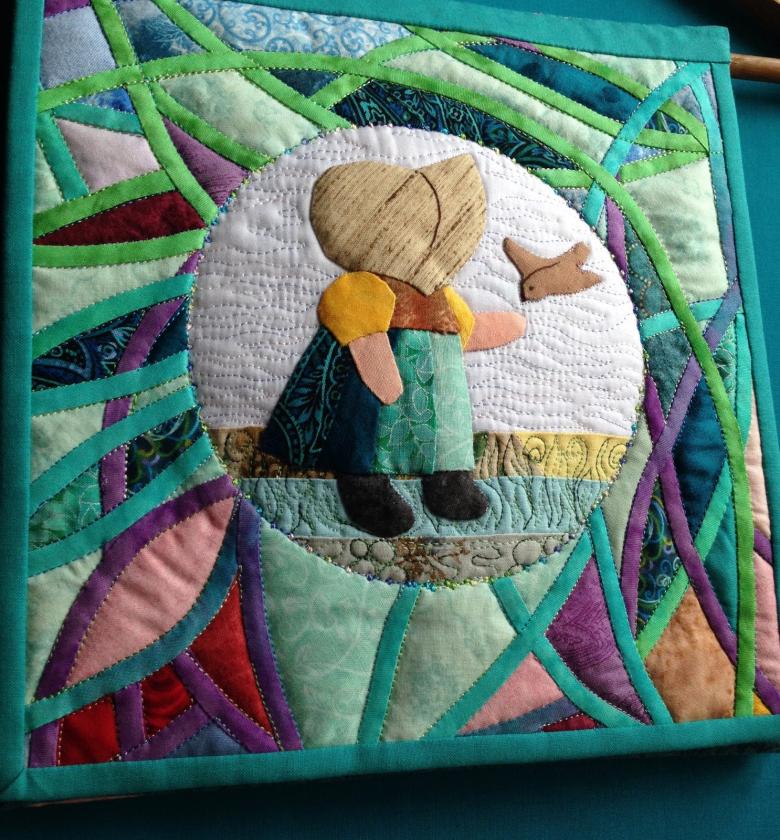
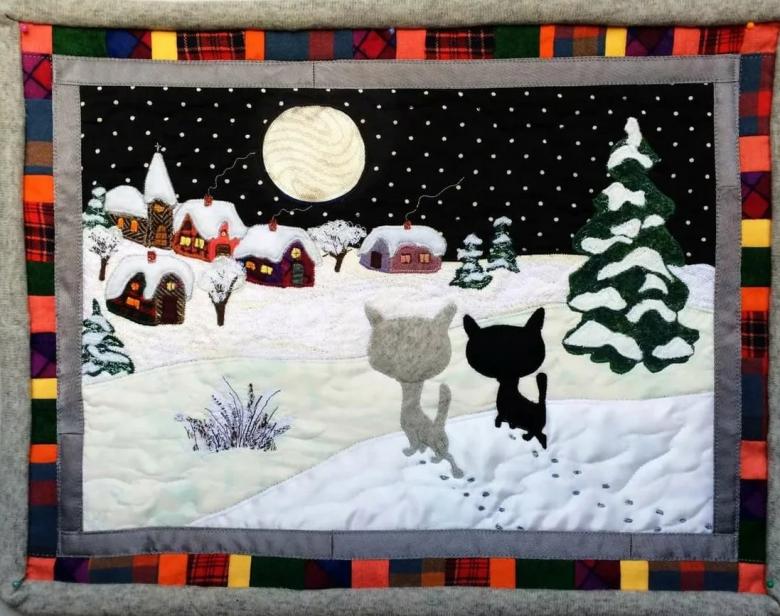
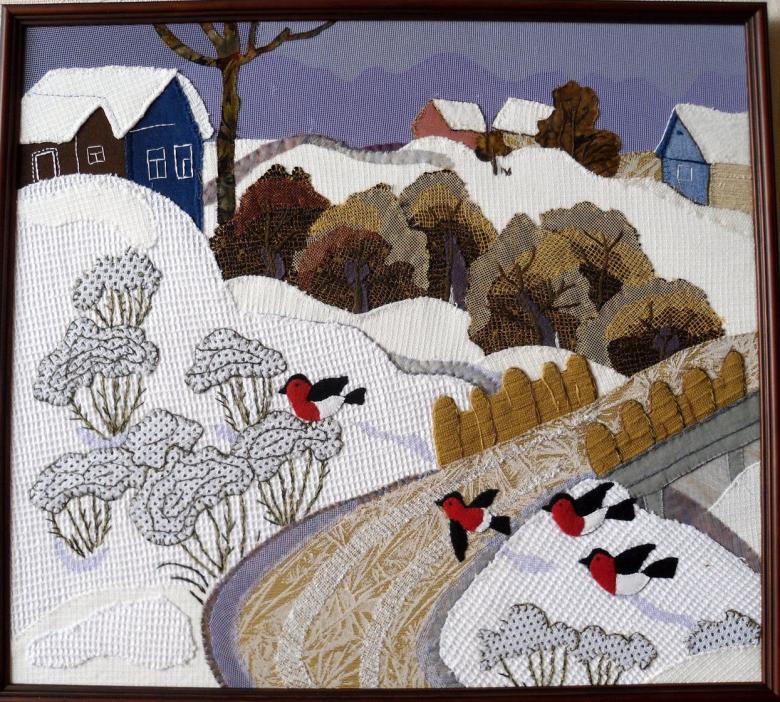
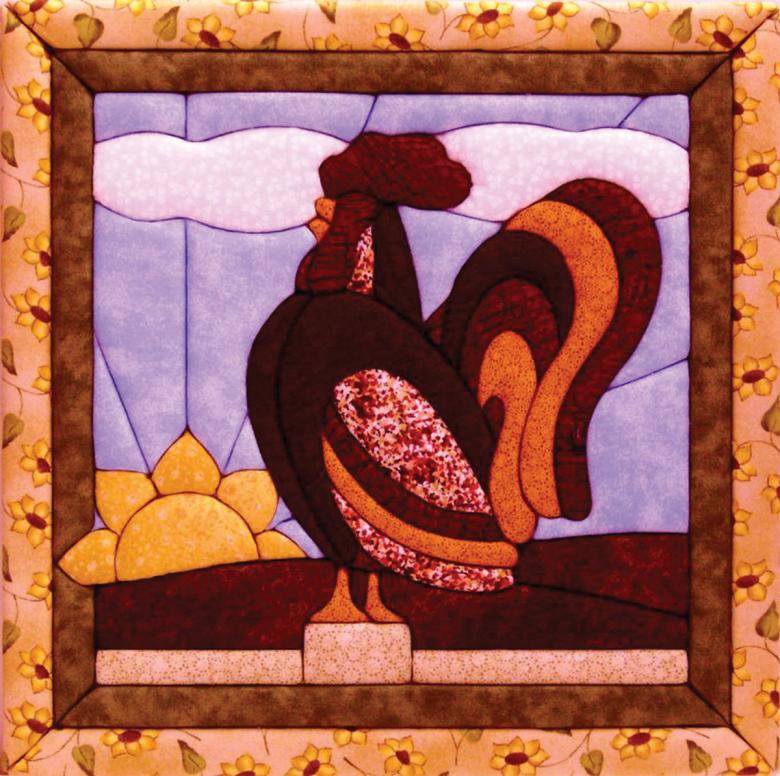
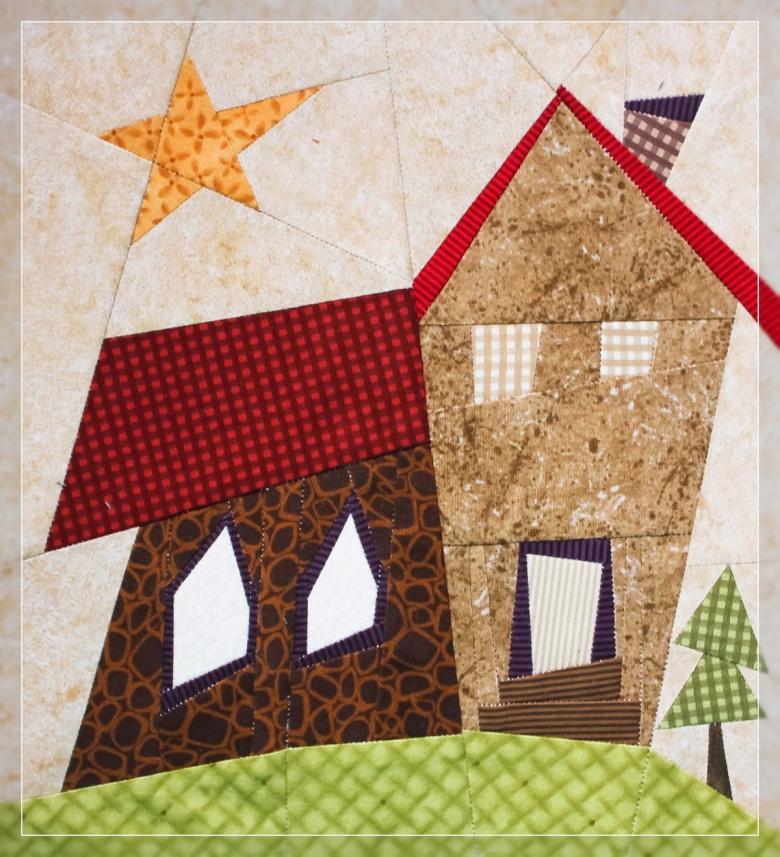
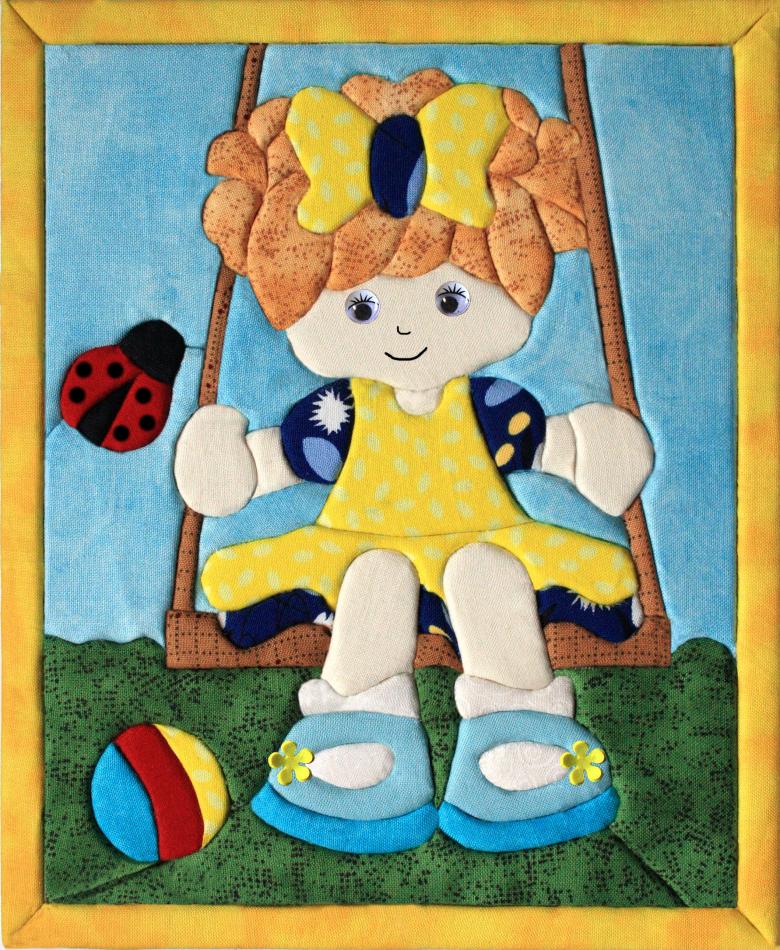
On the basis of the previous variant it is possible to execute a picture in this technique. Only on the ready base on the frame it will be necessary to sew the scraps joined together manually or by machine. The pieces are selected according to the compatibility of textures and colors, squares, rectangles, strips are cut out of them. Figures in the traditional English patchwork are characterized by geometric shapes, which allows you to collect a mosaic panel based on different ornaments from scraps of fabric, or create a whole picture of geometric shapes based on the color scheme of the original material. It is also possible to unite the fragments not with a needle and thread, but tying them together with a crochet hook and yarn.

Stages of work:
- We think through the composition of the future picture.
- We select a fabric for the basis and the scraps that match the color scheme of our idea and are similar to each other in texture.
- Smooth and tighten the frame, staple it on all sides, making sure there is no slack, warping, and adjusting the tension of the fabric.
- Mark the contours of your future picture with chalk on the frame.
- Use scissors to cut out pieces of fabric of the right size. We stack them together and sew them to each other with threads in a way that is convenient for you. You can crochet them together. Cut off the excess fabric.
- Finished details of the composition well iron and carefully sew to the base
- Let's admire the result of our labors.
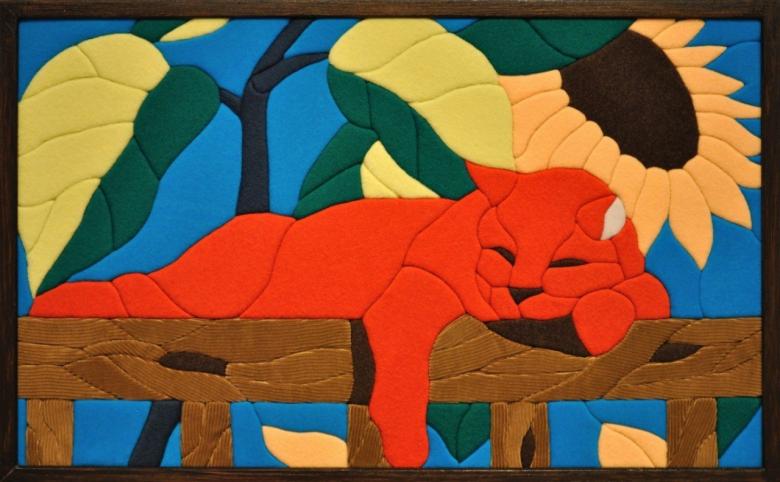
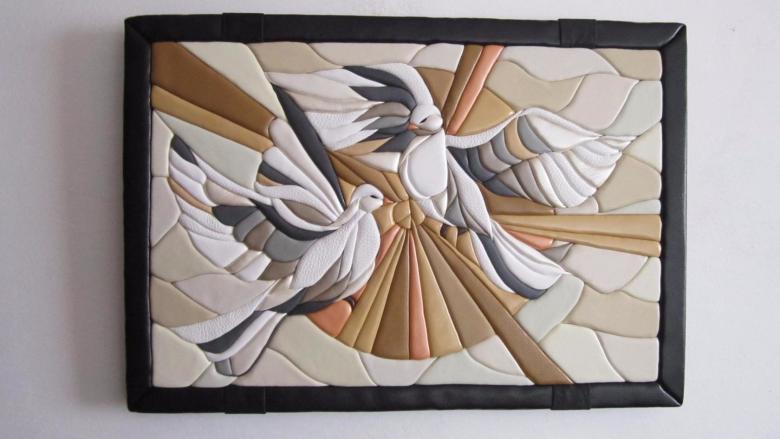
Japanese variant of creating a picture from a fabric is called kinusaig.
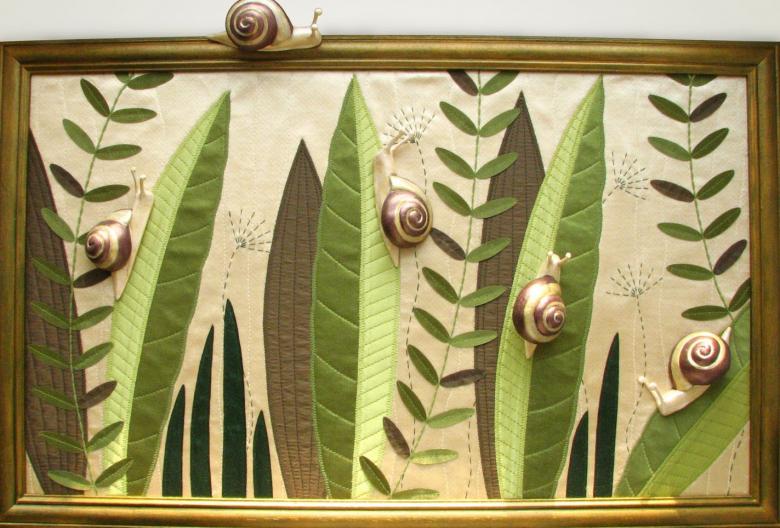
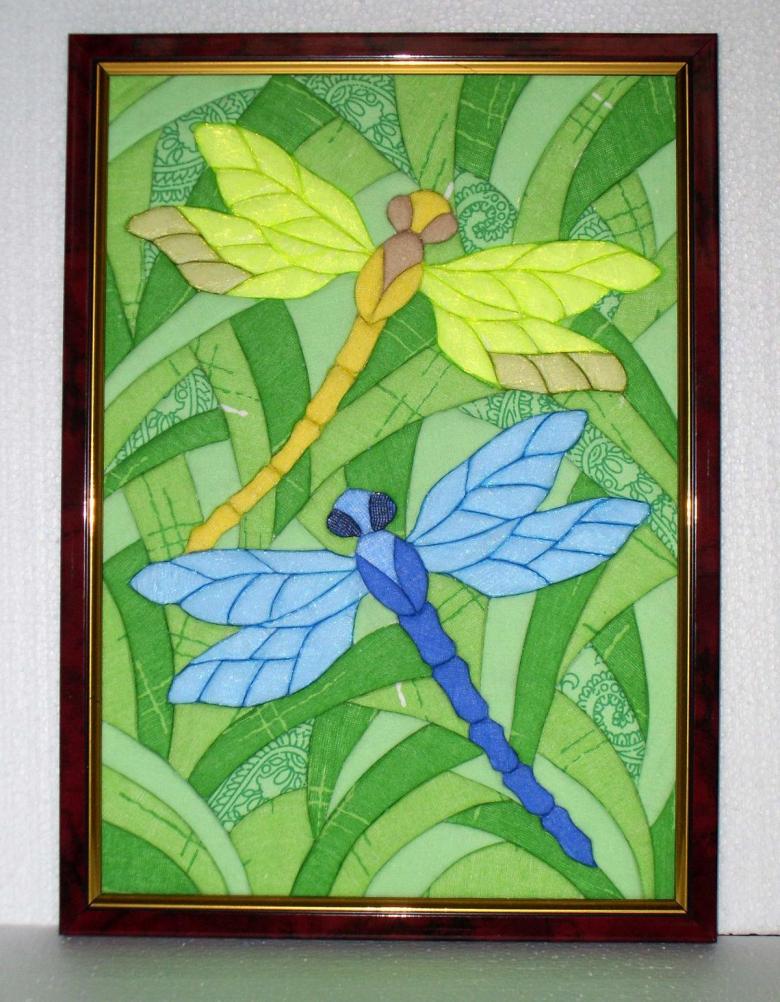
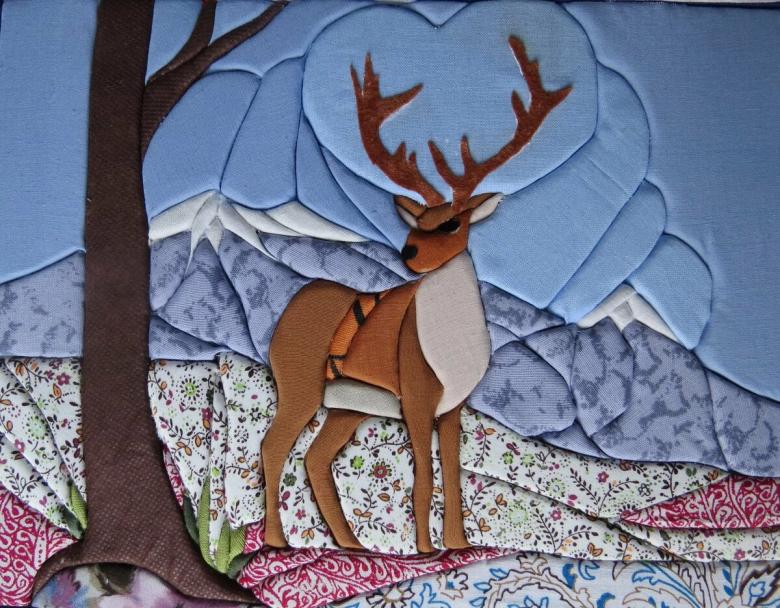
It is similar to the previous variety of the considered paintings, but to bring the idea to life needles and threads you will not need, and the wooden frame should be replaced with a base of foam plastic.
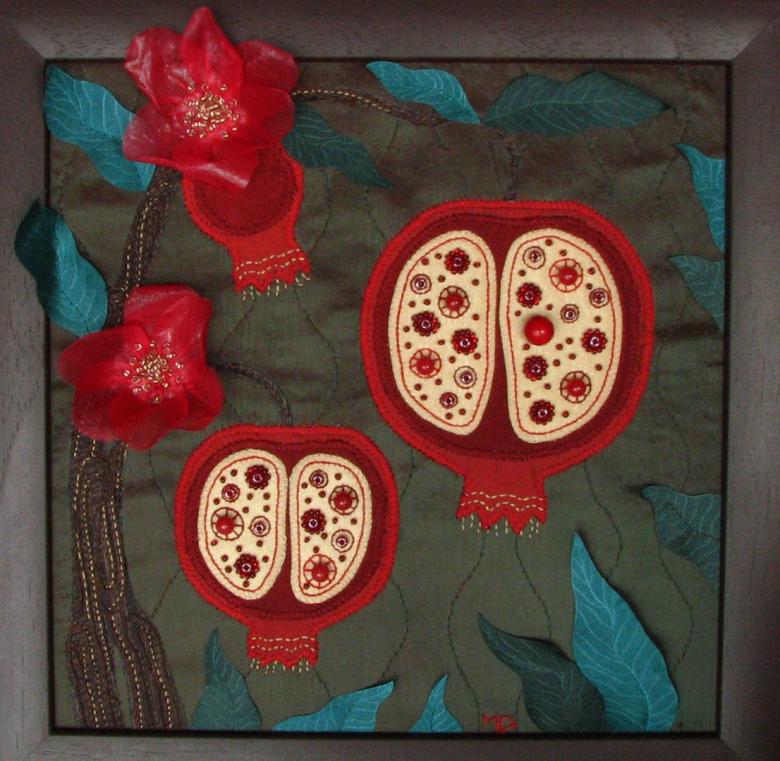
We will need: a sketch of the picture, an even piece of foam plastic (it can be ceiling tiles without a pattern), a box cutter, a simple pencil, sewing scissors, glue, sewing pins, a frame for the photo.
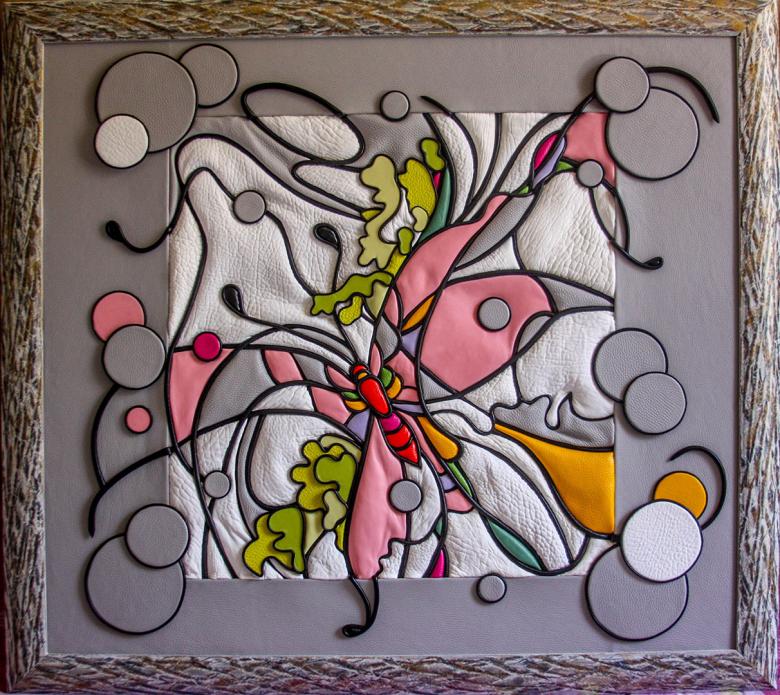
Work Stages:
- A cardboard base is pulled out of the photo frame. According to its size with a stationery knife is cut out foam plastic, and the two components are glued together in a sandwich-type glue. Then the future workpiece is placed for two hours under the press for better fixation of the layers.
- Then you have to take the chosen pattern and glue it to the glue-covered foam plastic. Allow it to dry.
- The contours of the drawing are carefully cut deep into the foam plastic with a box cutter. The depth of the resulting recesses should be about half a centimeter.
- Pieces of fabric are selected according to the size of the image details and cut out with a reserve of about two millimeters.
- Starting from the middle of the pattern, the image is filled with pieces of fabric, the edges of which are carefully pushed into the foam cut outline. This can be done with a nail file or a thin, non-sharp object.
- Fully filled with fabric, the picture is framed and can be hung on the wall.

Adding volume and life to the picture by quilting
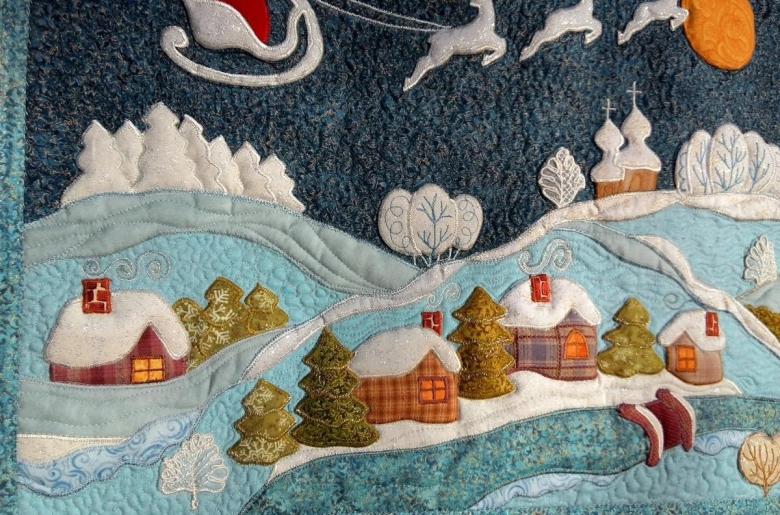
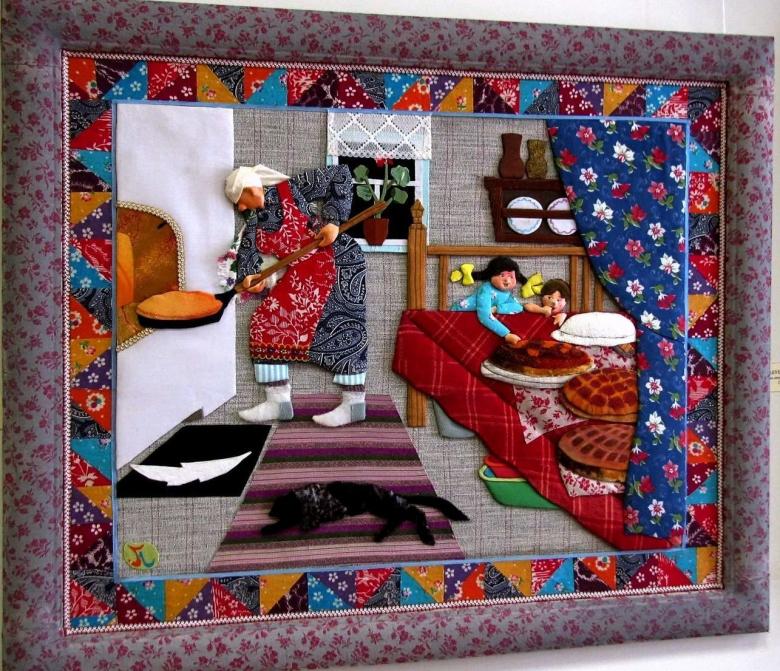
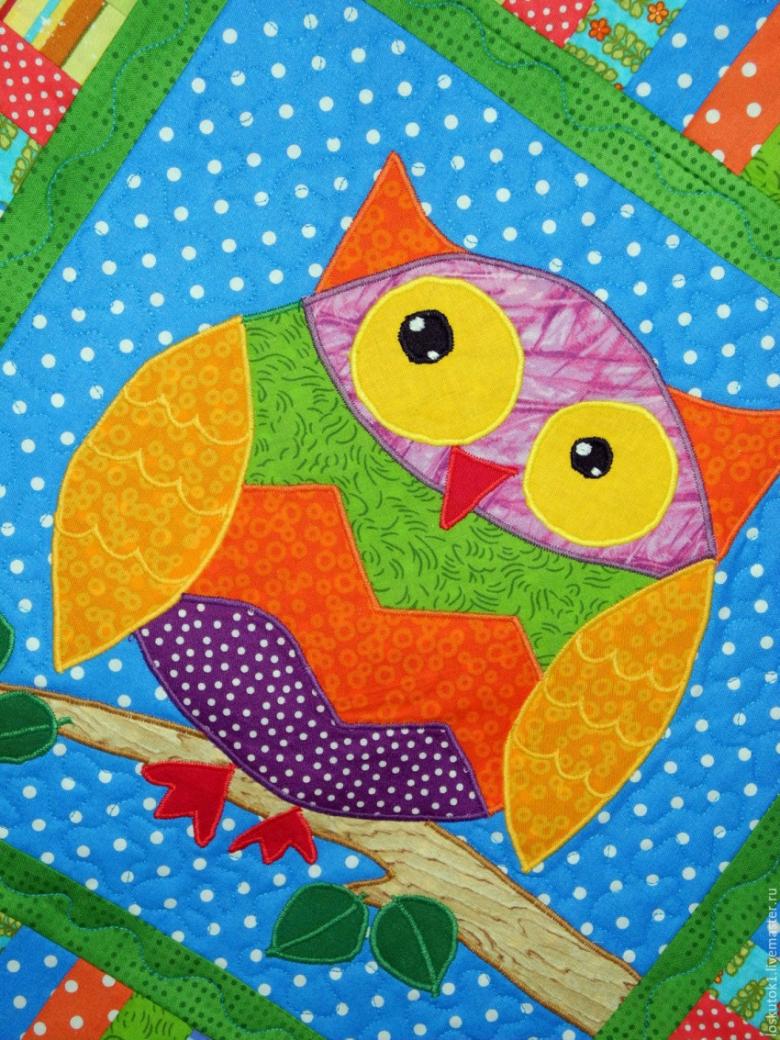
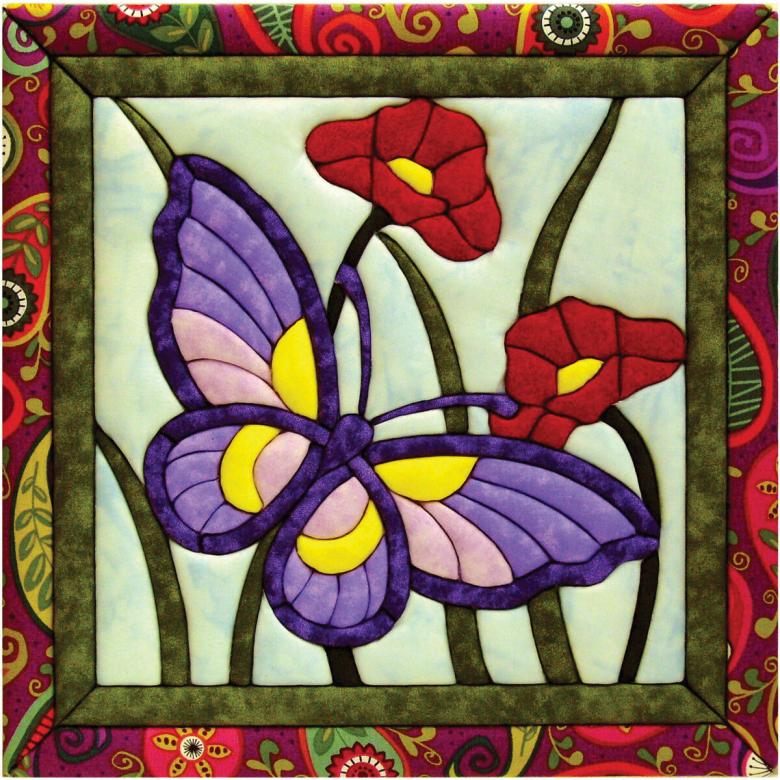
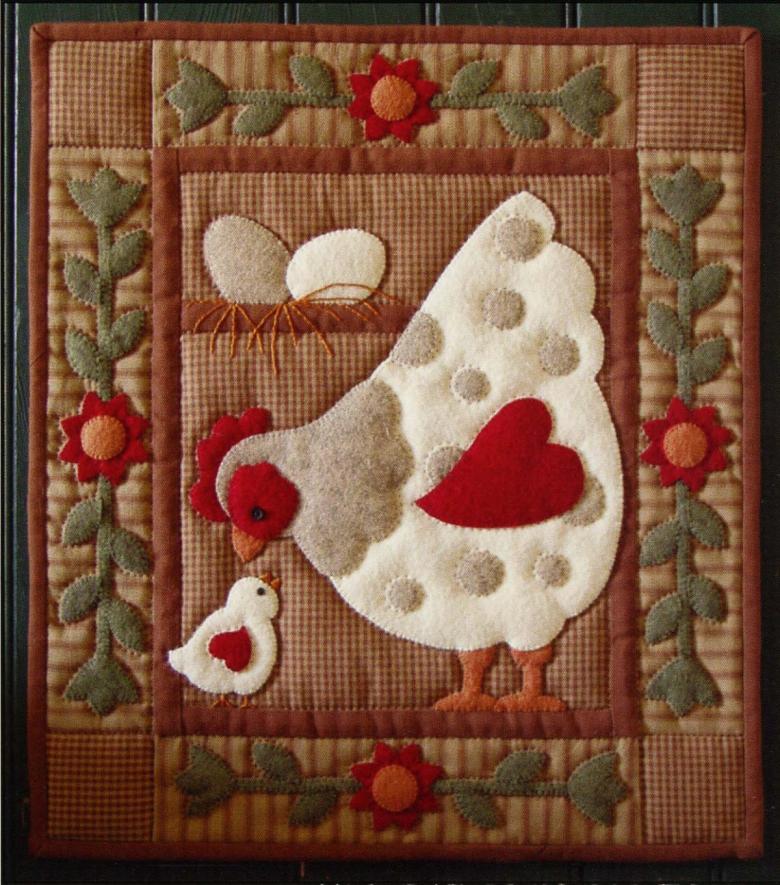
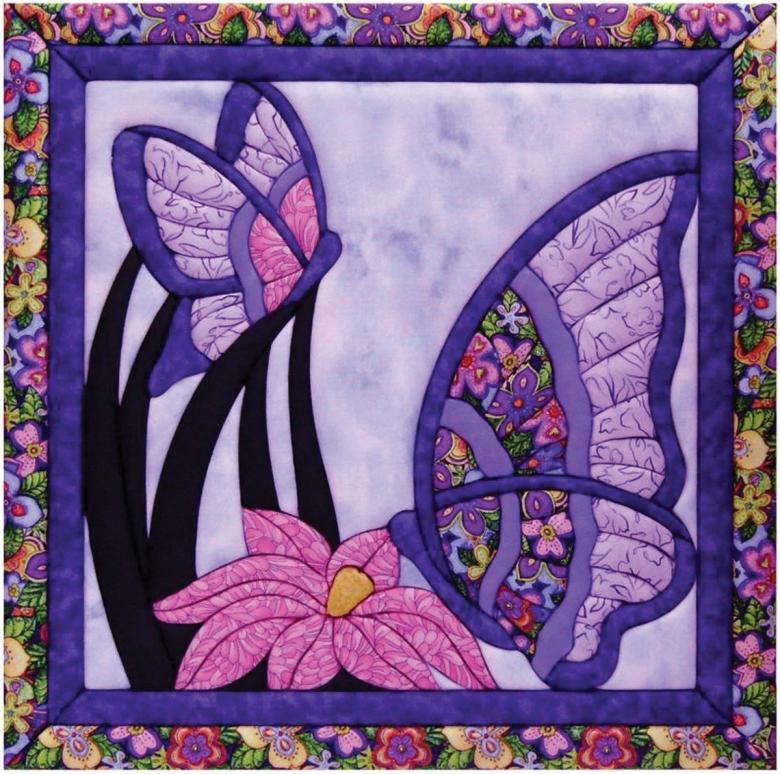
This type of applied art is similar to patchwork, but in contrast to it has elements of layering, which allows you to give the picture volume and liveliness. In the process of creating such a work, three or more layers of fabric are sewn (by hand or by machine). Soft fillers, such as synthetics, can be placed under the details to give more volume, so the picture will be more effective and visually pronounced. Parts (quilts), sewed individually and stitched into the overall picture in turn. This is quite an old technique of patchwork, and it was very widely used in village life.

Stages of work:
- Similar to the first option. That is, the fabric is taken and stretched on a stretcher.
- The second layer, which serves as a basis for the volumetric image (batting or sintepon), is attached;
- The top layer is decorative and consists of quilts. They are combined with different decorative elements, whether embroidery or applique made of fabric, and sewed together in different ways.
- All layers are necessarily stitched together.
- The finished picture can be framed.

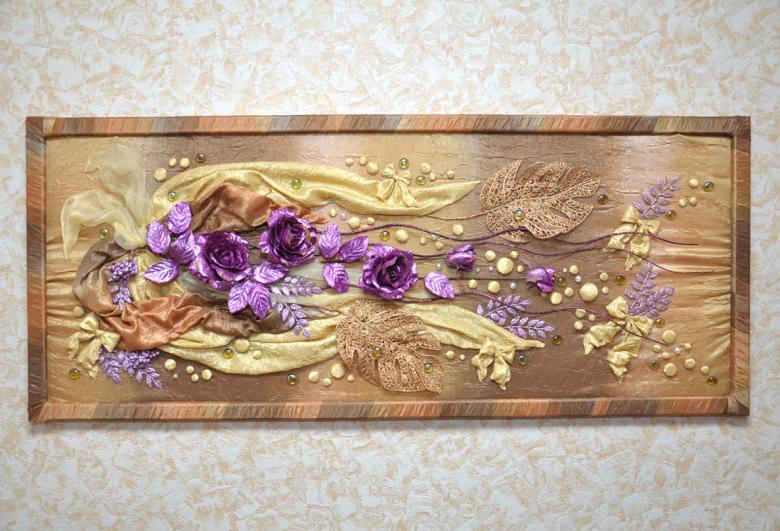
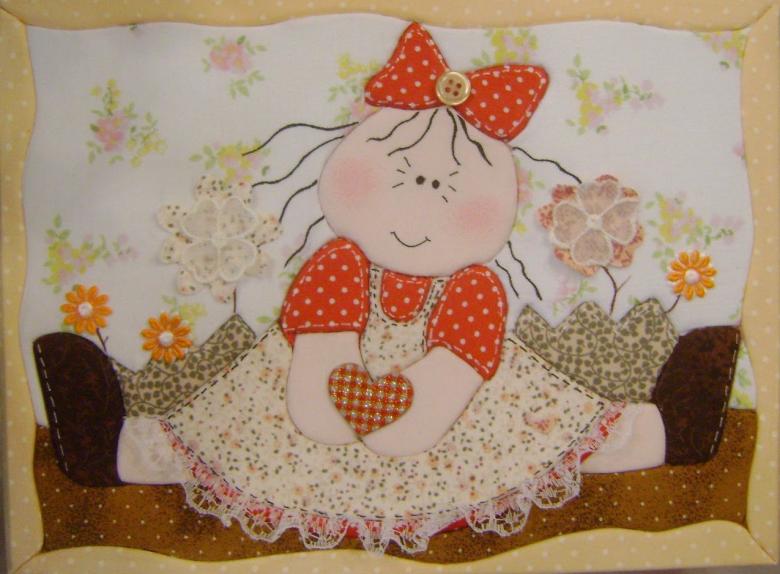
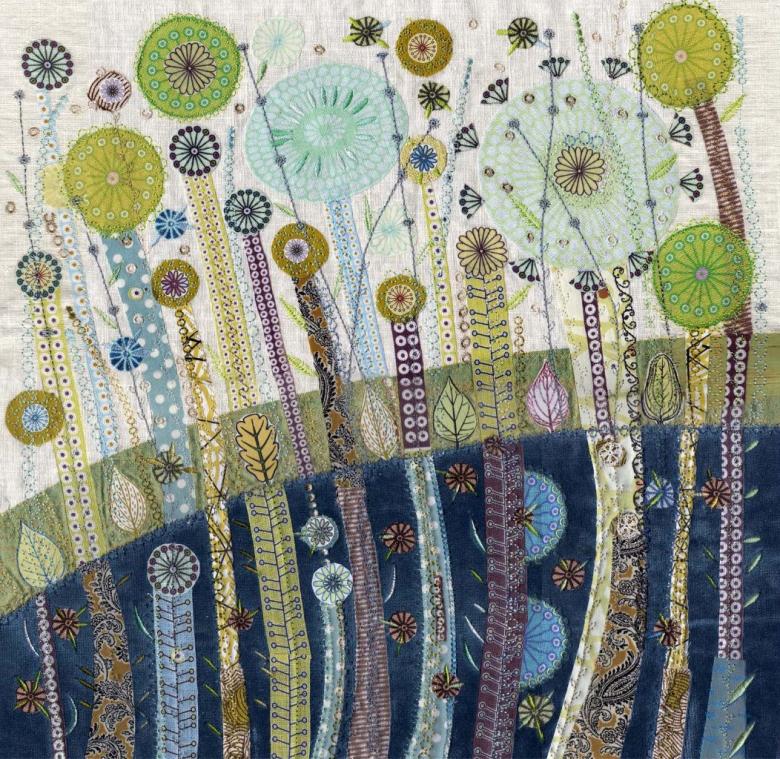
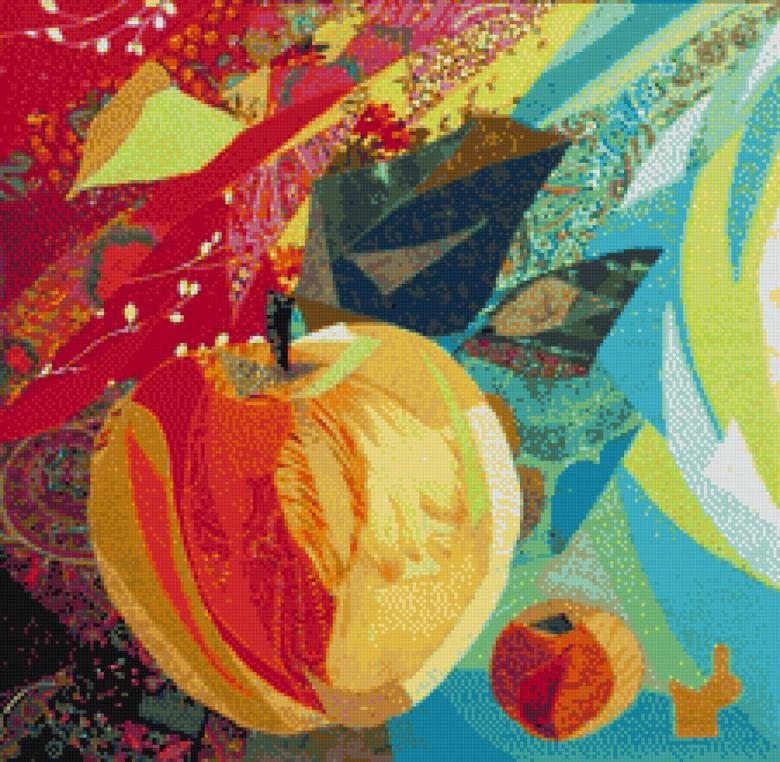
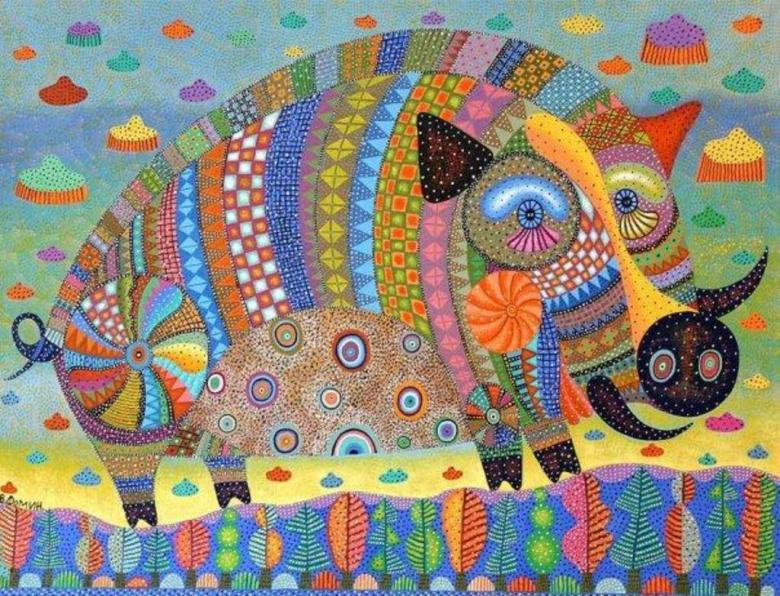
Your works can depict flowers, geometric figures, abstraction, or be a simplified copy of handwritten paintings, but in any case they will decorate your house, creating in it comfort, good mood of its inhabitants and will show your creative abilities and skilful hands to guests.
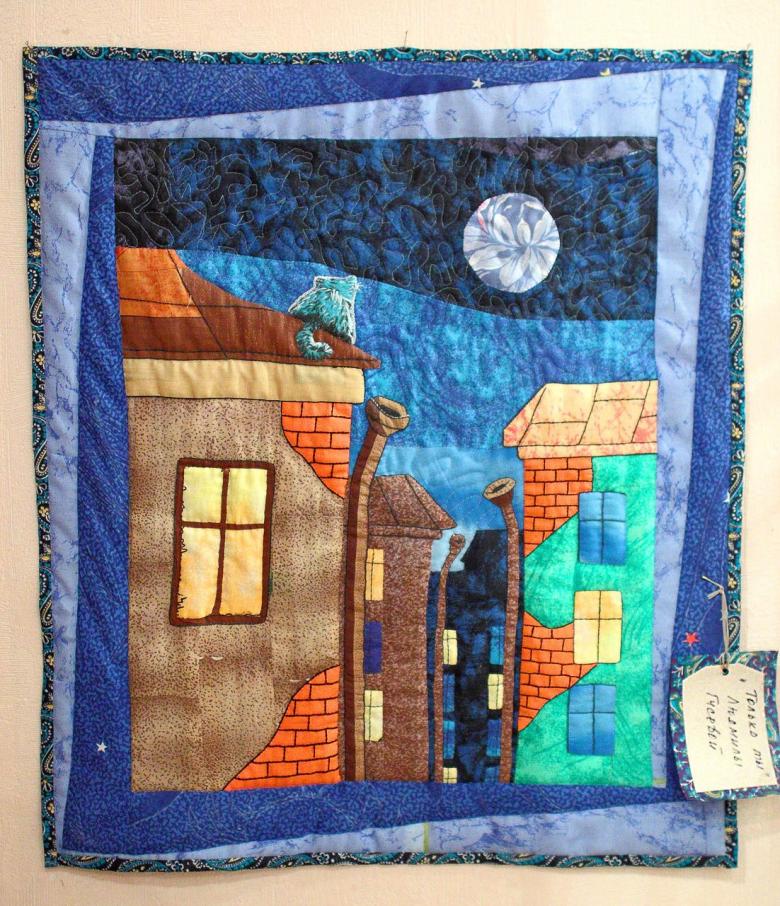
Everyone can feel like a true master and creator, because your inspiration is an inexhaustible source for great ideas that can be drawn from any source, whether it's nature, life stories, or your fantasy and imagination. Fabric paintings can become not only elements of your home decor, but also an interesting and exciting hobby that develops a sense of beauty and is an excellent stress therapy. This hobby is also interesting as a source of additional income, because handmade things are very valuable and in demand. Choose for yourself the best version of one or more of the techniques and develop in this direction, because there is no limit to perfection.

