How to make a tulip out of corrugated paper with your own hands - step by step master classes for beginners with photo ideas
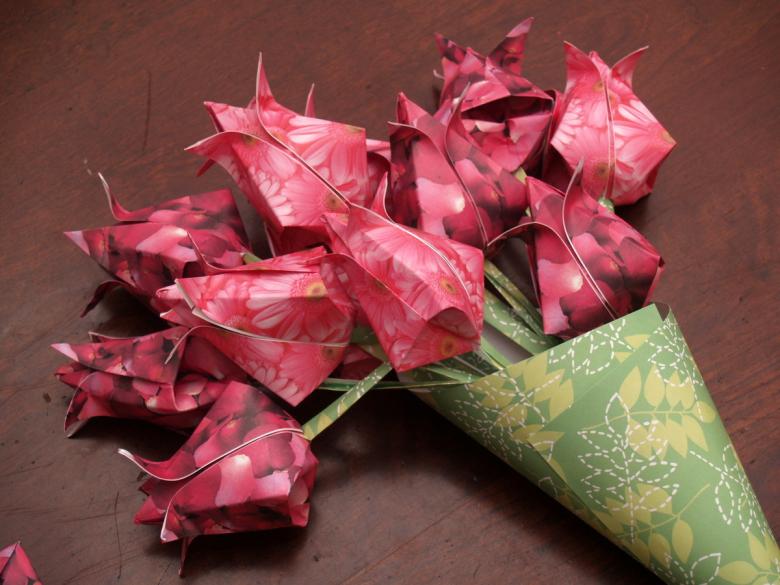
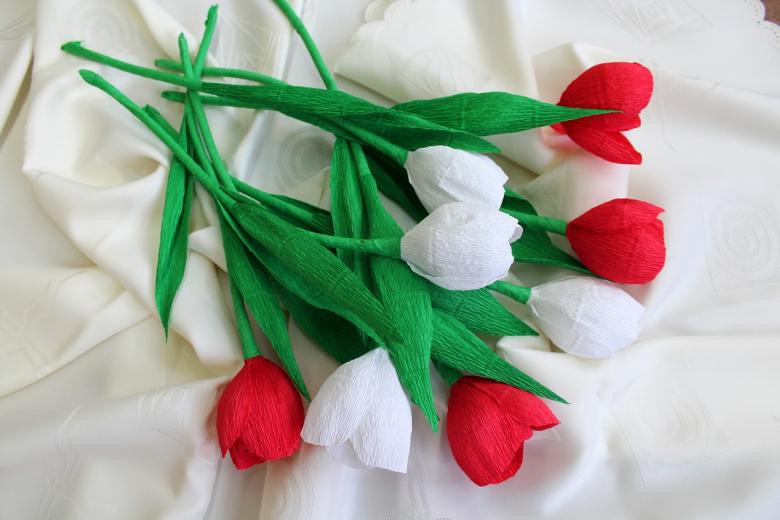
Spring bouquet of beautiful tulips for March 8 for mom? It is very easy to make it with your own hands. It is enough to have at hand a set of colored paper, scissors and glue. And if you show imagination and creativity, then the bouquet will acquire a rich ornament and a bright pattern of colored crepe.
What materials to work with
Most often, flower crafts are made from paper: colored, corrugated or illustrated models. But these are not the only possible options:
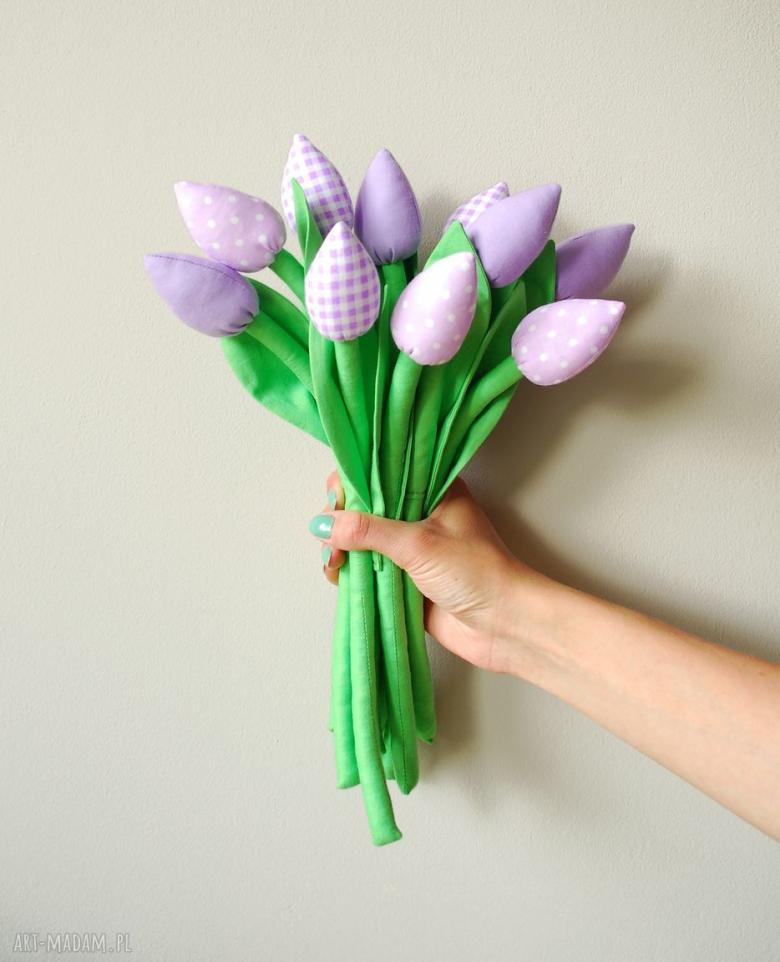
- Models made of fabric.
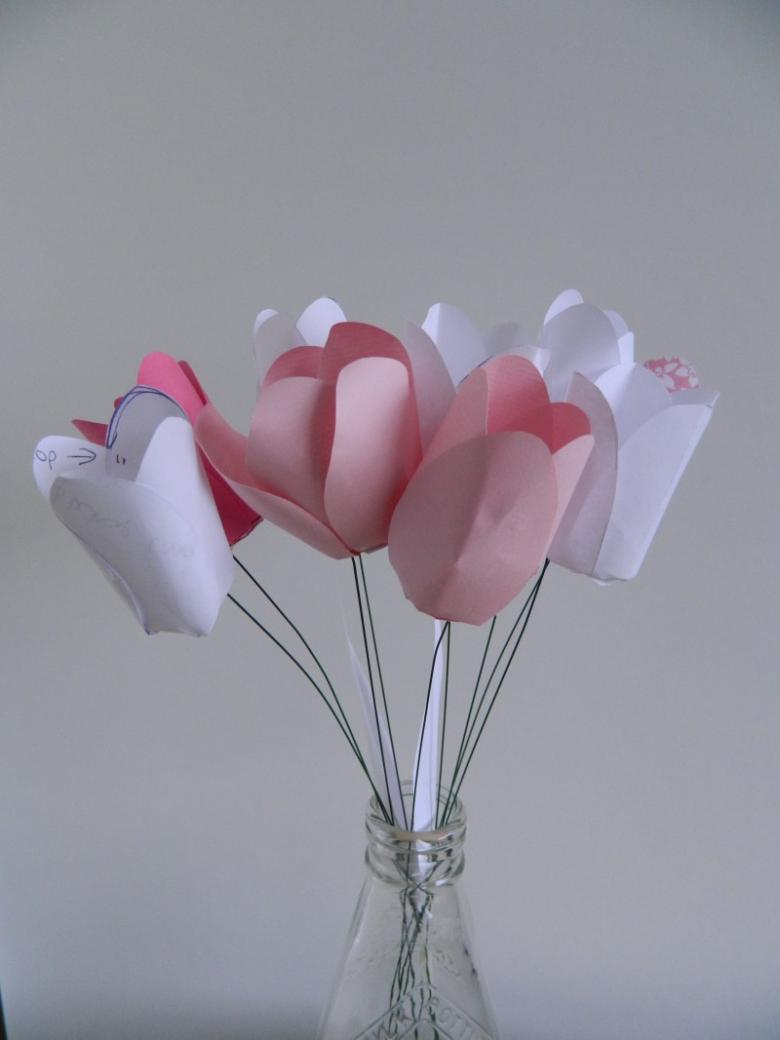
- From colored cardboard.
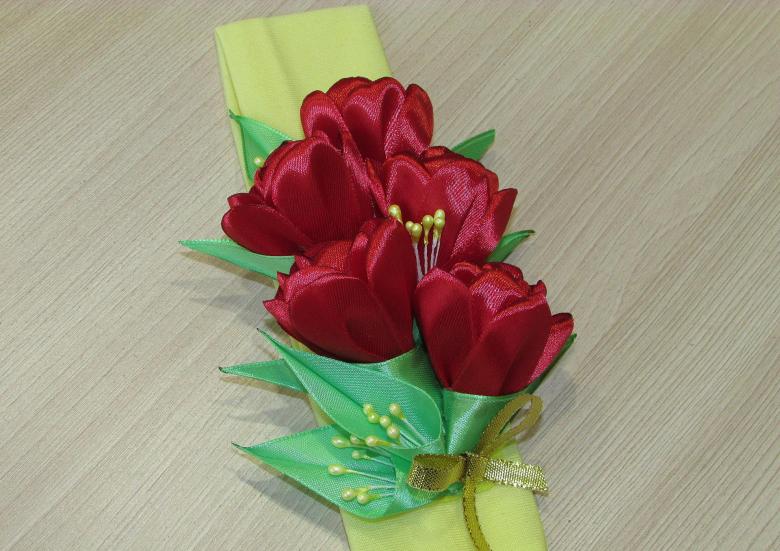
- From satin ribbons.
- From foil.
Any decorative bouquet can be beautifully and originally packed in paper, wicker basket or put in a vase.

Master classes with step by step instructions
Models we will work with today:
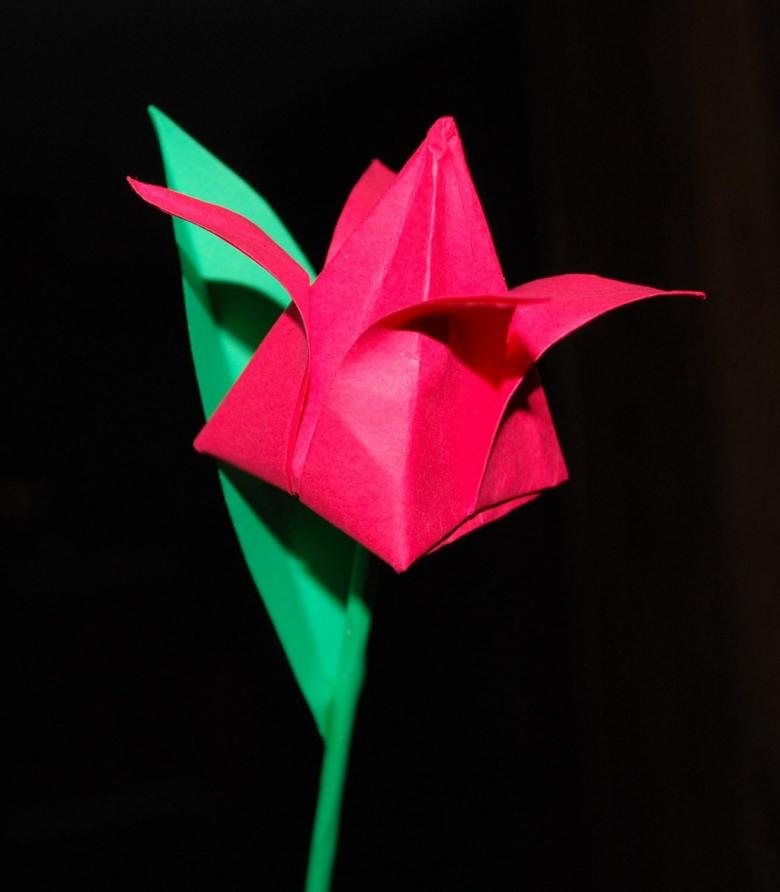
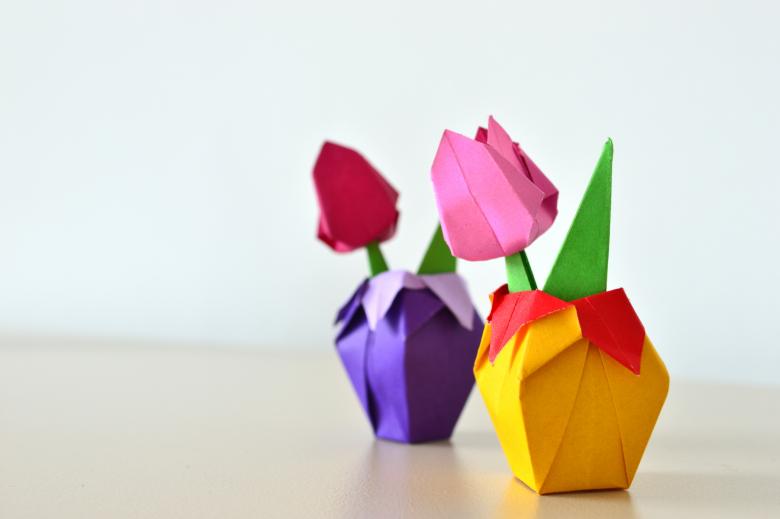
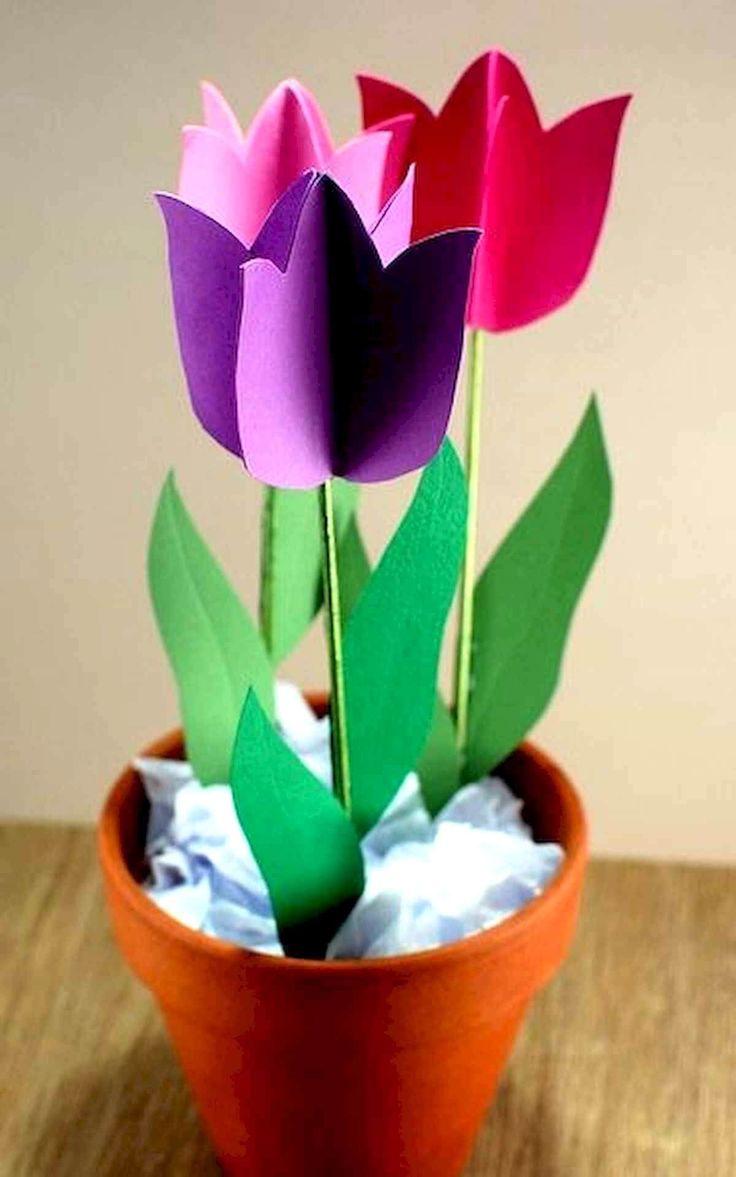
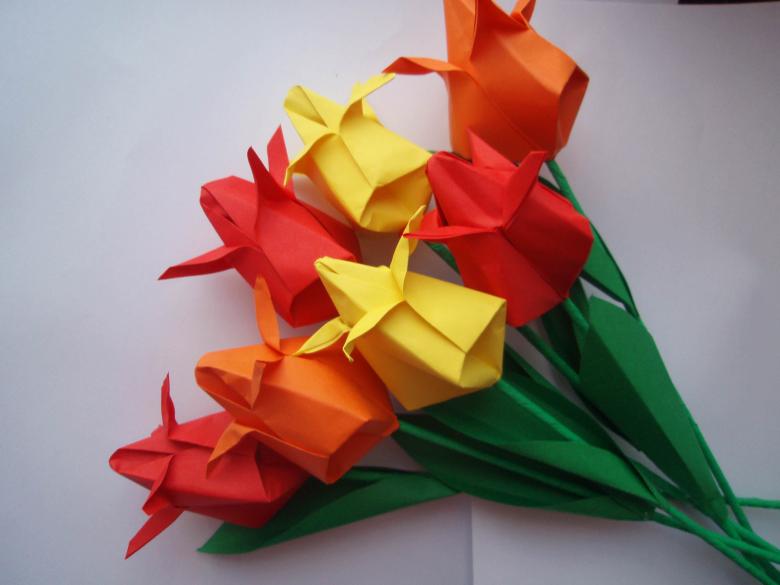
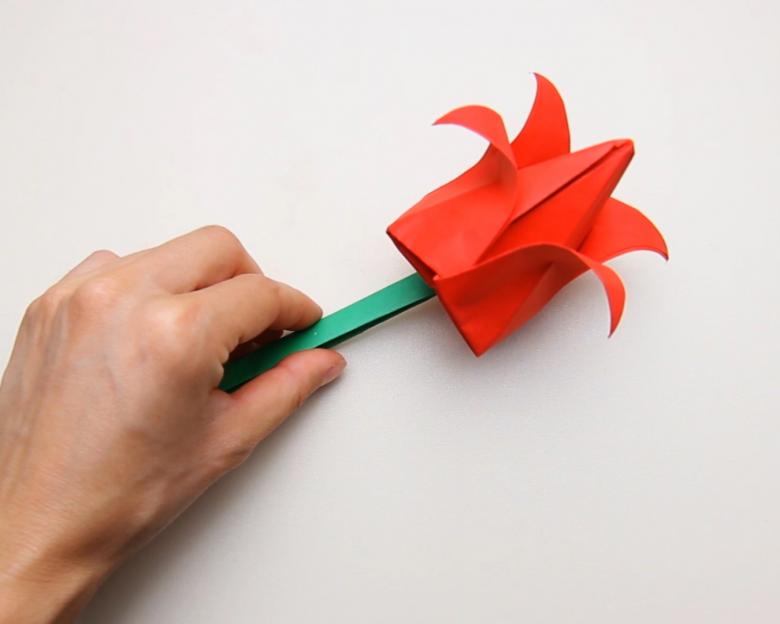
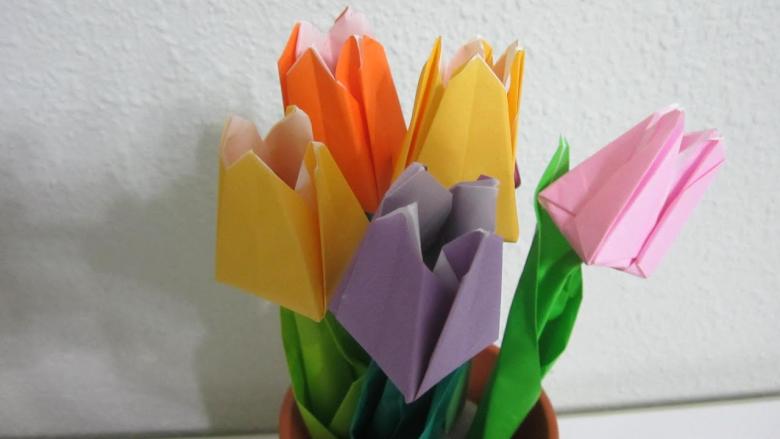
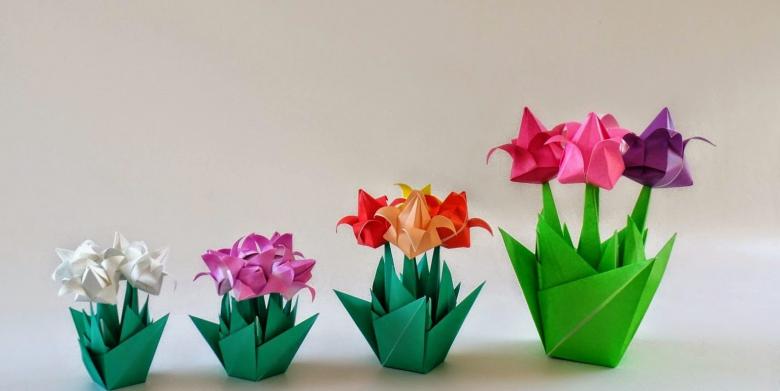
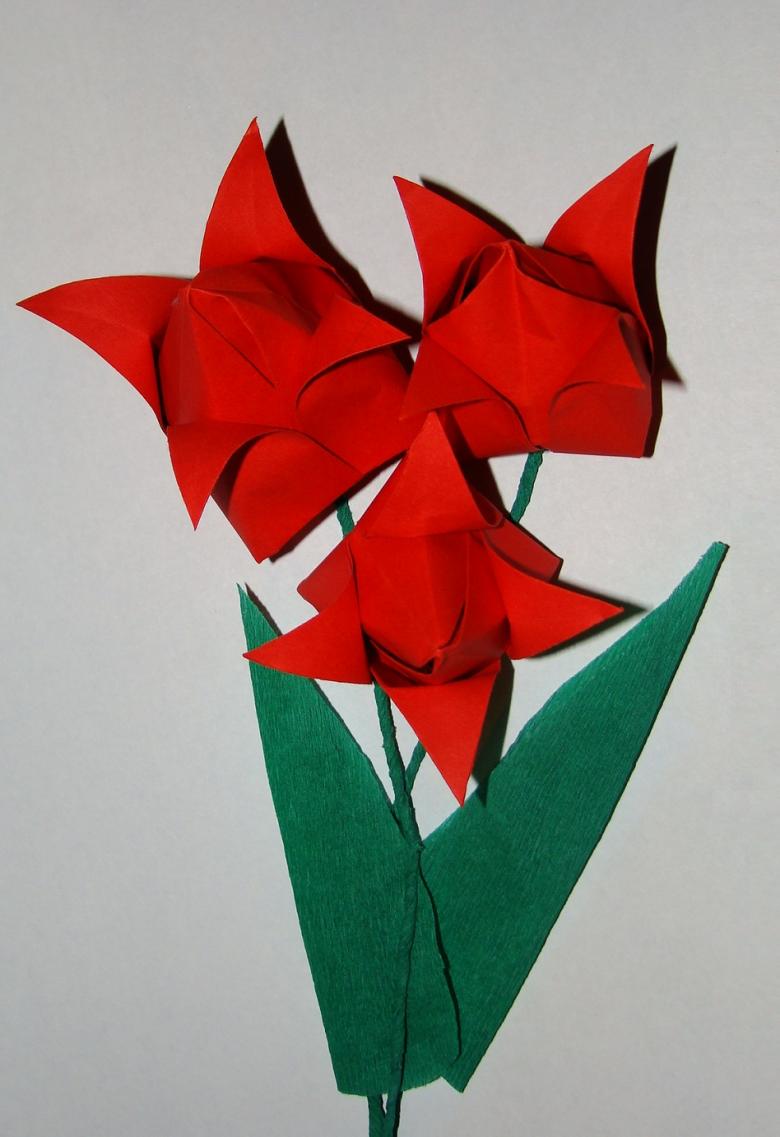
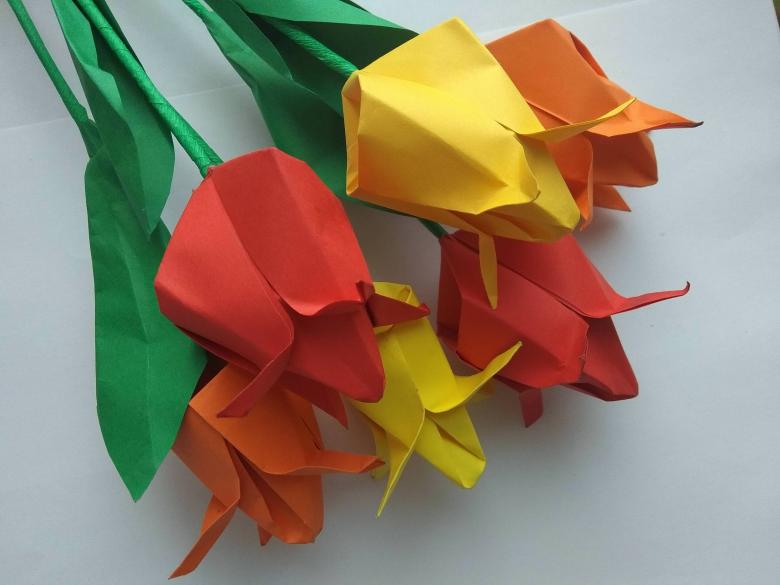
- Tulips in origami technique.
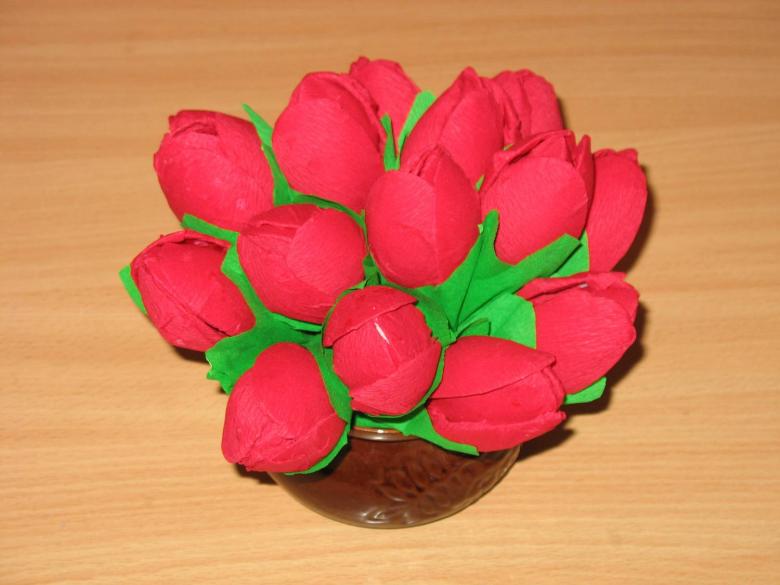
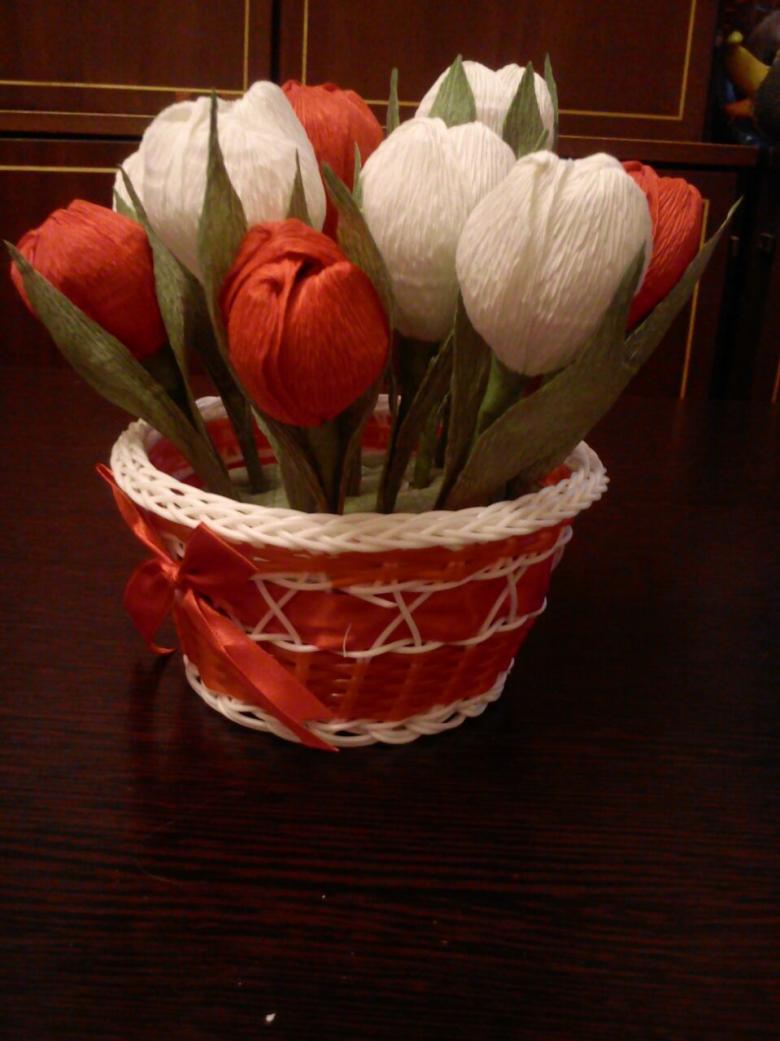
- Basket with chocolates and a bouquet of crepe.
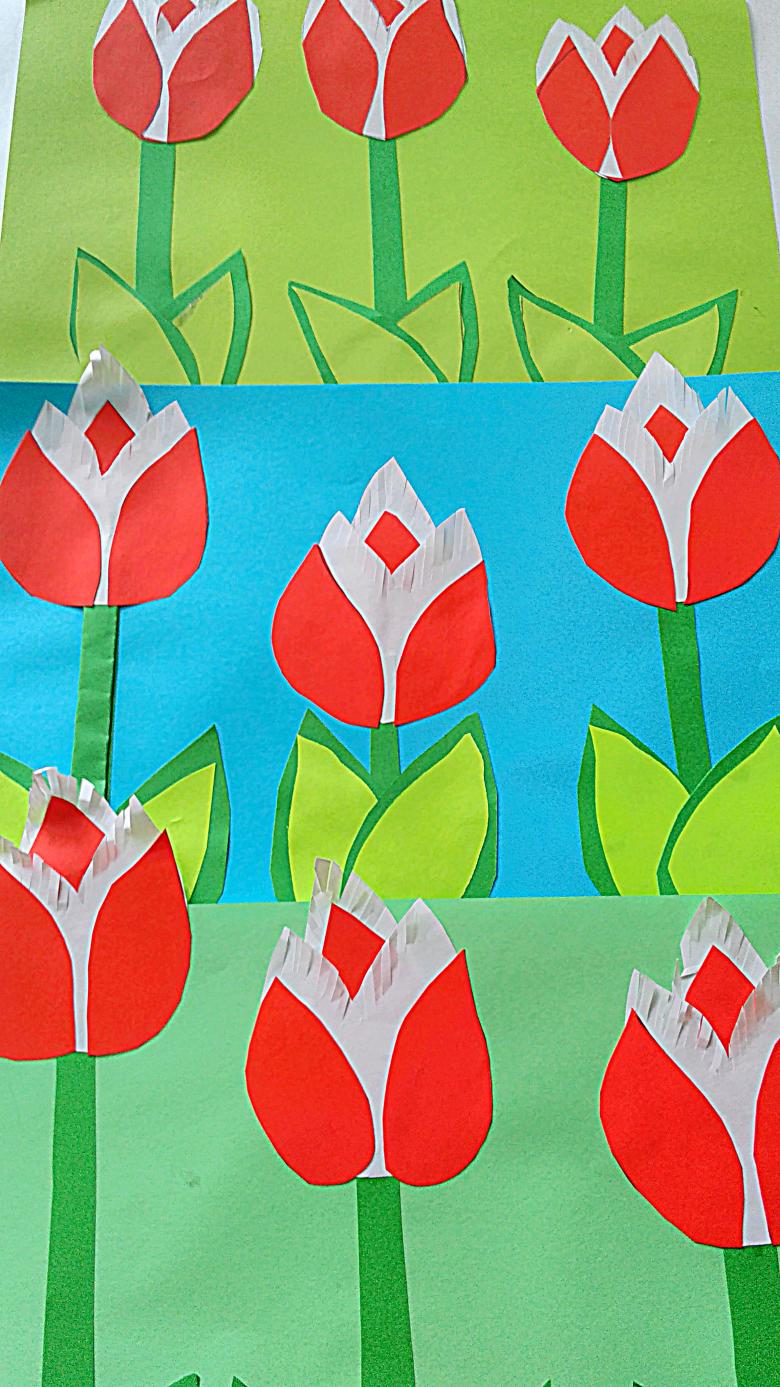
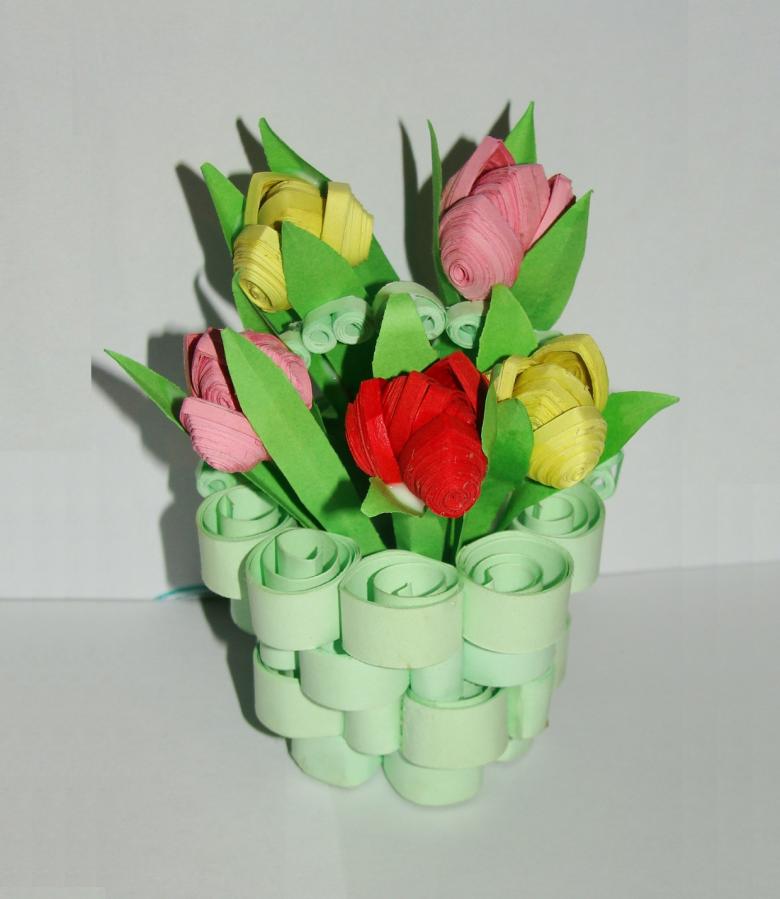
- Relief applique for a school exhibition.
- The original bookmark for the book.
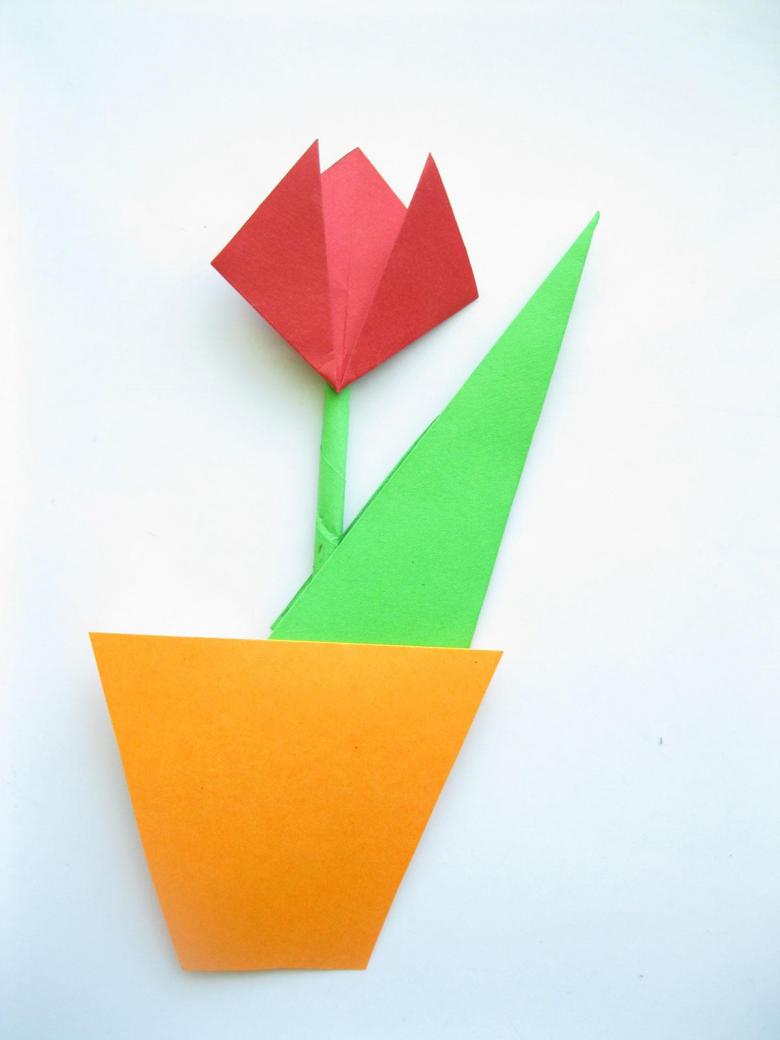
Make a list of materials that we will need today:
- Paper colored, corrugated and illustrated paper for packing bouquets.
- Satin ribbons.
- Beads or rhinestones.
- Glue.
- Scissors, thread, needles.
- Templates for the details of the flower.
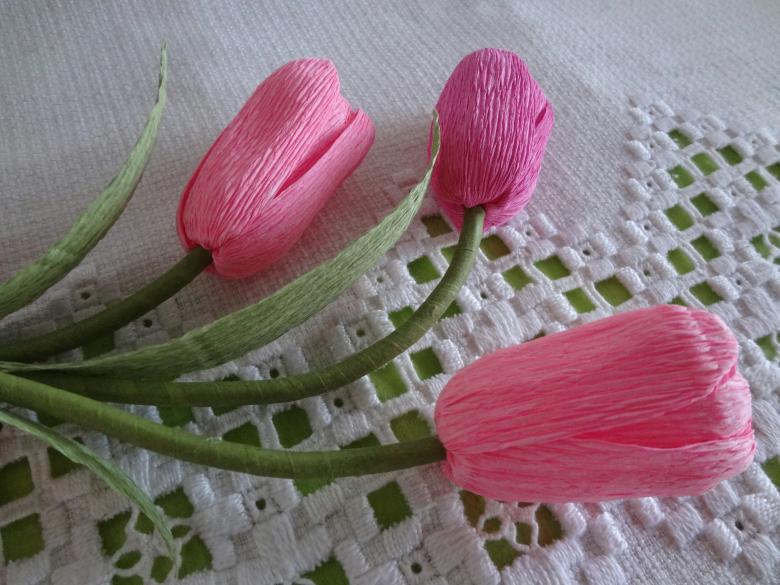
For each of the presented options for work will be presented detailed instructions. But, to facilitate the process of creating a craft, you can study the video instructions or use drawings-schemes.
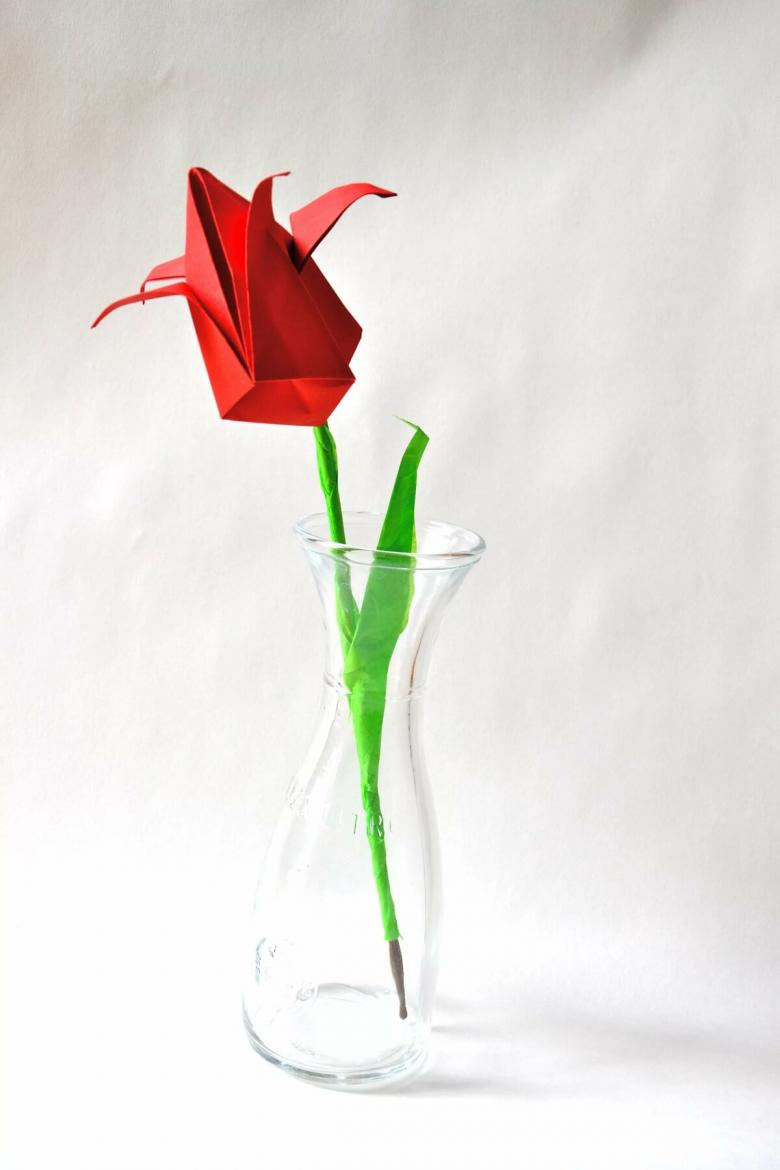
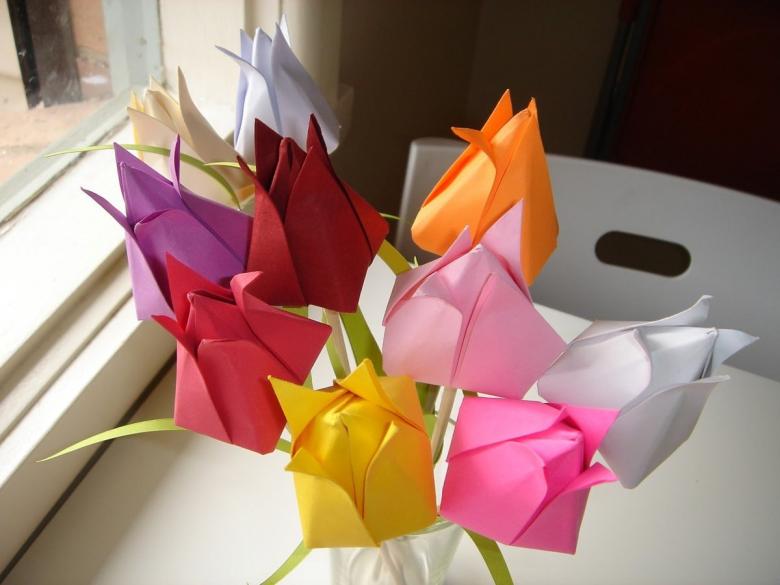
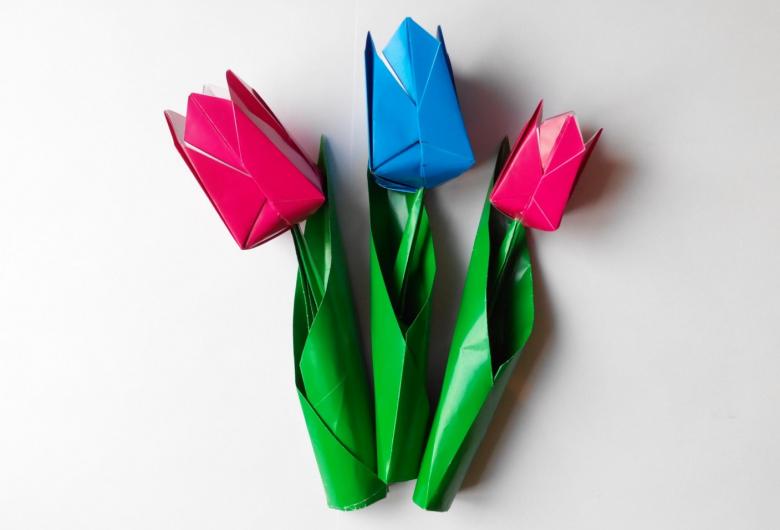
Tulips in origami technique
To work we will prepare:
- Colored paper.
- Scheme for step-by-step work.
- Willingness and creativity.
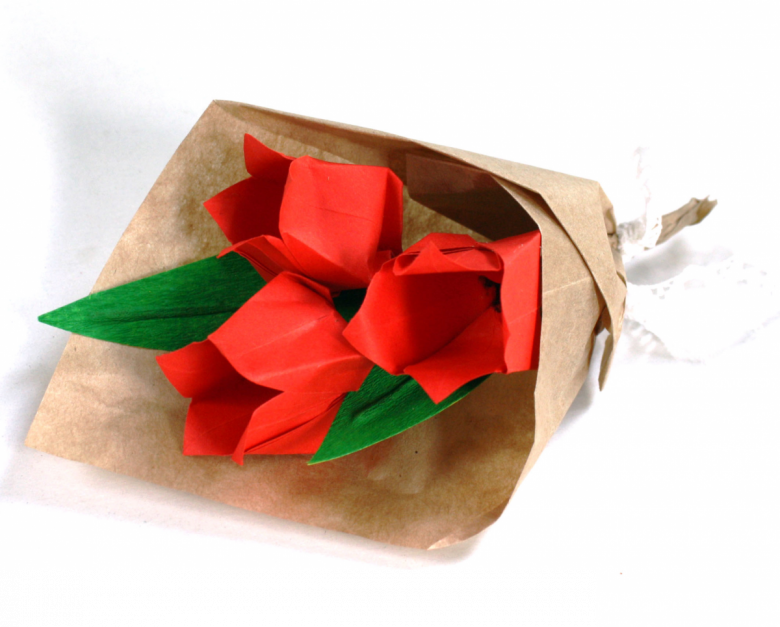
Let's start creating a craft with a bud.
- First of all, spread out on the table a square sheet of colored paper, fold it diagonally. Unfold and fold diagonally in the other direction.
- Unfold the sheet and now fold it in half and use the side folds to screw the sides of the workpiece inside.
- You got a slightly bouncy detail.
- Now turn all the corners of the piece. Our task - to get as many edges as possible for the design of a beautiful bud.
- After the formation of folds slightly bend back the edge leaves, to create a feeling of blossoming bud.
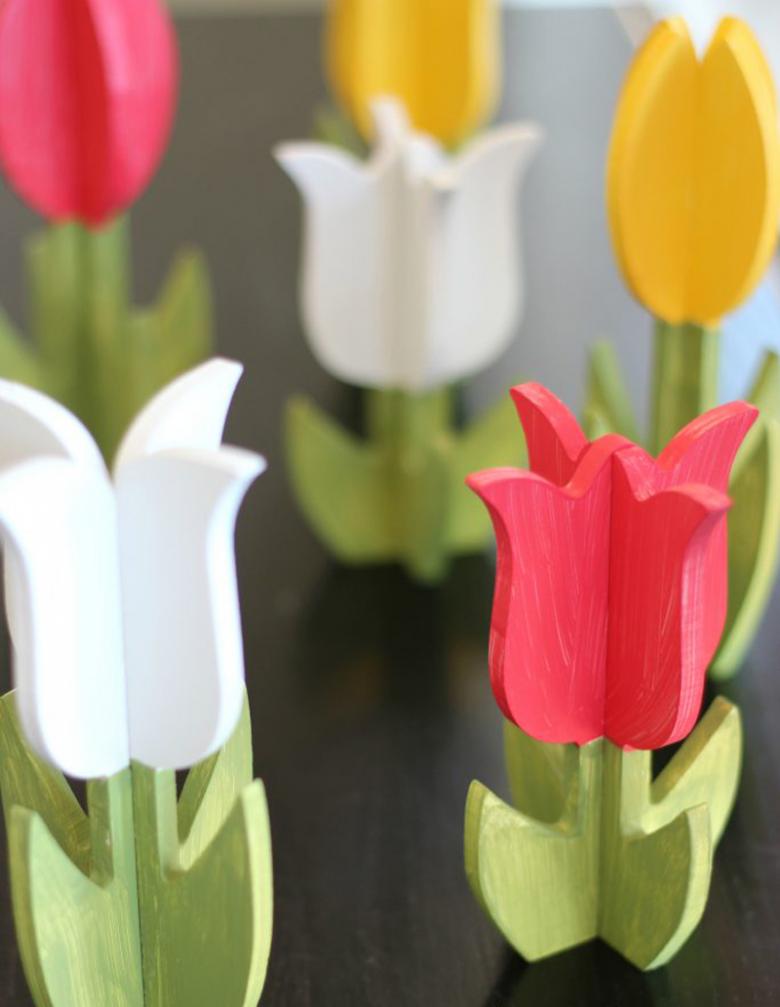
For such an inflorescence, you can make a beautiful stem from metal wire wrapped with colored paper. Putting a few original buds in a vase, you can decorate the home style or add some bright colors to it.
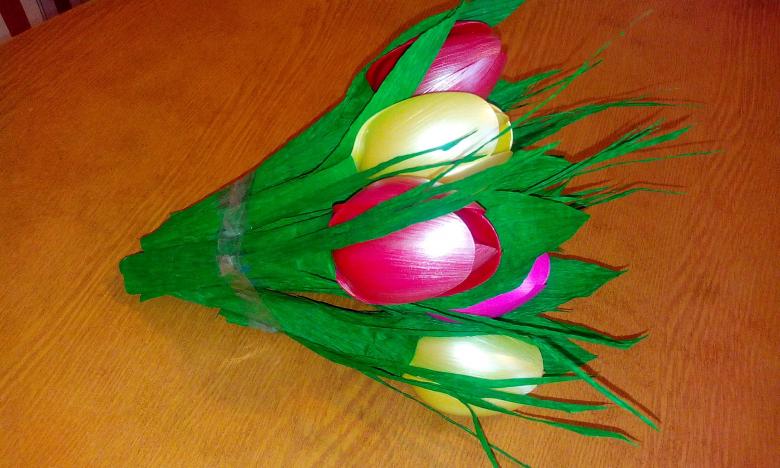
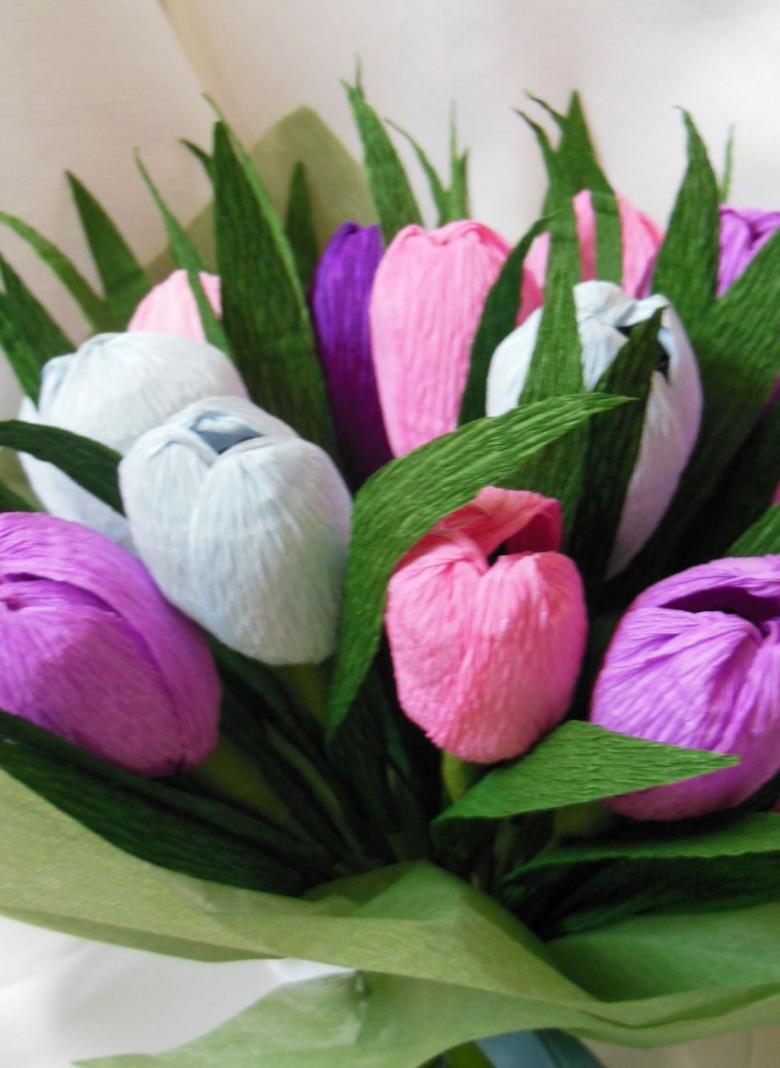
Basket with candy and crepe bouquet
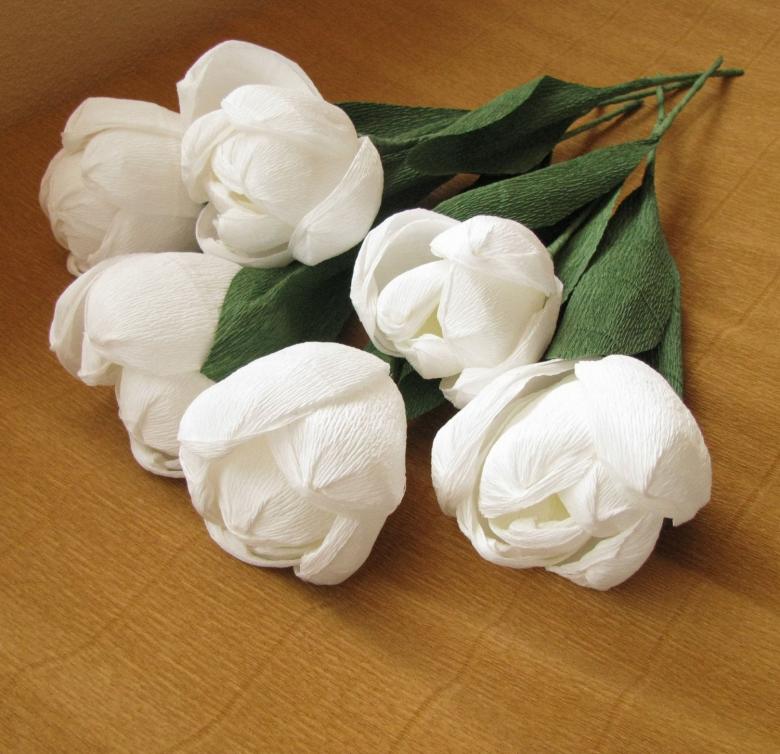
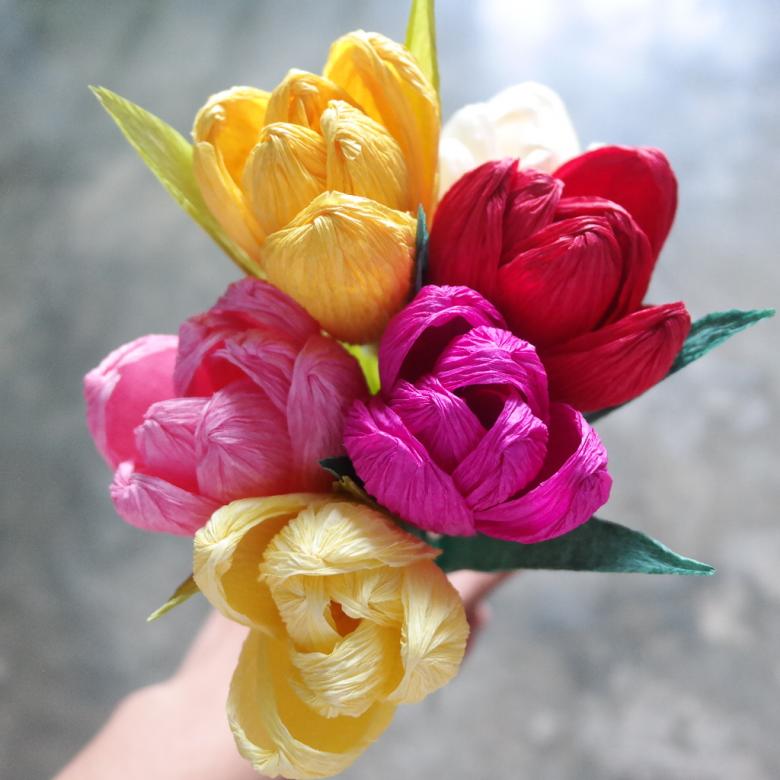
Today, corrugated paper remains the most popular material for creating original crafts, and especially floral bouquets. To work we will need:
- Corrugated paper of several shades.
- Glue, scissors.
- Iron.
- Thread and needles.
- Transparent acrylic varnish.
- Elements of decoration.
- Decorative mesh or guipure.
- Wicker basket.
- Satin ribbons.
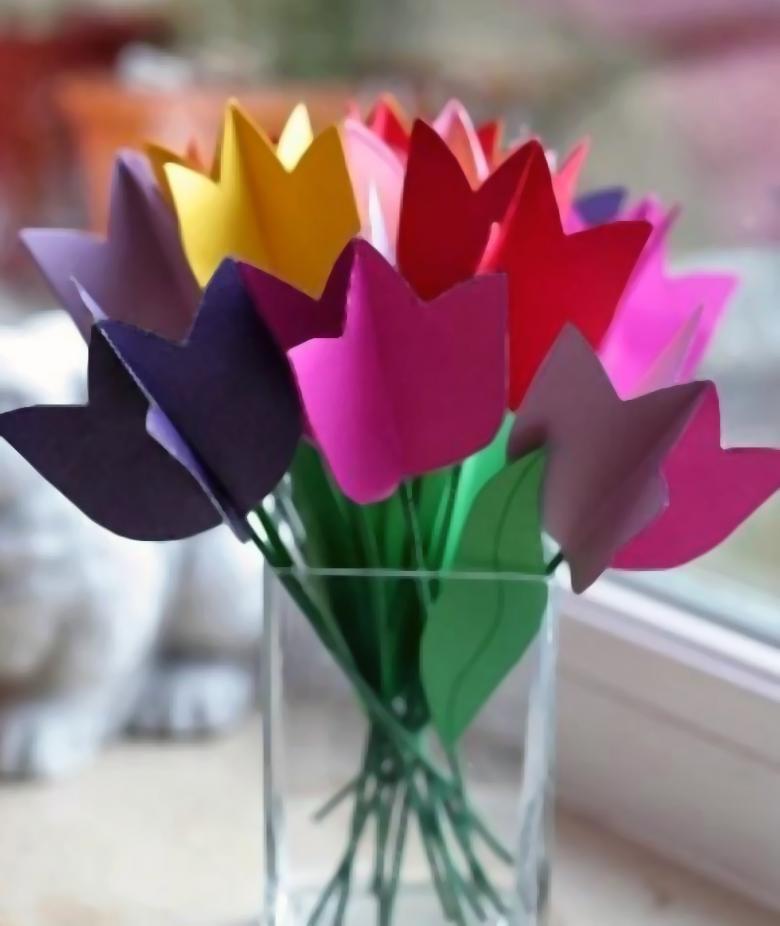
We with you will create a gift basket for March 8. Having prepared all the necessary materials, act according to the instructions:
- Let's cut out square blanks from crepe.
- Process them with a hot iron at no more than 60 degrees.
- Lightly pulling the edge of the square and then releasing, we get the proper shape. Leaf for a flower will have a little wavy, but natural shape.
- The petals of the inflorescence is collected using a needle with string. When stitching the base of the petals, you need to pull the thread slightly, so that the leaves sit firmly in the bud.
- The upper edges of the adjacent leaves are smeared with glue and attached to each other.
- For a strong frame we will use a metal wire, which should be passed through the bud.
- After the tip of the wire held through the base of the bud, it should be bent and fastened.
- Each bud should be decorated with rhinestones or beads. You can cut decorative droplets of foil to give the craft realism. The buds are covered with clear varnish on top to add a glossy sheen to the flowers.
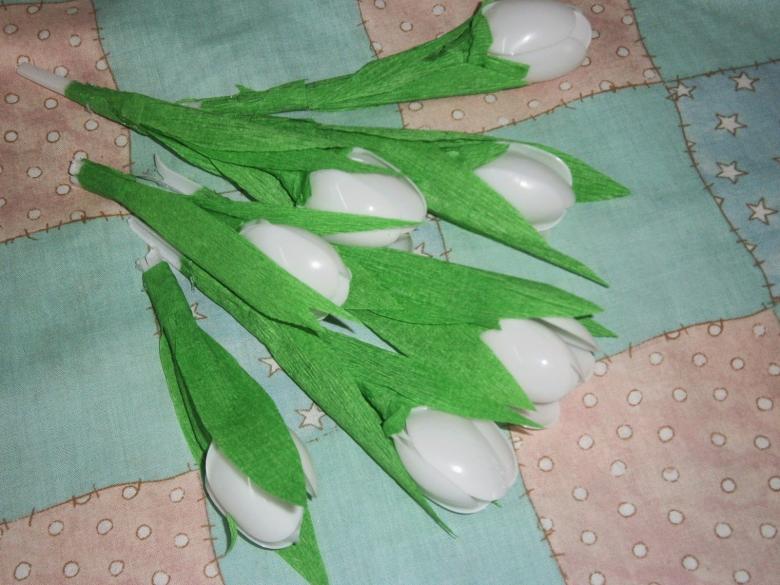
- Wire-stem wrapped with colored paper, dabbing the wire with glue.
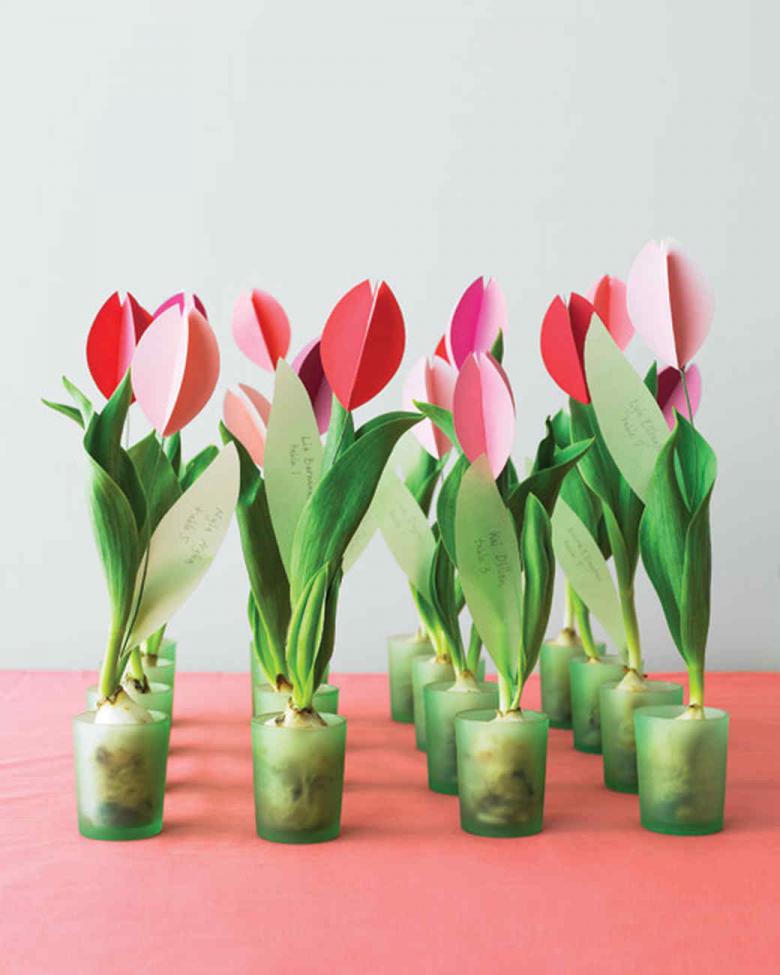
Let the product dry, and then form a gift basket. On the bottom we put a sheet of illustrated paper, on top of it - candy. Bouquet of tulips can be placed under the very top, and the handle of the basket is wrapped with satin ribbon and tied with an original bow.

Relief applique for a school exhibition
To work, we will need the following materials:
- Colored cardboard.
- A thick base for applique.
- Glue.
- Scissors.
- Guipure.
- Templates for making details of the bud.
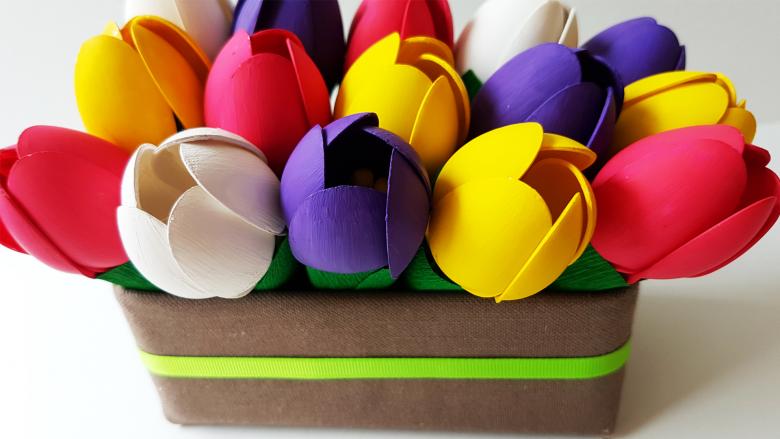
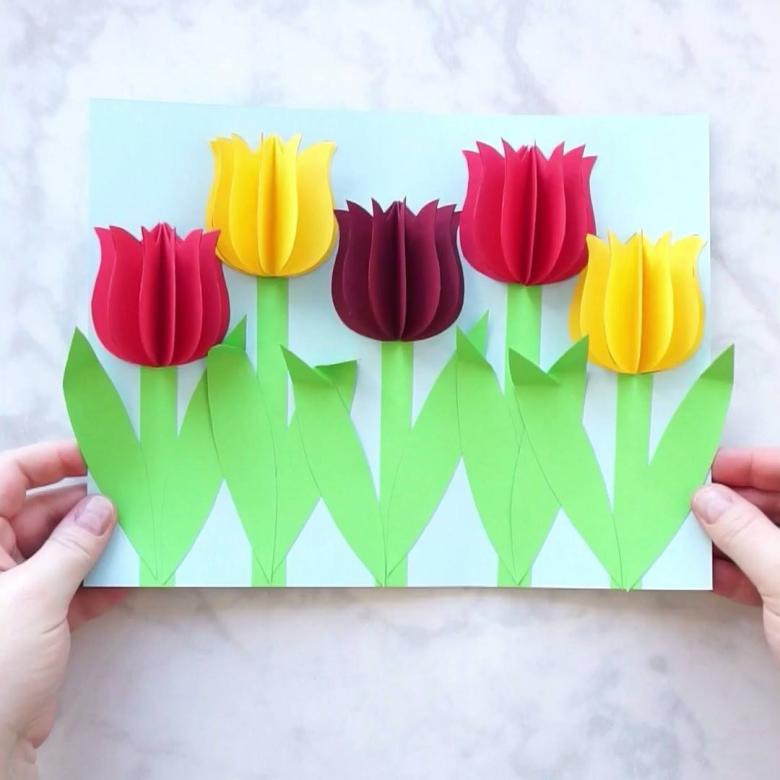
The main difference of this handicraft is the additional volume due to the embossed pattern. Such a homemade work will definitely draw attention at the exhibition. Step-by-step instructions will help the needlewoman to work without any special difficulties:
- According to the finished template, cut out the contours of the bud for the tulip. Cut out parts based on the fact that each "envelope-bud" has five or six blanks.
- Each piece is rolled strictly in the middle, clearly marking the fold line.
- Every two adjacent sides with glue or stapler.
- Leaves for the flower is formed from colored paper or cardboard green. We need to cut out a piece of oval shape and fold it in half.
- On the basis for the applique we glue a piece of guipure or openwork napkin. On top of it you need to glue a tulip bud.
- A little lower form the stem and leaves, gluing them along the fold line.
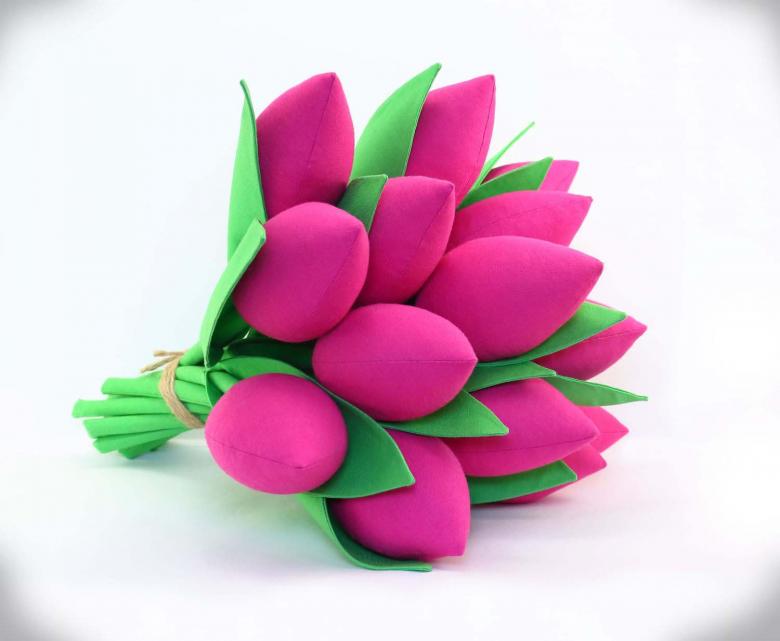
Volumetric applique due to its easy rules of formation and original ornaments are becoming popular among needleworkers.
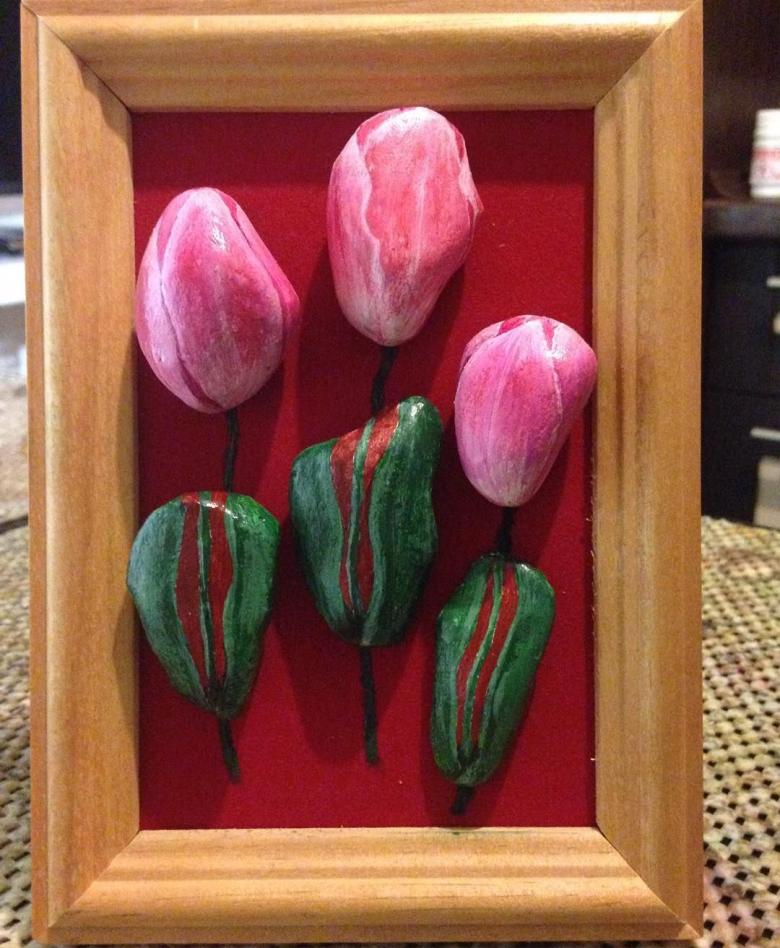
Original bookmark for a book
This handicraft is made on the same principle as the previous model, but without creating additional volume. We prepare the same materials: thick cardboard, felt, glue, scissors, decorative elements.

In the process of work we use the step-by-step instructions:
- According to the template, we cut out of dense cardboard details for the tulip: stem, bud, leaves. All elements should be wide enough to serve as a bookmark.
- Using the same template, cut details from felt. All fabric elements should be larger in diameter than the cardboard parts.
- Fold the felt peculiar cover and stitch around the edge. Leave a "window" for the cardboard frame. Sometimes craftsmen use a plastic blank instead of cardboard, which, unlike paper, is not afraid of moisture.
- Insert the cardboard or plastic blank into the cover. Sew the window.
- Decorate our tulip bookmark: use a glue gun to fix rhinestones or beads.
The bookmark is very unusual, but it will serve you long and practical.
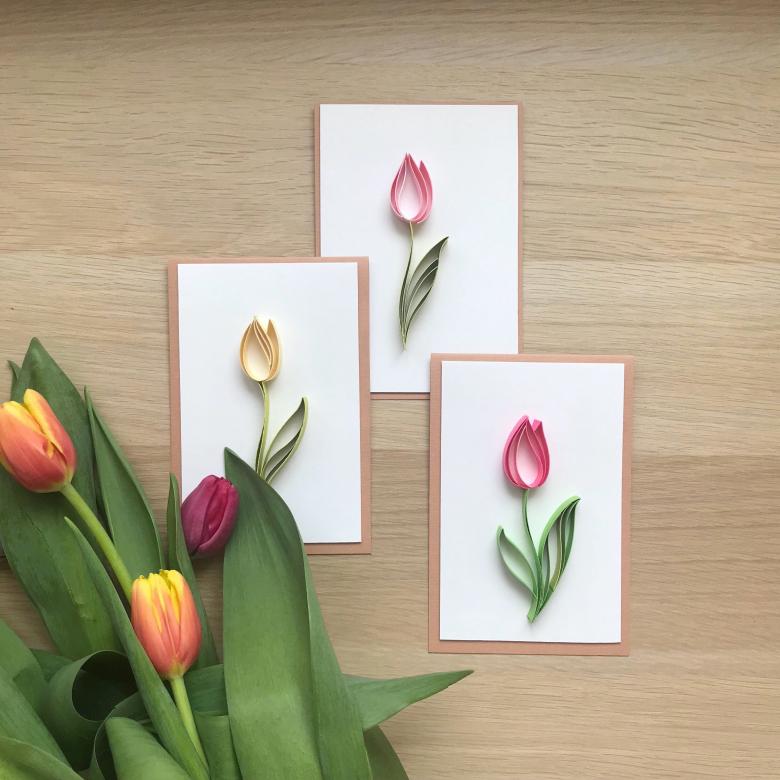
Interesting ideas for tulip crafts
Sometimes the most unusual ideas for crafts are created from the usual improvised materials, and the result surpasses all expectations. Original ideas for making a tulip craft:
- Bouquet of spring tulips from pink foamirin.
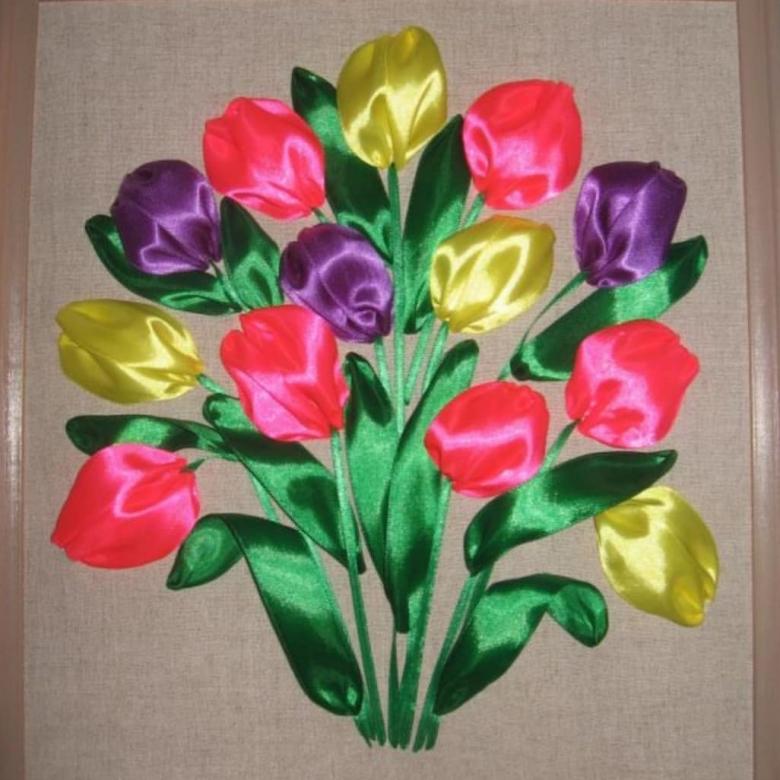
- Elegant tulips from satin ribbons.
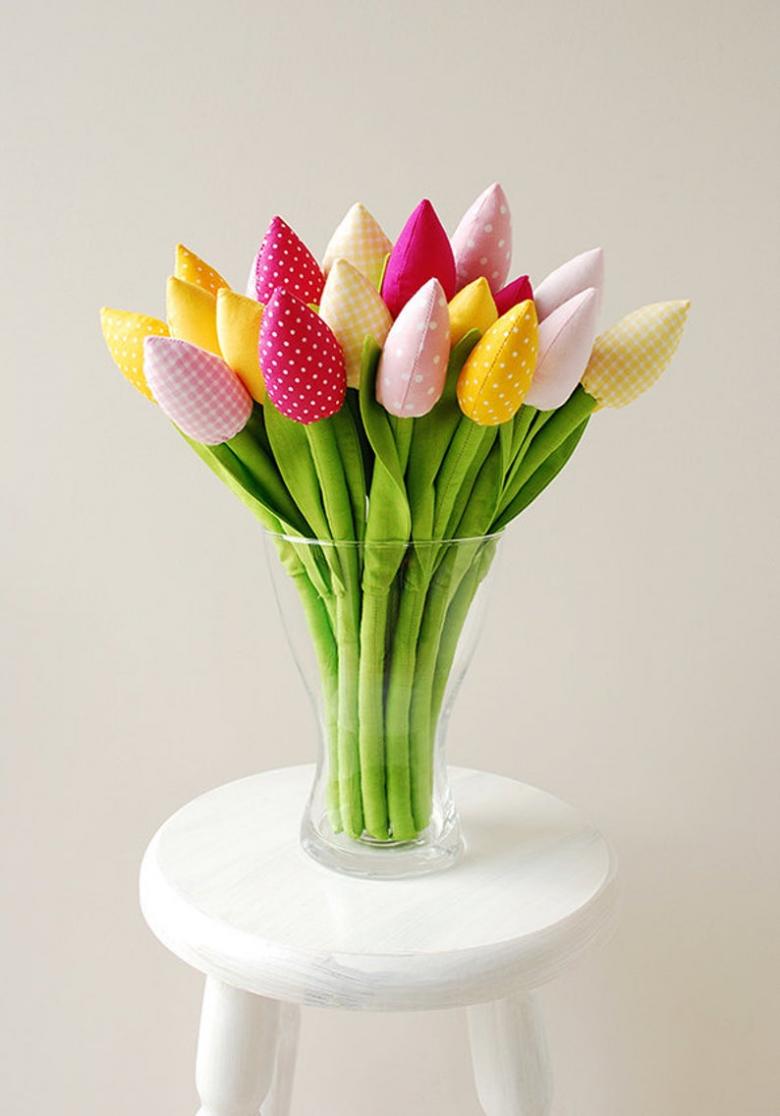
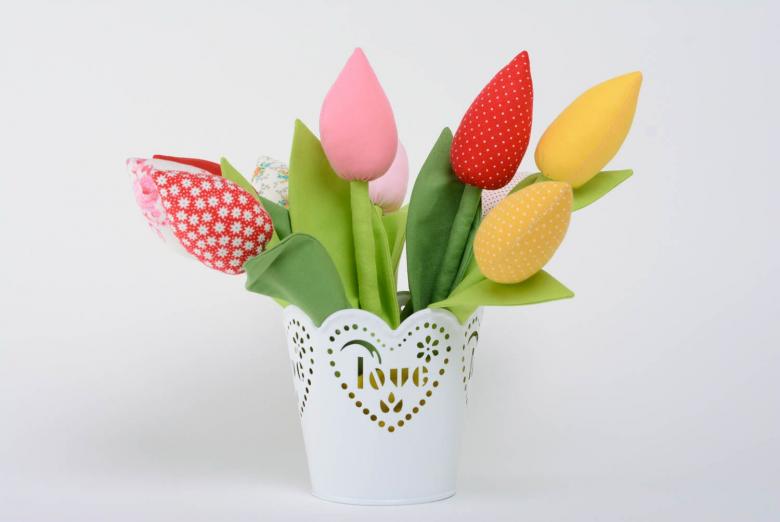
- Volumetric floral buds from fabric.

The most unusual ideas can be easily realized, having at hand a minimal set of materials, ready schemes of step-by-step work and the desire to create an original bouquet as a gift.

