How to make a boat with your own hands - step by step instructions for beginners with photo ideas
Every year adults and children are waiting for the arrival of spring. When the snow begins to melt, and fast streams appear everywhere - it's time to play in the ships, launching them in the natural environment, not in a basin. The "secret knowledge" of how to make a beautiful and stable boat on the water is passed down from generation to generation. Children with their parents and grandparents learn the technology of manufacture and create a whole fleet of paper to compete with friends in the spring.

Making crafts from paper - a very interesting creative activity. Of particular interest is the technique of origami, in which the figures are added without glue and scissors. The process of figurine appearance from a sheet of paper becomes a real magic for a child, which he can learn on his own.
Origami develops patience and accuracy, trains the ability to concentrate on the process. Over time, children's fingers become dexterous, and children can stack more and more complex figures.
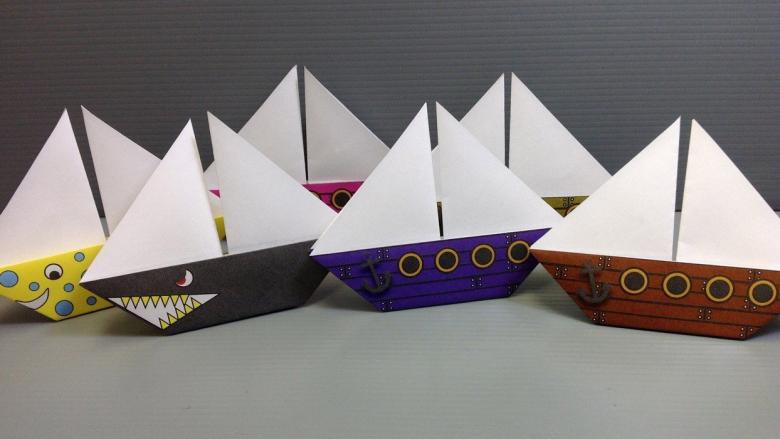
Ships in the origami technique
To create the ship needed a special paper for origami, which can be purchased in stores of goods for creativity. But for simple models can use ordinary office paper A4 or single-sided colored paper (in this case it is easier to explain the child working with the front and back sides of the workpiece).
Coated paper, taken from an old magazine, will make the ship a little more durable in water. And if you dip the finished creation in melted paraffin, the ship will be waterproof, almost like a real one. In addition, it is necessary to have a ruler or a pencil to smooth out the fold lines and to sit in a well-lit place.
You can begin to create a paper navy.

Interesting variants of homemade ships
A simple ship
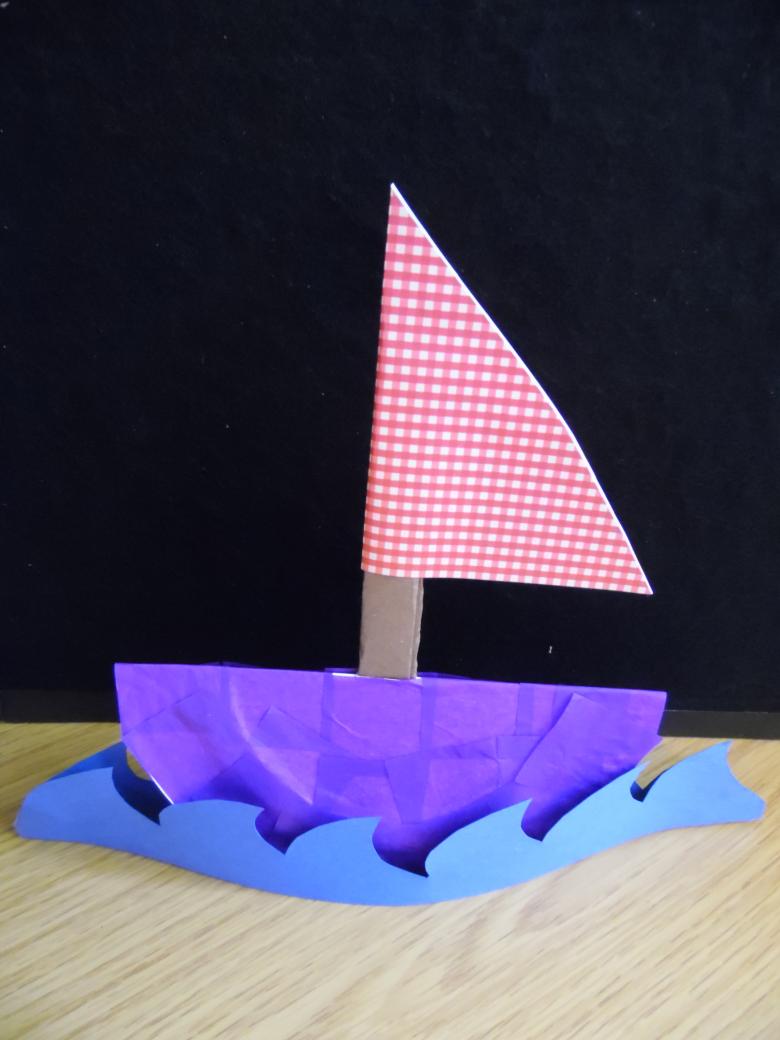
A simple ship can be made by children at the age of 3-4 years. A square sheet of paper is added on the diagonal, and then again. Approximately in the middle of the bottom line of the resulting triangle mark a point of reference. From this point upwards bend a small triangle, carefully smoothing the folds. Mark the approximate line of the board, bend and turn out the sides on both sides. If the boat is made of solid-colored paper, it can be painted with pencils or markers.
The classic ship
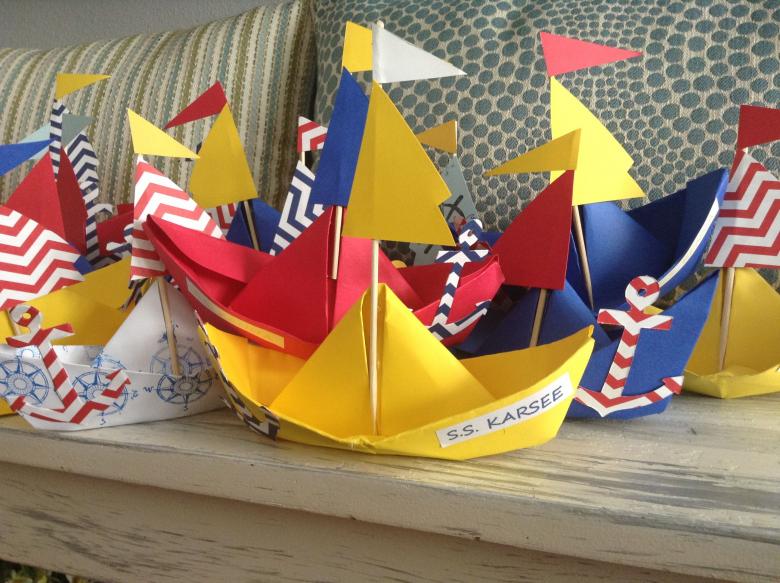
Classic look familiar to many people from childhood. Rectangular sheet to fold in half and on the fold mark the middle. Fold the sides to the middle. Rectangular part of the bottom of the bend upwards, the workpiece is flipped, and then repeat the action.
The angles formed on the sides, rolled behind the base of the workpiece on both sides - first the upper and then lower. If you need a paper hat, at this stage, you can stop. But if you still want to make a boat, you need to spread the workpiece in a square shape, joining the opposite corners, and the bottom corner of the top layer up, then flip and repeat. Resurface the workpiece and fold a square. Carefully pull the top corners to the sides.
A simple sailboat
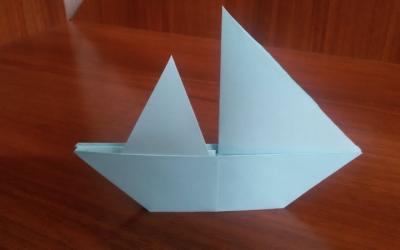
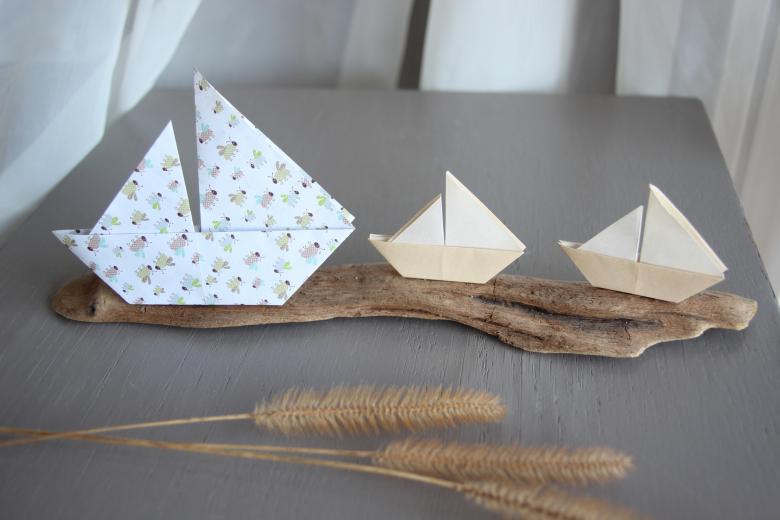
Sailboat can be made from a square sheet that is folded in half horizontally and vertically. Top and bottom of the workpiece bent to the middle. Then the sides are bent to the same. The upper corner of the right side to straighten, smoothing out the bottom diagonal fold. In the same way to straighten the remaining corners. Next, you need to pull half of the workpiece - the right to himself, left away from him. Protruding lower corner to wrap the right. A drop of glue to connect the sides of the bow.
Color sailboat
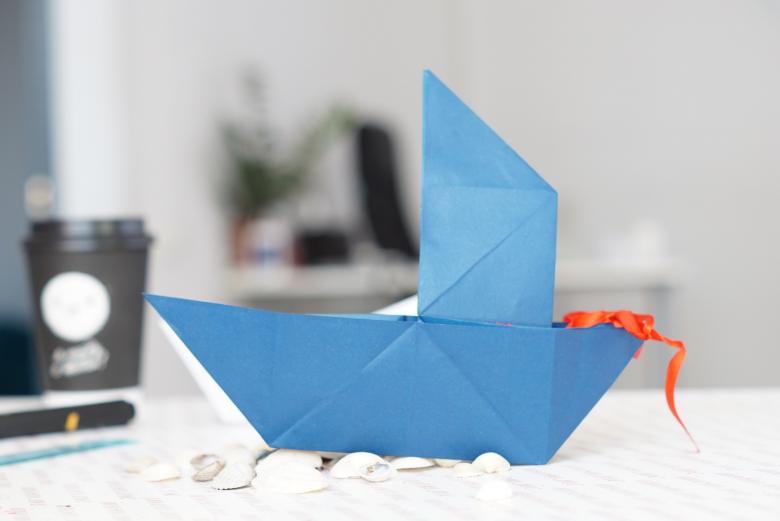
Colored sailboat is made from white and blue single-sided paper. A square sheet of folded in half horizontally and vertically. Blank turned the other side and folded diagonally. On the white side of the two opposite corners are bent to the center.

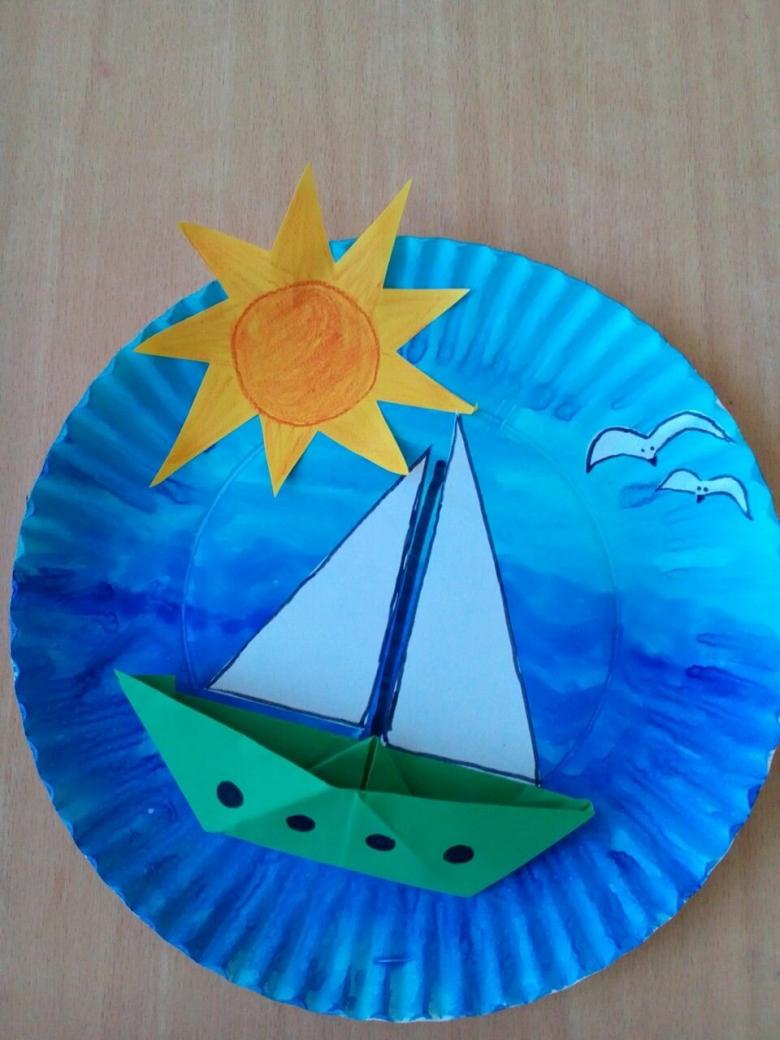
To form a sail to bend the workpiece so that the top was a white triangle positioned vertically. Repeat on the other side. To reduce one of the sails, you need to bend it down and then back up, leaving a small fold, which is tucked inside. The lower part of the sailboat is bent on the back side, and the front side of the craft looks like a blue ship with white sails.
Two-tube steamboat
Such a steamer is folded from a square. Sheet bend along the diagonals, to indicate the center point. All four corners are bent to the center. Handicraft turned over, and the action is repeated. Handicraft again turn over, and angles are again bent to the center. The corners of the workpiece obtained pockets, two of which are in opposite corners, to open. Unopened corners are stretched, and you get a toy that will not only look good on a flat surface, but also fairly stable on the water.
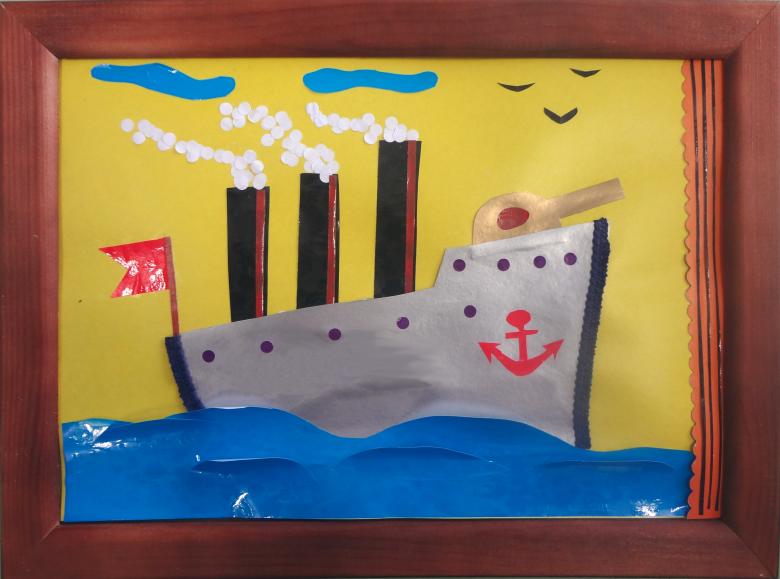
Dinghy
The boat has a more complicated design, school-age children can cope with it. A square piece of paper is folded diagonally, with the center of the workpiece marked. Upper and lower lines are bent to the center to form a rectangle.
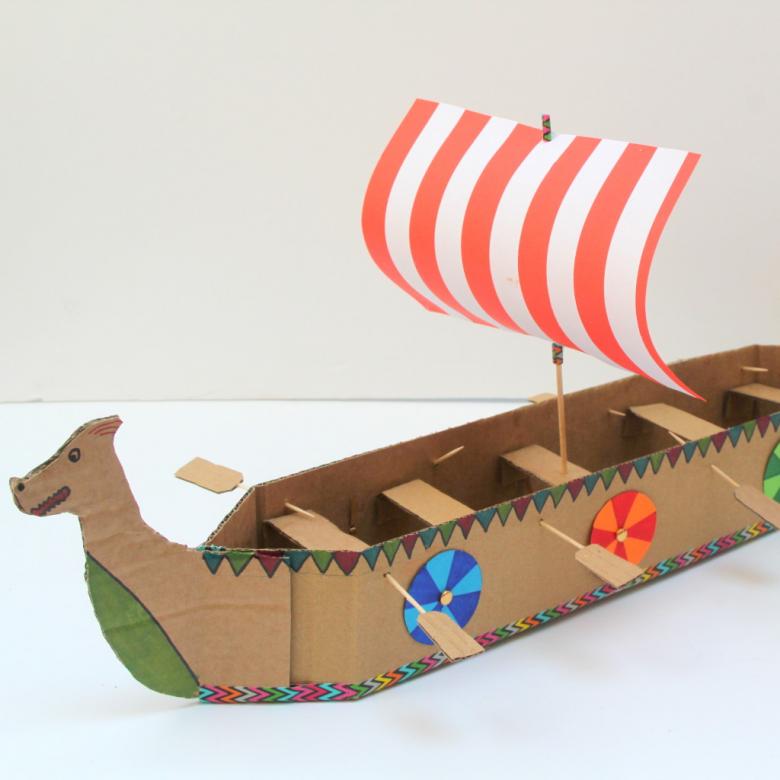
All four corners of the workpiece are bent to the middle. Then the two upper and two lower corners are wrapped to the middle (do not forget to smooth out the folds with your fingers or ruler). Upper and lower corners of the resulting diamond are brought to the center of the workpiece, the model is turned out and takes its place in the paper flotilla.

Options for making ships in the art of origami still a lot. Motor ships, catamarans, motor boats, launches, junks - for children who are interested in learning origami, you can pick up complicated patterns with step by step instructions. The main thing is that the process of creating a new toy brought pleasure to the child.

Ships in other techniques
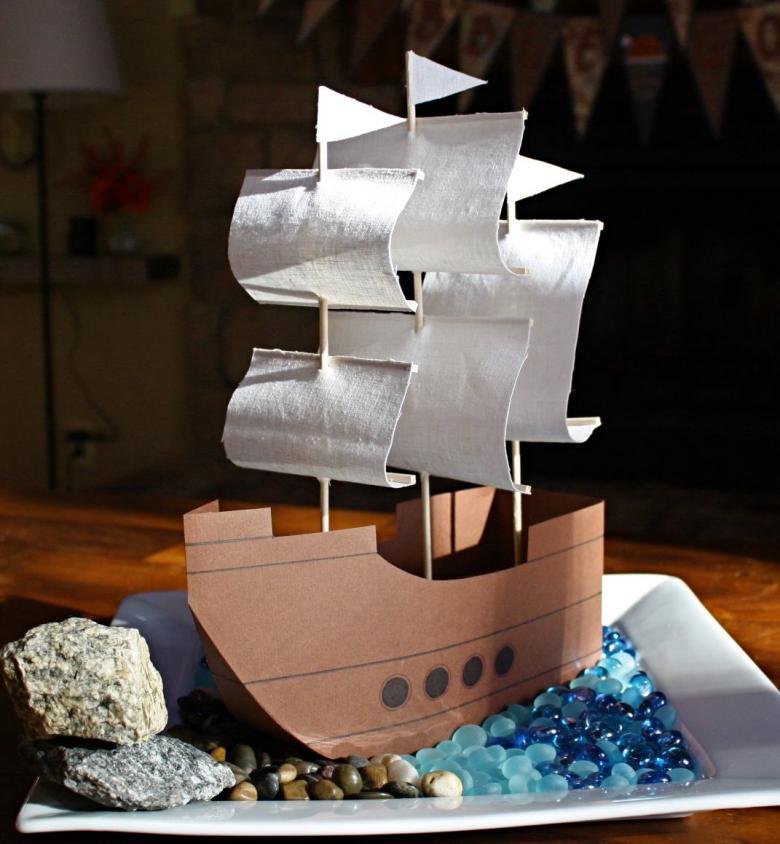
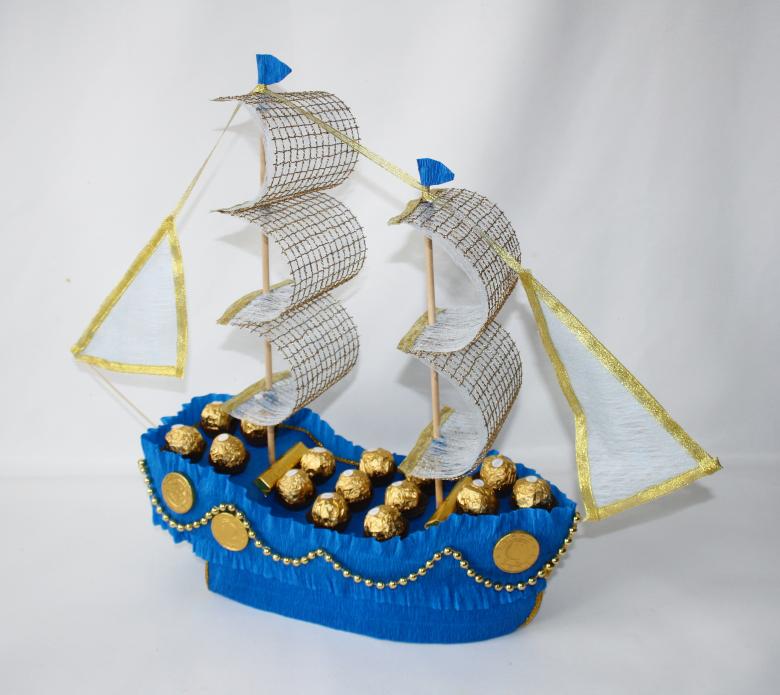
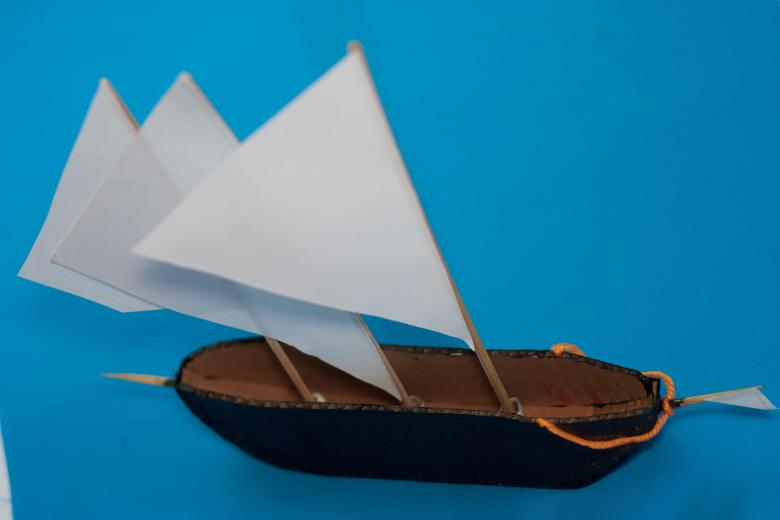
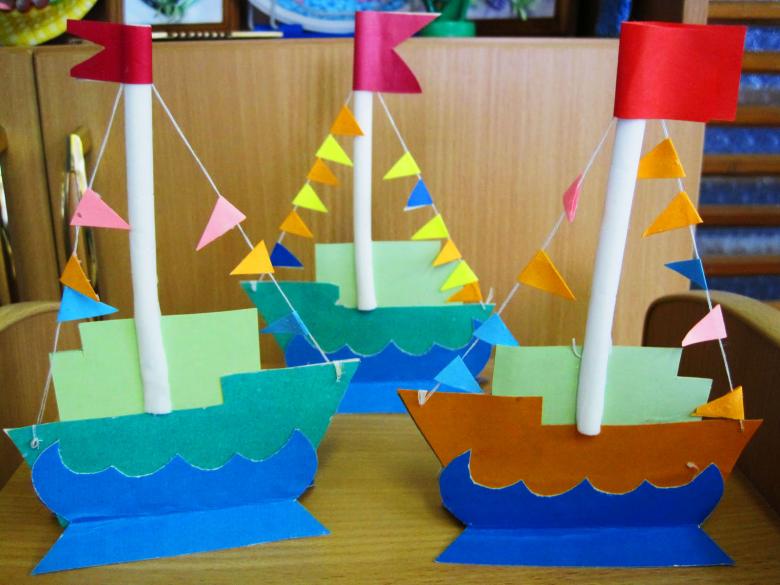
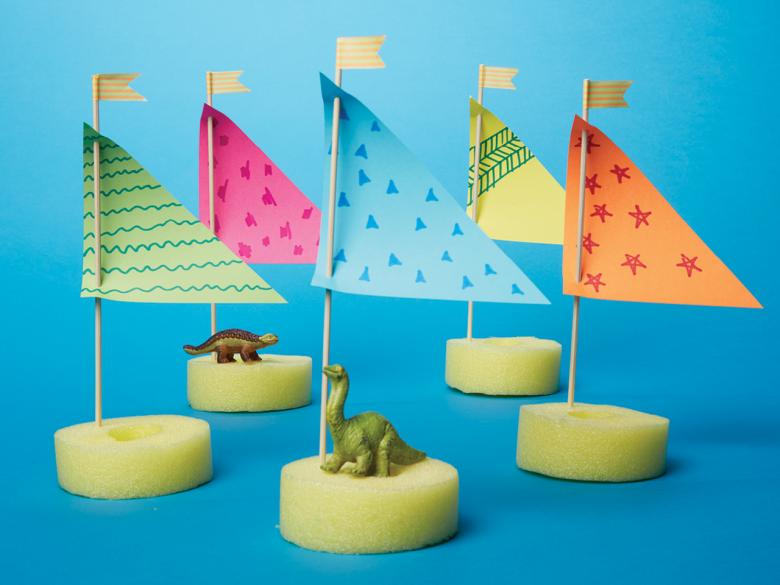
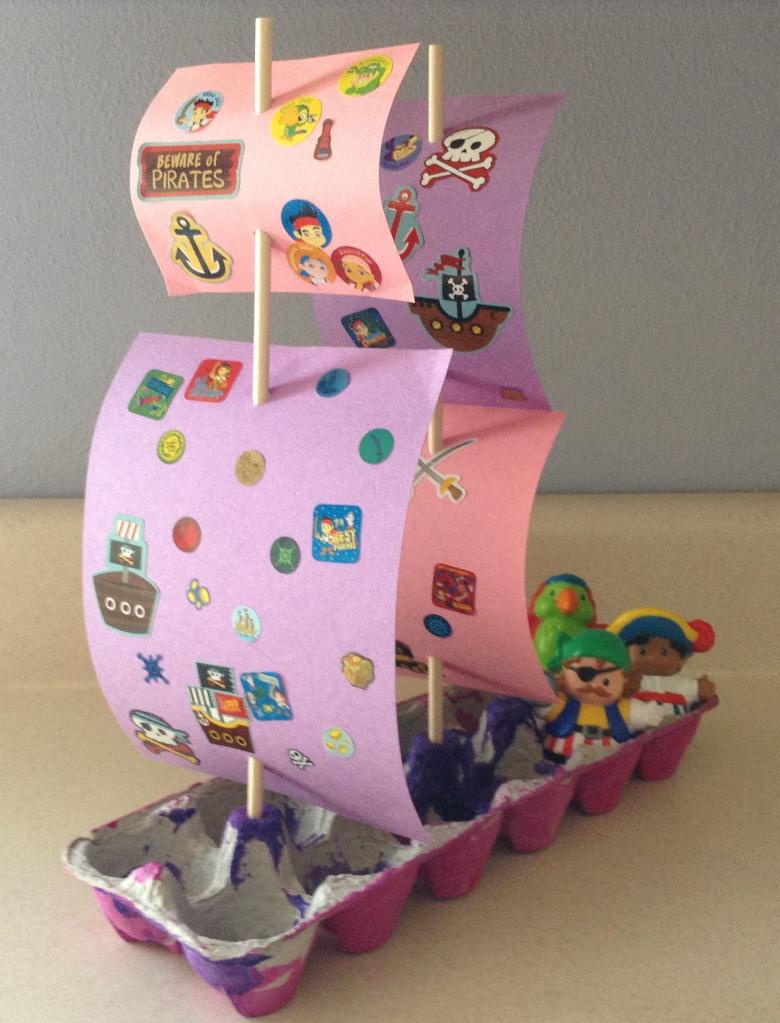
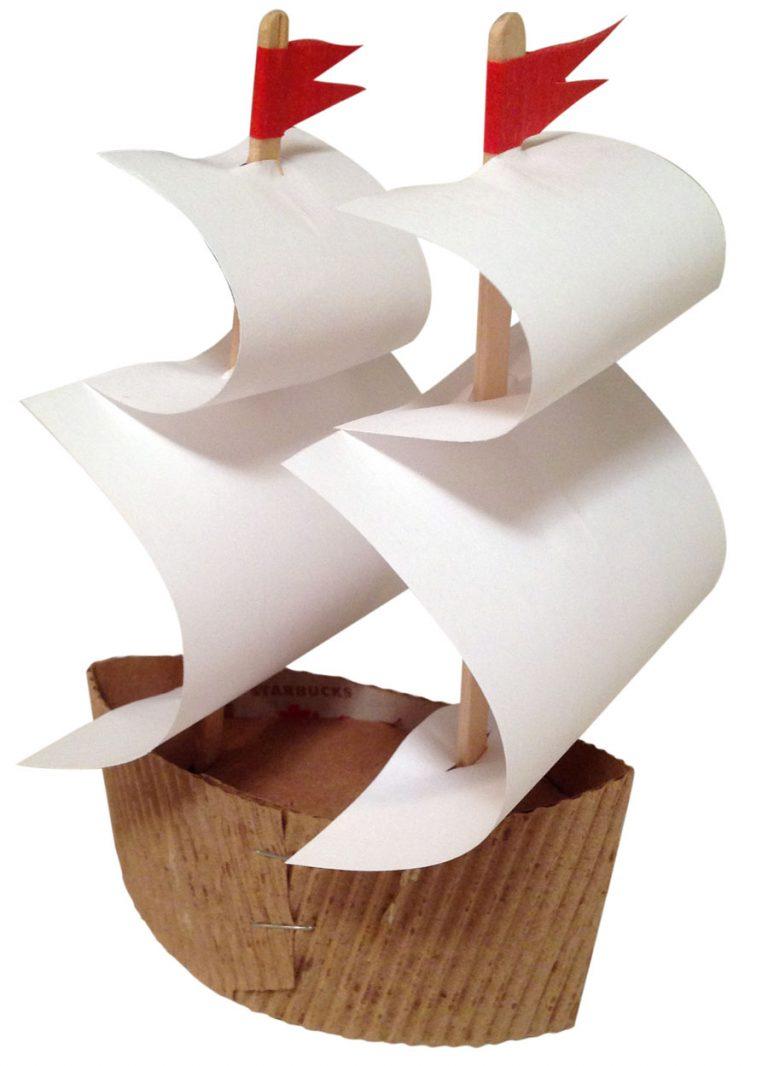
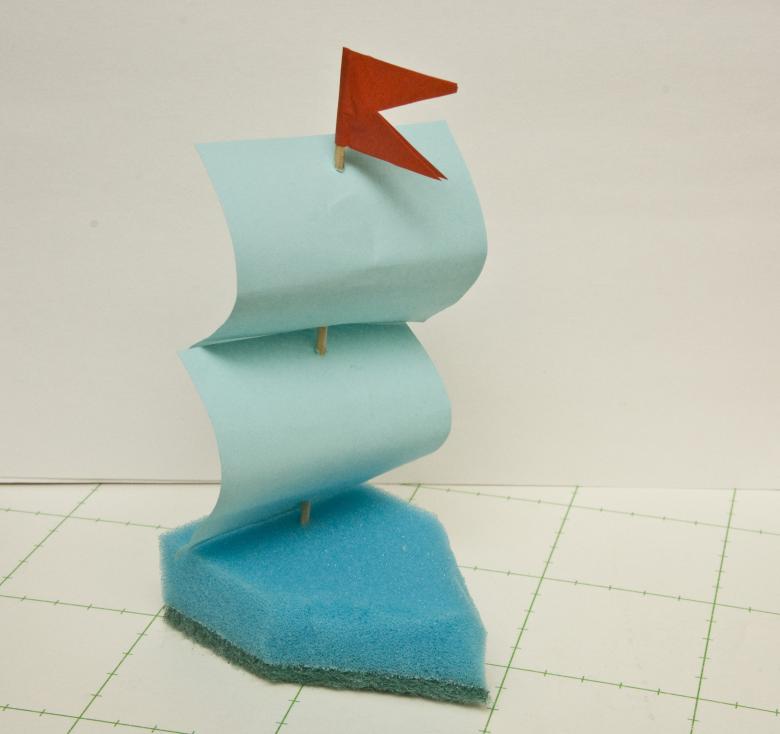
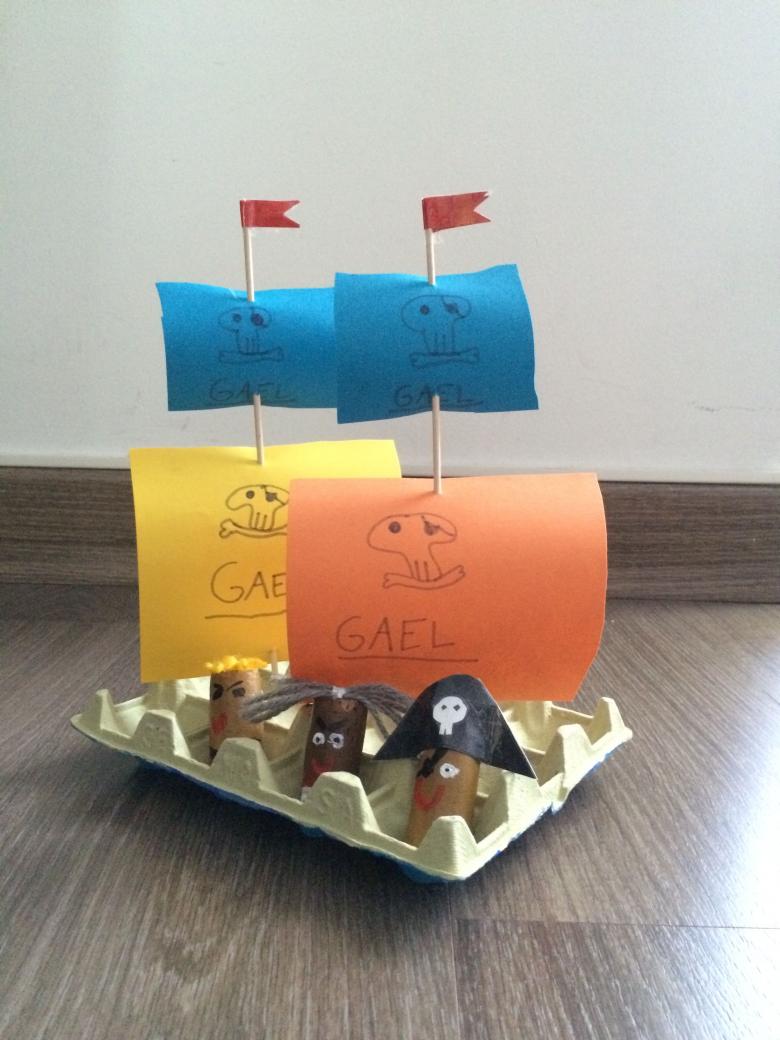
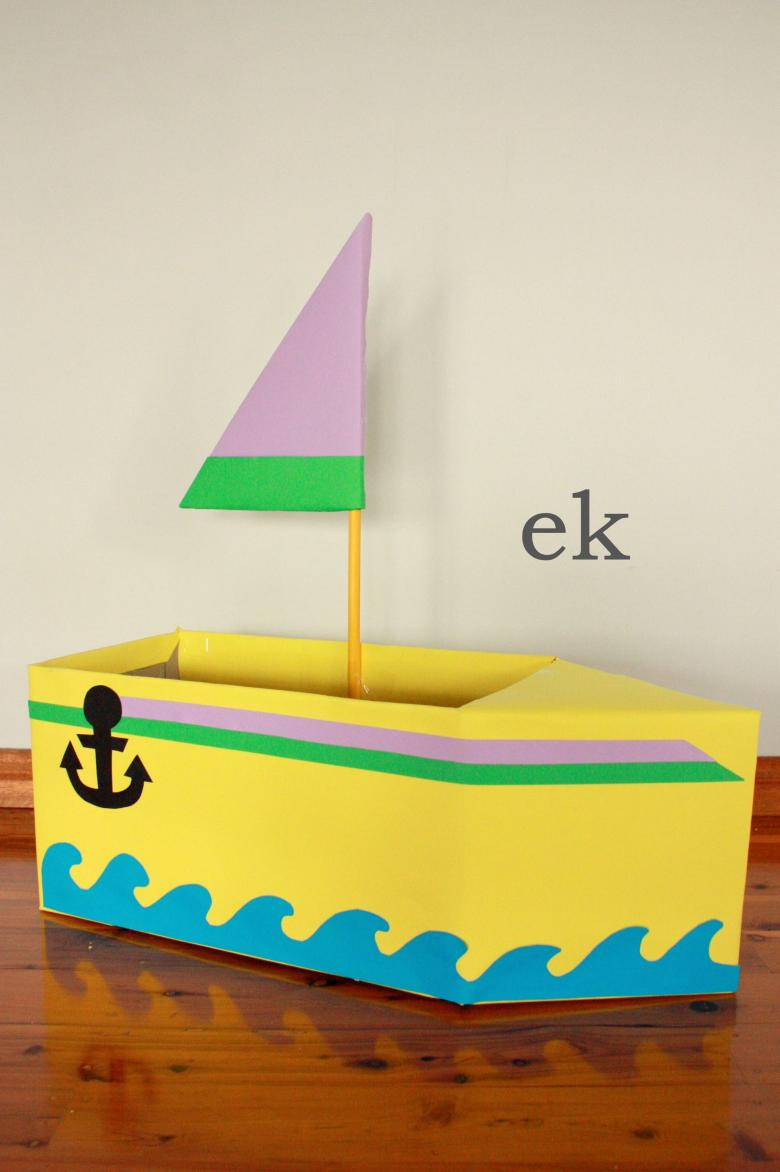
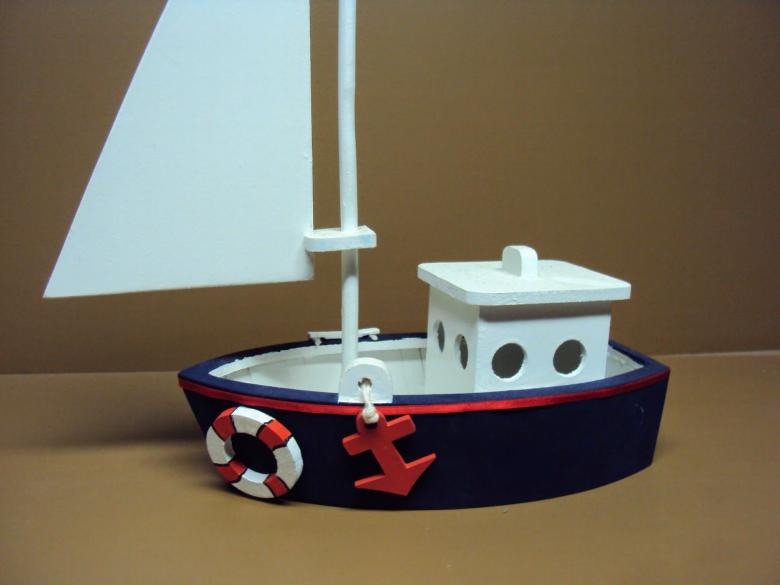
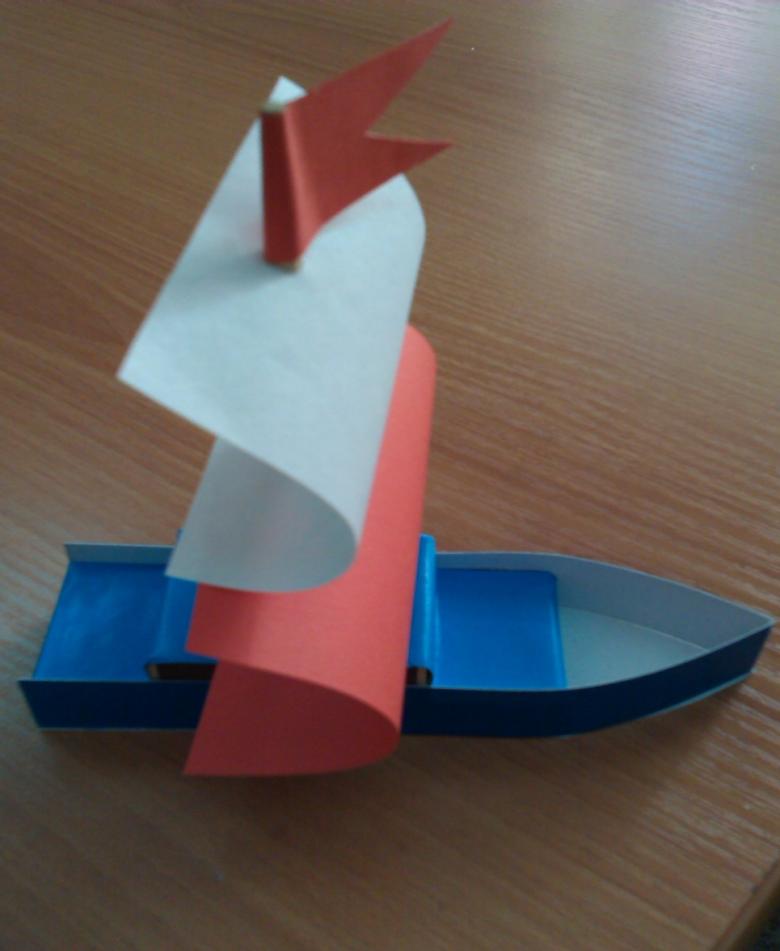
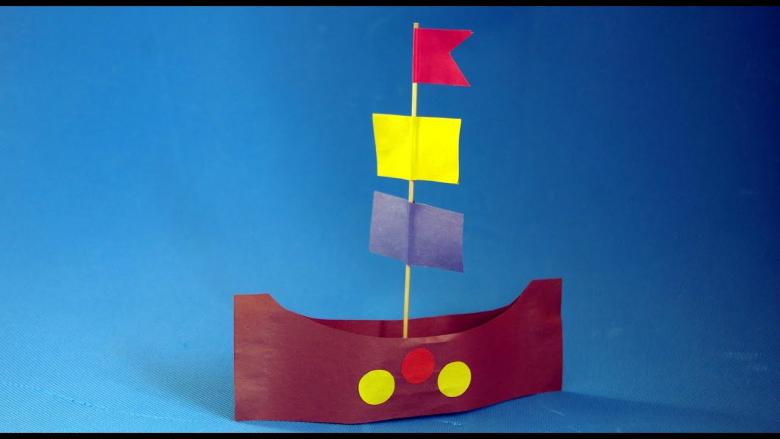
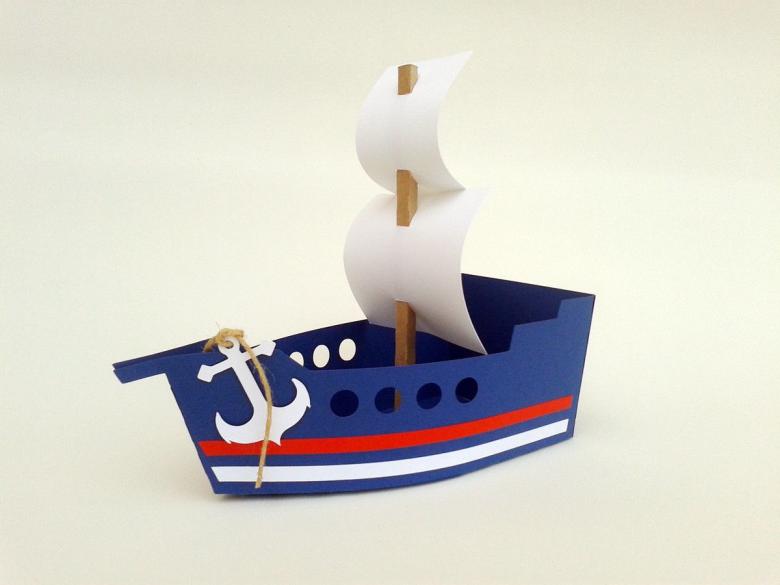
Cute toy in bright summer colors can be made from colored cardboard. For the frame you need to cut two blue strips, divide them into three parts and bend them in these places. Glue the ends of the strips together to make a nose and stern. Blue cardboard is used to cut out a part of the deck in the form of a rectangle, the edges of which are folded and glued between the strips of the frame.

From yellow paper, cut out two rectangles of different sizes for the sails, make small holes in them and insert a wooden masthead through them. Next, make a hole in the deck and insert the mast. Cut out a waving flag from red paper and glue it to the mast. Portholes and other details can finish drawing with marker pen, and place on the deck toy figurines of sailors or pirates.

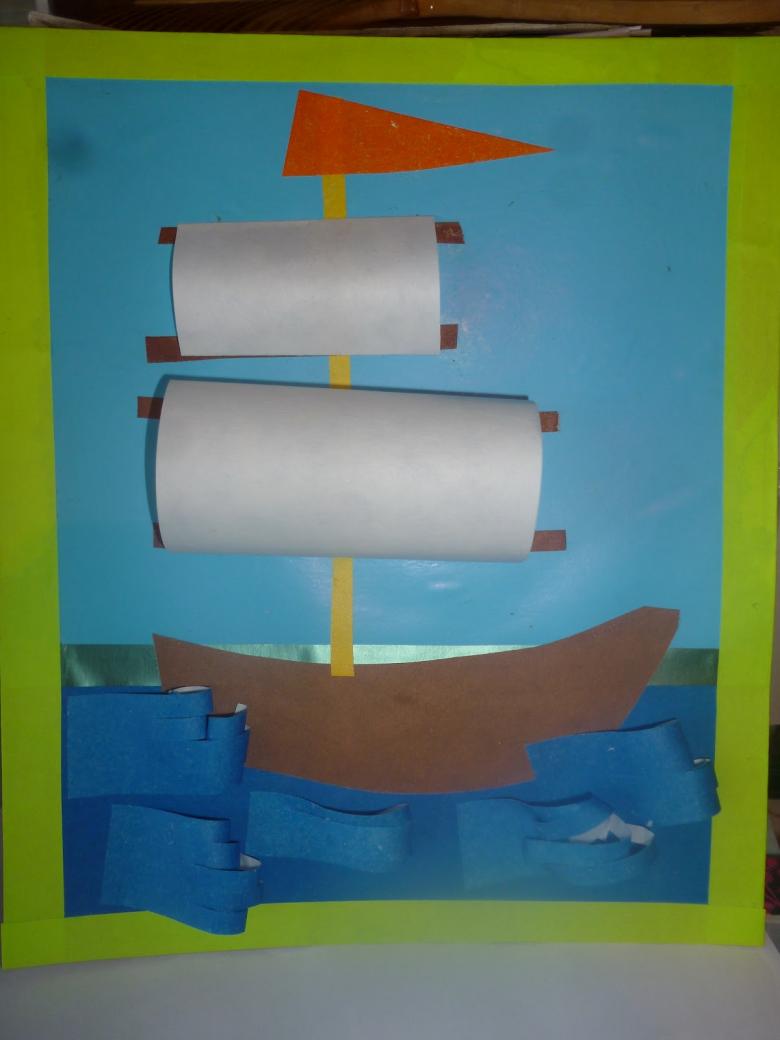
Also, many ideas for paper ships can be implemented in applications, using as a model, for example, the ancient Eastern puzzle "Tangram" or different mosaic patterns.
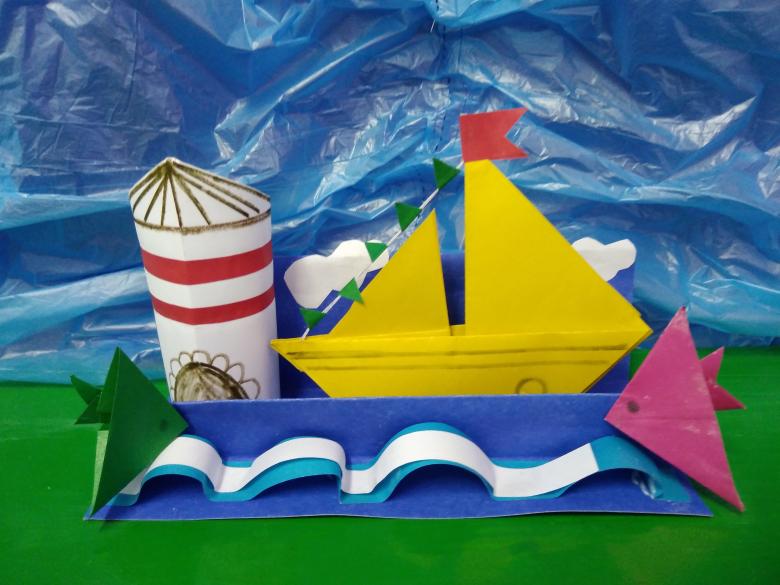
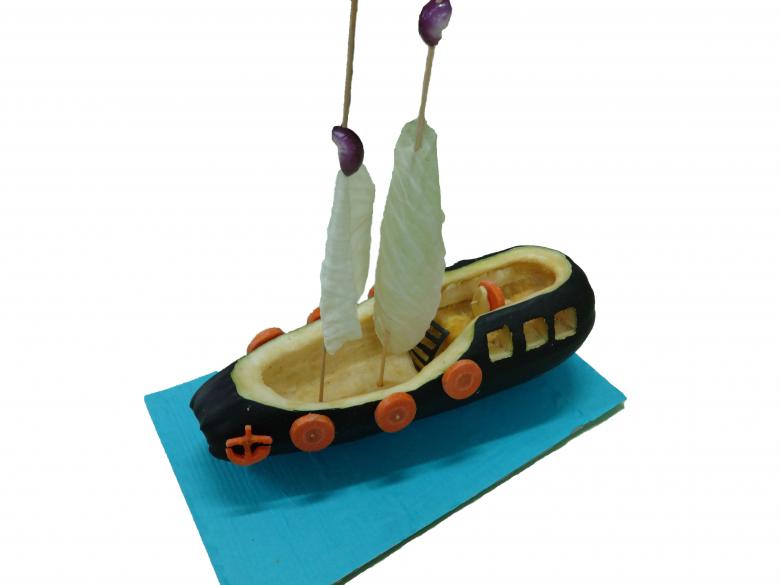
Children can learn a variety of ways to create toy ships. Today there is no shortage of training materials, schemes and instructions. And the attention of adults to this activity will make it even more exciting.

