How to Draw a Pine Tree - 4 Easy and Beautiful Workshops for Beginners
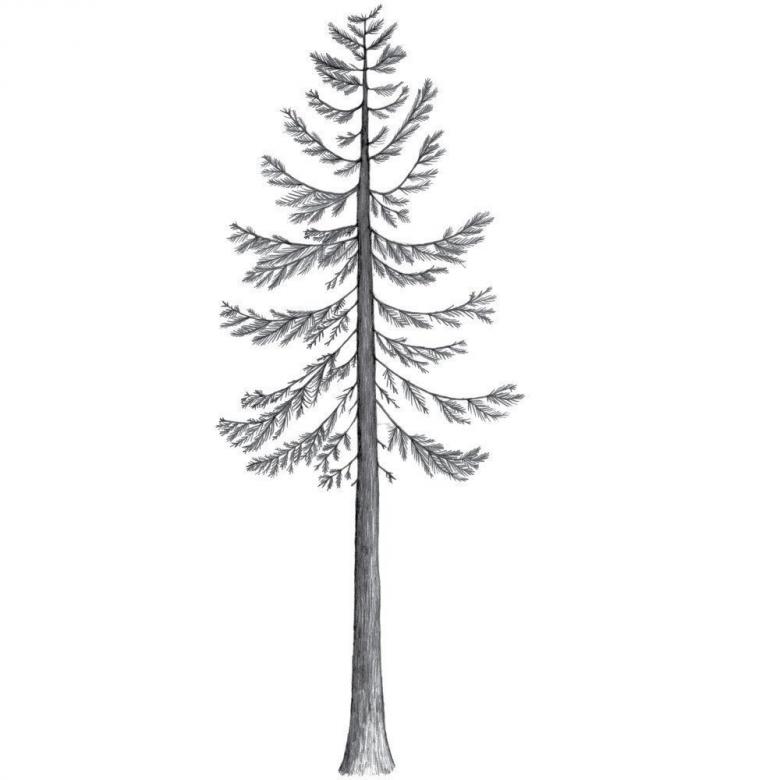
The pine is one of the most famous plants. It can grow even on the mountains. Knowing how to draw it will come in handy for fans of landscape paintings. After all, to perform this kind of drawings in class will require not only the correct composition, but also to put images of different trees on paper.
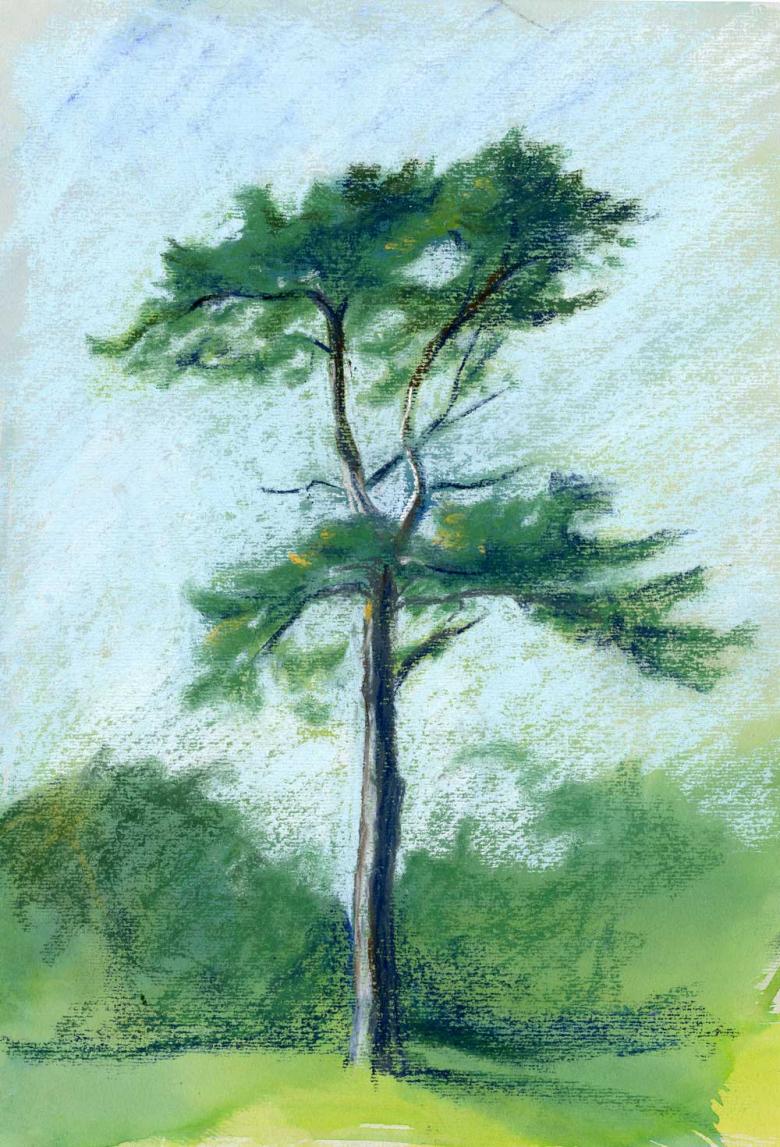
Drawing an evergreen pine
You will need a simple pencil, watercolor paper, brushes and paints (preferably Bravo or Stars) to do this drawing. The technique is very simple and even a child can do it. To get the desired image on paper, you need to follow the instructions below:
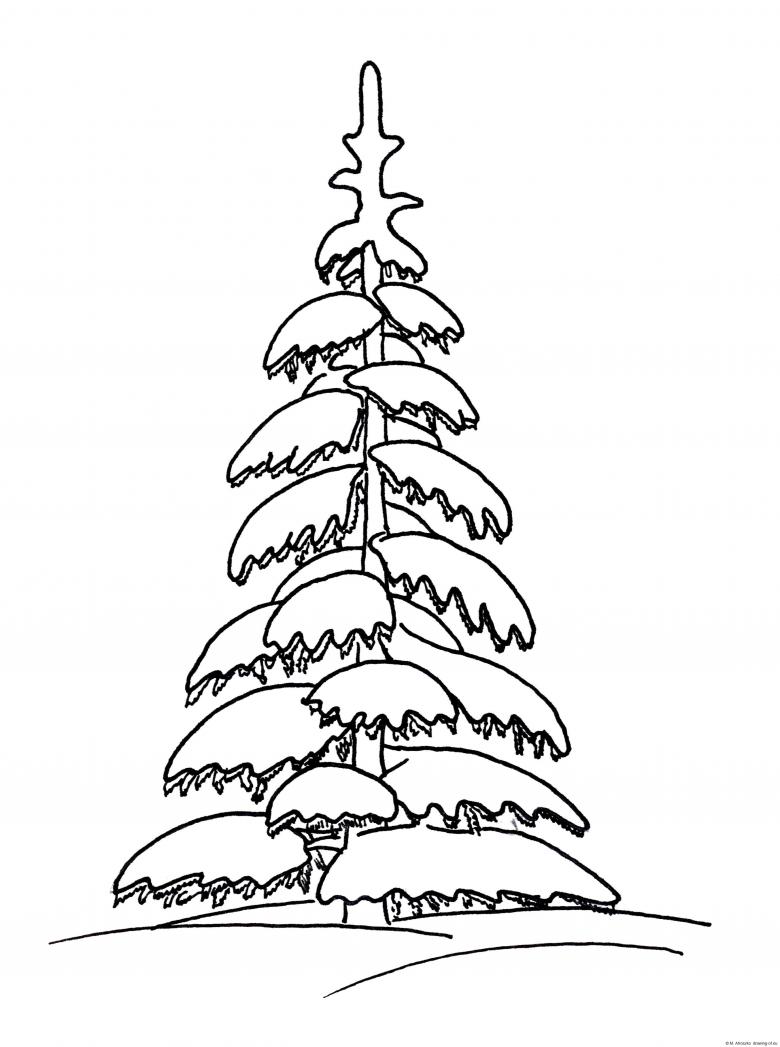
- A sheet of paper is placed vertically. The first thing in the top of the sheet is drawn crown of a coniferous tree. It is drawn in the form of clouds of various shapes and volumes, which are near each other. Such clouds can be variously placed each time. To make them look like the branches of a pine, their sides are made uneven and have many curves, protrusions.
- The trunk of a spruce is drawn with two parallel lines. In this case, in the lower part of the trunk, they are more divergent to the sides, and in the upward direction increasingly close to each other.
- The crown of a pine tree is made more lush by drawing squiggly lines all over its surface.

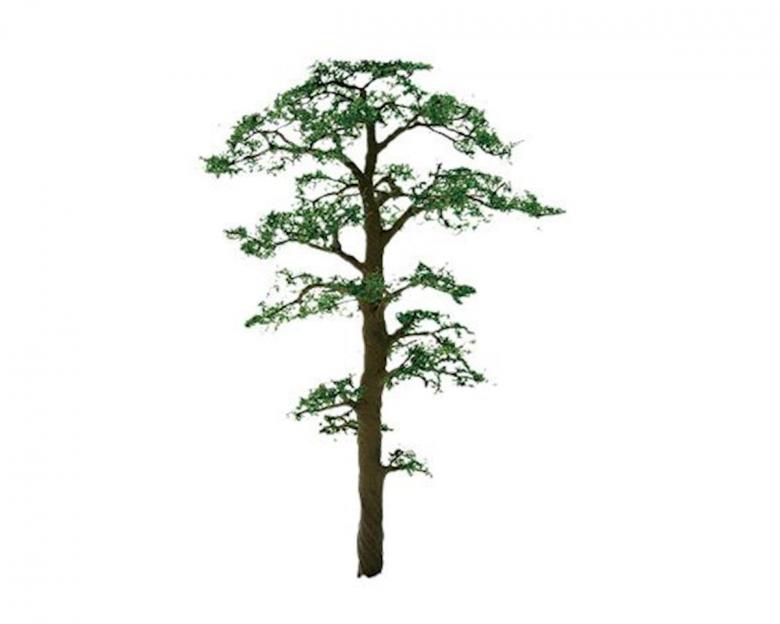
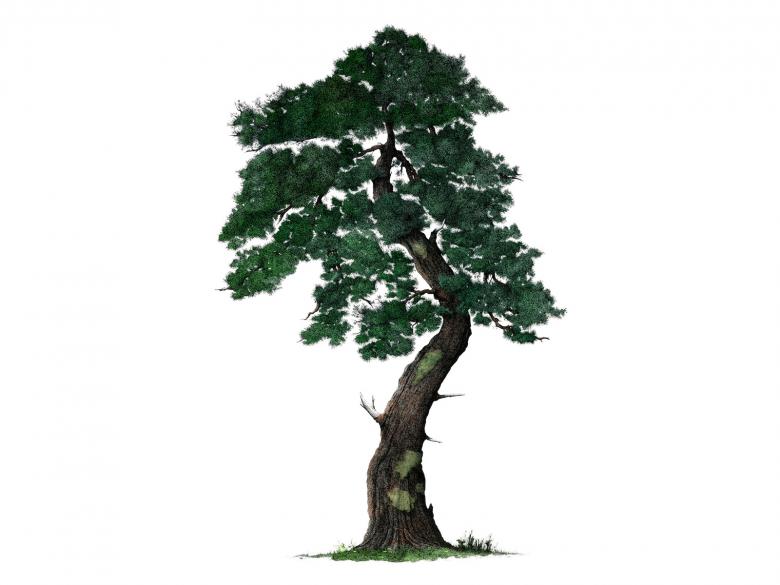
After these steps, you can start painting the pine tree. For this purpose, dark green paint is applied to the branches of the crown, and the trunk of the pine is made brown.

Step-by-step drawing of a fairy forest pine
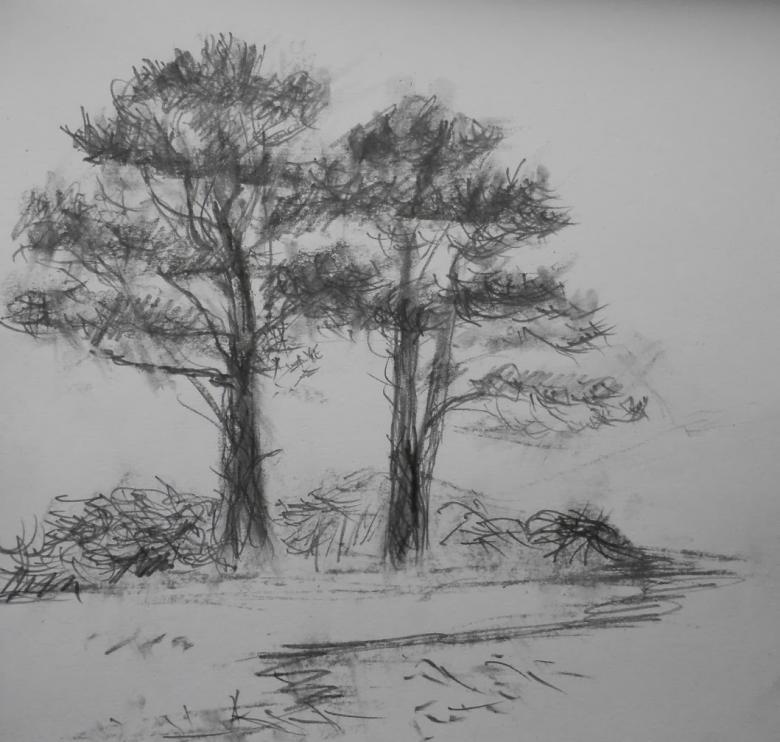
To solve the problem of drawing the image of a fairy pine will require rough paper and various pencils (hard, soft and medium). Such pencils are usually designated by ''T'' ''M'' ''TM'' respectively.
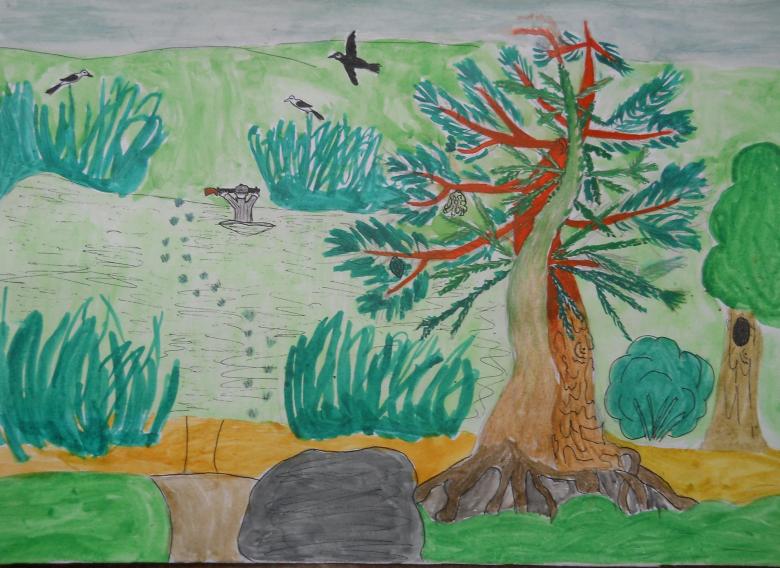
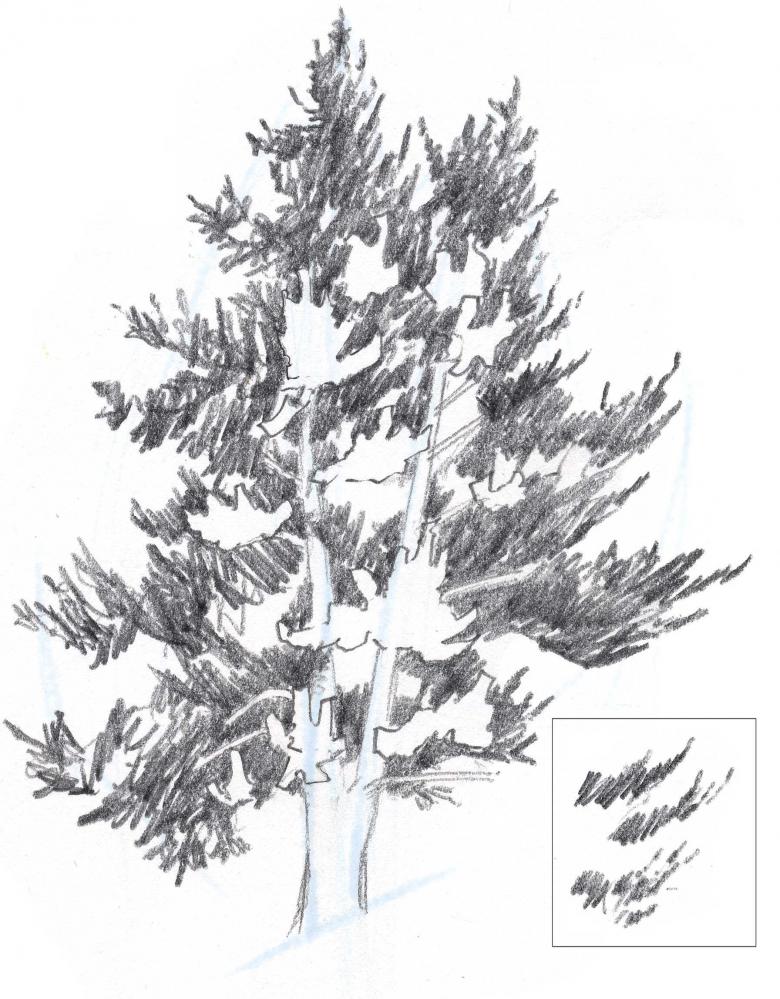
The hard pencil will be used for outlining, and the others for hatching. An eraser will be needed to correct the drawing. The task is accomplished in stages:
- Contours, two lines are drawn in parallel. They must be at a distance of one from the other. Sticks are drawn from the lines in opposite directions, which will represent the branches. Then the eraser erases part of the trunk at the top, so that in this place were the main branches with the crown of the tree.
- Parts of the crown of the tree are depicted as clouds. Each of them is attached to its own twig stick.
- The pine is being painted. First, the trunk is painted with brown watercolor. Then the crown is depicted with green paint.
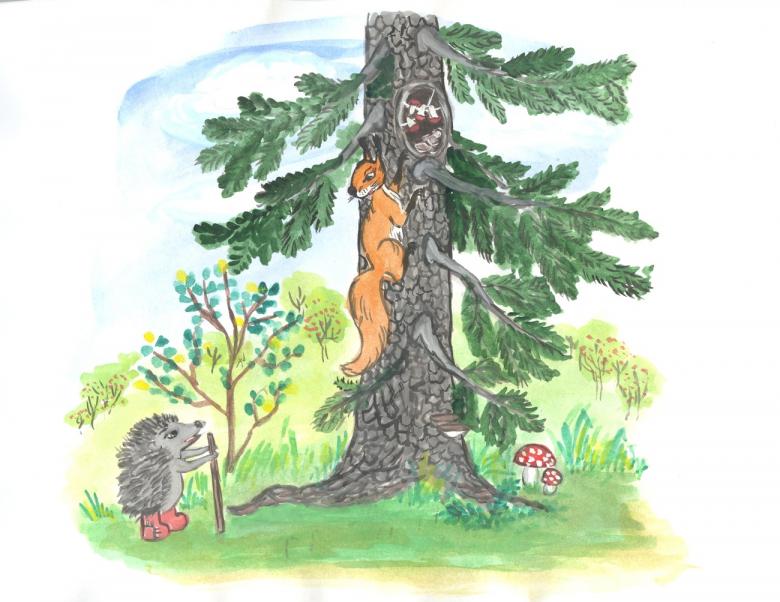
Picture of a pine tree with cones
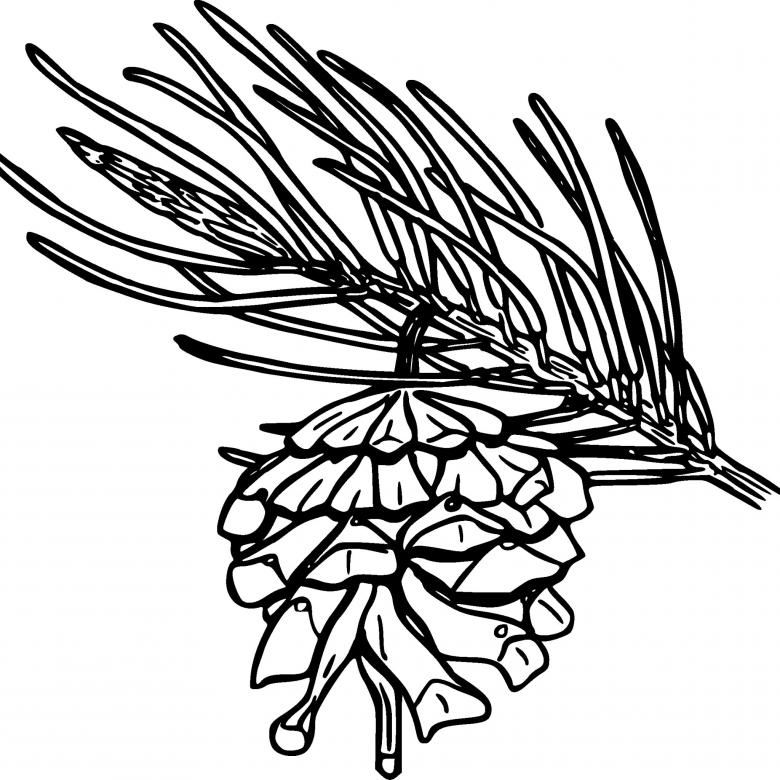
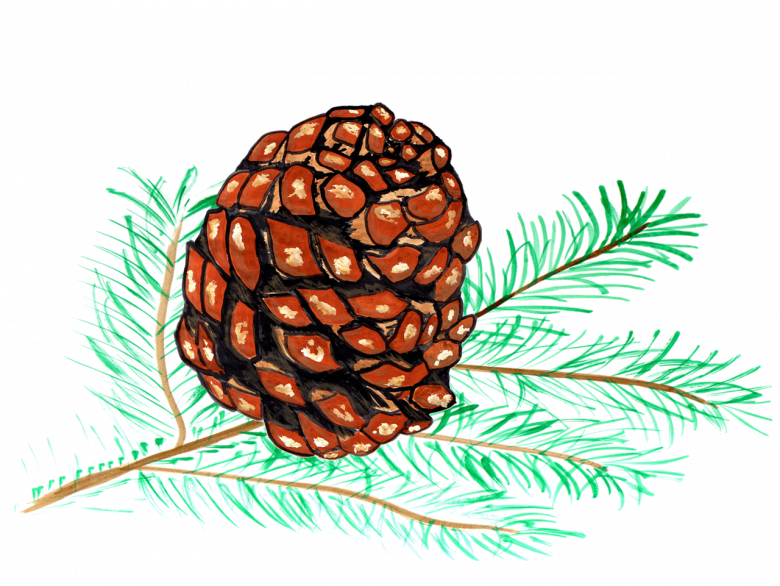
The cone is one of the main elements of the pine. Knowing how to draw it is useful for every artist. In order to get a beautiful image of a cone, it is required to represent it as an elongated oval with arched scales drawn inside.
- In the center, you draw the first scale of the cone. After that, two spurs are added on the sides of it. All three scales should form a semicircle. The other rows of scales are drawn from the center. The new scales are drawn starting from the middle of the old arc. At the same time, they should not be strongly adjacent to each other. The scales should be pointed, drawn in uneven arcs and lapsed one after the other in rows. Toward the end of the cone, the scales are narrowed and pointed.
- At the end of the outline, four elongated scales are drawn in the part of the cone opposite the base.
- Then a twig is drawn on the paper by drawing two lines. Branches are attached to them, one of which should hang the already drawn cone. On the others, needles are depicted by means of often drawn long loops.
- At the last stage, the image is painted in gouache. The contours of the scales and branches are outlined in dark brown. Inside these elements are colored in light brown. Small specks mark the volume. Each needle is painted in green.
General rules for drawing pine trees
The image of pine or oak in the landscape is worth doing after defining the composition and drawing the larger elements. To make the tree look more realistic and beautiful in the picture you need to follow these rules:
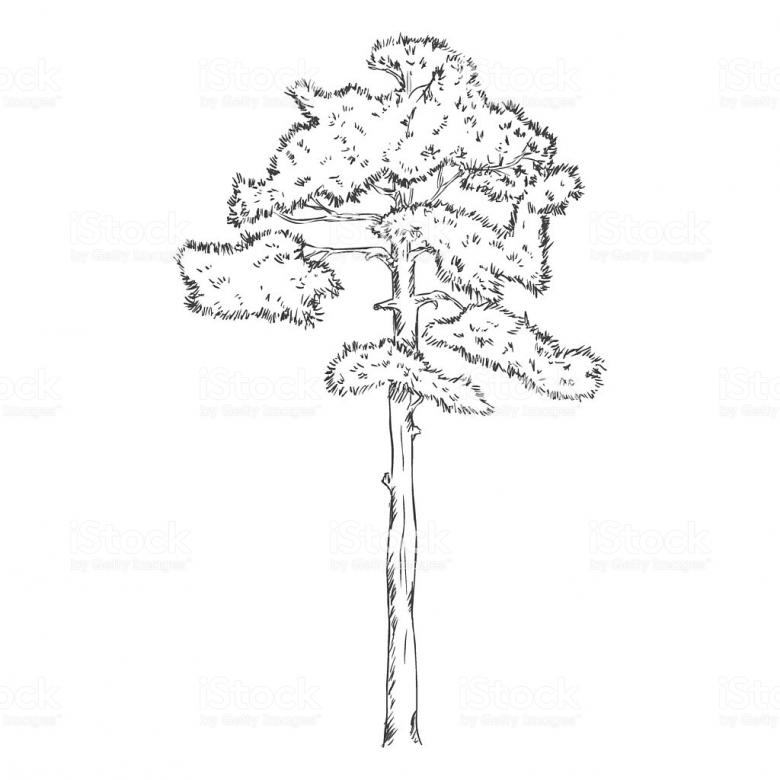
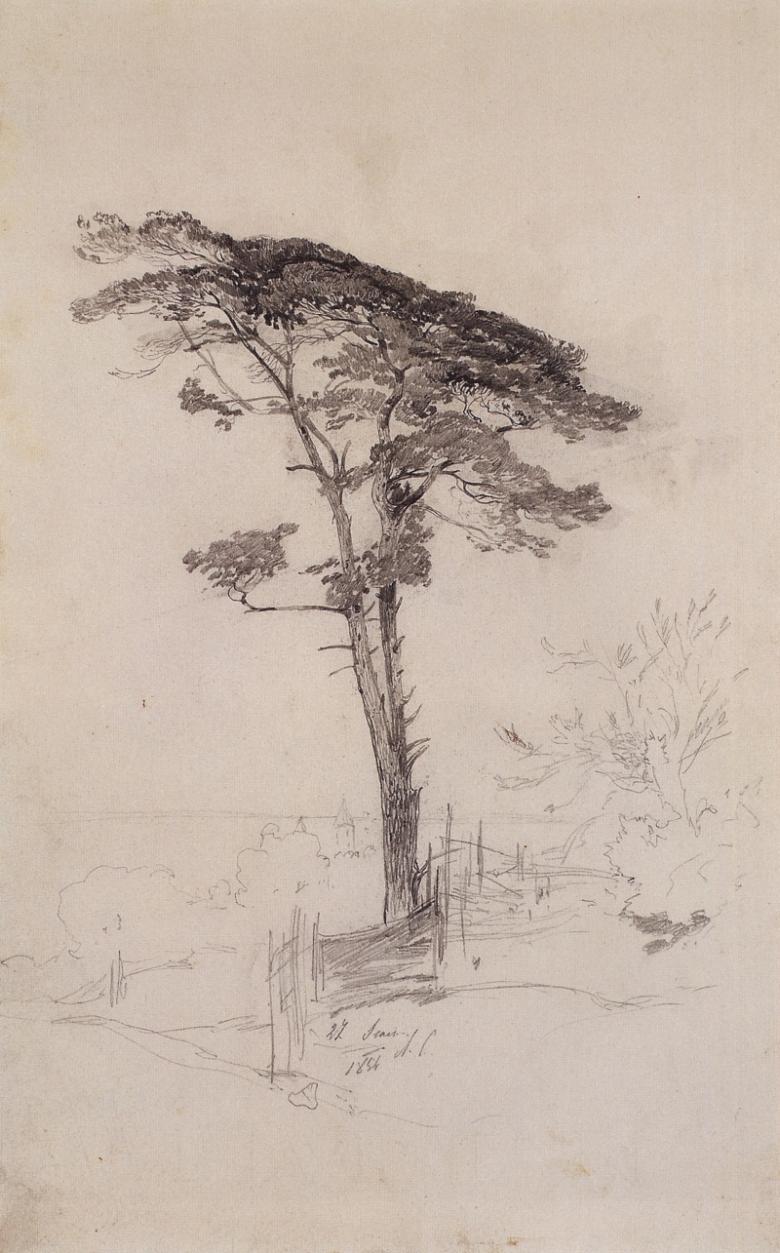
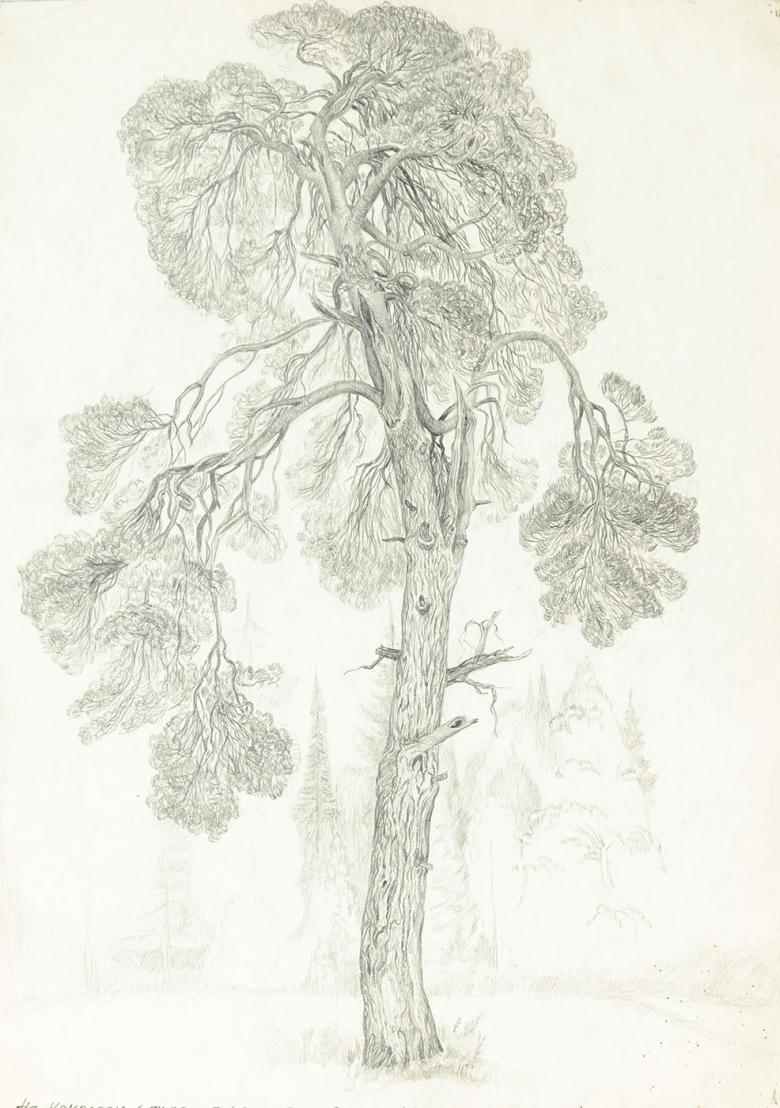
- The trunk must be depicted straight and thin enough. It is also worth knowing that in the field pine, the trunk may be bifurcated, starting at the level of the first quarter from the ground.
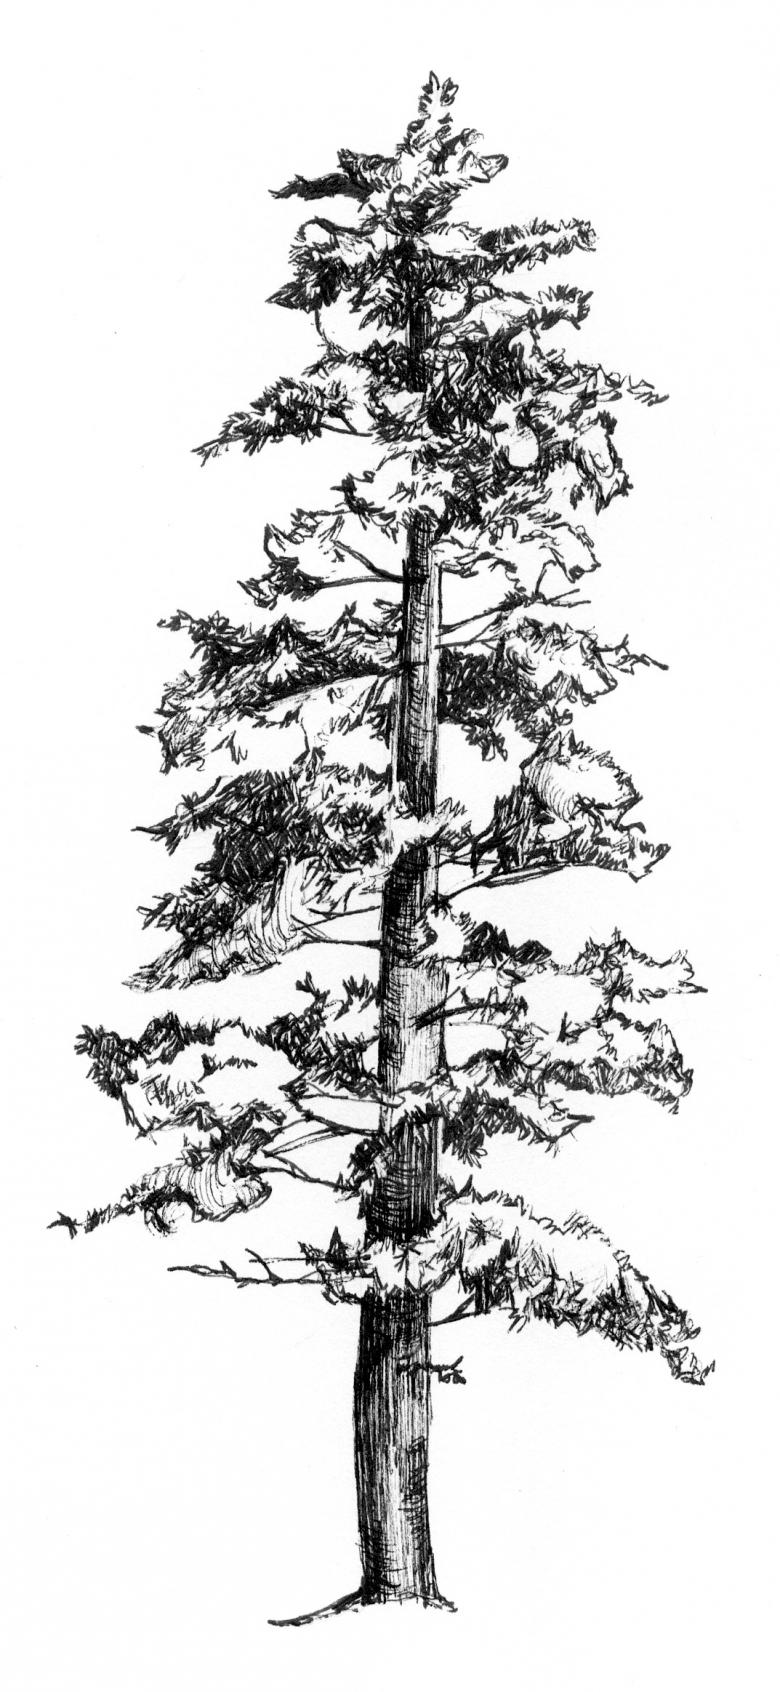
- To depict the bark texture, chaotic and short strokes are applied.
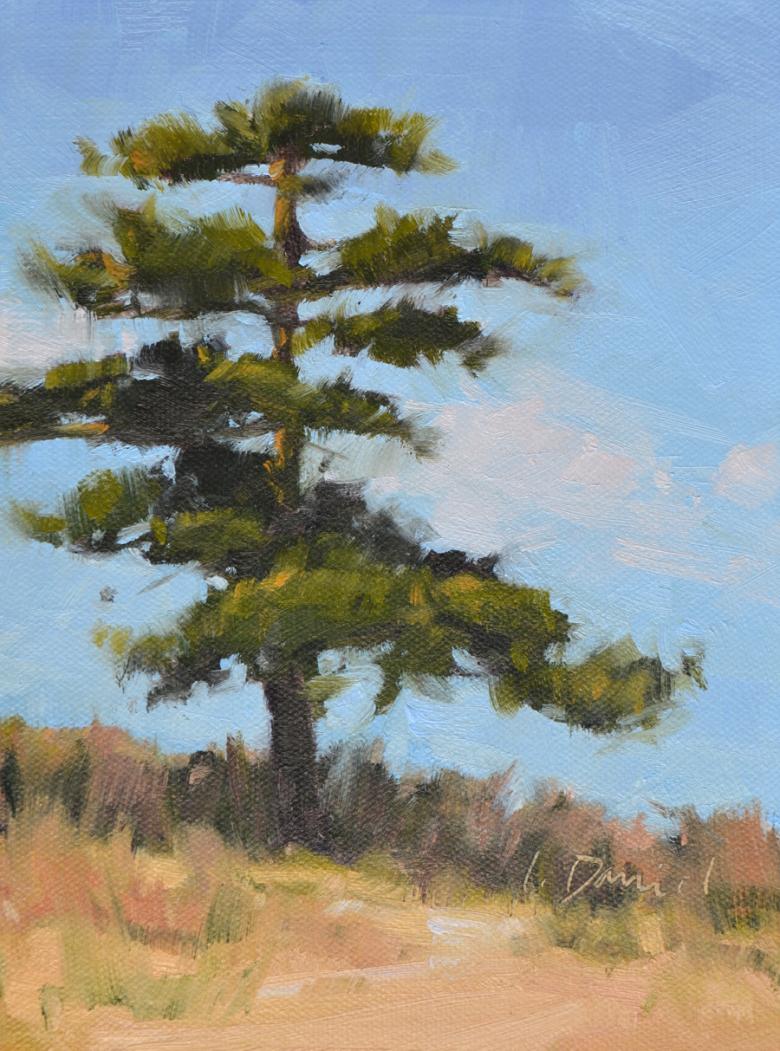
- Pine branches grow almost perpendicular to the trunk. They cannot be depicted with straight lines, because this would make the tree look unnatural. Lines are drawn fancifully curved and broken. It is better to divide the large branch into several smaller ones, which are also further divided as they move away from the trunk.
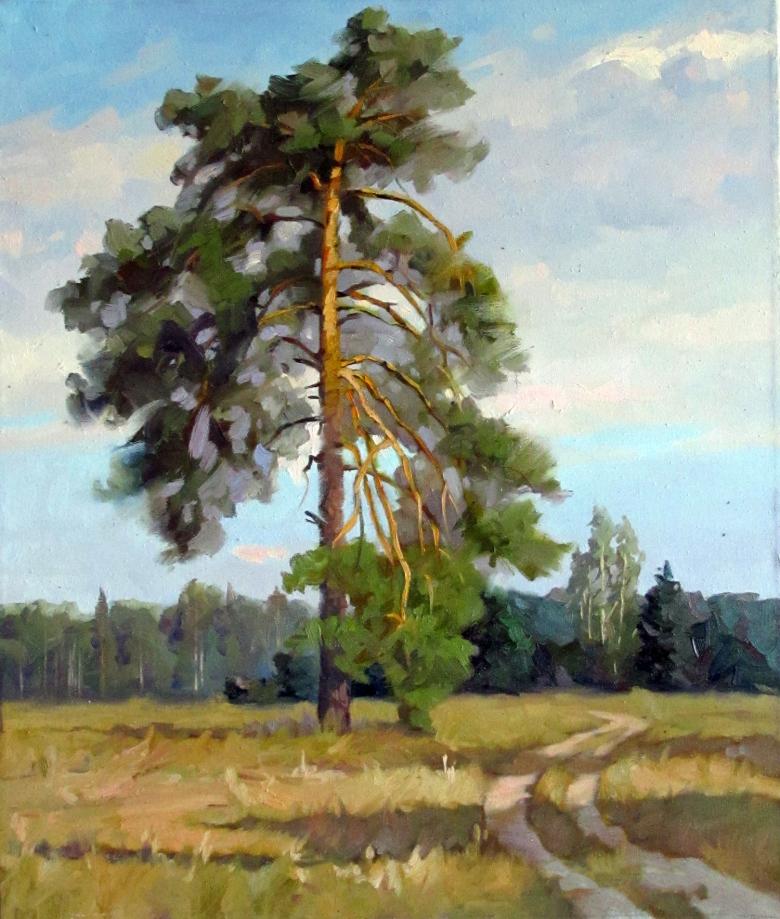
- The field pine differs from the one that grows in the forest. The first has a very dense crown at a distance of about two meters from the ground, and the second is almost completely devoid of branches.
- You can depict not only the branches growing on the sides, but also those that branch off the front and back of the trunk. The front branches should be thicker and shorter, and it is better not to draw the back branches in detail, depicting them with a few dashes.
- The needles should be shaded to represent the needles. The lower branches can be drawn bare, dry, broken.
- By shading deeper on the sides you can depict the cylindrical shape of the trunk.
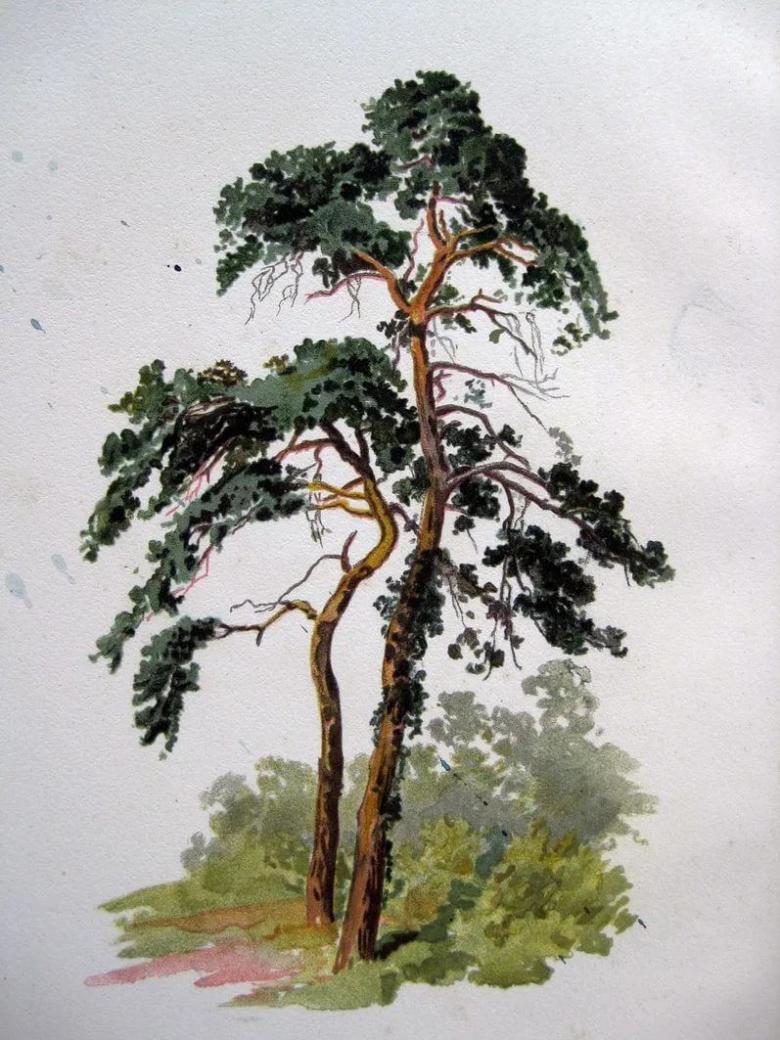
It is worth noting that it is necessary to draw a pine tree while observing the sequence of drawing its elements. Only in this way you will get a successful image. The main thing is to start with the larger parts and move on to the smaller ones. Coloring is done in reverse order. If you follow all of the above rules, you are sure to get the desired image on paper.

