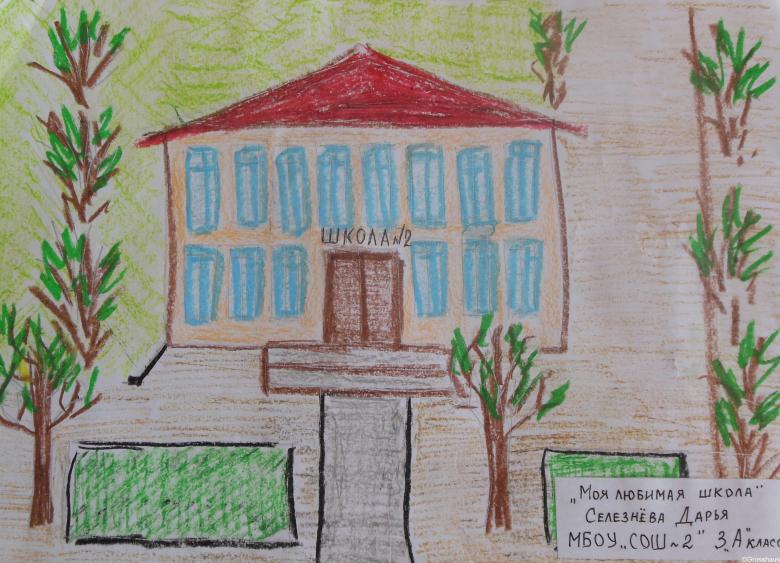
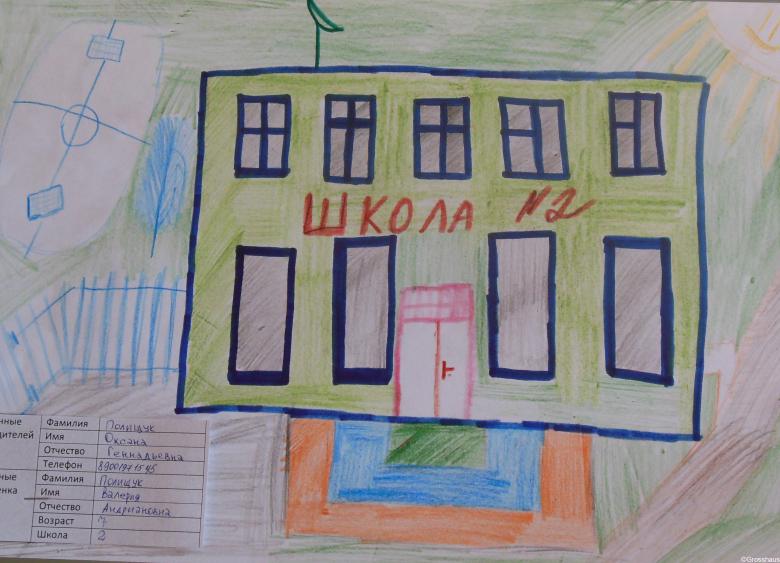
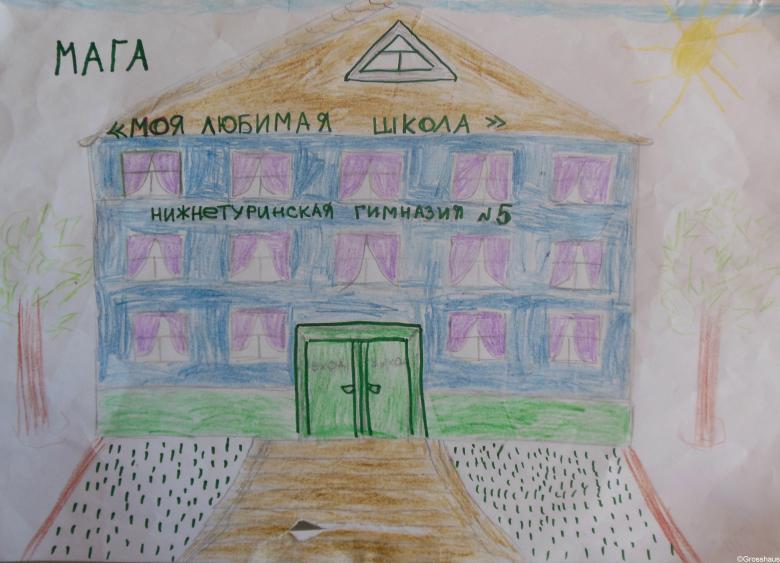
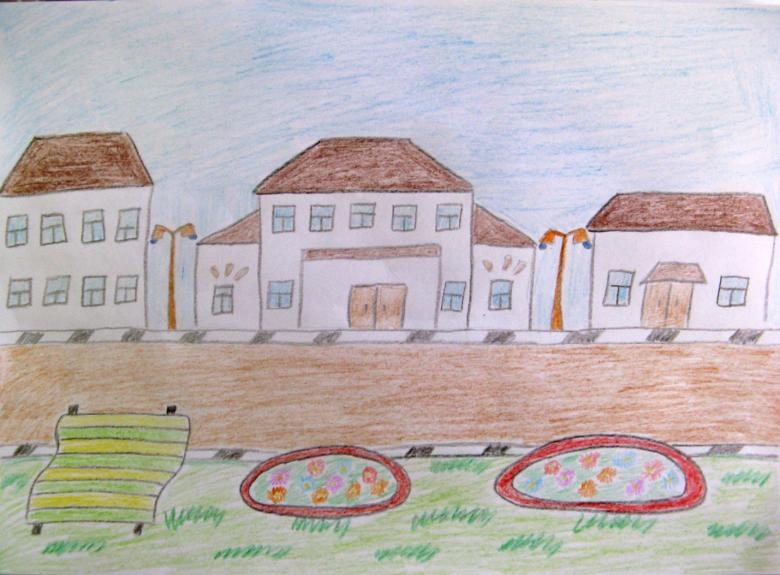
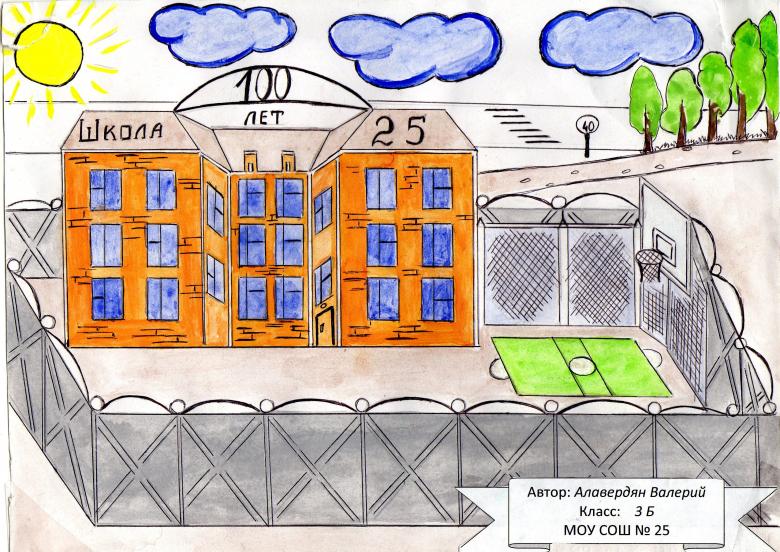
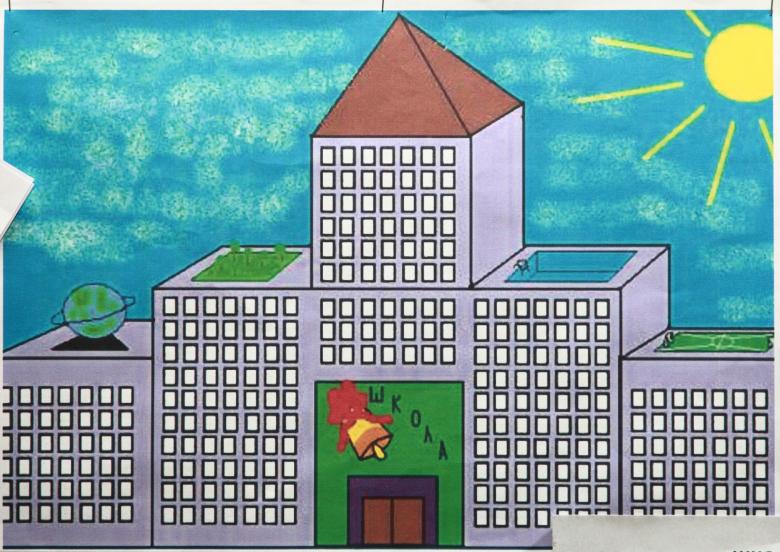
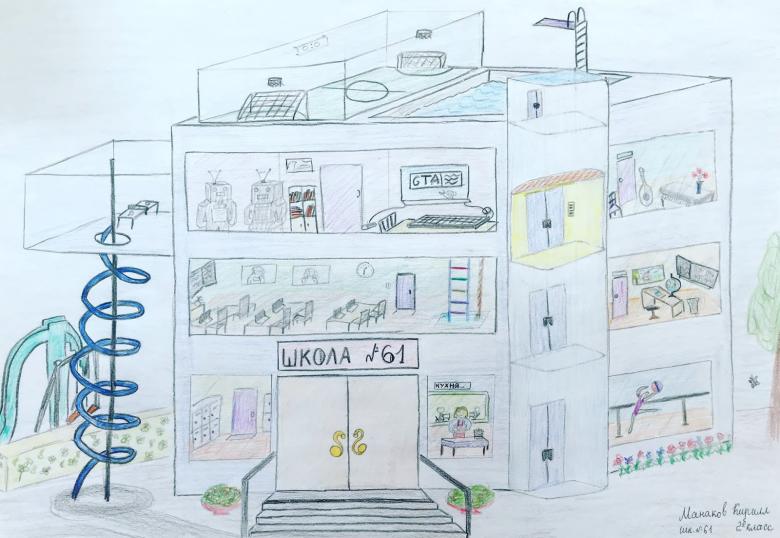
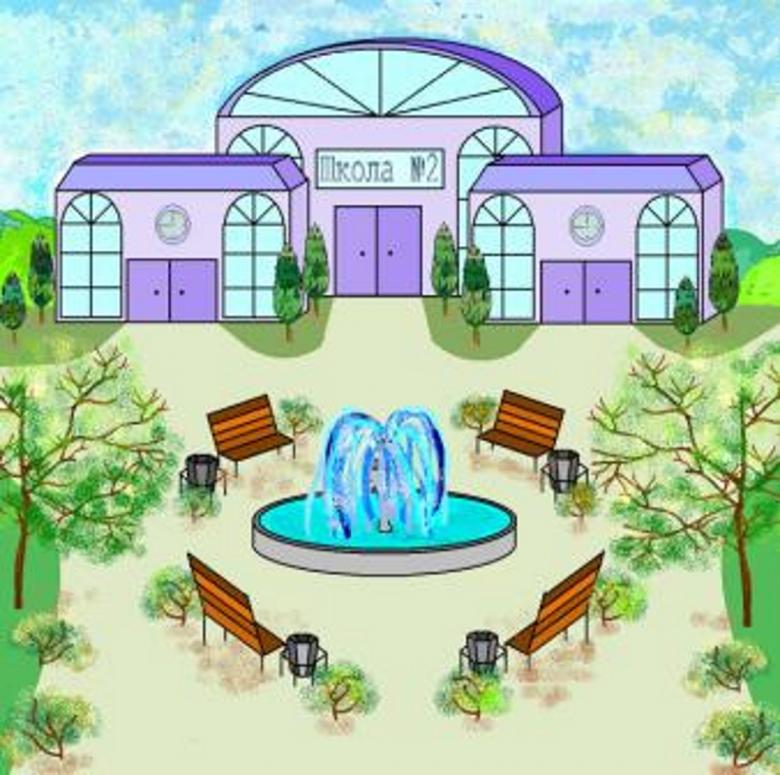
How to draw a school - ideas for drawings and tips on how to draw correctly
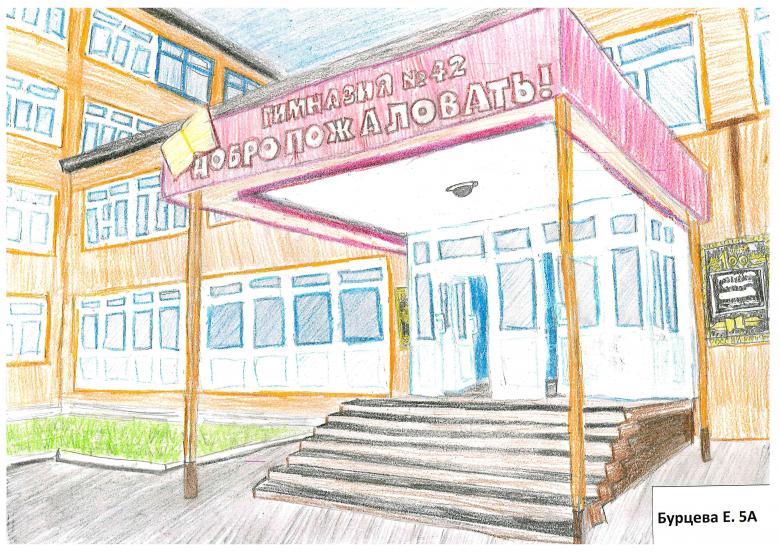
For any student, school is a second home. Because here the kids begin to make acquaintances with their peers, some of whom later become friends. In addition, children discover the attraction to study in a particular direction, and occurs the formation of their personality. Therefore, this lesson is devoted to the topic of drawing school step by step. First it is worth starting with the easiest way.
A simple example
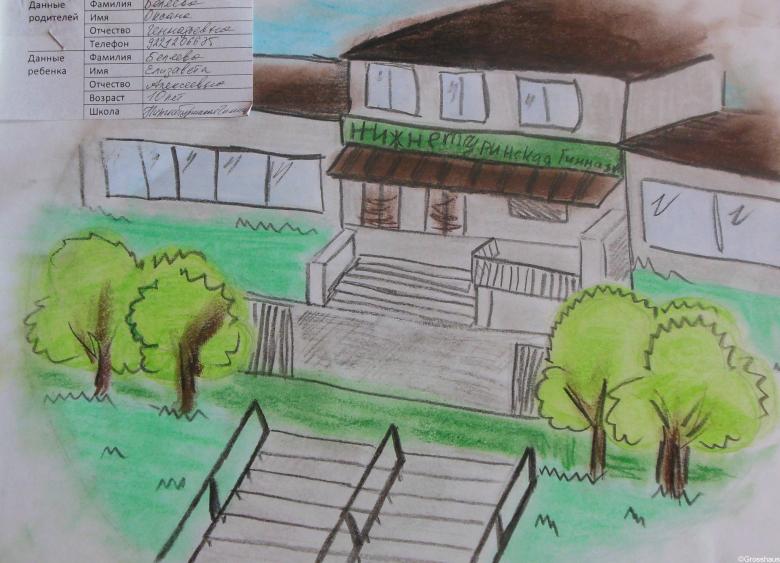
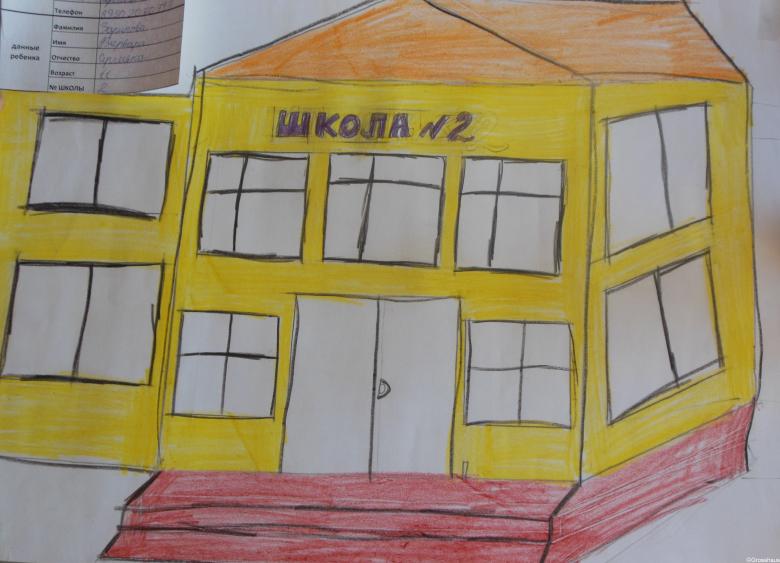
The topic of drawing an educational institution is very interesting, as any student would like to learn how to draw their school building. To make it easier to learn the technique of drawing, it is desirable to start creative work with a simple version. For work you need to prepare a sheet of paper, a simple pencil and felt-tip pens.

The step-by-step process of drawing:
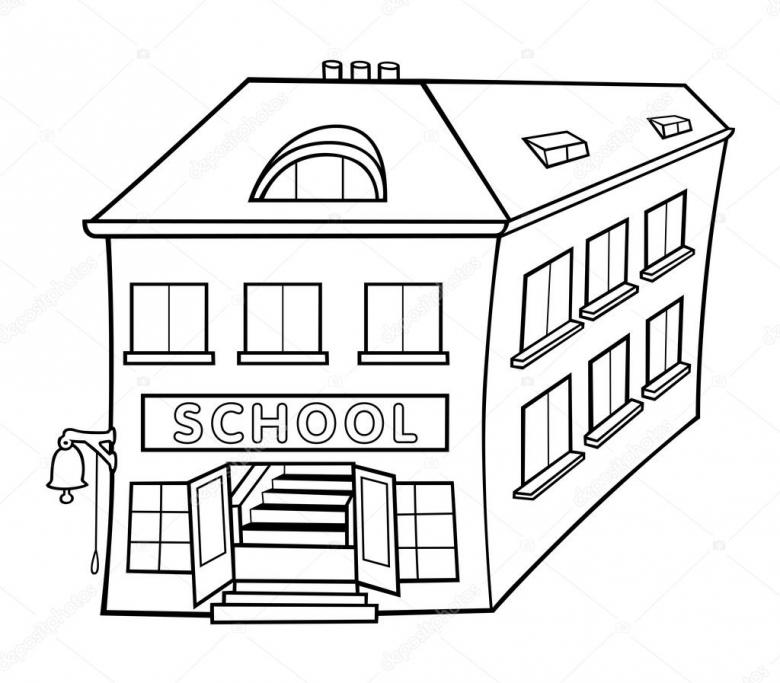
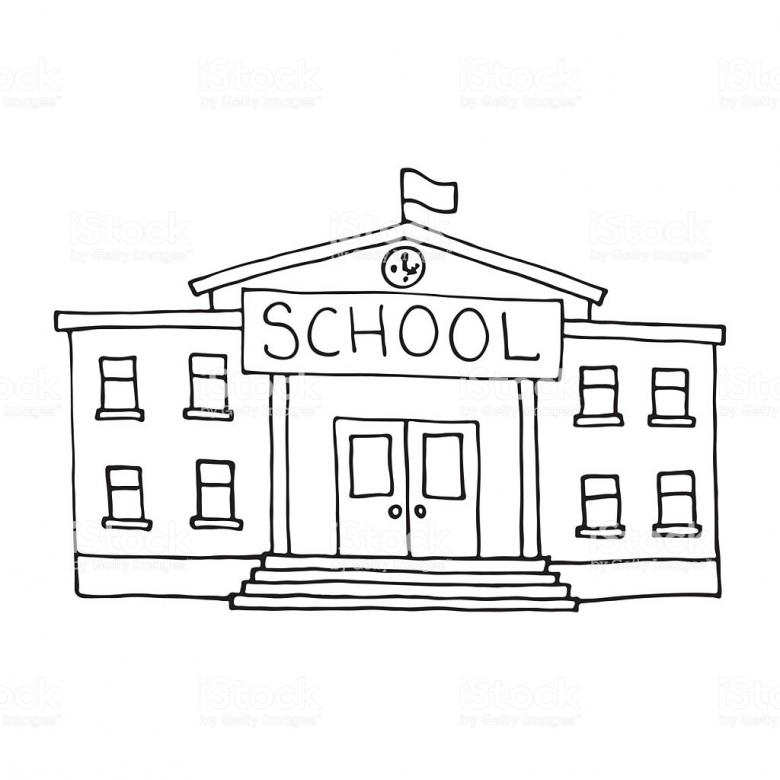
- Close to the top edge of the sheet, draw a horizontal line, leaving space on the sides. From the ends of the line to draw down sloping segments. Connect the bottom of them with a long segment.
- Under the resulting trapezoid, mark the boundaries of the building with a rectangle. Above it in the middle to draw a triangle with the base on the bottom side of the trapezoid and the top corner protruding beyond its upper side. Give thickness (no more than 0.5 cm) to this "attic" and parts of the roof located on its sides. At the top of the triangle to draw a circle with hands (a clock).
- From below in the center draw a trapezoid and line it with horizontals, then form these steps. Erase all unnecessary lines.
- Above the steps depict a rectangle, transforming it into a front door at your discretion.
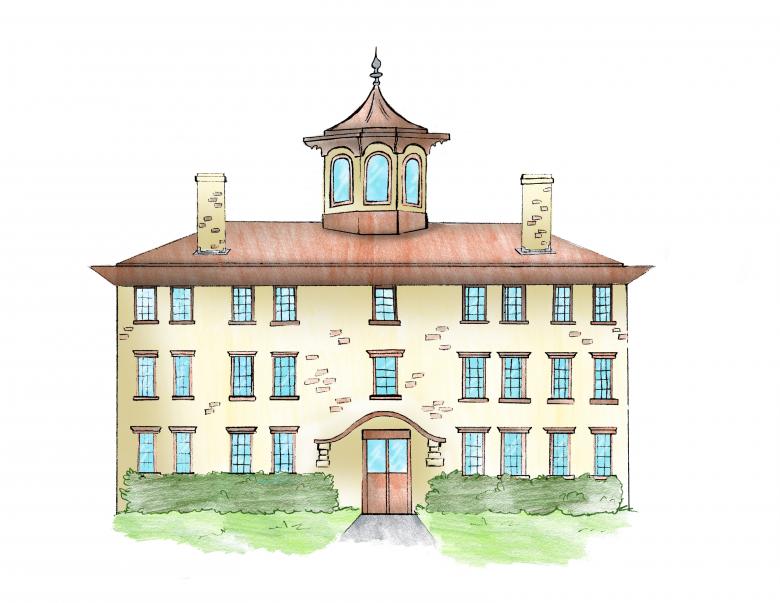
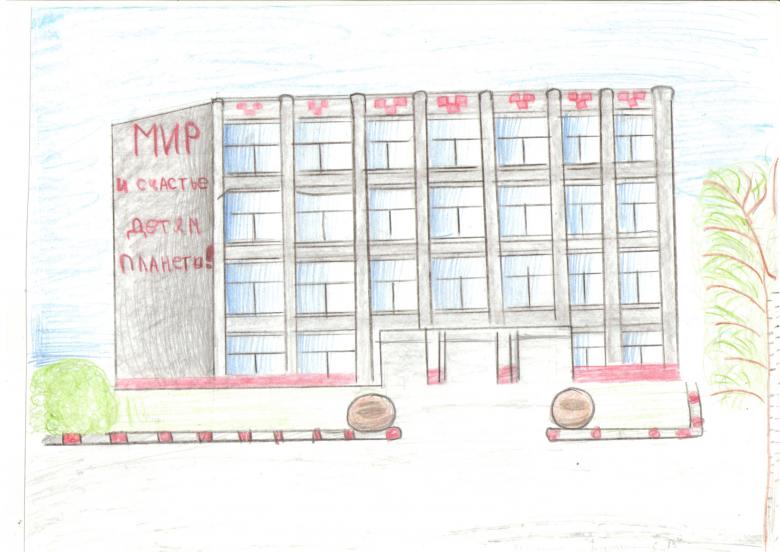
- Next, visually divide the building into floors and draw windows on them. Draw the front door. You can finish drawing the flag on top of the roof.
- Add additions to the main building, the drawing principle is the same as for the main part.
- Detail the image.
- Paint the resulting building complex.
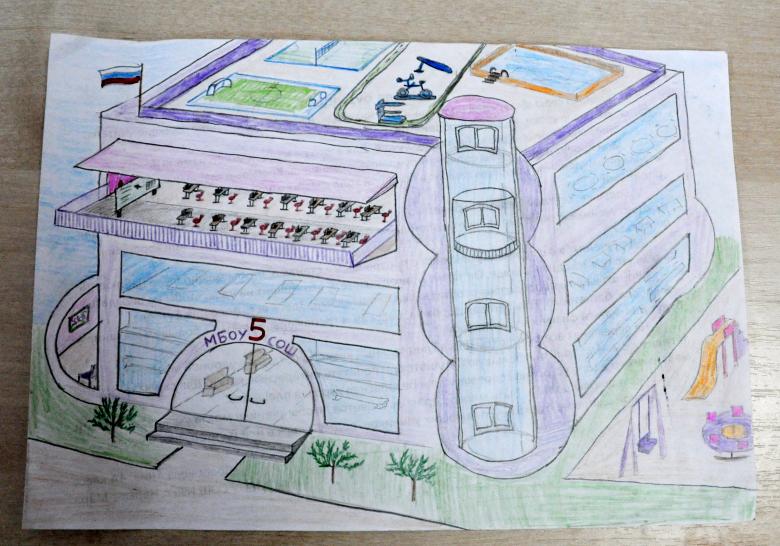
- It would be desirable to draw green lawns around the building. On the central part of the school you can make an inscription indicating the institution.
As you can see, everything is quite simple. The main thing is to follow the instructions and include imagination.

The classroom inside the school
In addition to the school itself, it will be interesting for children to depict the premises of the classroom. This work is more complicated than the previous one and requires at least a slight idea of projection. But if you follow the tips, you will be able to accomplish this task. For work you will need: pencils, ruler, eraser and scrapbook paper.

Let's get creative:
- A little away from the center to the right, draw a vertical segment that reaches the top and bottom of the sheet. From the top of the segment take two double lines in different directions to the corners of the sheet, these will be the boundaries of the walls and the ceiling. From the bottom also deduce a single line - the boundaries of the walls and floor.
- On the left wall, create a rectangular projection of two windows, complementing them with window sills and window frames.
- On the right wall, draw a board with two sashes on each side, add a shelf underneath for a pointer, a cloth and chalk. Above it draw a long lamp.
- In front of the board depict the teacher's desk.
- Starting from the left wall, draw the desks and add seats, backs and legs to them. Place square lamps on the ceiling.
- Drew the missing details, if desired, you can add something of your own.
So you get a picture of a schoolroom. The picture can be painted in appropriate colors.

With the addition of children
Not stopping there, you can depict the institution with the children going to class. For this you will also need: pencil, eraser, ruler sheet of paper and felt-tip pens.
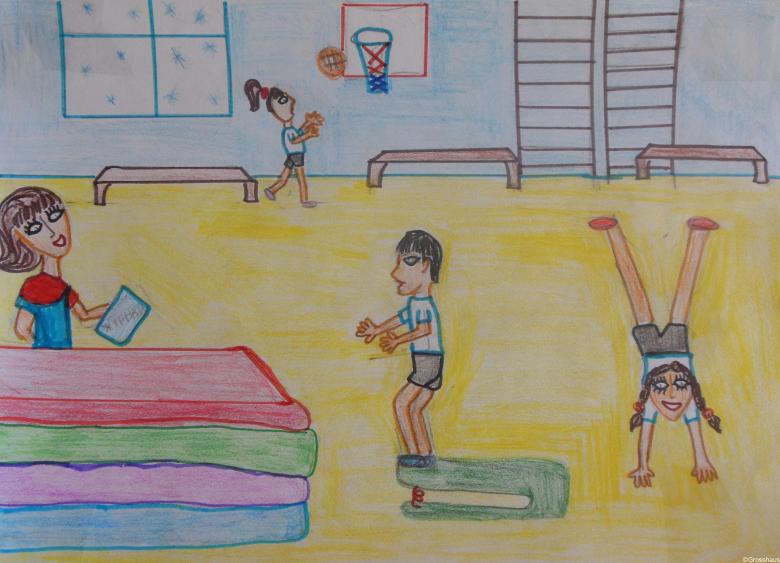
Drawing step by step:
- Create an outline of the main part of the school according to the simple lesson above.
- Put a schematic outline of two students in the foreground. Mark their heads with ovals. Draw auxiliary lines to form their bodies. Draw arms and legs. Create shapes of bodies and shoes.
- Draw details of body parts, head and face. Draw satchels.
- Erase unnecessary strokes. Paint the image.
Everything is simple, the only difficulty is drawing schoolchildren. But if you try hard, you can cope with everything.
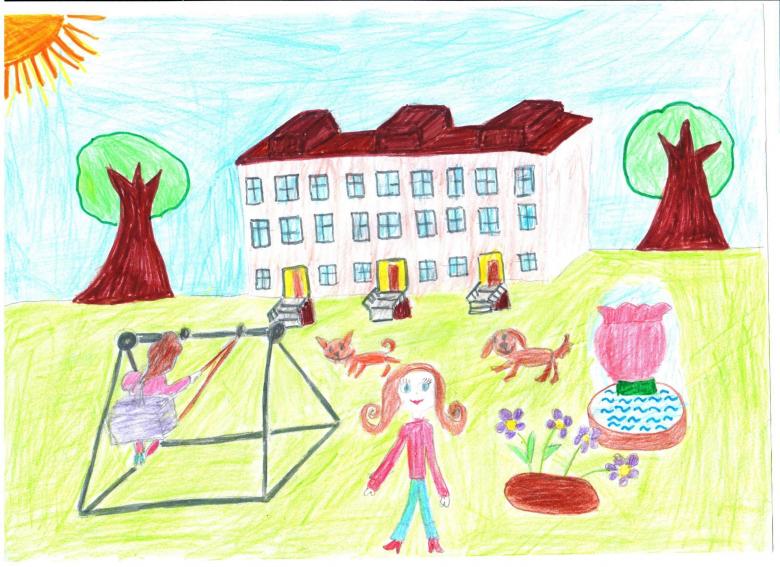
The beginning of the school year
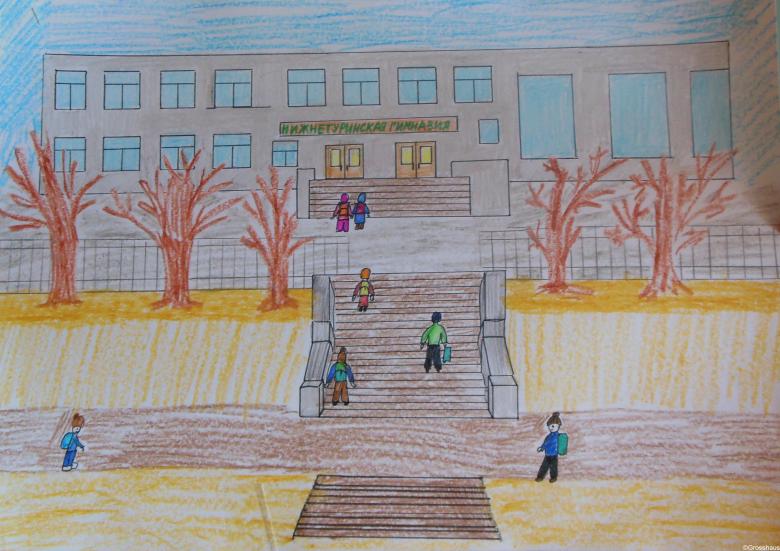
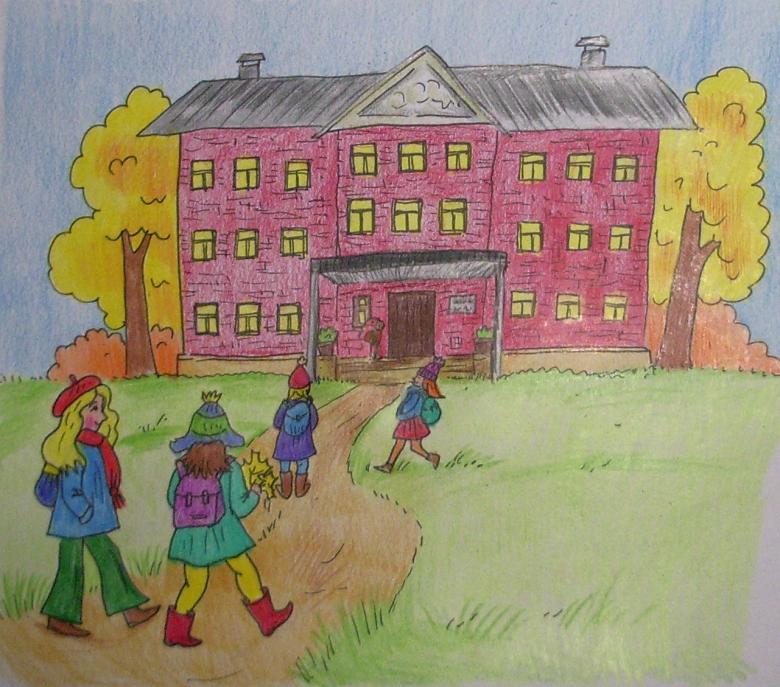
Internet users will not be difficult to find master classes of interesting drawings of the school. One of the options will be the image of the school in the fall. For this creative activity you will need: a sheet of scrap paper, a pencil, an eraser, a ruler and a set of colored pencils.

Once you have everything you need, you can begin:
- Draw a simple version of the main part of the future school. From its entrance, draw the borders of the path.
- Sketch some children at the front end of the path.
- Sketch trees and bushes on the sides of the building.
- Draw details of children's silhouettes, add two more people a bit in front. Finish off all the details with more expressive lines and remove unnecessary eraser dashes.
- Color the picture, starting with the path. On the sides of the grass with a green pencil. Color trees in yellow and orange. Brown for trunks and branches.
- Paint the sky blue. Color the building and people.

All these drawings are not very complicated, but for beginners it is desirable to adhere to the basic rules of drawing. With time, real masterpieces will come out.

