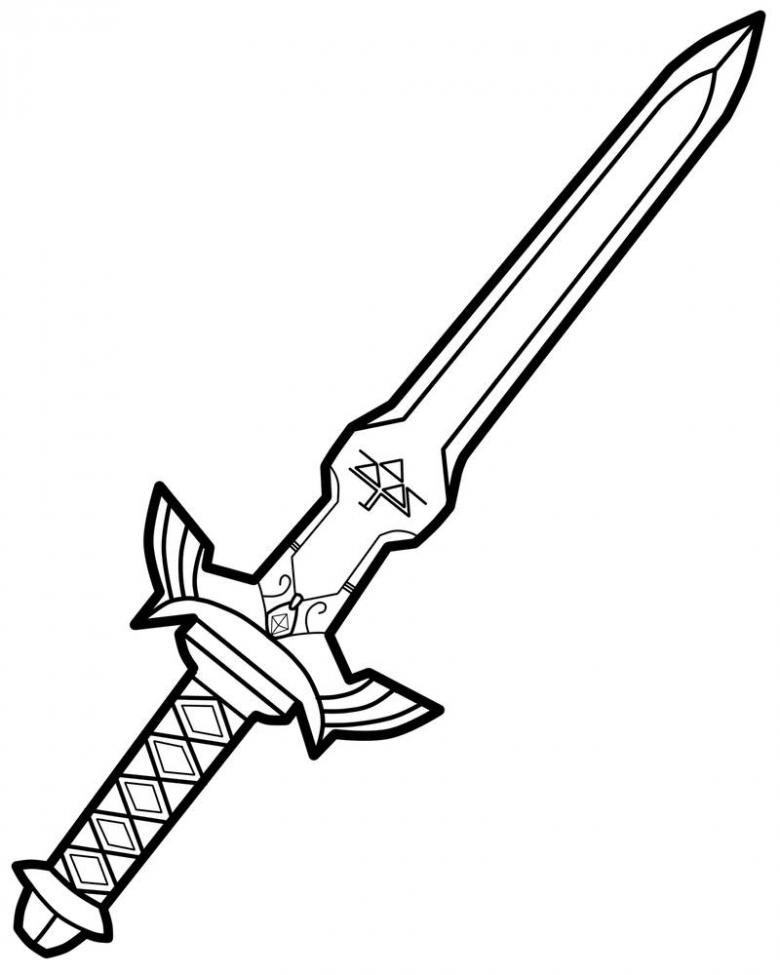
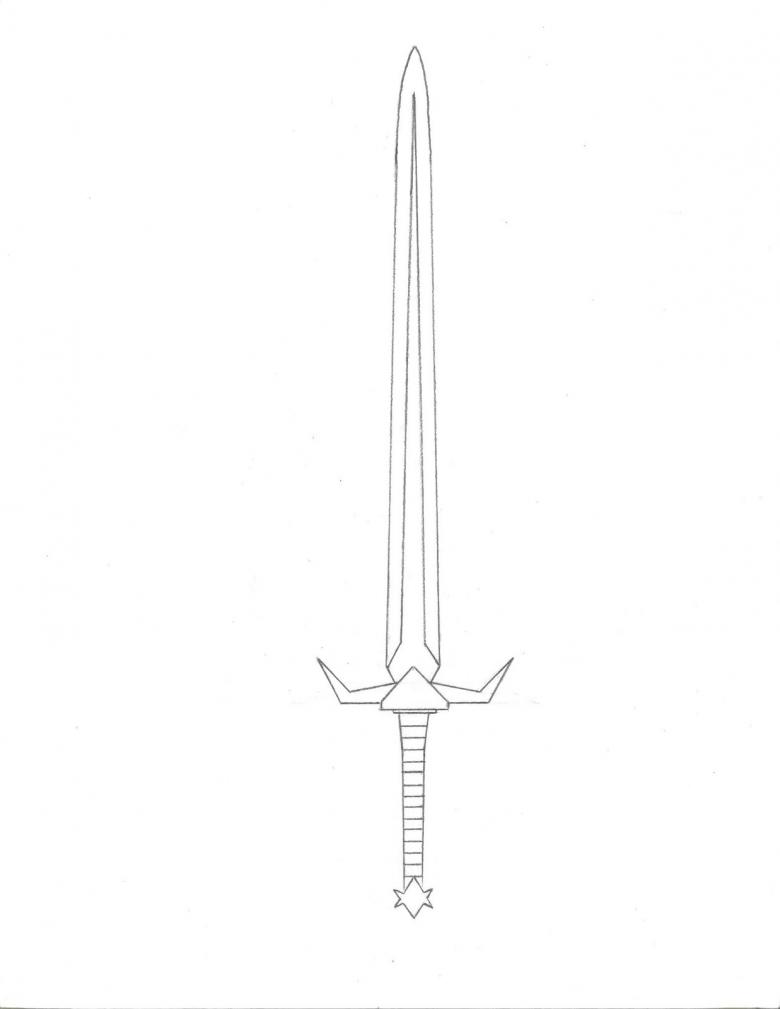
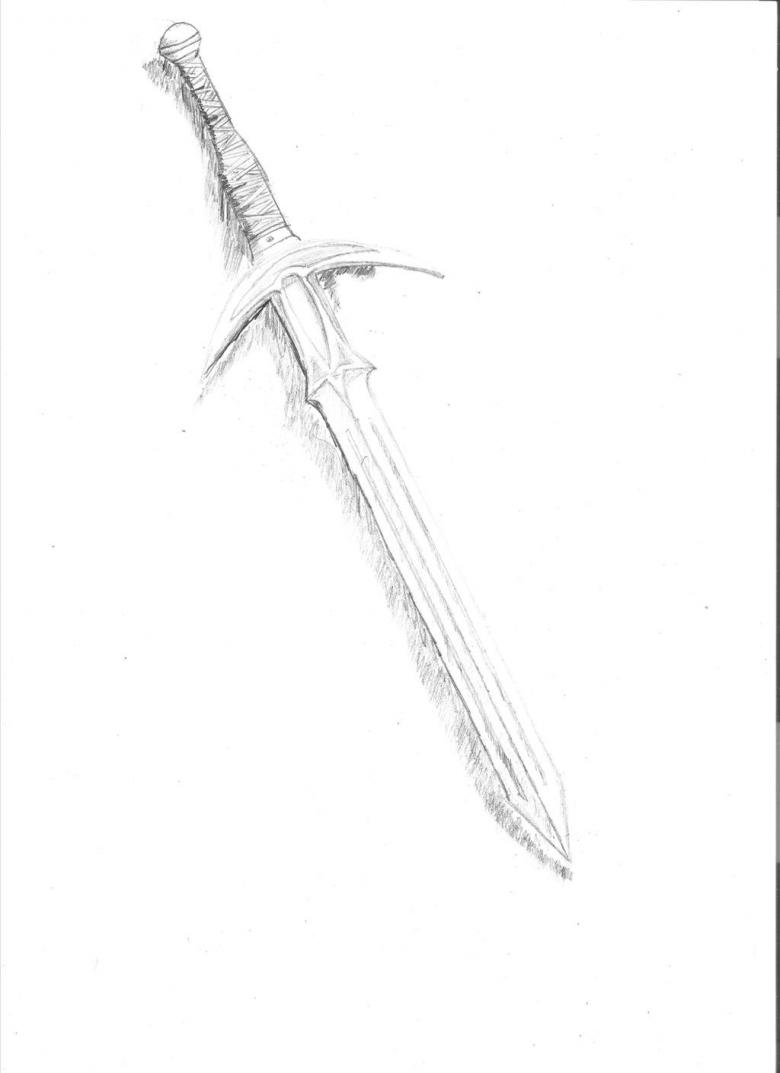
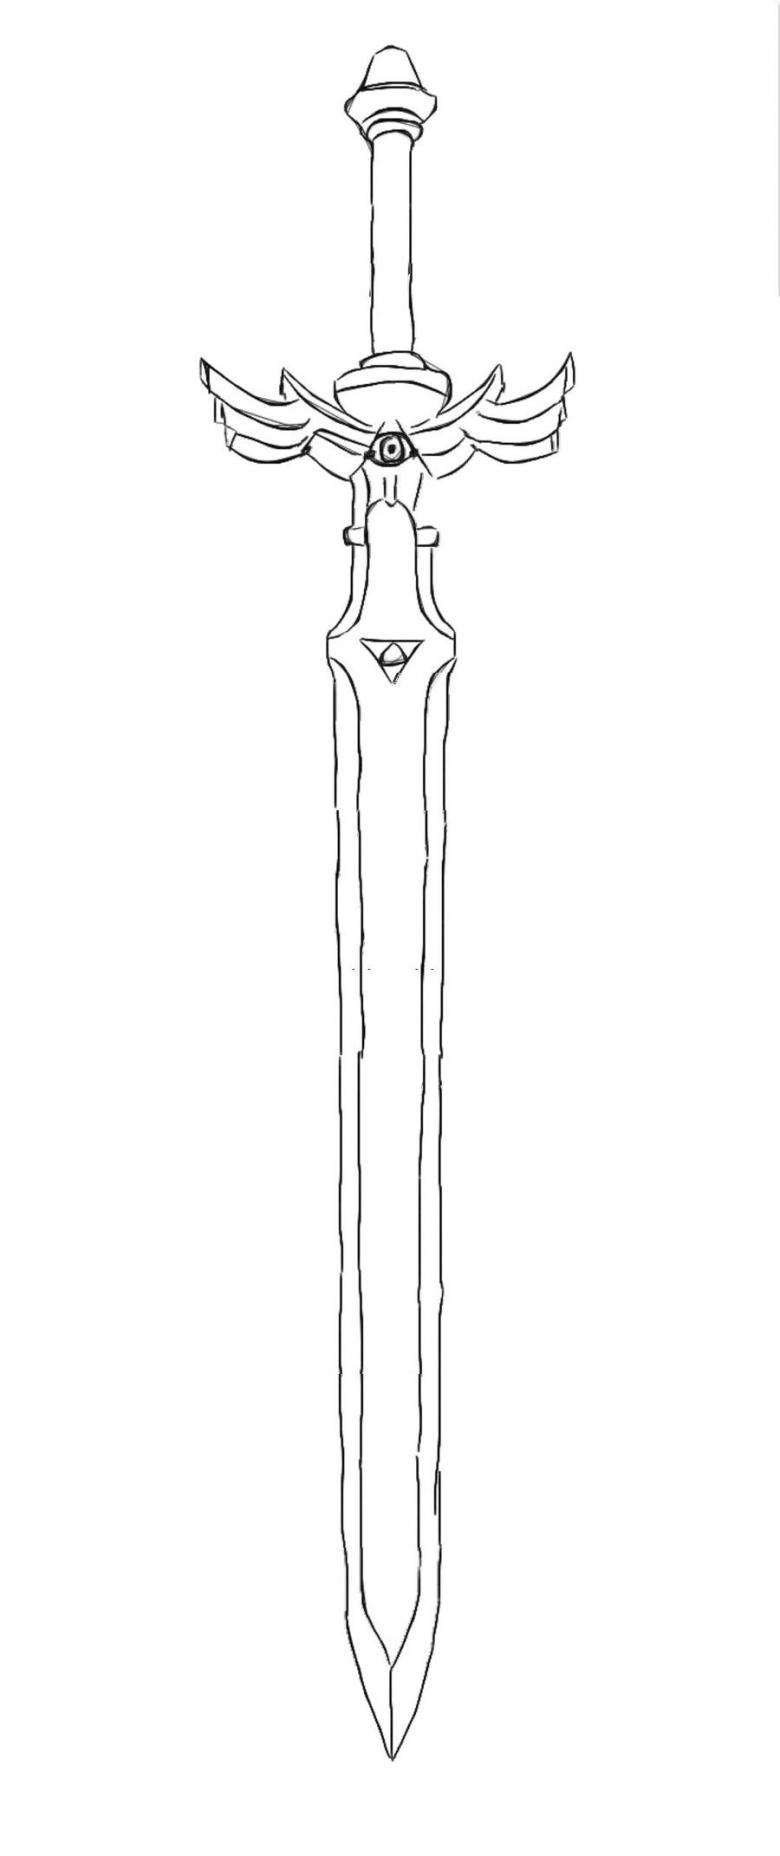
How to draw a sword - a detailed step-by-step master class for beginners
In the mind of many artists there are tempting fantasy images of ancient heroes, striking enemies, but here ... to translate it into reality does not work. It's hard to come up with armor and weapons, and even harder to draw them on paper. Today's master class will tell you how to easily draw any sword.
What kind of swords are there?
Swords are edged weapons that have become widespread both in Europe and in the Far East. Cold weapons are divided into two large groups - swords characteristic of the culture of chivalry, and swords representing the culture of the East. Persian and African weapons are less popular and more difficult to depict.
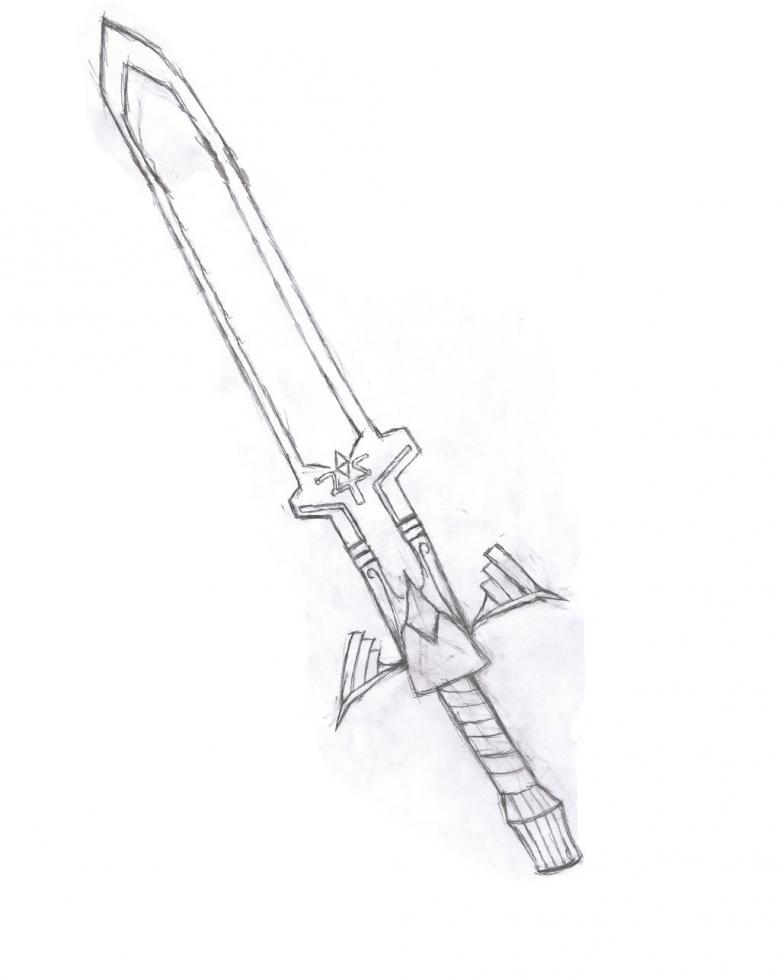
There are people who collect ancient swords, daggers. The younger generation has found a new hobby, and now reconstructs ancient blades with the help of the computer, for example, in the computer game Meinkraft.
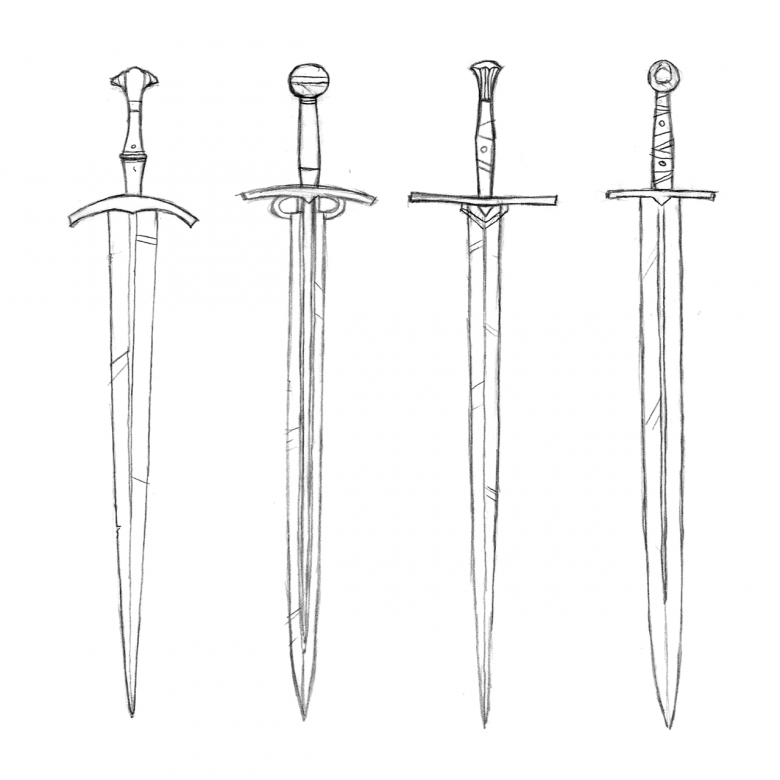
Sword design
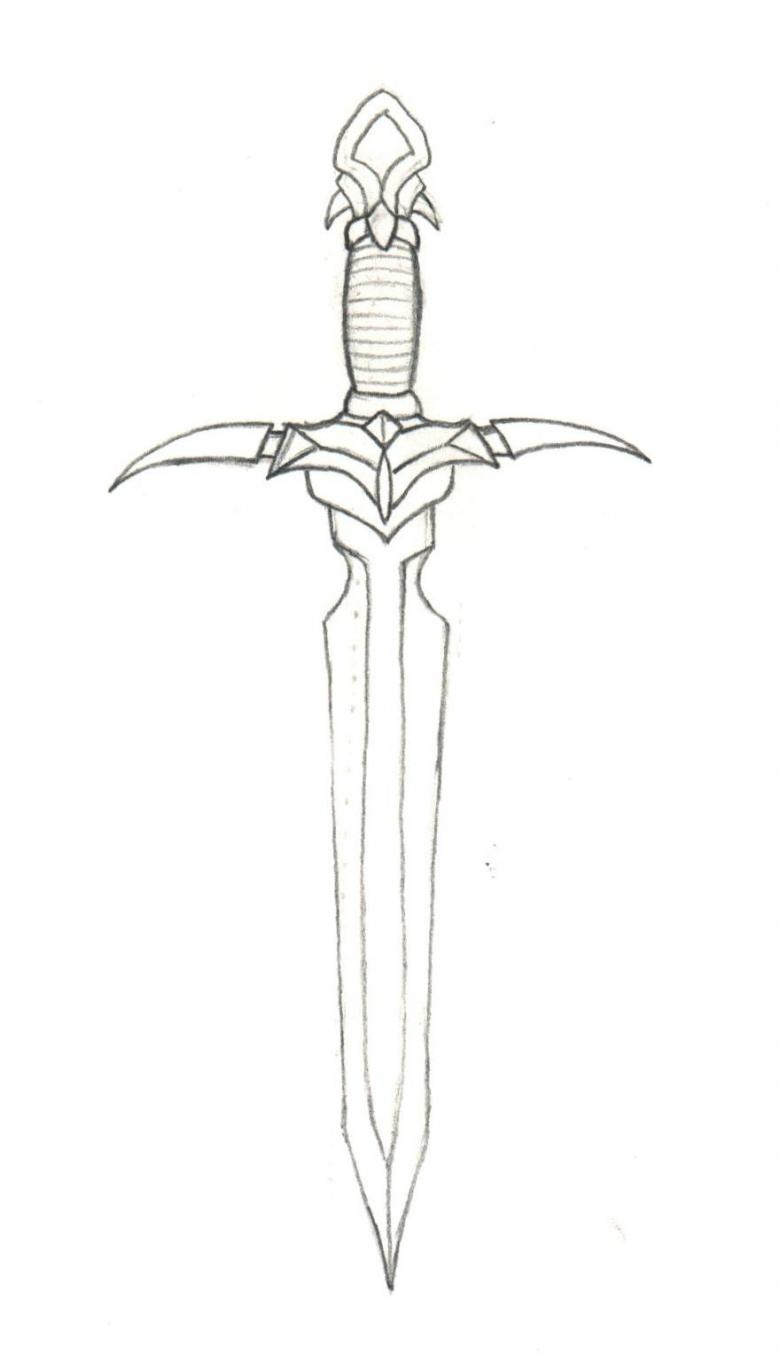
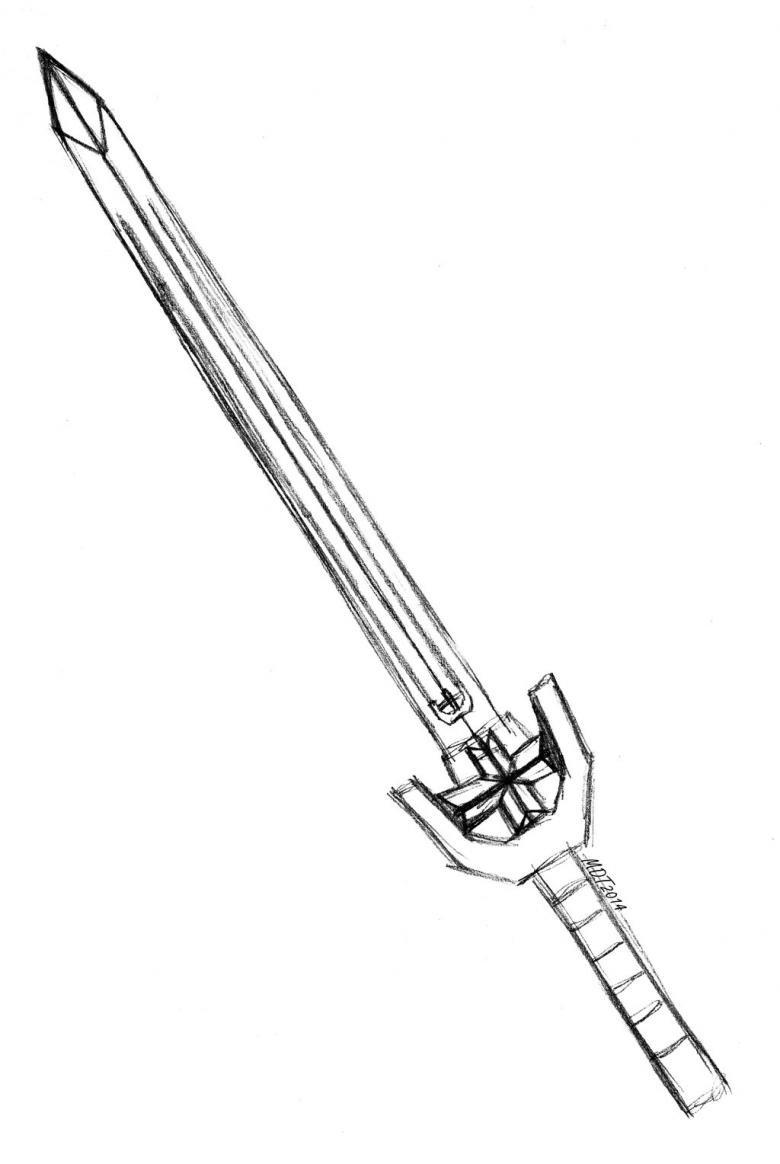
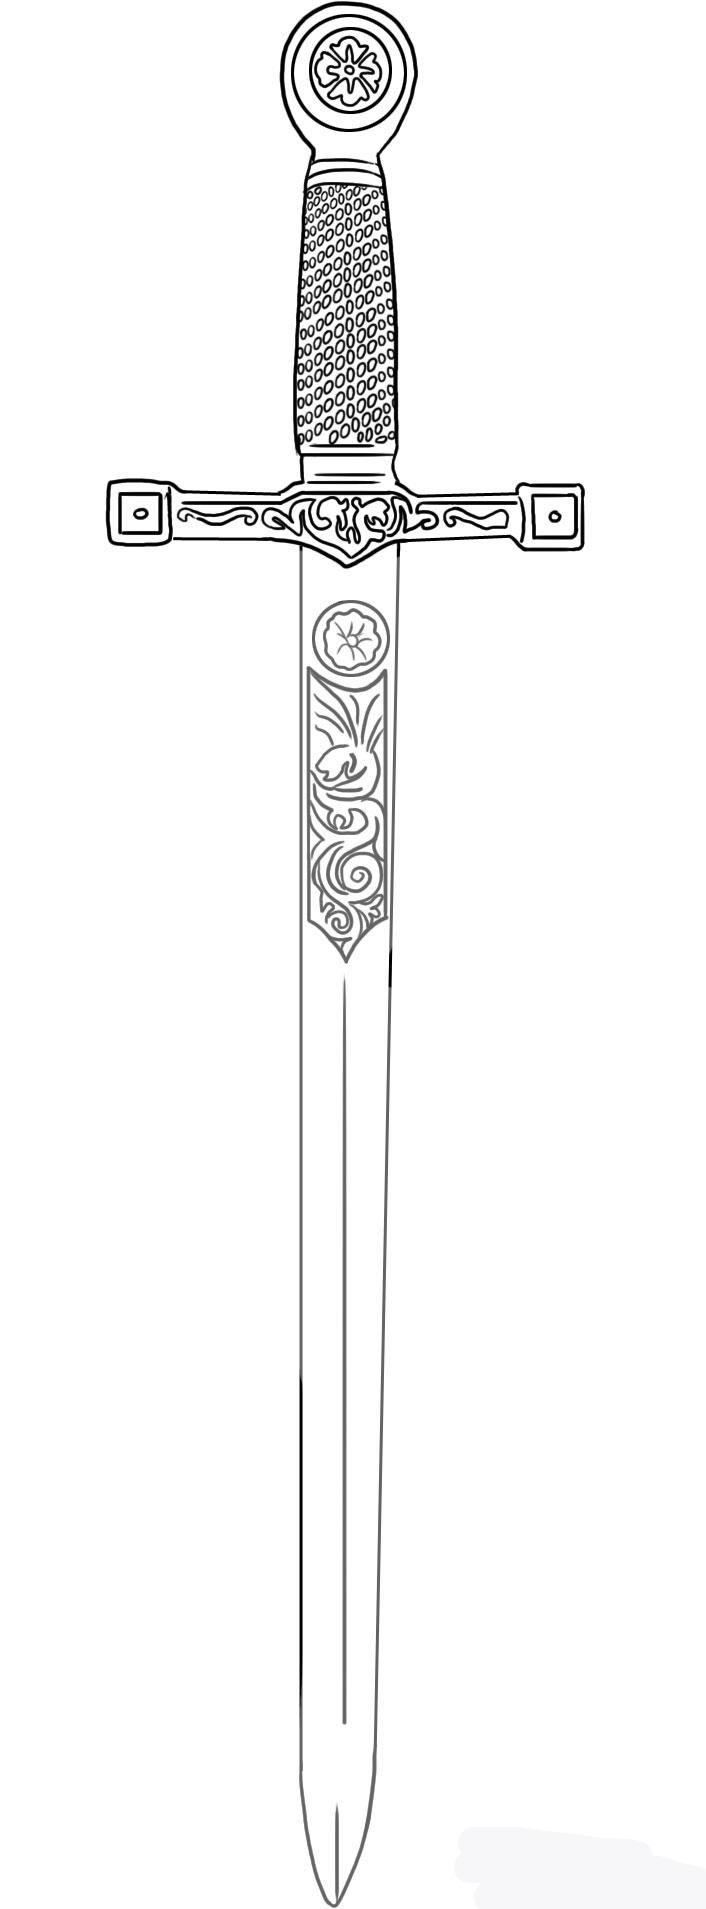
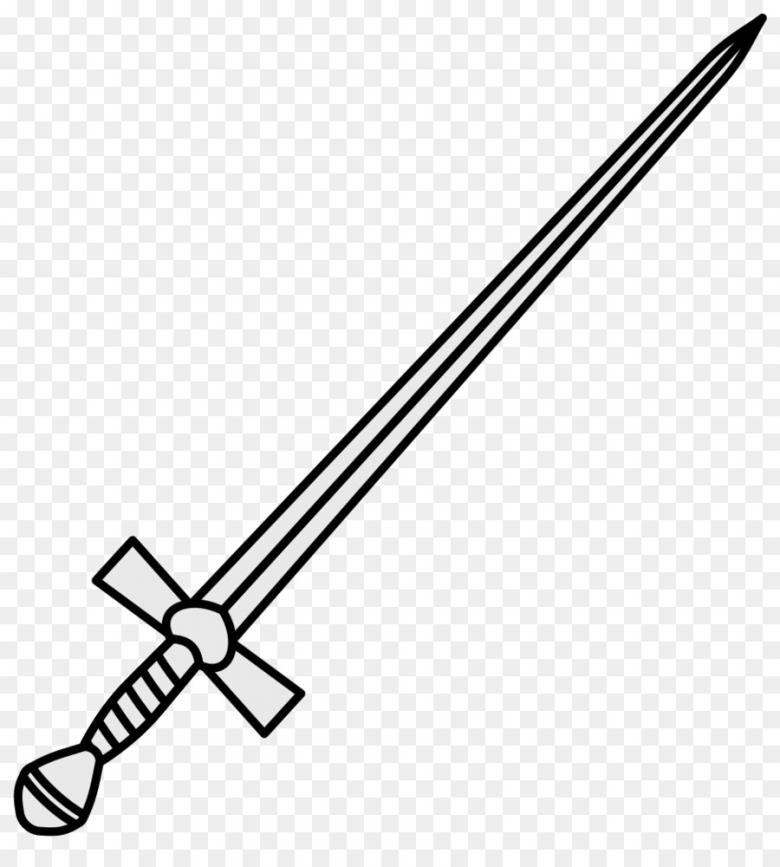
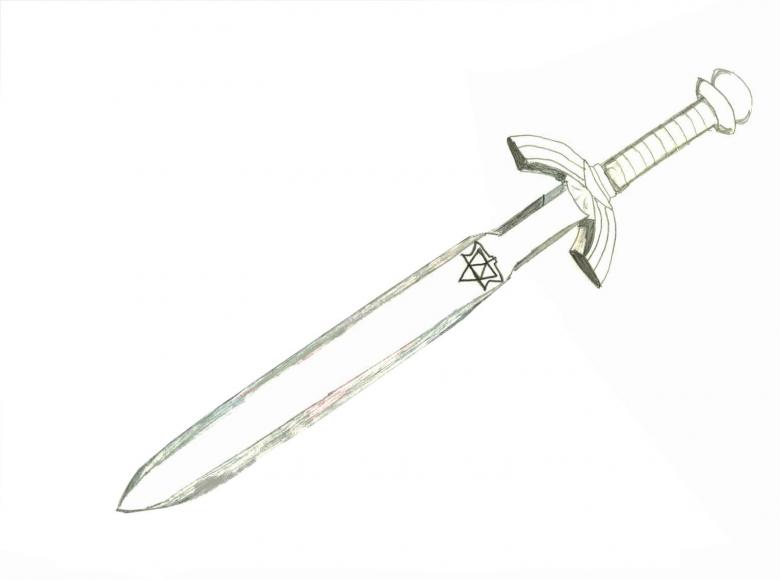
If you break it down, the construction of the sword itself is quite simple and includes the blade itself, the guard, and the hilt. The hilt of the sword is a crossbody with a tip.
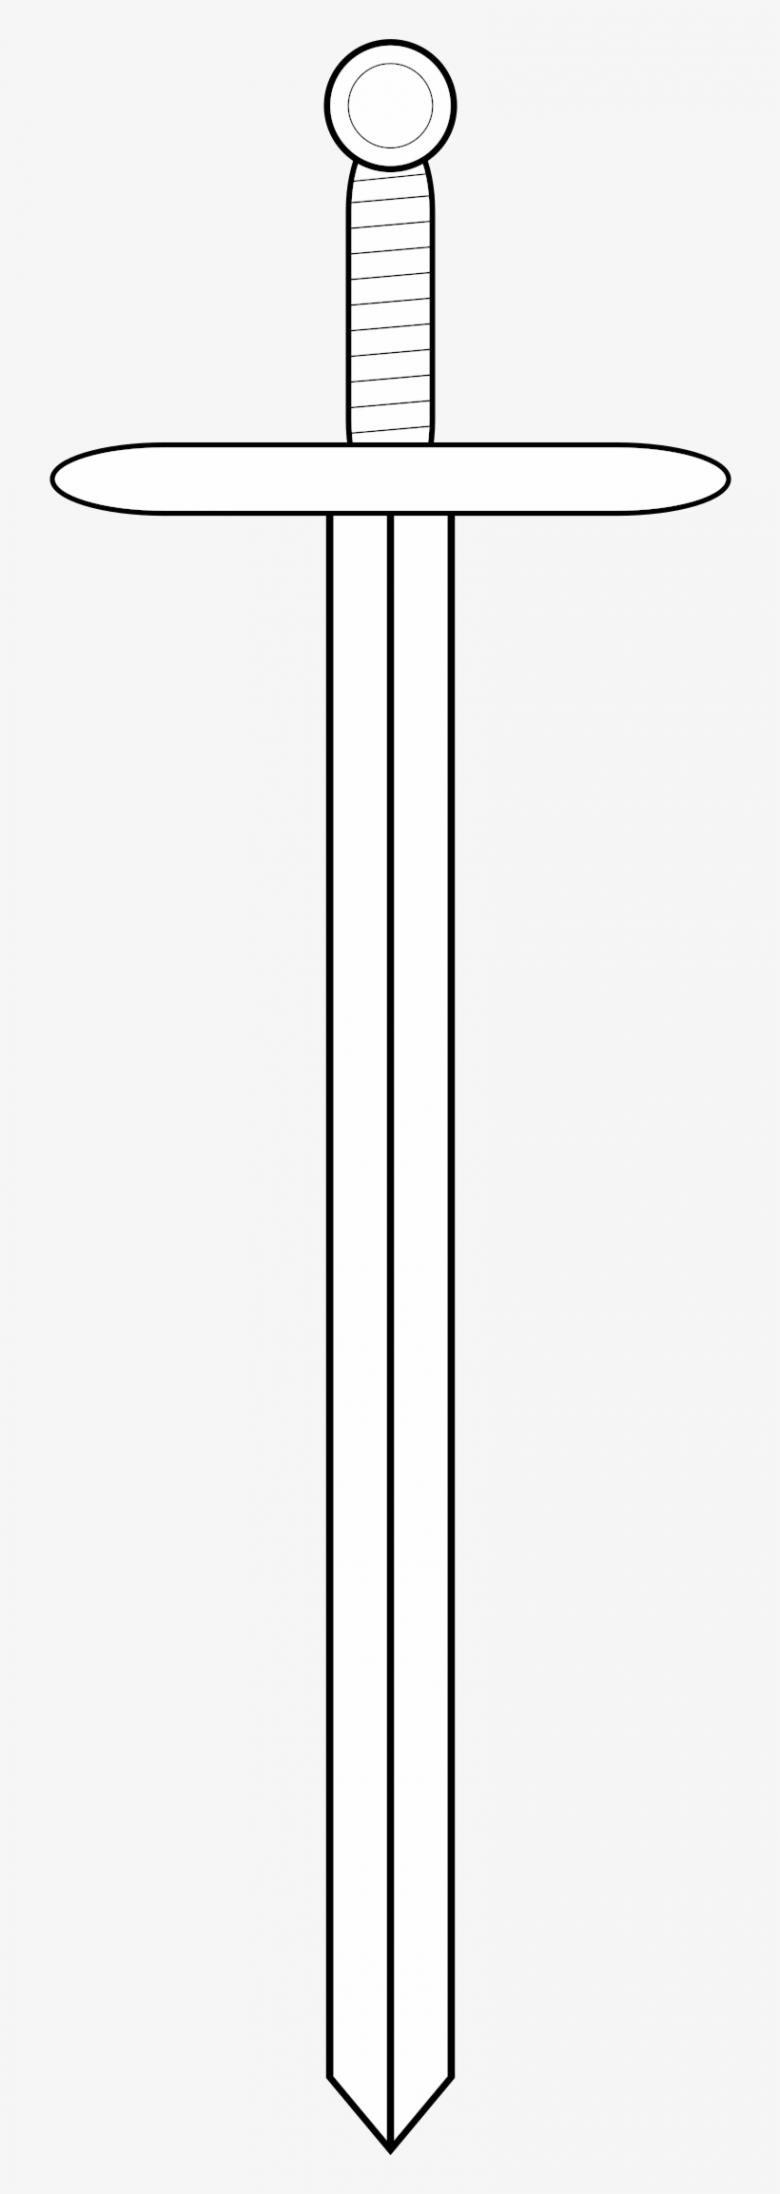
The blade is somewhat simpler and consists of the blade itself, the body and the shank. There are three shapes of blade - rhombus, hexagonal and lens. Any one has a balance that is provided by a dol that adjusts the stiffening rib. This makes the sword lighter and more maneuverable.
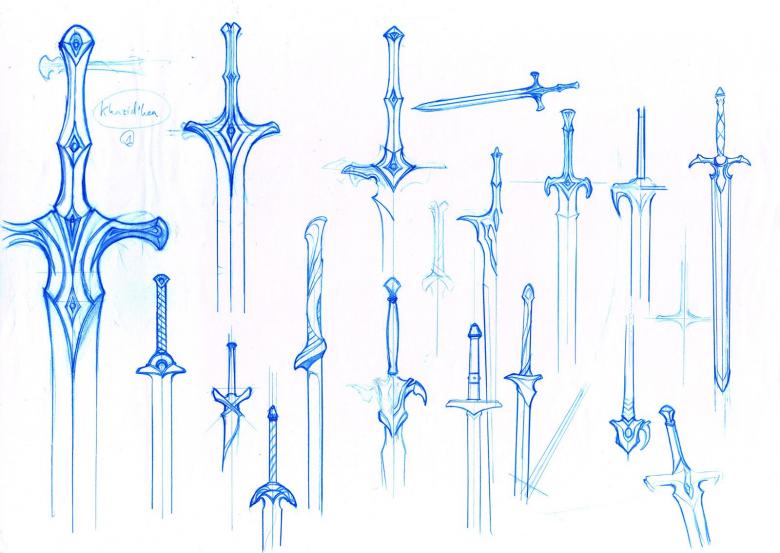
In turn, the garde or crossguard is usually drawn more complex, with many decorative elements attached to it, including the hilt.

Working on the drawing
Once you understand the construction of the sword, you can begin a step-by-step drawing lesson. For the drawing you will need:
- A sheet of paper;
- Medium or soft pencils;
- Eraser.

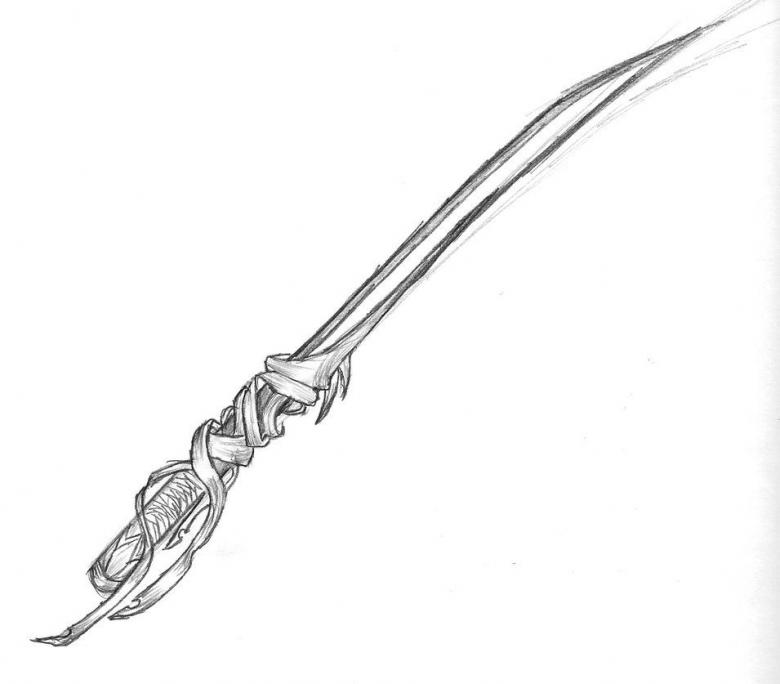
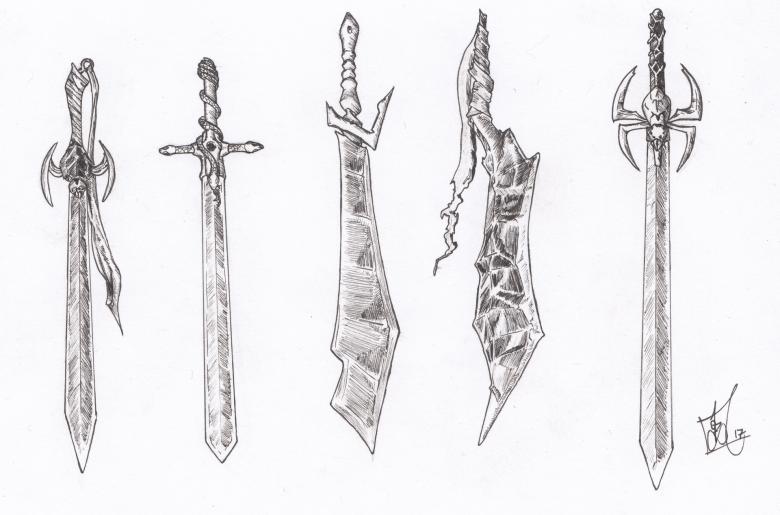
Basically, any sword has a geometric shape that has symmetry, so the drawing will directly depend on the choice of form of the sword. First of all you need to choose what kind of sword you want to represent: a heavy two-handed, half-handed, straight, short Greek, oriental sword or bent, typical of the weapons of the Middle East.
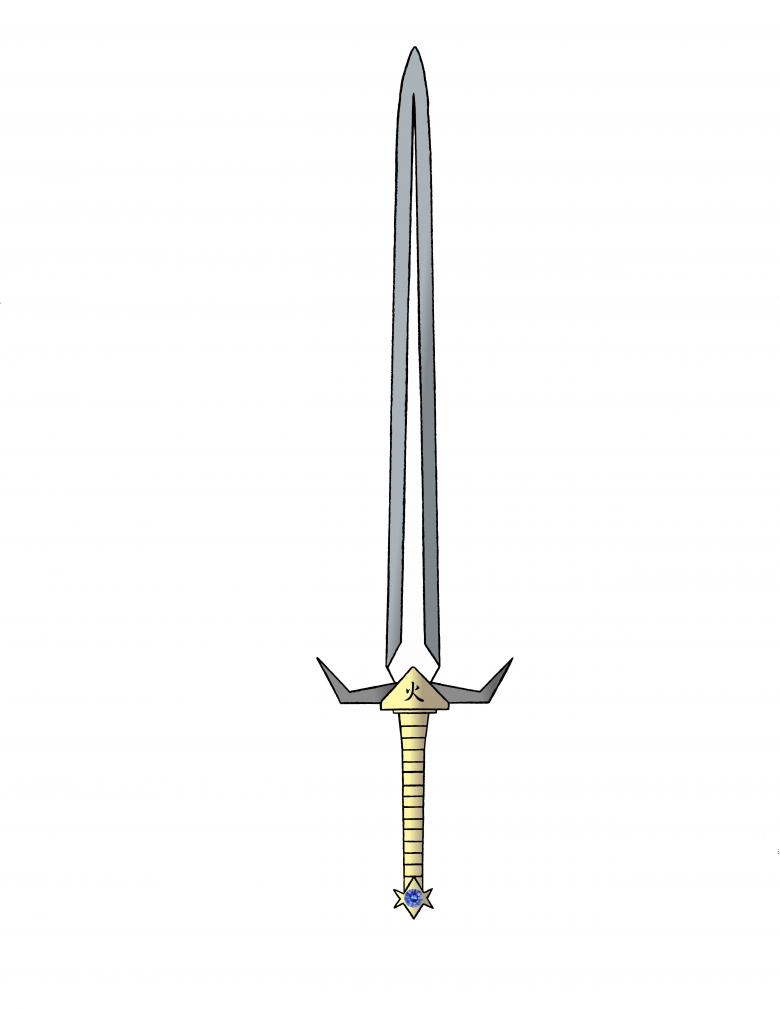
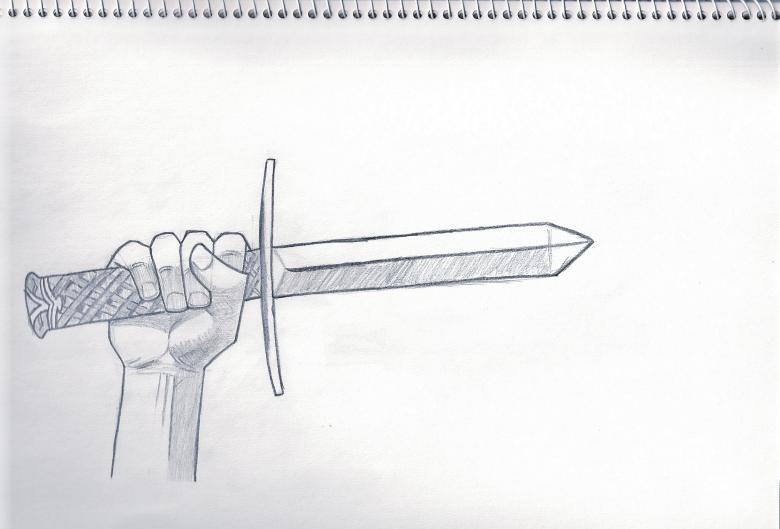
Next, decide how the sword will be positioned. This shows the complexity of the future drawing and gives an idea of the necessary preparations for the work. If the sword in the drawing is to the hand of the hero and not by itself, you need to think through many more details: location, tilt, proportions in relation to the hero, etc.
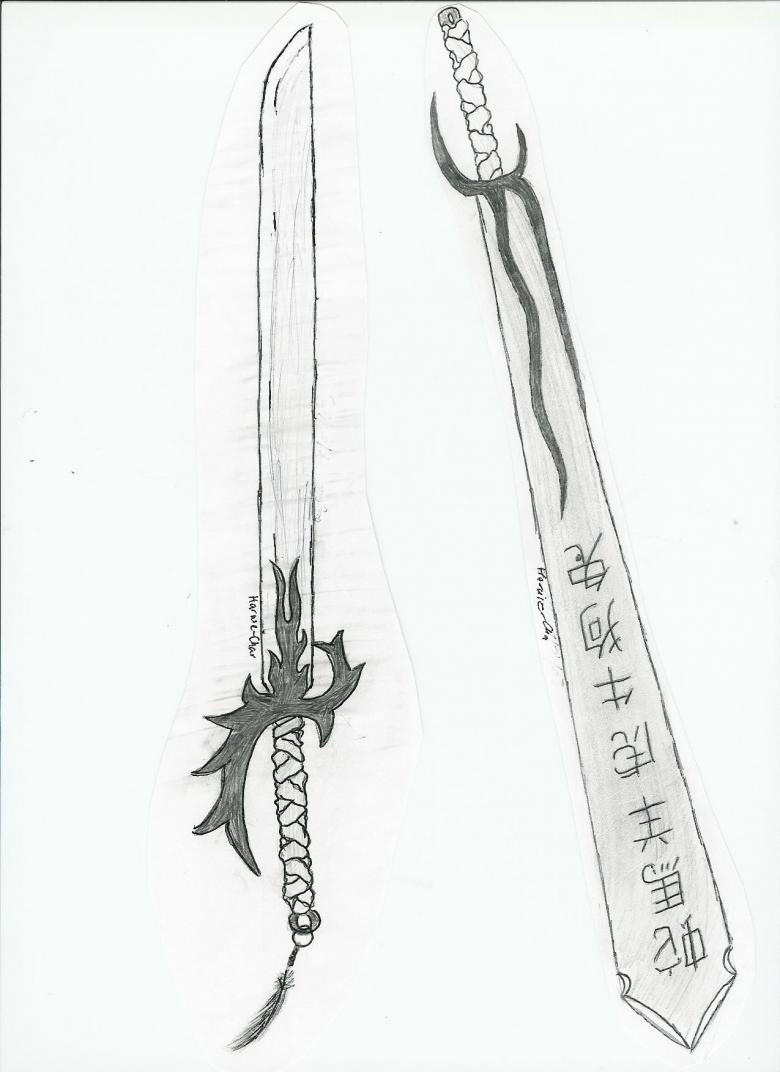
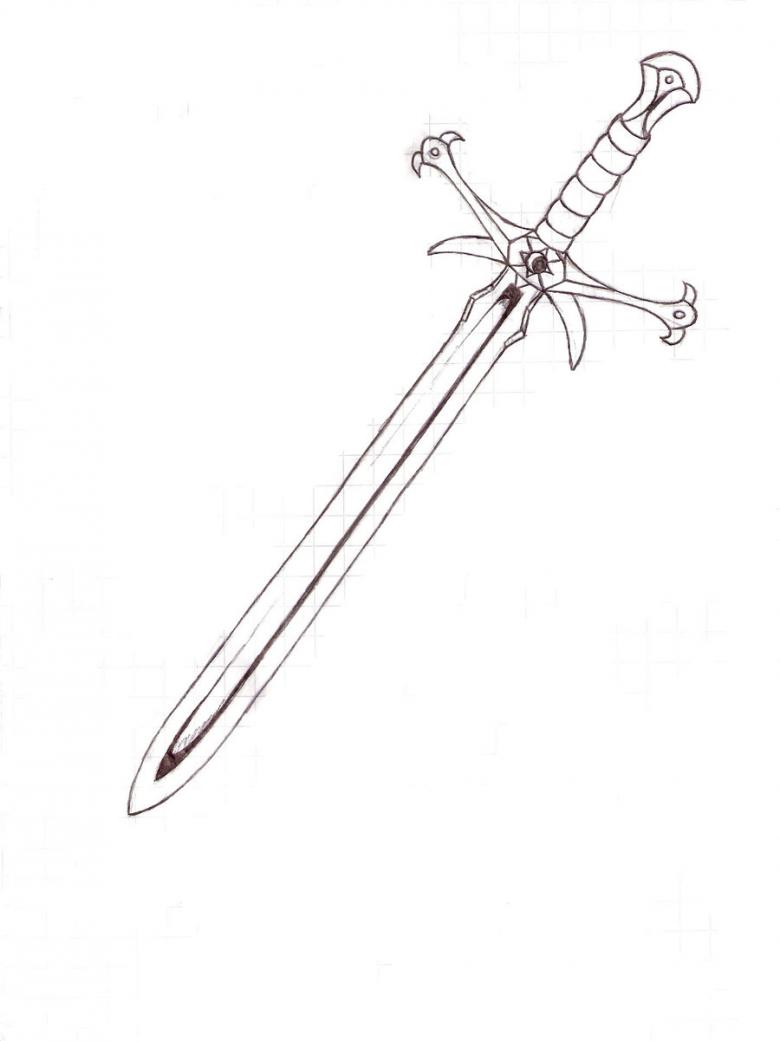
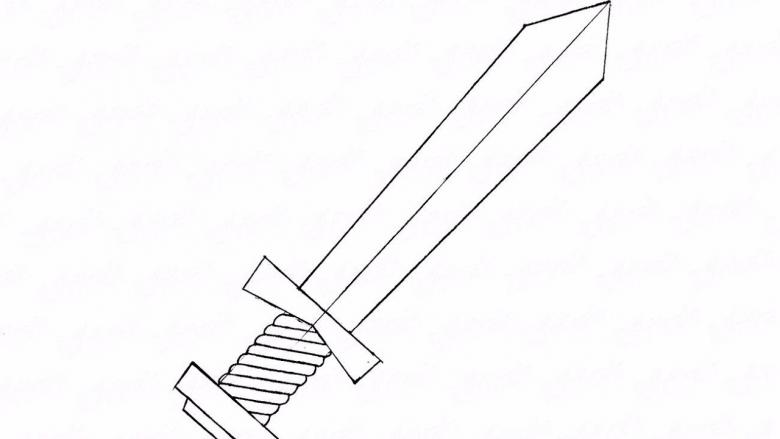
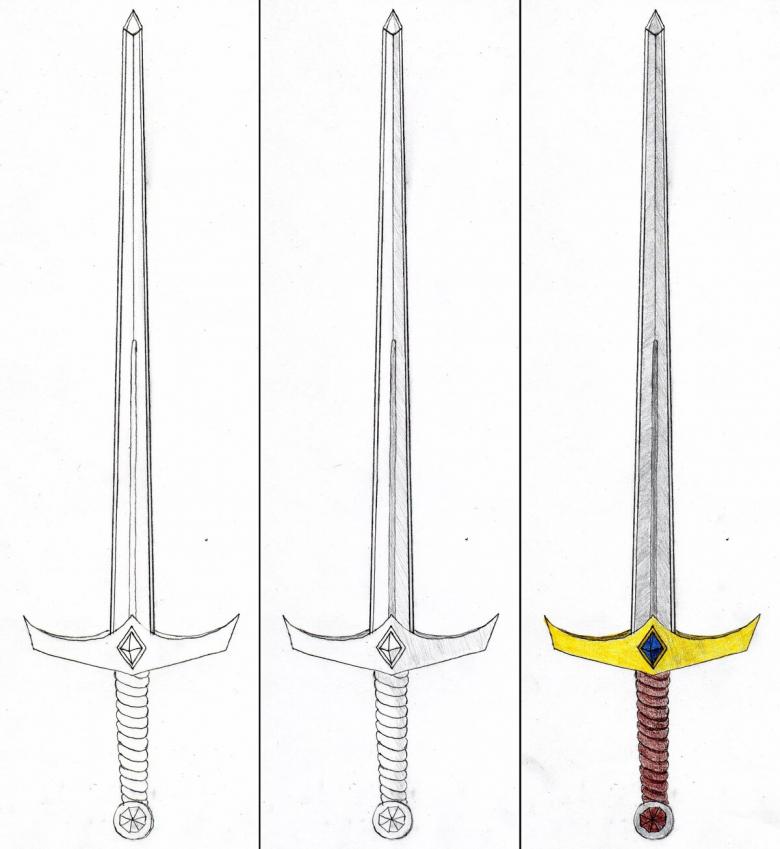
The simplest solution is an ordinary knight's sword. As a rule, such swords are straight and two-handed. They are simple to draw and symmetrical, so it will be easier for beginners to draw such a sword in ticks.
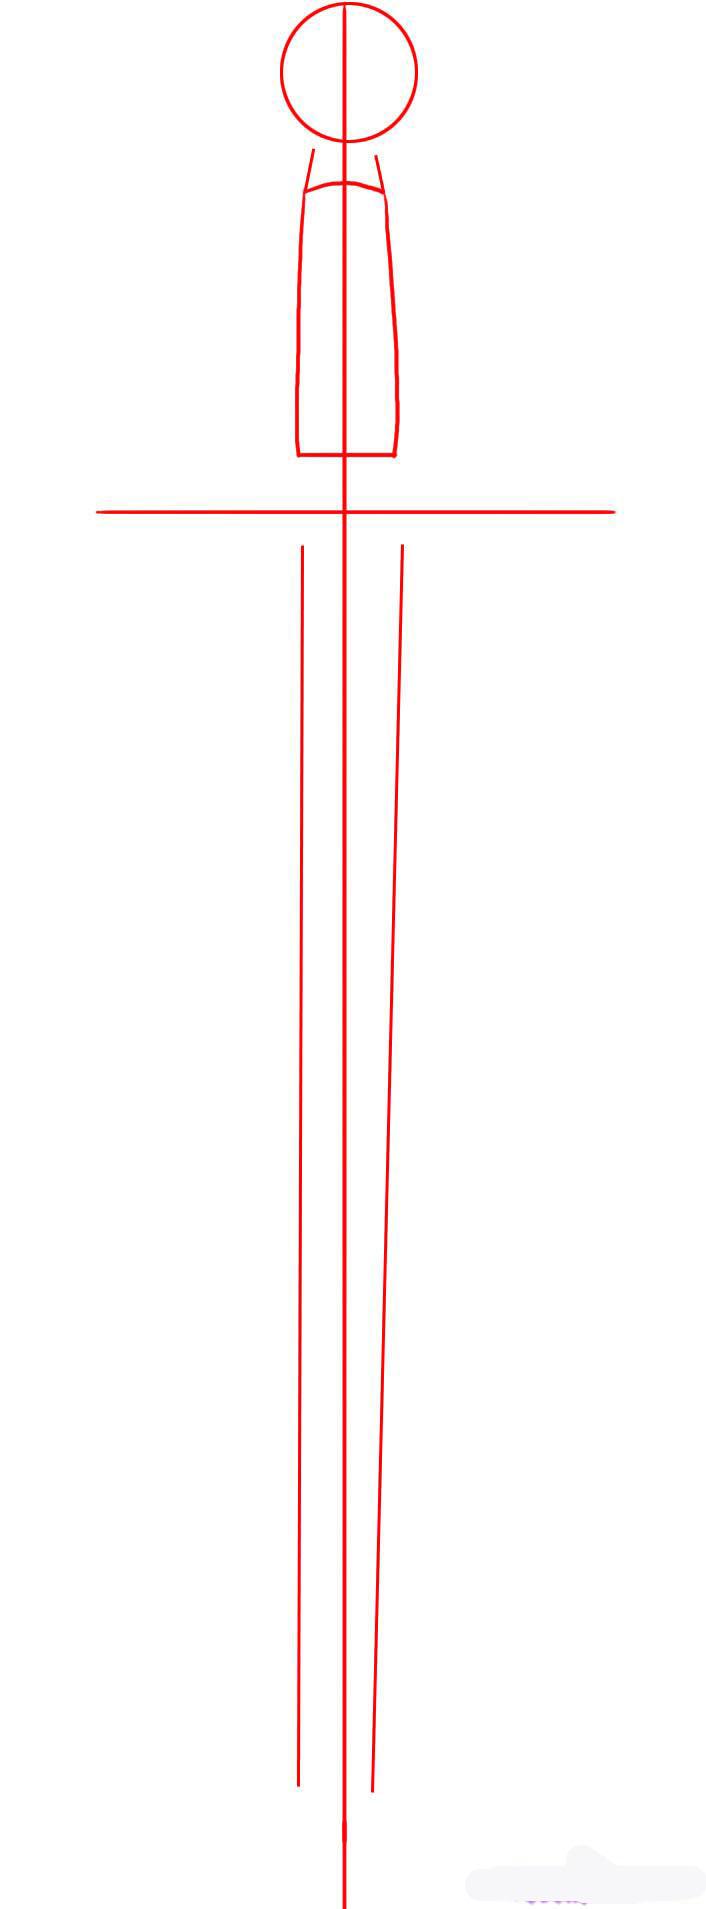
- The first step is a pencil sketch. Draw a straight vertical line in the center of the sheet. It should not be too long. This line is the future blade. The instructions provide for a sloping line as well, but it will be difficult to draw a complex design without mistakes from the first one.
- Indent from the bottom point straight ahead a distance proportional to one to five or one to six relative to the entire line. Through the resulting point, draw a horizontal straight line. It should be short, as it will later make a garde (or cross).
- Mark the apparatus at the bottom of the sword. It is usually round, but designers are increasingly making the "apple" in a "strass" style, that is, with serrations, spikes, and asymmetrical details.
- Choose the width of your sword. Two-handed swords are usually massive, with a wide blade and a massive hilt designed for heavy striking. Half knight swords are lighter and narrower, they have a thinner blade and a neat guard. Both swords have a cross at their core, as in the Middle Ages chivalry was the domain of religious people and carried with it sacred vows and preached a religious mission.
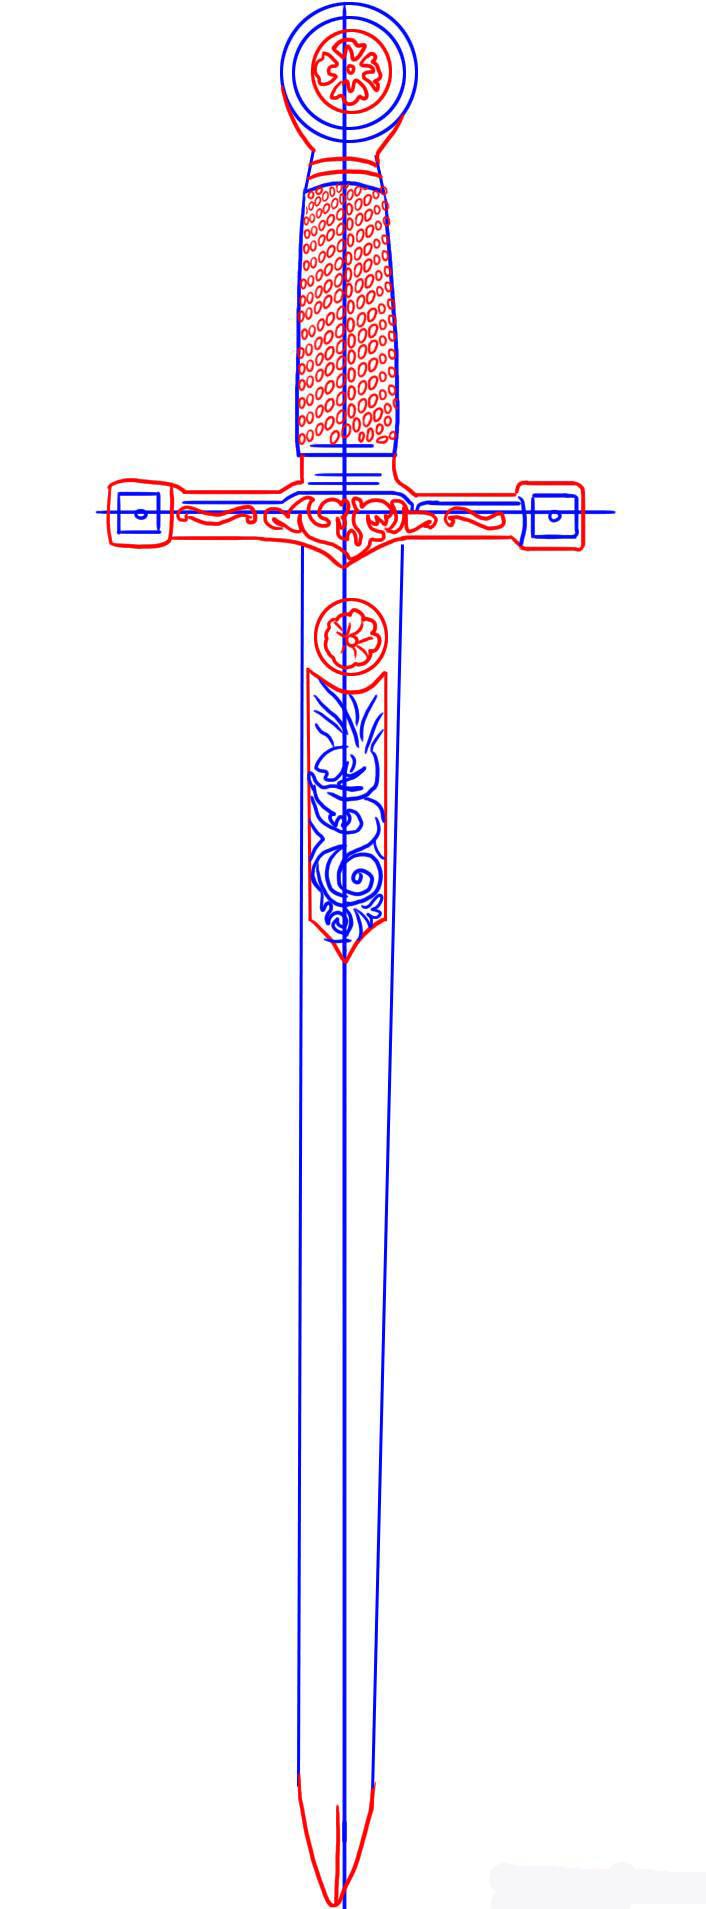
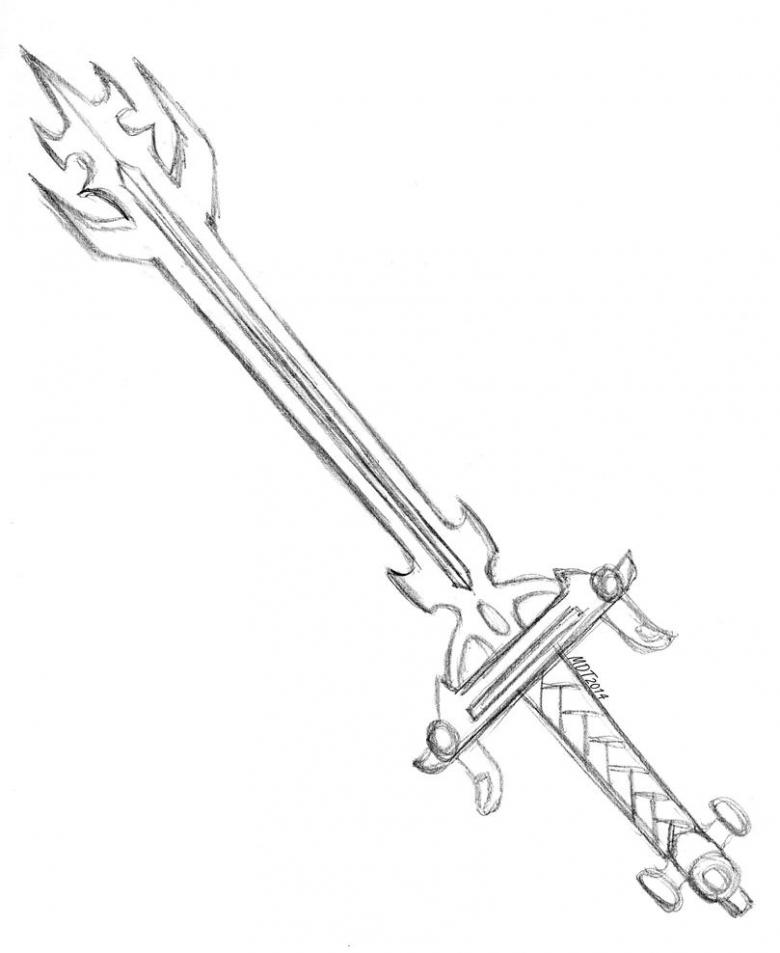
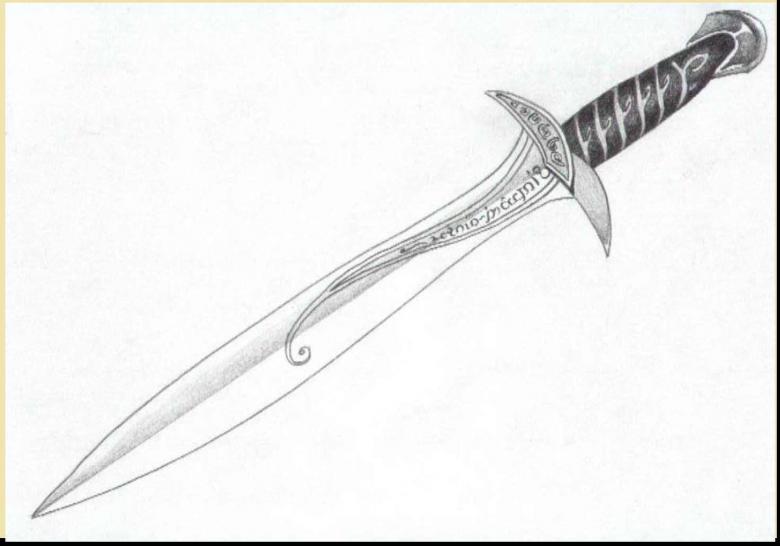
- After you've drawn the structure of the sword, it's time to think about the details. Details are the hardest part of drawing; they depend entirely on the artist's imagination. Designers organize real competitions, where experts evaluate realism, conception and implementation of bold ideas of artists around the world. Every detail usually has a special meaning. In ancient times, swords were decorated with coats of arms, nameplates, clan mottos and amulets.
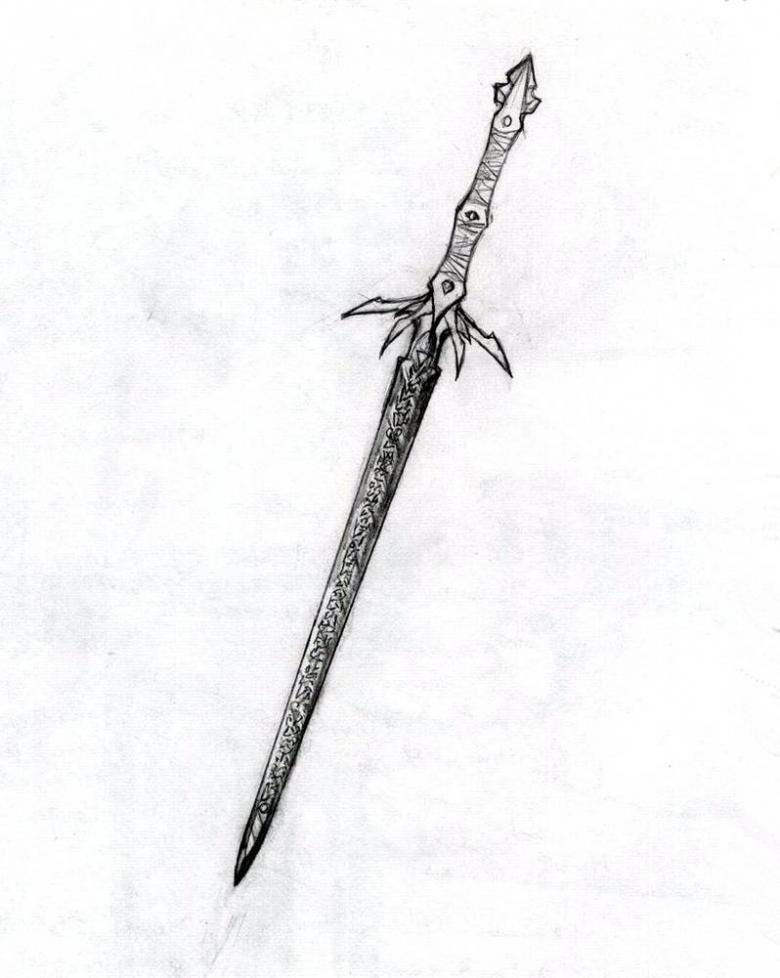
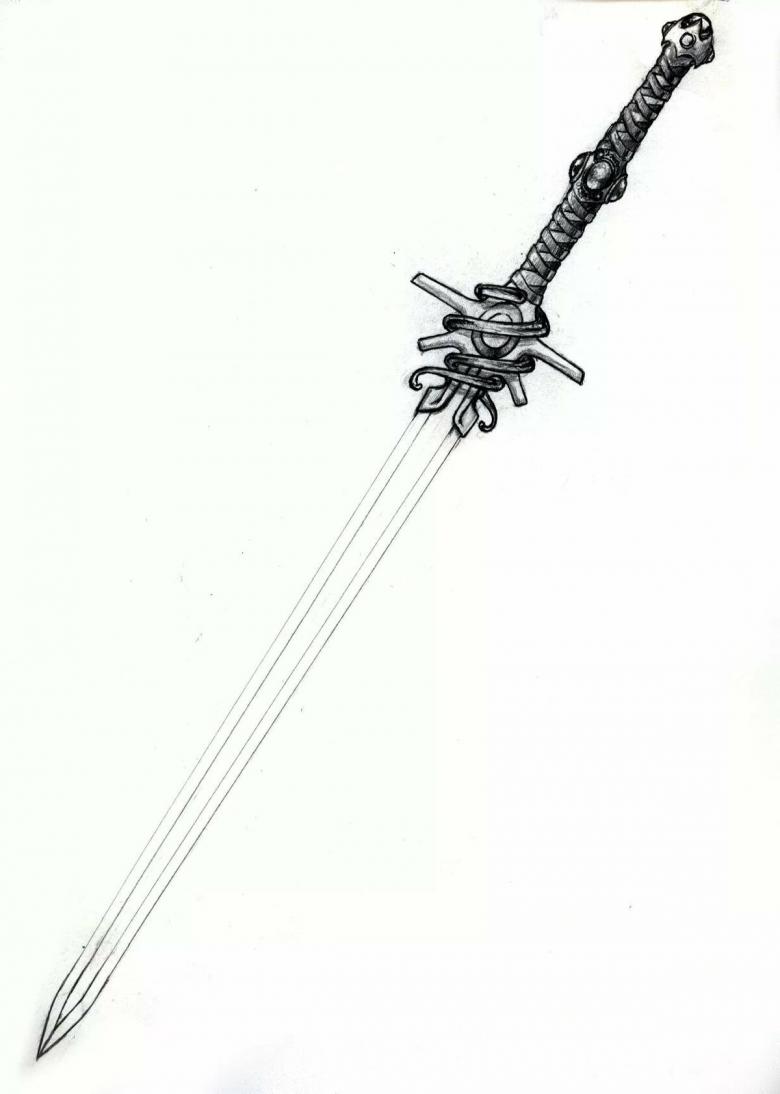
- Most often for the design use the technique of "bat", when the handguard is drawn with lines resembling the wings of a bat. The handle is jagged and looks stylish and intimidating. A "snake" can be drawn around the handle, encircling it.
- For additional decoration, add gems on the guard and hilt. You can draw them in a simple way: draw a polygon (usually a pentagon). Put a point inside, just below or just below the middle. From each corner, draw a line to the point inside the polygon - done.
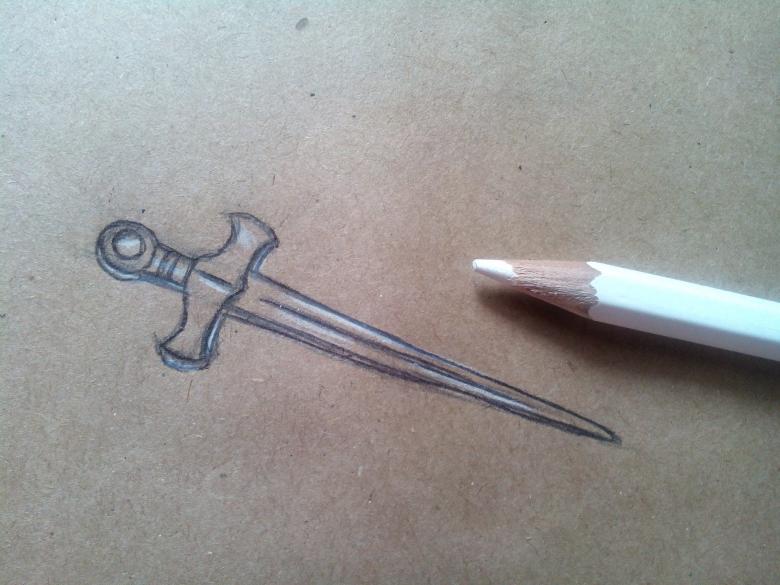
If you are working with a colored drawing, you can let your imagination run wild. Add a rainbow pattern to the sword or simulate diamond plating. Using different colors of pencils you can depict different precious stones: green - emeralds, blue - topaz, red - rubies, yellow - opals, white - diamonds or diamonds. The sword itself is painted in gray or black.
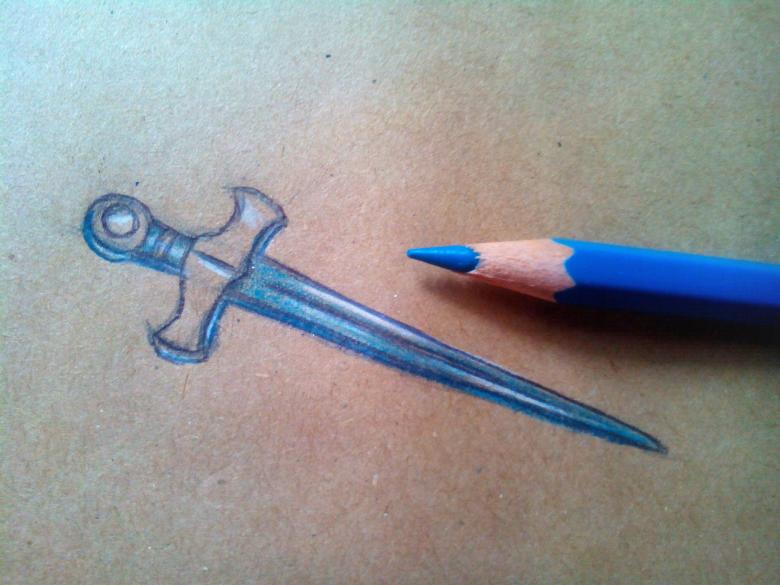
Use the eraser to make highlights on the blade of the sword. To do this, draw a short straight line vertically along the blade. If it appears too prominent, lightly rub it out with your finger or a piece of paper.

