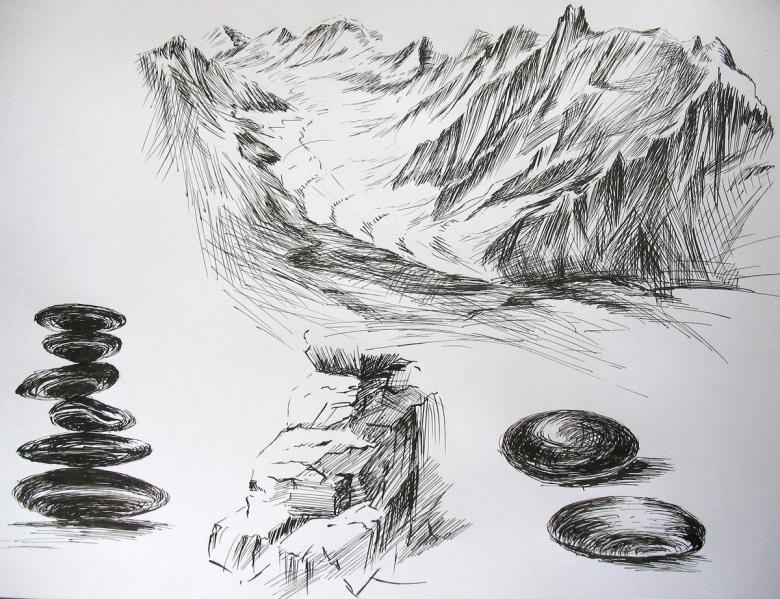
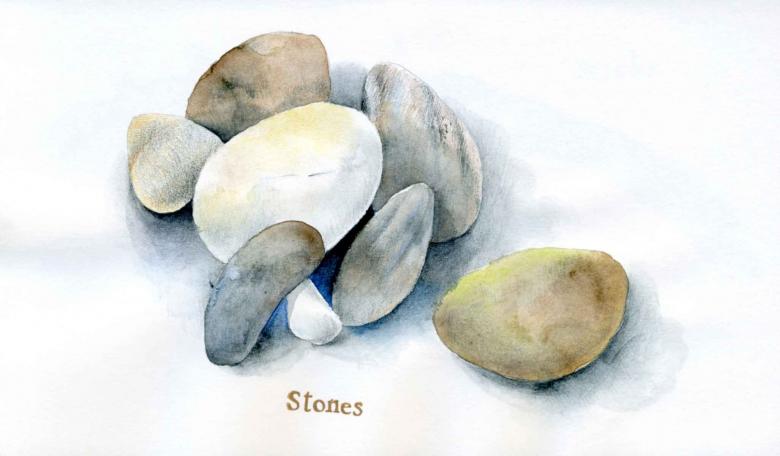
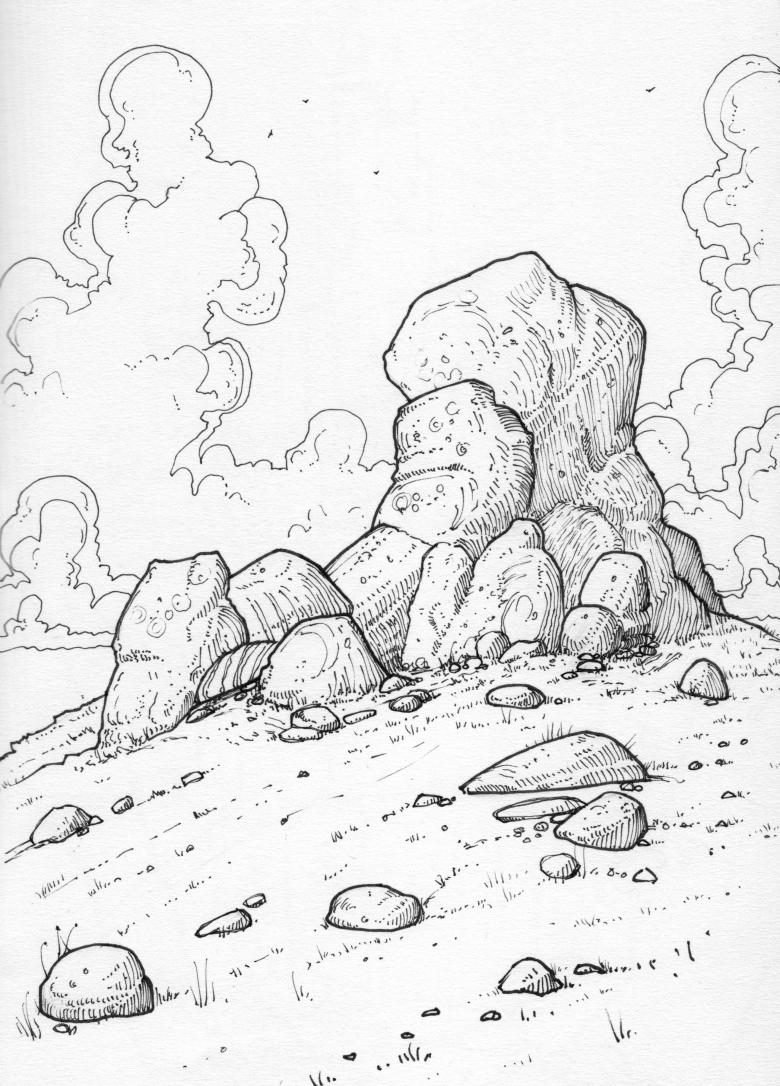
How to Draw Stones with Pencils - a Detailed Master Class for Beginners
Do you know how to properly sketch and draw a boulder stone, a pebble, a dolmen, a rock covered with moss? The objects of inanimate nature are a frequent guest in the album of fans of drawing and painting, in art classes.Stone is an integral element of the natural landscape, garden and park. There are different rocks of stone - granite, limestone, a product of volcanic activity in the mountains, shale, sandstone ... Even a simple boulder requires attention and concentration to effectively portray it with a simple pencil.
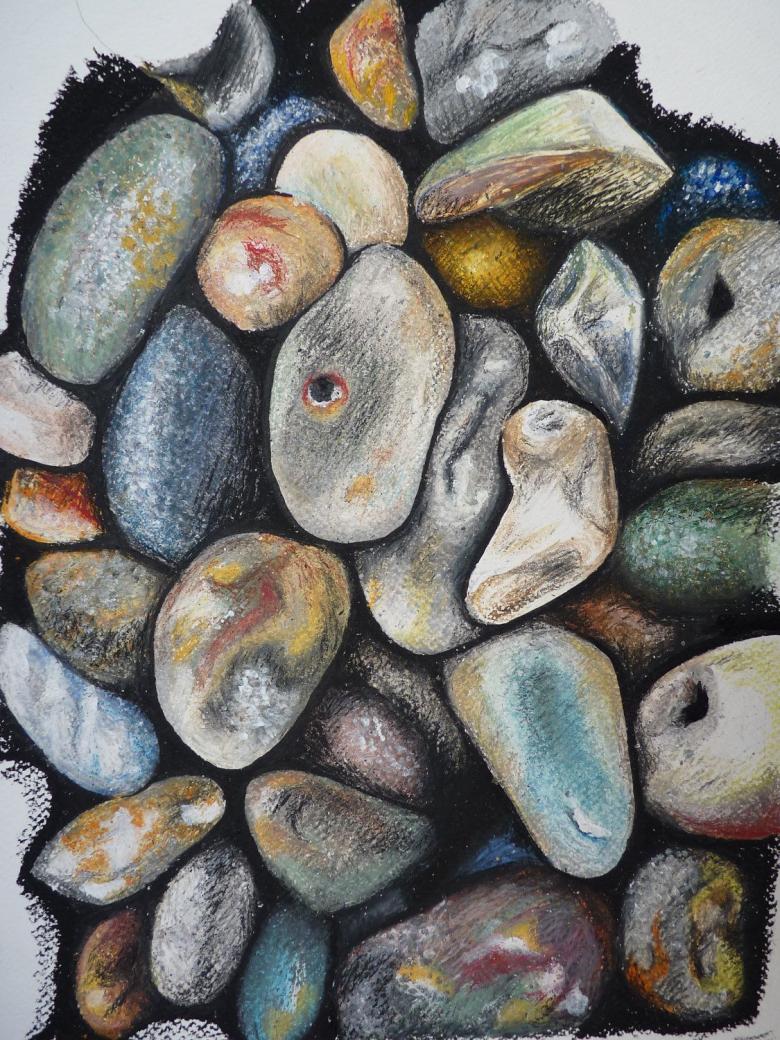
Let's see step by step how you can depict a stone or rock in close-up. Our step-by-step lesson offers a specific procedure for sketching stones with simple pencils.
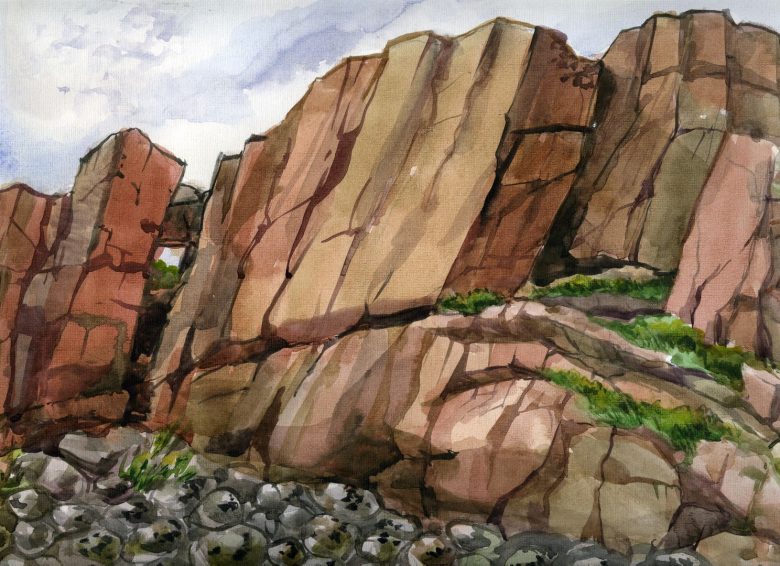
Materials:
- Pencils:
- Graphite F (between HB and B)
- mechanical 2B, thickness 0.5
- Collet 4H, 2H
- Blu-Tack (blotchy soft)
- Electrolastic
- Paper - smooth, for graphics
Step 1. making a sketch
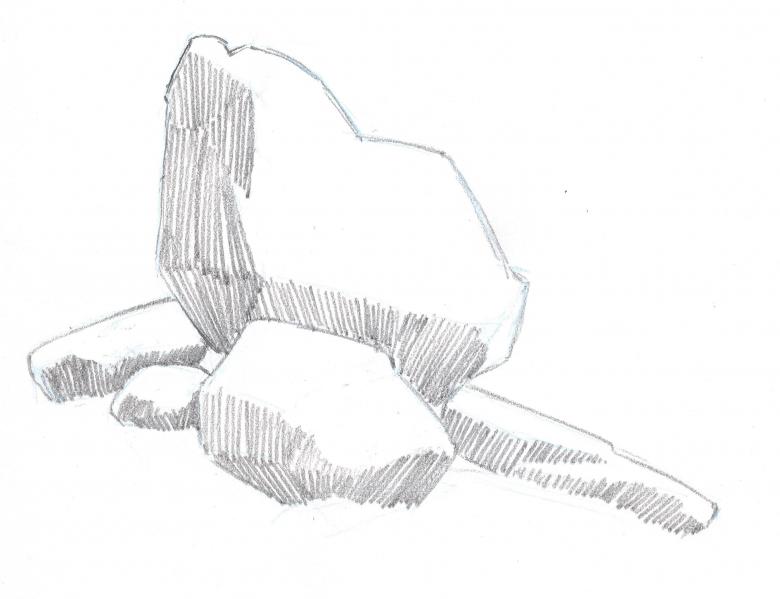
This is a key point in the whole job that many people underestimate. You can even do sketches while watching a TV clip of your favorite band or movie. While looking at a landscape, make a few sketches of the rocks.
An important nuance: study ready works of famous masters and graphic artists to get into the essence of working on light and shadow on stones.
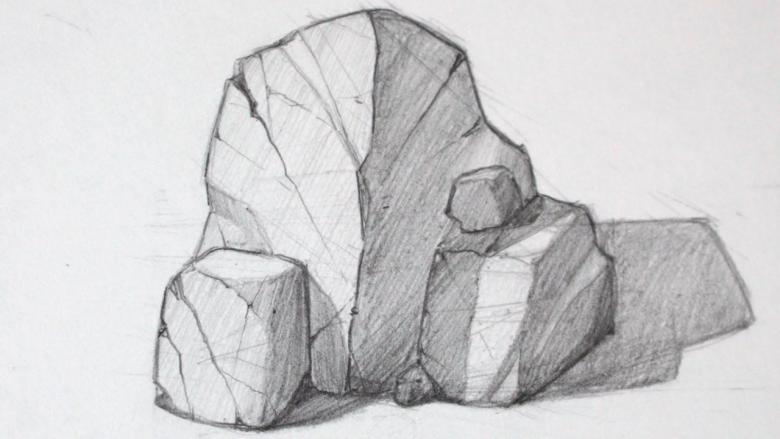
Step 2: Create shapes and volumes
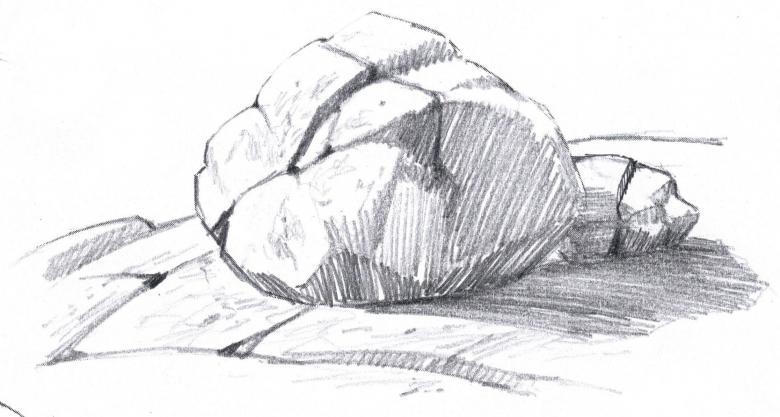
Even beginner artists can easily do this task. But stones need special depth of form. It is important for us to convey the realism of the rock, here the play of light and shadow is important. The best analogy is a cube, because we work with shadows to represent its three-dimensional essence. The best analogy is the cube, because we are working with shadows in the three-dimensional essence of the cube.
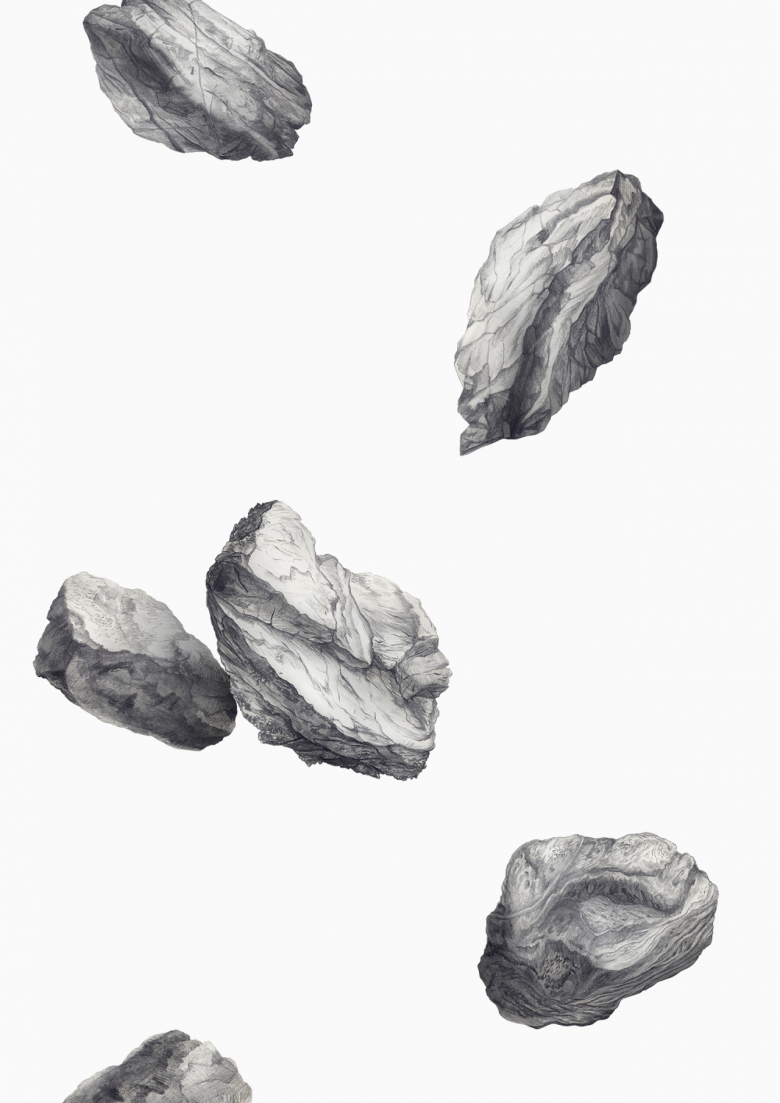
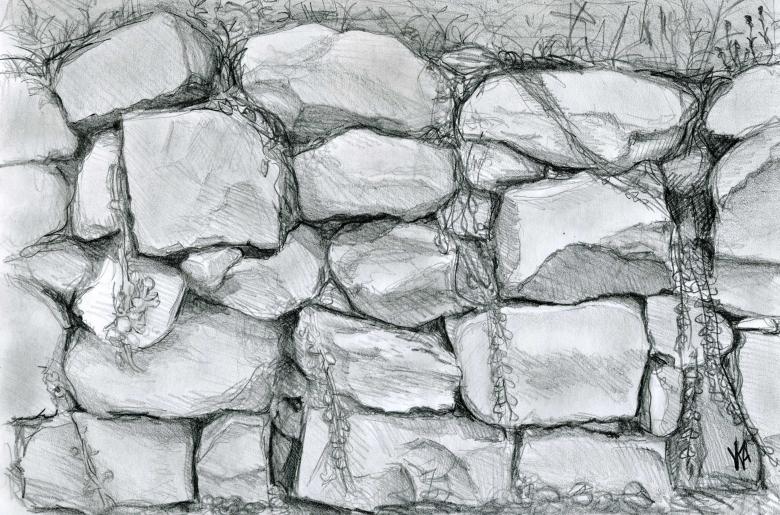
Look at the examples of drawings where the play of light and shadow on the cobblestones is very expressive. All corners and flat places are emphasized, the emphasis is made on the light spots in the upper sector.
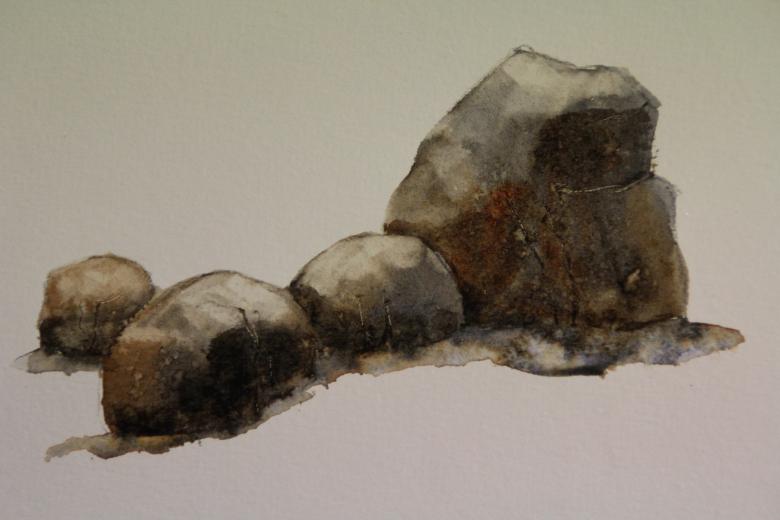
Important nuance: the pattern of the stone will be more interesting if you consider the shape and length of the boulders, at least by eye.
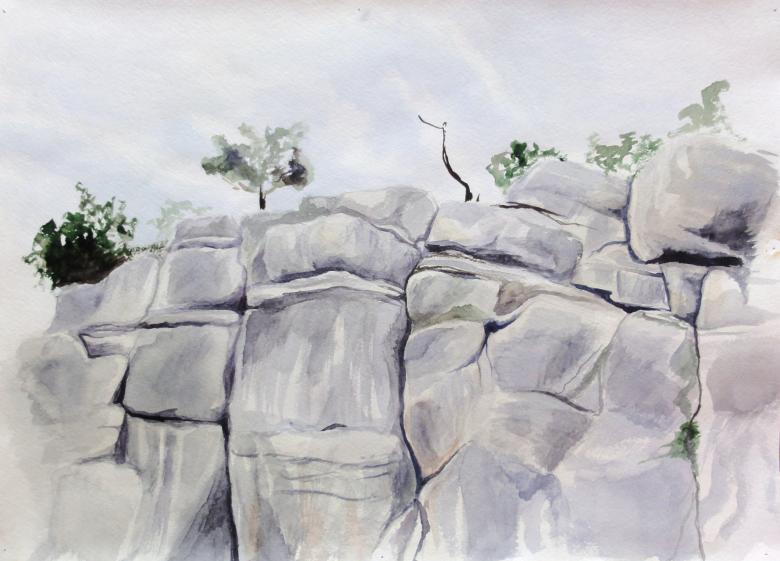
Step 3: How to draw a rock
Rocks can be sketched with softened sharp corners, but you need a three-dimensional plane that emphasizes the shape. Often the draughtsman pauses at this point in his work and does not develop the drawing further. But such a version cannot be considered realistic - there are too few details and shades.
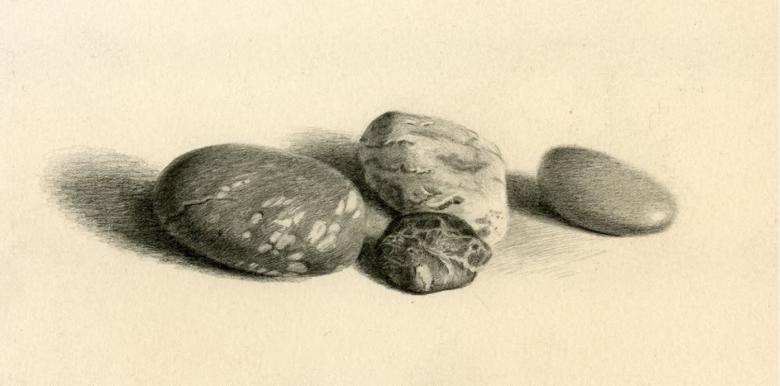
Important nuance: If you look at the photo of the rocks in black and white, you can find gray tones that make the details stand out perfectly.
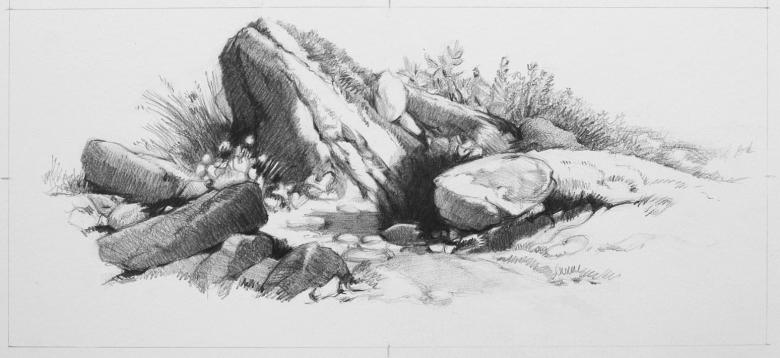
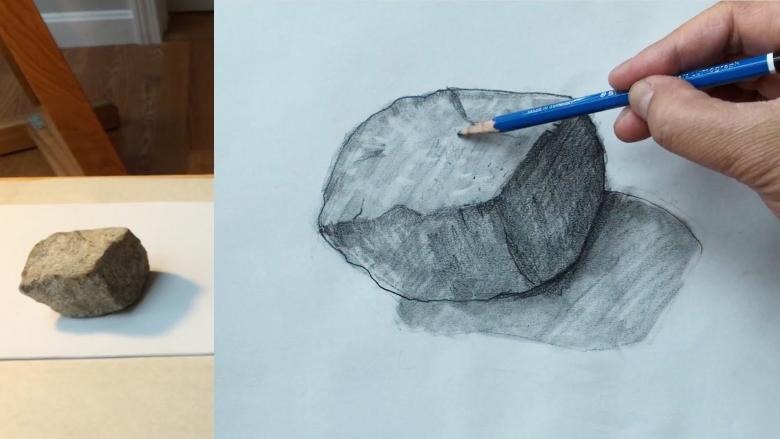
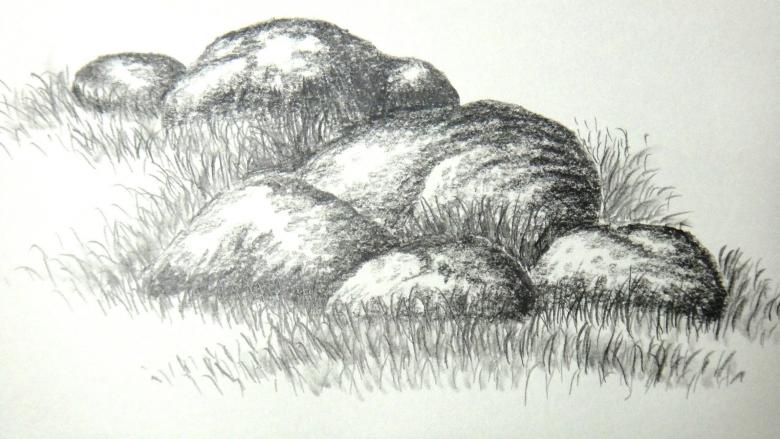
Step 1: Draw a large boulder using a 2B pencil for the dark places. The light spots will be drawn with pencil F. We can make some short marks for the sketch, then focus on the recesses, indentations and shadows. At this level, we draw all the dark places.

Step 2. Having drawn all the preliminary reference points, we take a collet pencil (with a beveled cut), we apply shadow strokes across the surface of the boulder. The layer of strokes is smooth, uniform. We change the pencil for different areas: for the light areas - 4H, for the dark - 2H. Don't forget about shading planes and corners.
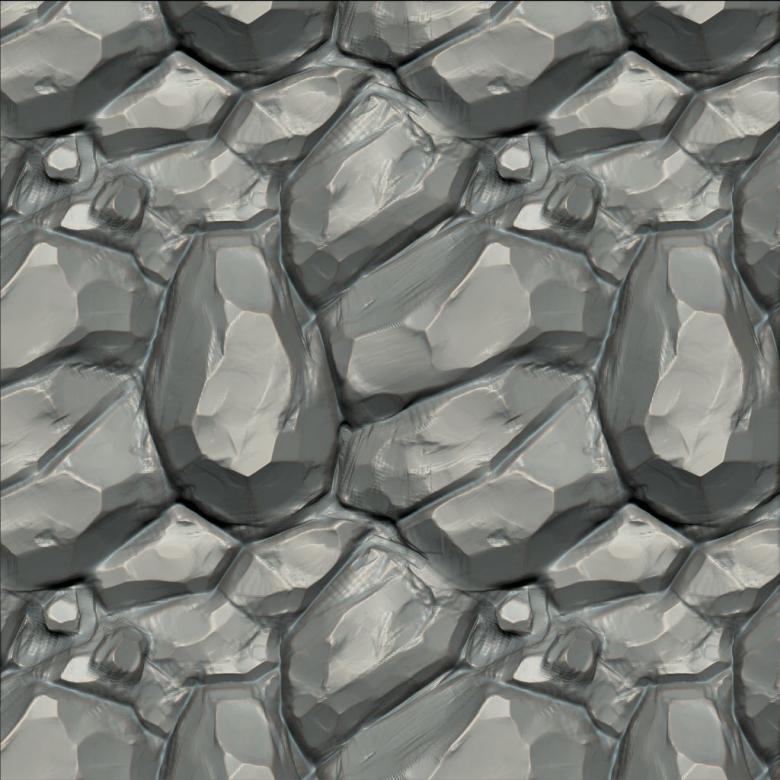
Step 3: Let's proceed to the most important thing. With a soft mechanical pencil we make a texture of the surface. This will require brief, as if random marks to indicate pits and roughness. It helps to use a soft pencil that is applied over a hard pencil. This method is known to display uneven surfaces well. This is simply a miracle, because immediately there is an effect of uneven texture, natural and whimsical, which is so often the case with rock ore. The oblique edge plays a big role, it gives flat and wide strokes.

Step 4. Draw layer by layer, periodically taking a Blu-Tack - it helps to work thin, light areas. The Blu-Tack creates light areas, gaps. Make sure that all the dark areas are expressively mapped and marked.

Important nuance: if the lines were drawn with a hard pencil, the black tone will be difficult to achieve.
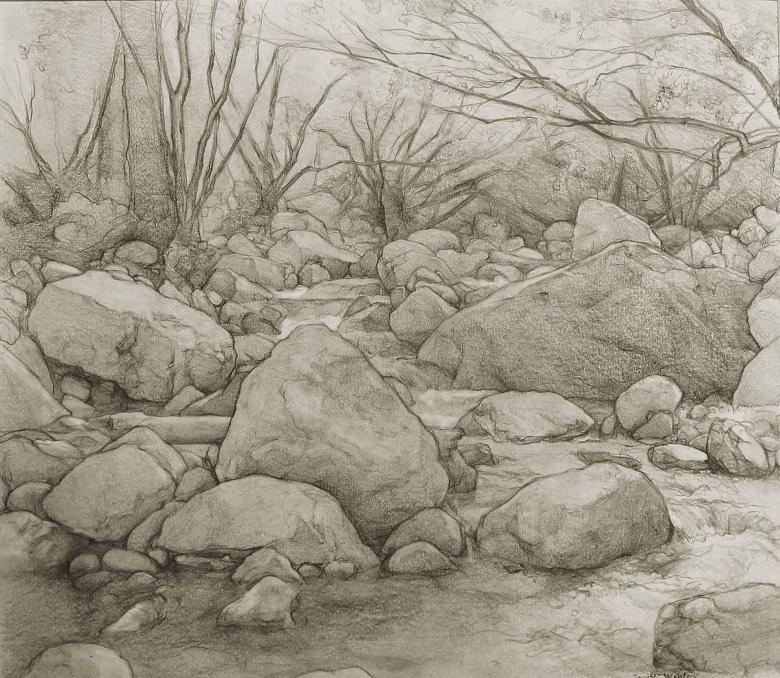
Step 5: Display the specifics of the stone. There are many types of stones, each of which requires a specific approach to the imaging technique.
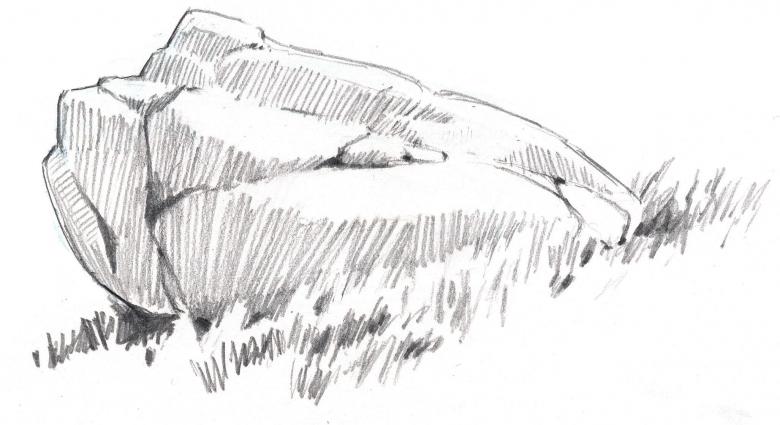
Deep stones. Have a rough shape, very original, unique, they are difficult to depict. A step-by-step tinting will simplify the work. Outer contours are emphasized by light from behind.
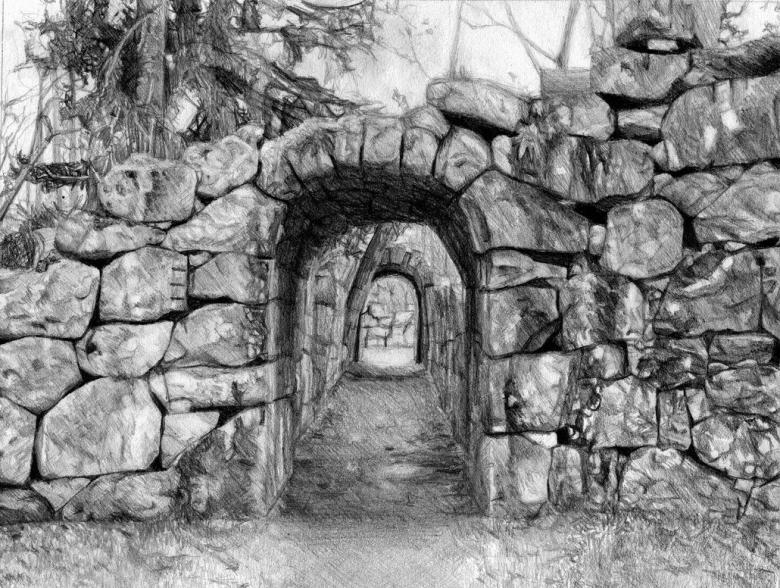
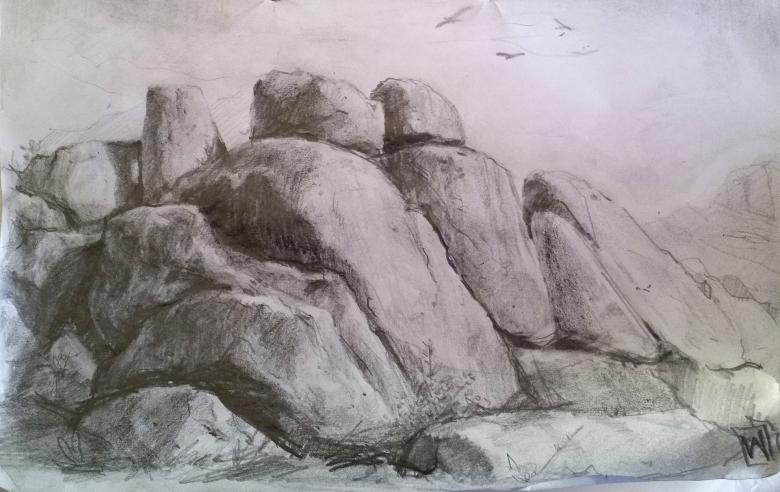
Rock ledges, rocks pointing upward. Usually the upper ends appear highlighted. Continuous lines can be used to apply light shading, changing the strength of the impression along the way. Depth and shading in the right places will appear.
Gemstones. They are simple enough, you can use geometric shapes as a base.
- Draw triangles with trapezoids inside. The curved lines inside the trapezoid will reflect the facets of the stone.
- Faceted diamonds begin drawing from a right angle with outgoing rays.
- Dots are drawn on the rays at equal distances, joining them along the rays of the obtuse angles. The line should be parallel to the initial triangle, which made the creation of the figure.
- Next, you need to draw a straight line that unites the vertices of obtuse angles.
- Perpendicular rays are divided into equal angles, the connection points of the rays connect to the "broken" corners and the upper middle line parallel to the base of the figure.
- In the sharp triangles on the edges inscribe "mirror" similar figures, dividing the base three times into equal parts.
- From the first point build the angle from which the rays that fall on the asymmetrical sides of the triangle, the outer transitions of tone are lower than the inside.
- Connect the two points with one line to make a median triangle.
- It is necessary to build all facets on the upper surface of the diamond, observing symmetry. To do this at the bottom of the median triangle inscribed rhombus.
- When working with the color palette, pay attention to the shades, they will help the diamond to sparkle and shine, to give it transparency. When coloring, apply any tone to all facets.
An important nuance: the same principle is used for painting different natural objects with acrylic paints, for drawing geometric mandalas.

Painting a stone of any type is a painstaking process, not very simple. But having mastered the key techniques, you can greatly improve your skills in working with graphics, to realize different ideas.

