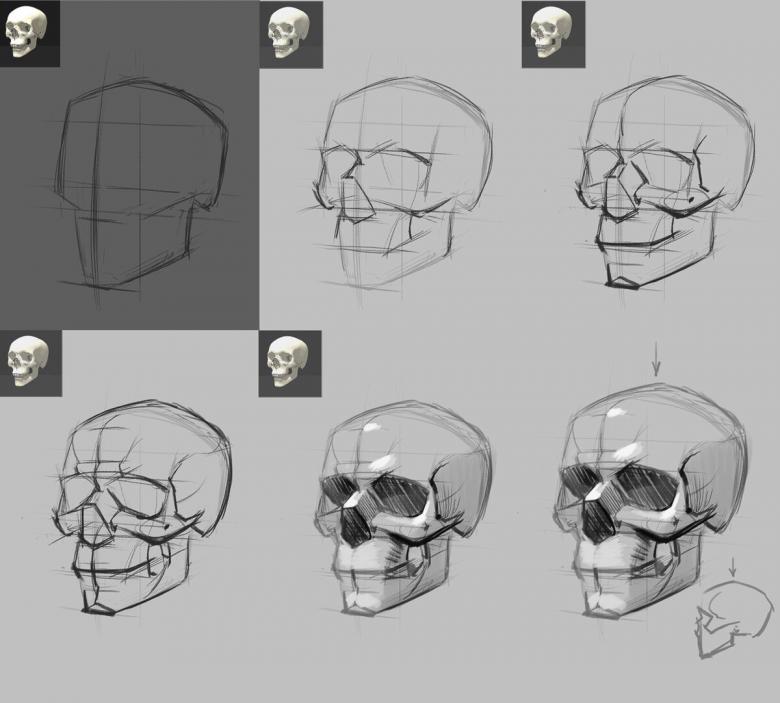
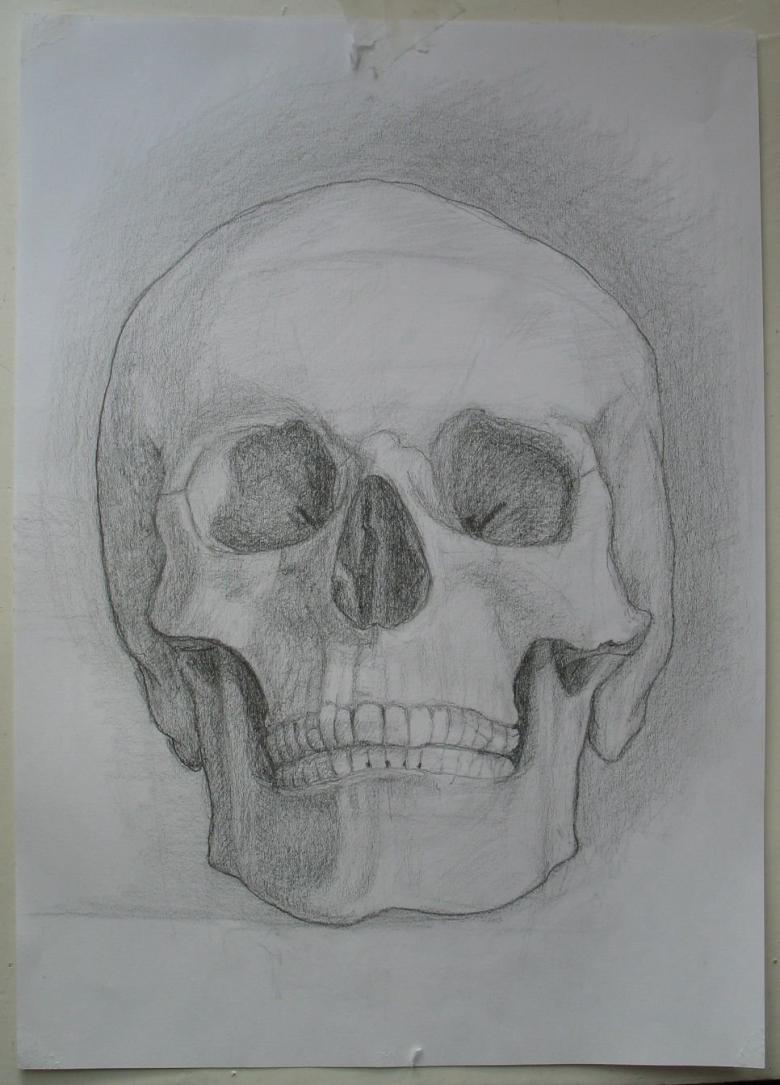
How to draw the skull - a step by step drawing for beginners
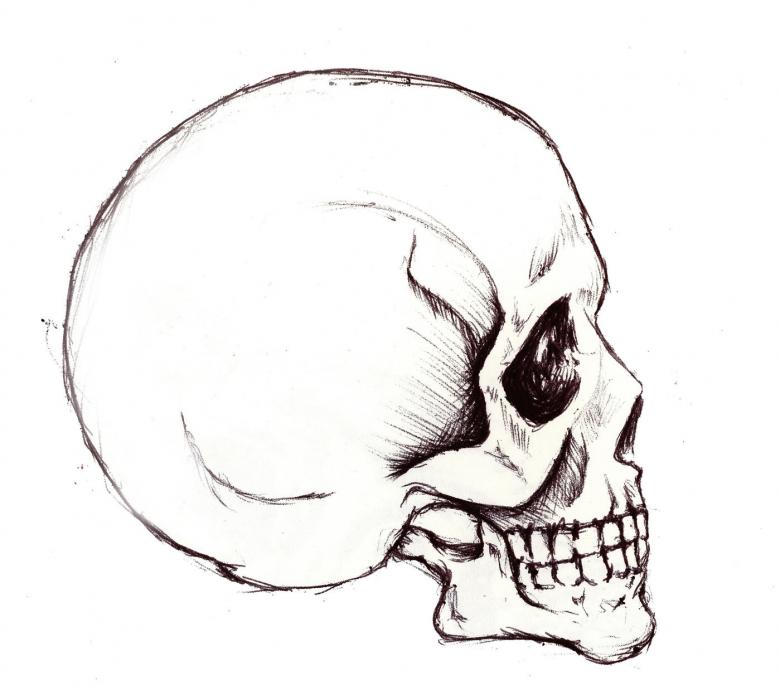
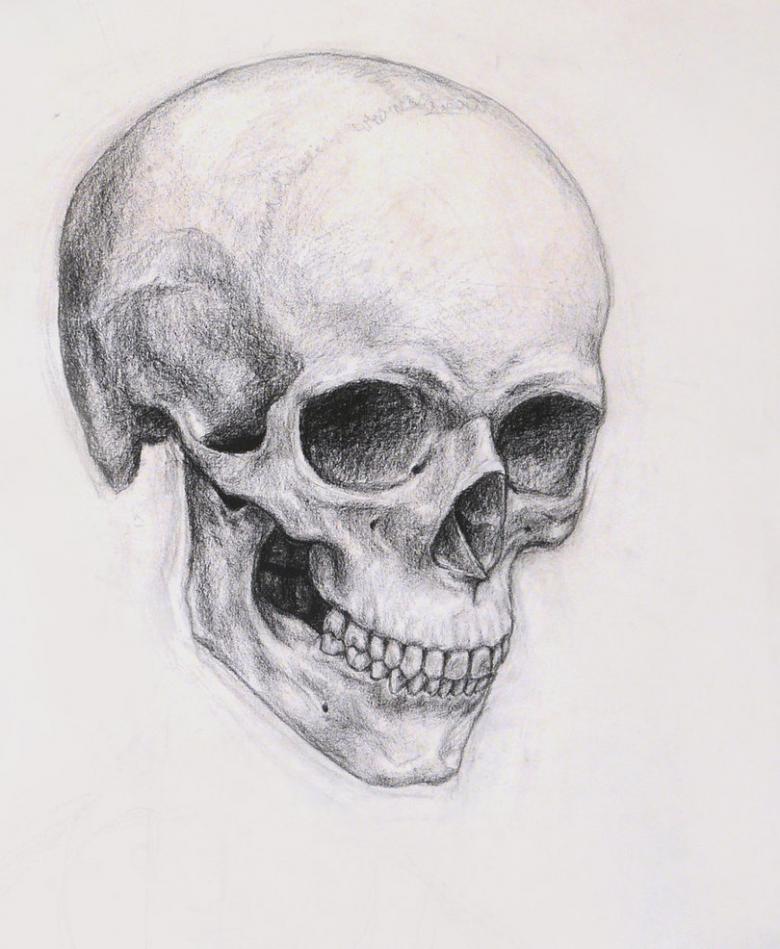
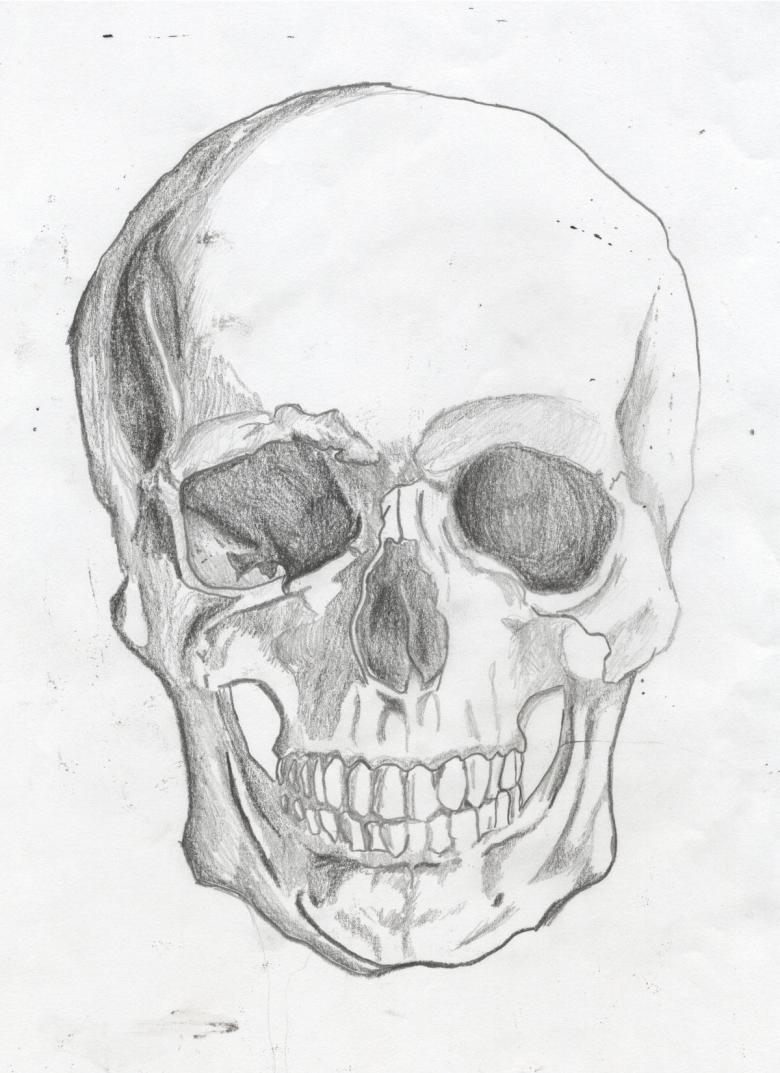
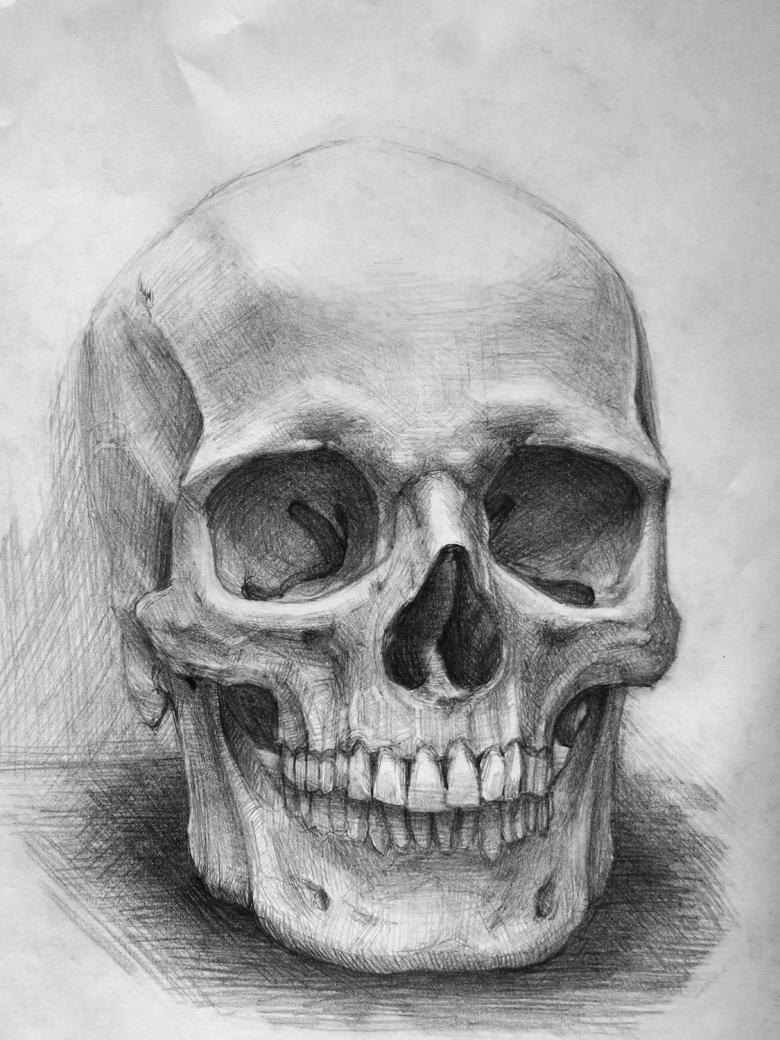
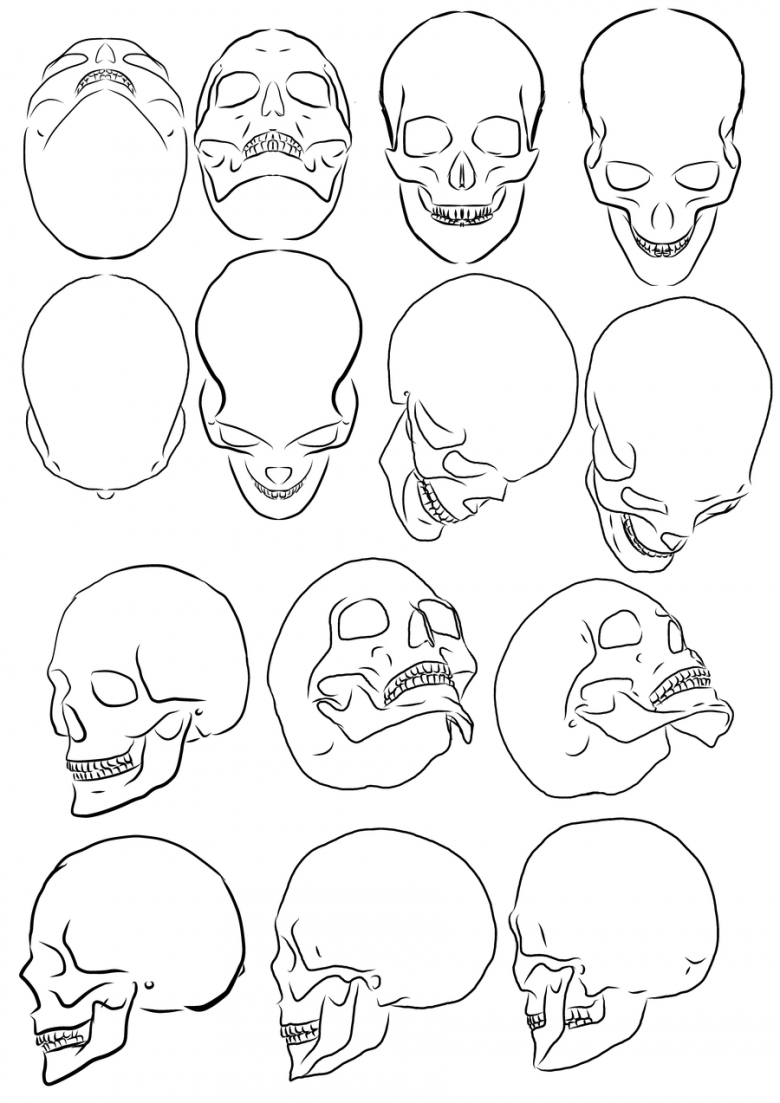
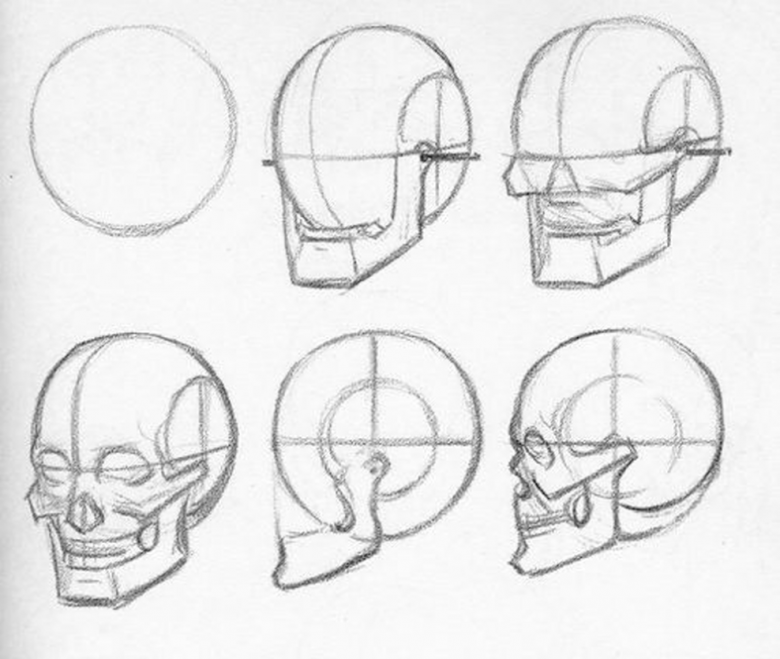
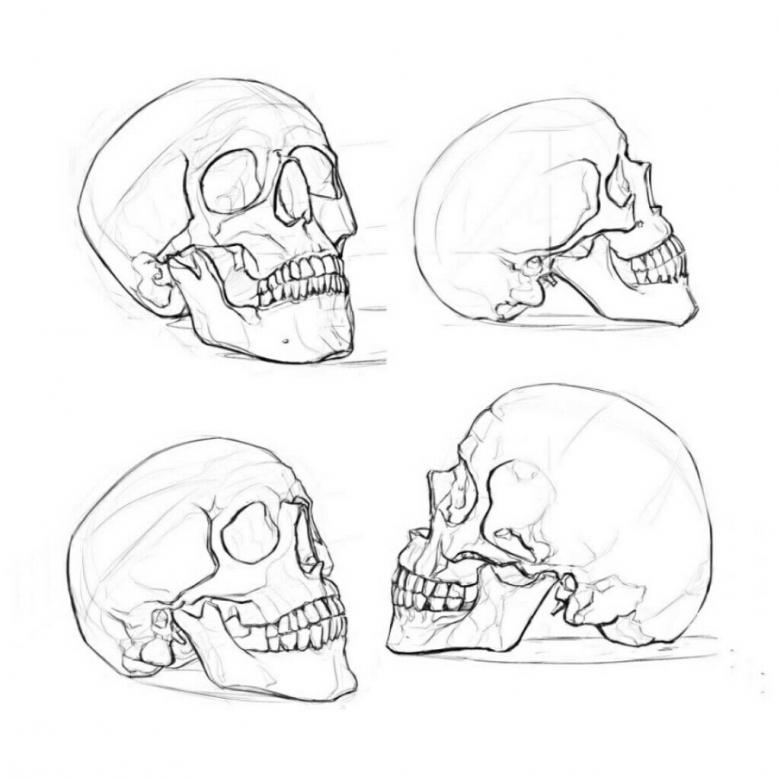
Many peoples consider the skull a mythical symbol. For this reason, its images drawn by different techniques are popular. Pictures of skulls can be done with pencils, colored pens or felt-tip pens.
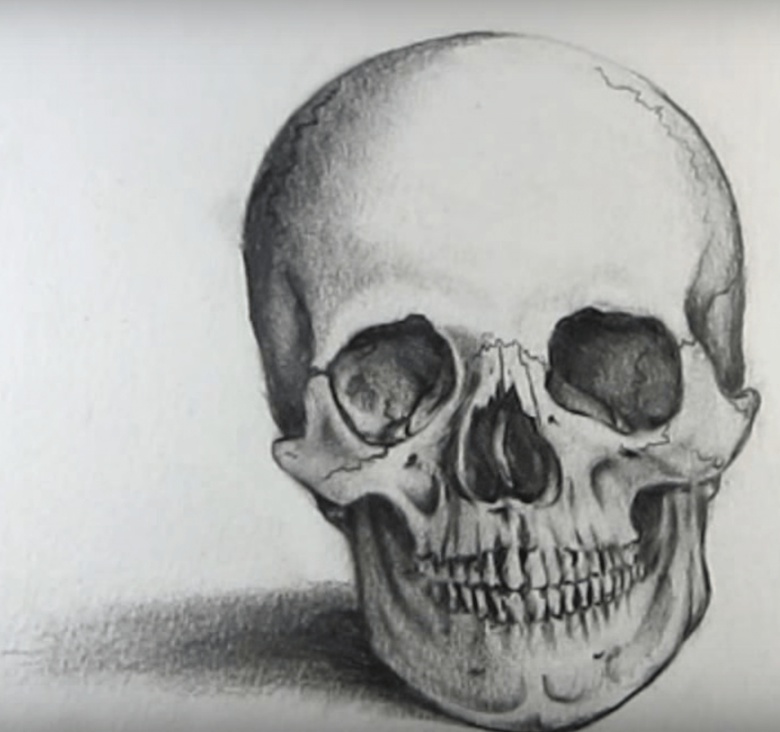
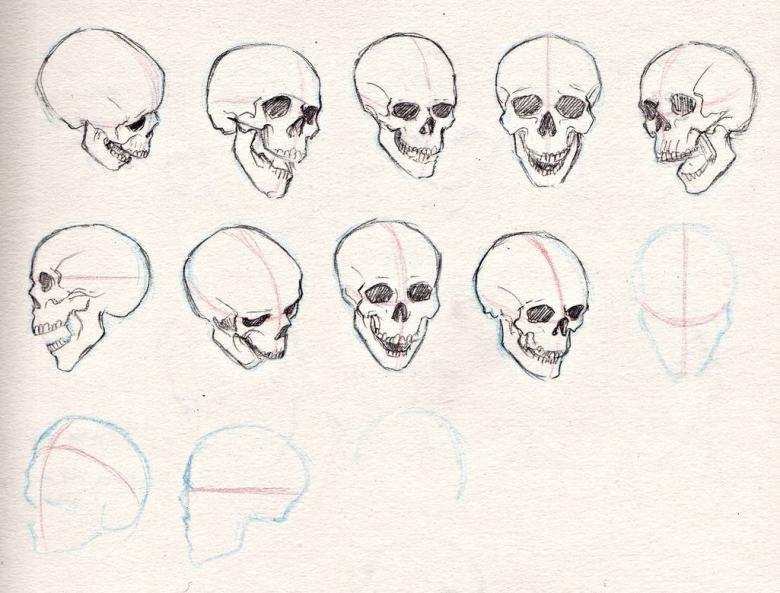
Graphic images performed step by step are common. There are a large number of instructions indicating the correct execution of the drawing. Below are some of them.
Pencil drawing
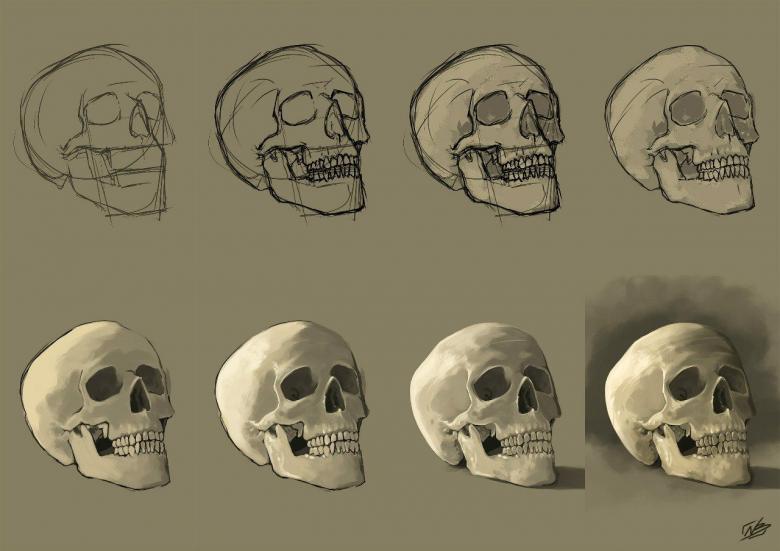
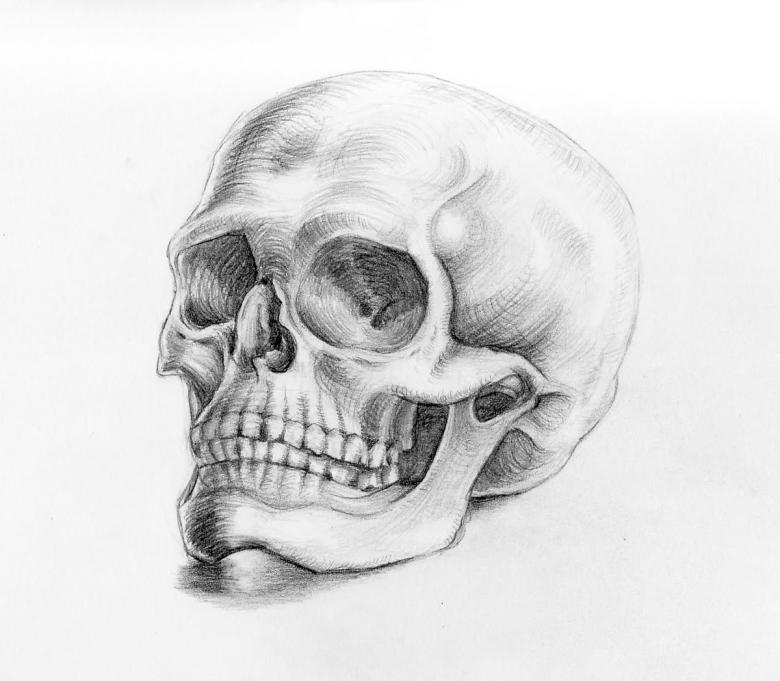
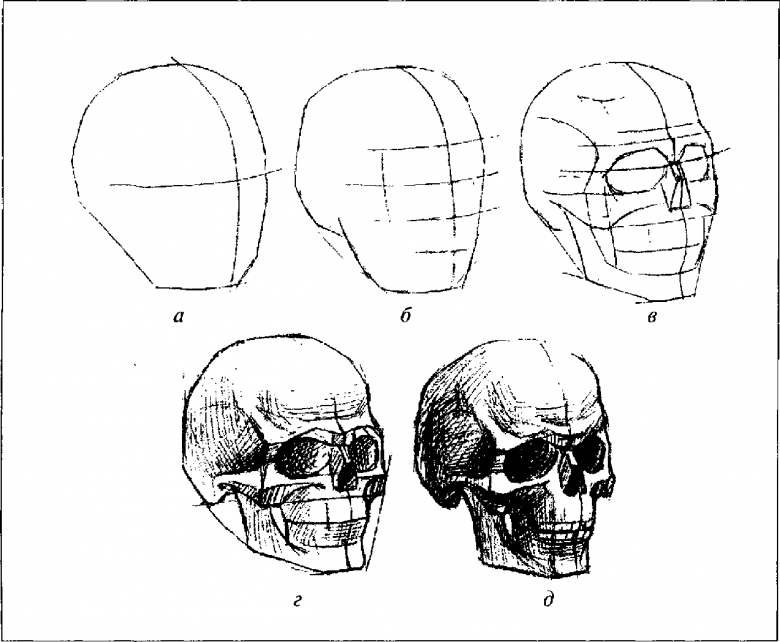
To draw a head bone in ticks, you need to have patience and a blank sheet of paper. A standing pencil needs to be sharpened sharply. First, you need to position the sheet of paper so that you can start drawing on the top side of the sheet.
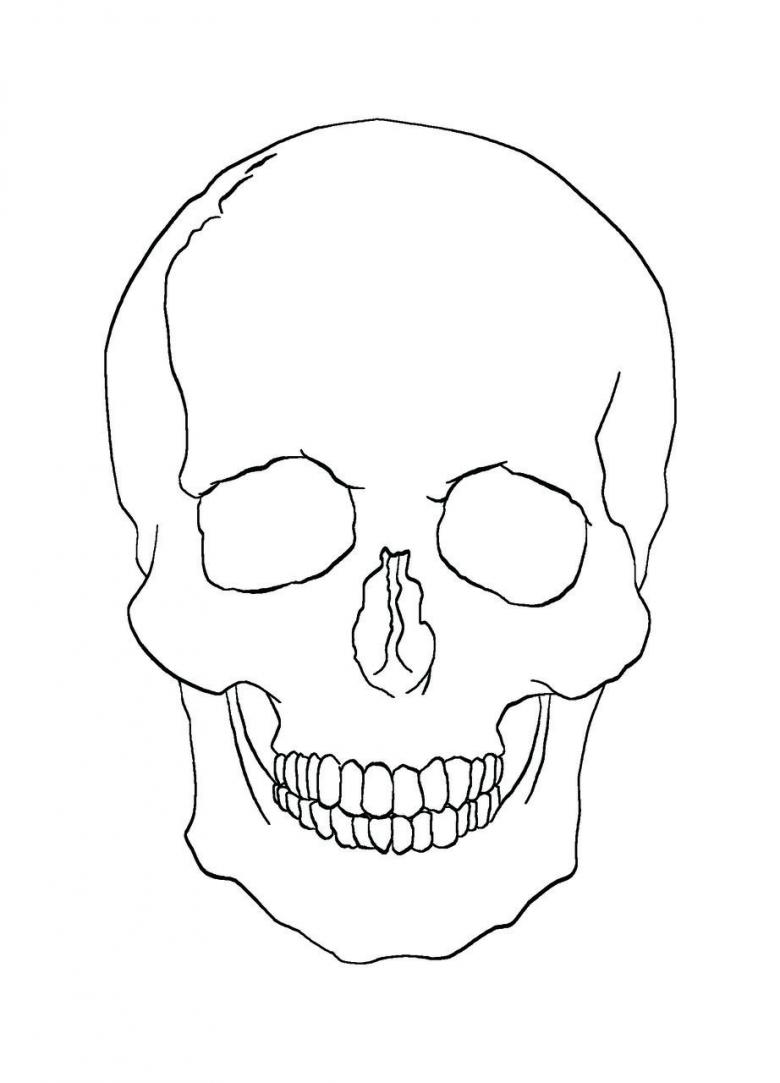
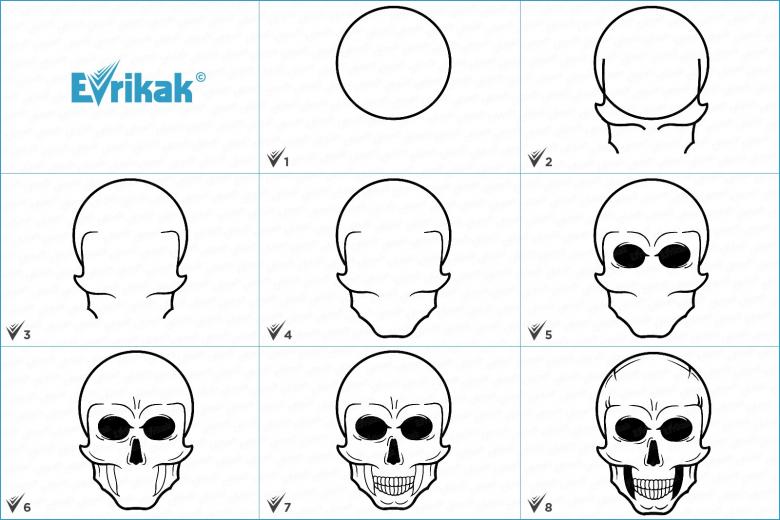
It is necessary to draw a long line horizontally. Its size depends on how big the skull illustrator is going to do. If he is going to depict a small skull, it will be sufficient to draw a line of three cells. On the sides of the sketch you need to put vertical dashes of the length that the entire skull should be. Next, these dashes should be connected by an oval line.
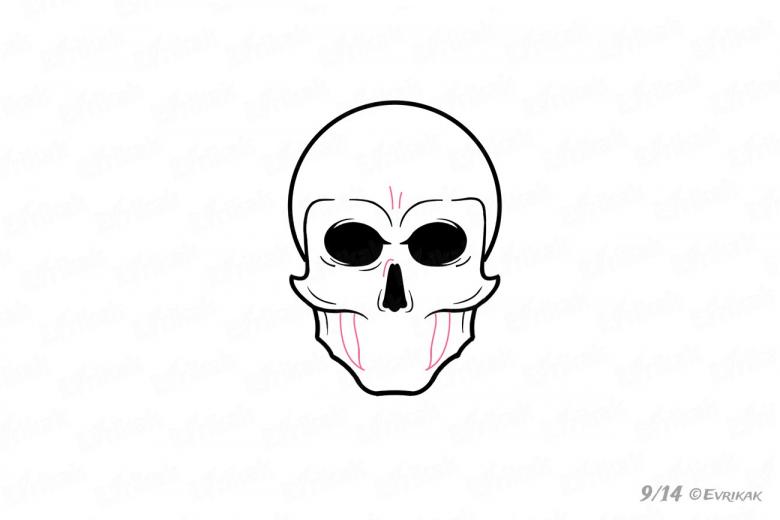
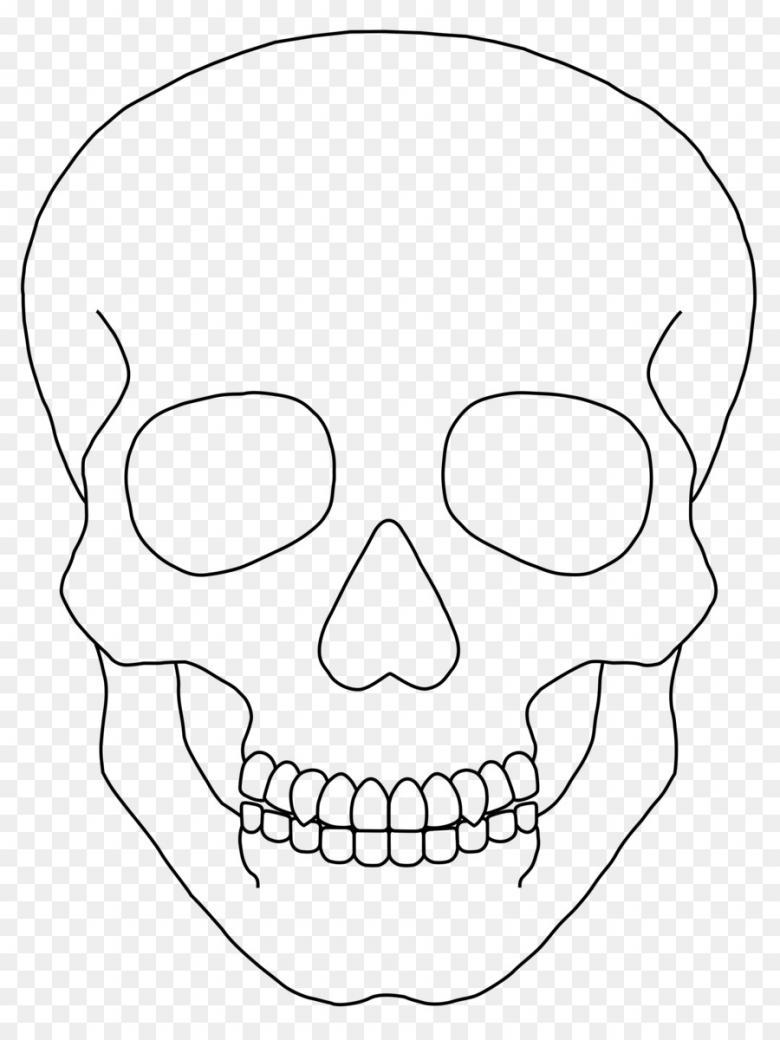
The second step of sketching the skull is to draw the eyes inside the image of the head. After these operations it is necessary to draw one straight line on the underside. On this straight line we begin to draw the teeth. When the silhouettes of the eyes will be painted over, and the teeth out, the drawing can be considered complete.
Skull with swords
The second option skull outline a little more complicated than the previous one. First, you need to draw a slanted line in the left edge of the sheet. You need to add a vertical pencil sketch to it. To this part of the work it is necessary to add the outline of the sword handle.
Next, we complete the work with the bottom part of the bone. Next, another part of the sword handle needs to be drawn. It is necessary to draw a line up and deduce the line of the sword. The next step is detailing the drawing. In the middle area of the skull it is necessary to draw a line that will divide the facial bone into equal zones. The next step is to outline the handle of the weapon.
The final step in creating the drawing is to draw the teeth to the skull. Cracks can be outlined in the frontal and zygomatic area. The cracks will give the skull picture a natural appearance. The next step is to draw the eyes in the outlined circle. On the skull, you need to draw the hollow of the nose and detail the handles of the weapon behind the skull.
To give a richer touch to the drawing you need to trace the outline of the skull with a marker. The areas that require more saturation should be painted over with a black felt-tip pen.
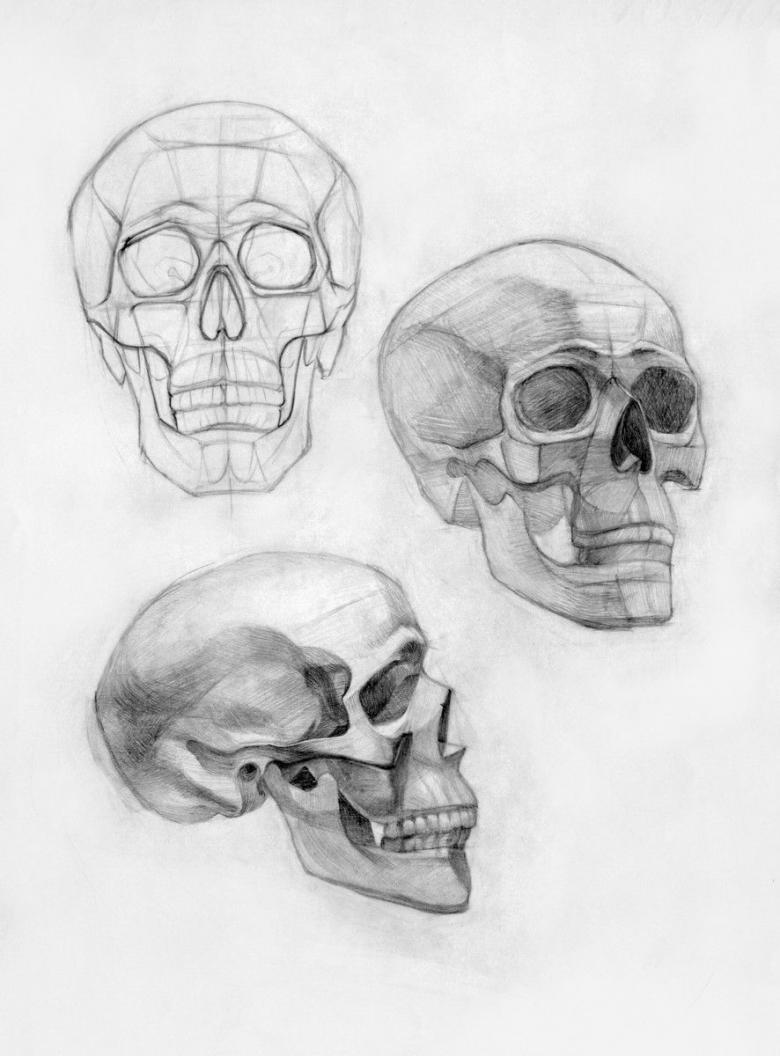
Graffiti on paper
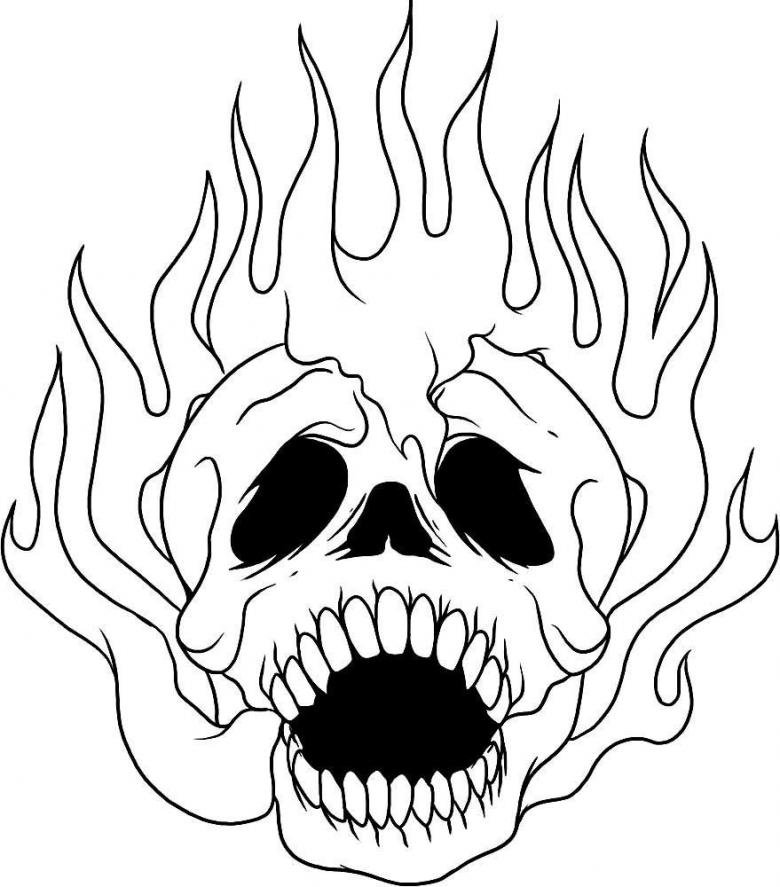
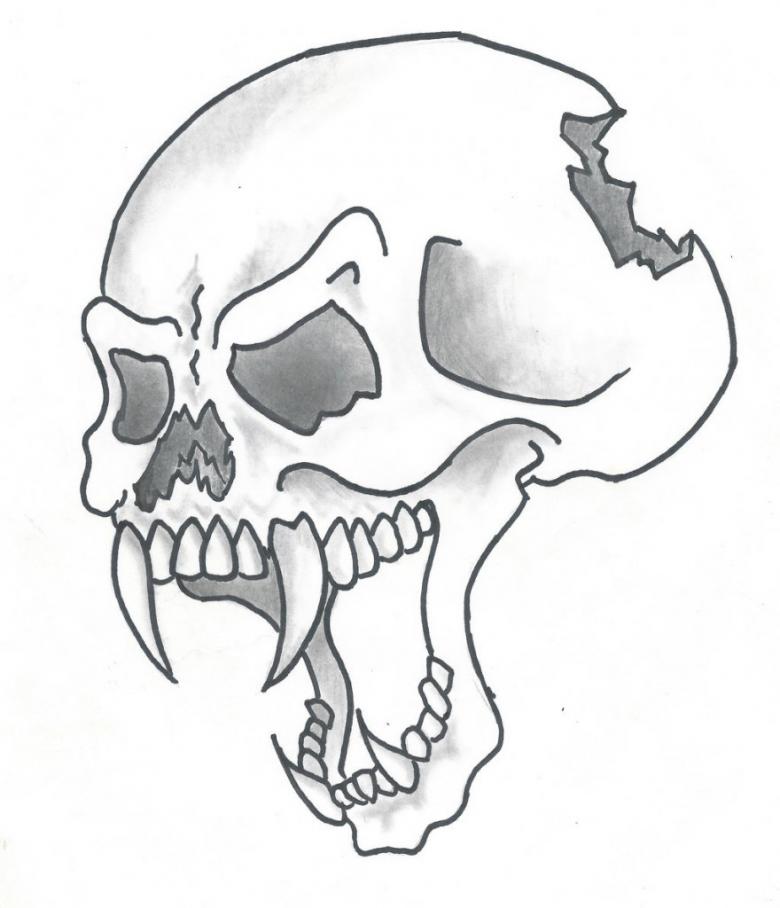
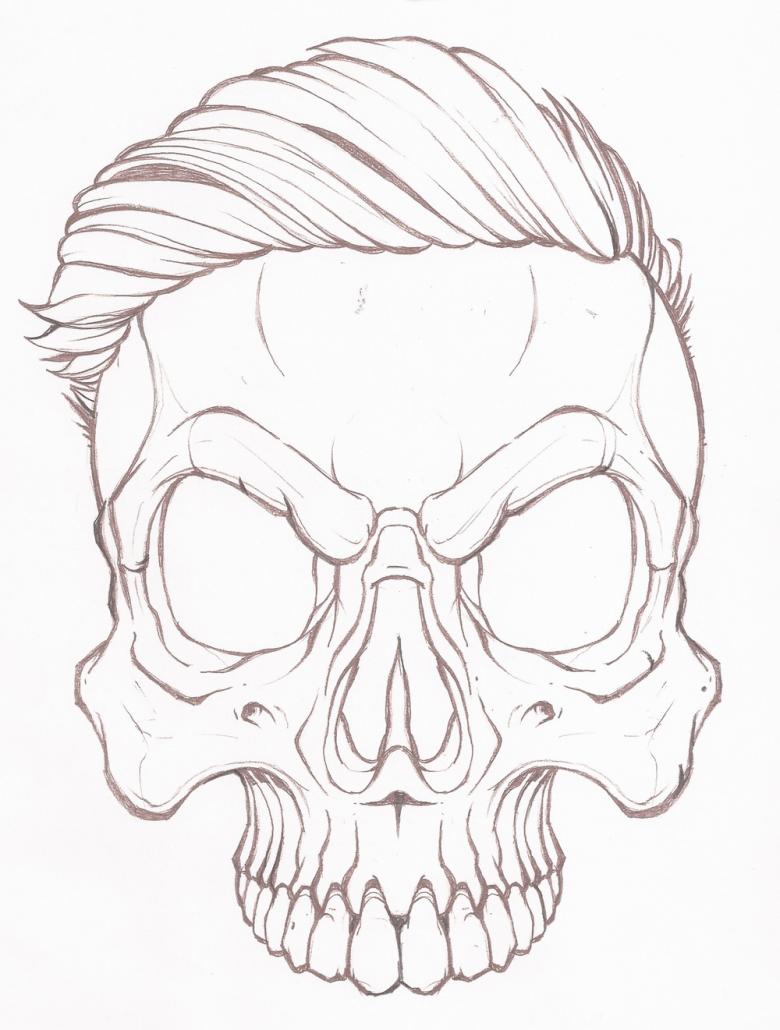
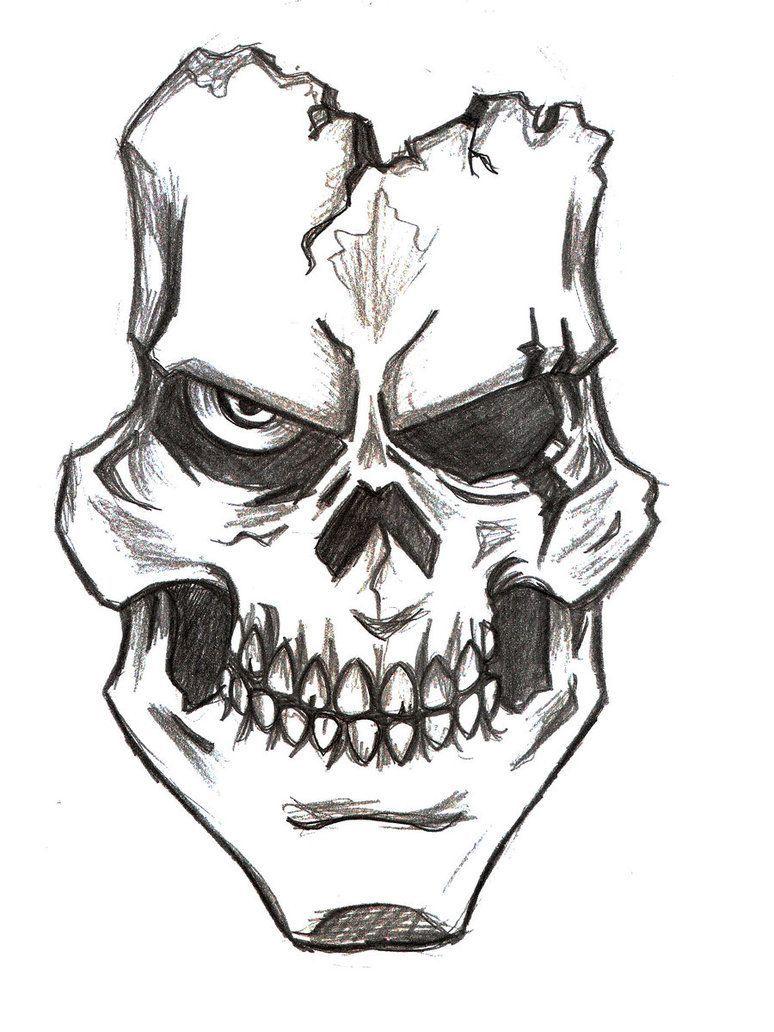
A more complicated version of skull design is graffiti. For this kind of work it is necessary to buy a simple pencil and a black marker. Start drawing from the middle area of the sheet. Draw a silhouette of a fire, which will later correspond to the depression of the nose. At the top of this depression outline the wave. On either side of this wave you need to add circles. These circles can be irregularly shaped. They are prepared for tracing eye sockets.
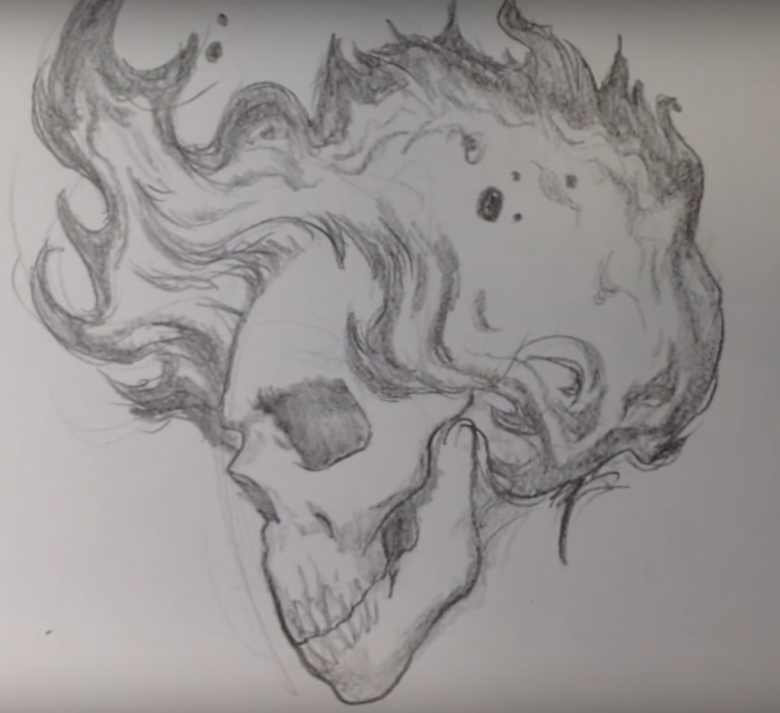
To add artistry to the drawing it is necessary to seal some lines. After a number of simple operations necessary to deduce around the finished nose and eye sockets skull lines. Below derive the jaw with teeth. Teeth should not be symmetrical relative to each other. Artistry figure adds uneven lines of teeth.
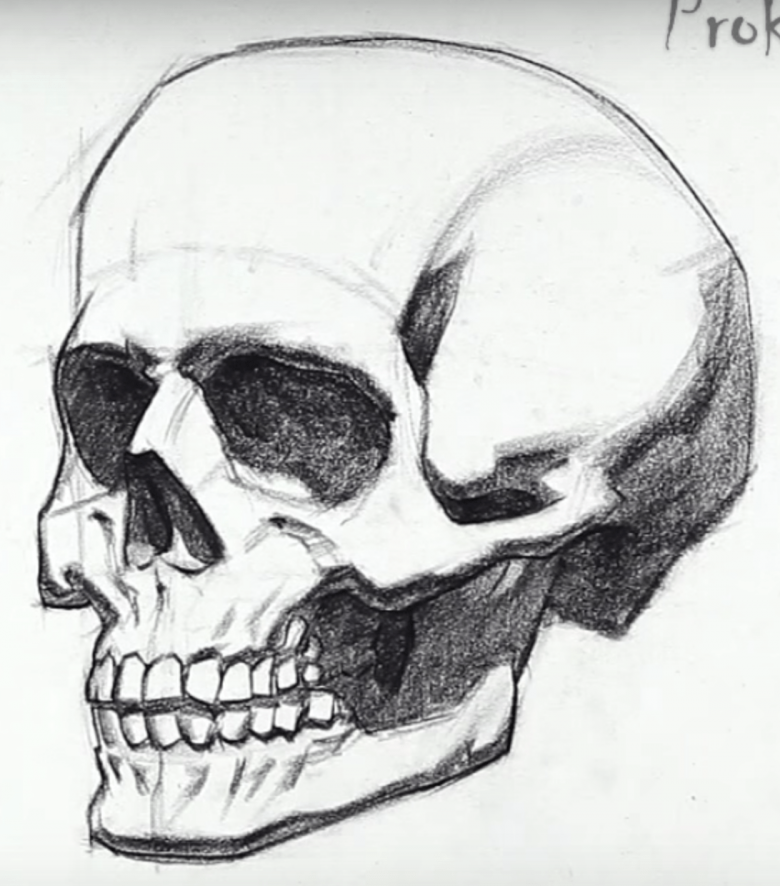
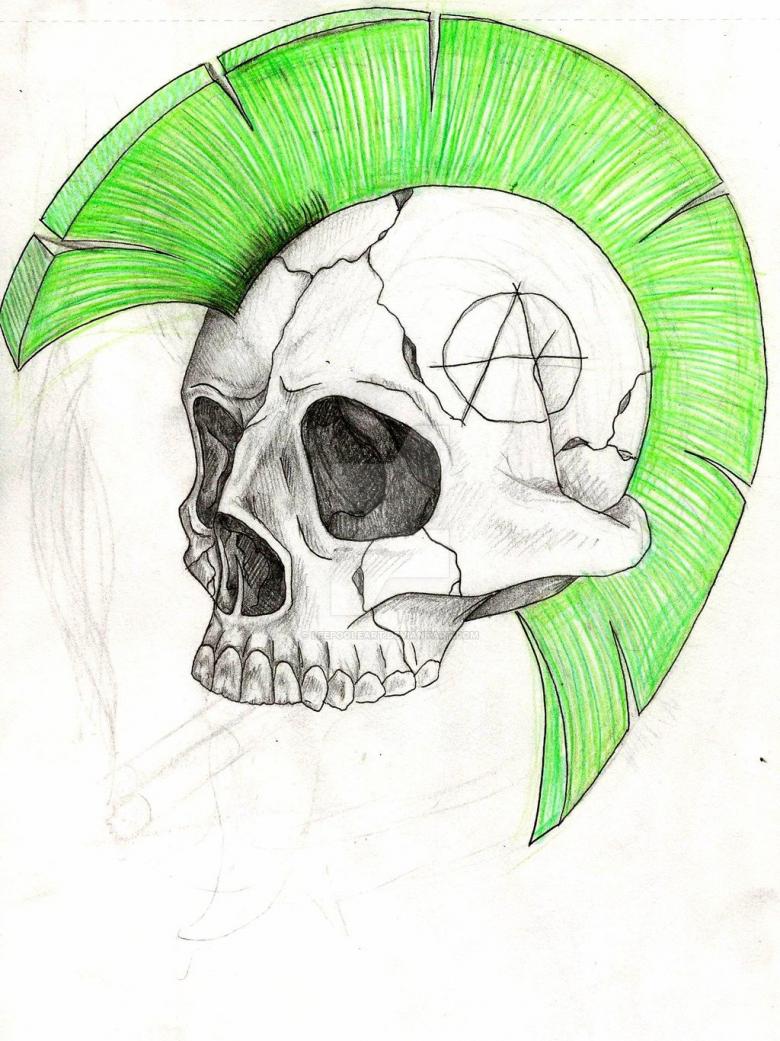
If desired, you can "put" on a skull cap. It is outlined step by step. First, vertical lines are drawn upwards, and several horizontal lines are drawn perpendicular to them. According to the artist's vision, the thick lines of the cap and the painted areas of the cap are refined. It is best to paint over the areas with a prepared marker.
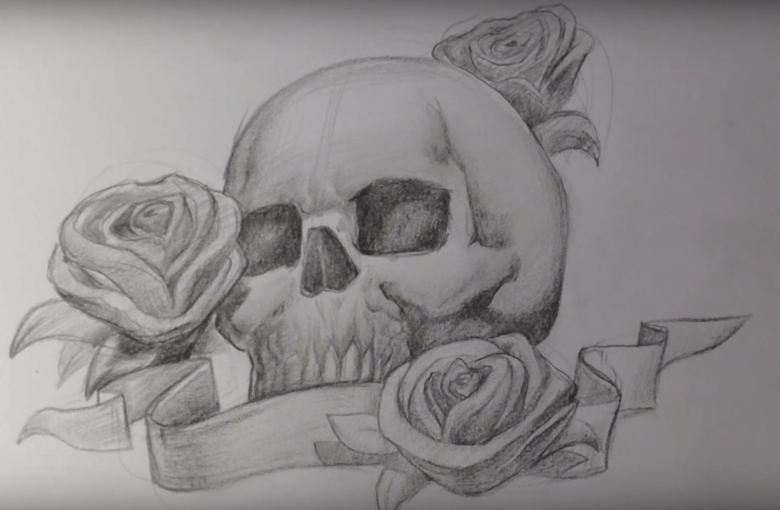
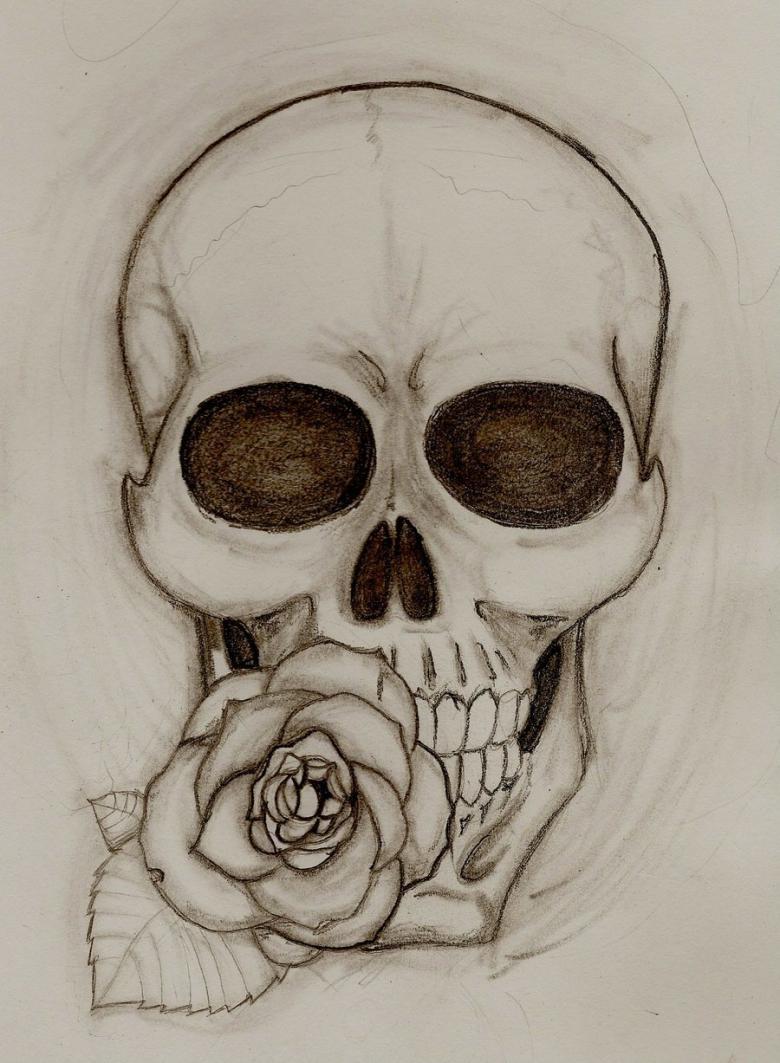
To create a poetic drawing, it is possible to add a tattoo to the image of the skull. The tattoo can be any. Of the great variety of drawings it is possible to choose exactly the one that will convey the author's idea.
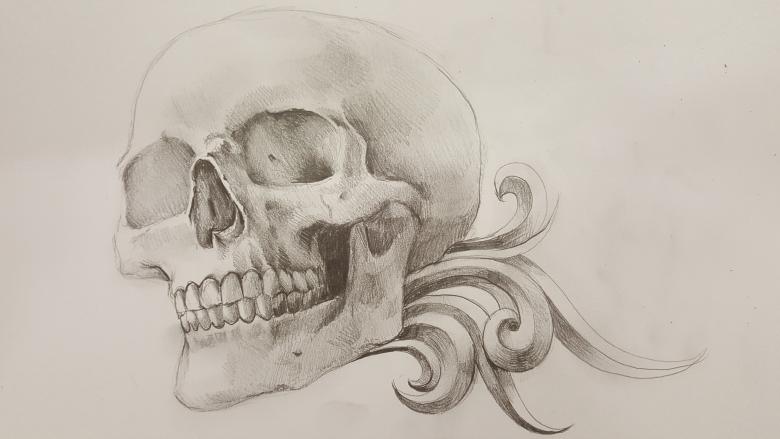
Skull drawing
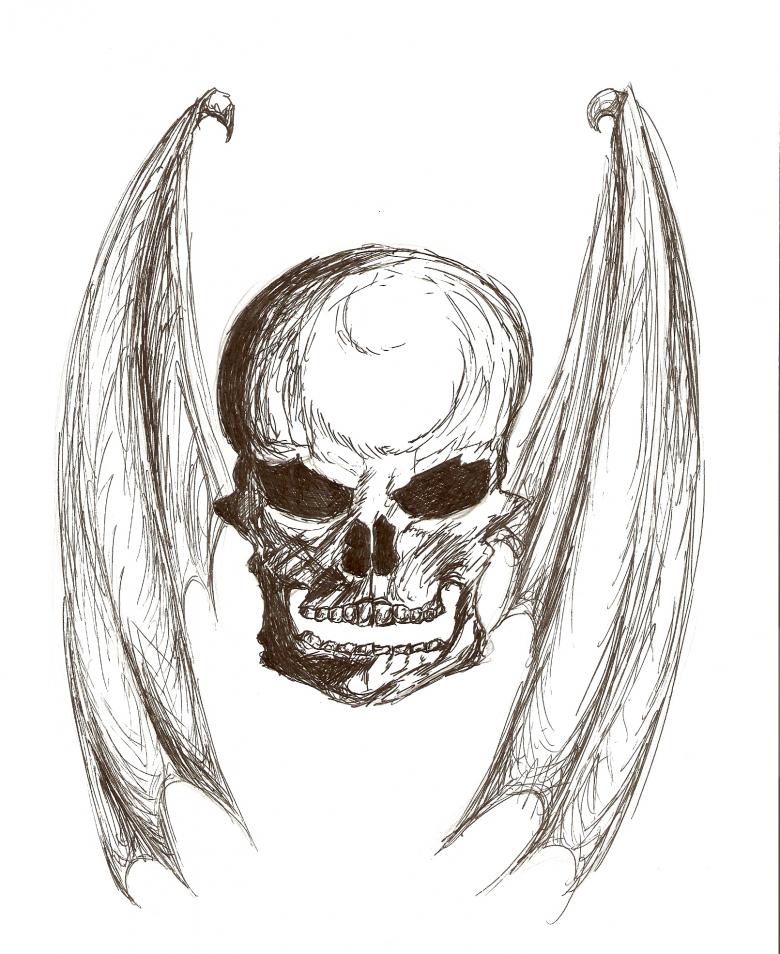
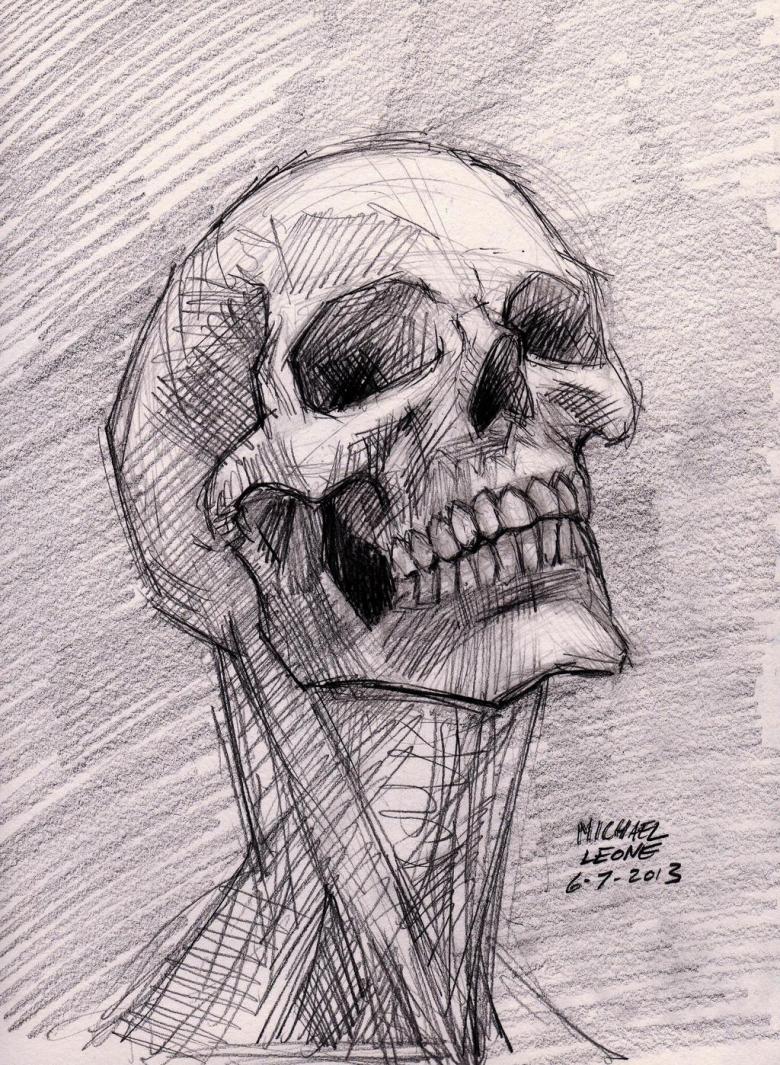
One of the common gothic images of the skull can be considered a drawing of the skull in the hood. This image often illustrates dark forces in many comic magazines. The hooded skull drawing should begin with a drawing of the shape of the nose. On the sides of the nose, the hollows of the eyes should be drawn. Next, it is necessary to outline the border of the head under the hood.
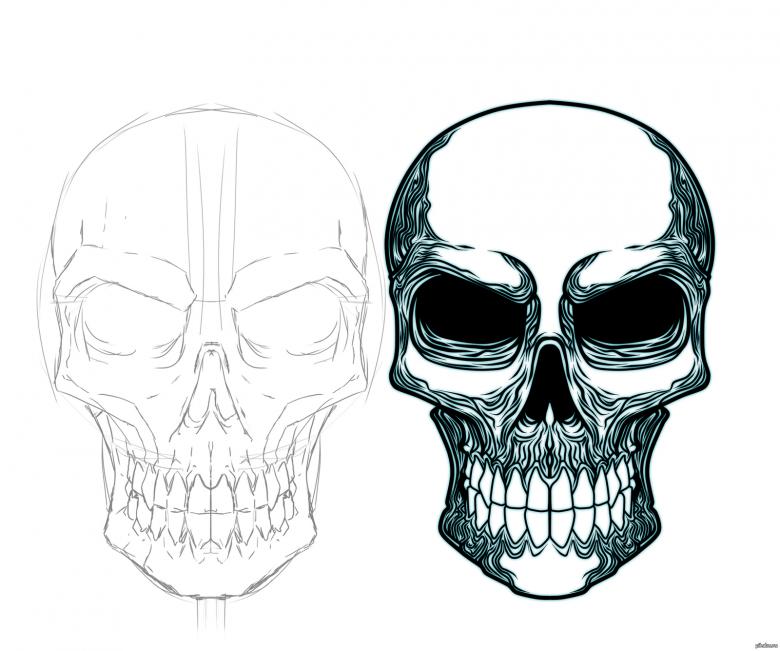
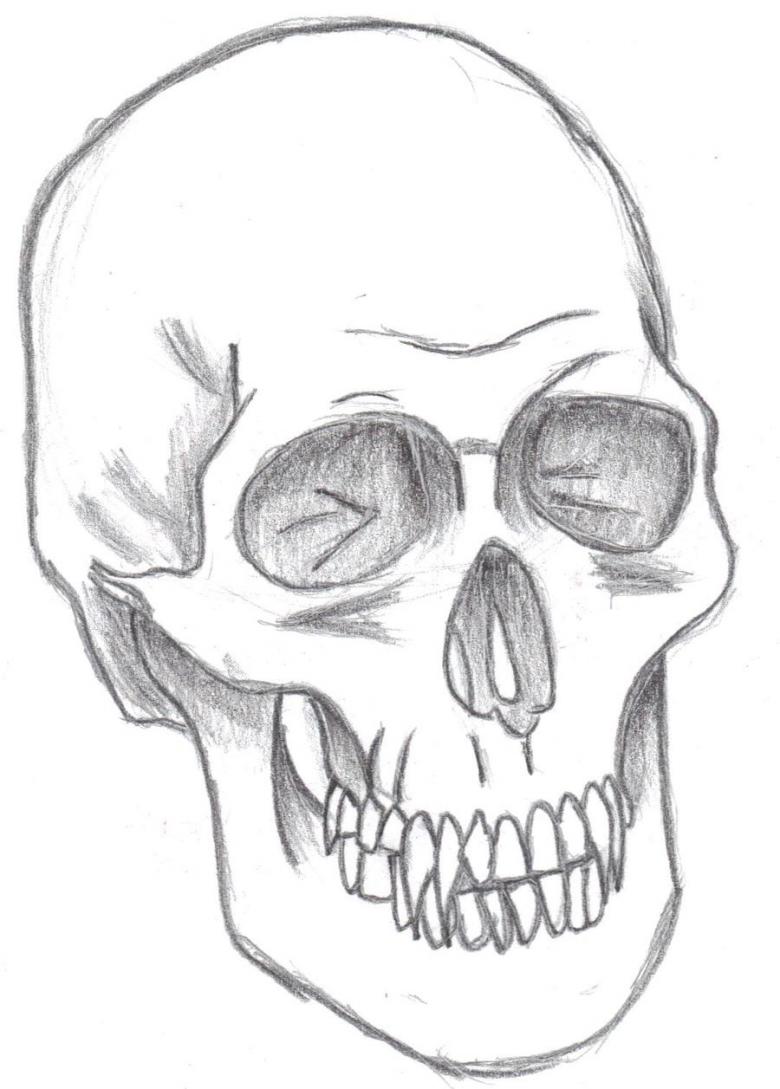
It is important to competently outline the cheekbones of the skull. The jaw is outlined from the cheekbones. The teeth inside the skull mouth can be uniform or they can be uneven. Sometimes they leave gaps in the tooth line on purpose. Often artists resort to this to create an extravagant look. This is especially applicable in creating drawings for creative magazines.
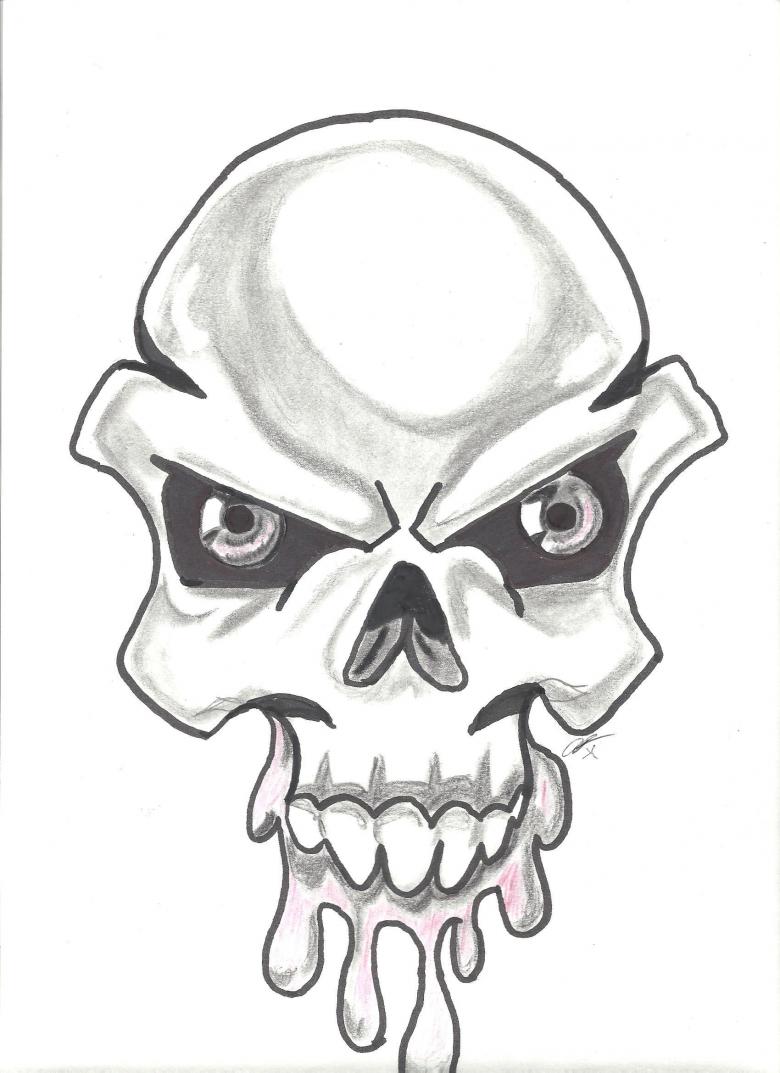
The entire skeleton can also be drawn to the skull. If required by the creative idea, you can add clothing and other elements to the image. There are many drawings of skulls and skeletons on the Internet. The imagination of the artist is limitless when it comes to human anatomy.
The image of the skull as a sacred symbol is found in the religions of many peoples. Tribes in Africa and the Americas use the skull as an accessory or utensil. According to beliefs, the skull is an amulet that protects its wearer from negative energy and contributes to the successful completion of cases. In more civilized countries, the image of the skull is stitched on the skin. Watch variations of such a drawing can be freely accessed on the Internet.

