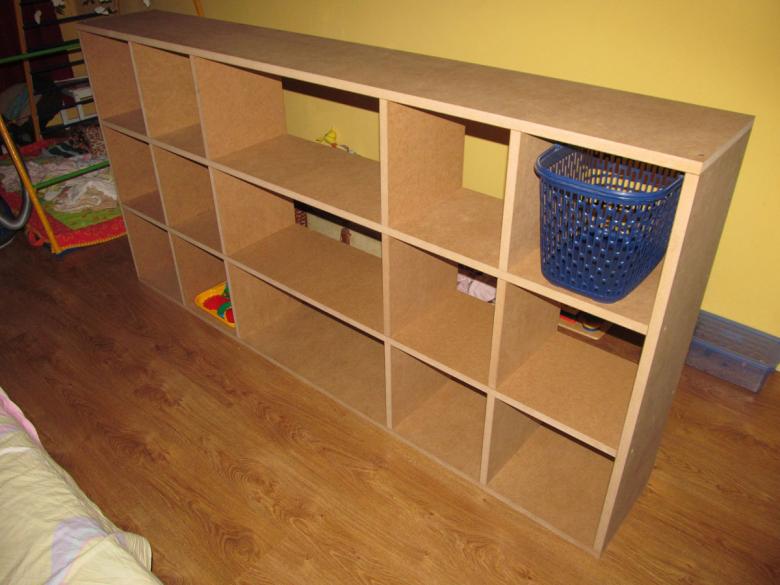
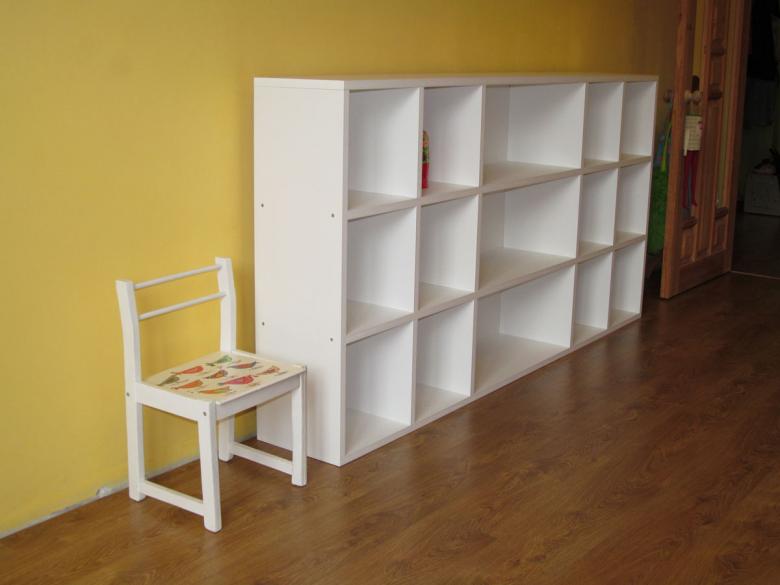
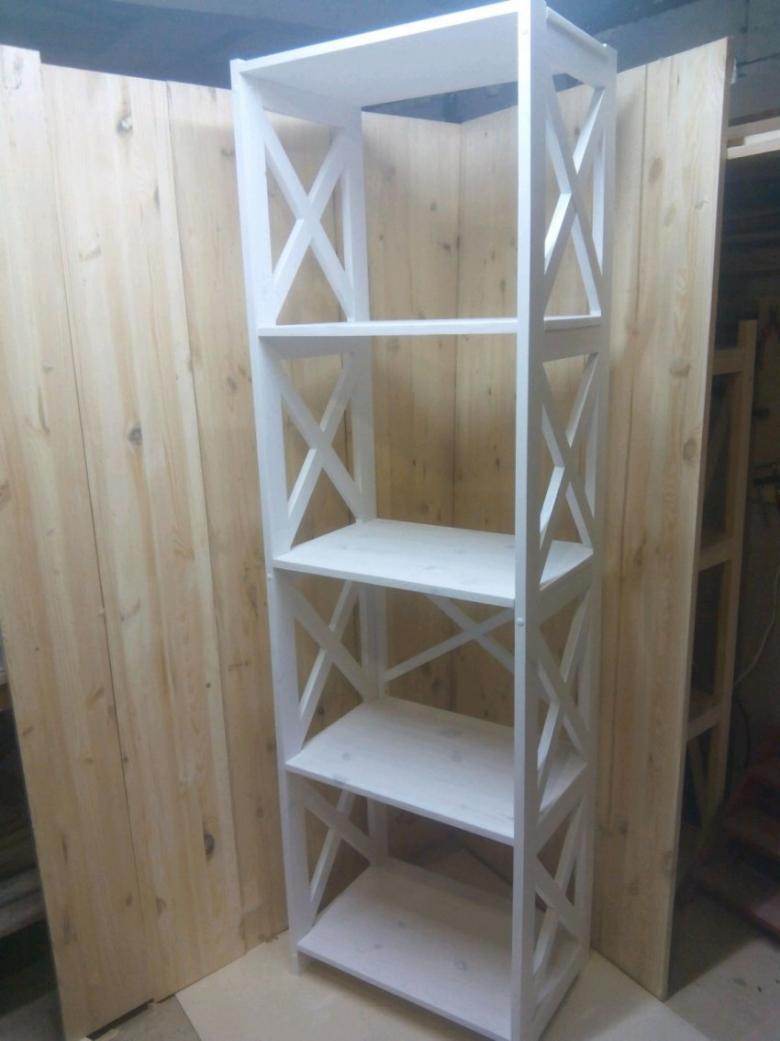
How to make a shelving unit from wood with your own hands - a detailed master class for beginners
Racks are very popular due to their functionality. They are widely used in warehouses at production facilities, in the domestic sphere and residential premises. This type of furniture is ideal for storing many items.
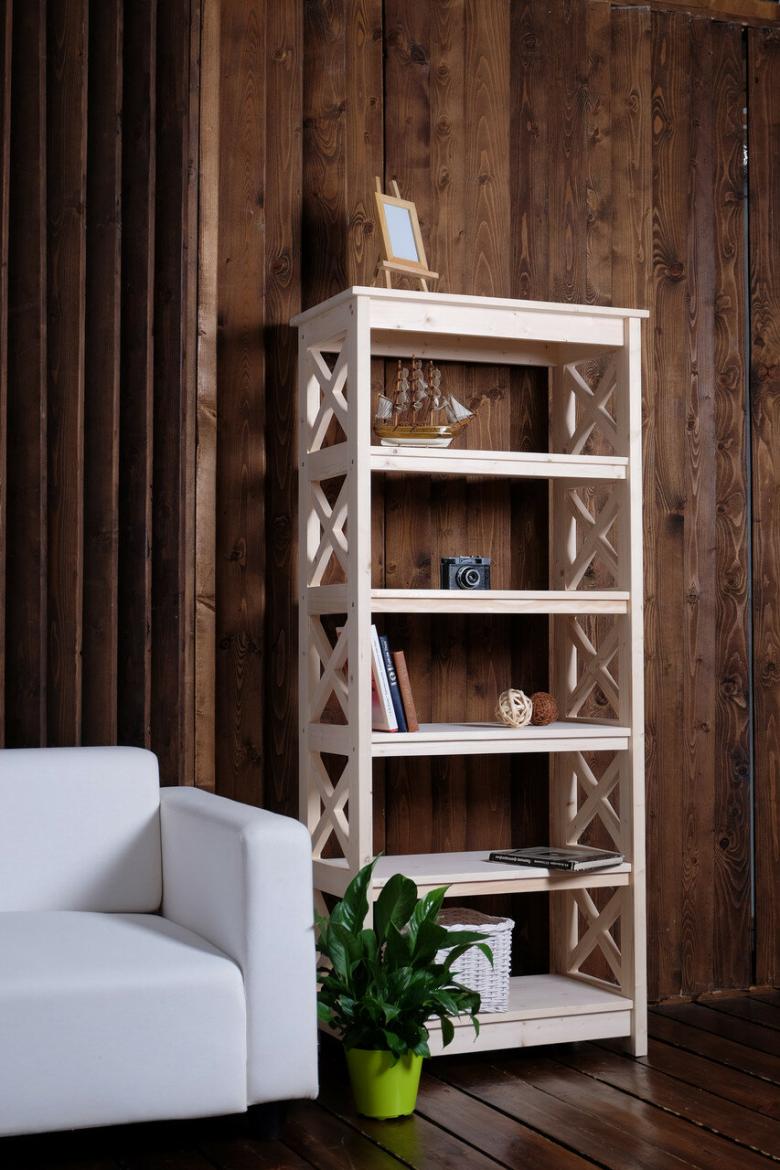
In furniture stores these products are presented quite widely, but they are not always suitable for the requirements of the buyer. Unsuitable size, design and other good reasons - a reason to independently undertake the manufacture of this piece of furniture.
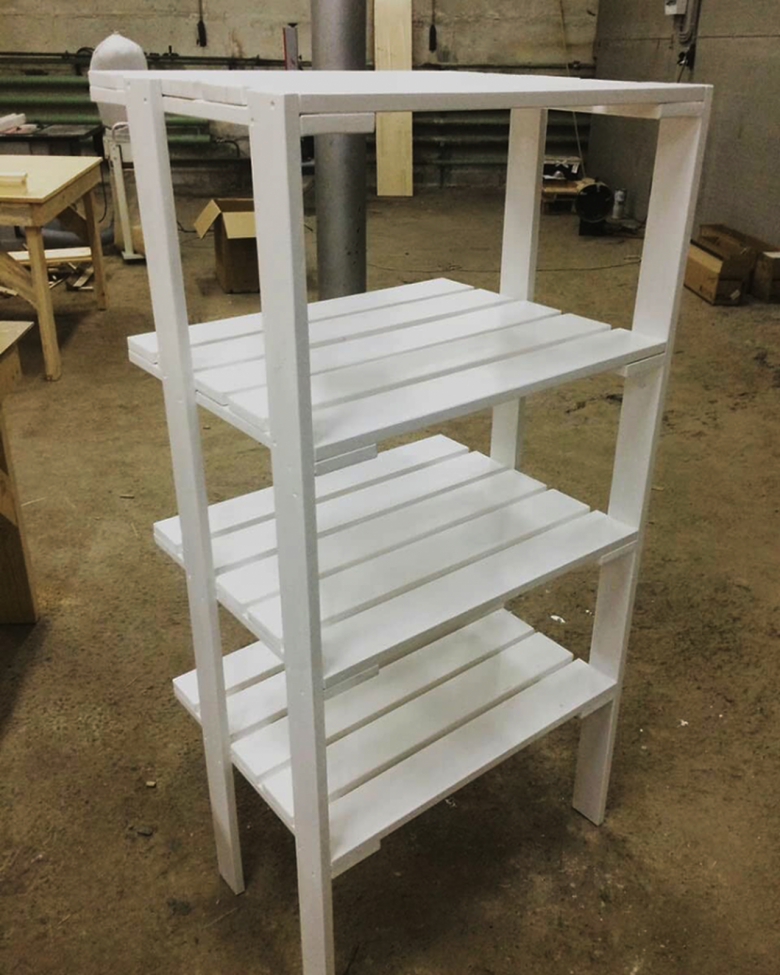
Rack, made by your own hands, has a number of advantages:
- organically fits into the interior;
- rationally uses the space of the room;
- the shelves are designed for the necessary load;
- The size of the cells are planned according to the items and things for which they are intended.
It is not difficult enough to make, but the result will satisfy all requests.
Design and sketch of the future product
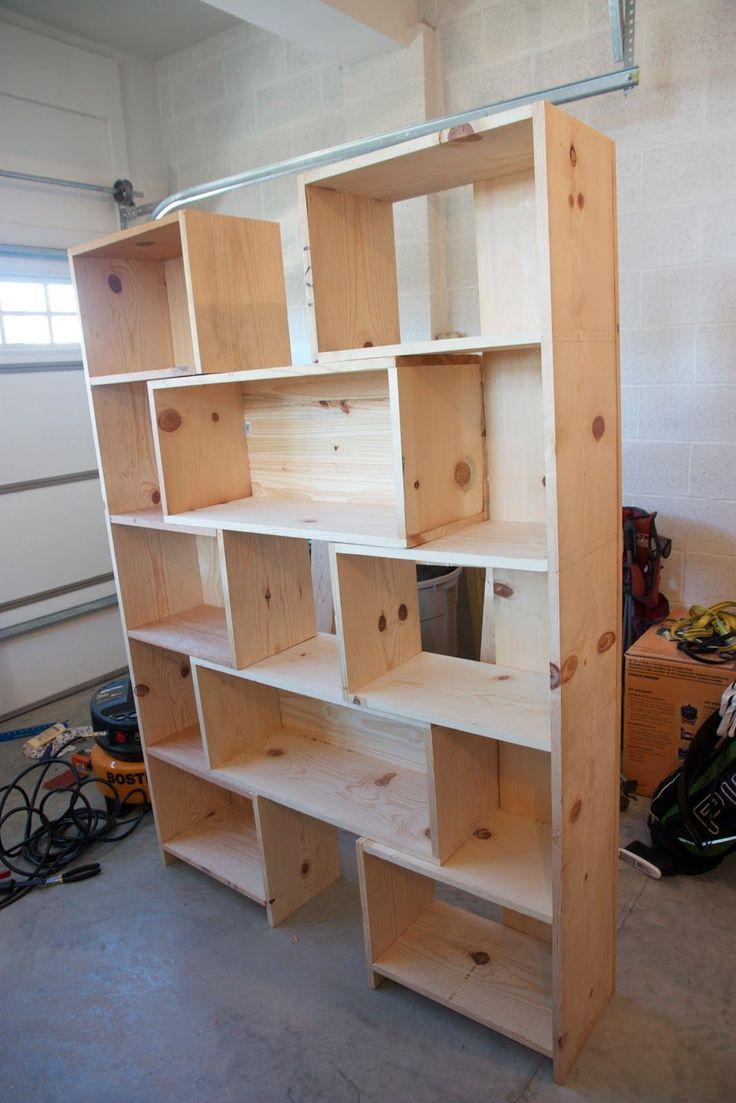
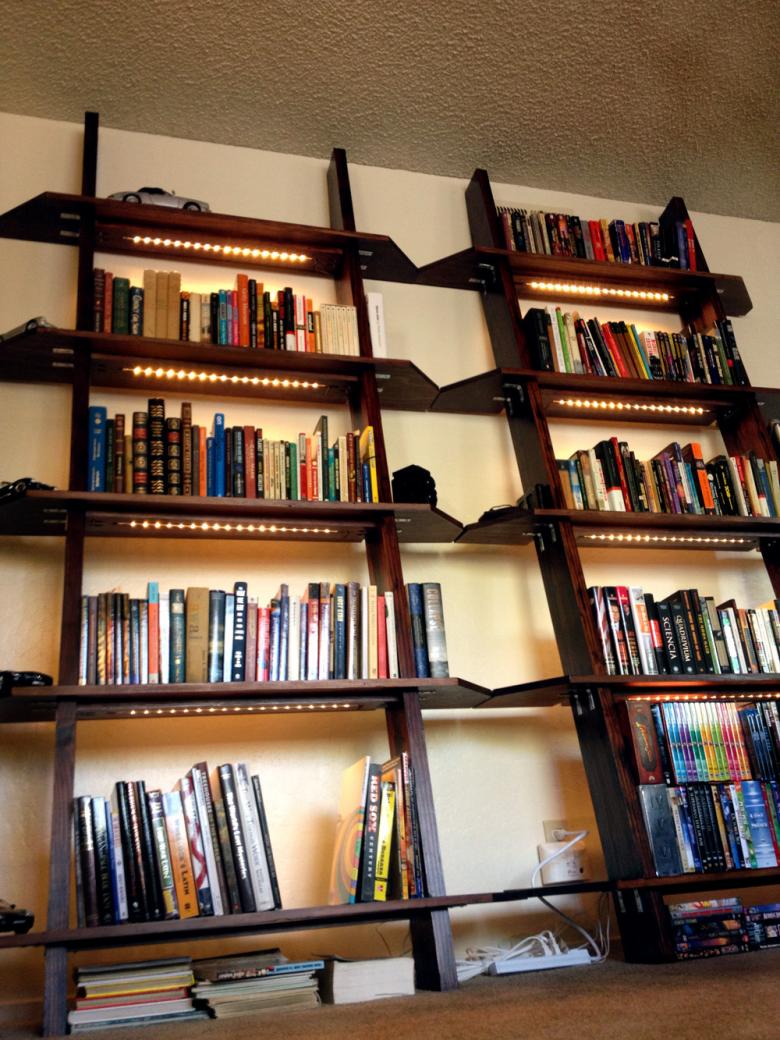
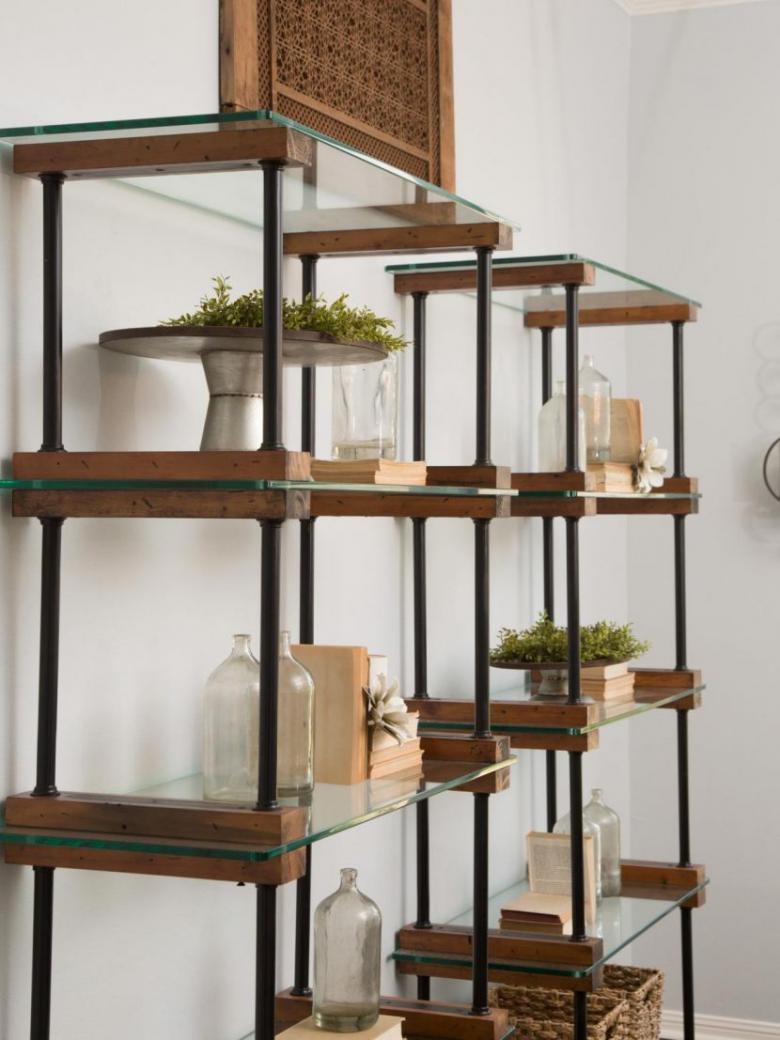
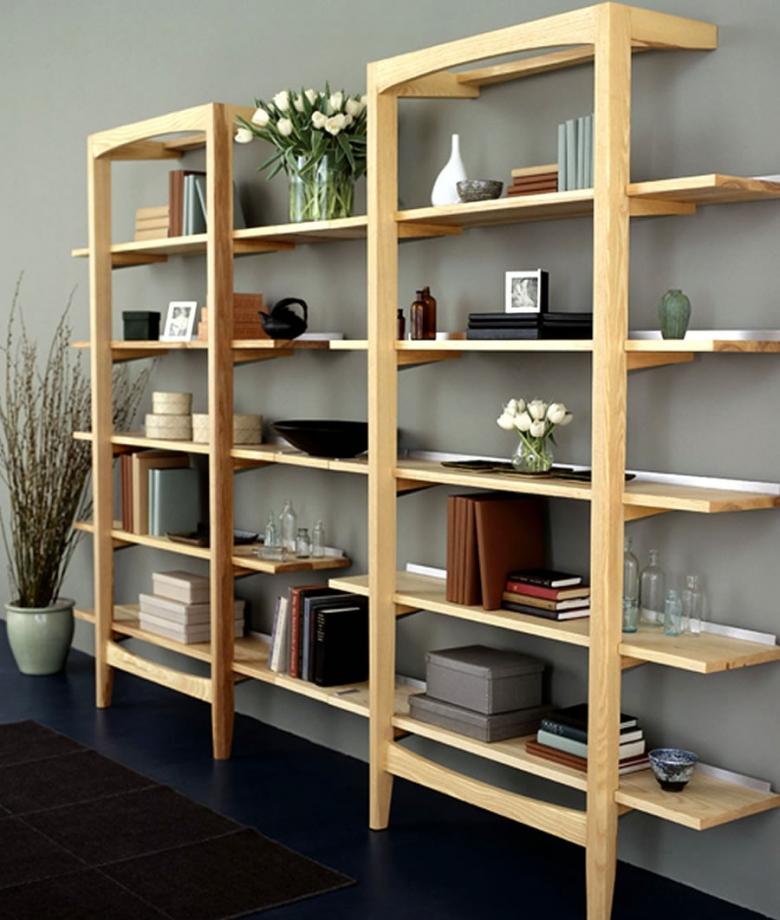
The design features and appearance of the future product directly depend on its location in the house. If earlier racks were more often used in the utility or secondary rooms, but now they have become widely incorporated into the interior of living rooms and children's rooms, offices and even bedrooms. The original, thoughtful design of the product is able to give the interior of the room a completely different style.
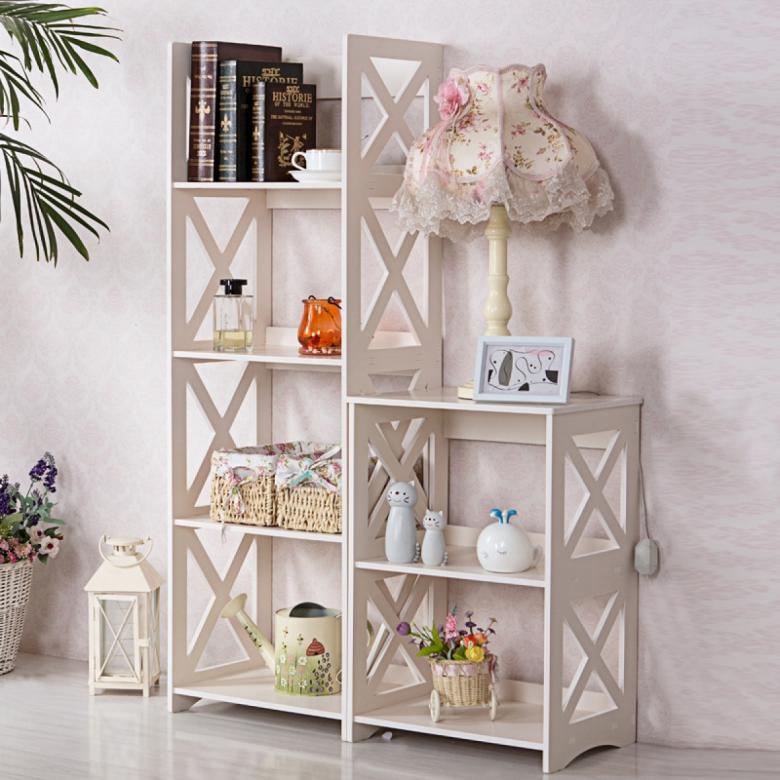
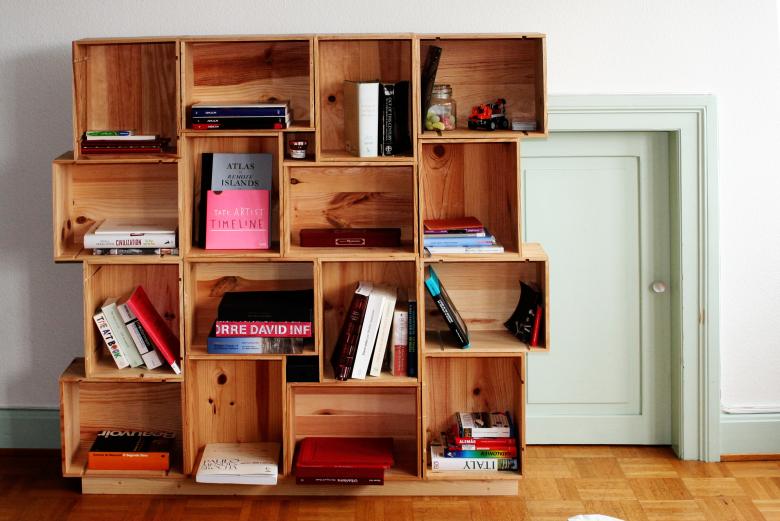
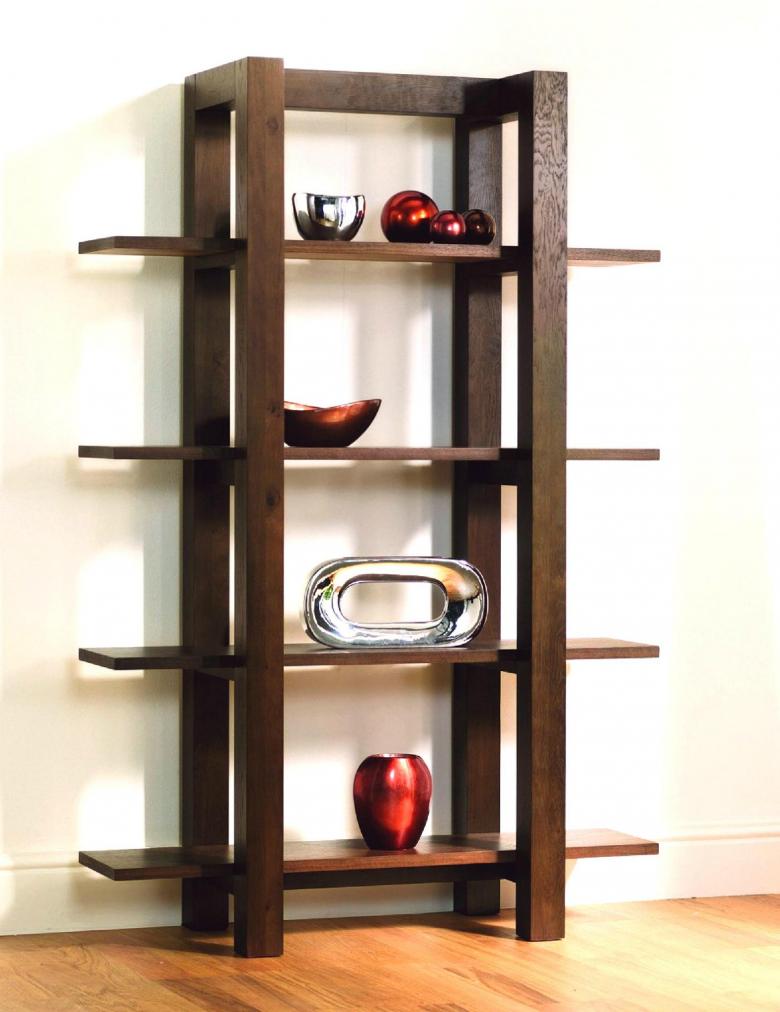
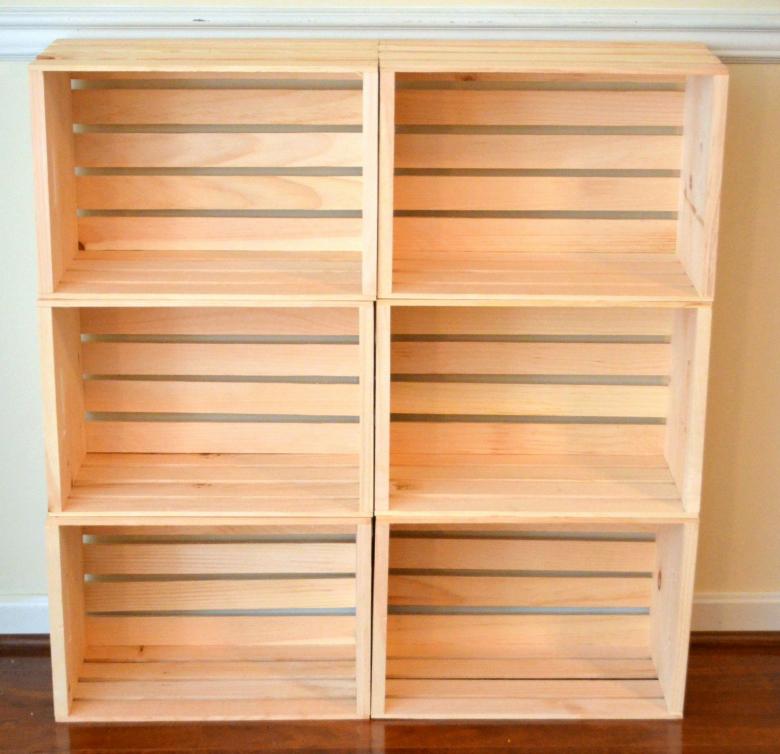
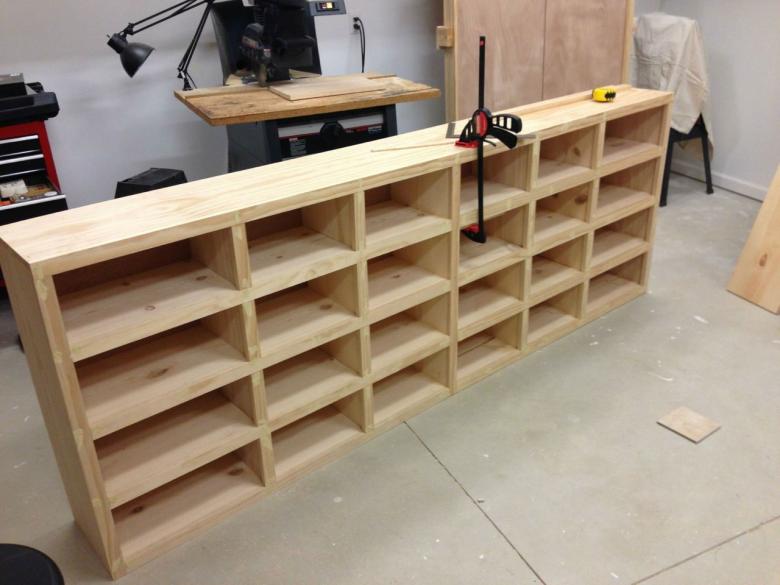
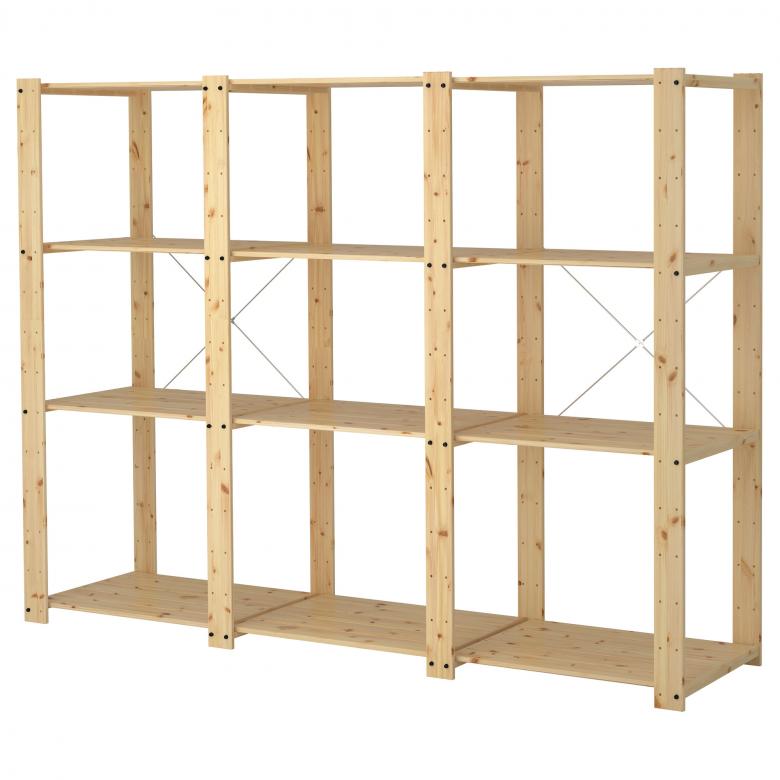
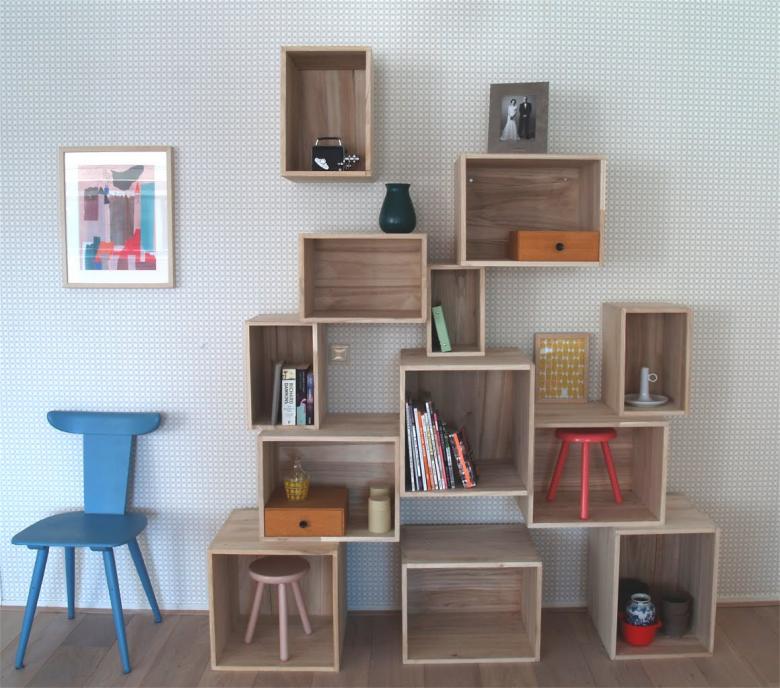
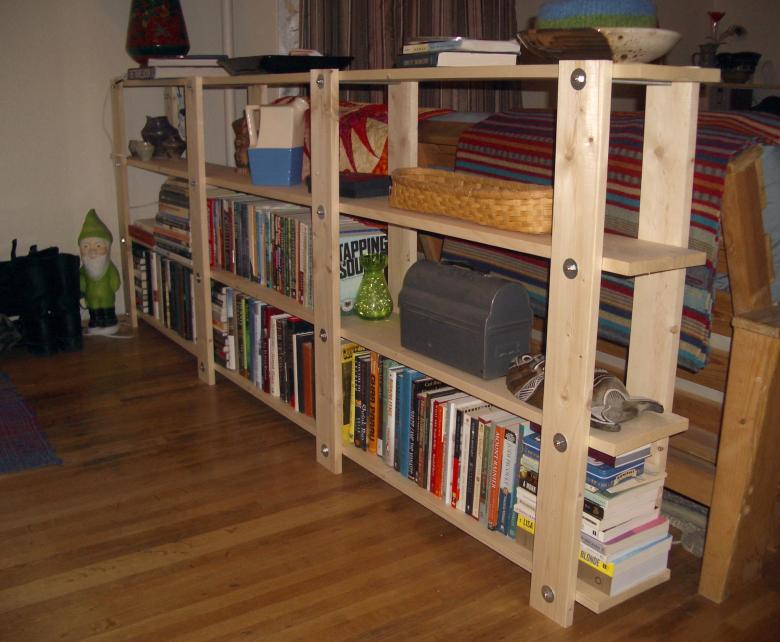
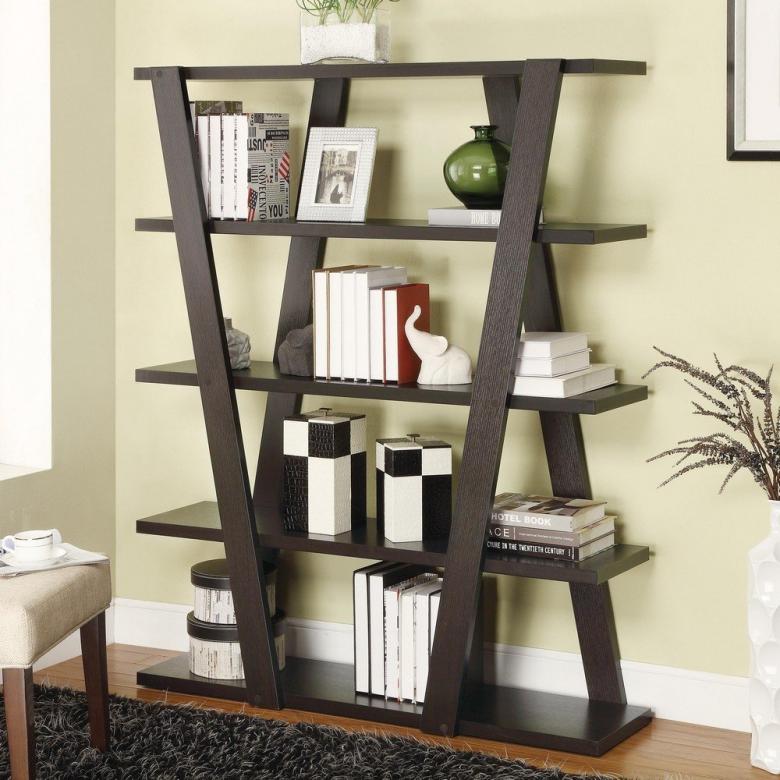
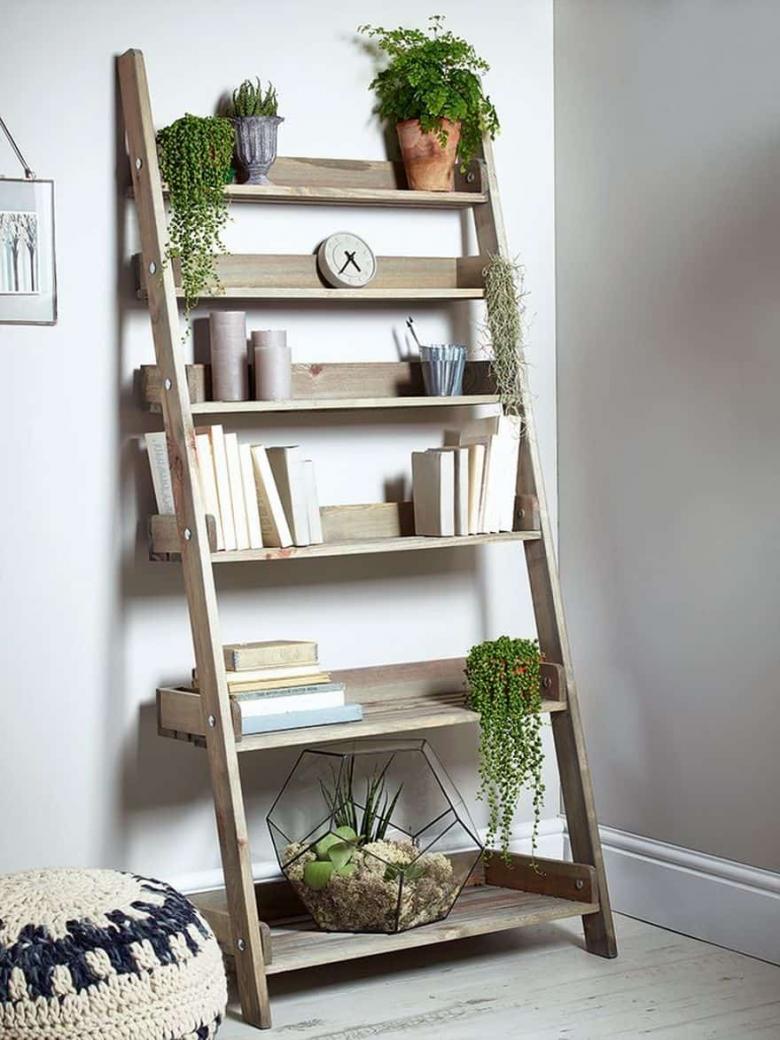
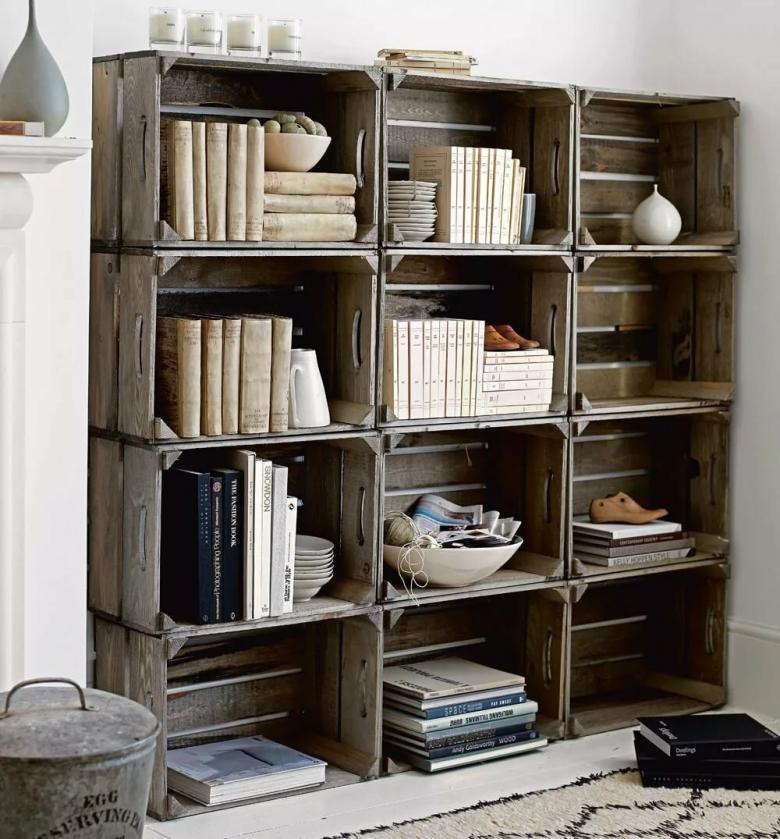
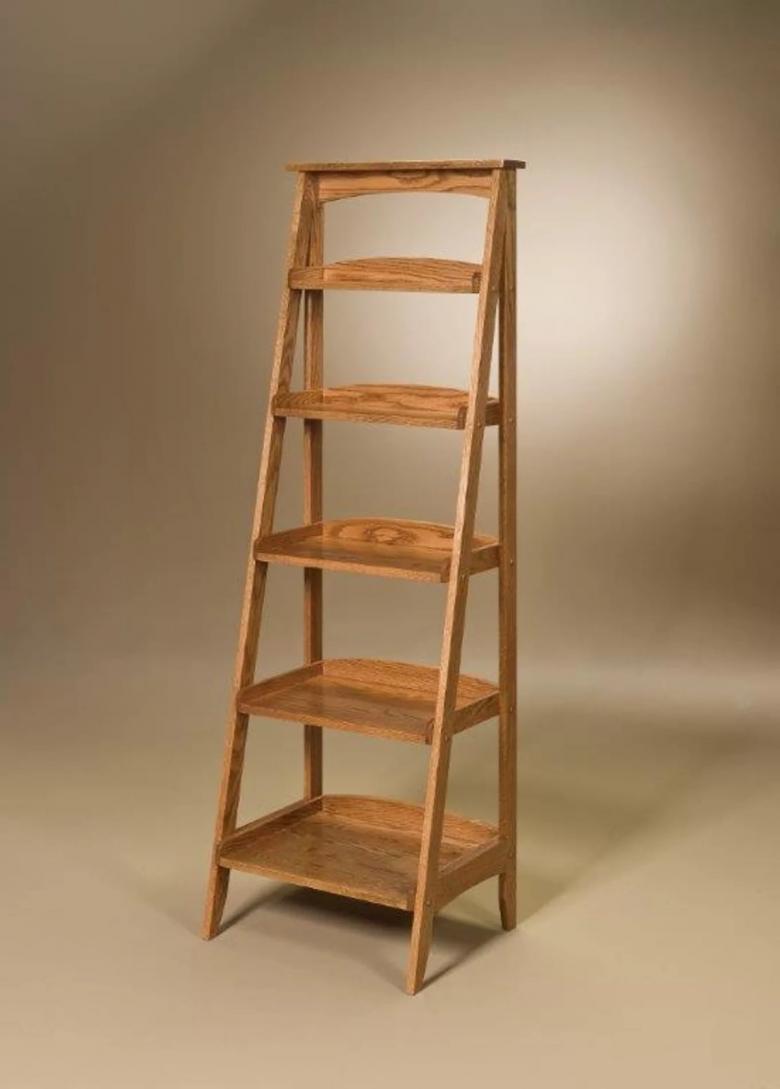
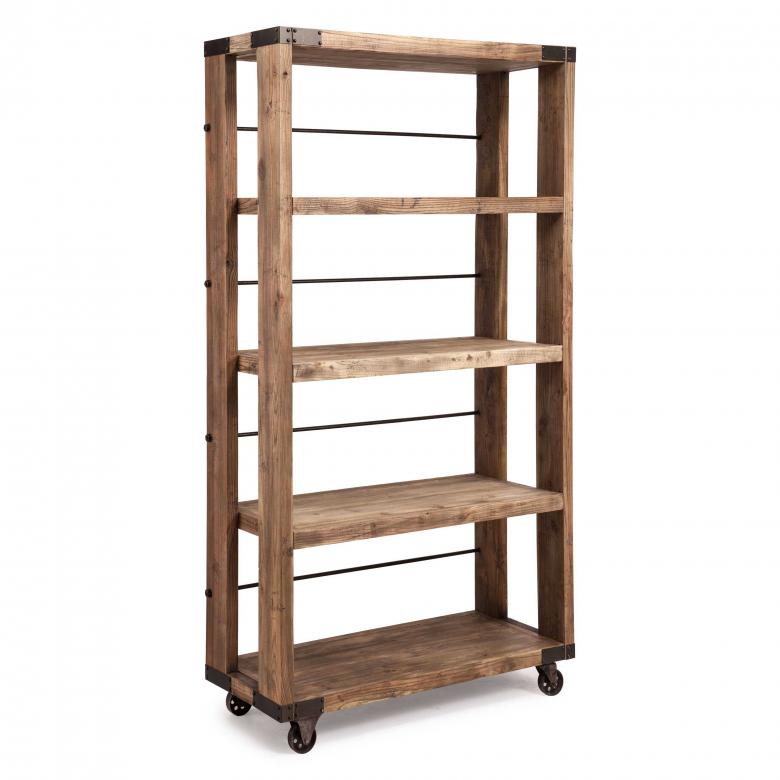
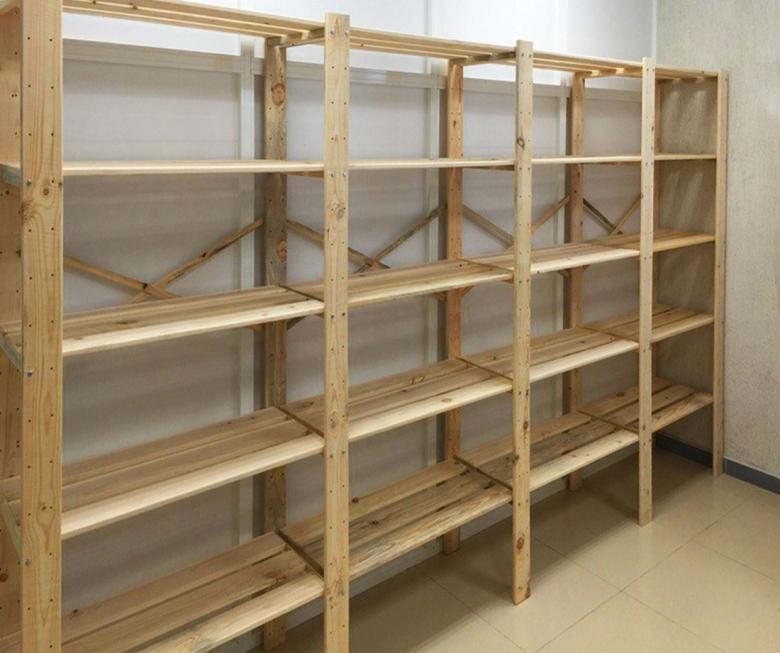
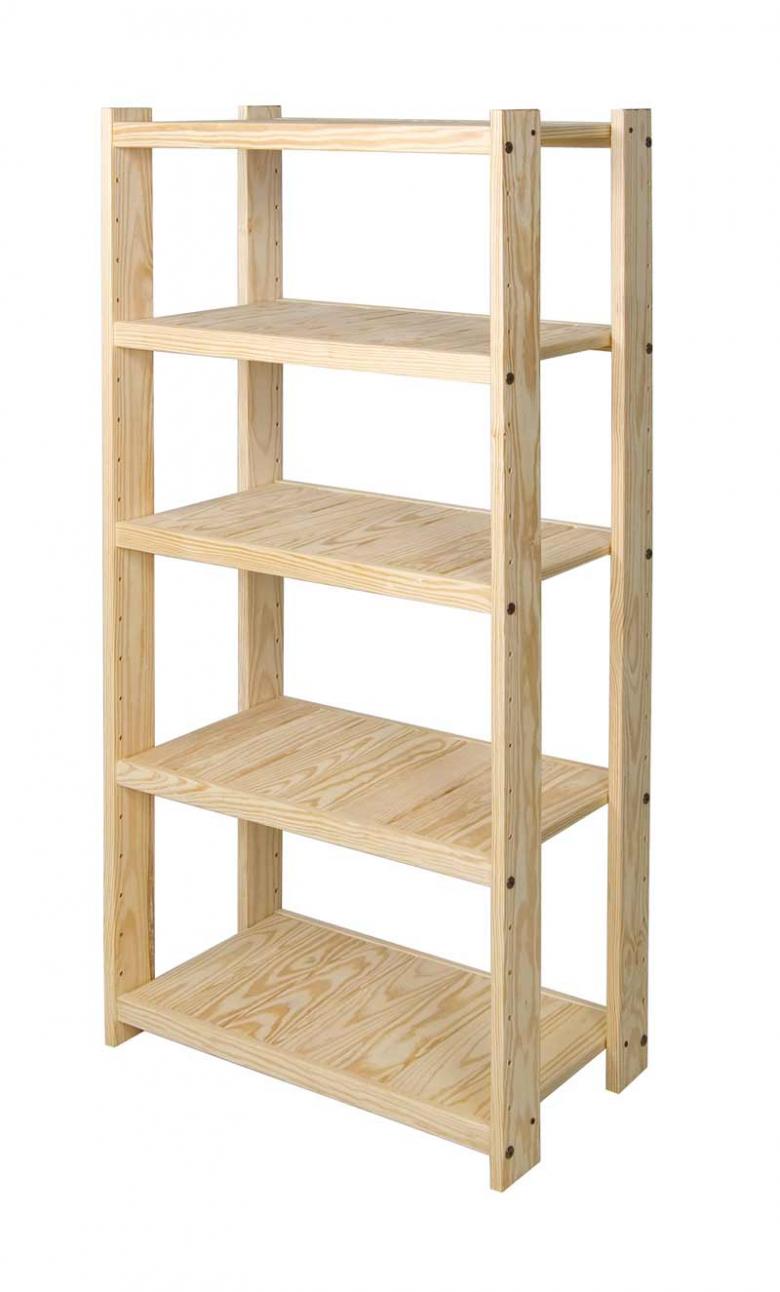
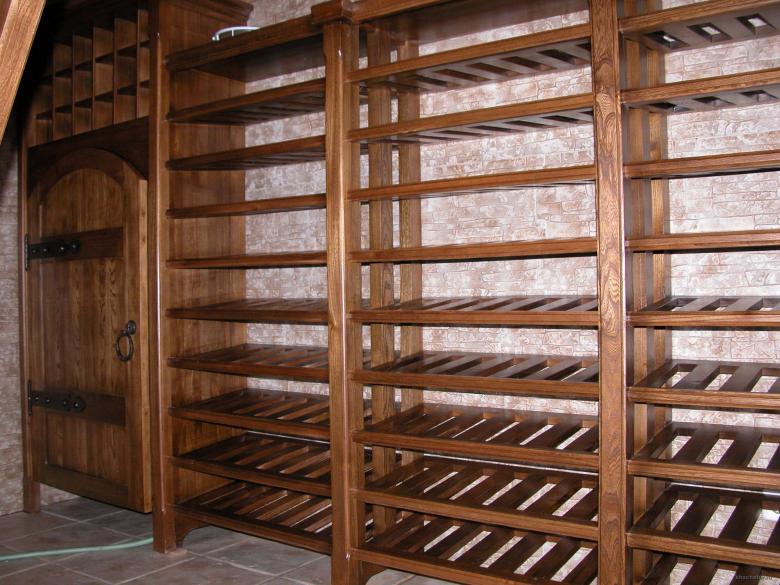
Racks vary in type: frame, beam, modular, cantilever and rope. Less common are free-bearing and bridge models. Any of the selected options can be made at home. Having decided on the form, we draw a sketch or use a photo of a rack taken from the Internet.

To design a product, you will need to measure the height of the room (shelving is most often made from floor to ceiling), as well as determine the size of the shelves. The drawing will allow you to avoid mistakes and save material in the process of preparing the elements of the product.
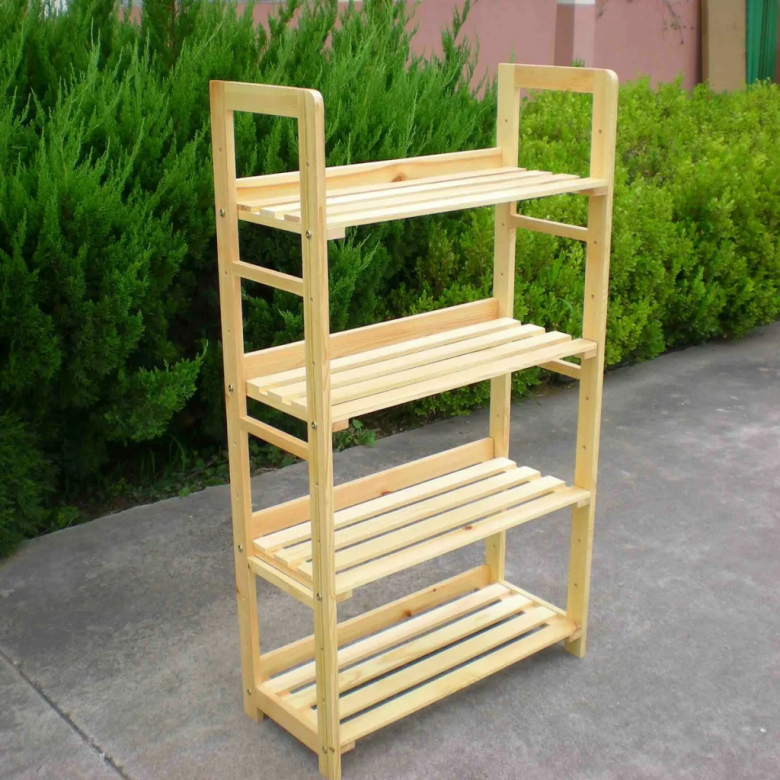
The depth of the shelf and the width between the racks we choose, based on the size of the items for which it is intended. Maximum shelf length - 150cm, otherwise sagging is possible. If you expect heavy loads, the step of the racks should be reduced to 50 cm. A sketch can be made directly on the wall, near which our structure will stand. This will simplify the determination of the dimensions of the racks and shelves of the product.
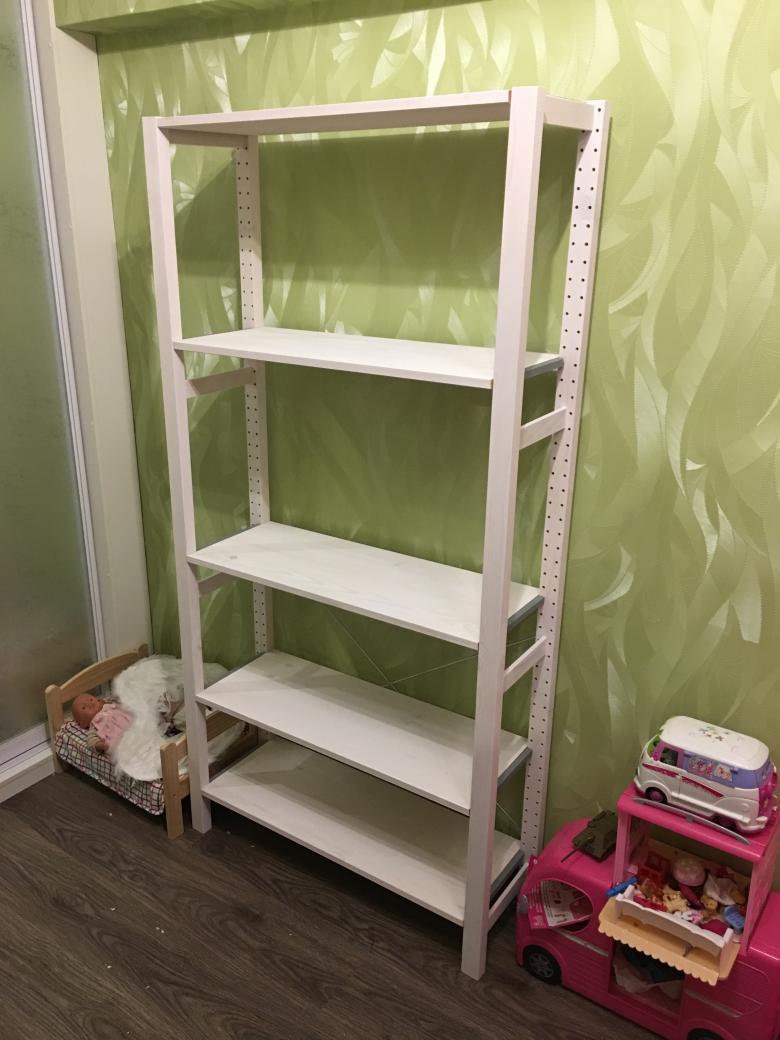
Making a rack
Determined with the sketch, we choose the material for the rack.
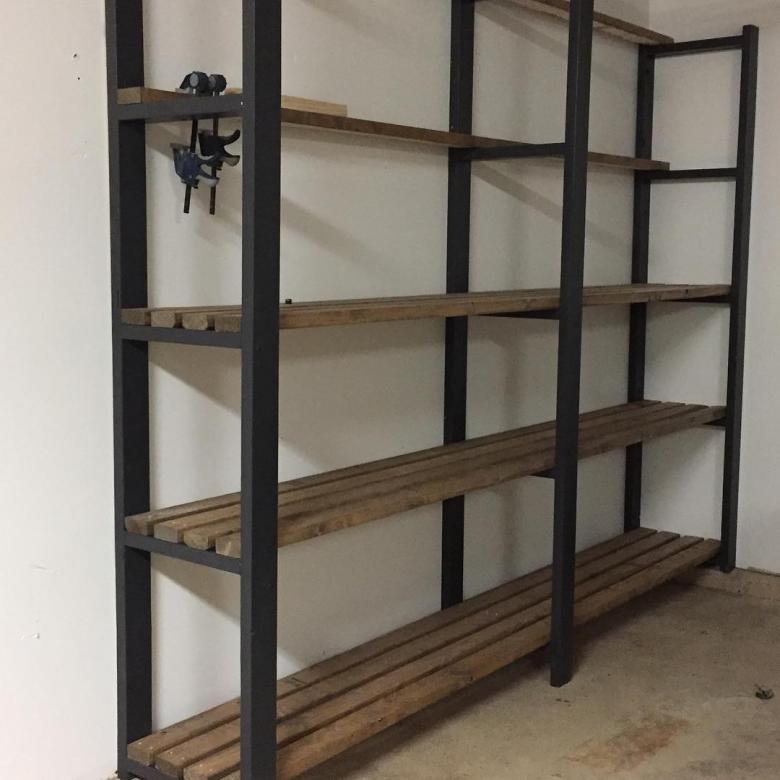
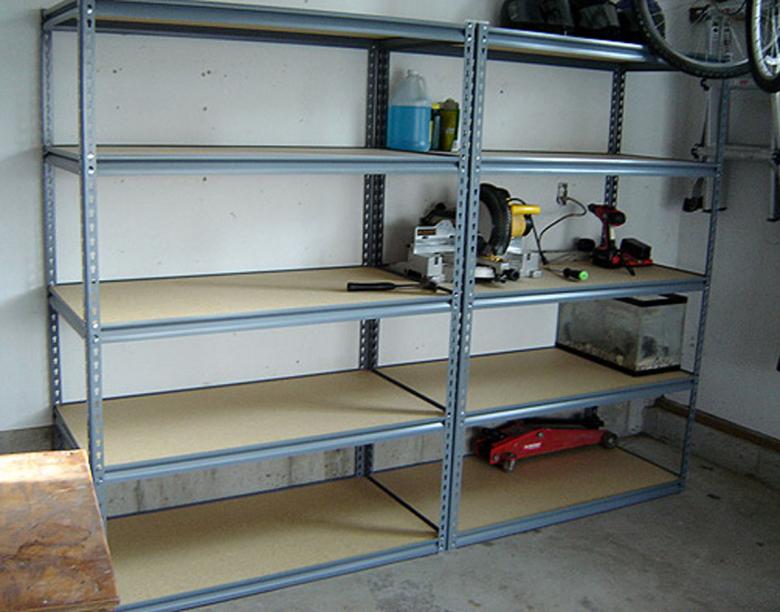
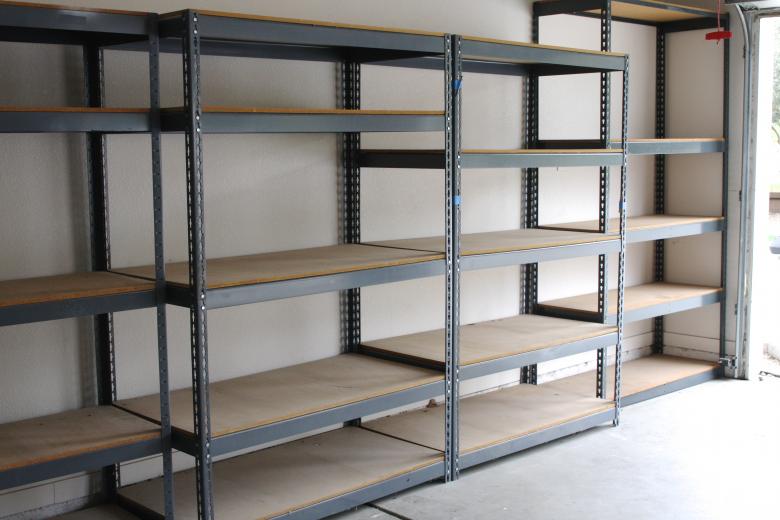
For living rooms, structures made of wood or laminated chipboard are preferred. In utility rooms, the basement or garage you can make racks from metal, oriented chipboard or non-laminated chipboard, as well as thick plywood. Requirements for aesthetic appearance will be lower, you just need to take into account the humidity of the location of the product and temperature fluctuations in the choice of material.
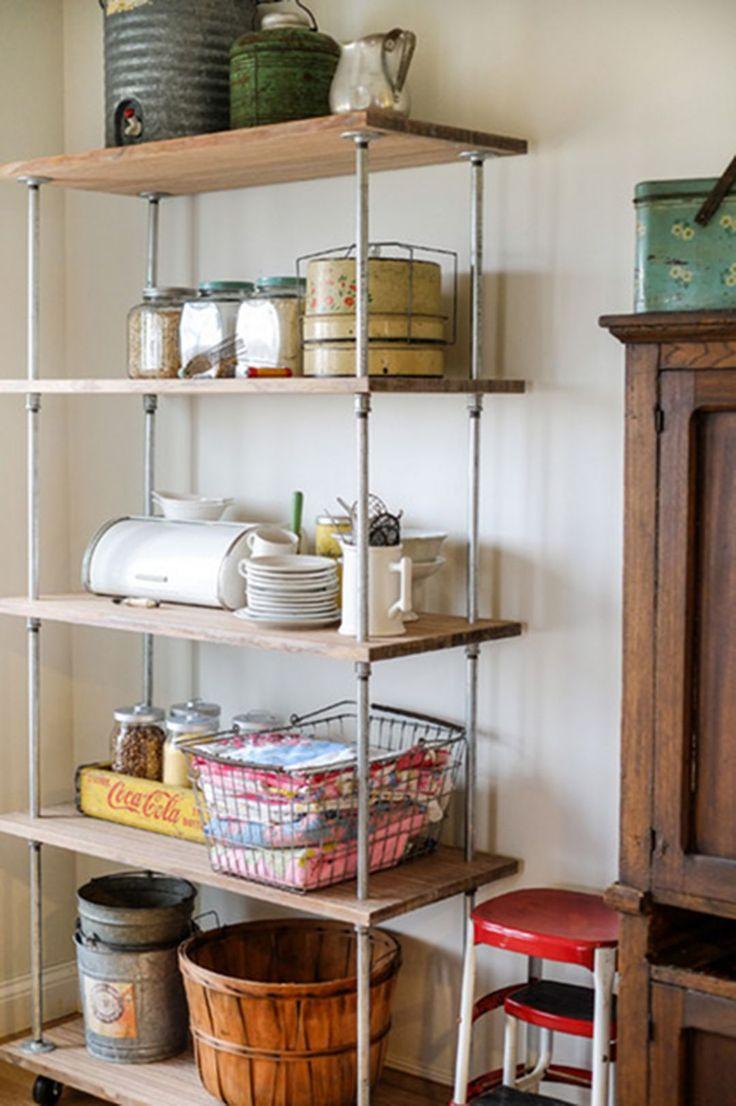
The instructions for the process of making a rack in all cases are almost the same and contain only a few operations.
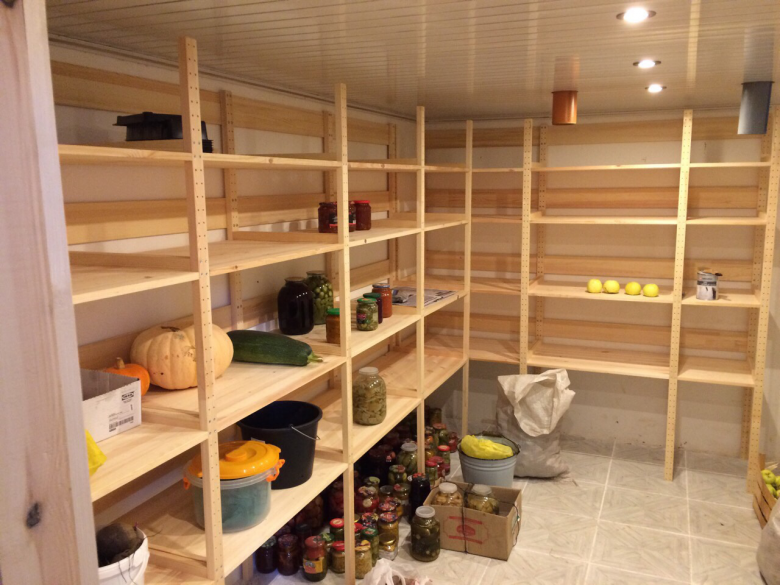
The set of tools required for work is minimal:
- A circular electric saw or electric jigsaw. If they are not available, just a wood saw.
- Screwdriver or an electric drill. Their counterparts: a set of screwdrivers and a keyhole.
- Hammer.
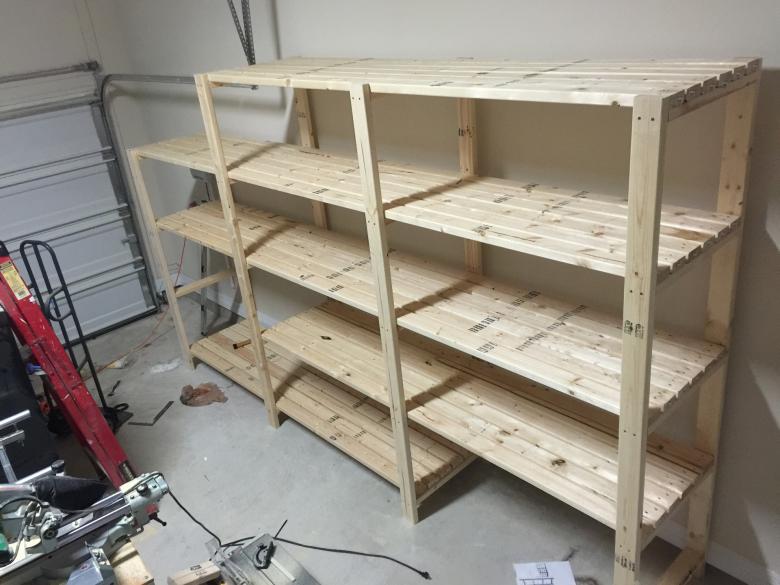
To connect all the parts of the product you need to stock up on screws and pins for the shelves. You can also use nails, but note that they do not provide the proper strength of the connection.
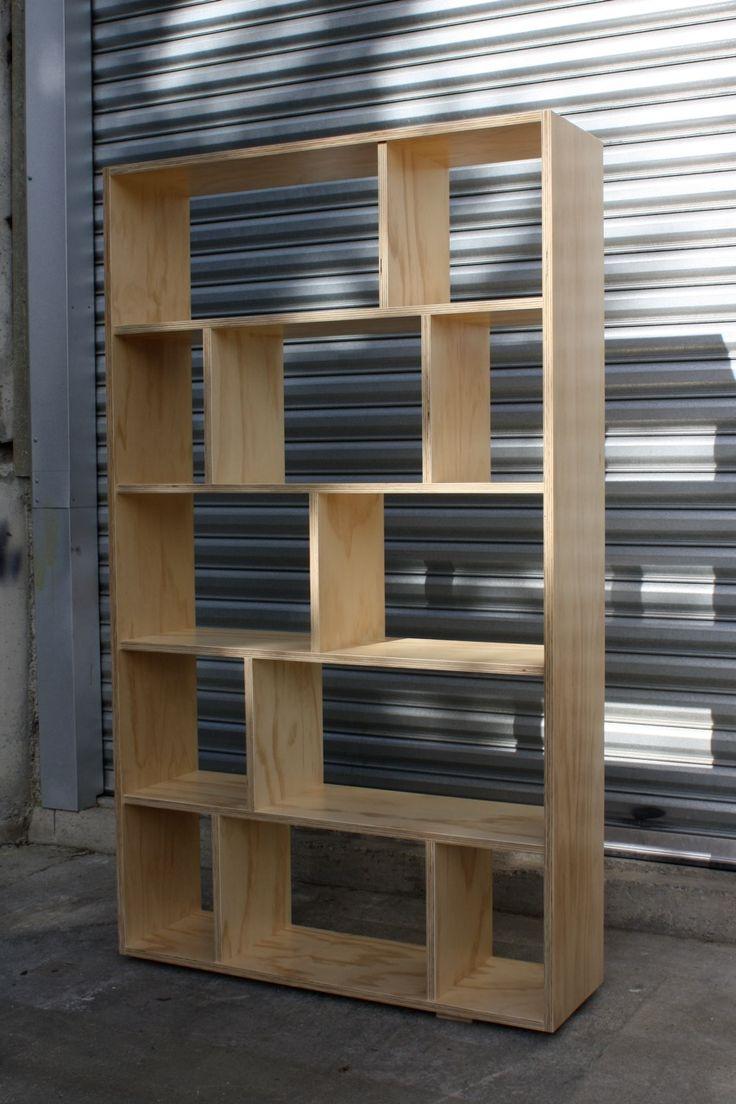
So, everything is ready, let's get to work.
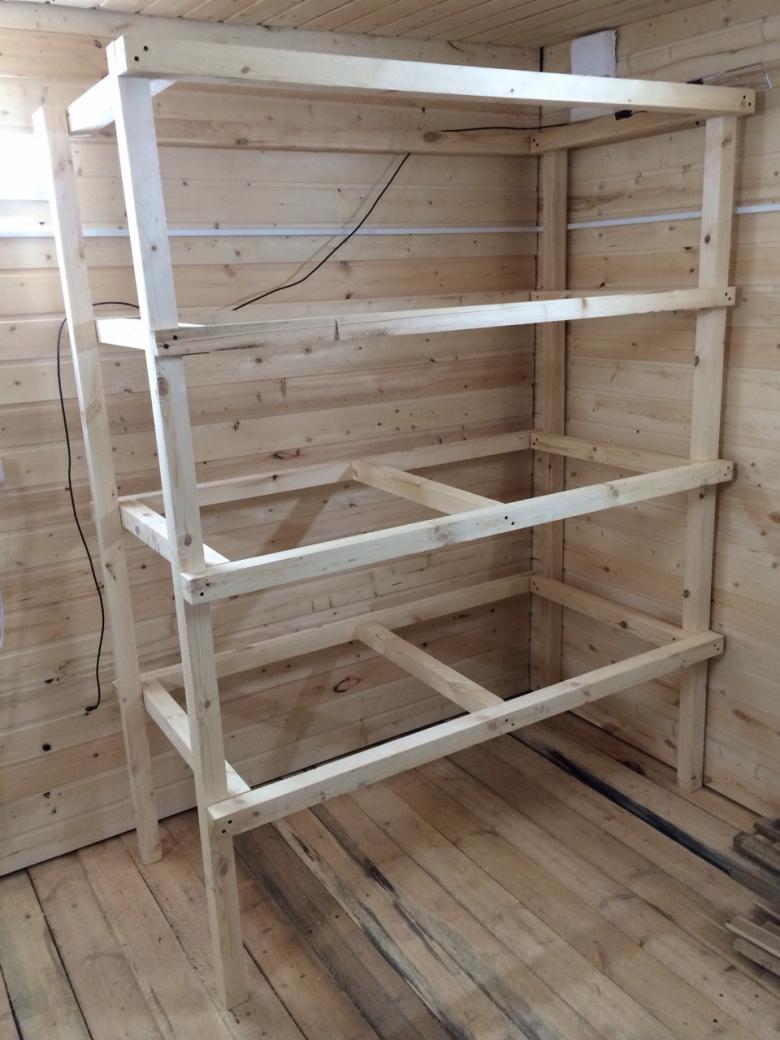
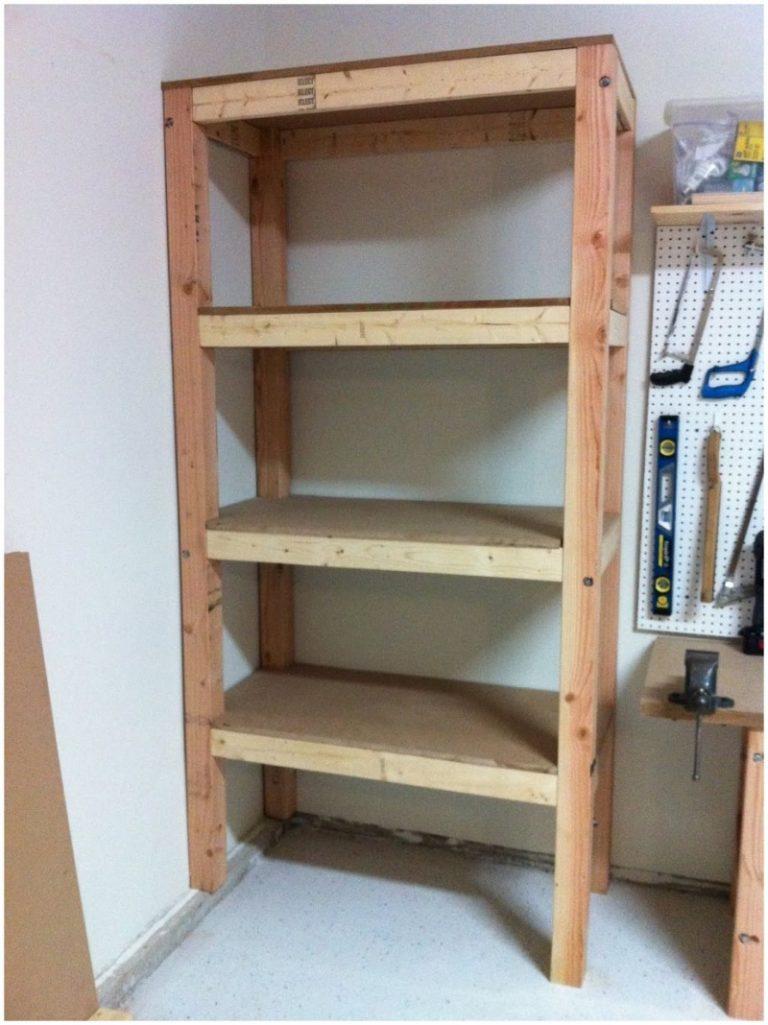
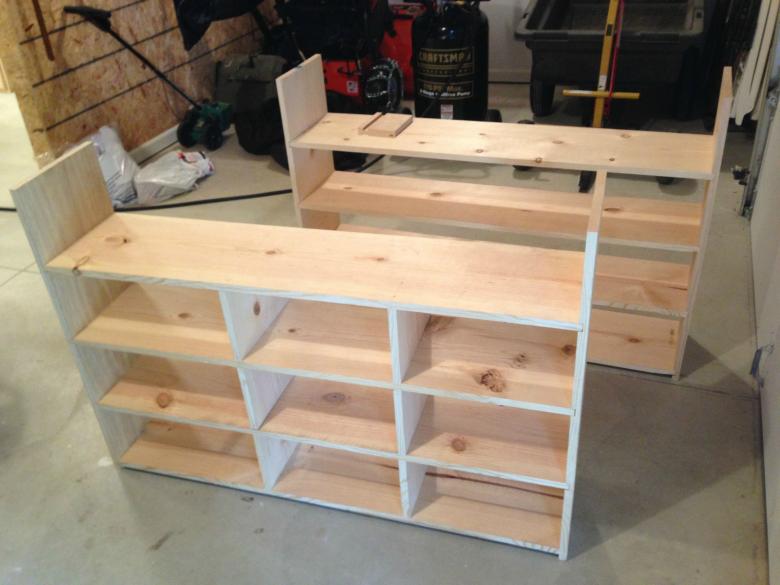
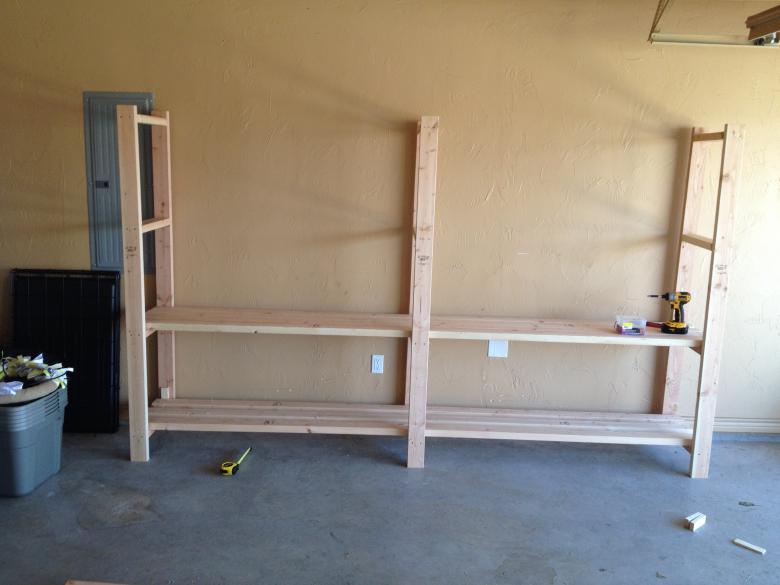
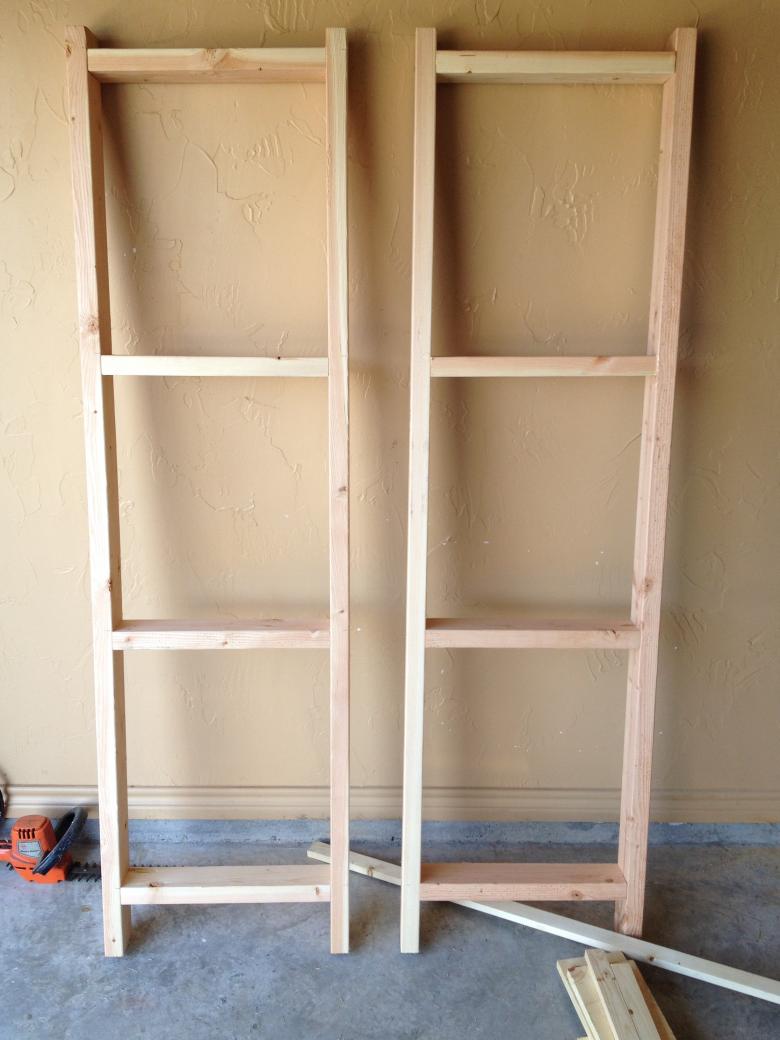
- Cut off the number of racks according to the height of the future rack. Strictly ensure that the dimensions are the same. Important: If wood is chosen for the work, the boards must be sanded beforehand.
- The next step is to prepare two crossbars along the width of the structure. They will connect the top and bottom of all the racks of the rack into one whole.
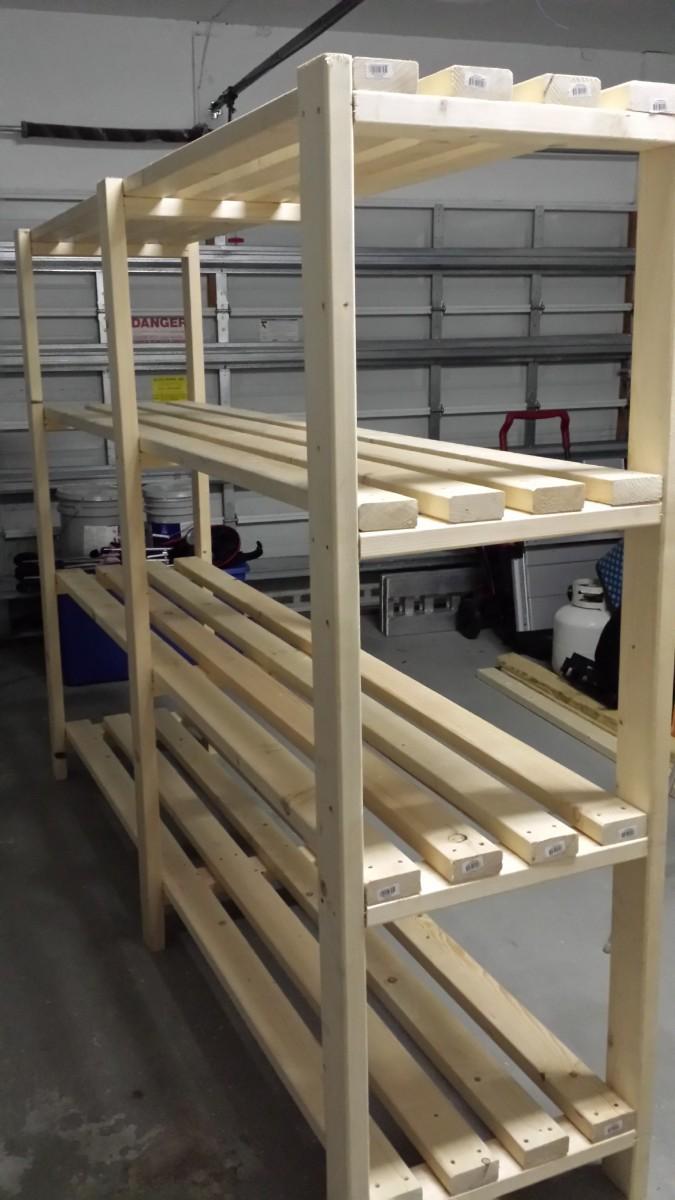
- If the racks are at the same distance from each other, cut the necessary number of shelves of the same length. If, according to the design plan, the distance between them is different, then we cut the shelves according to the size between the pairs of racks.
- Having prepared everything you need, connect all the racks above and below the prepared crossbars. The received frame we fasten to a wall by means of corners or hinges which are preliminary screwed by screws to the top cross-bar or to racks, but too at the top. If the rack is built between the walls, you can use long screws to attach the outermost posts to the side walls. One on each side will be enough and the stability is guaranteed. Corner structures can not be fixed, because the wings of the product will be located in different planes, which will give it stability.
- The distribution of shelves according to the sketch is possible in two ways. The first option is that the adjustable shelves simply lie on pins inserted into pre-drilled holes of the appropriate diameter. The second way - non-adjustable shelves are rigidly attached to the frame with self-tapping screws.
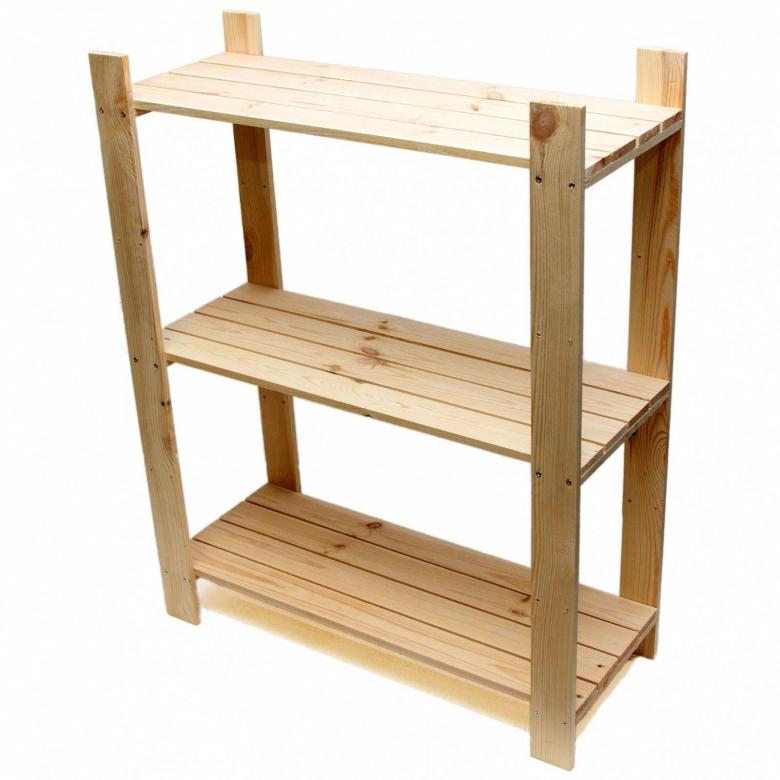
Note that if the shelves in each vertical span will be at the same level as the adjacent, you will have to insert pins on one side inside, and already with the other fasten screws.
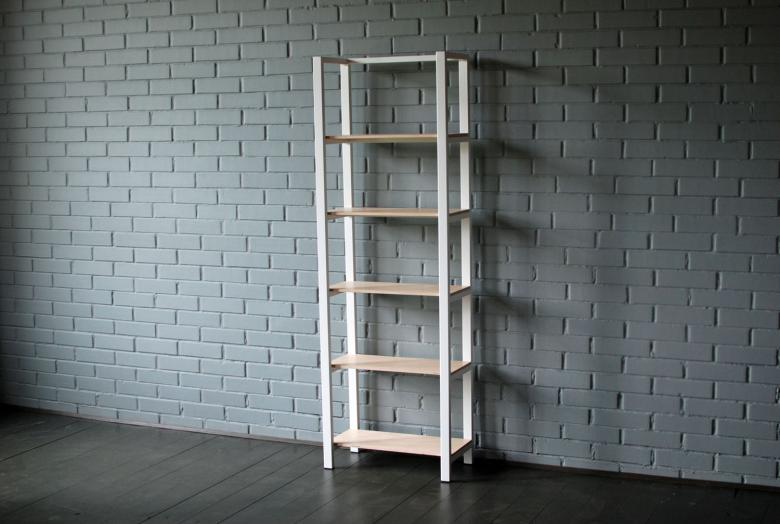
The final decoration of the shelving unit
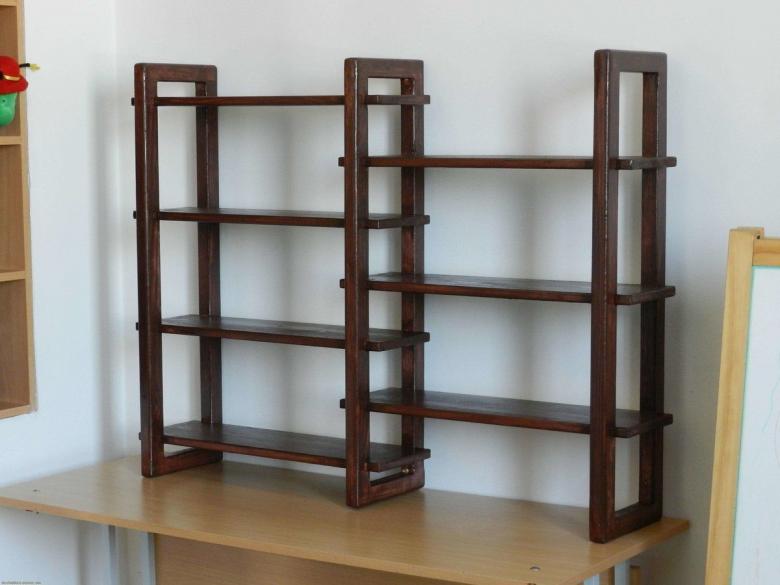
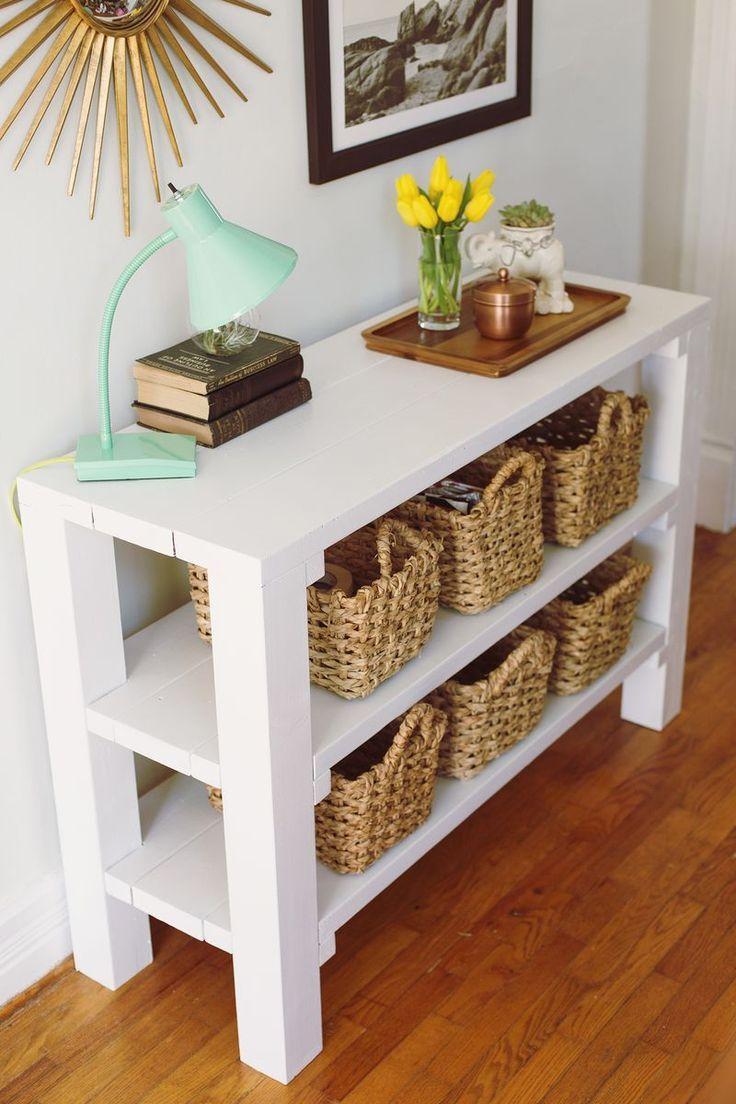
The finished construction should be painted. Of all possible options, the simplest is the coating with water-based acrylic paint or varnishing the product.
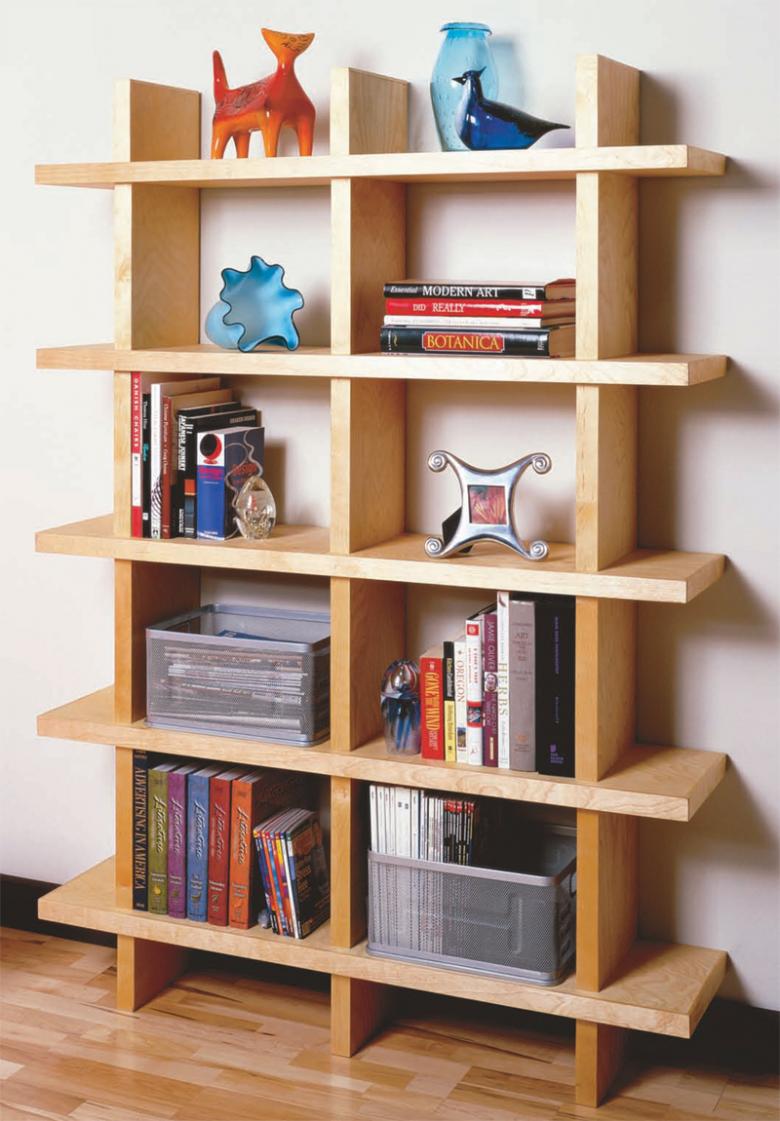
The advantage of acrylic paint is that it dries quickly and is almost odorless. It can even be used in the house, although the room will still need to be aired out. Varnish coating is preferable if you want to preserve the structure or lightly tint the wood surface. Colorless or tinted oak, walnut, ash and other woods varnish should be applied two or three times. Each new coat is applied after the previous one has dried.

Prior to painting the rack, it is necessary to prime the surfaces to be painted, unless two-in-one paint is used. Priming the surface will ensure a good result and ensure that the paint will not peel or crack over time. If you intend to paint with oil-based paints, it is advisable to do this beforehand outside the living area. Bring all painted parts into the house for subsequent assembly only after they are completely dry.
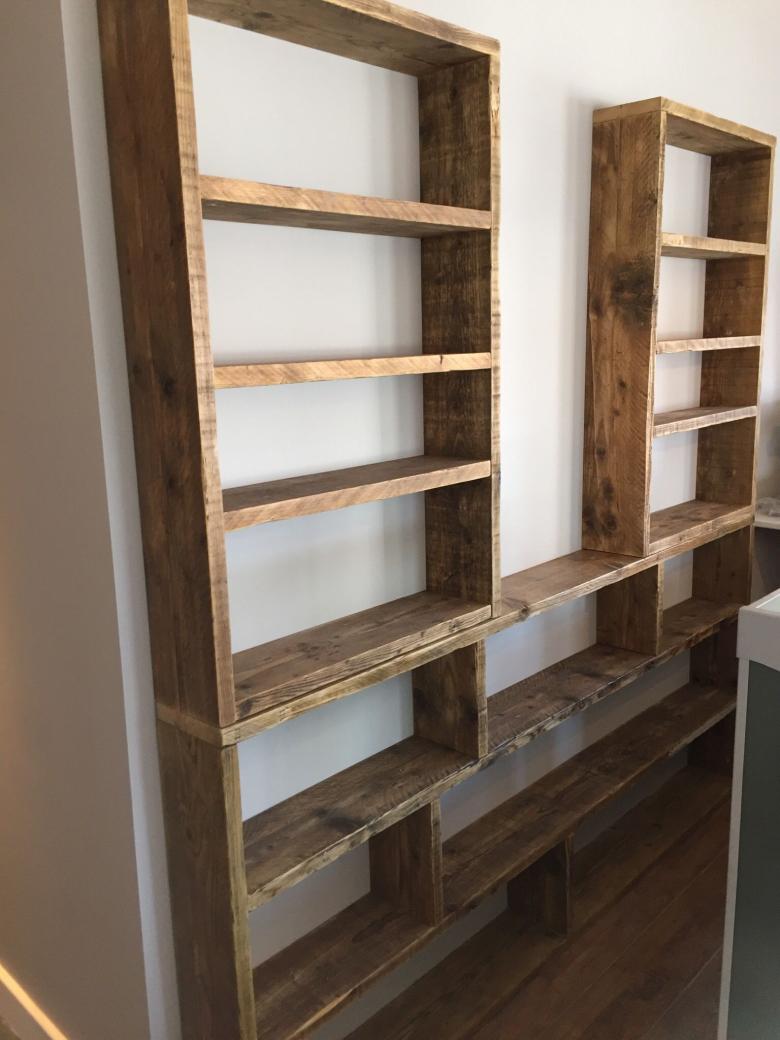
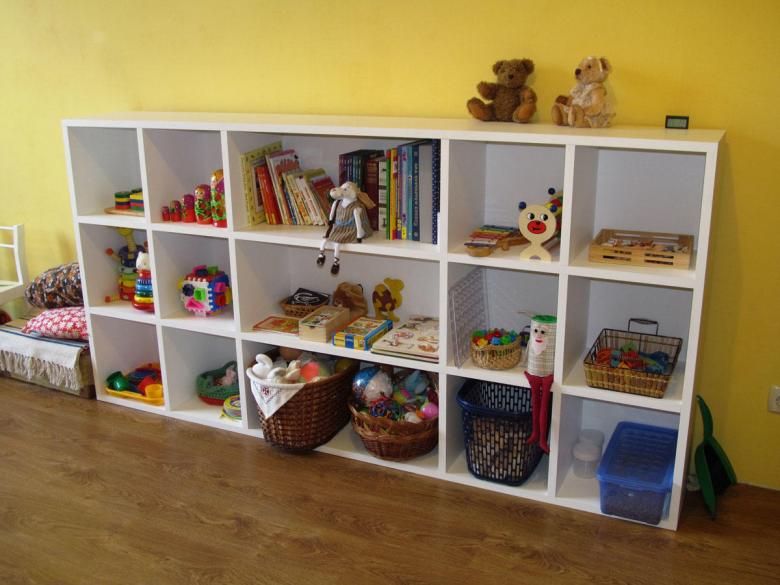
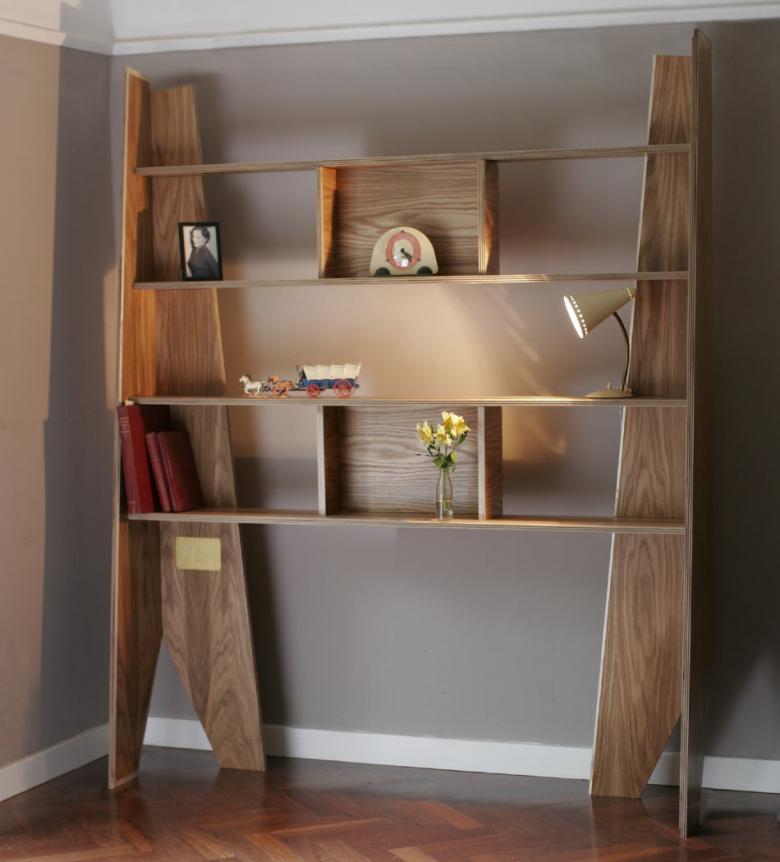
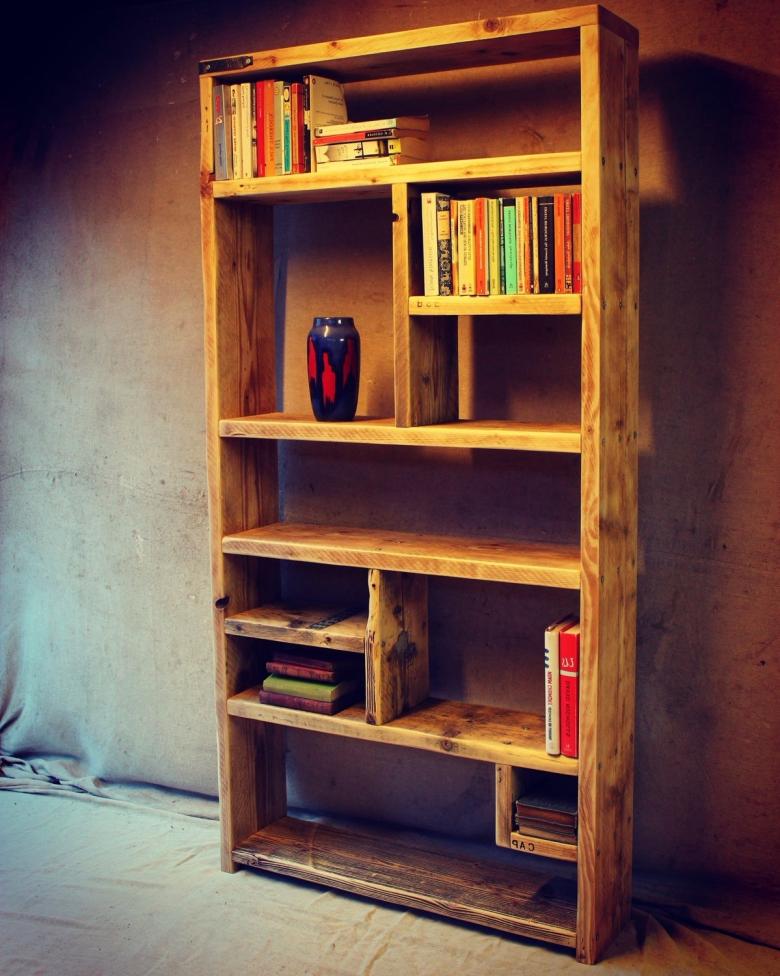
So, when the shelving unit is assembled and painted, you can step back and admire your work. However, your furniture will get a more presentable look when the shelves will have books, figurines, photos in frames and other household items, for which it was made.

