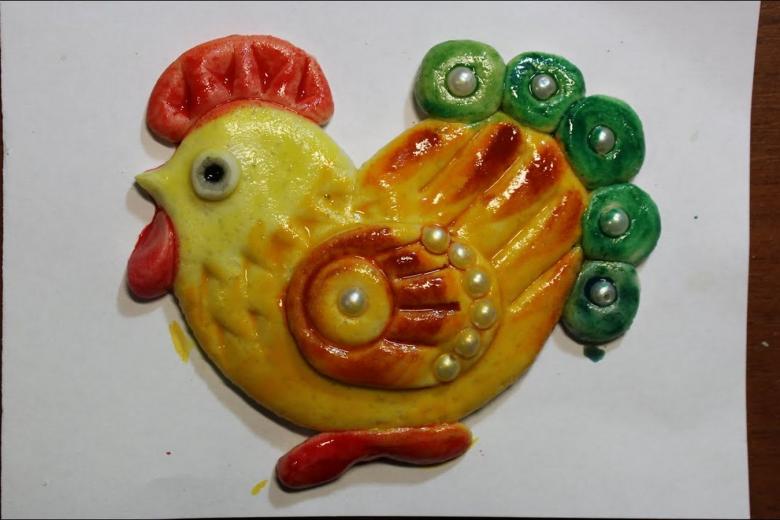
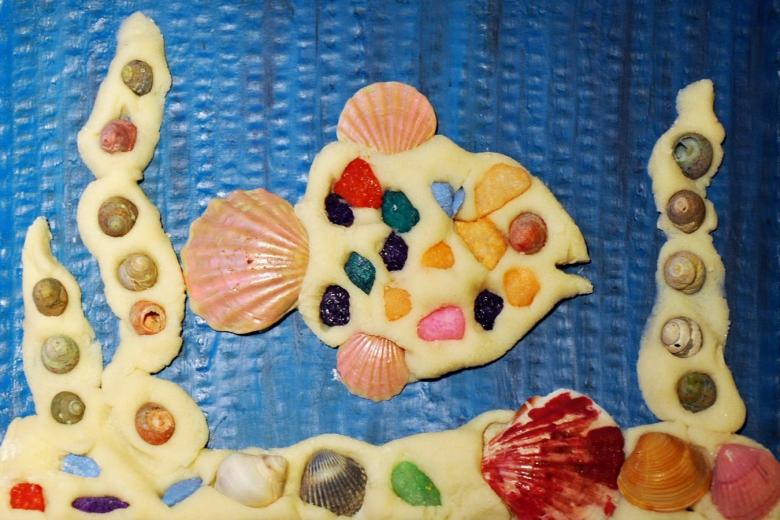
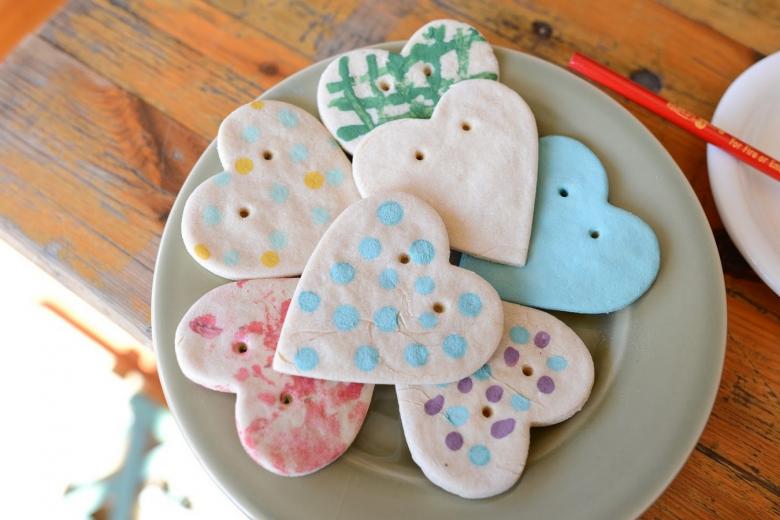
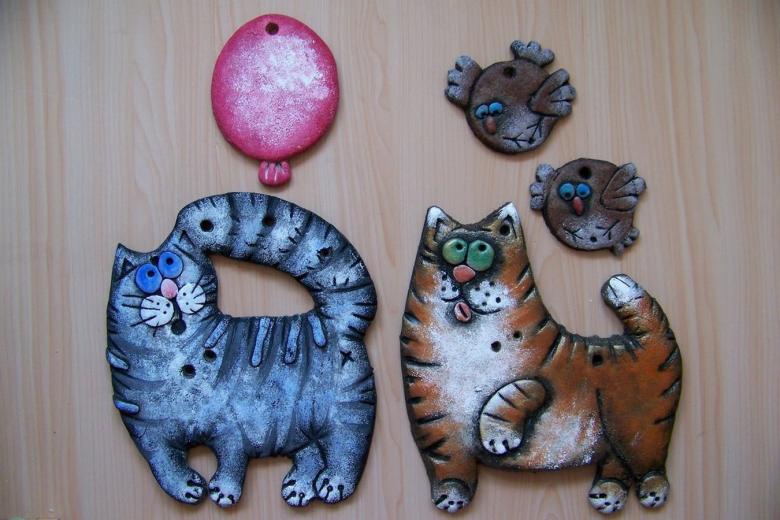
Salted dough crafts by hand - detailed master classes for beginners
Dough art is considered the best way to develop fine motor skills in young preschool children. In the process of creative work kids develop the ability to coordinate small precise movements of the fingers and hands. In addition to the beneficial effects on the nervous, skeletal, and muscular systems, dough quickly develops imagination and fantasy.
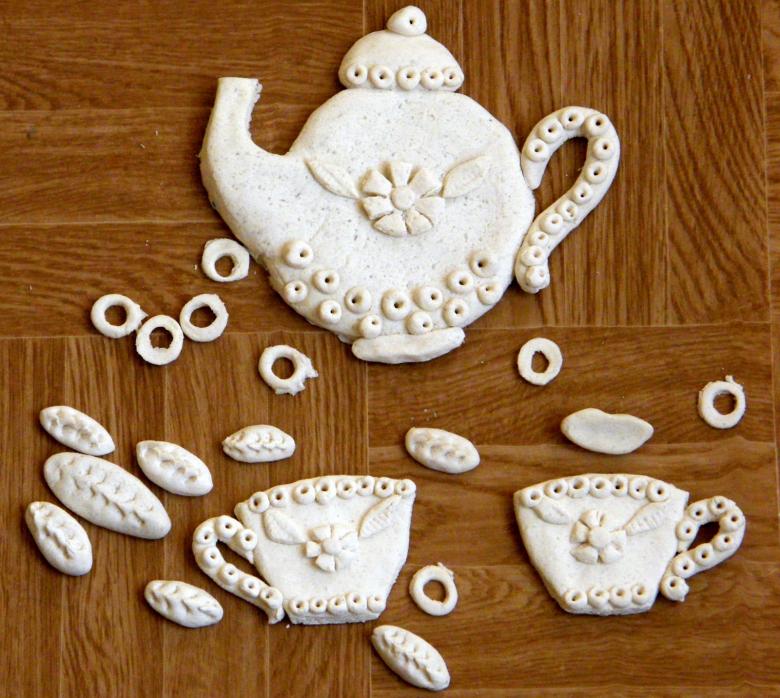
Dough has a soft, plastic structure, it is fun to mold different figures. Engage children in crafts with dough can be from an early age. Even a one year old can be offered to crumple a piece of dough with his fingers, without fear that he will taste it. Dough refers to environmentally friendly, safe creative materials.
Recipe for modeling salt dough
Prepare dough for molding can be made from simple ingredients that are available in every home. The recipe for the dough includes:
- a cup of flour;
- One cup of rock salt (extra);
- half a cup of boiled water.
Step-by-step cooking plan:
- In a spacious bowl, pour a cup of wheat flour;
- Add salt to the flour;
- Pour half a cup of water and mix well.
The resulting mass should be slightly dense and easy to mold. If it sticks to your hands, you need to add more flour.
Rules for drying dough
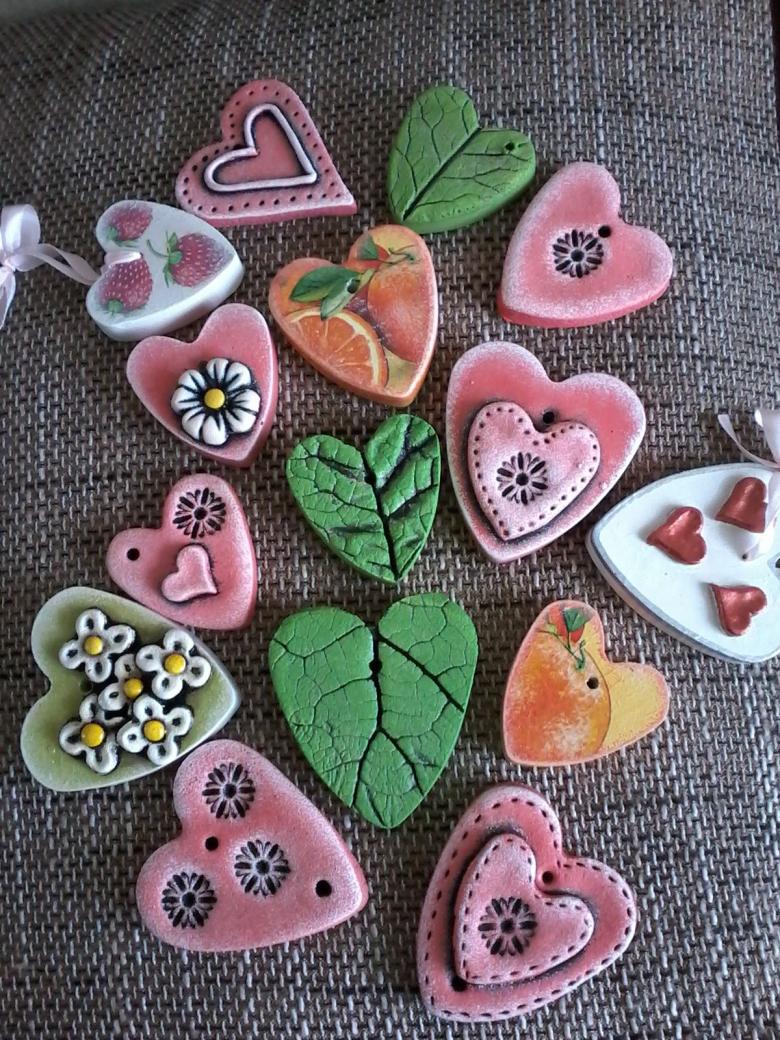
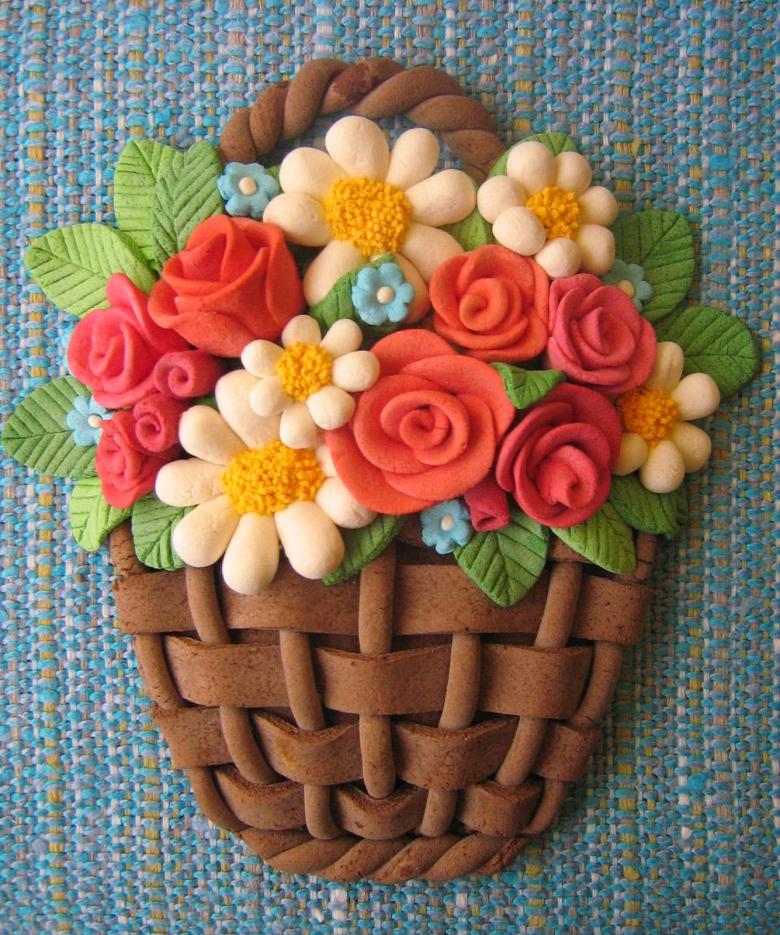
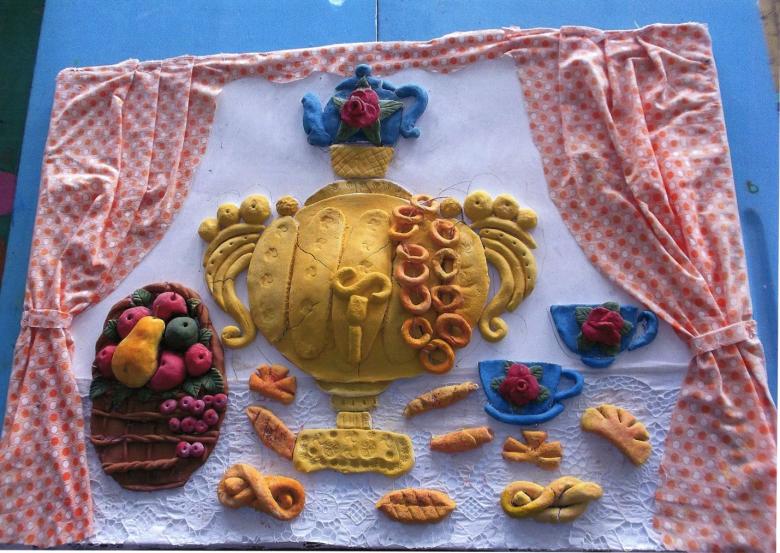
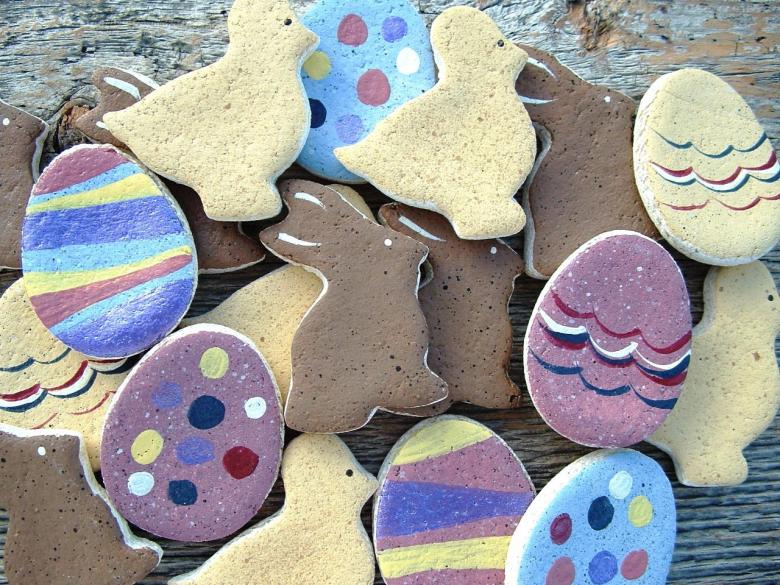
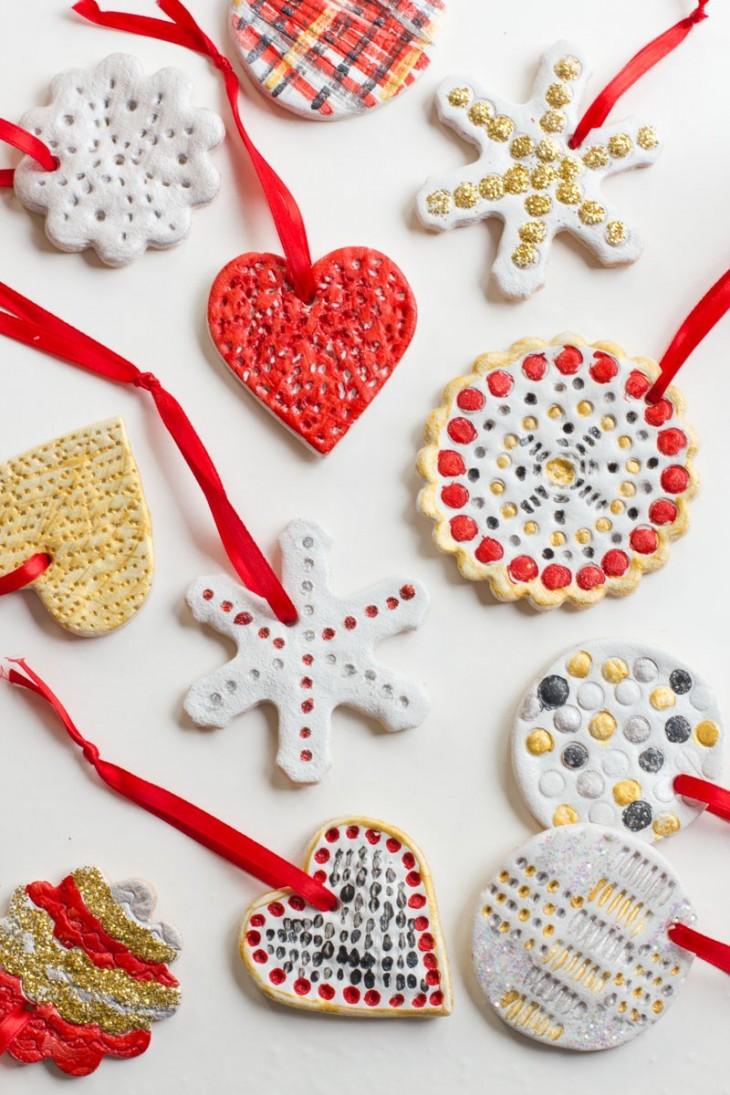
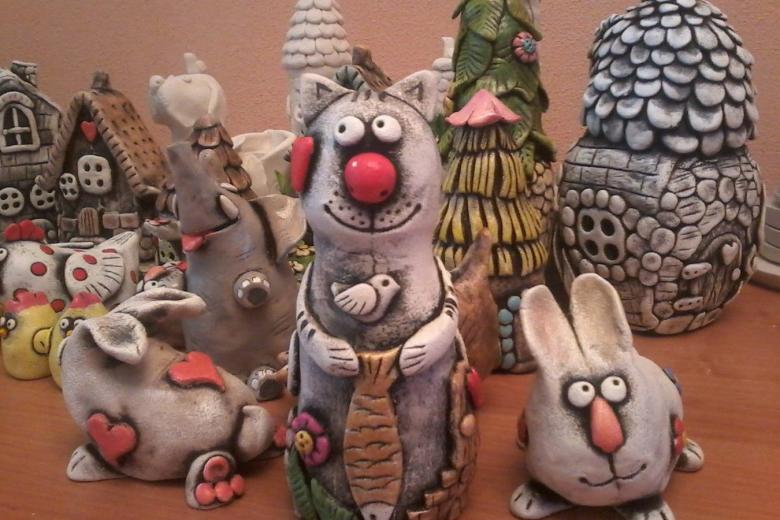
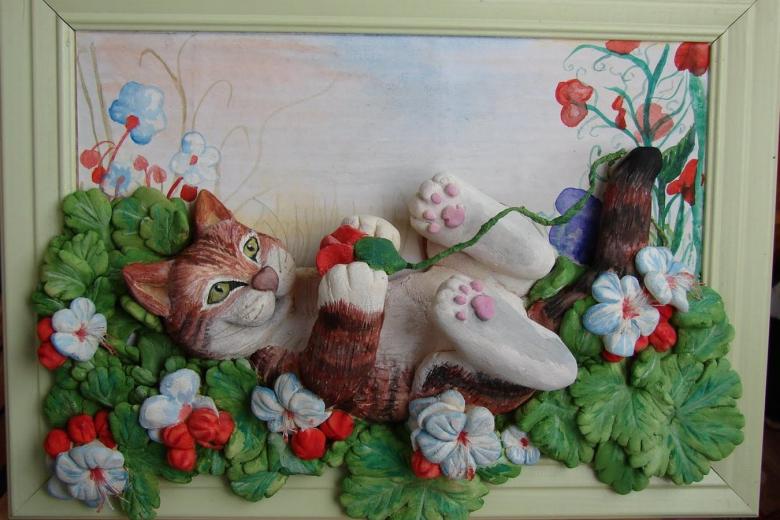
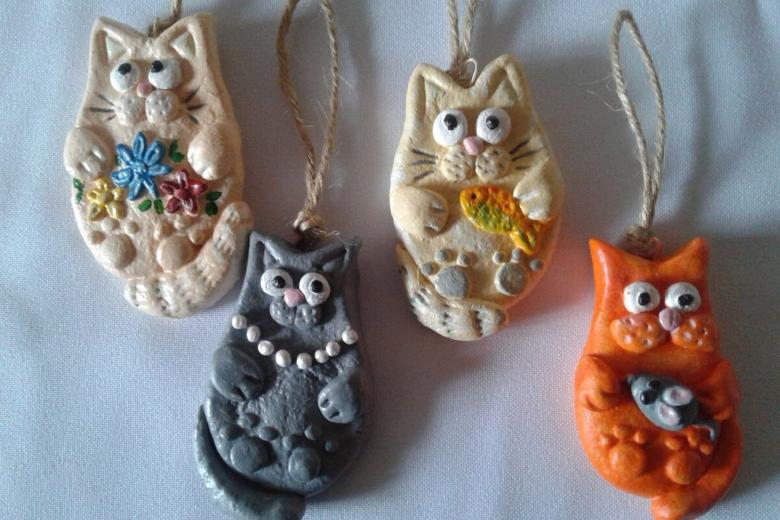
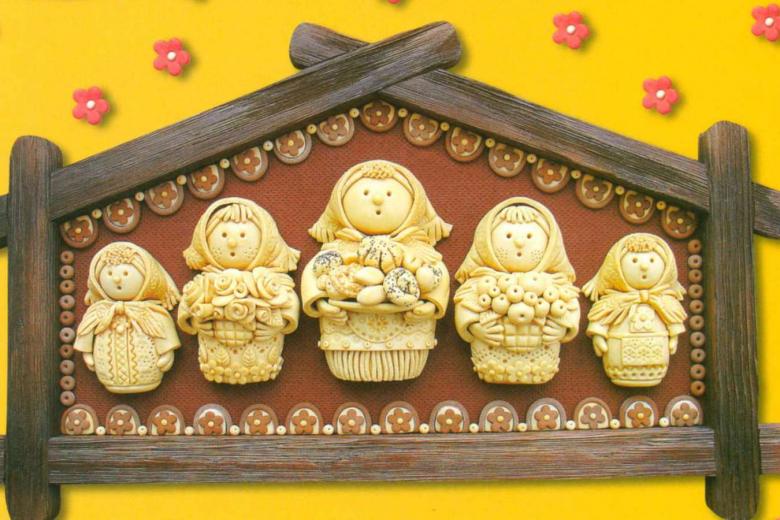
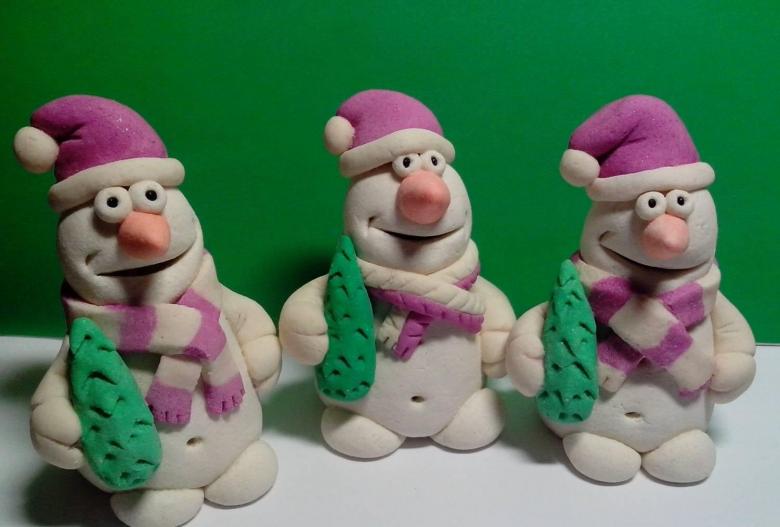
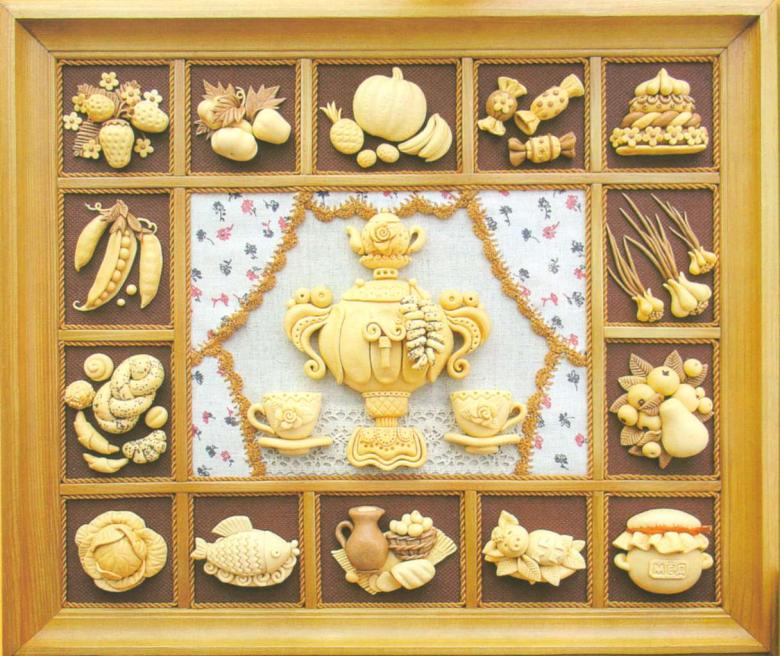
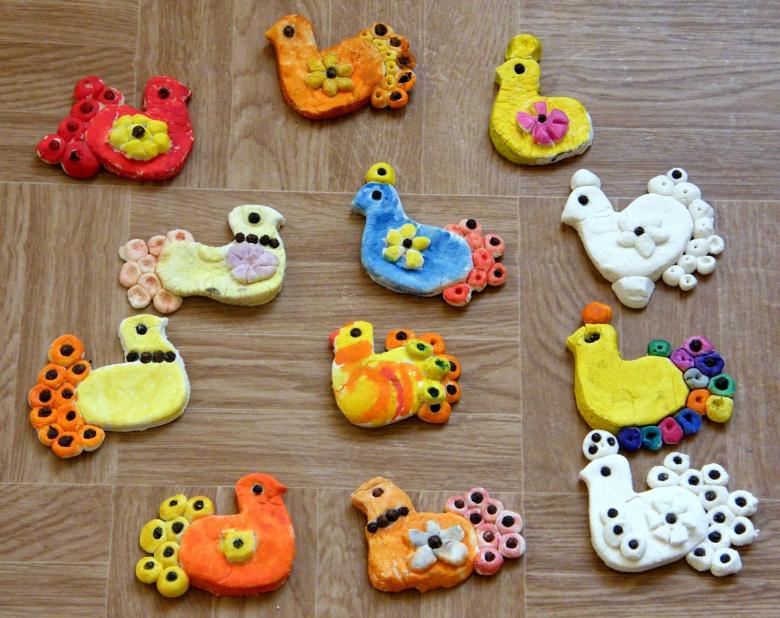
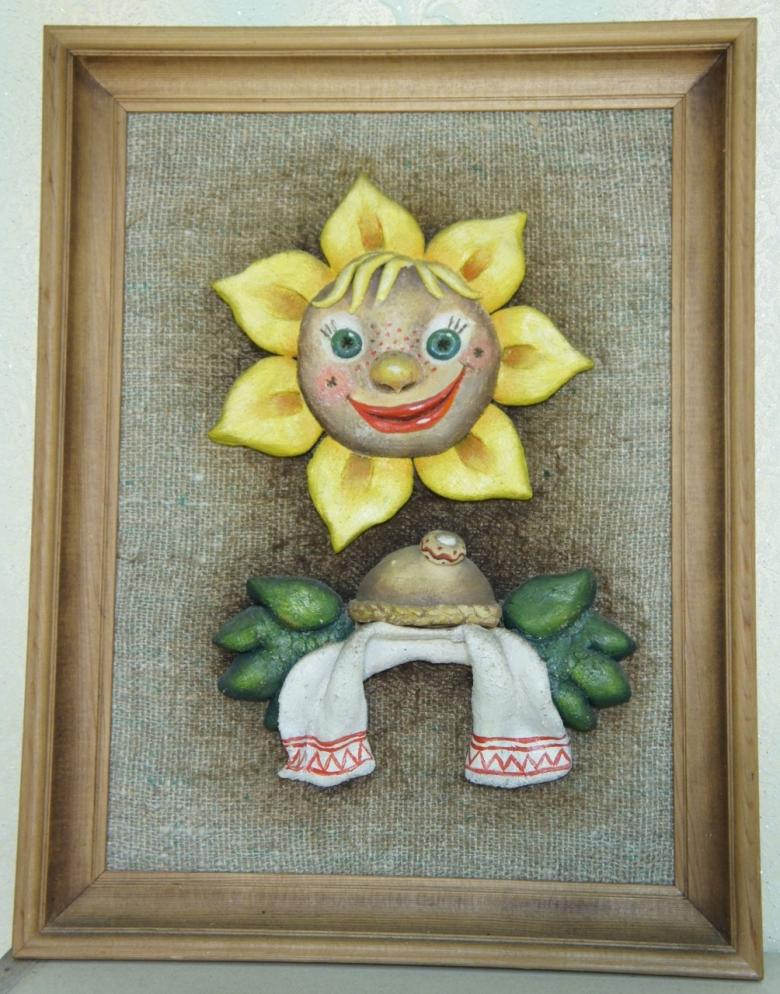
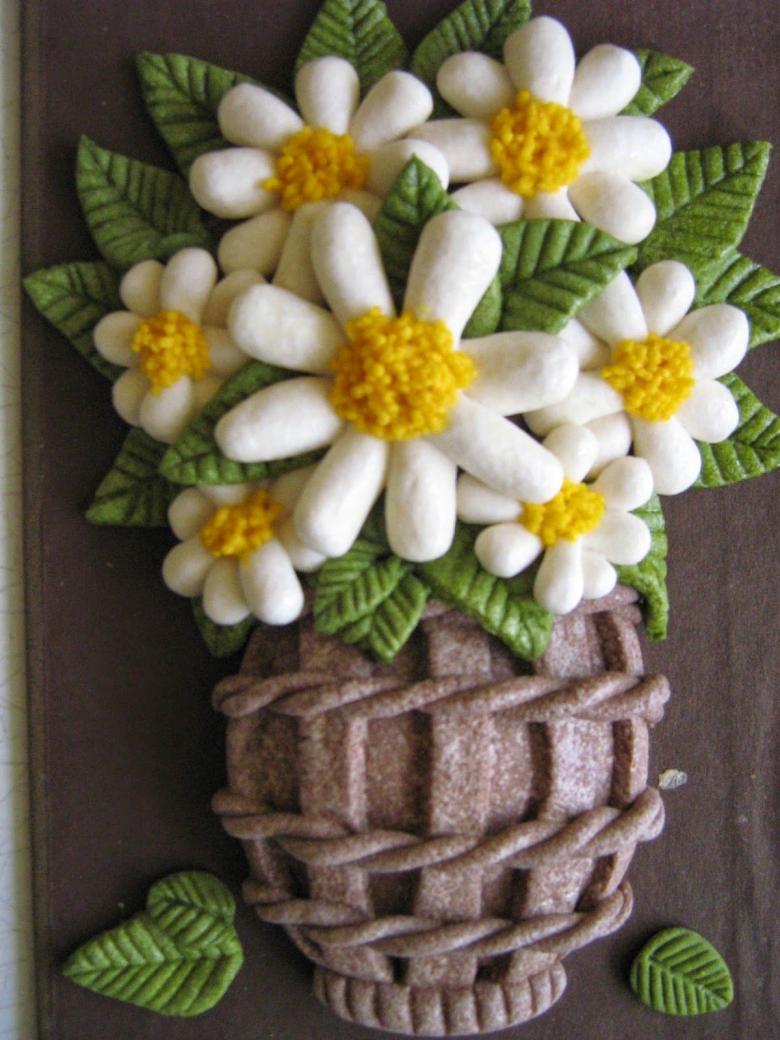
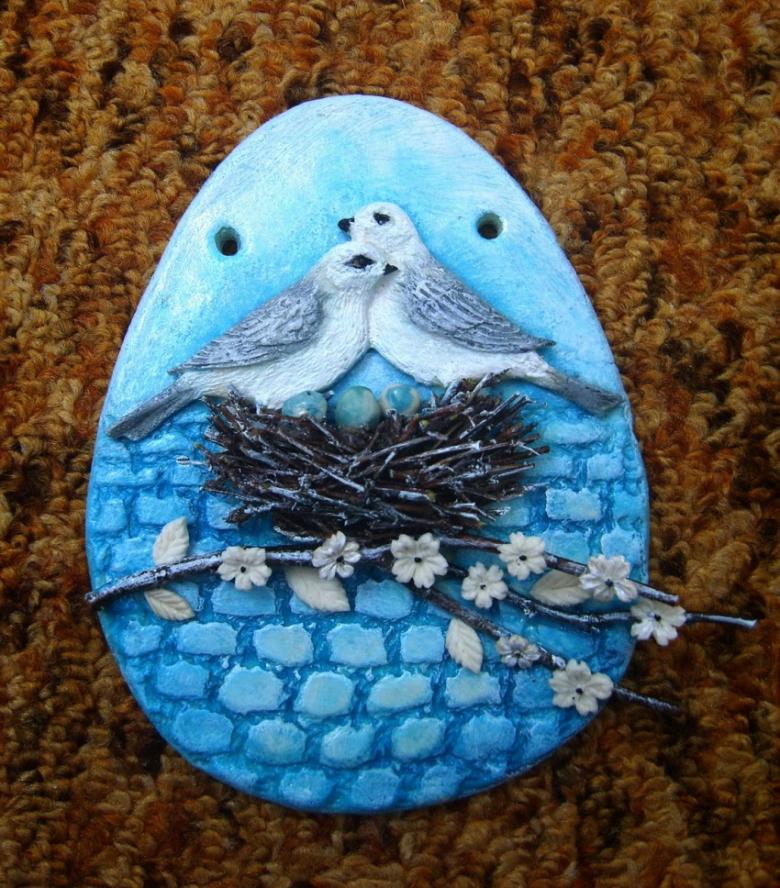
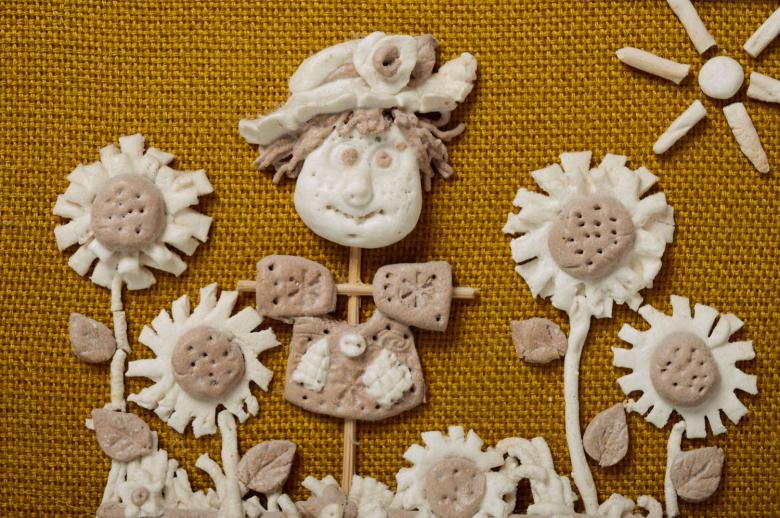
Dough is used to make children's crafts, fridge magnets, pendants, Christmas toys, figurines, decorative items for interior decorations. After giving the product the desired shape, it must be dried. After drying, it becomes hard, durable, ready for further decoration.
Amateurs of modelling practice two ways of drying dough:
- natural drying, the product is left for several days in a place protected from direct sunlight;
- In the oven, the product for an hour is placed in an oven heated to 100 degrees.
If you increase the temperature in the oven to 120 degrees, the product will dry faster. However, there is a possibility of cracking. Masters of molding recommend drying naturally.
Coloring the dough
Natural-colored dough crafts are a little boring. You always want to color them. For this in practice, use two simple ways:
- to paint the dough;
- Paint finished crafts.
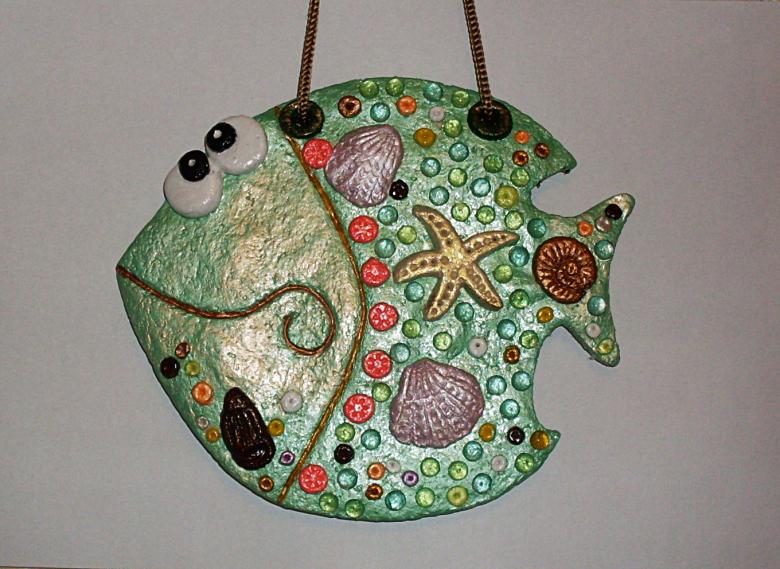
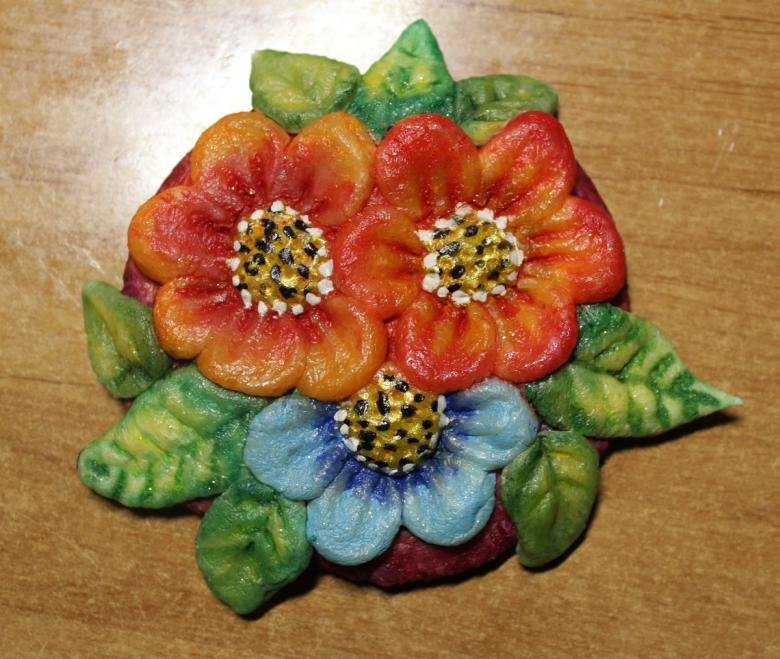
The finished products are given color with acrylic paints or gouache. An ordinary paint brush is dipped in paint and painted over the toy, or contoured patterns are drawn on it.

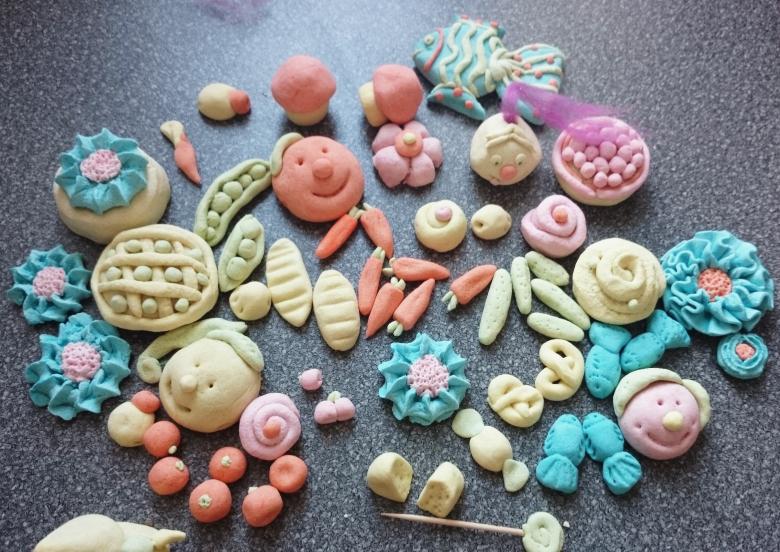
Another method involves giving the modeling mass a solid color with food colorants. Dyes are diluted in water, then combined with the dough during its preparation. The final step in creating the handicraft is drying and varnishing with a transparent varnish in 2-3 layers. This will extend the life of the toy and keep its presentable appearance.
Little tricks
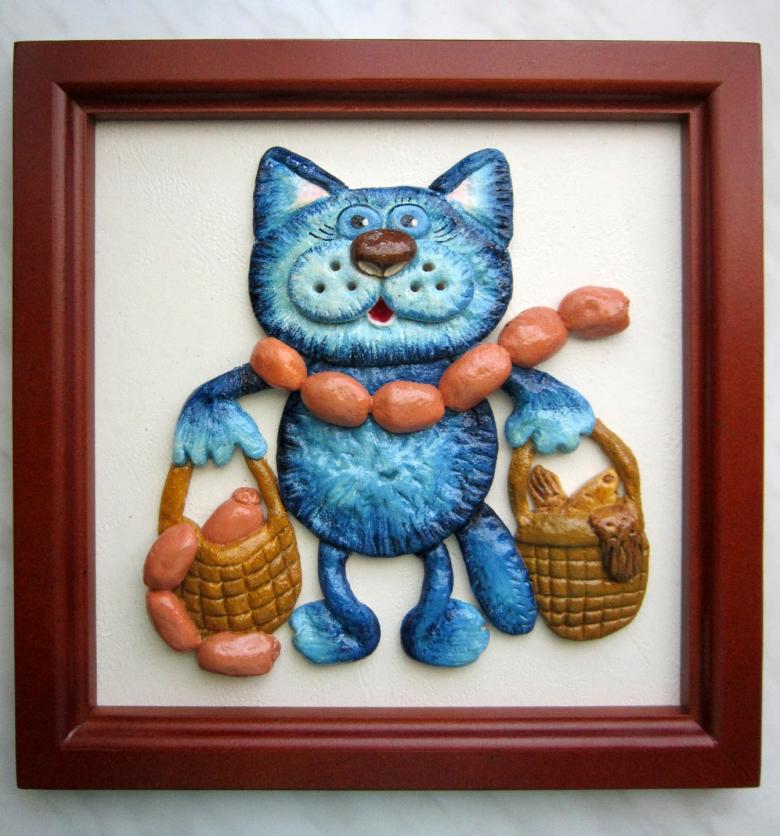
Experienced craftsmen know that the more plastic the dough, the more elegant handicrafts are made of it. For this purpose, sunflower oil or hand cream is added to the mass. If the idea of the composition requires fine details, a little starch or wallpaper glue will help to accomplish this. Add these ingredients in an amount of 1 to 2 tablespoons per half a cup of water.
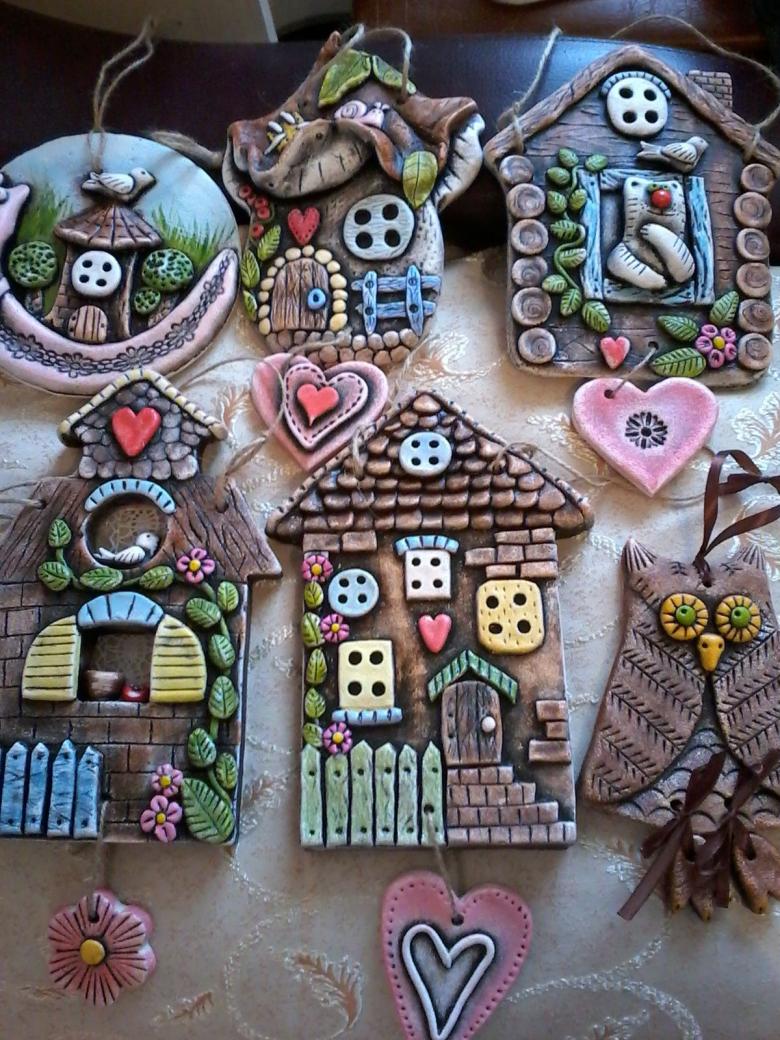
Unused dough can be stored in the refrigerator for two weeks.
Options for dough crafts
Salty plastic material allows you to exercise your imagination and opens up room for creativity. One-year-old kids just need to knead the dough to become interested in the whimsical shapes that will turn out. Children ages 2-3 years old are happy to make figures with cooking molds, toys for sand.
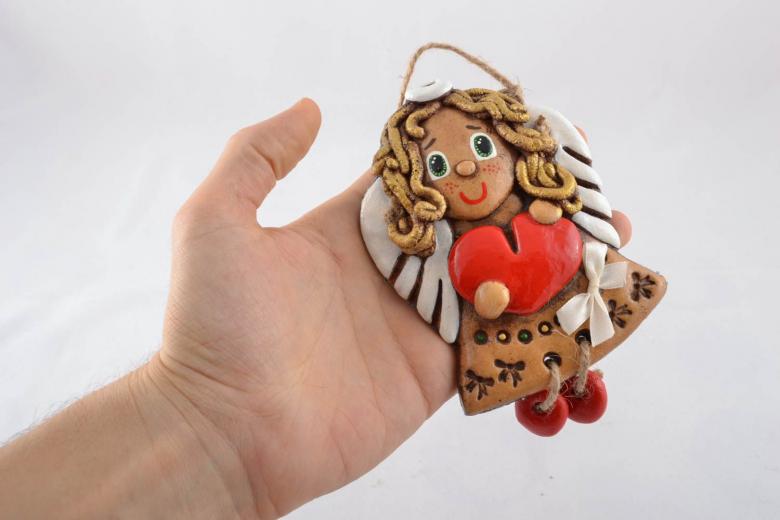
Children of preschool and younger preschool age with curiosity make three-dimensional figures from several pieces of dough, Christmas tree toys, gifts for friends. In the work they use coloring, decorating, extruding plasticine knife (steck) traits faces, outlines and other elements that form the image of the toy.

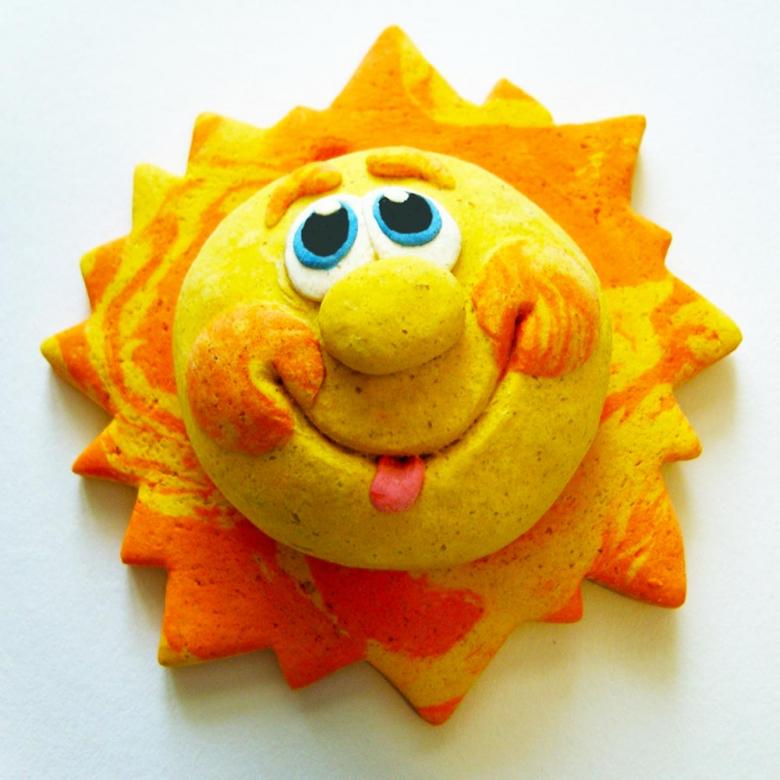
Star
To create a cute little star, you need to stock up:
- colored mass for molding;
- toothpick;
- transparent nail polish;
- stack.
The instructions for making are not complicated and include the following steps:
- Roll out of the mass for molding a ball;
- Press the ball with the palm of your hand, make a cake;
- Cut out star wedges in the ball;
- Smooth the tips of the wedges with a wet finger to give them a smooth outline;
- Mark points along the wedges, eyes in the center, a smile with a toothpick;
- Thoroughly dry the toy;
- Paint with clear manicure varnish, wait until it dries.
The star is ready. Before it dries, you can make a small hole in one of the wedges and put a thread or ribbon through it. You get a star pendant.
In a similar principle, create gingerbread cookies, bells, medals.
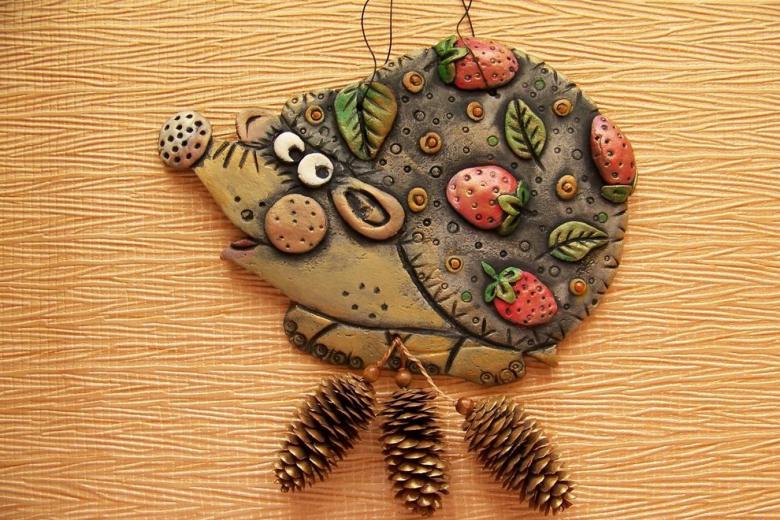
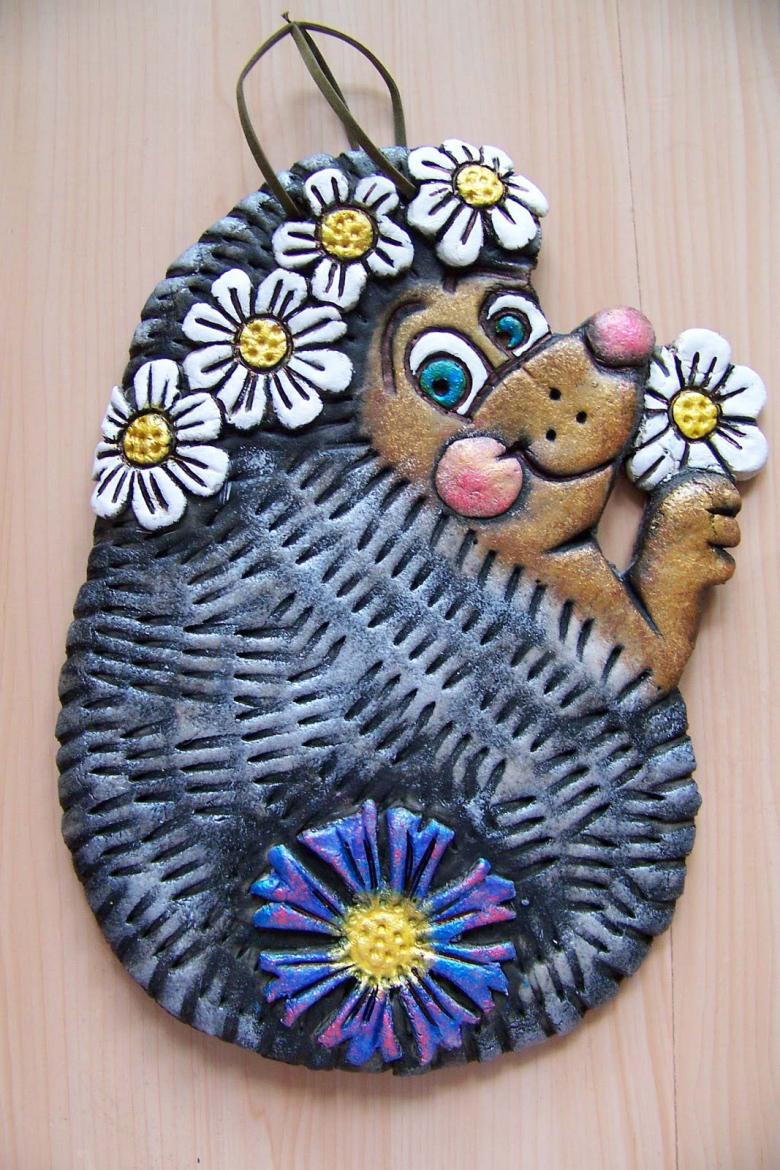
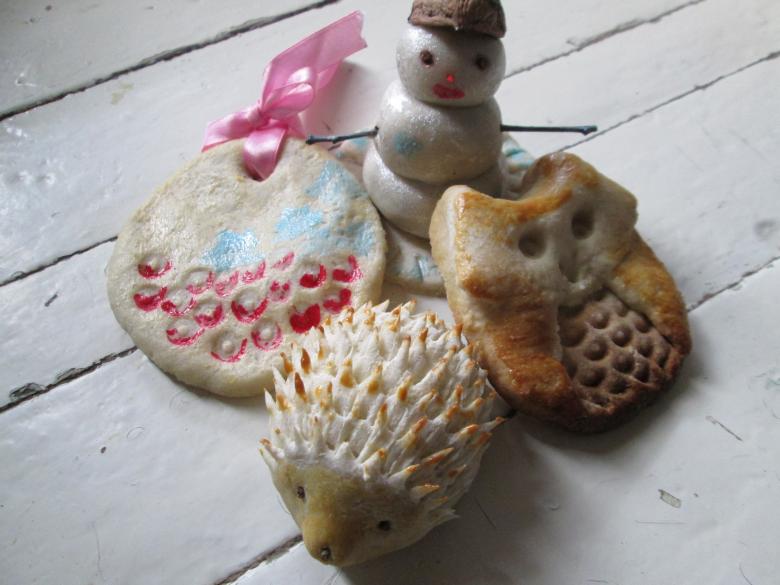
The hedgehog
Hedgehog is considered a simple three-dimensional toy, which can be instructed to make your own child in the transition from flat figures to volumetric. The sequence of operations is as follows:
- Prepare foil, roll out of it a lump;
- On top of a lump of foil roll a ball of salted mass and give it a pear shape;
- Use black peppercorns for the eyes and spout;
- Use nail scissors to give the upper part of the body a serrated texture (an adult helps in this part of the work);
- After the hedgehog is dressed in a coat of needles, you can send it to dry;
- Painting.
Tinfoil is placed inside the body of the hedgehog so that it dries faster and is light. Instead of peas of black pepper, small balls of dough, painted black after drying, will do. A beautiful hedgehog is ready.
Salted dough counting material
From the salted mass create figures, figurines, toys, which are then given to friends or used in games, in decorating the room. This creative work also has an educational function - the creation of counting material for teaching children math and counting in a playful way. The feature is that it is necessary to create several identical objects, for example, ten fruits, vegetables, mushrooms.
Counting material in the form of mushrooms is easily made of salt dough. Start with the preparation of the material, and then according to the plan:
- Roll out the dough in the shape of sausages;
- Cut the sausages into equal pieces, these will be the legs of the mushrooms;
- Roll a small ball and flatten it, giving the shape of a hat;
- Make 10 preparations of legs and caps, connect them in pairs with water;
- Make a hole in each leg with the rod of a ballpoint pen;
- Dry products;
- Color with bright colors.
The resulting mushrooms strung on string and used to teach counting.
New Year Tree
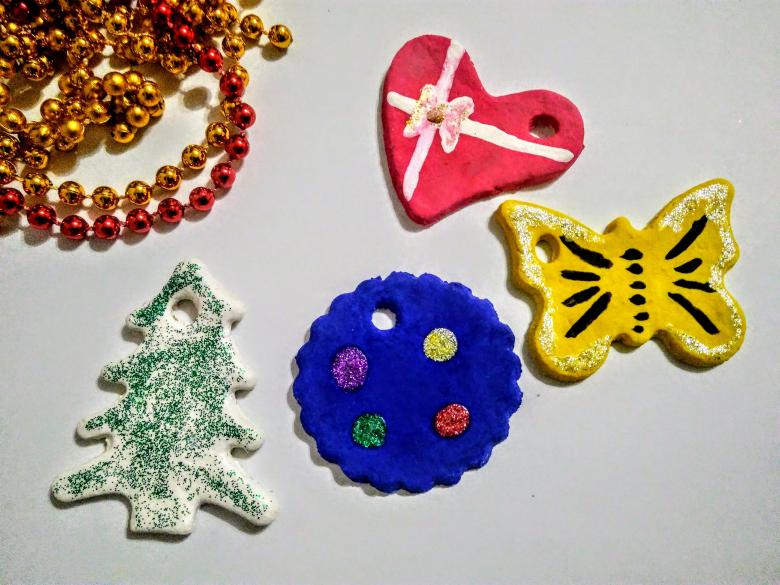
Roll out an even layer from a piece of modeling mass, cut out a simple Christmas tree consisting of three tiers using a stack. Make a small hole in the top. Dry it, paint it with green acrylic paint or gouache, decorate it with beads or sequins. Put a decorative lace or satin ribbon through the hole. The result is a Christmas toy, a pendant. On the eve of the New Year, you can make a lot of these Christmas trees as a gift for friends in class, relatives, and buddies.
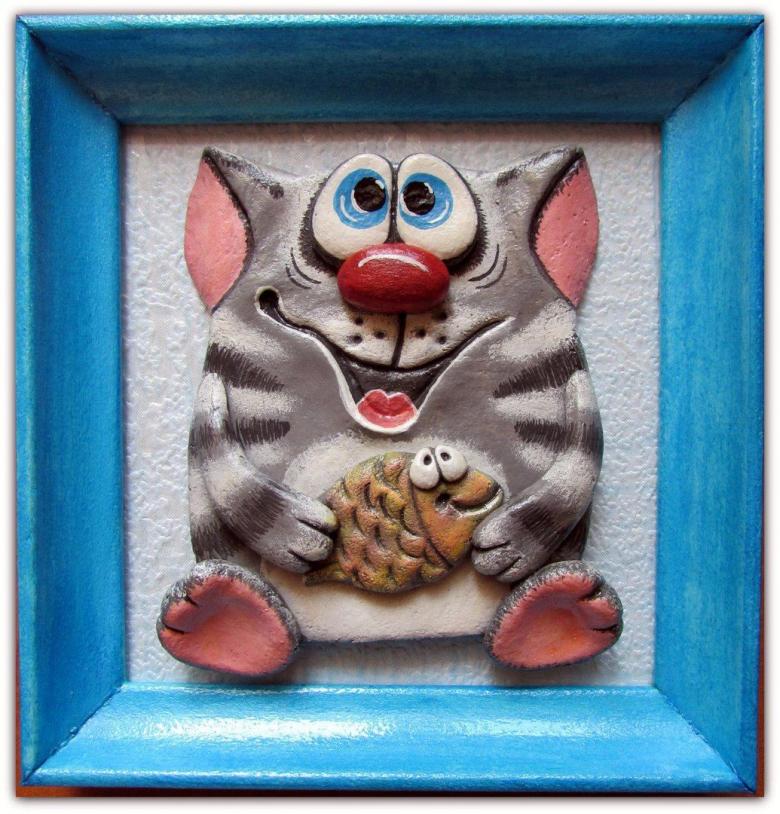
Products made of salt dough are cozy and soulful. They are always a pleasure to get as a gift or to make for yourself.

