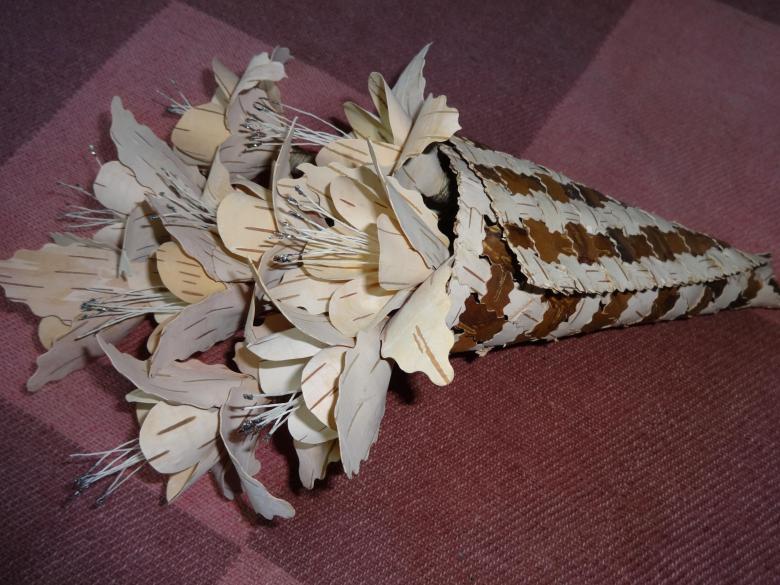
Birch bark handicrafts - a selection of simple step by step master classes for beginners
The skill of making different things from birch bark has long tradition in our country. Now this forgotten art is being revived again. From birch bark you can make different things.
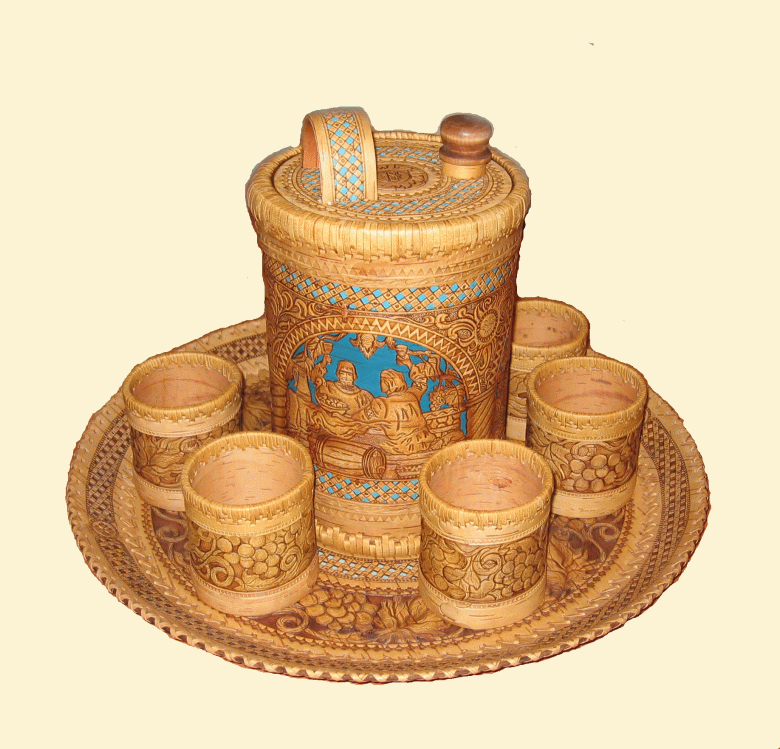
Antiseptic properties of the material make containers of birch bark ideal for storing food.
Products made of birch bark are strong, durable, not afraid of moisture.
Preparation of material
There are several options for preparing birch bark. The most sparing of them is the preparation of material from the trunks of fallen birches. The bark is suitable for products, even if the wood underneath it has already begun to rot.
The advantages of this method are many:
- Healthy birch trees do not suffer,
- the bark is easy to remove,
- The raw material can be extracted regardless of the time of year.
The simplest way to remove the bark from a tree is to make a longitudinal cut on the trunk, then around the trunk in a spiral. Remove the bark from the trunk with a tape.
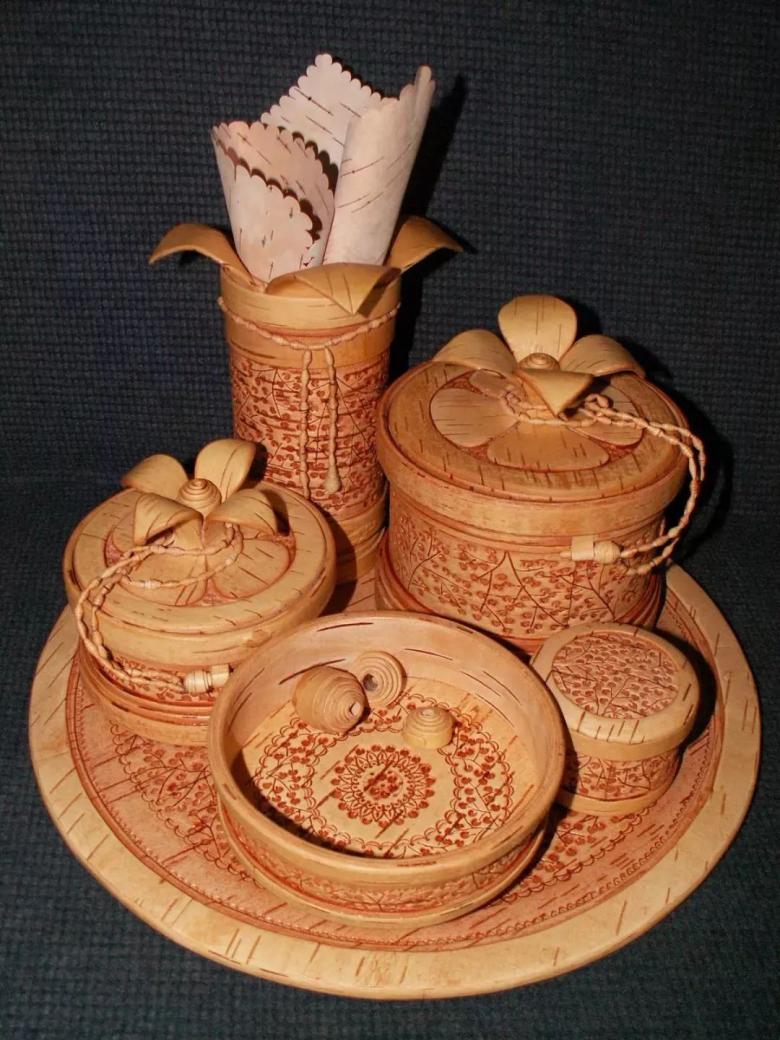
To get a plate, after the longitudinal make a deep bypass incision. The bark layer is carefully separated from the trunk, starting at one corner.
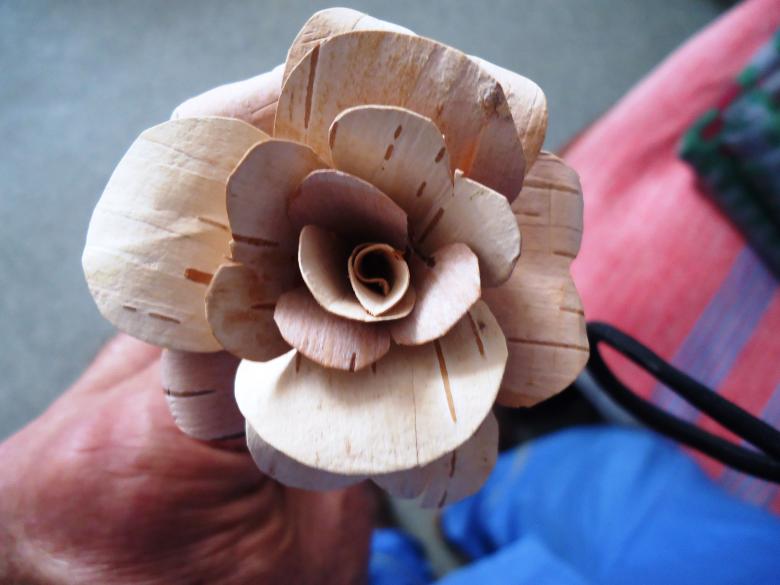
For seamless products, the most labor-intensive method is used. A part of the trunk of the desired size is completely sawed off, after which the inner wood is removed with a hammer and chisel.
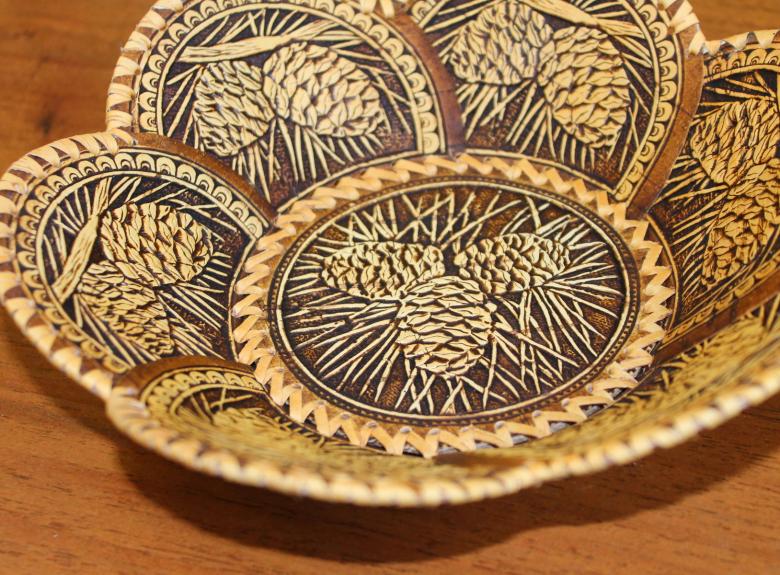
The harvested bark needs additional processing. It should be stripped of various growths, lichen and moss, cleaned of earth and dust. After cleaning, the birch bark should be soaked in hot water or boiled for 30 minutes. If you need flat plates, the material is immediately placed under the press.
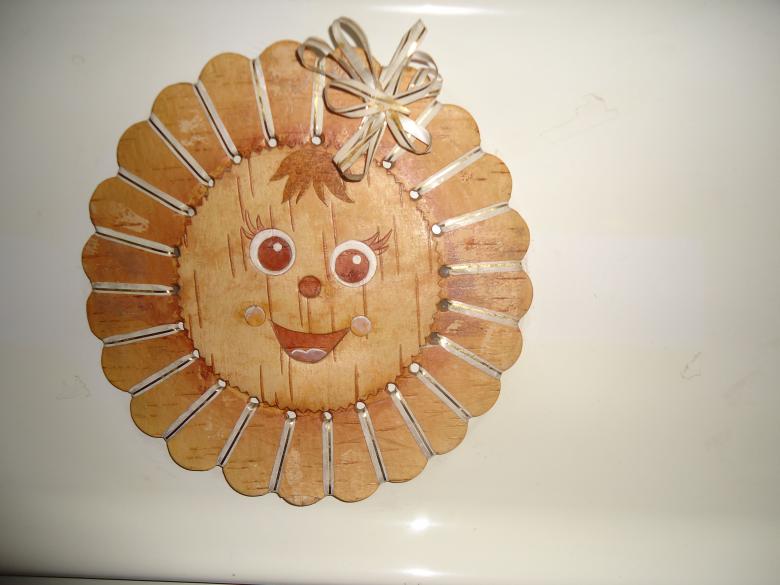
The next steps in the preparation of raw materials depend on the type of final product:
- thin layers for weaving and making utensils are obtained by splitting the plate with a knife,
- To obtain small crumbs, the bark is ground in a meat grinder. Crumb is used to decorate products and design panels.

Of the tools you need to have:
- scissors,
- well-sharpened knife,
- tweezers,
- awl,
- board as a base to work with sharp tools.
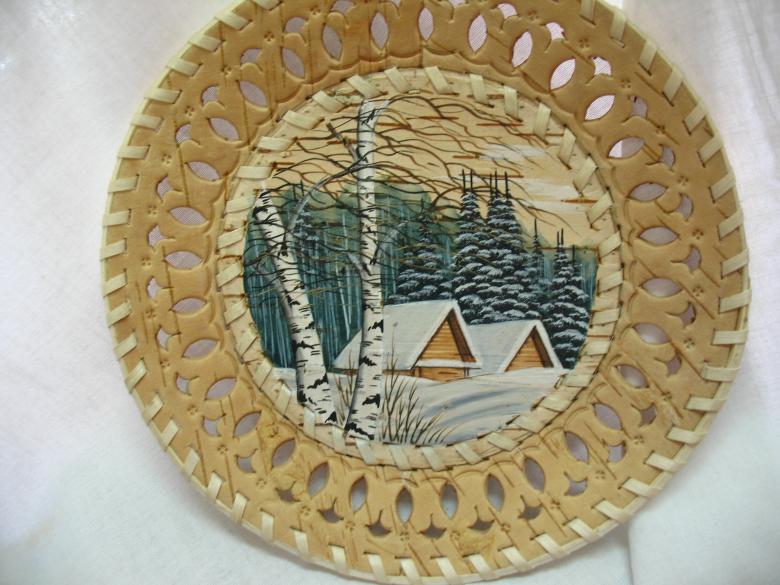
Birch bark handicrafts
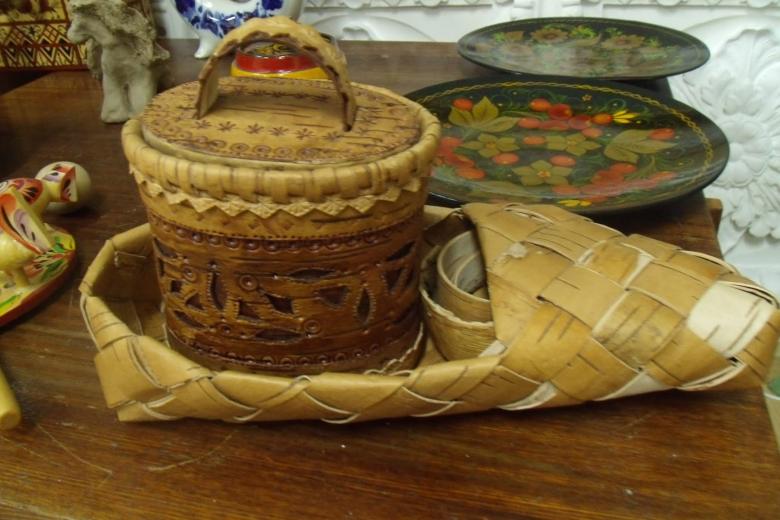
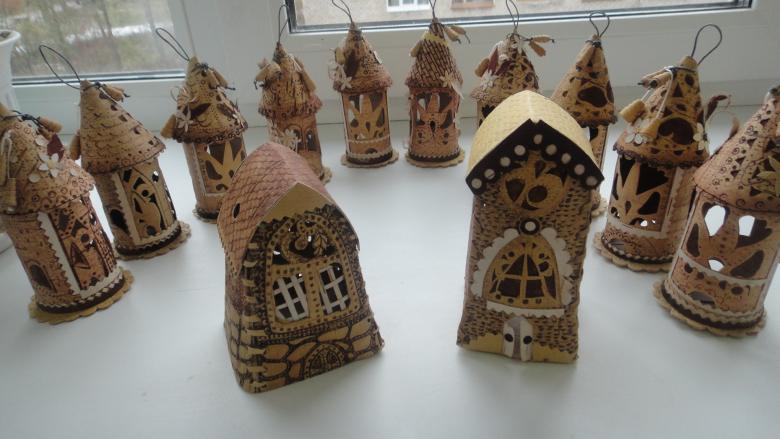
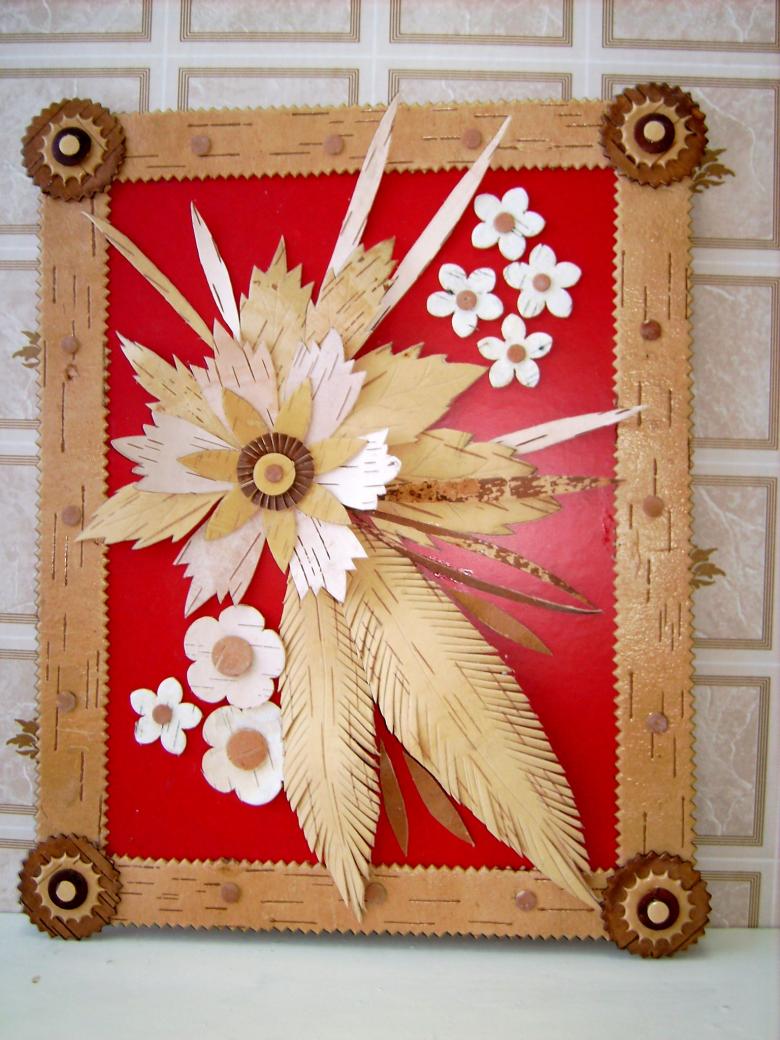
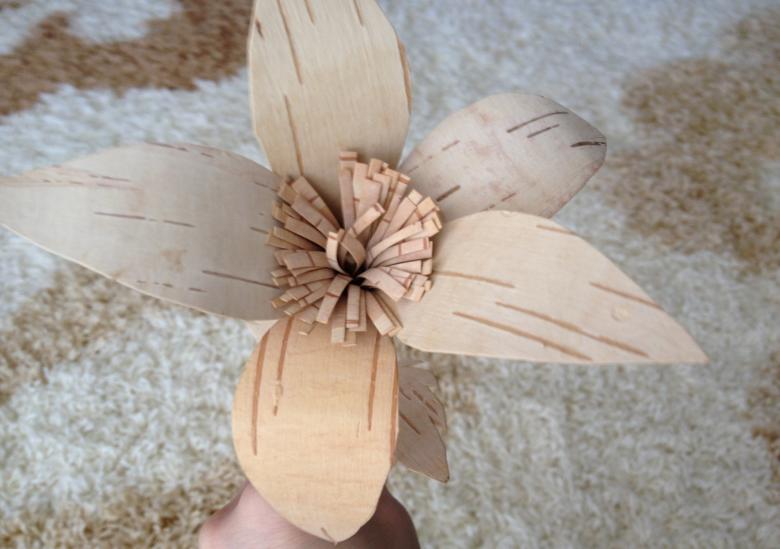
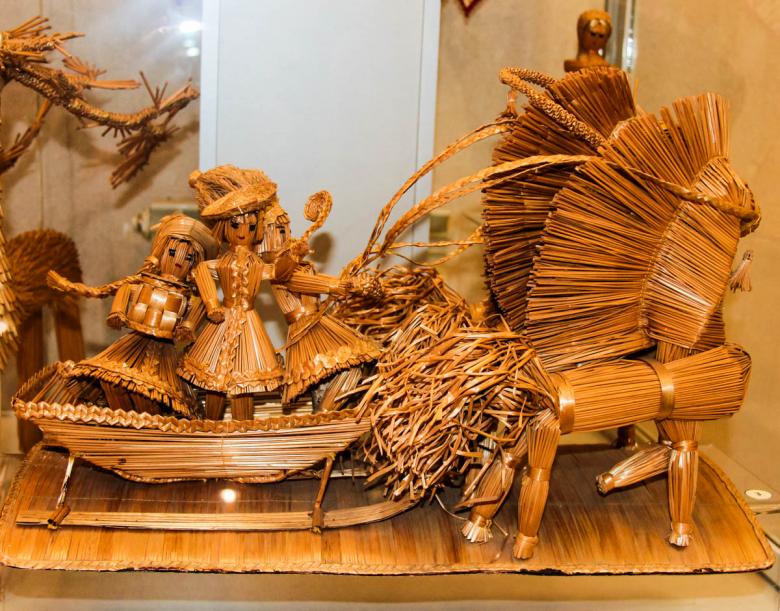
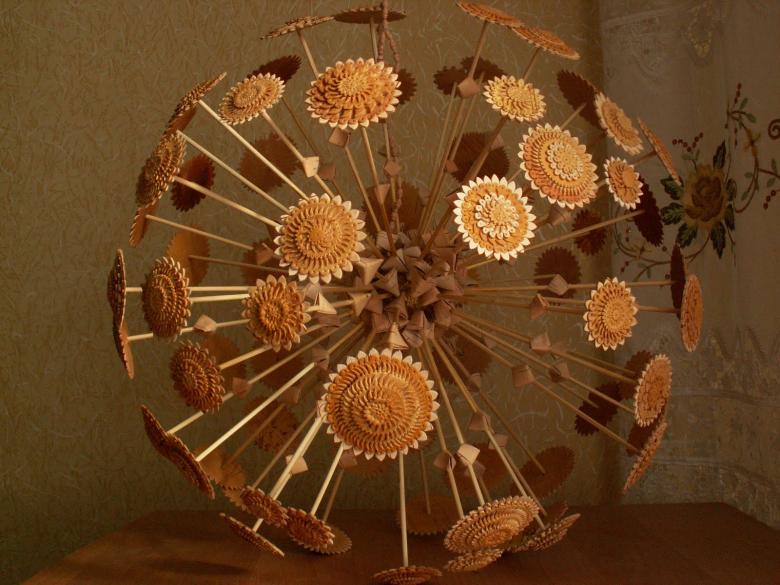
Birch bark has long served as a material for making various things needed in the home. Nowadays it is actively used as raw material for different souvenirs, handicrafts, interior décor elements, as well as household items that can be used for direct purposes.

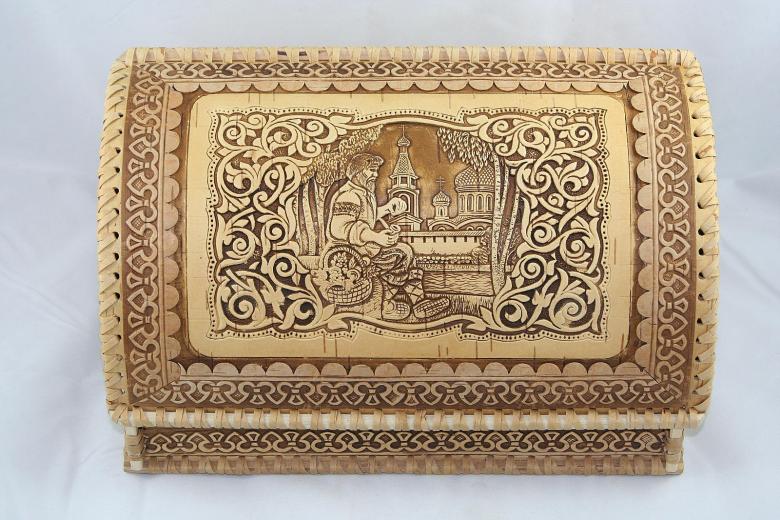
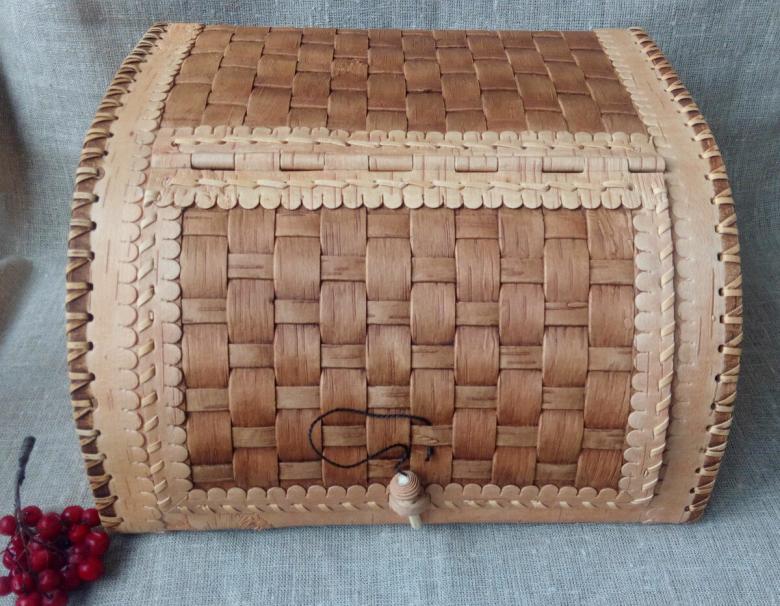
A box for storing small things
To implement the idea, you need to prepare:
- cardboard and birch bark,
- copy paper,
- sturdy thread,
- glue,
- a sharp knife,
- scissors,
- tweezers,
- pencil,
- needle.
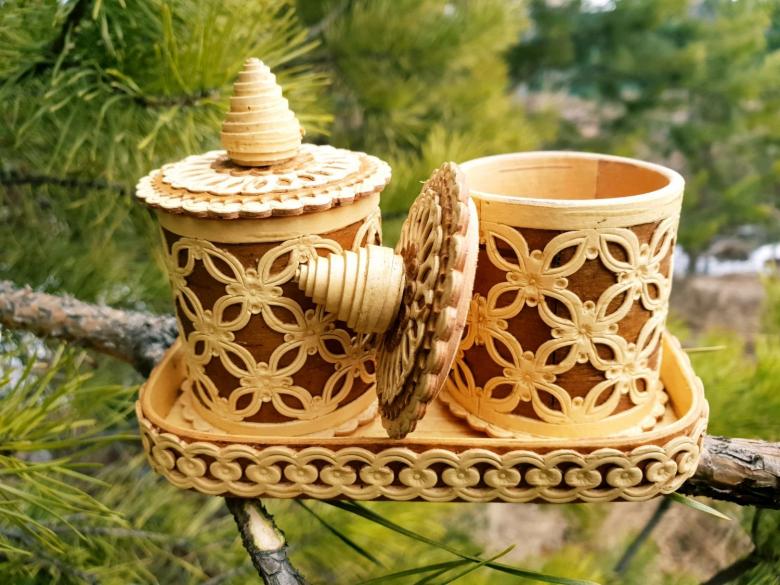
Step by step master class.
- Having thought through the sketch of the future box and its size, it is necessary to cut out parts and glue the base of cardboard.
- With birch bark remove the white layer. For a carved casket, paired blanks of the sides and lid are needed.
- On birch bark you need to pencil out the necessary parts according to the size of the cardboard with allowance for seams.
- On the underside, draw the pattern on the birchbark elements with tracing paper.
- Cut out the pattern with a knife.
- Glue main elements and carved overlays, dry.
- Finished parts of the box can be sewn with a needle and strong thread, insert the cardboard base inside. To simplify the task, there is an arc option. Details can be glued to the base of the cardboard.
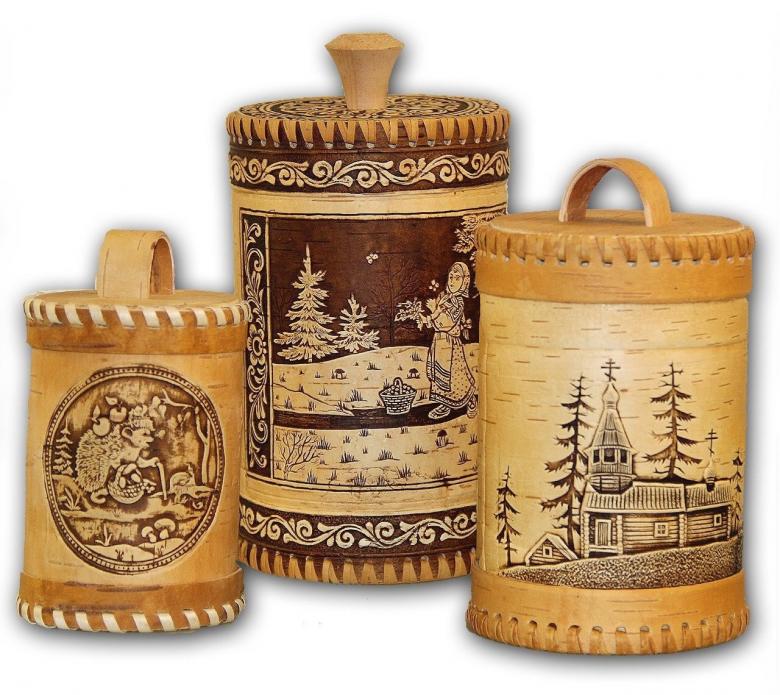
The box is ready. On the basis of these instructions, you can create many different products from birch bark with different themes. Together with your child, you can make a variety of themed crafts for school or kindergarten.
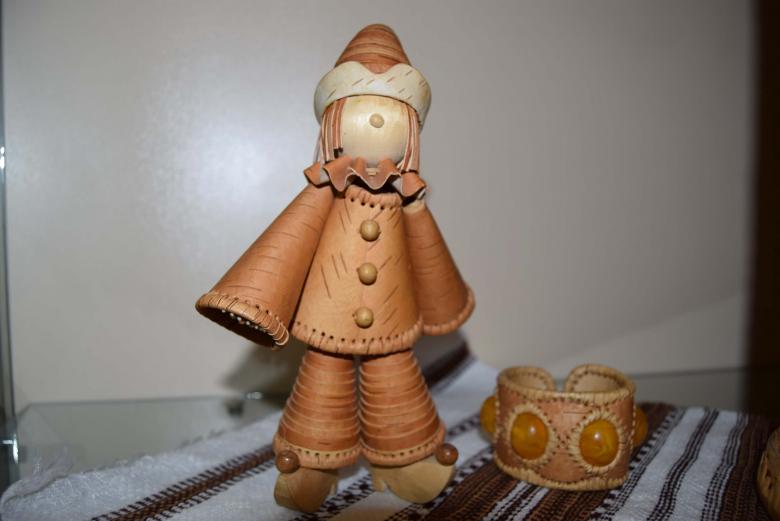
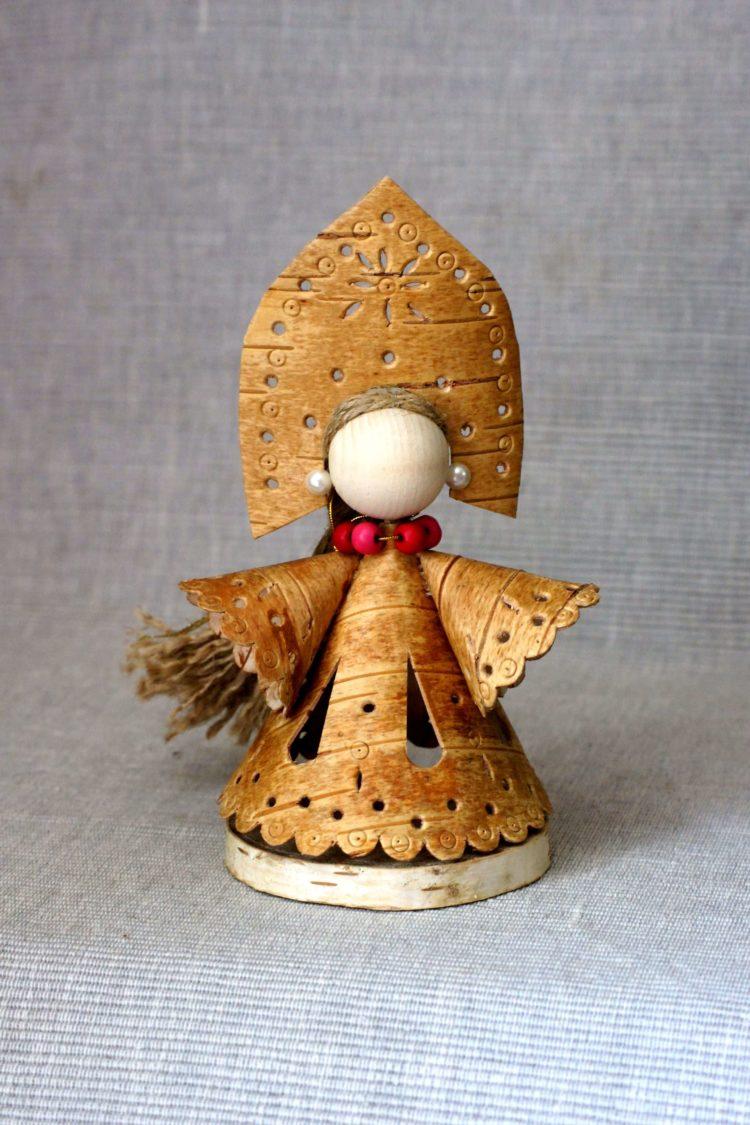
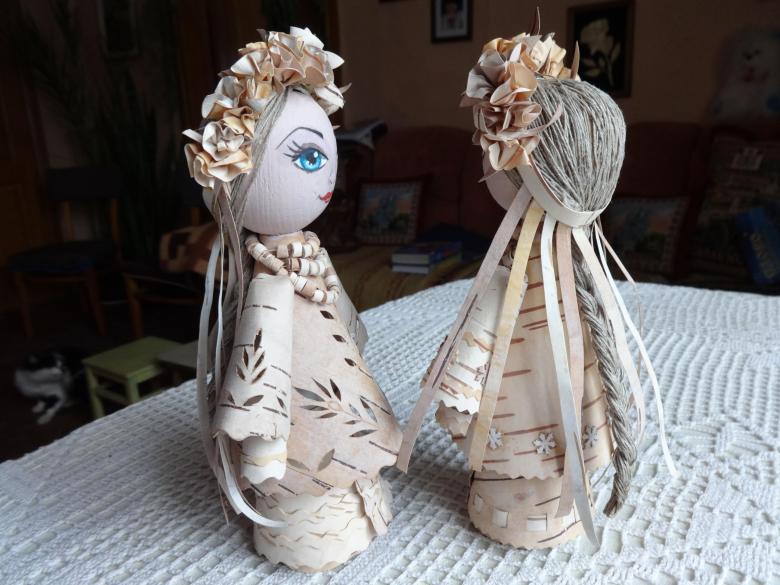
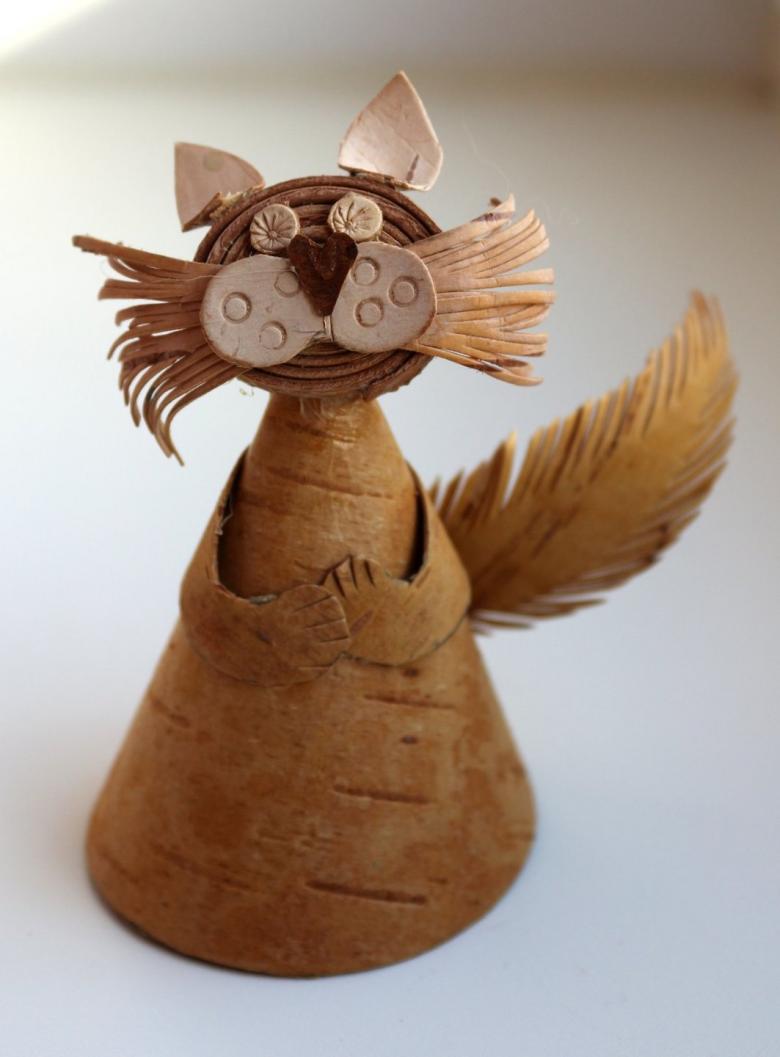
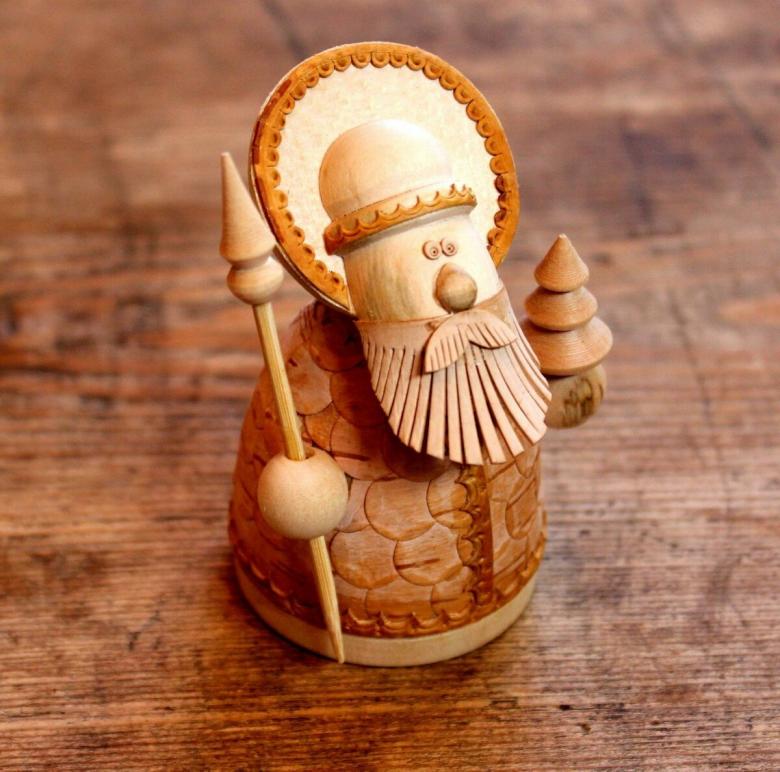
A birch bark bell doll
An interesting handicraft made of natural material can serve as an interior decoration or become an original option for a gift.
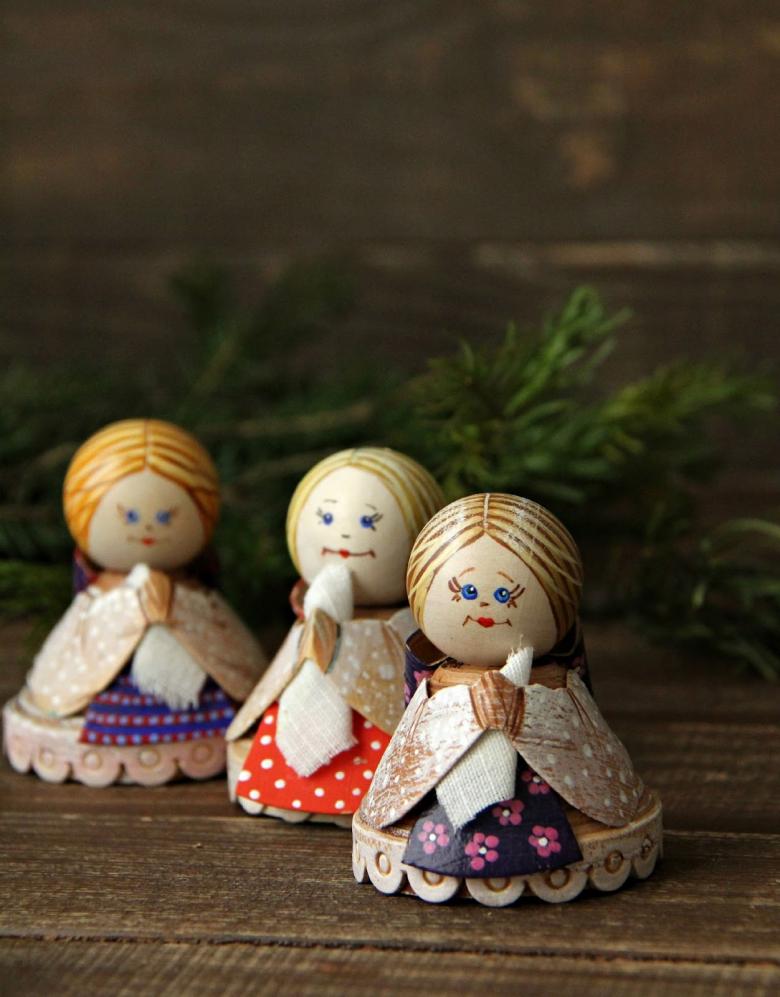
The idea is quite original, and its implementation can be done even by novice craftsmen.
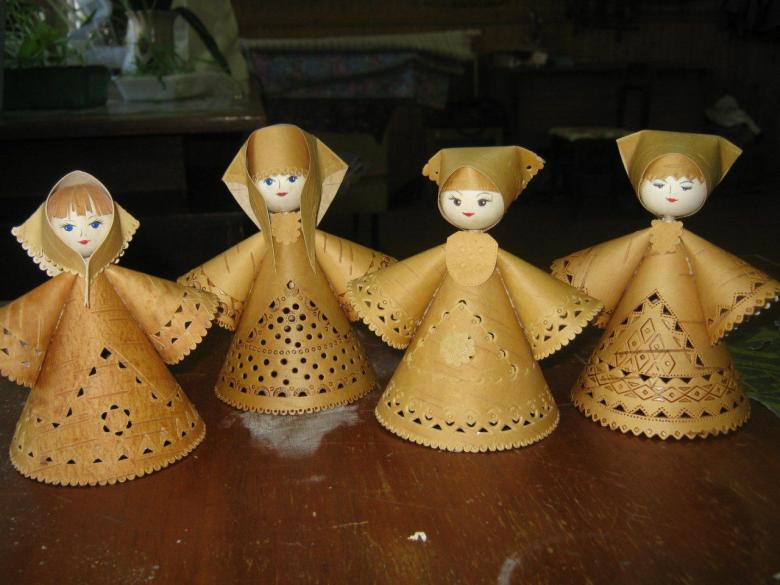
To work it is necessary to prepare:
- birch bark ribbon about a meter long and a piece of birch bark for sleeves, apron, plaits with a bow,
- a ball of wood with a through hole and a stick,
- a scrap of brightly colored cloth for a handkerchief,
- thread, a small bell, and a stationery button,
- a hammer, a tool for stuffing the pattern,
- PVA glue and all-purpose glue,
- brush, paint and varnish.
The birch bark should be soaked in water for a couple of hours before starting work, so that it does not break.
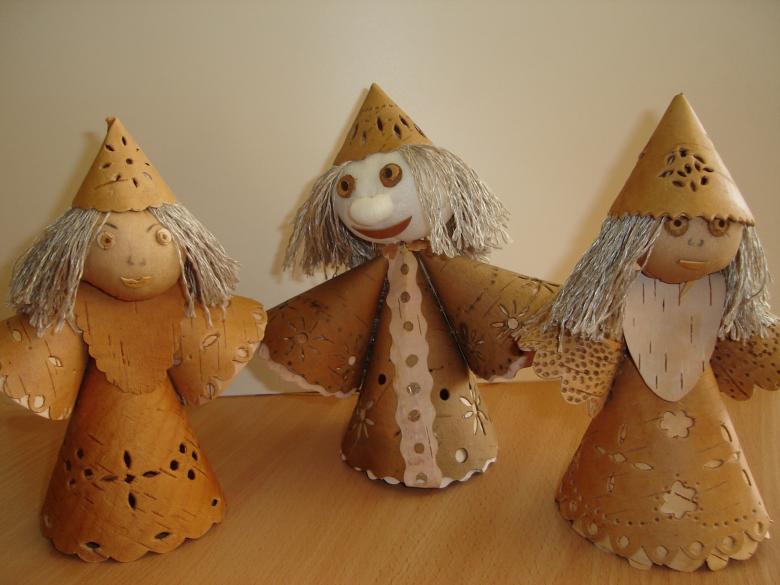
Step by step master class.
- To begin work on the souvenir it is necessary to cut the ribbon. Its length depends on the growth of the doll. The optimal length is about a meter.
- The next step is to glue the head-ball and neck-stick together with PVA glue. The lower part of the neck is glued to the edge of the birchbark ribbon with universal glue.
- The ribbon is twisted in a spiral to form a doll dress in the shape of a cone-bell. The edge of the ribbon is glued with universal glue.
- When the dress is completely ready, it should be dabbed with PVA glue on the inside for durability.
- Cut out the sleeves and apron from a piece of birch bark.
- Cut three narrow strips and weave a braid for the doll.
- From the narrow strip you can cut openwork elements like lace to decorate the doll's dress.
- Glue the decorative parts (lace, apron, sleeves, braid) to the piece.
- Glue and attach a bow to the braid.
- Paint the workpiece: hair, eyes, apron and dress.
- Dry, glue apron and bow.
- You can add a white handkerchief into the hands of toys. It is glued under the handles.
- Inside the handicraft with a clerical button fastens a thread and a bell tied to it.
- The finished product is carefully coated with varnish.
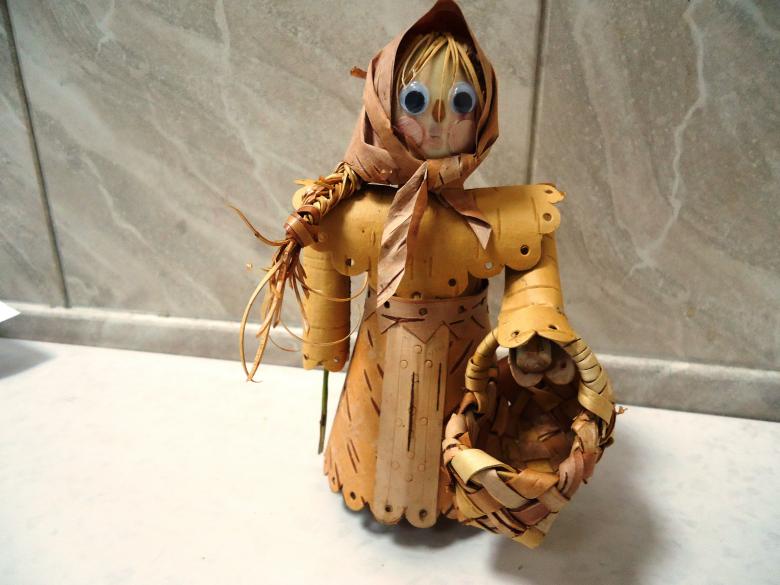
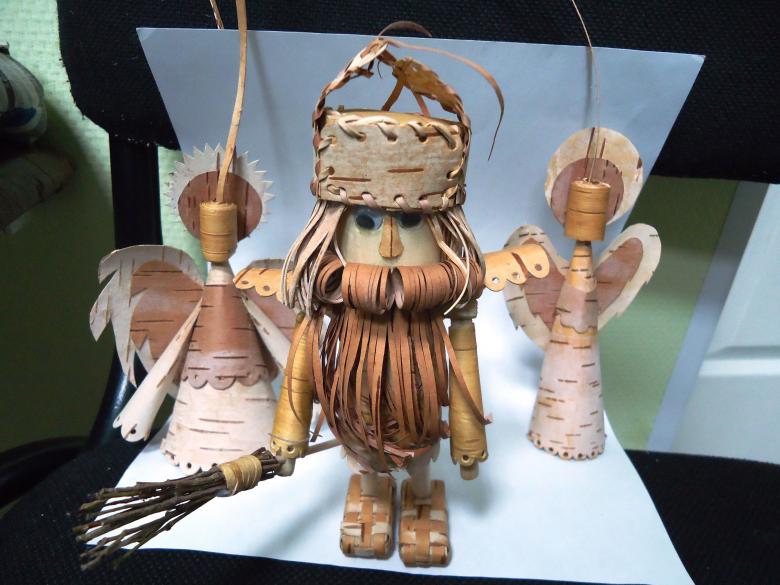
We get an unusual souvenir bell, made of birch bark by hand. Theme can be continued by making various fairytale characters and dolls, amulets.
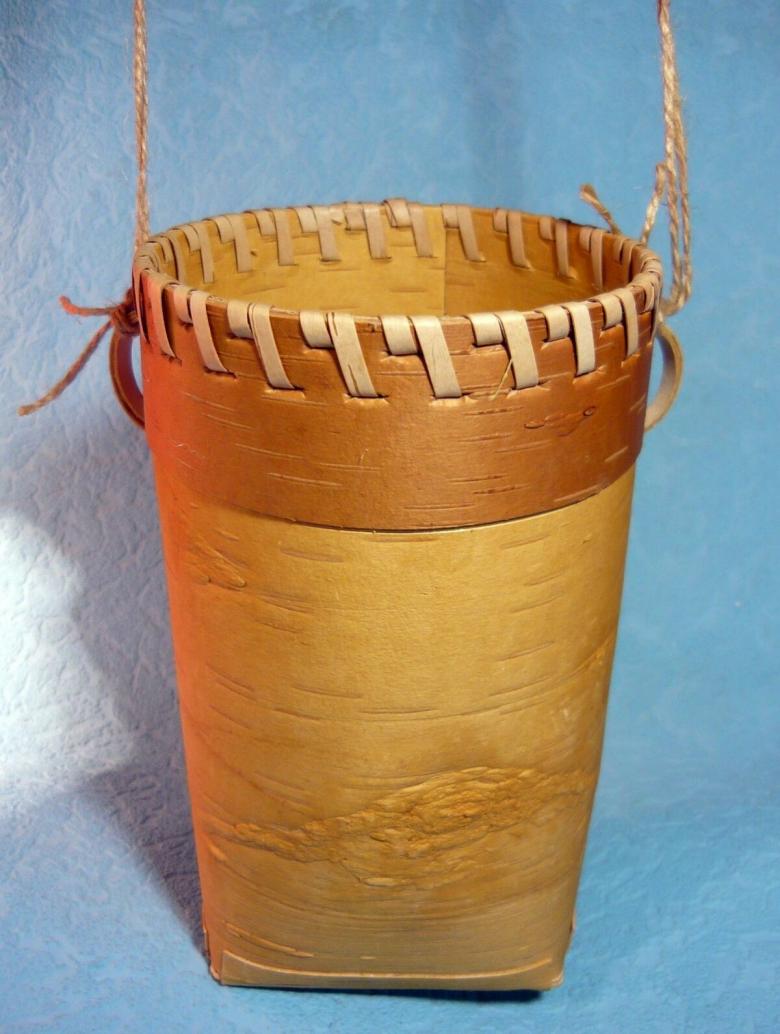
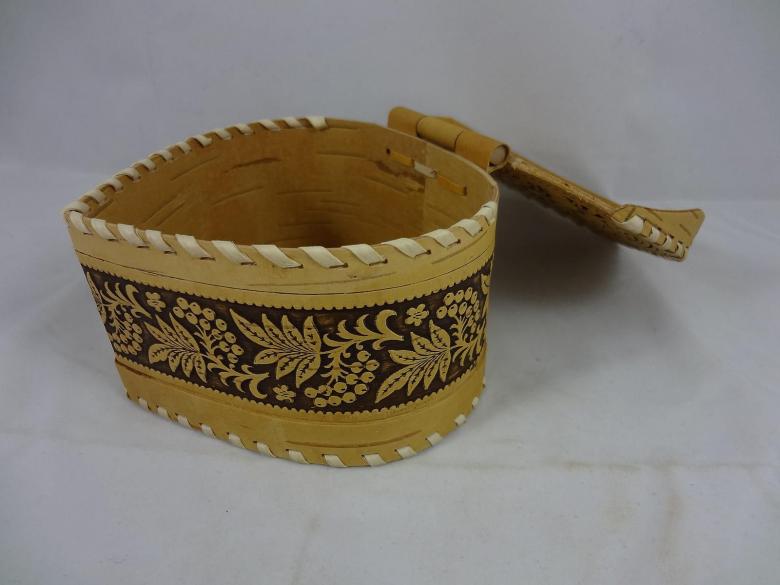
A basket made of birch bark
Birch bark is an excellent natural material for creating practical household items.
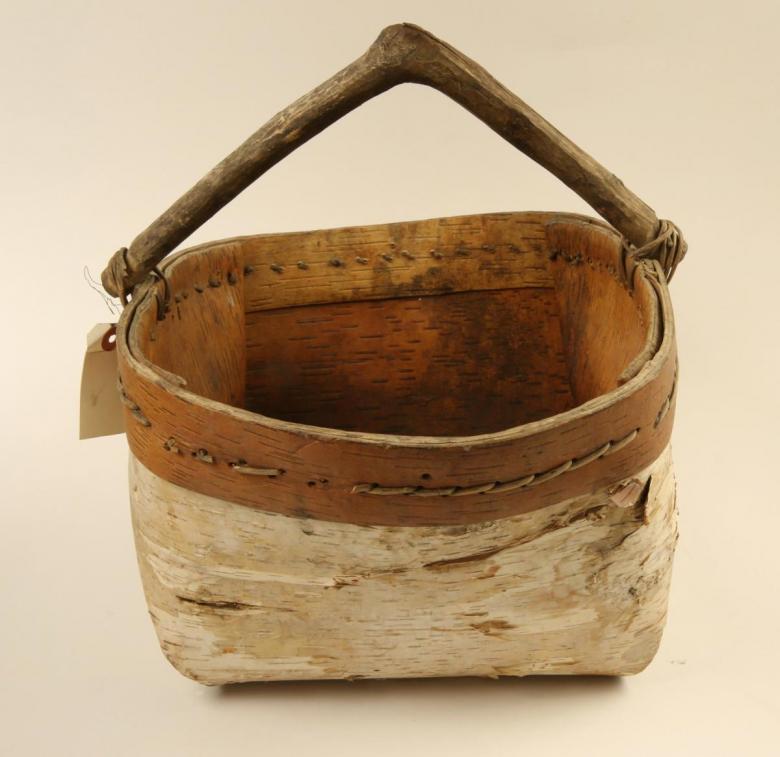
To make your own hands birchbark basin, you need a thin sheet of birch bark, the size of the future product, and narrow strips for stitching parts. Length of ribbons for stitching should be enough for the entire shock, and their width of about 0.5 centimeters.
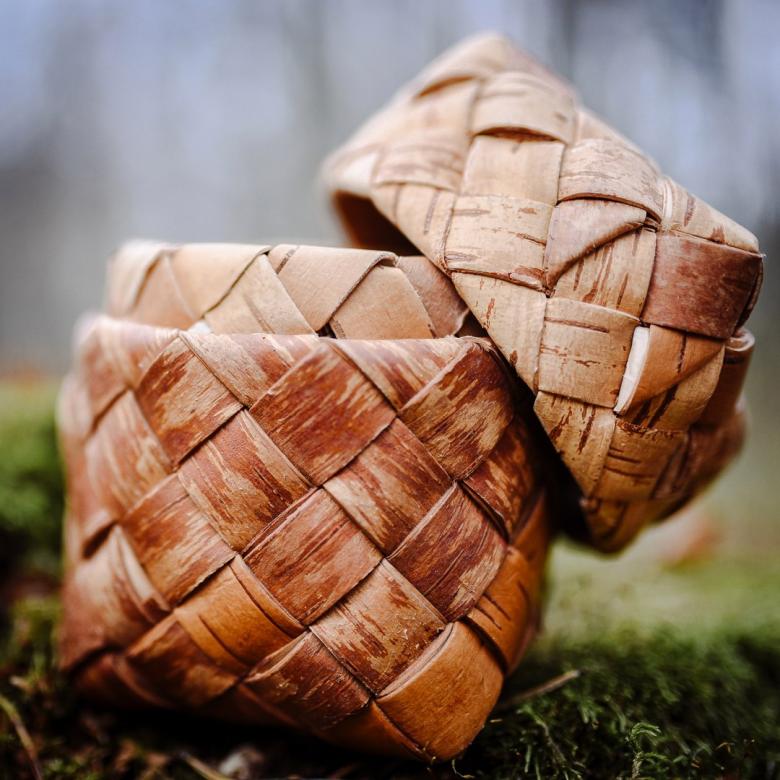
- A sheet of birch bark is rolled up so that the edges slightly overlap each other. The joint is fixed with paper clips, clamps or clothespins.
- You need to pierce holes along the entire length of the future seam with an awl.
- Sew the product with birch bark tape. Clips can be removed.
- Mark the bottom of the body at a distance of 10 centimeters from the edge. To the level of this mark, cut the edge of the workpiece in 4 places at the same distance.
- The received parts are folded inside and connected with seams from birch bark tape.
Simple body is ready.

If you want it can be completed with a lid or handle, decorate it with decorative elements.
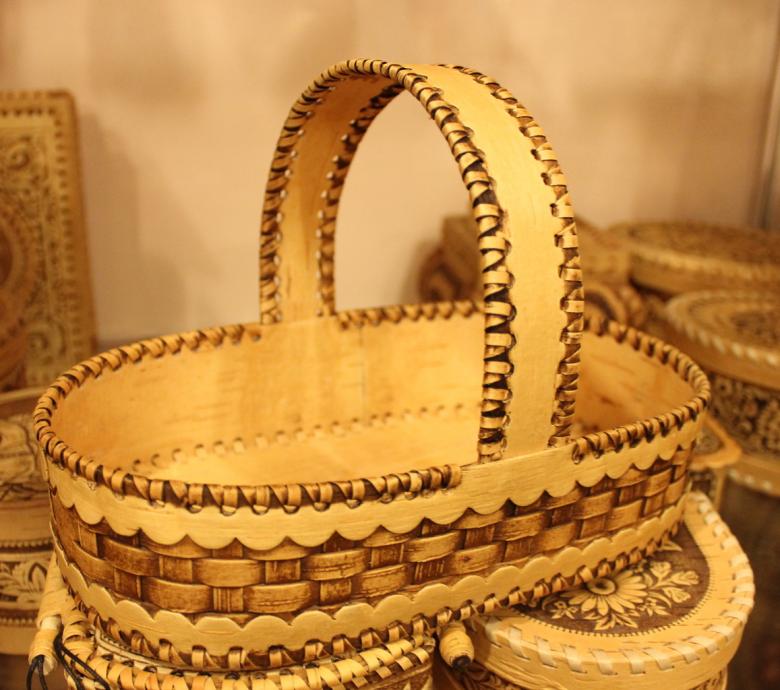
Taking the product as a basis, you can make different containers for the kitchen.
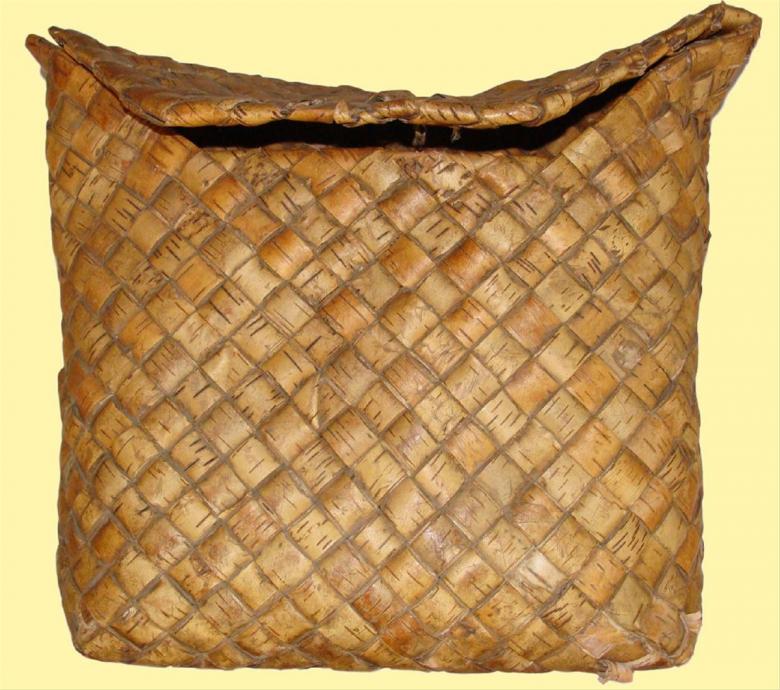
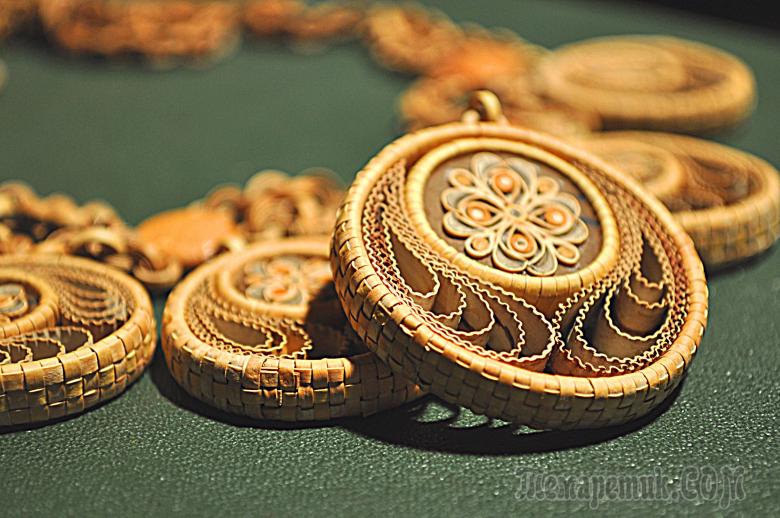
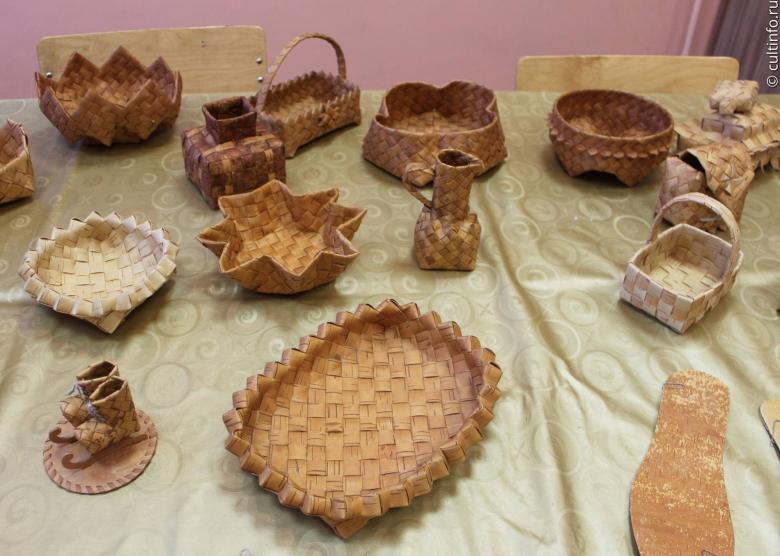
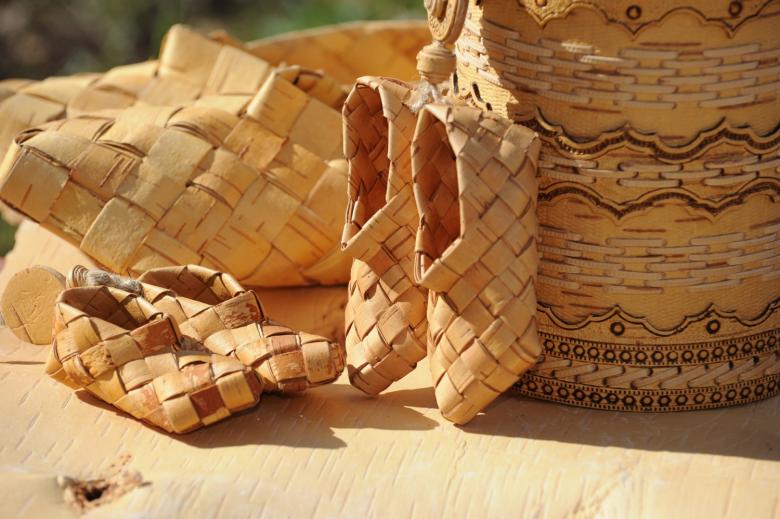
From the birch bark ribbon you can make original wicker things: sachets and bowls, noodles, unusual jewelry and beautiful interior trimmings.
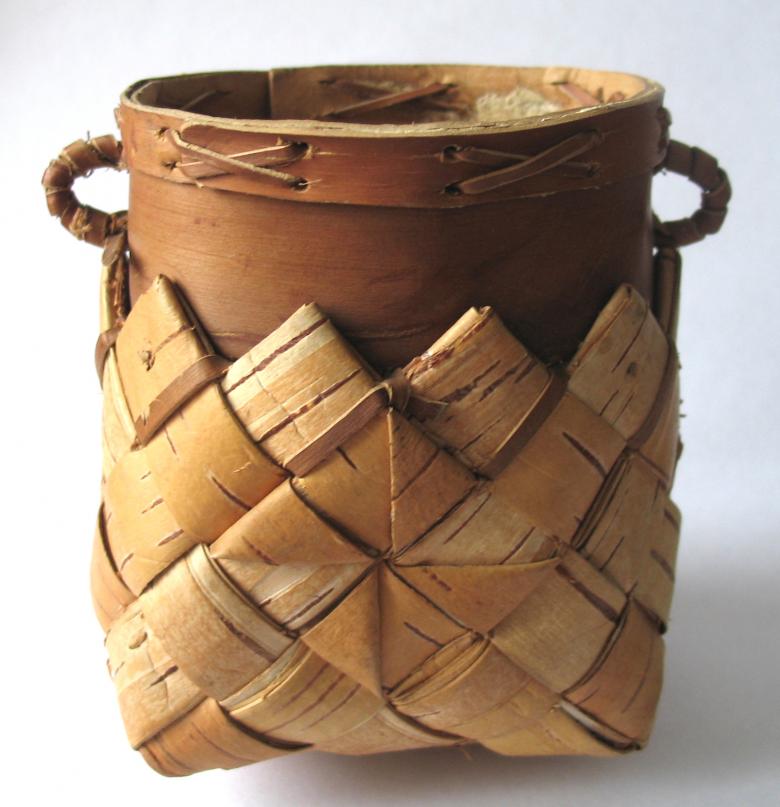
Birch bark is safe for health and free material from which at home with children with their hands you can make a lot of different crafts, souvenirs and practical things. Start with the simplest products, and then move on to the production of unique items decorated with intricate carvings.

Products from birch bark are not dangerous to health and perfectly fit into any interior.


