Crafts for the child 2 years - a selection of simple and clear master classes with photo examples
Many parents think that their two-year-old child, doing something related to crafts, is absolutely unable to sit still for even 10 minutes. But this is a greater misconception, because if you think about it or use the help of the Internet, you can find a huge list of options for crafts for a child of 2 years. One has only to start, and then, to the surprise of many, imagination will play out as a mom and dad, and the kids. So go ahead - study, get inspired, get ready and make!
Why is it necessary to do this activity and what are the benefits
Handicrafts are a very important area in the overall development of the child, because the cream of the little mess, in this activity a lot of positive aspects, namely:
- Development of fine motor skills, creativity, the ability to express their opinion and initiative;
- Training of memory;
- Learning to work with different materials;
- A variety of tactile sensations;
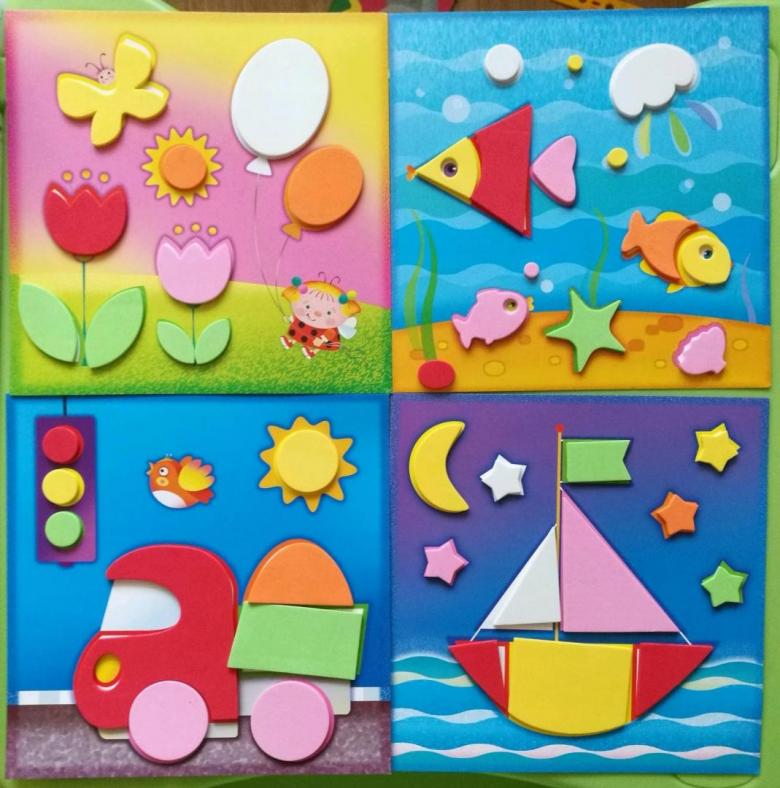
- Acquaintance or consolidation of already familiar shapes, geometric shapes and colors;
- Spending time together with parents;
- Concentration;
- The opportunity to distract from gadgets and do interesting things.
This is just a small part of the advantages of such activities, and the main thing is that the age does not matter, although no - the earlier the better, and if the baby is over a year and a half, you can safely take up collage and drawing. You just need to pick out what will be of interest to him.
Working area and materials
Chaos, painted wallpaper, furniture and, of course, additional cleaning - that's the first thing that arises in the mind of every parent when the phrase "children's creativity. But all is not as terrible as it seems, the secret is that the preparation for the process and cleaning after the lesson, should take place with the child, and starting from the first time, then after a few such lessons, the baby does not even have to remind them - he will put everything in its place.
- So, the first thing is to create such "places" where work materials and tools should be stored.
- Second - choose a place for creativity - a well-lit room and a table, if the future artist prefers the floor, bed or chair - let it be so, but they first need to be covered to avoid small troubles in the form of spilled paint and glue.
- Third - special clothes, it would be very nice if the baby immediately get used to the need to change clothes or put on at least some kind of apron, so as not to accidentally ruin his clothes.
- And lastly, prepare the necessary materials:
- Tools (scissors, pencil, brushes);
- Materials (cardboard, paper, cotton disks, absorbent cotton, thread, paints, plasticine, glue).
In addition, the master class teachers, mom or dad, need to have patience, because baby, will do everything slowly, sloppily and not quite as we would like it. Here you can show and tell them how to do it, you can help a little, but most of the work should be entrusted to the baby. And in order for this not to be a problem, the crafts should be appropriate to his age.
Simple options for joint crafts
The first time should give preference to the simplest works. If you can see that the child quickly and easily cope with the task or it did not cause him no interest at all, which is unlikely, because children like to paint, glue, tear, then we should move on to more complicated crafts.

All in order: you can first familiarize yourself with the options for crafts (collage, drawing, crafts with clay and other improvised materials), and then you can choose the level of difficulty - from simple to complex, by the standards of a two-year-old child.
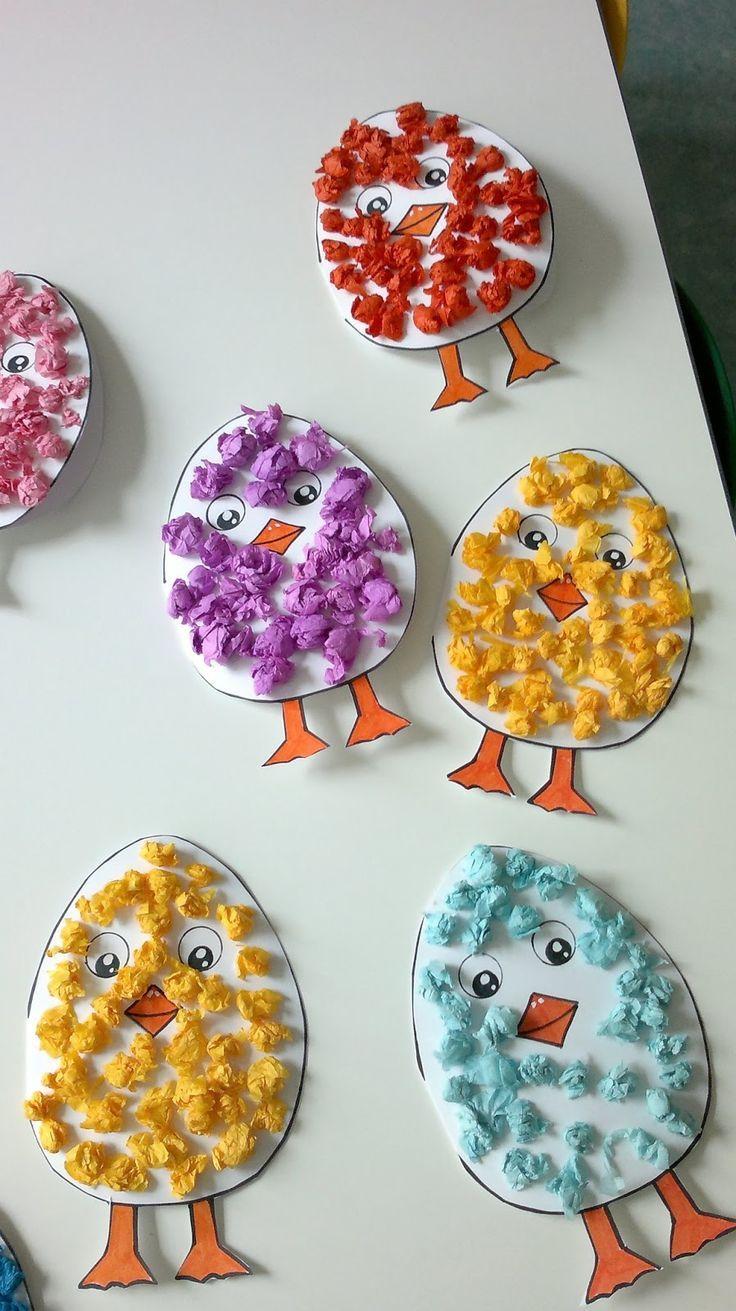
Collage .
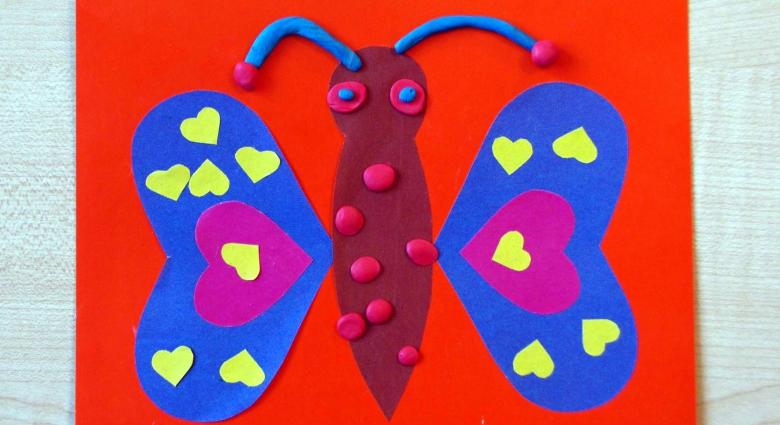
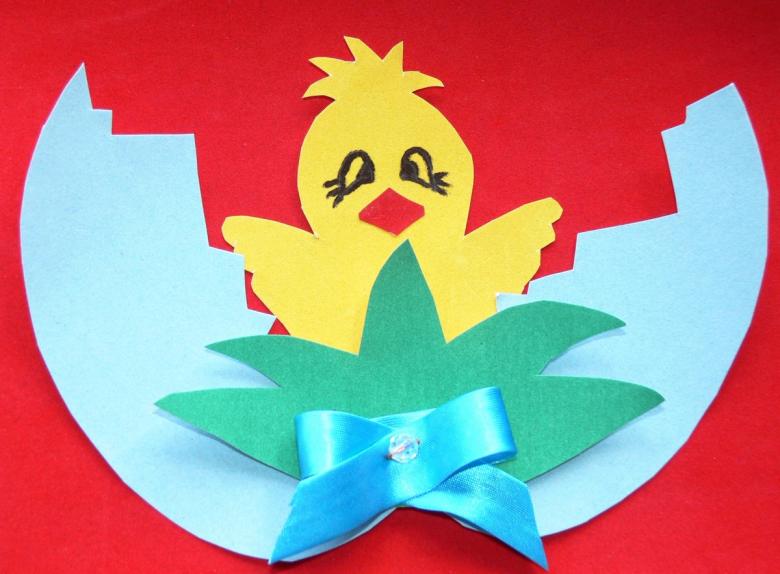
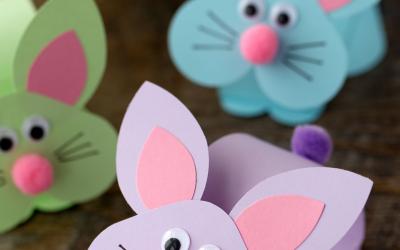
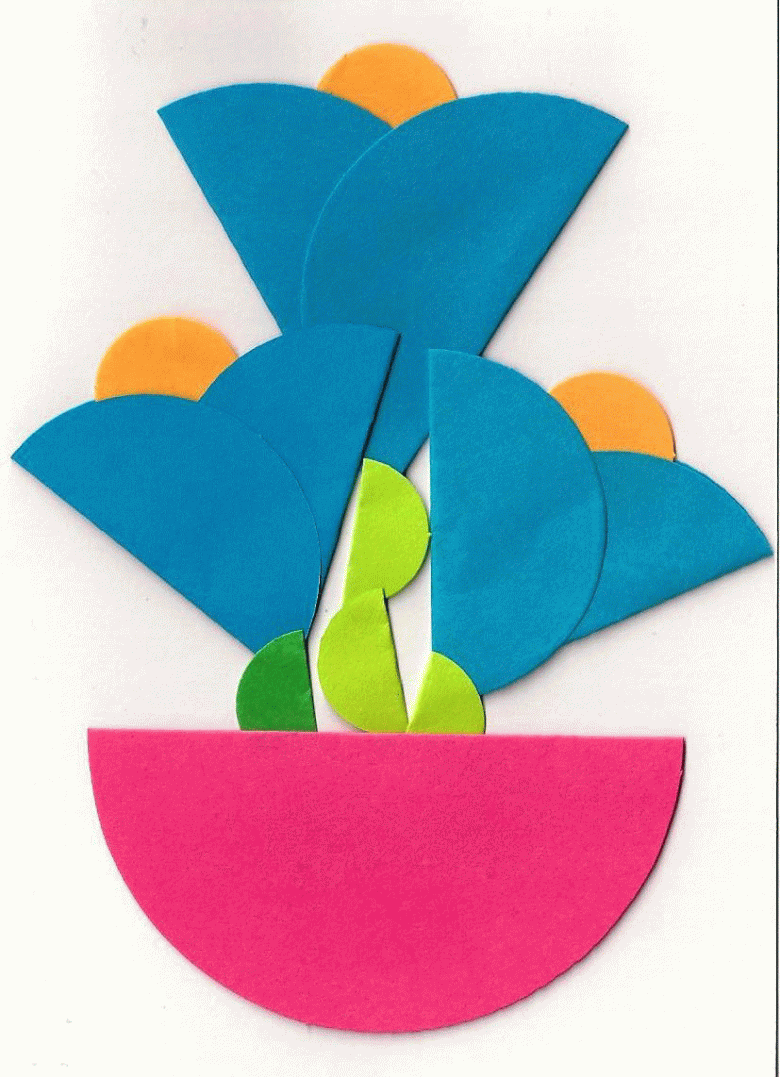
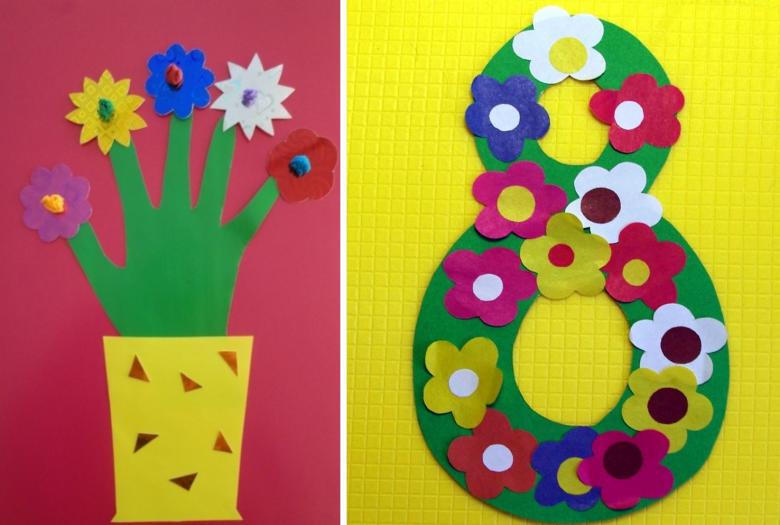
One of the easiest and most accessible tasks - applique. All you need for this is a sheet-base, colored paper, glue, scissors and a little imagination.

If this lesson will be the first in the life of the kid, and he is not yet familiar with the tools that need to be used in this, you should tell him right away what it is, how it works and what you can expect as a result.
Each activity may consist of several levels of difficulty, in this case these are:
- Gluing shapes in a chaotic order;
- Gluing shapes on a given theme;
- Multilayered applique.
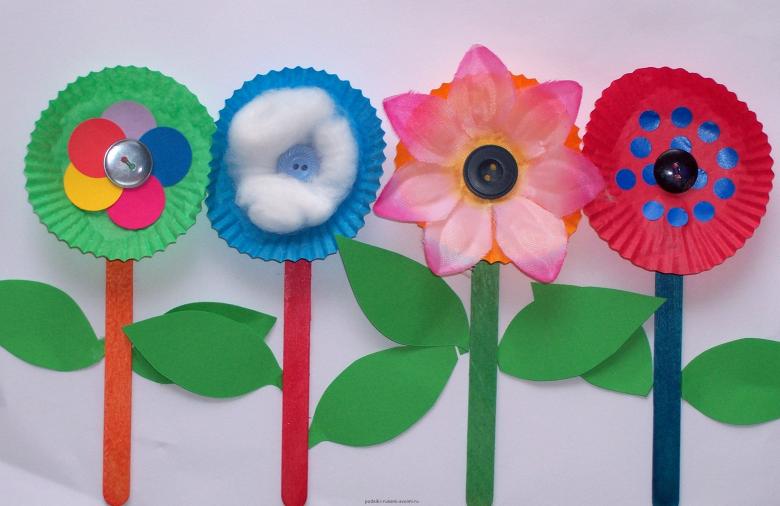
Chaotic gluing figures on the base
A small child will gladly take on such a task, because there are no rules and restrictions, and the goal is to familiarize the child with glue and paper, to show his resourcefulness, logic and the development of fine motor skills.
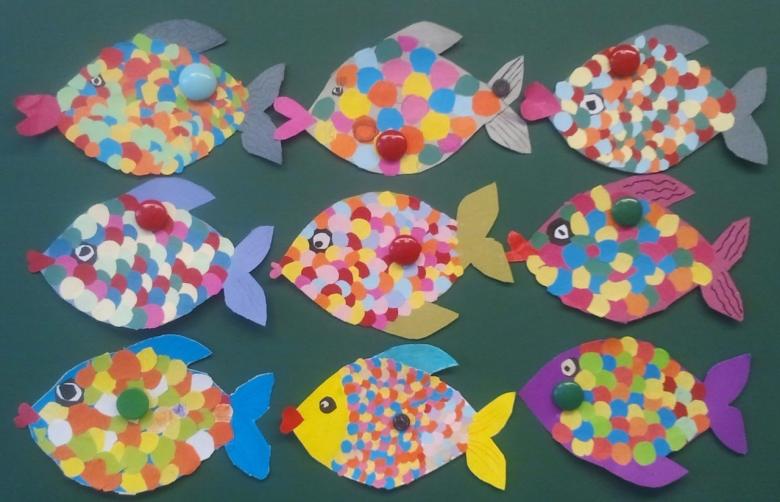
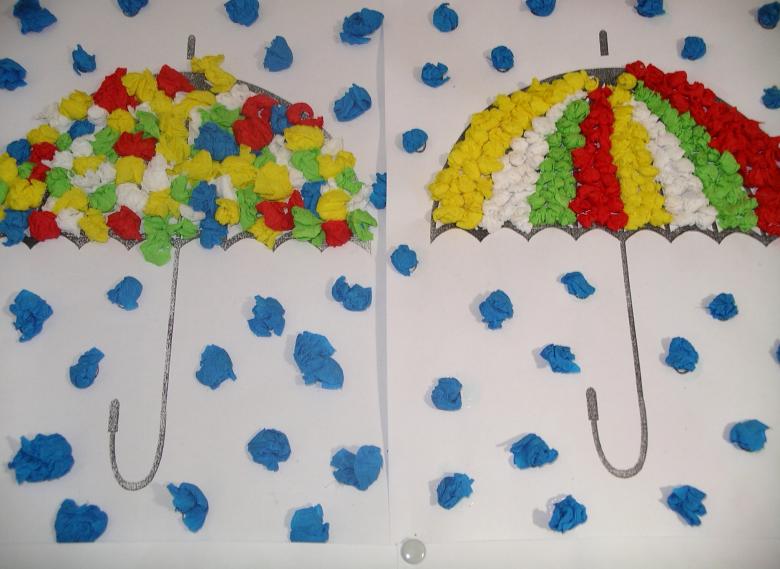
As basic ideas can be geometric shapes of different sizes and colors, which should be placed on a white background. Naturally they are pre-cut parents, but you can put the scissors aside and together with a young student tear into small pieces of paper, and then paste wishes.
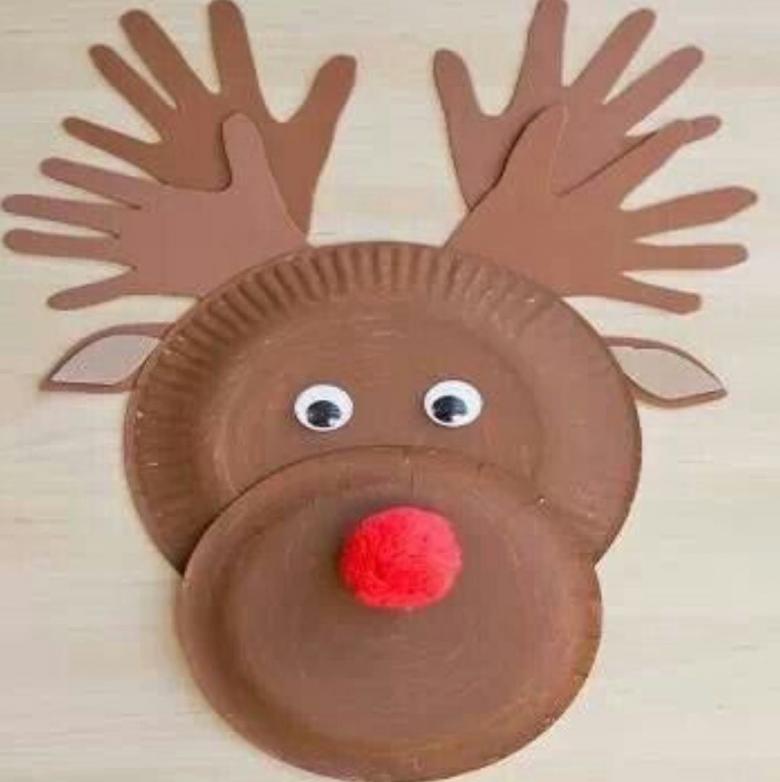
Applique on a given theme
A great activity that can be not only an ordinary craft, but also a game, because doing a picture can play around with it, thinking up a story or use an already well-known fairy tale.

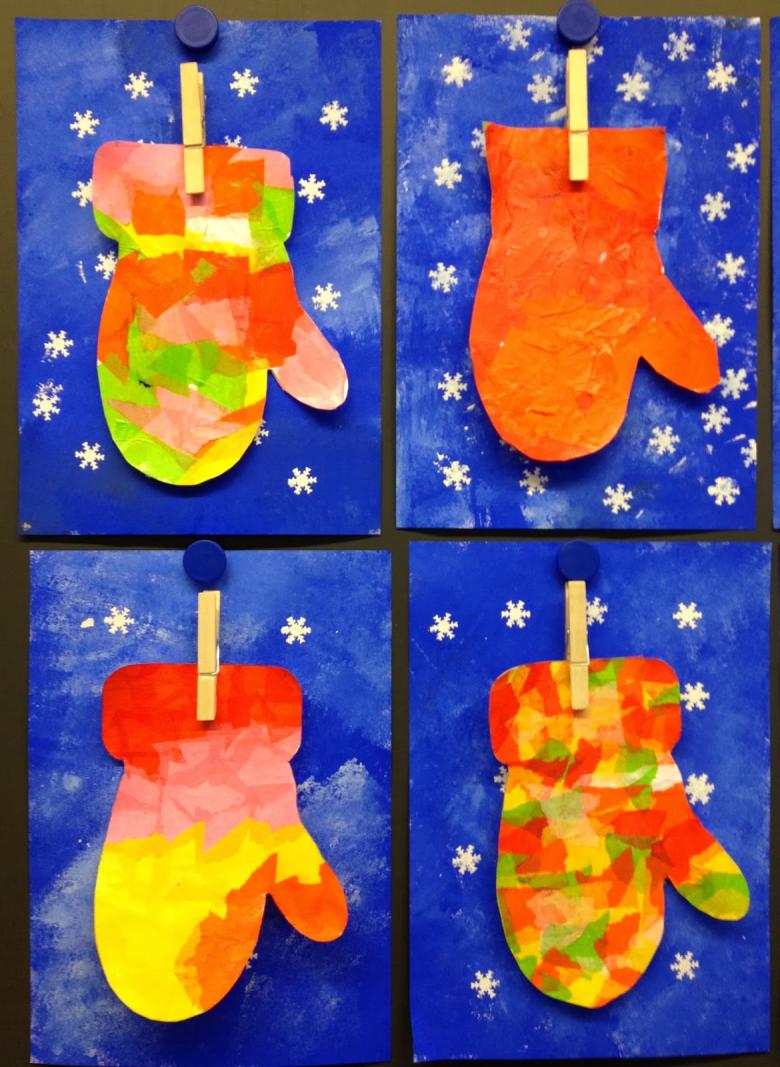
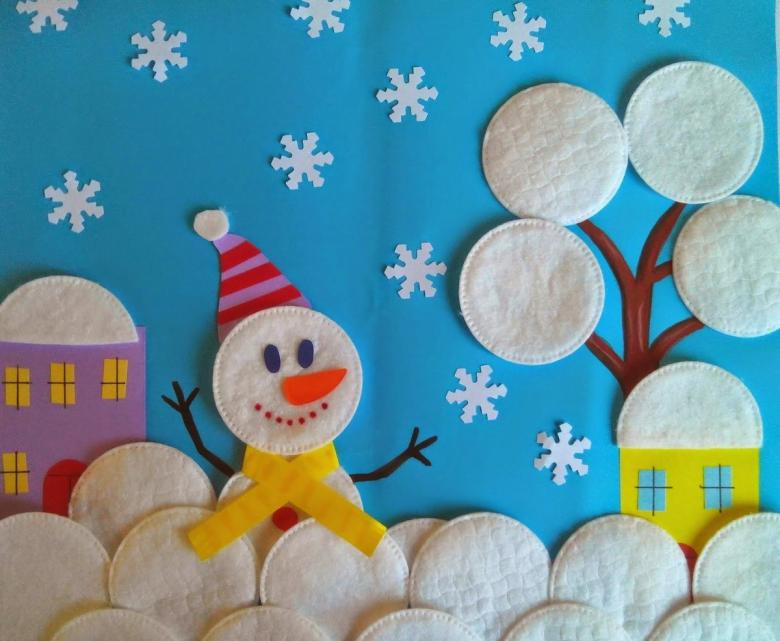
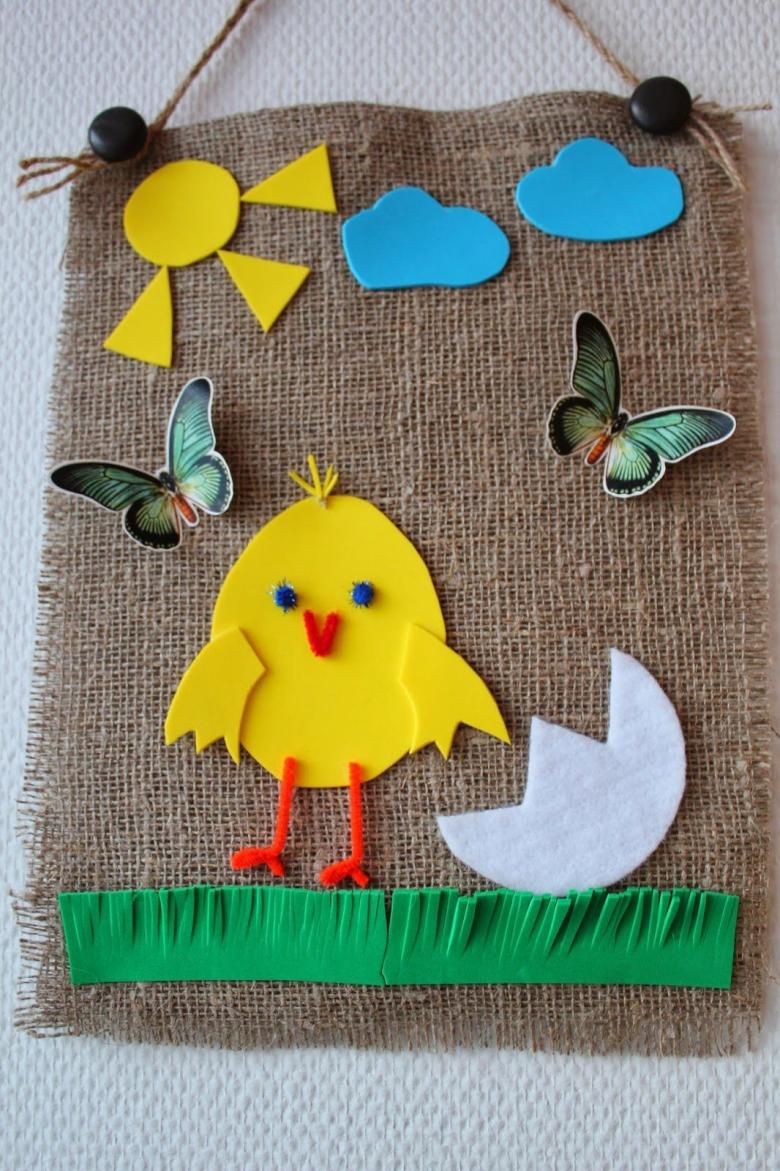
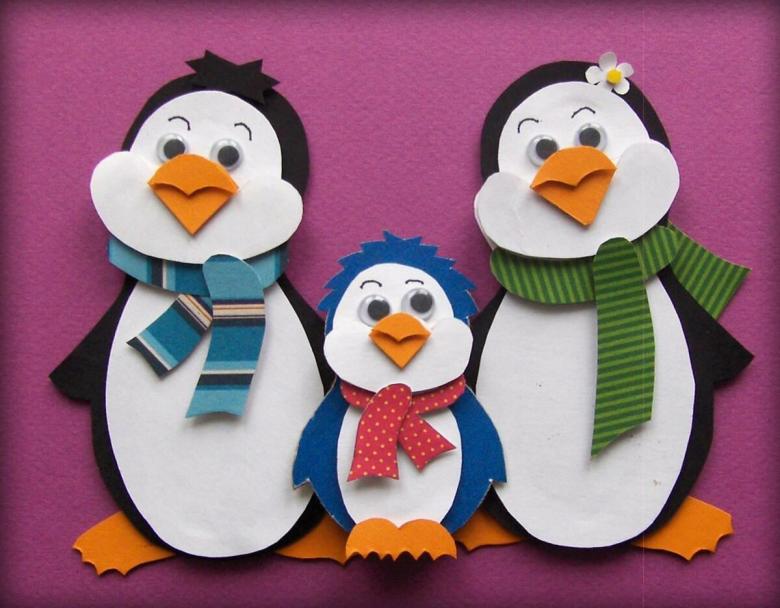
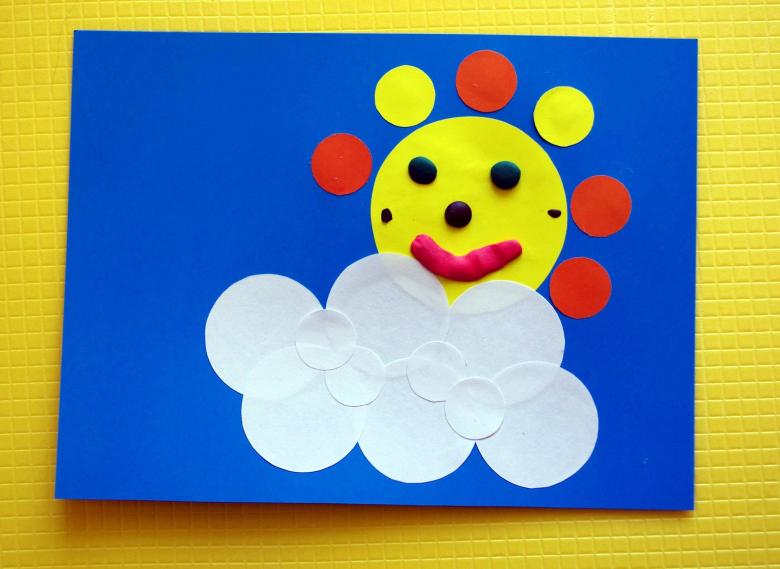
As basic ideas will be pictures with New Year's and winter themes - glue a Christmas tree on cardboard, and the child should at his discretion decorate it with the shapes of Christmas toys, or on a sheet of dark background to depict a white snowman and snowflakes, using the prepared figures. You can replace the Christmas tree with a template of another tree and decorate it with colored apples, and if you want to complete the picture by complementing it with the sun, clouds and grass.
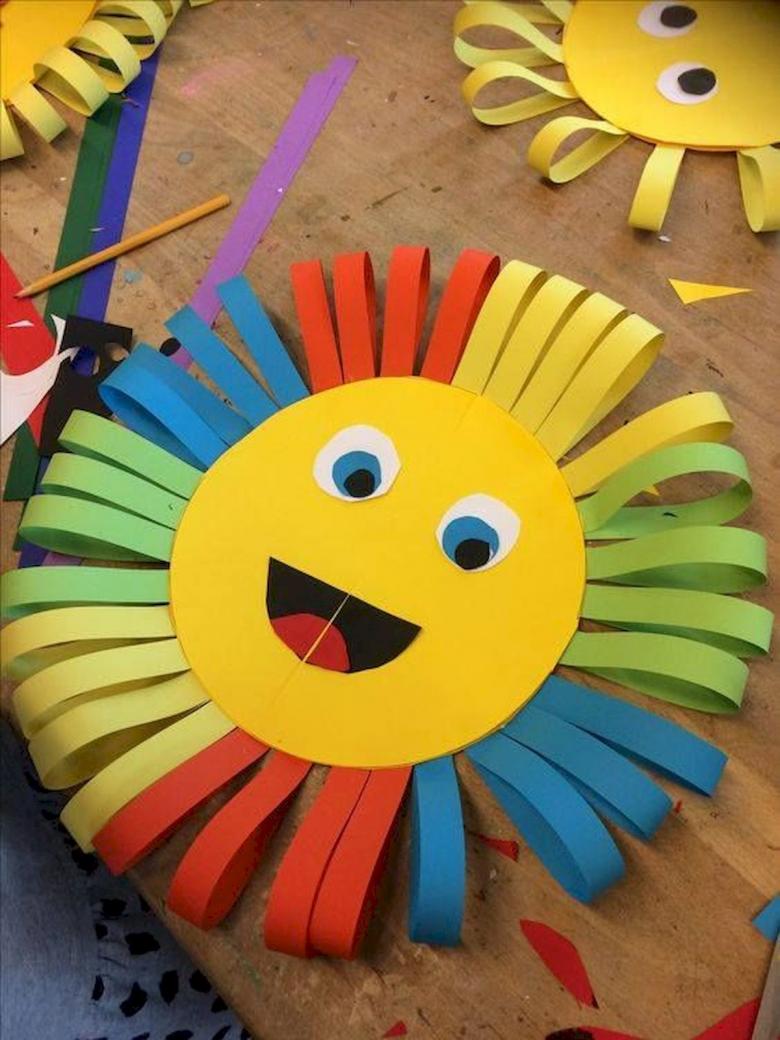
Before you complete the task, it is worth explaining to your child what is required of him or her, and how approximately his or her craftsmanship should look like in the end. To do this you can show a similar photo or lay out your own figures, not gluing them, and then disassemble everything and trust the baby to do it.
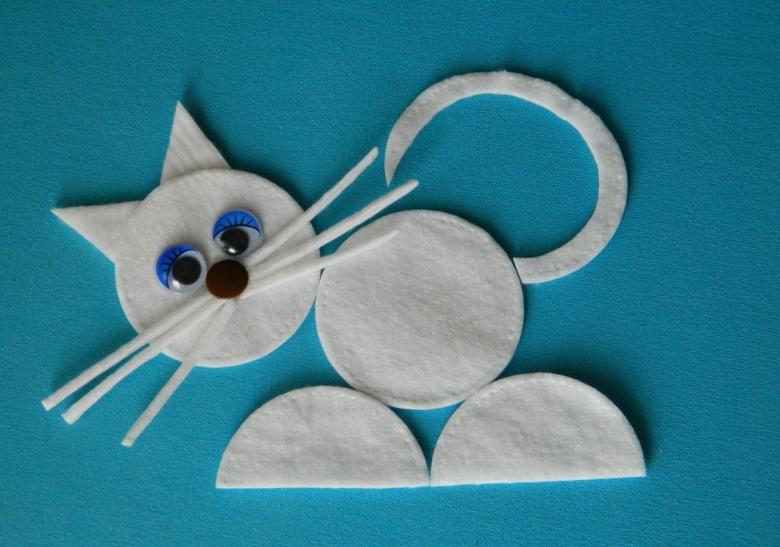
Multi-layered applique
The essence is similar to the previous lesson, but the difference is that, performing a picture, you need to use similar elements:
- Snail - cut out several circles of different sizes and glue them to each other, thus creating curls on the shell;
- Piglet - fix one large circle on the base, and overlap the head, snout, ears and eyes;
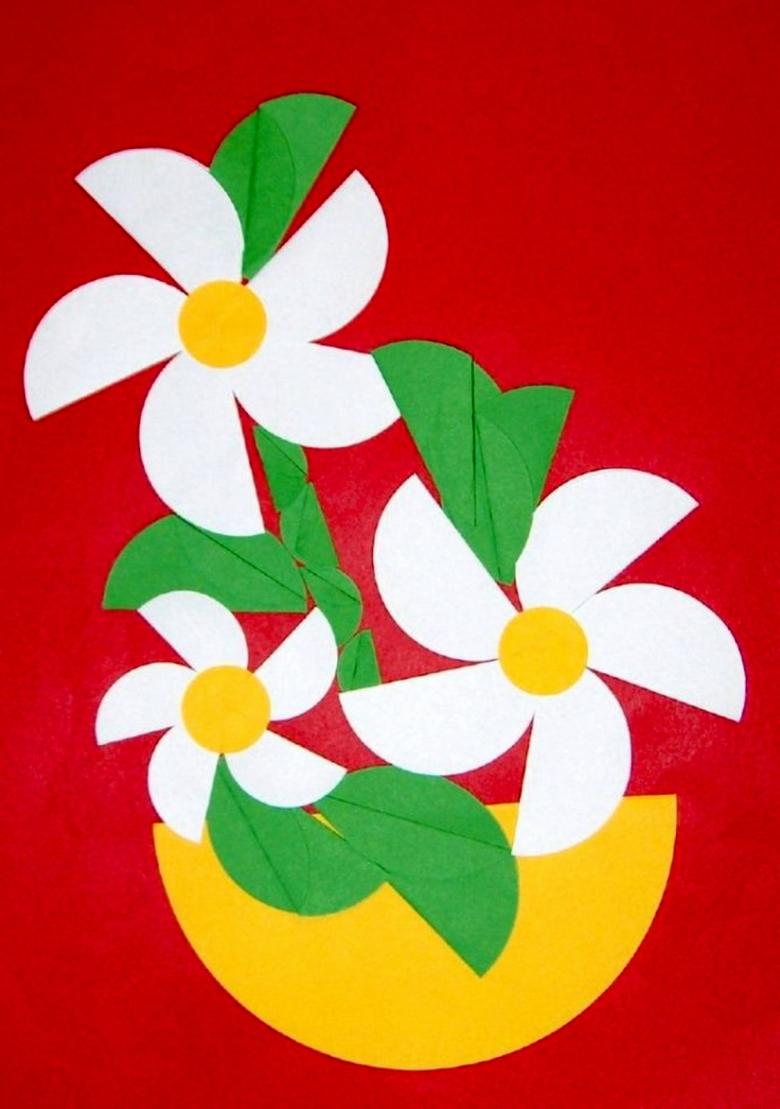
- Rose - several parts to overlap one another, creating a lush flower.
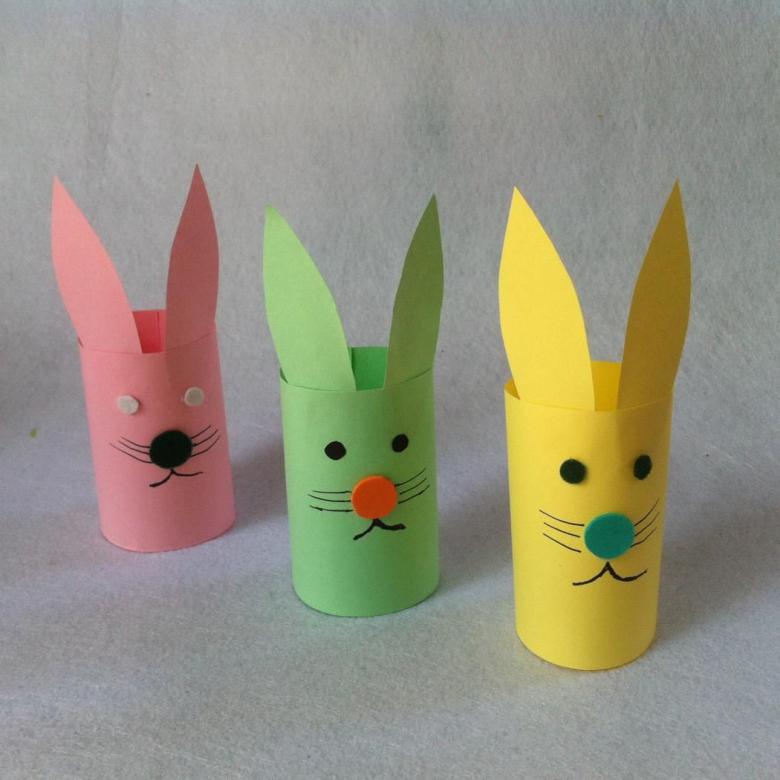
Drawing and coloring
Drawing - no less fascinating and useful activity. To work, you'll need a sheet, water, a brush and paints (gouache). To interest your child, for his age, two techniques will be sufficient - drawing with your fingers and using a brush.
Finger paintings
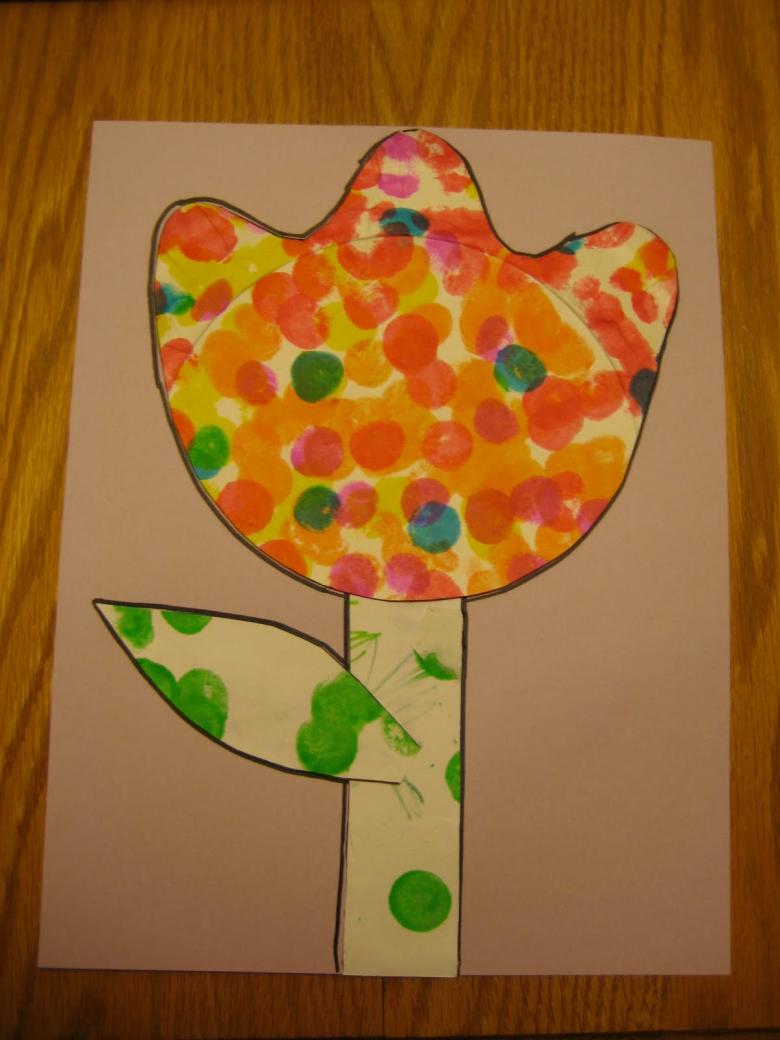
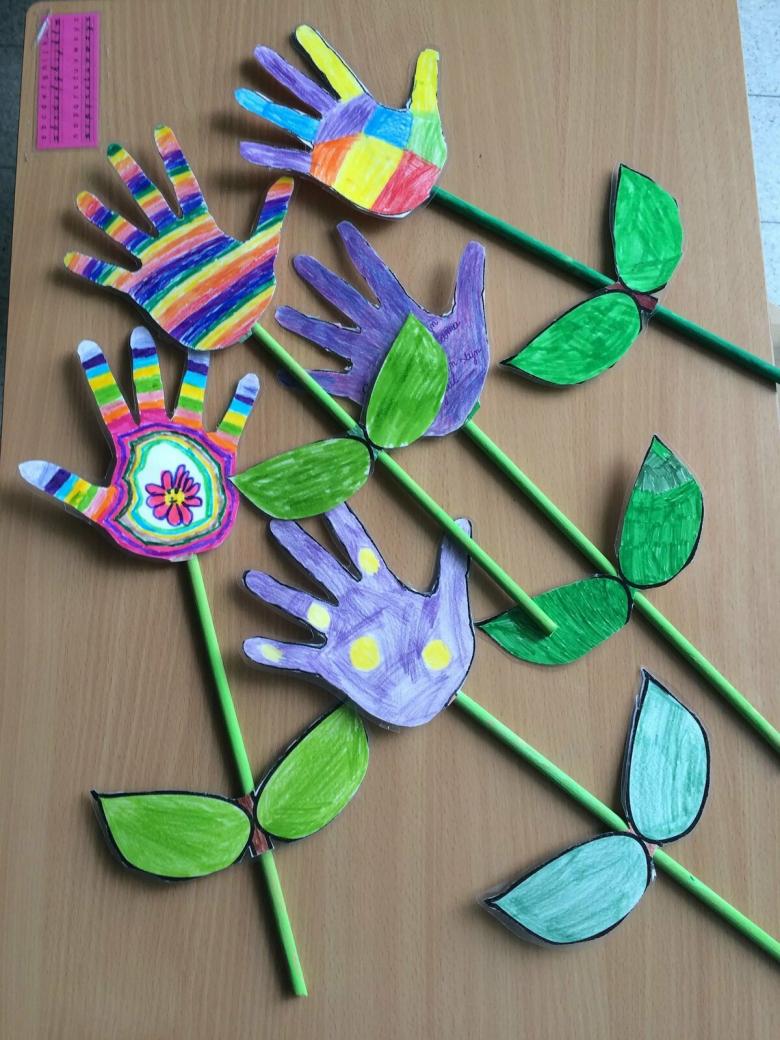
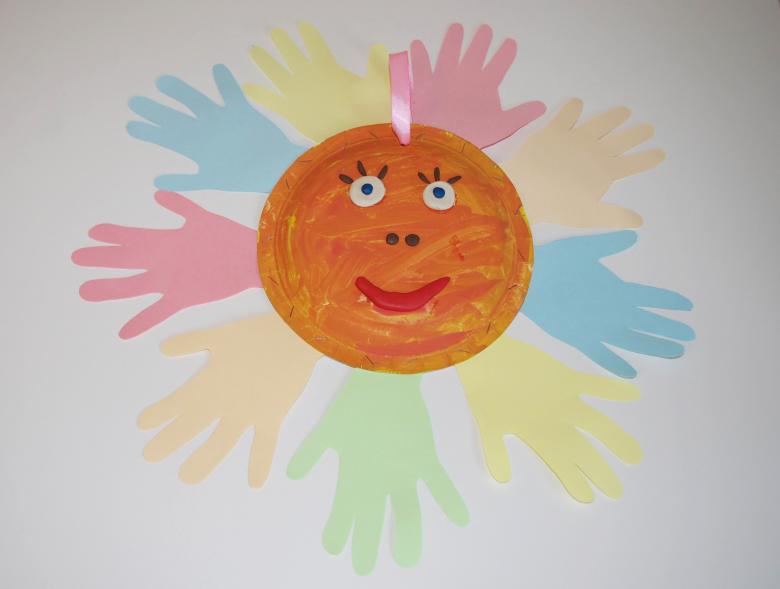
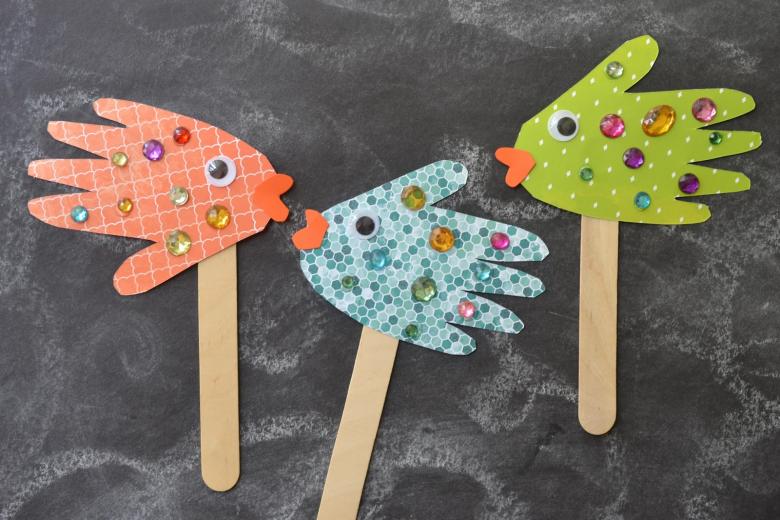
Everything is simple - moisten your finger or palm in the paint and make an imprint on the sheet. Drawings can be completely different - from simple handprints, to a more complex image with a specific storyline or abstraction:
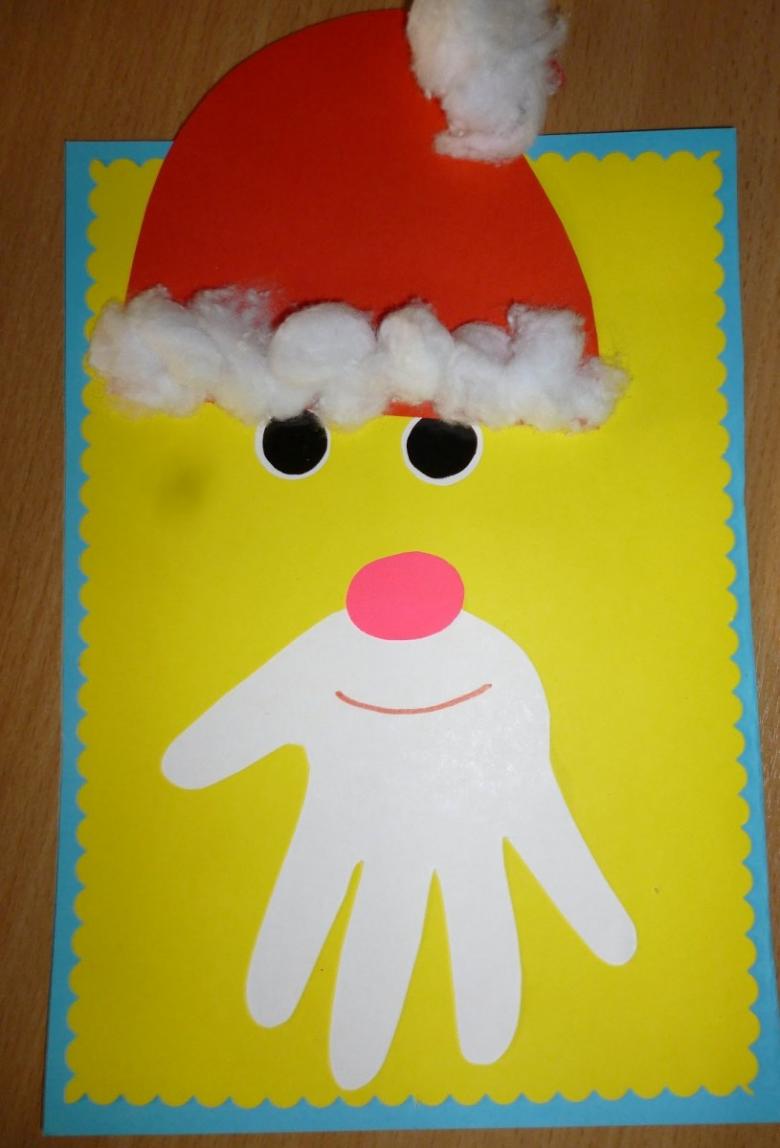
- Gloves - a palm print;
- Dandelion - add a white fuzz to a fingerprinted stem;
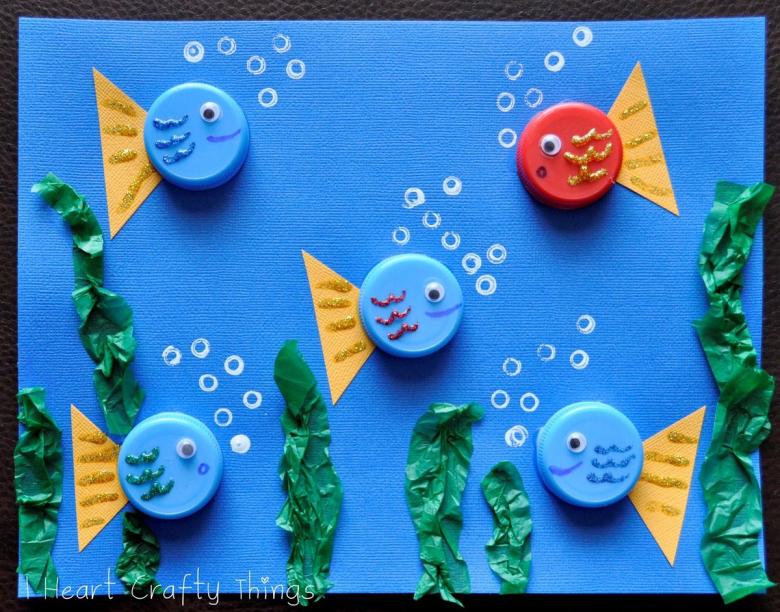
- Aquarium - fill the container with blue water and colored fish, naturally doing everything with your fingers.
Painting a picture with a paintbrush
A good option to get involved with your child for more than half an hour. As a basis for the work will be a sheet with a pre-prepared image - the kid should give it colors. Of course it is better to start with uncomplicated drawings, where you can draw: traffic lights, the sunny sky, a daisy and so on.
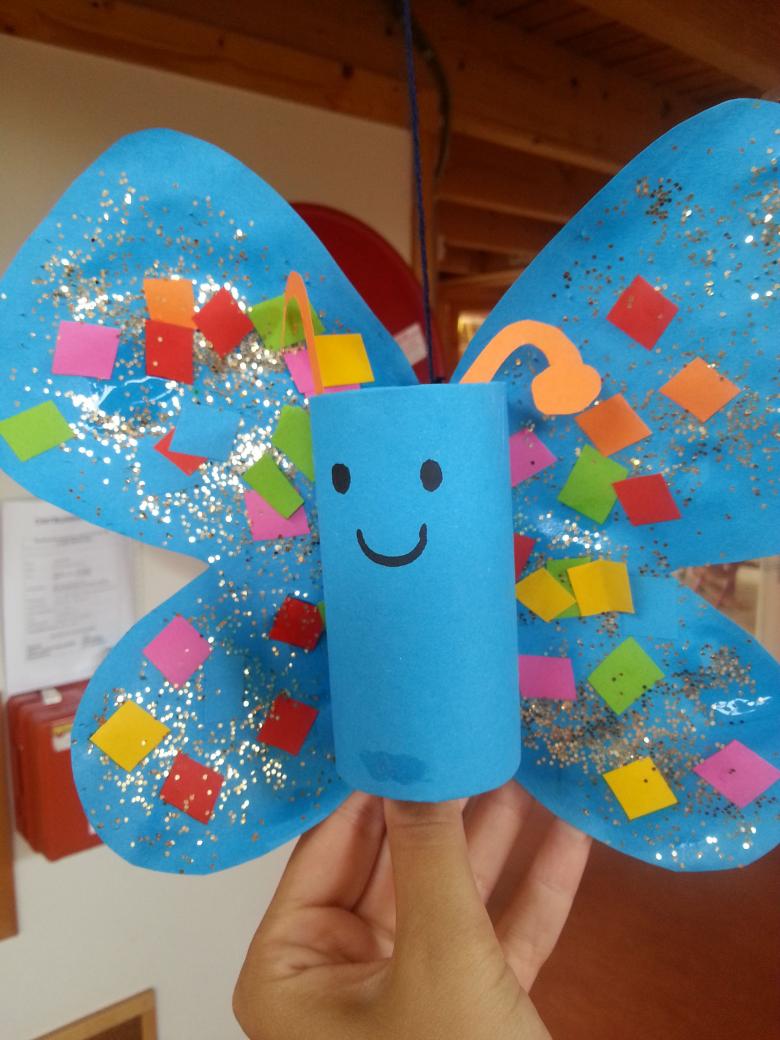
Such lessons contribute to the development of concentration, assiduity and thinking.
Plasticine crafts
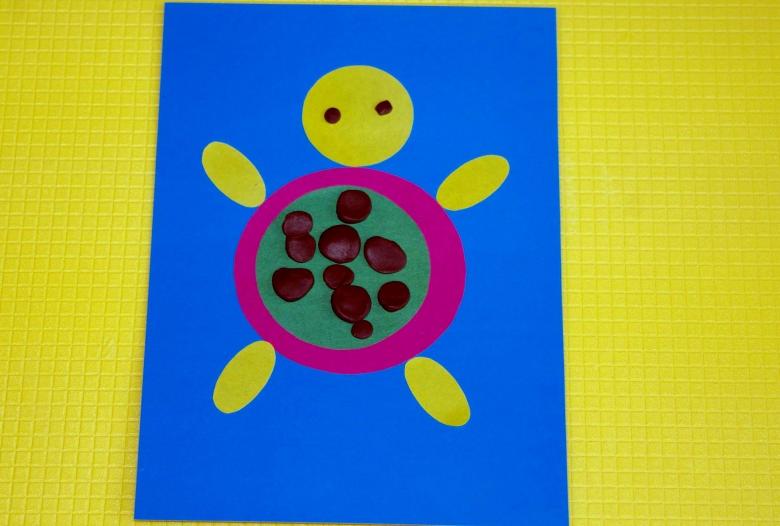
Many people, even from their childhood know that plasticine is not just material for sitting at the table, but also a full-fledged toy. Probably not such children who would not have played with figures of animals and cars made with clay. But two-year-old kids still find it hard to do, so they have their own, age-appropriate selection:
- Clouds and rain - on a leaf, in the form of a cloud, knead plasticine, many small peas - it is rain, which is done by pressing with your finger and stretching down, giving the shape of a drop;
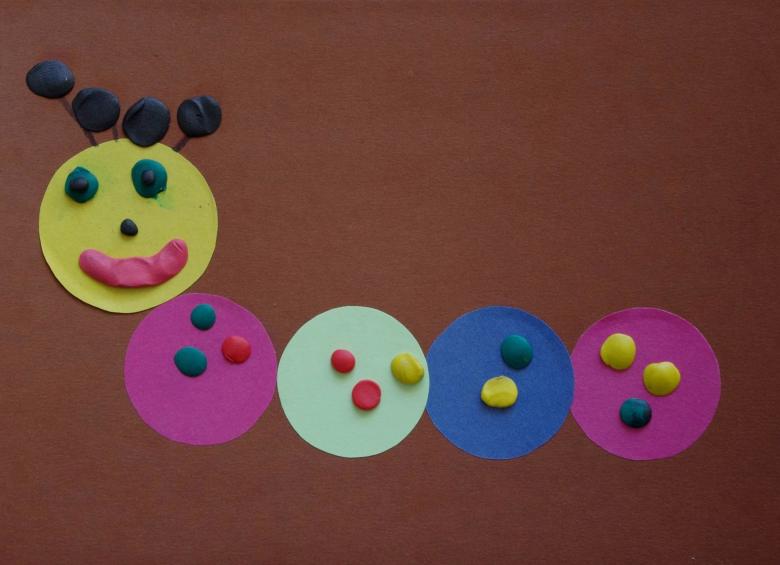
- Colored caterpillar - plasticine balls to stick in the form of a caterpillar;
- Snowman - on a flat base with balls of different sizes, mold the snowman, you can add snowflakes, making them in the technique of "drops" from the composition "Clouds and rain". Mom can help make buttons and eyes for the snowman.
Original ideas from improvised means
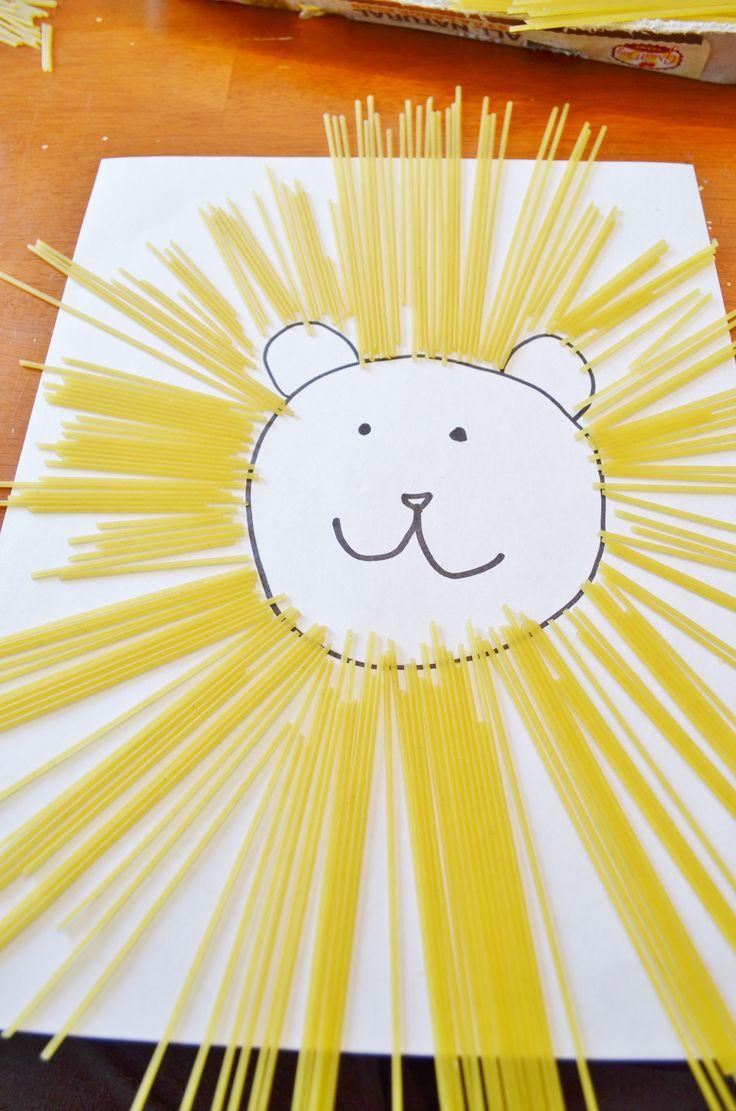
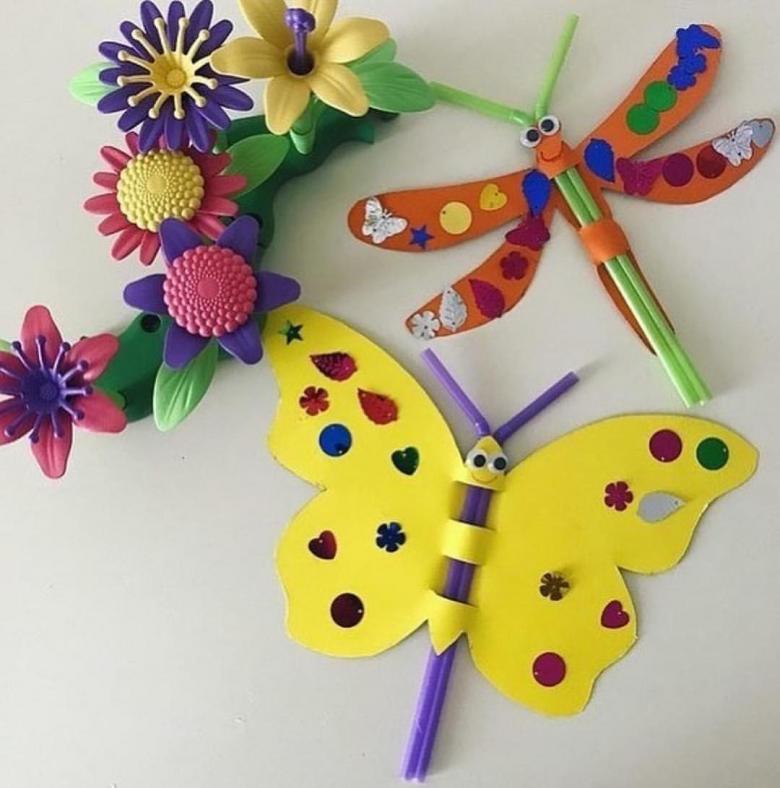
In addition to pliable plasticine, cereal, thread and cotton disks can be used.
Cereal
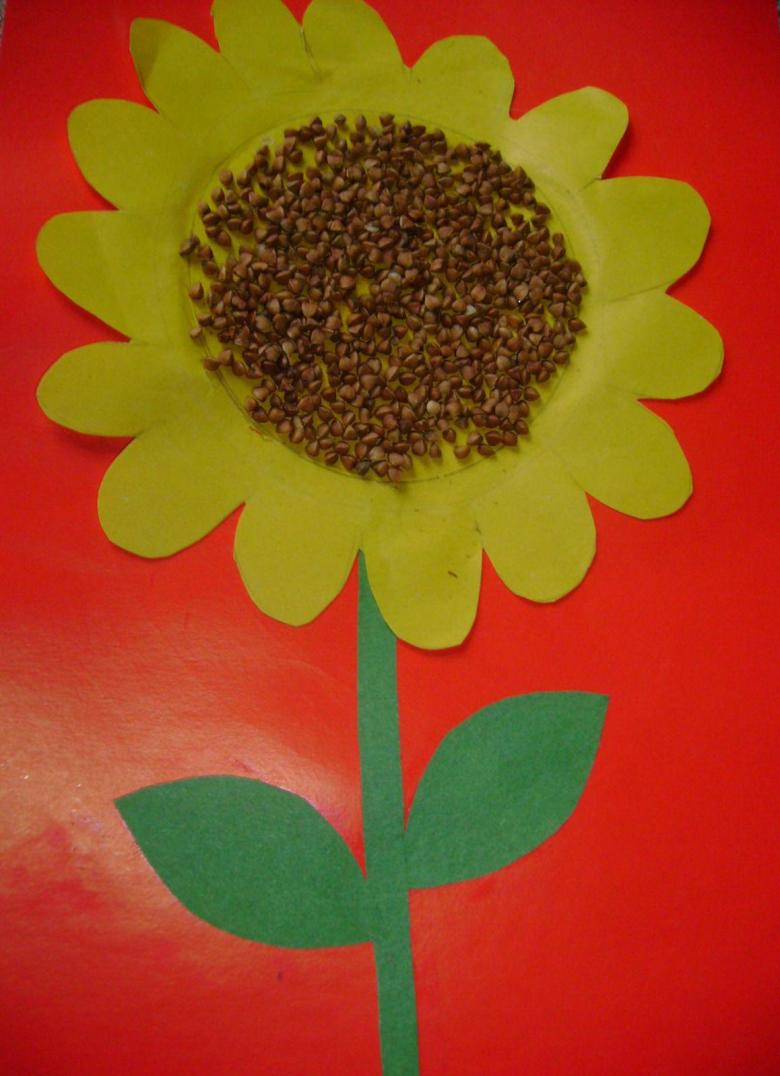
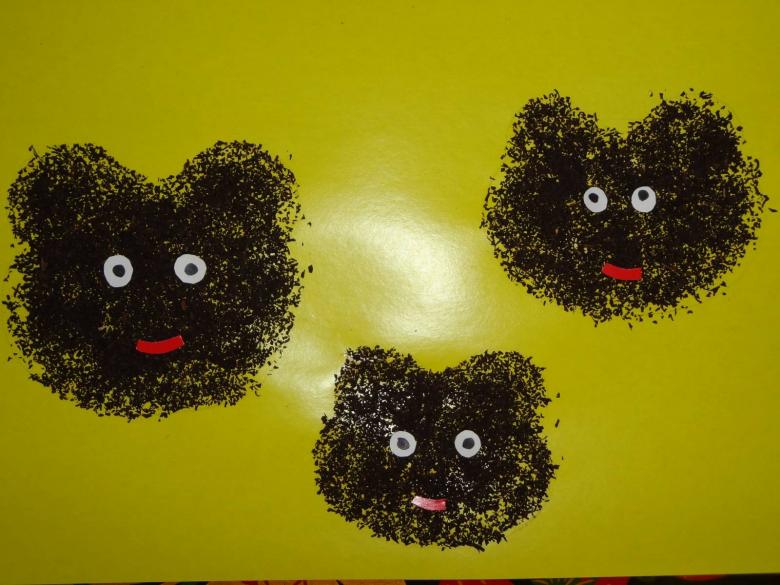
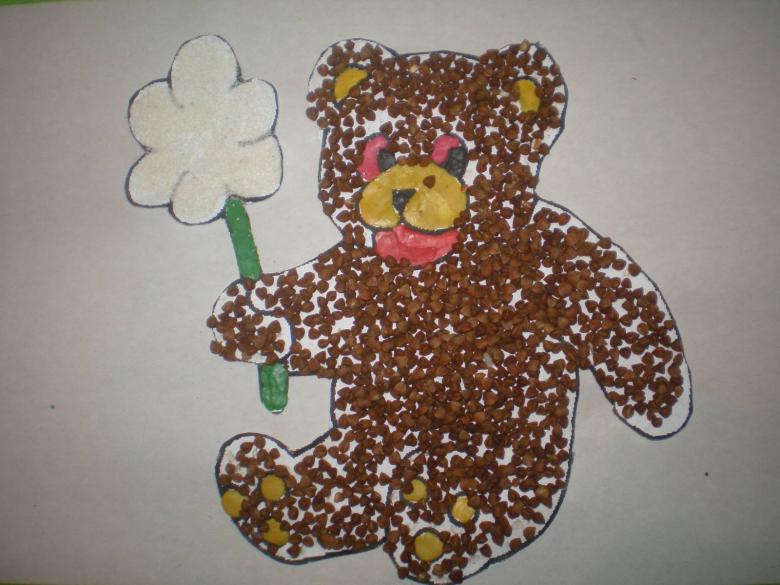
To perform in this technique will need cardboard, glue, a pencil and any cereal. For example, a teddy bear can be made in this way by drawing the animal, daubing it with glue and sprinkling it with any groats. In such a technique, all unnecessary things will be sprinkled, and only a relief bear cub will remain. Mom can be imaginative and make the outline of the figure in a different color or add additional details.

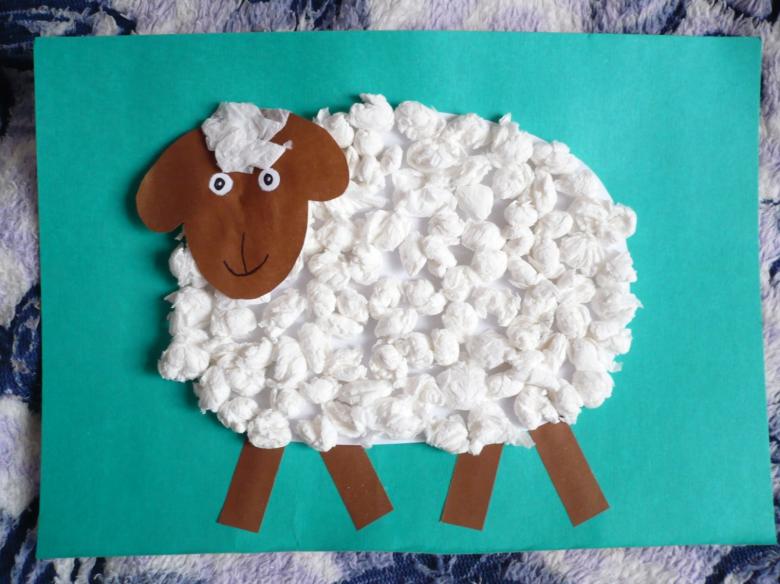
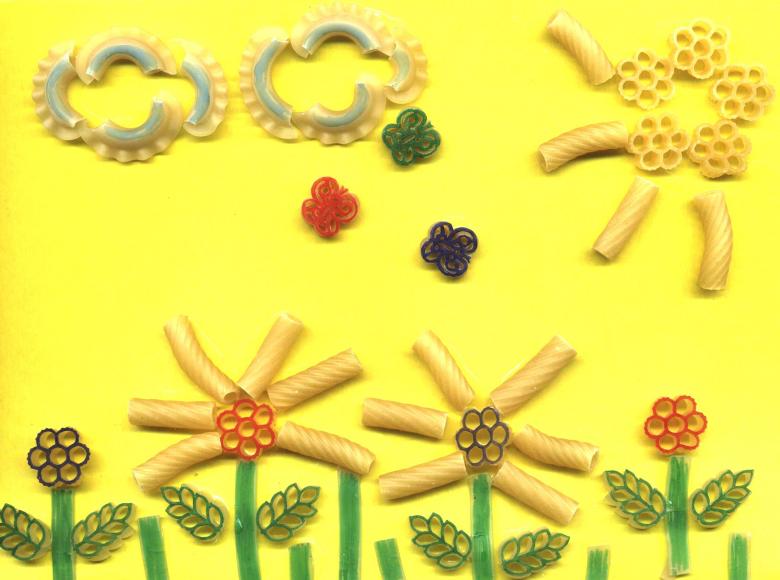
Very funny will look curly lamb, if his coat is made from small pasta, or other animals - here there are no restrictions and strict rules, you can depict anything you want.
Thread
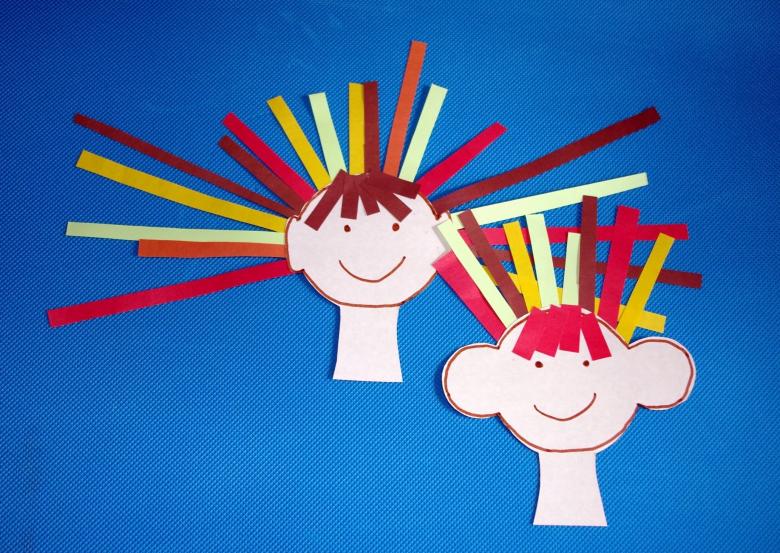
The essence of the work is the same as with cereals, but with the use of thread. They are suitable for making needles for a hedgehog, feathers for birds, hair for a girl, grass and other things.

Cotton disks
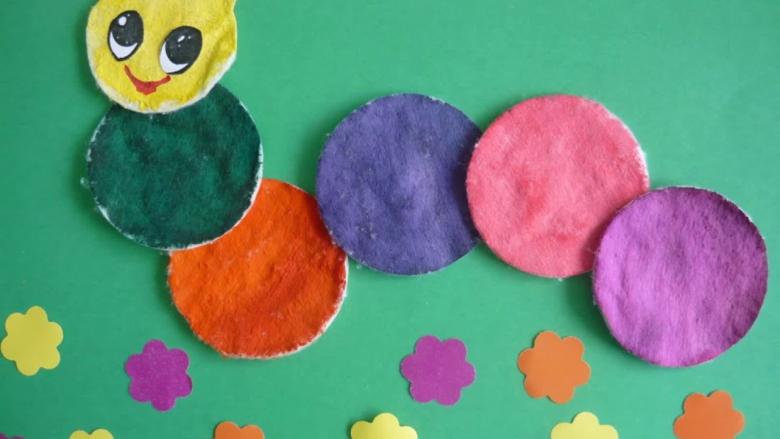
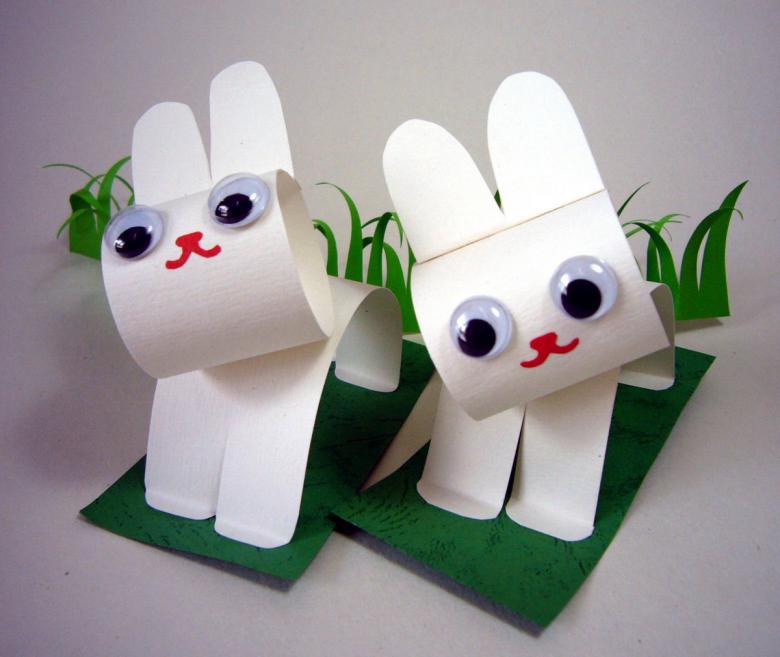
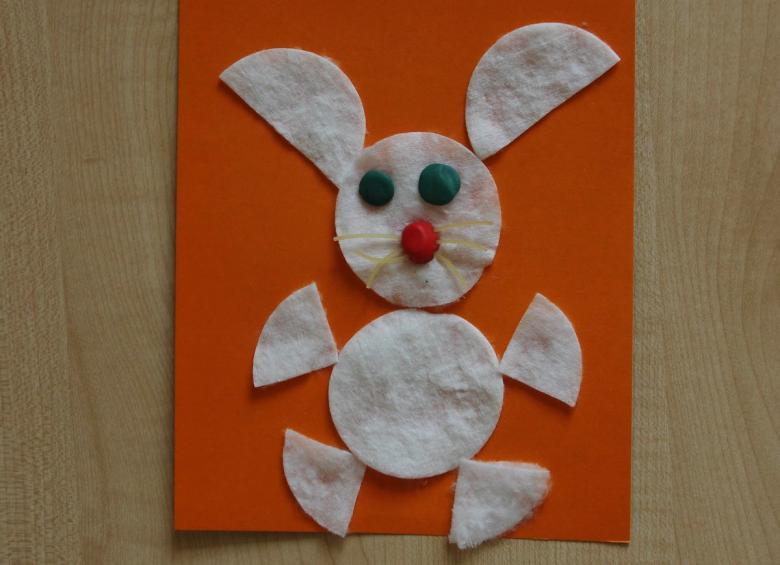
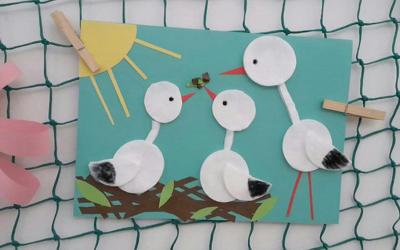
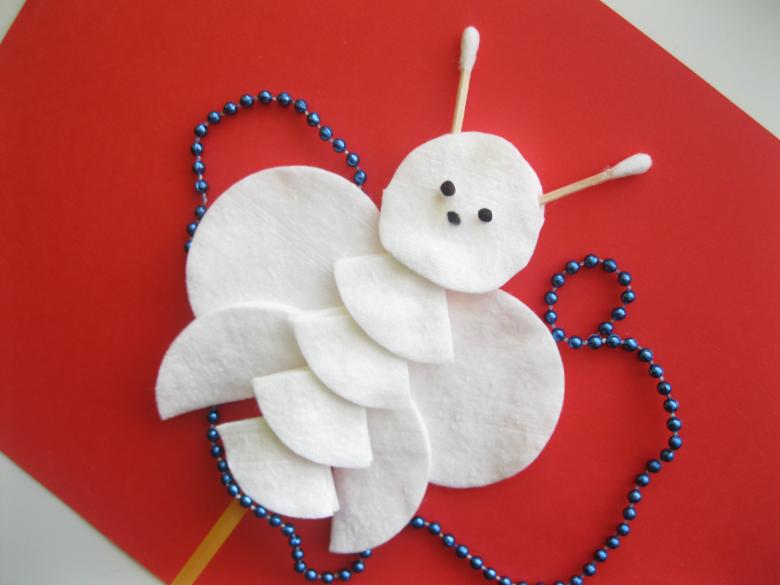
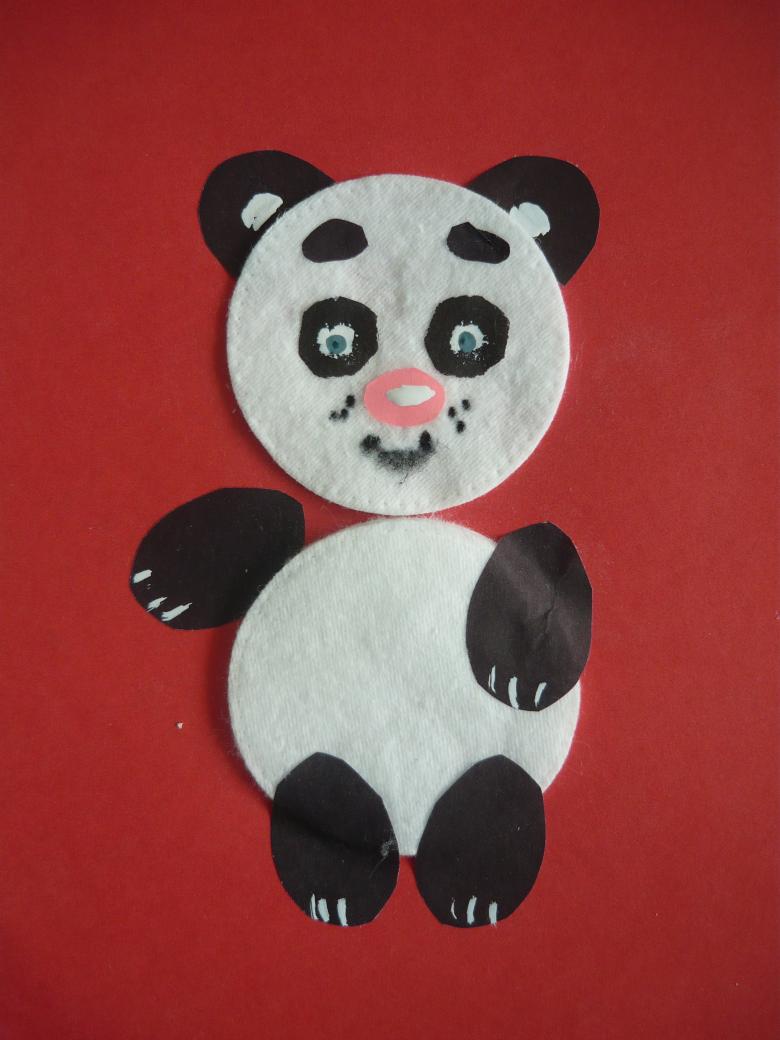
Applique with cotton disks, too, are not very demanding, and they are pleasant to the touch, which will create a nice contrast to the work done with buckwheat or other cereals. As examples for crafts with disks can be the same snowman, a caterpillar, snow drifts or bunny. If the handicraft is combined with other materials, such as plasticine, paints and colored paper, you can end up with a whole creation of art.
All this work, in addition to its direct function - to interest and favorably influence the development of the child, will bring a lot of pleasure and emotion. In addition, praise, mutual assistance and communication, incredibly bring parents and the baby closer together, give them an additional opportunity to feel love and care, but at the same time you need to leave a little freedom and space for your child, not depriving him of the opportunity to study, show imagination and learn independently.

