Handmade crafts for preschoolers - a selection of interesting master classes and photo ideas
In the age of the Internet, computer games have become a favorite pastime not only for teenagers but also for preschoolers. So that children do not spend all their time at the monitor, parents need to constantly think of what to occupy them. Does not lose its relevance good old way to captivate the child: masters with him interesting handicrafts for preschoolers.
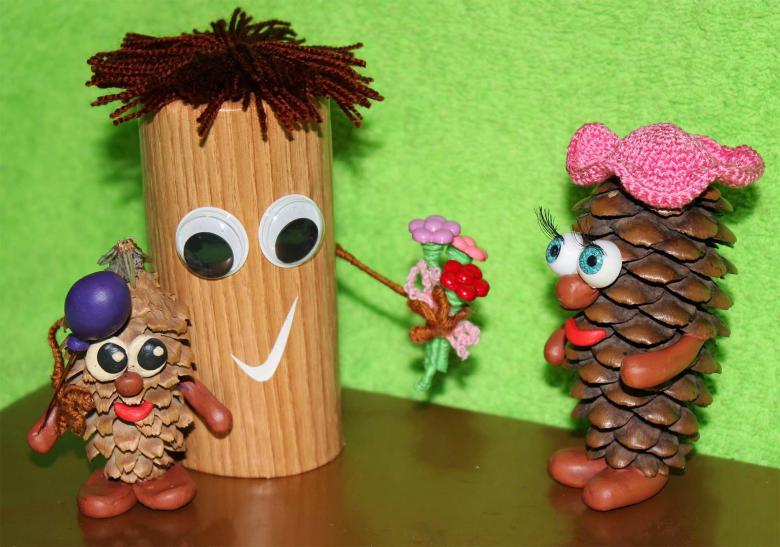
Even if the kindergarten is not a craft contest, do not be lazy to do this kind of creativity with your child at home. It is absolutely no expense, and the resulting crafts can decorate the house or children's room. We bring to your attention the most interesting and unusual ideas for crafts for children of preschool age.
Sprinkle Goose applique
A simple and original craft is suitable for kindergarten, as well as at home: it can be hung on the wall in the bedroom of your baby.
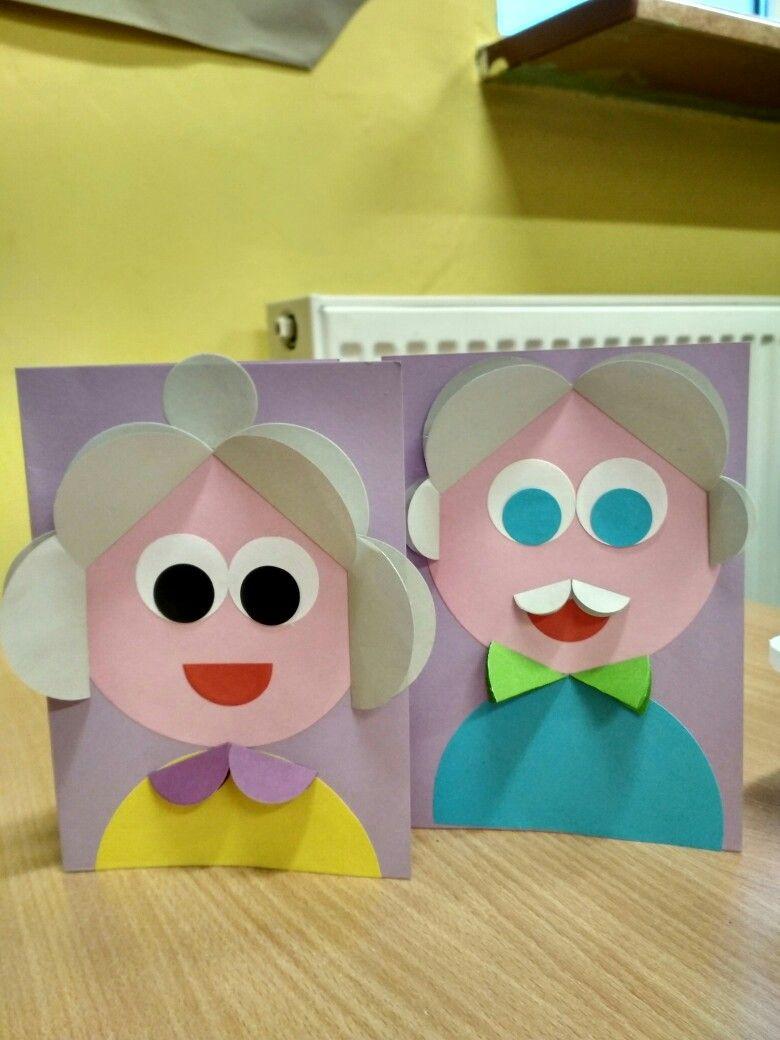
You will need:
- thick cardboard,
- absorbent cotton,
- gouache,
- cornflakes,
- pumpkin seeds,
- glue, pencil, brushes.
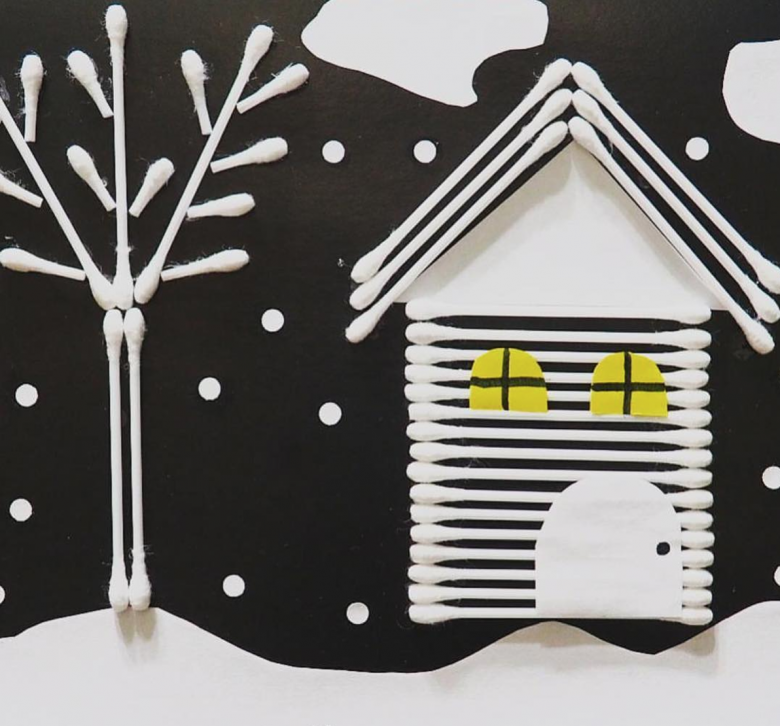
Step-by-step master class:
- Dye heavy cardboard in your favorite color, leave until completely dry.
- Draw the outline of a goose on the cardboard with a pencil. If you are not sure if you get good at once, practice on a draft or use a ready-made template.
- Glue the paws and beak and immediately, before the glue dries, pour cornflakes on them. Wait until they will stick.
- In the same way, fill the belly and breast of the goose with pumpkin seeds.
- The head, neck and silhouette around the belly are made of absorbent cotton, laying it on the glue-soaked drawing. Leave room for an eye.
- The eye can be simply drawn or glued.
This principle can be used to make handicrafts with any other drawing your child may want.
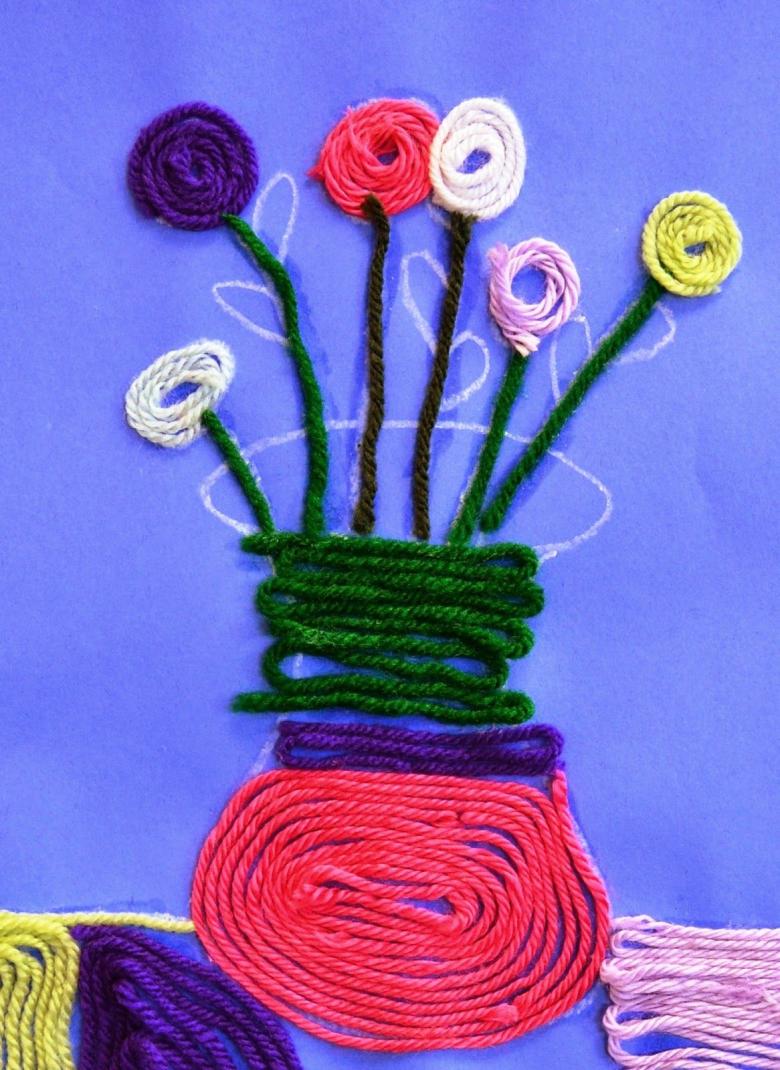
A hedgehog out of clay and seeds
An unusual autumn handicraft, the creation of which is sure to please your child very much.
You will need:
- plasticine (brown and black),
- foil,
- twine,
- acorns, dried leaves,
- Sunflower seeds,
- glue.
Step by step master class:
- From foil form the body and muzzle of the hedgehog.
- Fill the muzzle with brown clay, the body - with black clay.
- Smear the muzzle with glue and wrap it tightly in a circle with twine, leaving only the spout. Let the glue dry.
- Make needles: poke the seeds into the plasticine in a circle in staggered order, starting with the head.
- Make a spout and eyes out of black plasticine.
- Put hats of brown plasticine on acorns. The resulting mushrooms mount on the back of the hedgehog.
- Decorate the handicraft leaves.
Mushrooms from absorbent cotton
To create this craft, you will need a little more time, but the result is worth it - the child will surely be delighted, and at the exhibition of crafts in the garden, your joint work will receive the highest marks.
You will need:
- absorbent cotton,
- water and starch,
- long nails,
- dry tea brew,
- cardboard,
- paints,
- scissors, glue, brushes.
Important! Do not forget about safety: the child's work with scissors, nails and other dangerous objects should be under adult supervision.
Step-by-step master class:
- Determine the species of mushrooms and cut out of cardboard the corresponding hats.
- Each hat is pierced in the center with a nail - the base of the future mushroom stem.
- Let's prepare the paste: mix 5 tablespoons of potato starch in a glass of cold water. Bring a liter of water to a boil and with constant stirring pour the prepared starch into it. Bring to a boil, let cool.
- Coat the head and the leg of the nail with glue.
- Glue a cotton ball of appropriate size to the head.
- Wet the absorbent cotton with glue and wrap it around the stem. Do this until you get a mushroom of the right size and shape.
- Squeeze out the rest of the paste, and dry the mushroom on the radiator.
- Paint the mushrooms. Let the paint dry.
- The end of the stem is dipped in glue, and then in custard.
- You can cover the cap with colorless varnish - the mushrooms will look just like the real thing.
By decorating the work with a wicker basket, we will get an amazing handicraft, which can decorate the interior or even be used as an original gift.
A turtle from a pumpkin
An interesting handicraft made of natural materials, the creation of which and the resulting result will surely cheer you and your child up.
You will need:
- pumpkin of small size,
- zucchini,
- walnut,
- plasticine,
- toothpicks,
- buttons or beads for eyes.
Step by step master class:
- Cut the pumpkin in half, peel it from the seeds.
- From the zucchini cut off a piece for the head, cut slices, legs.
- Take the half of the pumpkin that we will use, and cut holes in it for the head and paws.
- Secure the head and feet with toothpicks.
- Use toothpicks to attach eyes and draw a mouth.
- Model glasses out of clay.
- Take half of a walnut shell and fill it with plasticine, making a hat.
- Put glasses and a hat on the turtle.
Glasses and a hat you can use doll's, if available. Or, if you prefer, make one out of paper.
Christmas tree out of macaroni
A Christmas tree made of macaroni will be a good craft for an exhibition for the New Year in kindergarten, and for decorating the house for the New Year holidays.
You will need:
- loose cardboard,
- macaroni (preferably feathers, but it is possible to use others on your preference),
- spray paint,
- glue,
- decorations.
Step by step master class:
- Make a cone of cardboard, glue it together, align the bottom.
- Starting from the bottom, glue the future Christmas tree in a circle with macaroni. Do it closely, so that there is no distance between the macaroni.
- Paint the Christmas tree with spray paint. The color can be a standard green, but you can choose any other color. Silver and gold Christmas trees look good.
- After it is completely dry, decorate the Christmas tree.
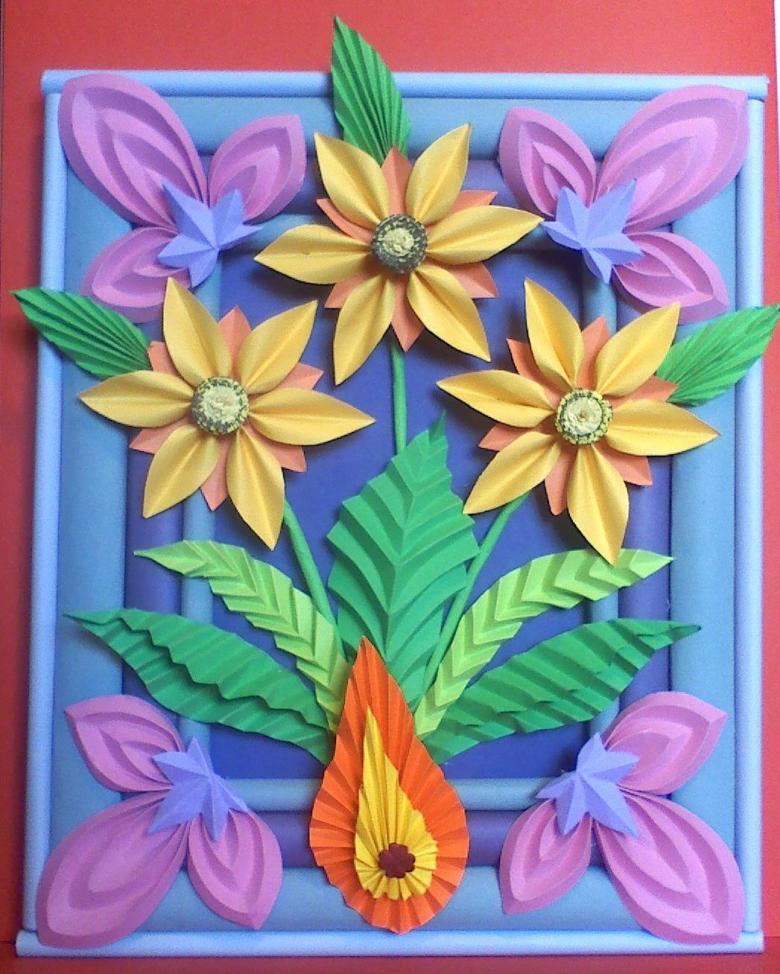
Creating handmade crafts - a simple and fun process. Make it a systematic activity, and at school your child will surprise everyone with his creativity and creativity. Show your child pictures of crafts, let him choose which one he wants to start with - and off you go!

