Handmade Santa Claus crafts from paper, bottles and felt - step by step master classes with photo examples
On New Year's Eve, not only every child, but also adults long to see a miracle. But what if a miracle can be created with your own hands? Can the main New Year's wizard visit your home a few days earlier? You can create a festive atmosphere with a Santa Claus craft.
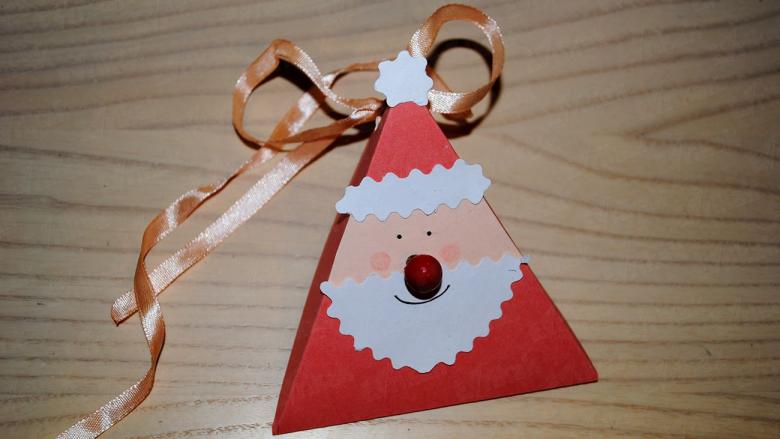
Homemade Santa Claus will be not only a decoration, but also a gift for especially close people, because the toy created by a child is the best proof of love and sincerity.

The master class will tell about how to make Santa Claus from inexpensive improvised materials.
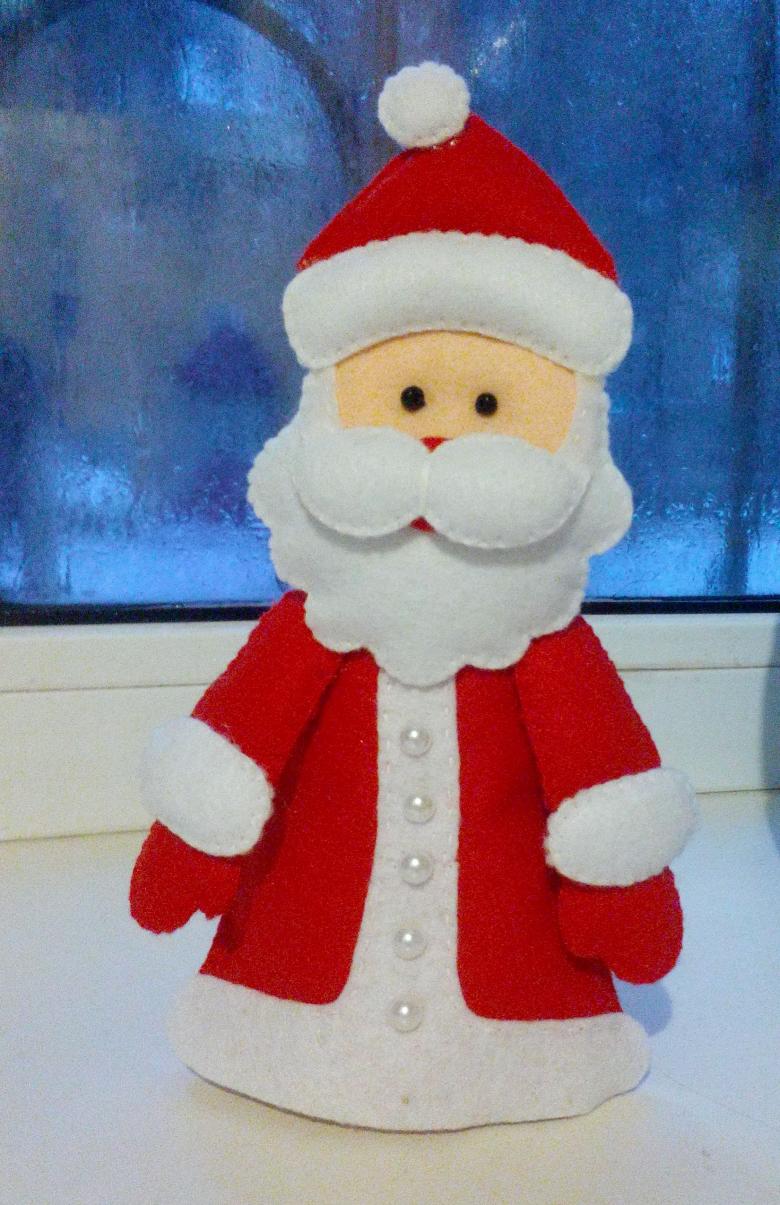
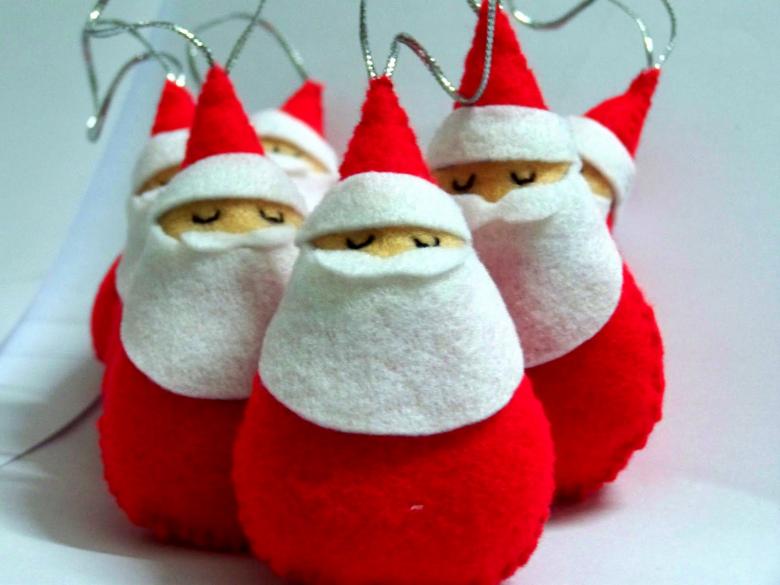
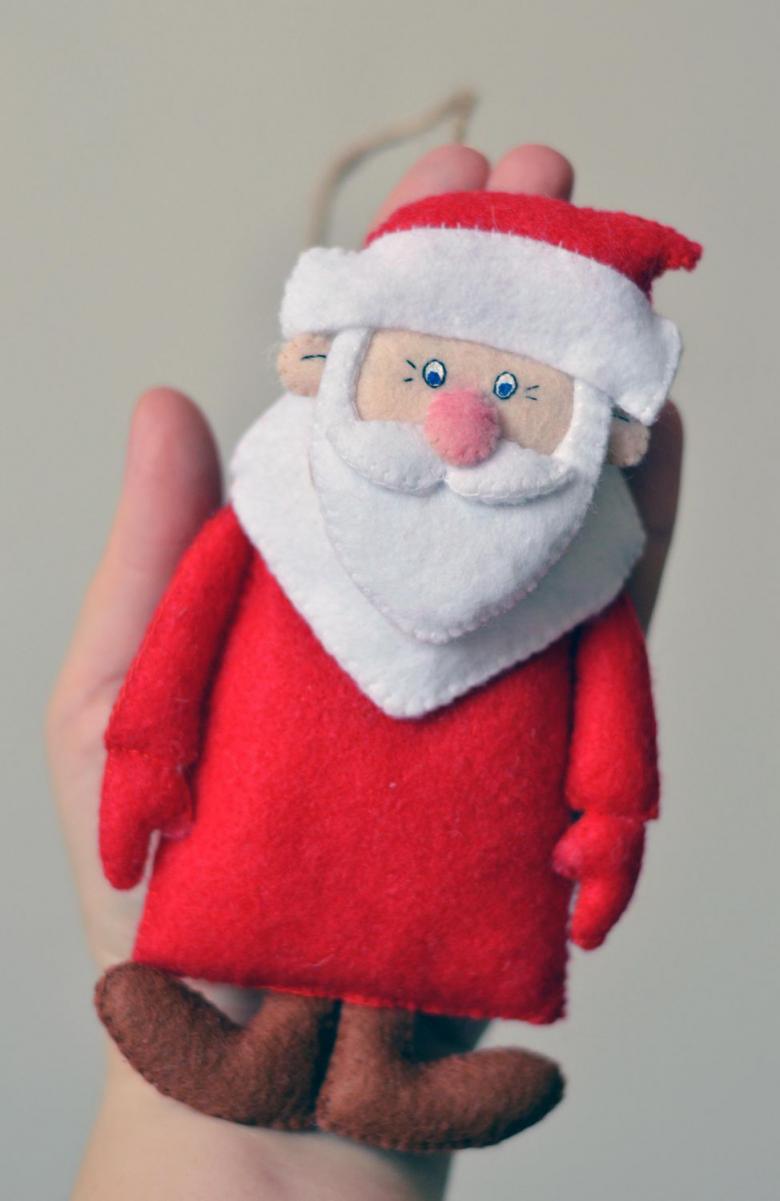
Santa Claus from a bottle and felt
One of the easiest ideas for making Santa Claus is to use a bottle. It can be absolutely any, both empty and filled, if you plan to make it a decoration for the New Year's table or to present to friends, acquaintances, relatives.
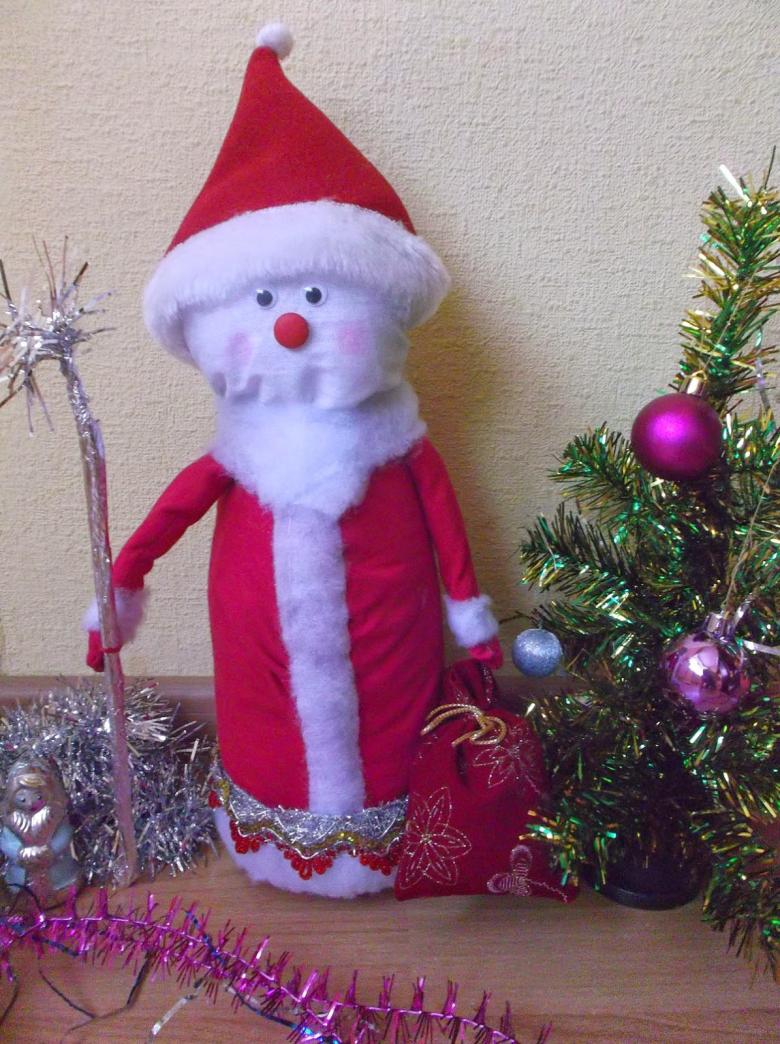
Plastic bottle is also suitable - the material is not important. For stability in the bottle you can put pebbles, nails, bolts, nuts - any heavy materials you can find in the house.
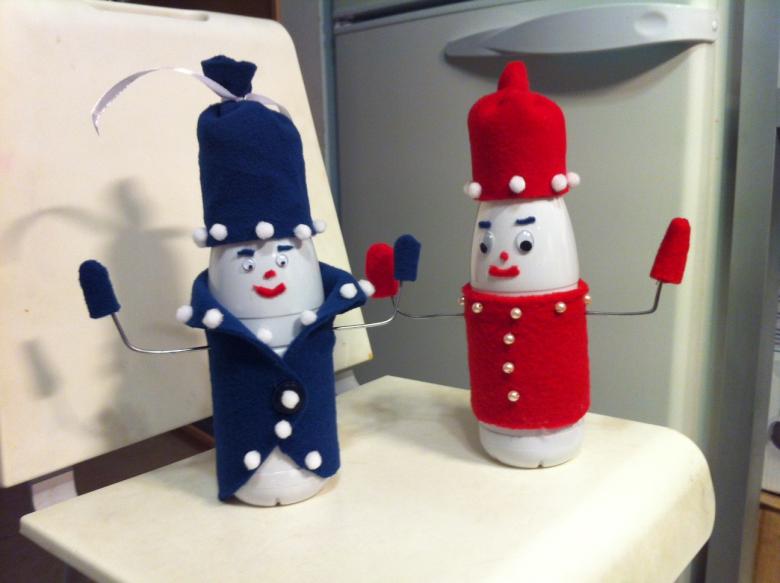
In addition to the bottle take:
- Red/blue fabric
- A white cloth.
- Tape.
- Wool.
- Tinfoil.
- With plain thread.
- Scissors.
- Glue.
- Stapler.
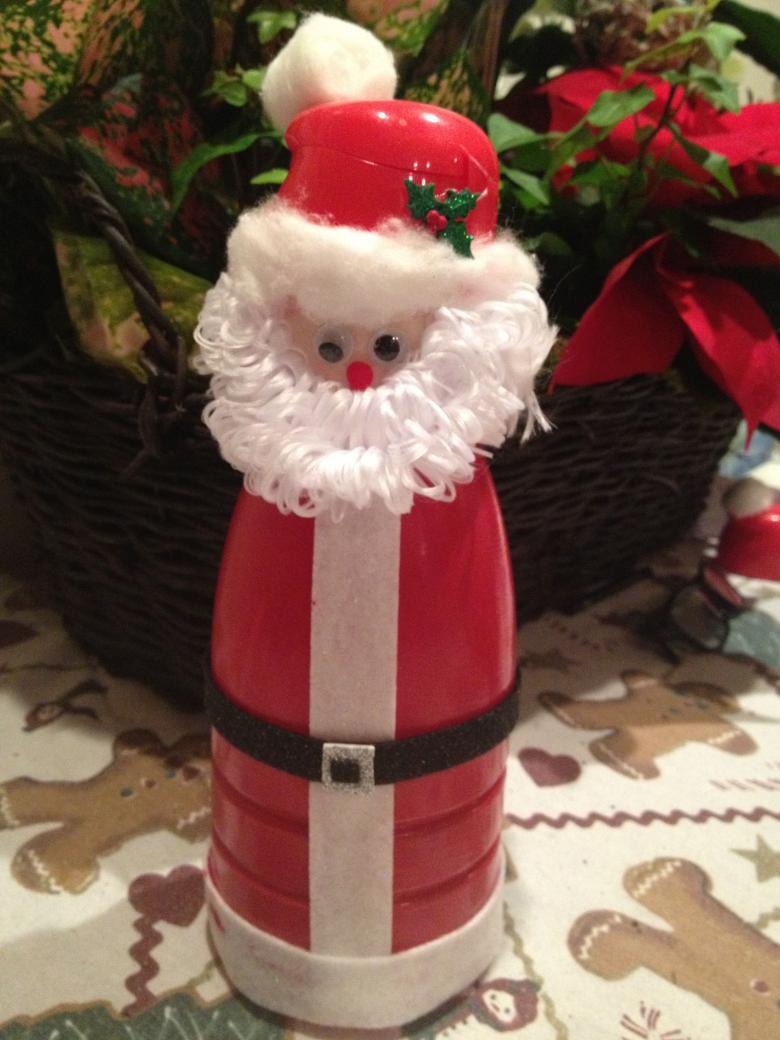
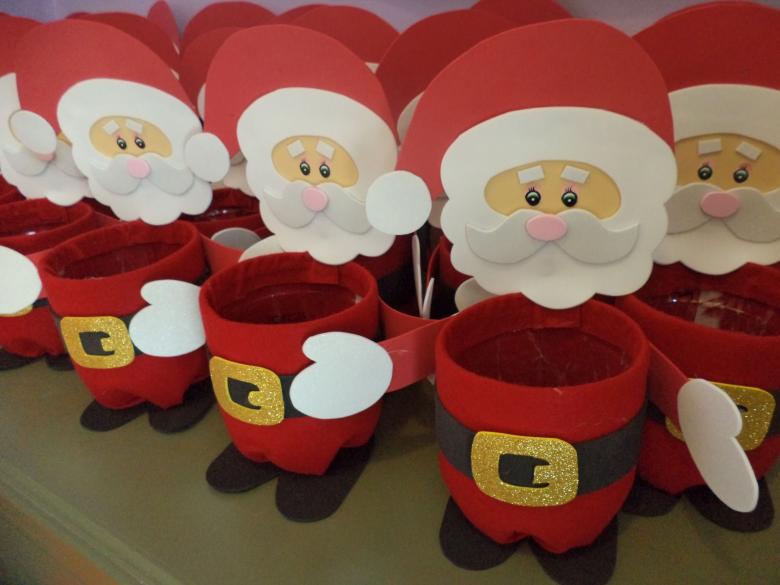
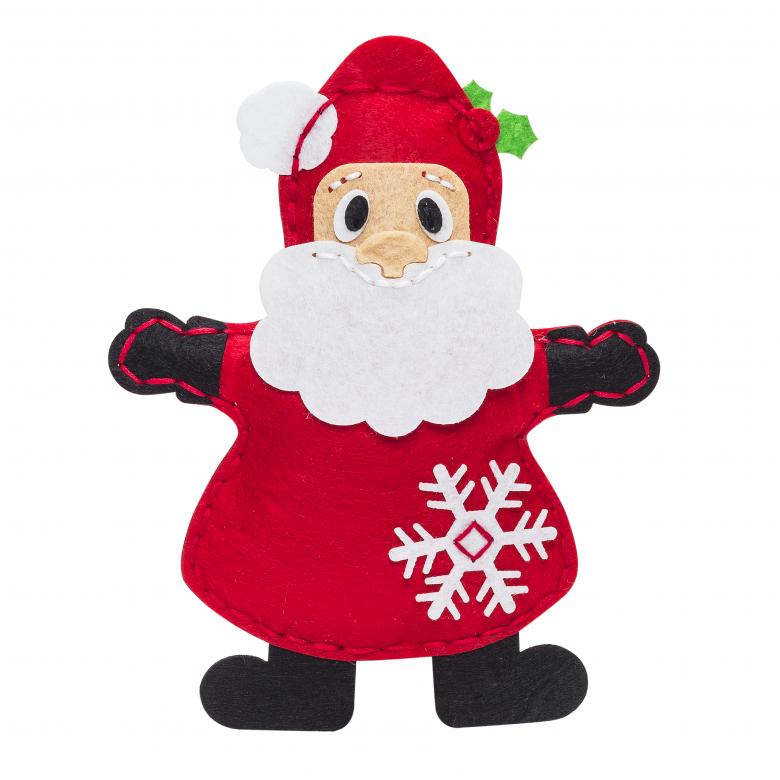
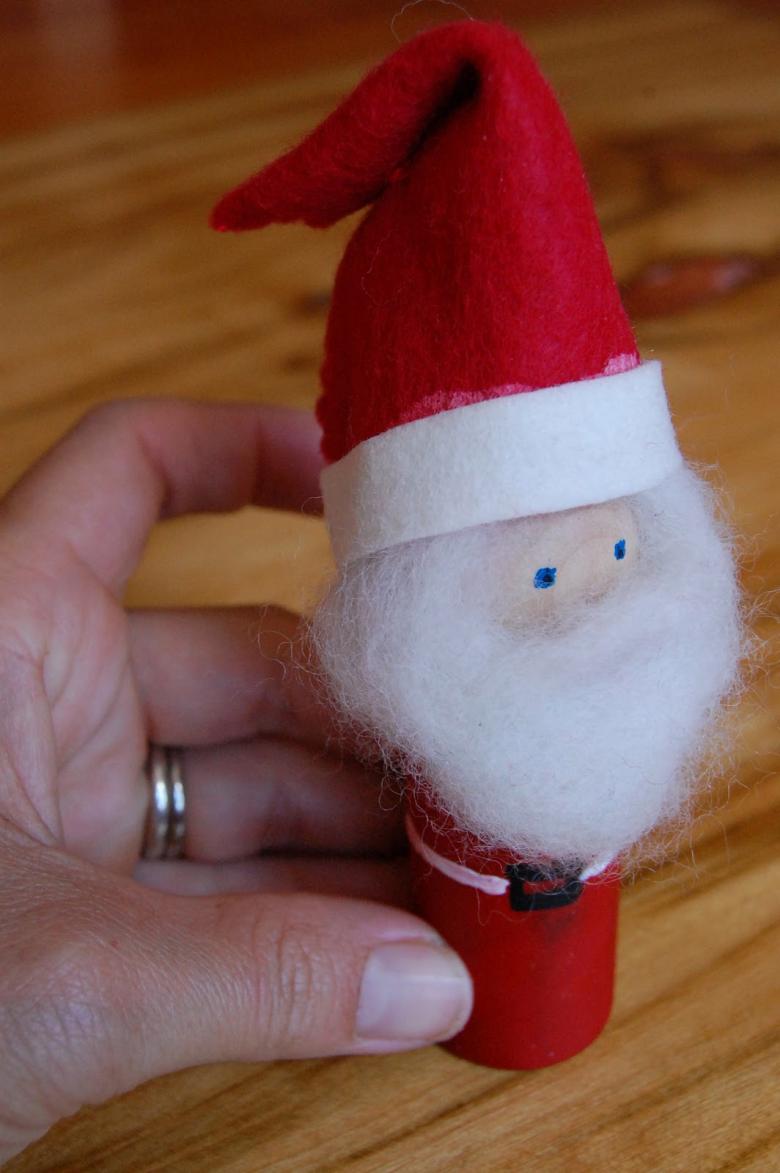
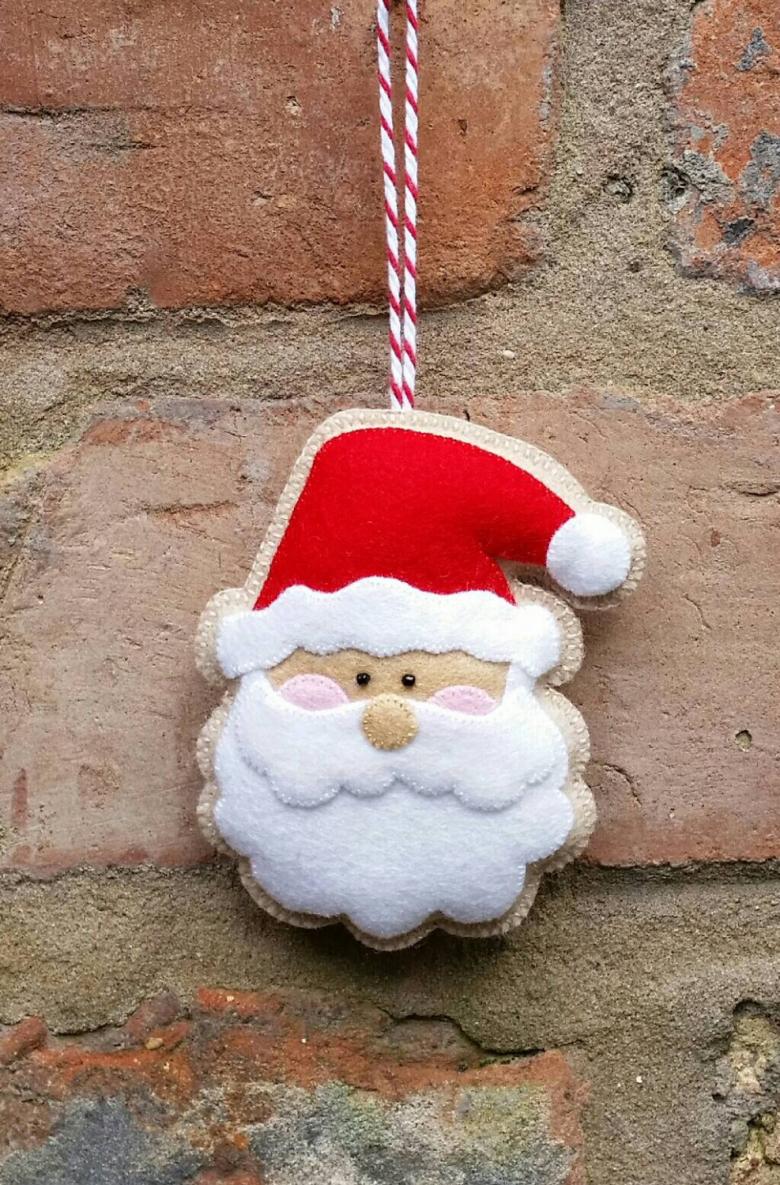
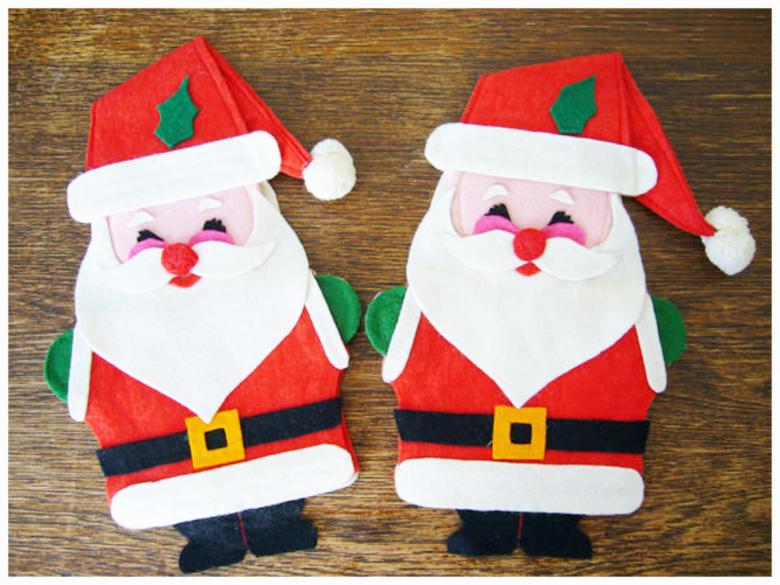
First of all we decorate the bottle - for this you just need to wrap it with fabric and fix it with glue. It is best to use felt, it looks the most profitable, but if you do not have felt, take any other. An old faded shirt, blouse would be a great way out.
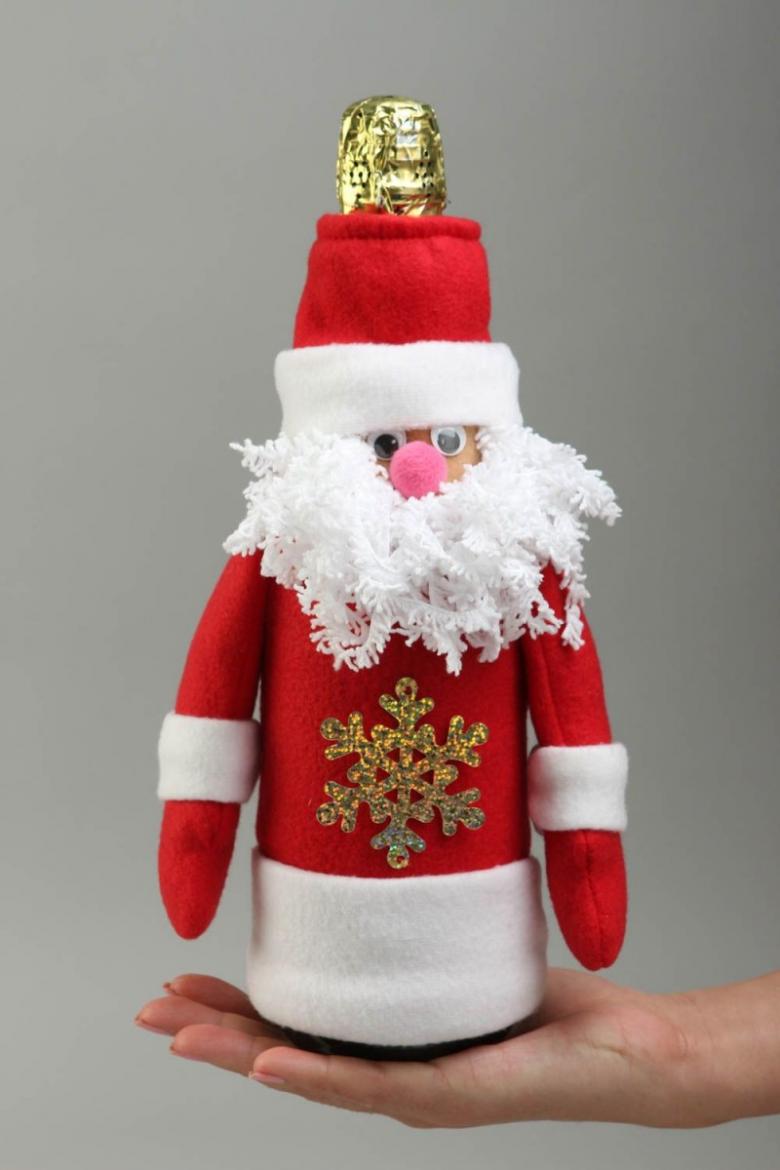
Torn jeans, pants, and T-shirts can also be used. Waiting for the glue to dry, we make boots and gloves for Santa Claus from cotton and foil: roll balls of cotton and wrap them in foil, then glue them to the body. From braid or another piece of fabric cut a belt for the coat, upholstery hem, collar, jewelry - attach them to the bottle in any place you like, it turns out.
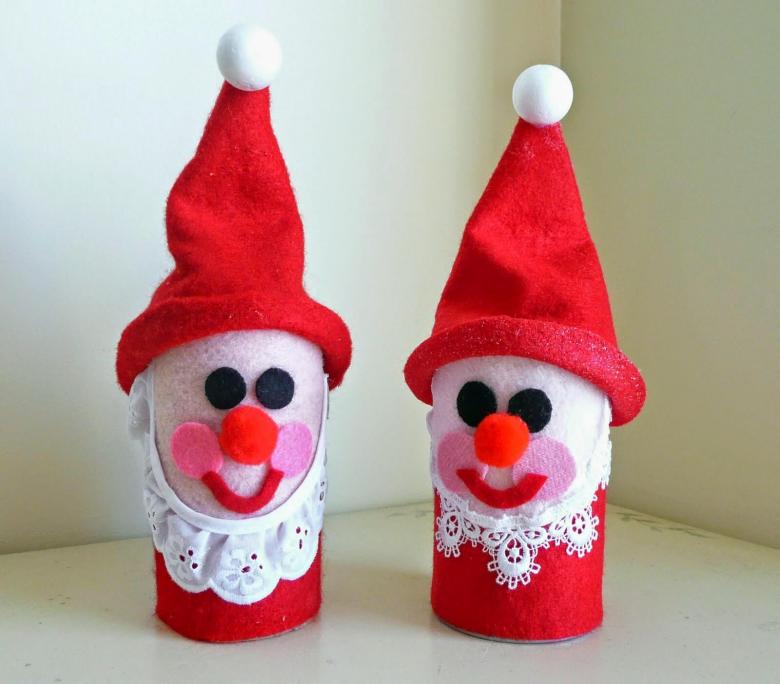
Stitch the white fabric in the form of a small bag, stuff it with cotton to make a ball. The ball is not very voluminous, it is even flat. On it, then draw Santa Claus's eyes, nose, mouth, eyelashes, eyebrows, glue a cotton beard.
Put all the parts of the handicraft together, wait until it dries.
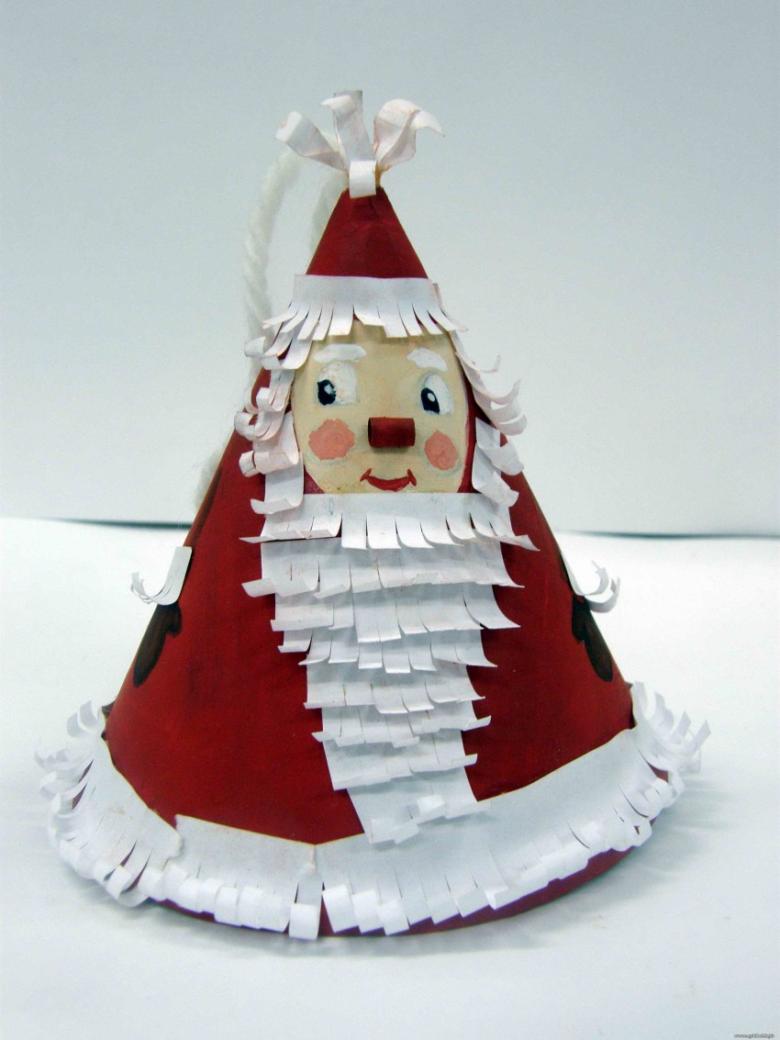
If the bottle is plastic, then go the more complicated way. Pierce the plastic close to the top and put a thread through the holes. It can be fixed with glue or staple gun, or you can leave it as is. Directly to the thread, glue balls of cotton and foil on both sides to make gloves.
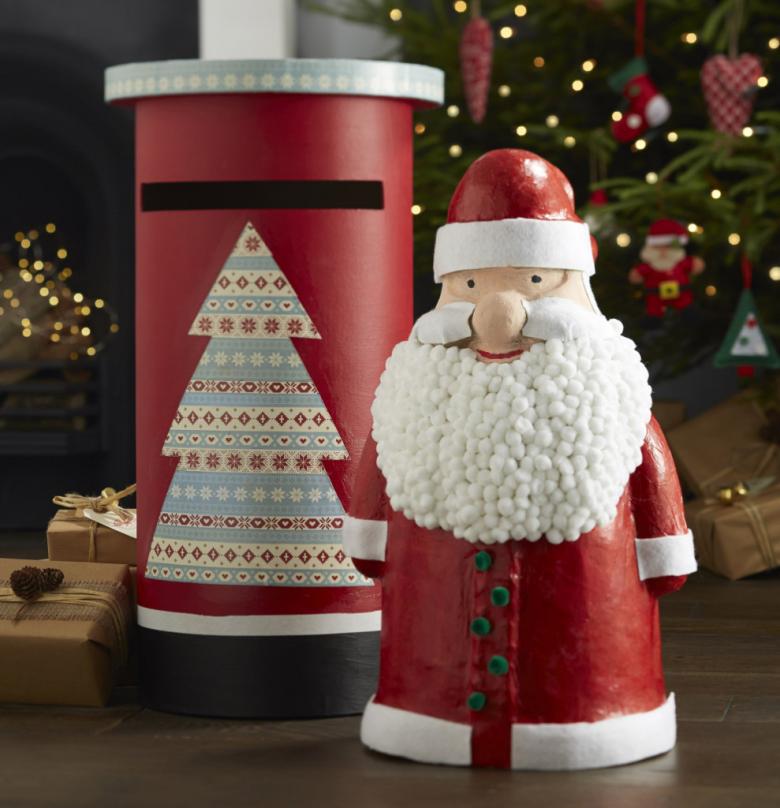
Make a bag with gifts from the remaining fabric, and decorate a pencil so that it resembles a magic staff. Wrap it with foil, colorful or shiny ribbons. Attach a bead or a button on top.
Santa Claus from paper
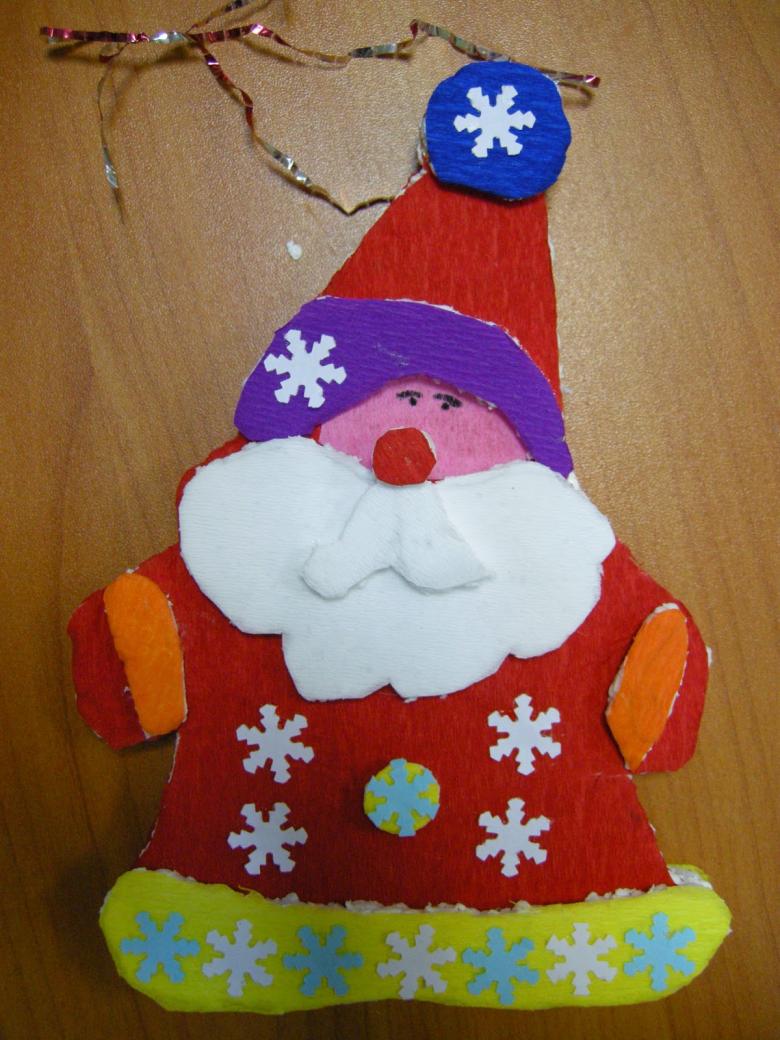
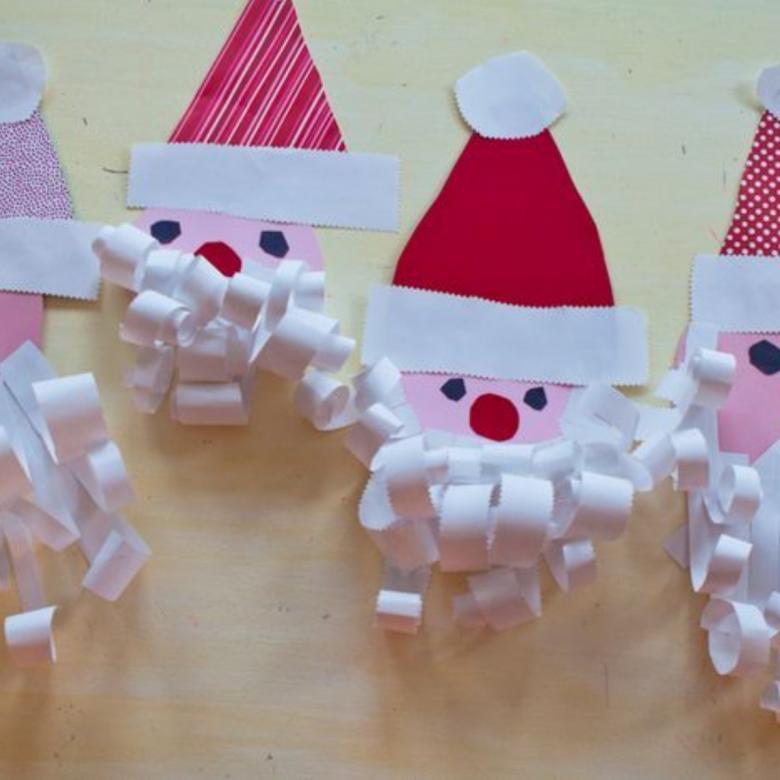
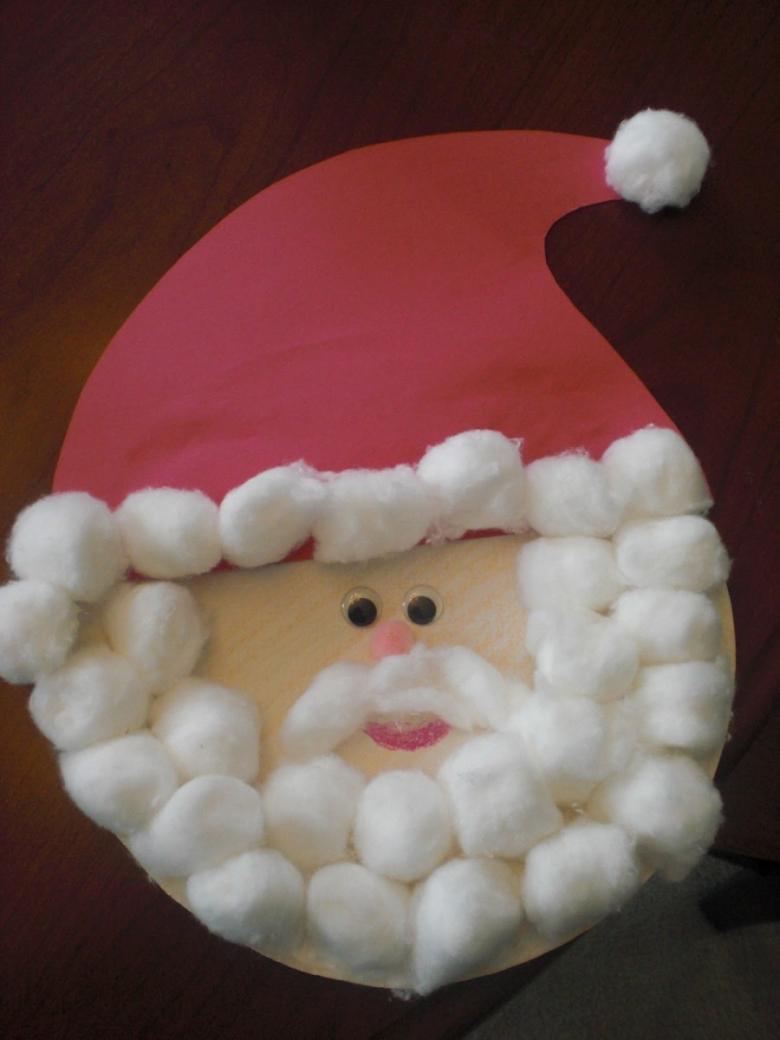
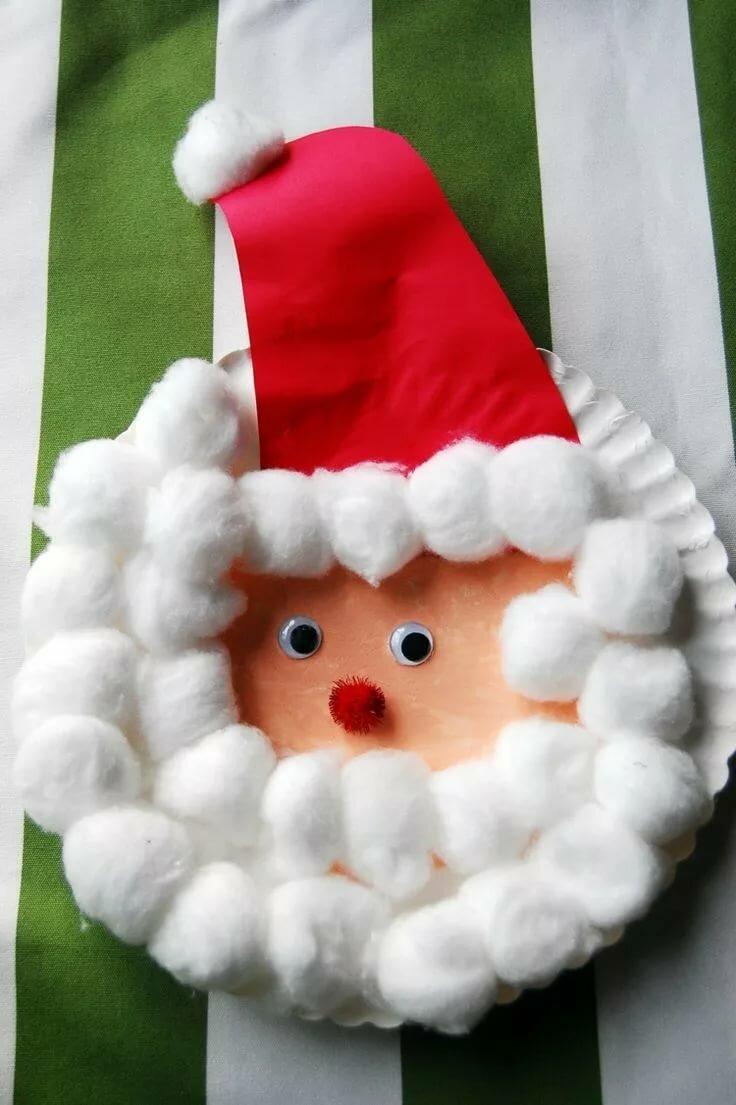
Making Santa Claus out of paper is much easier and faster - you don't even need photo tips for this. And although he turns out not as unusual as the previous one, such a pastime is sure to please the child, because no children's holiday does not do without a contest of handicrafts.
Option 1
To begin with, you should stock up on white and red cardboard, paper, pencil glue, colored felt-tip pens and pencils.
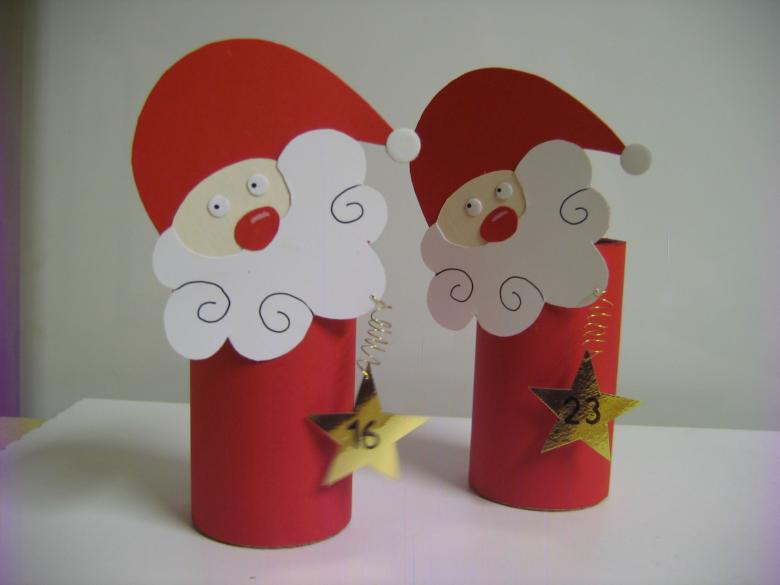
Cut out a square from red cardboard and glue it into a cone by smearing one of the edges with glue. Trim the edges so that the cone can stand stably on a flat surface.
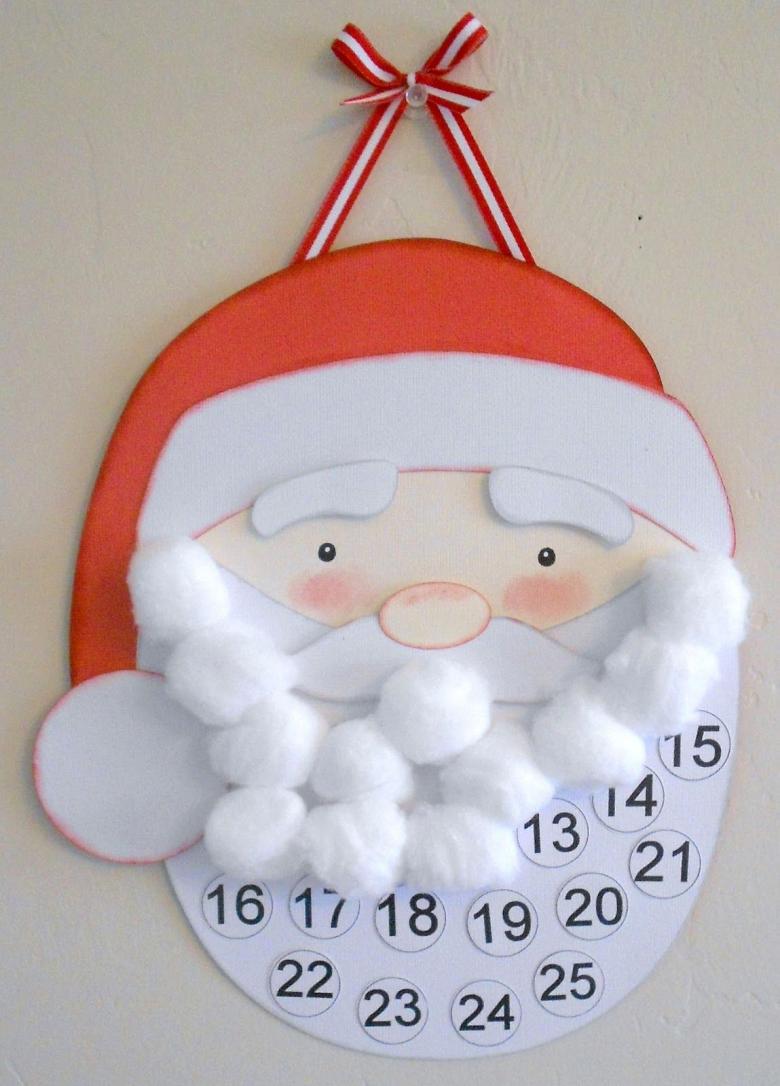
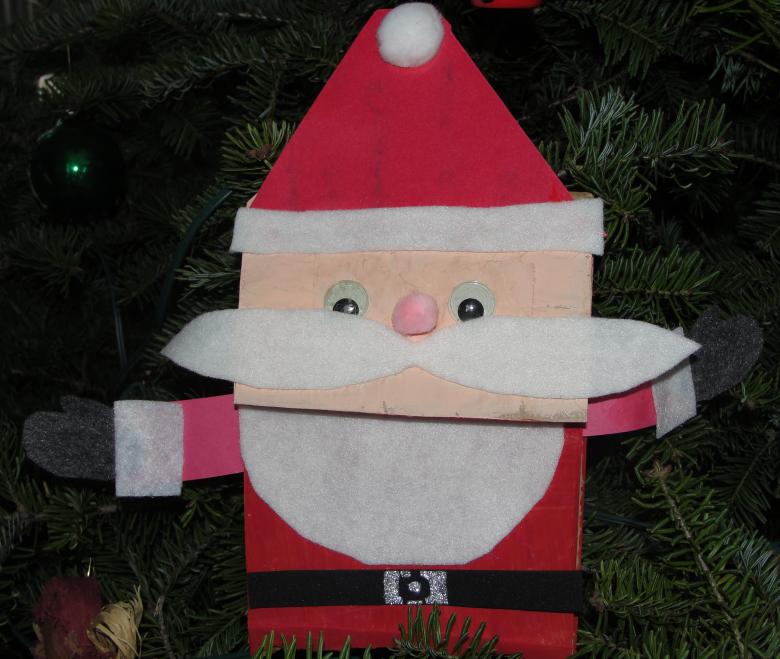
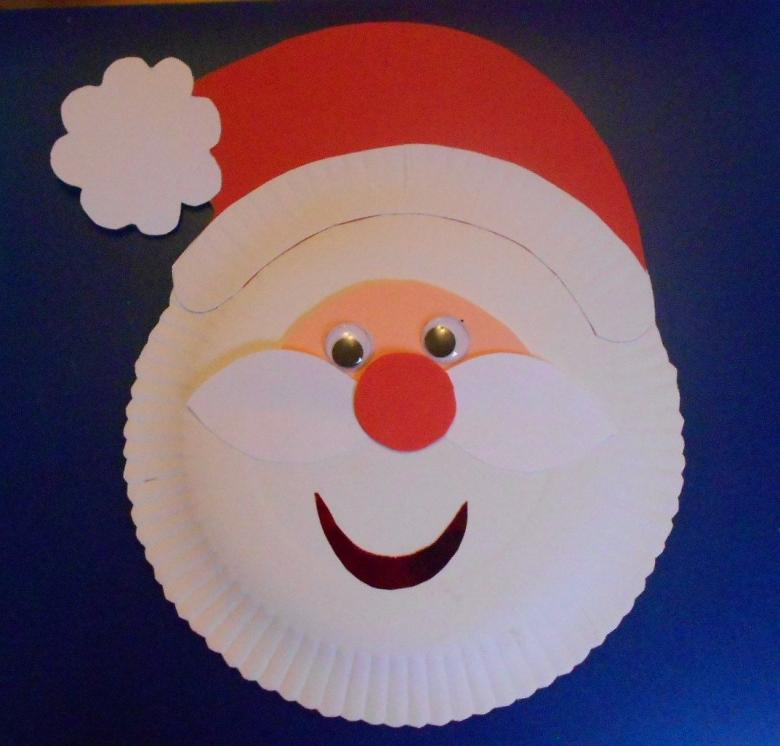
Draw an arbitrary figure on the paper, resembling the beard of Santa Claus. Just above the middle, draw a hole. In the resulting larger part depict a face - eyes, nose, mouth, folds of the beard. Cut the figure along the contours and the resulting circle in the middle threaded on the top of a red cone. Repeat the procedure several times to create a whole army of New Year's Eve wizards.

Variant 2
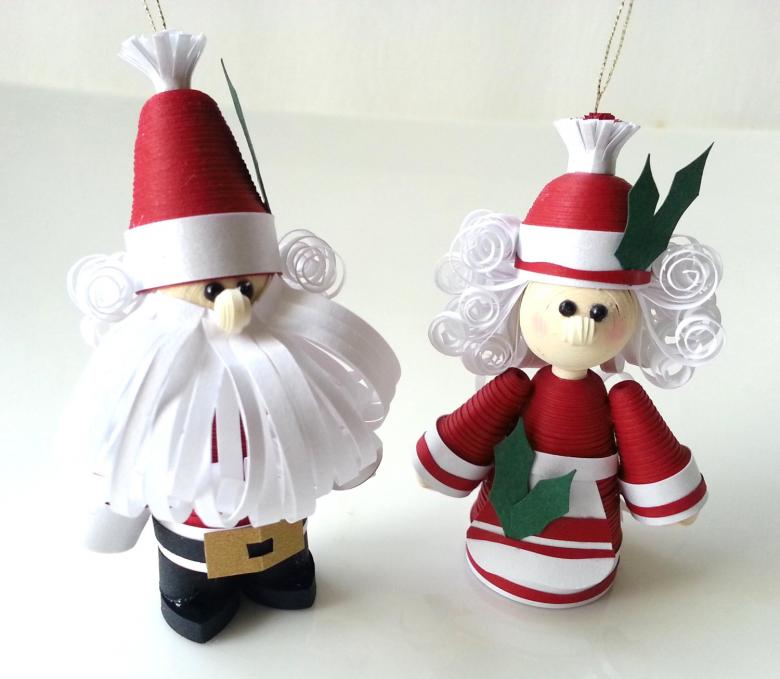
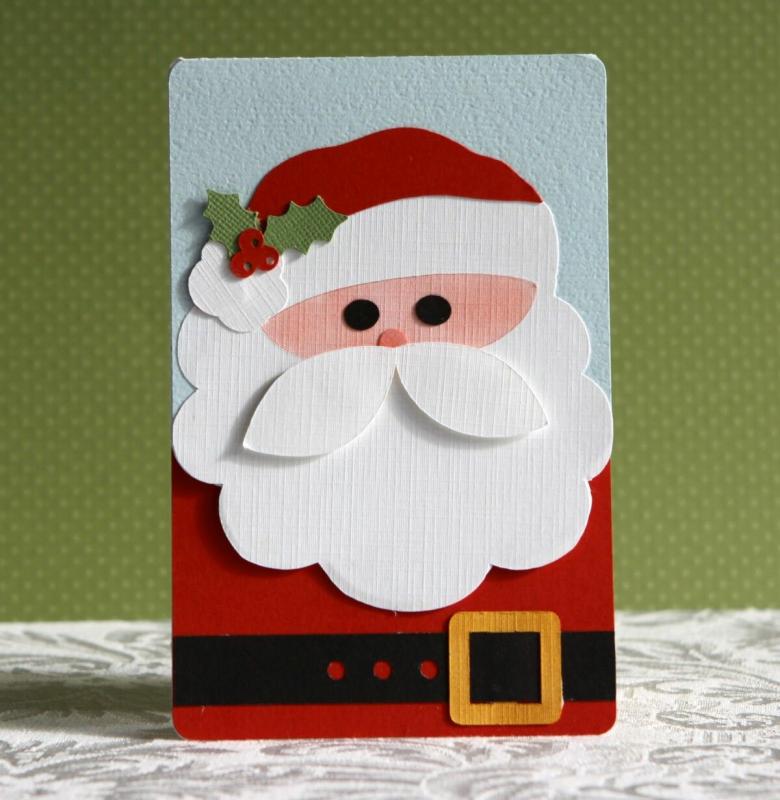
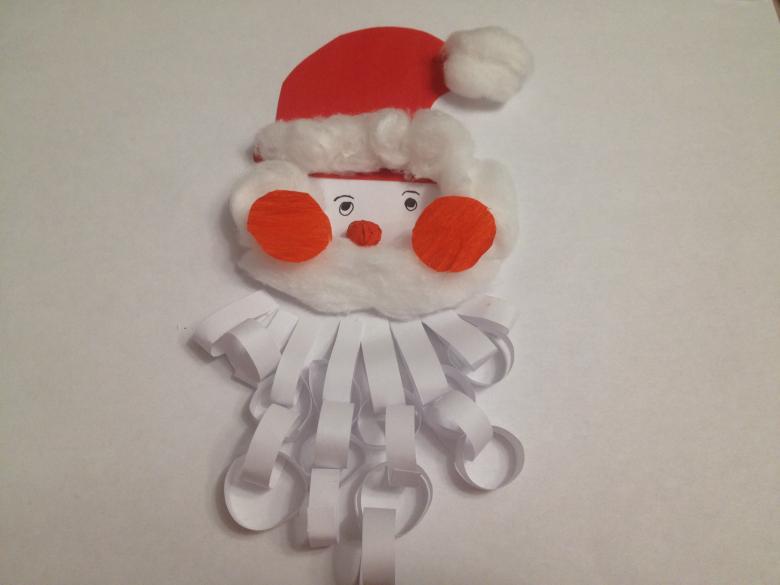
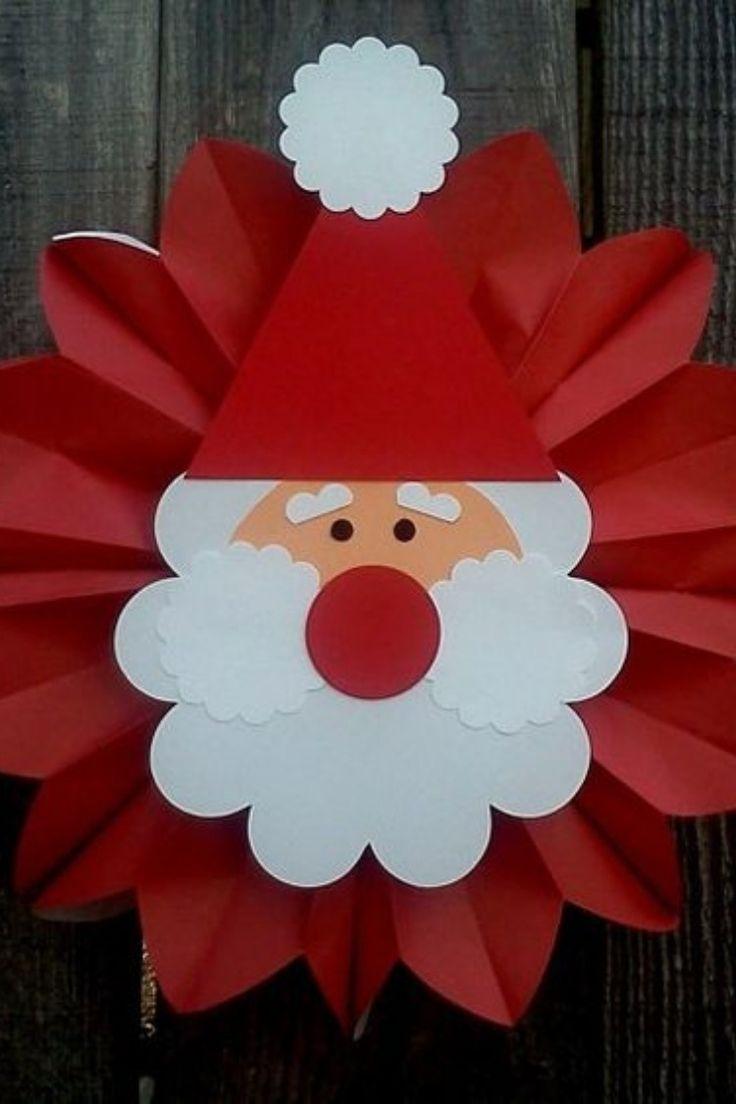
The second variant is more complicated and takes more time, but the figure will turn out prettier and more voluminous. Prepare double-sided paper, thread, scissors, glue, stapler, decorations - whatever you like.

A sheet of paper is folded in strips into an accordion. Tie the resulting accordion in the middle with a thread so as to create two semicircles. Glue both into a single circle.
The second circle makes a red and white paper - it will be a face and a hat. Repeat the algorithm with one change: an accordion at the beginning of the cut by 1.5-2 centimeters. This will help give the handicraft a neater look.
Two circles overlap each other so that only the top parts are touching, that is, the face and torso. Secure them with a stapler
Cut out white paper:
- Two small ovals
- A strip with a diameter equal to the red and white circle. This will be the padding of the hat.
- Beard in any shape.
- Pompom.
- A small square.
Of black:
- Two small circles - they will be the pupils.
- A thick black strip, its length should match the diameter of the first cut out red circle - this is the basis of the belt of Santa Claus.
- A small black square.

Fold the applique first on the table to make sure that no detail is forgotten. It is best to glue the eyes, beard and belt separately, rather than attaching them on top. Otherwise, some pieces may move out or get lost. After all the pieces are glued, leave the handicraft for a while so it has time to dry.
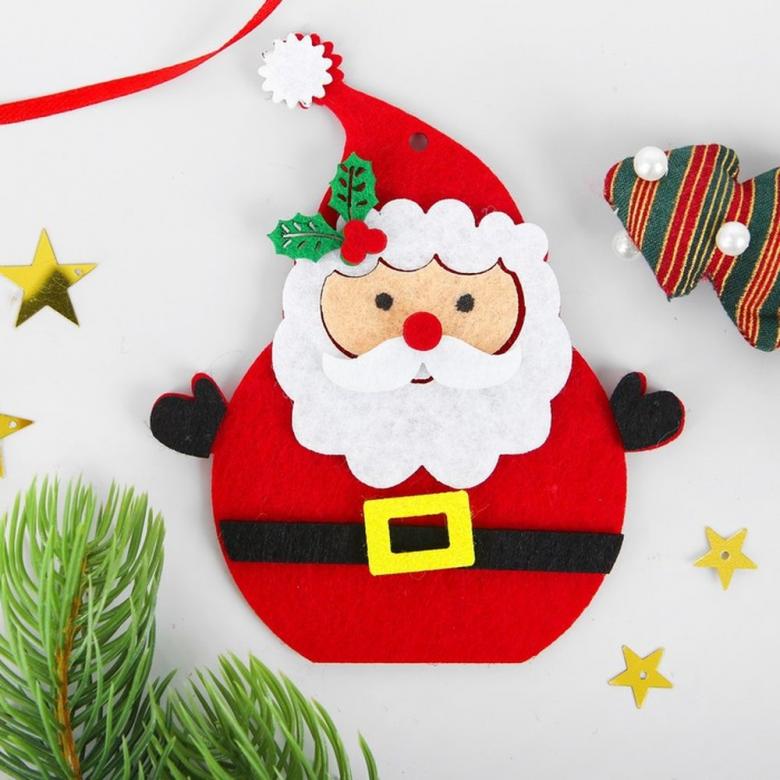
Draw the missing parts with pencils - nose, mouth, eyebrows, eyelashes. Add embellishments in the form of beads, beads, or braid. If you don't have any jewelry on hand, use paper.
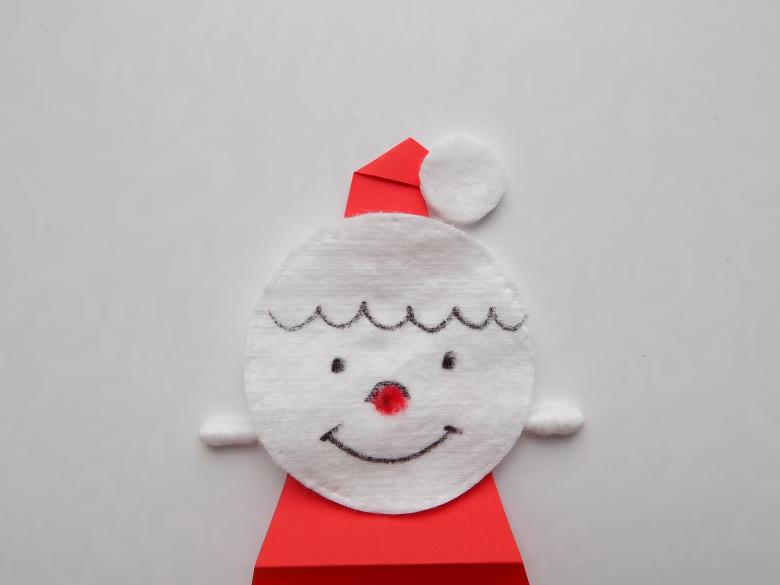
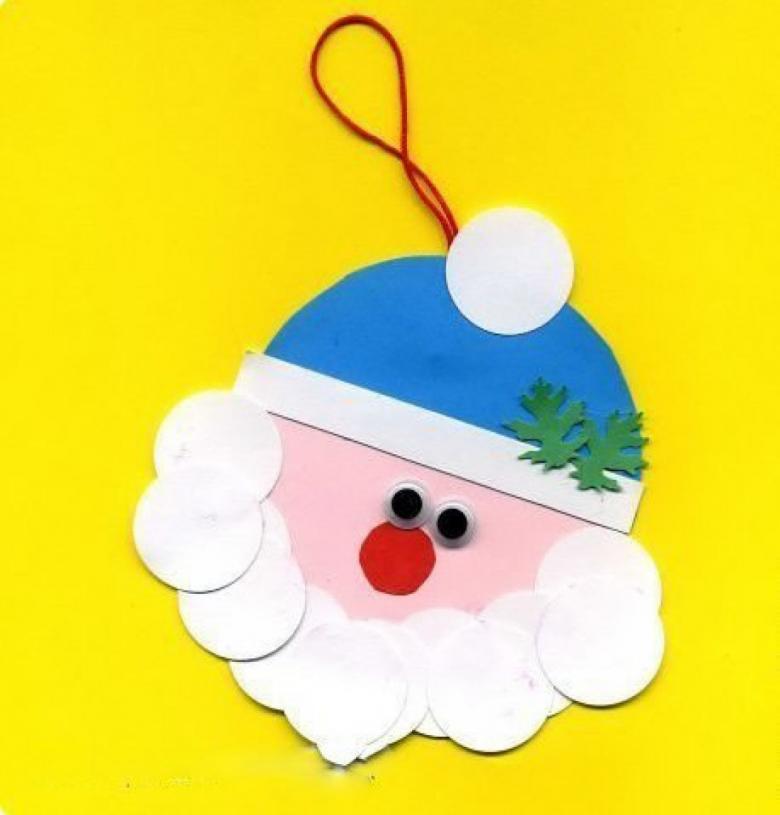
If you plan to hang such a Santa Claus on the Christmas tree, you can make a small hole on top with scissors and put a thread through it.

Similar ways you can dilute your own creative ideas. An evening spent making crafts will be a real fairy tale for a child, and an adult will help to distract from everyday life and feel the atmosphere of holiday magic.

