Papier-mâché crafts - history of the craft, features, interesting master classes and photo ideas
If you do a literal translation of the term "papier-mache" from the French language, we get not very consonant word combination - torn paper. But this ancient art is still popular today. For certain types of creative process, which includes making masks, papier-mache remains an indispensable technique.
A brief history of paper creation
The annals of the creation of works from papier-mache are counted for thousands of years. It was born in China, the birthplace of paper. According to historical research, the first products date back to the 3rd century BC. In China, this technique was used to make military armor.
Similar handicrafts later began to appear in Persia and Japan, these were decorative creations. The ancient Egyptians used layers of paper, which were interspersed with layers of adhesive, to create posthumous masks. In Europe, it wasn't until the 17th century that objects made of papier-mache began to be used in interiors. The pioneer was France.
Basic knowledge for the work
This type of creativity, which is notable for its economy (any thin paper and various glue will be needed) is provided by three variants of this technique, which have fundamental differences.
- The successive-layer technique is based on using a ready-made form to glue torn paper onto it in layers.
- Paper dough - on the basis of mixed paper with paste, a mass is prepared, distinguished by its elasticity, from which the necessary object is subsequently made.
Working in the technique of papier-mâché, you will need some qualities that will achieve the desired result. It is accuracy, patience, assiduity and a little imagination.
- Layer-by-layer pressing is used exclusively in production.
Preparation of raw materials for the creative process
The key to a decent result is the proper preparation and organization of the workplace. For novice creators, it is recommended to use newspaper or magazine paper, as it has a low density, a flexible structure, and it also soaks up quickly enough.
In addition to these raw materials you can use paper towels, toilet paper layered paper, various cardboard and other paper material. The bonding component can be PVA glue, diluted with warm water (1: 1), wallpaper glue for paper products or cooked from flour, as well as potato starch paste.
In this case, you should take into account one nuance - the cooled mixture thickens significantly, so you need to work with a mass of more fluid consistency. Of the ingredients, you will need vegetable oil, fat cream to apply to the base of the craft for subsequent removal of the workpiece from the frame.

In some cases, the base is simply moistened with water. Need scissors, stacks, a blade, brushes, paints, varnishes, various materials for decorating the crafts. To prepare a plastic paper mass, shred cardboard or any paper, pour hot water and leave for 12 hours. When the mixture has cooled down, heat it slightly (not more than 20 minutes), and pour out the excess water. Shred the mixture with a blender, add the gluing agent and knead the paper mixture by hand.
The result should be a structure resembling soft, loose plasticine.Now you can start creating individual masterpieces.
Consider beginner's crafts
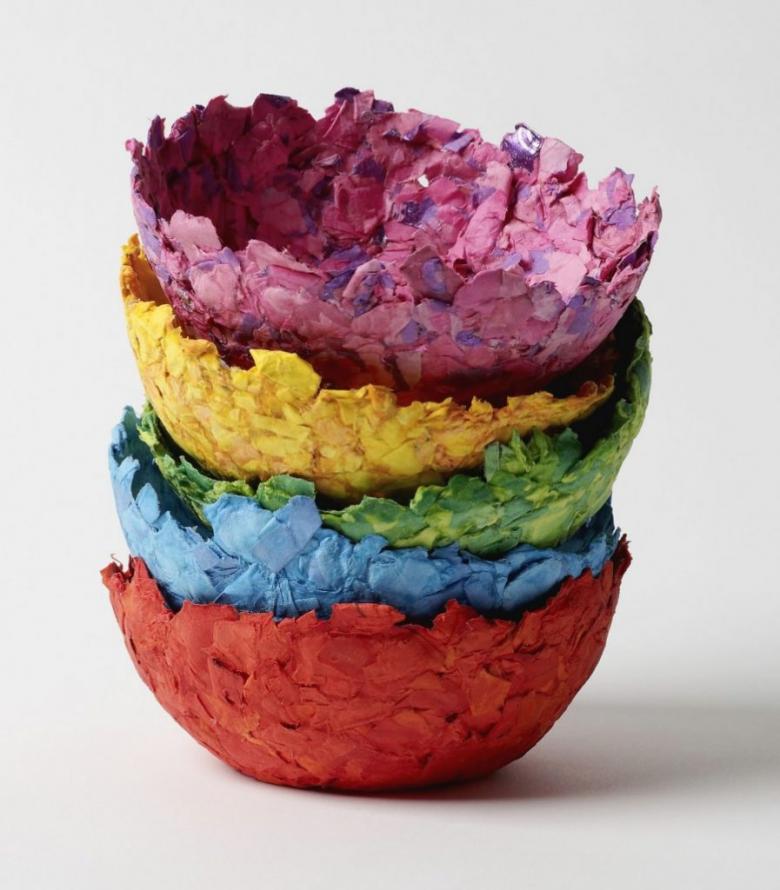
Saucer with a blue rim
Such work is quite accessible to a child, however, it will be much more comfortable to work together with parents. To make the craft prepared pieces of paper, glue, brush, scissors, gouache, vegetable oil.
Take a saucer, put it upside down and lubricate a thin layer of vegetable oil. This will allow you to separate the product from the frame (saucer) at the end of the work without much effort. Tear the newspaper into small pieces and, smearing the glue, glue them on the base. Begin in the middle of the work, gradually moving towards the edges of the craft.
So glue several layers of paper (four will be enough), to each layer give time to dry. At the end of the process, separate the resulting billet from the base of the product and carefully trim the edges of the saucer. To decorate the handcraft, paint it with white gouache, and the paint is also applied in several layers. After drying, decorate as prompted by you and your child imagination: draw patterns, ornaments, drawings, use applications. The finished products will be useful for a variety of activities for the kids.
Your kids' and adults' favorite holiday is approaching the New Year. Invite children to decorate the Christmas tree with toys made from papier-mache with their own hands.
Christmas tree ball
You can make such an ornament in two ways, and in any variant children will be the most active helpers.
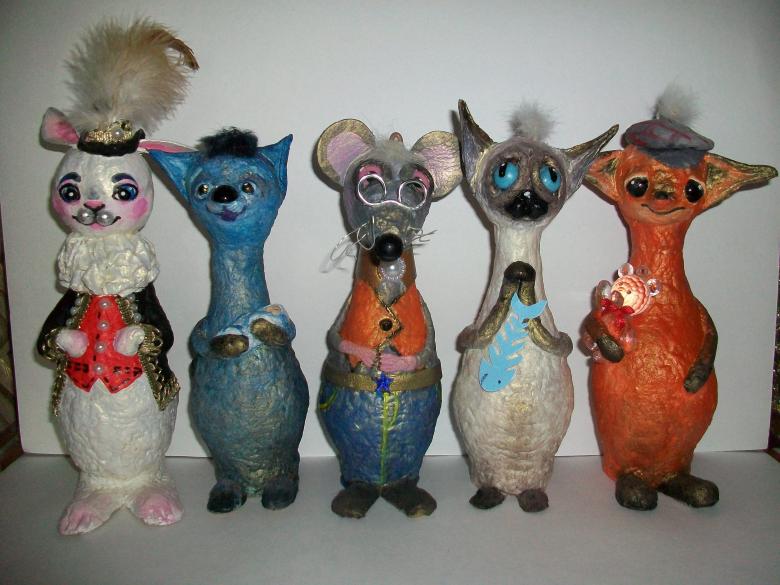
The first option is based on the use of a ready-made frame: any object of round shape of a small size (a rubber ball, a balloon, a ready-made Christmas toy, etc.).
- Oil, cream or moisten the base and apply the first layer of tear paper, smeared with glue. Let dry, repeat the procedure. In this way we create several layers.
- Carefully cut the ready dried model into two halves, take out the base, and carefully glue both halves, having previously inserted a ribbon loop.
- Let's proceed to decorating - there are a lot of ideas: decorate with paints, use a huge range of sequins, beads, use colored paper, natural material. At the end of the product can be covered with clear varnish.

Similar toys can be made from paper pulp. Prepares the "dough" for molding and carefully roll out the balls of different sizes (do not forget about the loops). Such blanks leave until completely dry, it takes about two days. Decorating the balls, do not forget to involve your kids, their imagination will make your Christmas tree a unique and unique object of the holiday.
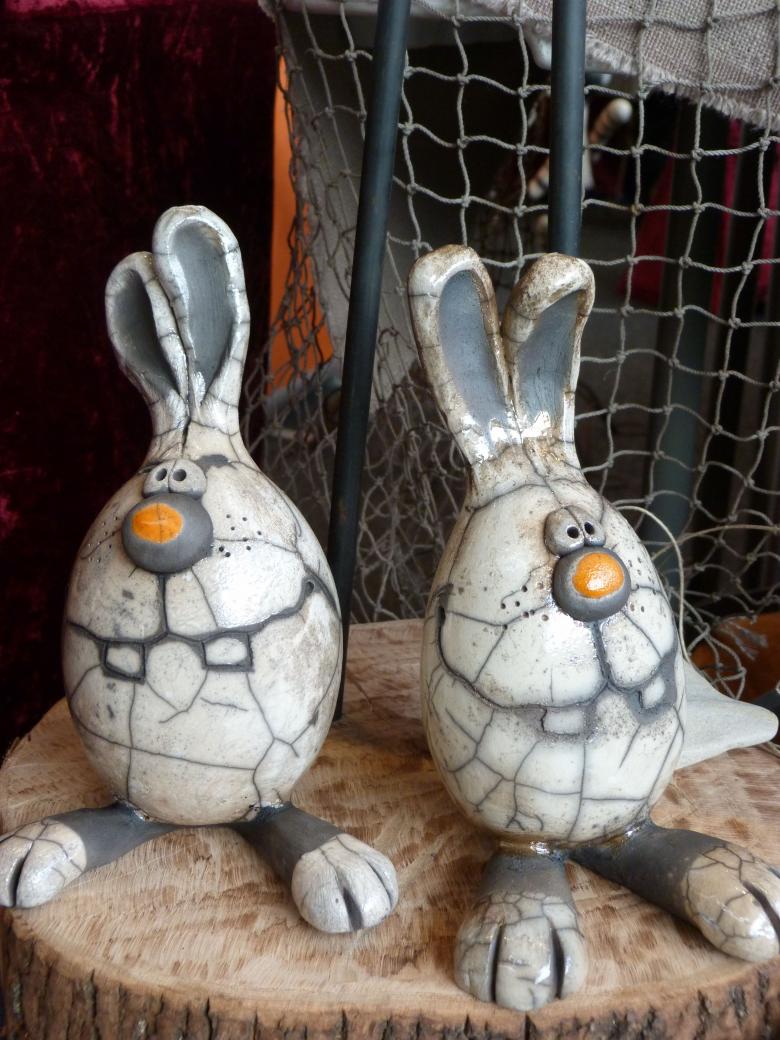
Amazing Carnival Masks for Kids
Today you can buy any mask for New Year's Eve parties. But how your child's eyes will shine if you create a cast of a favorite fairy tale or cartoon character together. Use the suggested master class on making a mask from papier-mache.
- Making a mold for the mask. It is very important to decide on the size and prepare a pattern from heavy paper with slits for the eyes, take into account the shape of the face.
- The form is made of ordinary or technical plasticine. The base is lubricated with cream, vegetable oil or Vaseline.
- We begin to apply papier-mache. It is better to use pieces of paper of different colors so as not to miss areas on the applied paper layer. After one or two layers let the product dry a little. If the mask contains different sized parts, small parts are made from pieces of toilet paper, and larger and flatter sections from newspaper strips. The finished mask dries for a couple of days.
- Remove the mask from the mold, trim all irregularities on the edges and in the eye slits. An important condition for the durability and moisture resistance of the mask is to soak it in primer and dry it thoroughly after this procedure.
- Sand all the irregularities on the finished product with sandpaper. Glue the ties.
- Decoration depends only on your imagination.
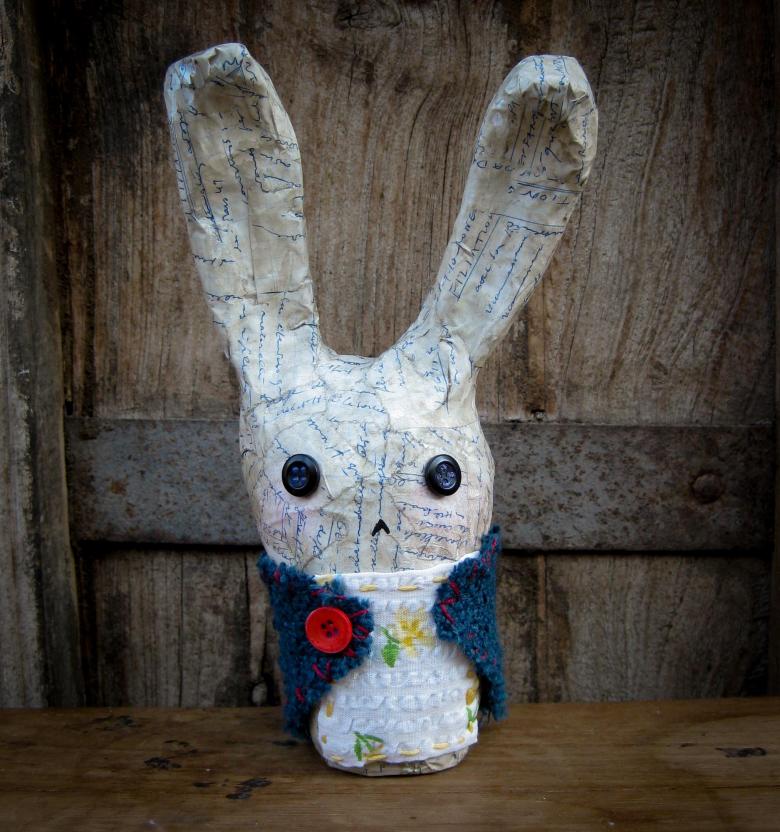
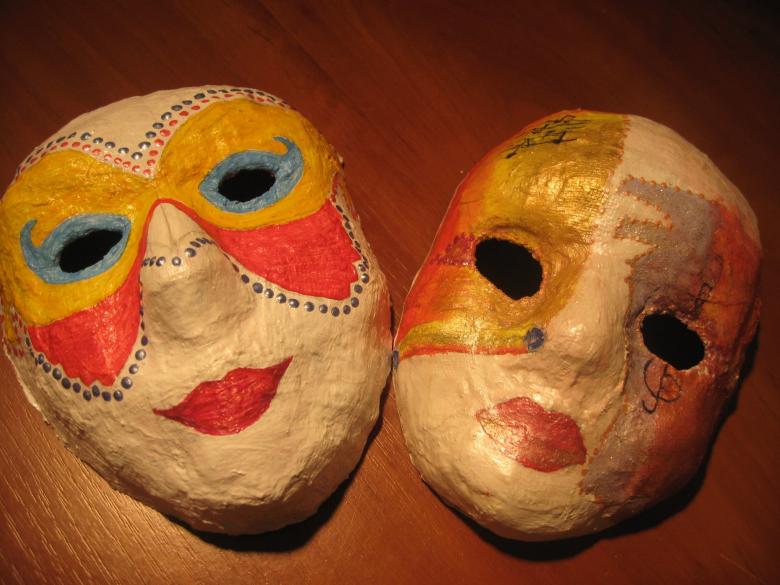
Sites devoted to making masks from papier-mache, shows a large number of photos of carnival masks for children, and adults. Any of them can be taken as a basis and create your own individual work.

Decorations made of papier-mache
Additions to the masks will be accessories made according to this technique.
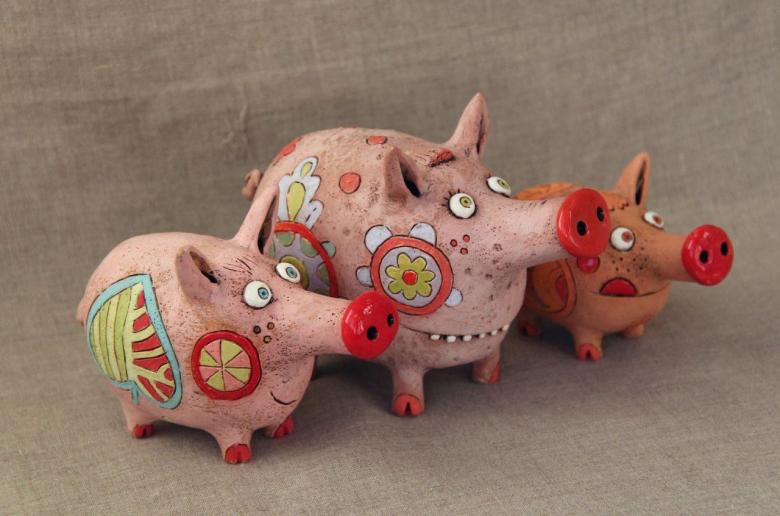
Beads and bracelet
Prepare a mass of paper and make balls of it in many different sizes. Involve young girls to this activity. With a thick needle make holes in each ball. Dry them well. Color the dry components according to your preferences.
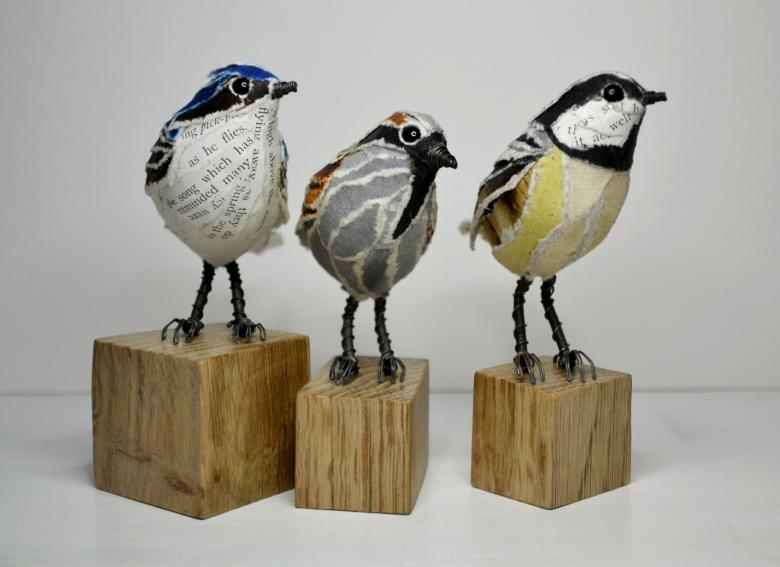
The finished beads should be strung on a silk thread or a thin braid, for bracelets, use an elastic band. Such products turn out not only durable, but also light and colorful jewelry.
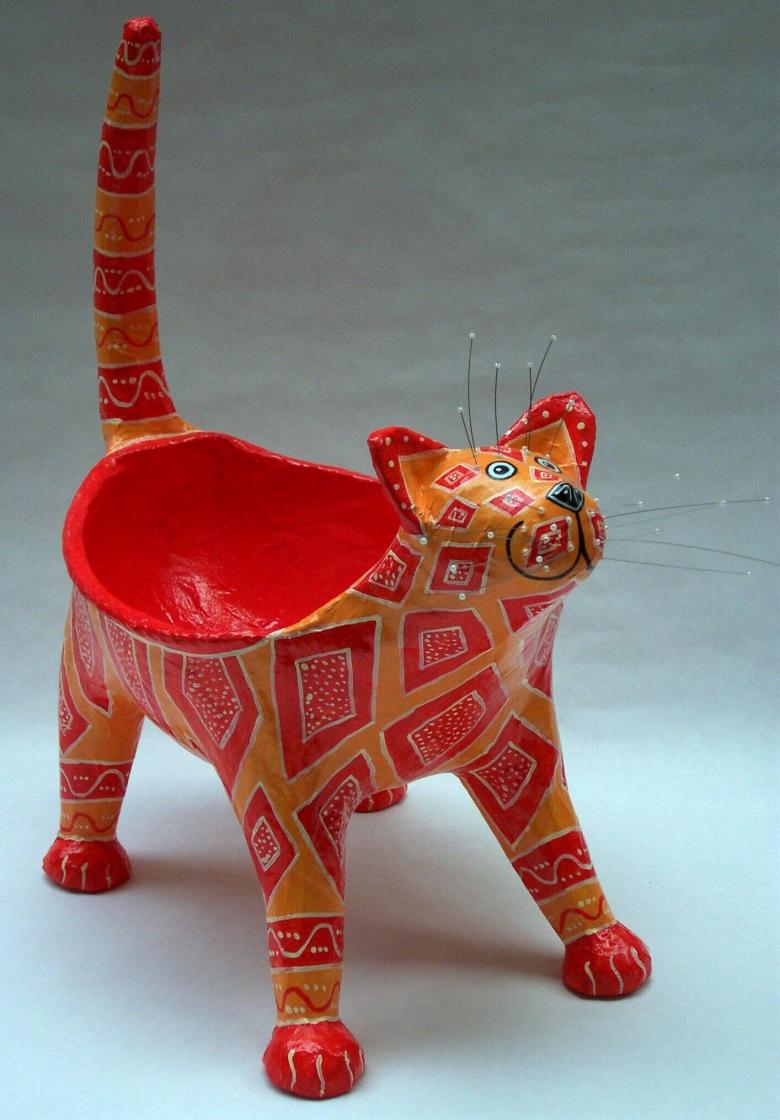
Solid wide bracelet
The frame of this jewelry can be a package of scotch tape of different widths. Before you start applying the paper-and-glue layers, the base should be smeared with cream. The number of layers depends on your preferences. Once removed from the base, the bracelet can be decorated in any ways and means that you have.
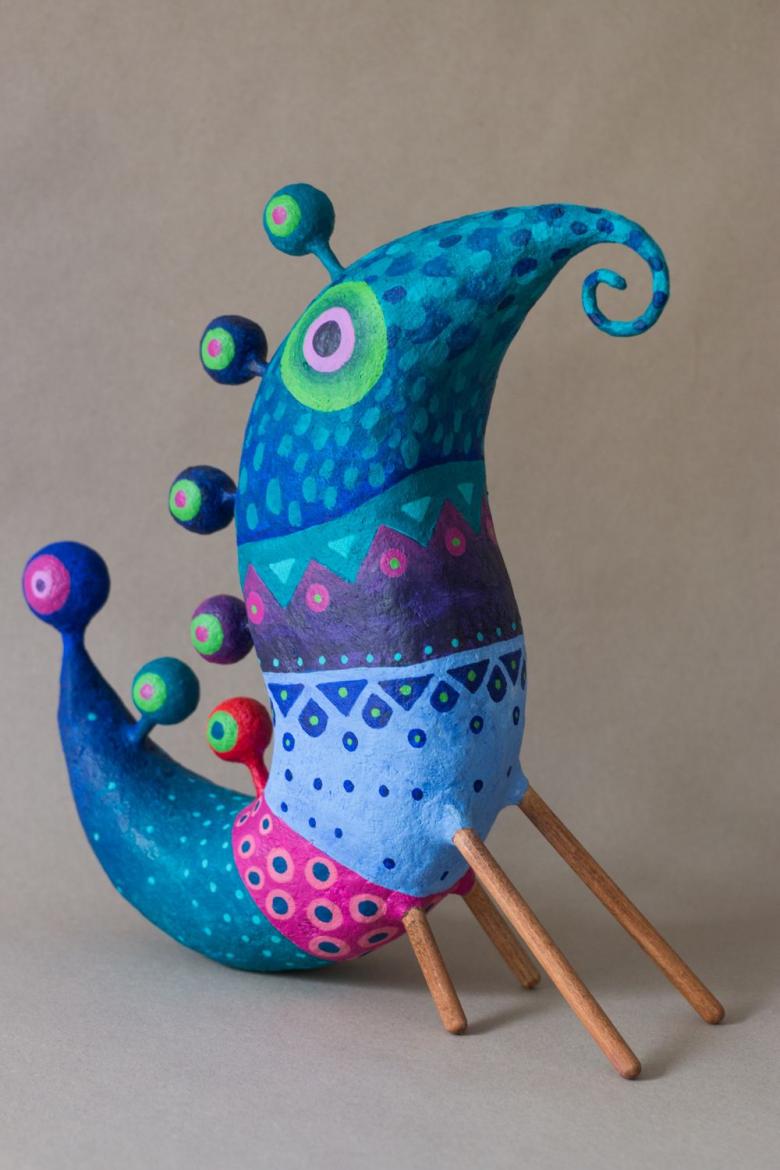
Advantages of doing papier-mâché
The step by step process with this technique will help to reveal the creative potential not only of your kid, but also of yourself, improve your mood, create beautiful things with your own hands. At the same time - minimum material costs, no special tools, special skills, the use of a wide range of dyes, the simplicity of the technique, ease of care.
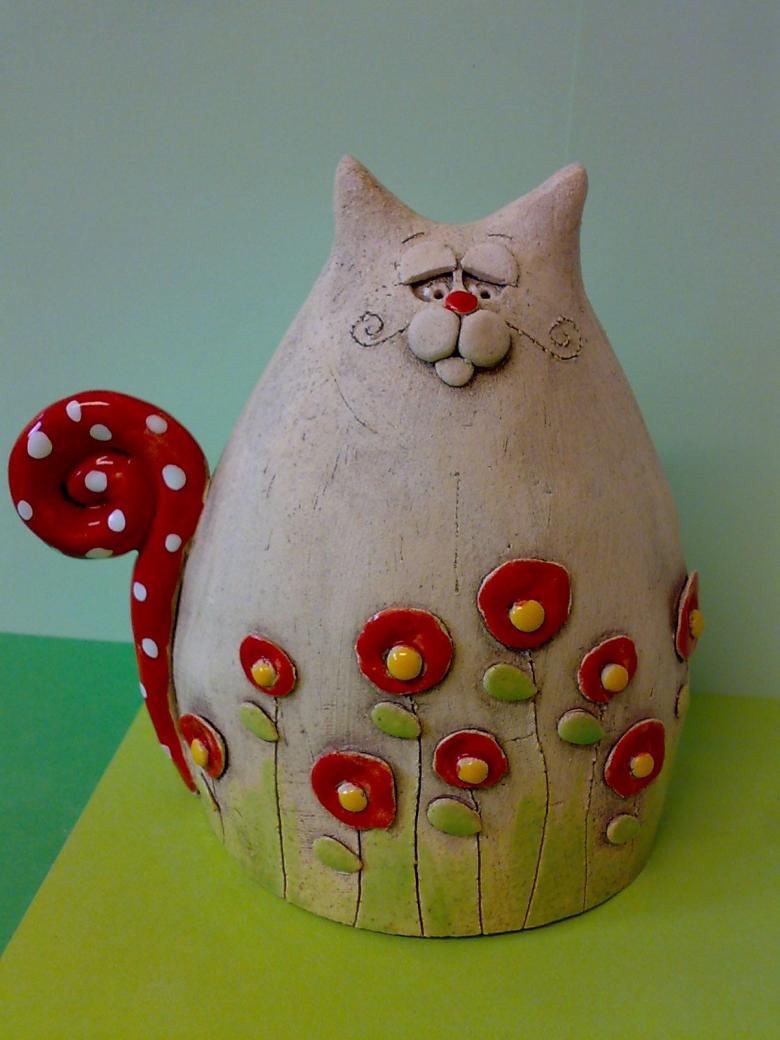
In conclusion we want to share some interesting facts about papier-mache, which may cause you to turn to this type of art more seriously.

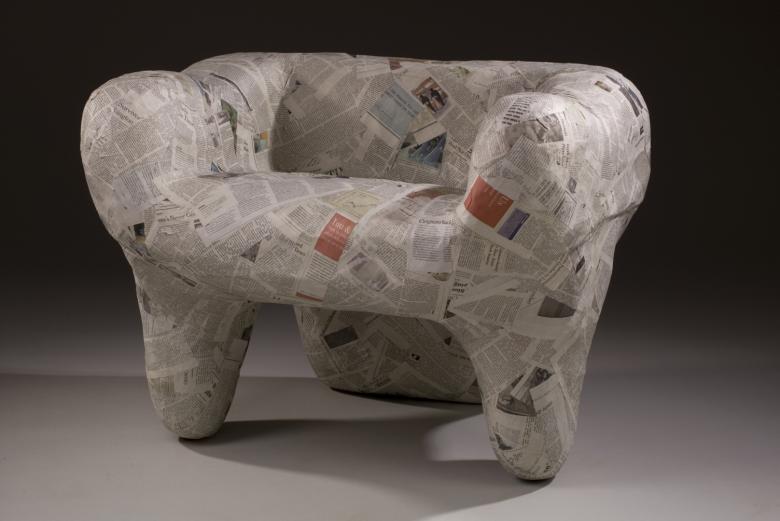
At the end of the 18th century an Irishman made of papier-mache a boat, in which sailed on the lake, and built in Norway, the church stood for about 40 years and did not collapse (it was demolished). Today on the antique markets you can find a considerable amount of "carved" furniture with the use of applied papier-mache decor instead of natural wood. Only an expert can spot such a fake. In the 19th century the French physicist has created an anatomical figure of the person for the Paris Academy of Medicine, later there was opened the whole factory on manufacture of such models.

