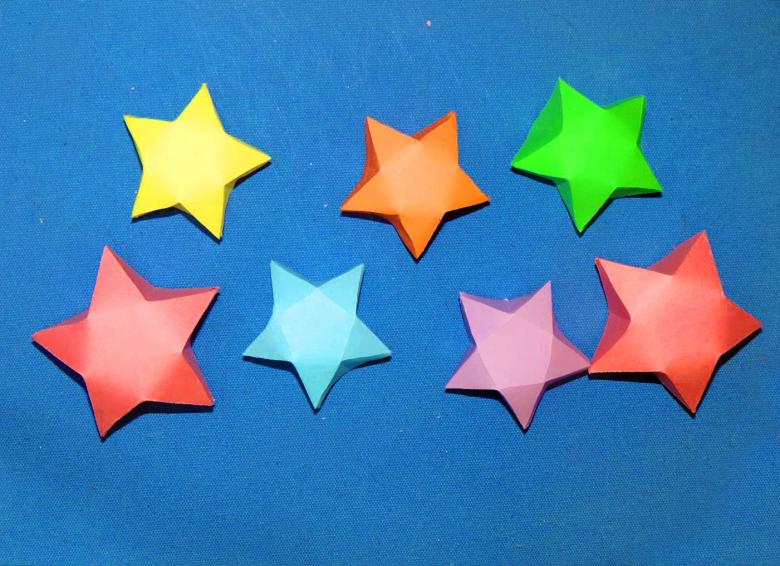
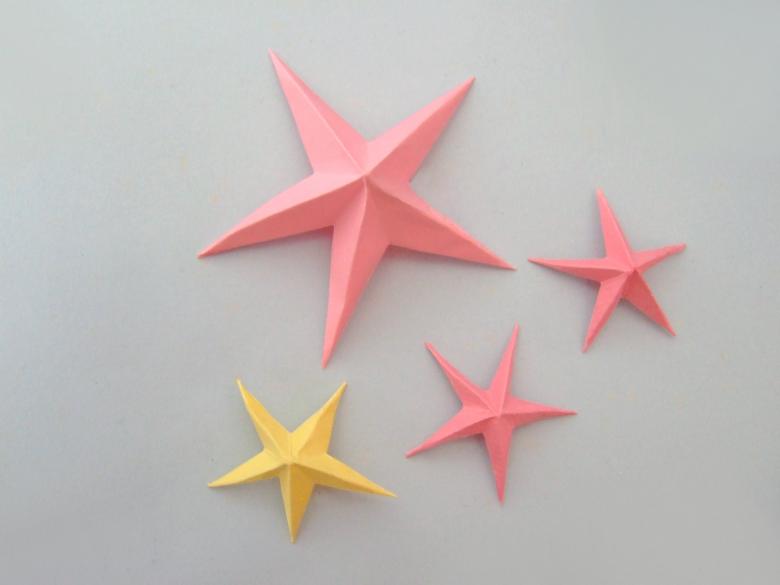
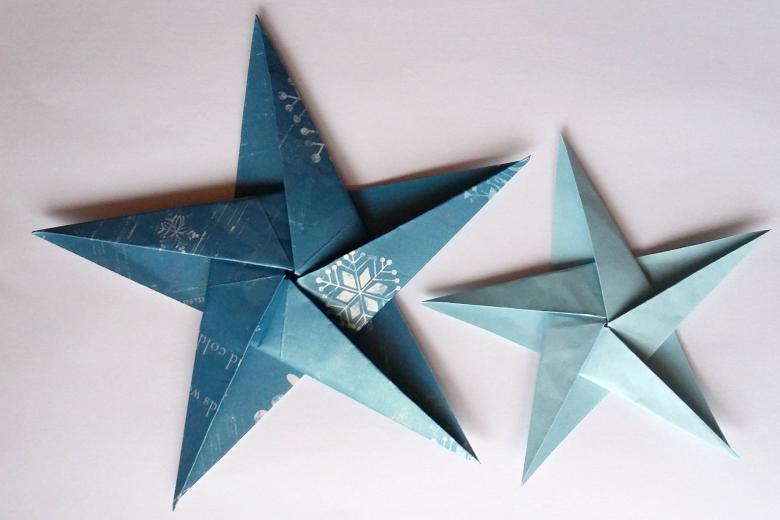
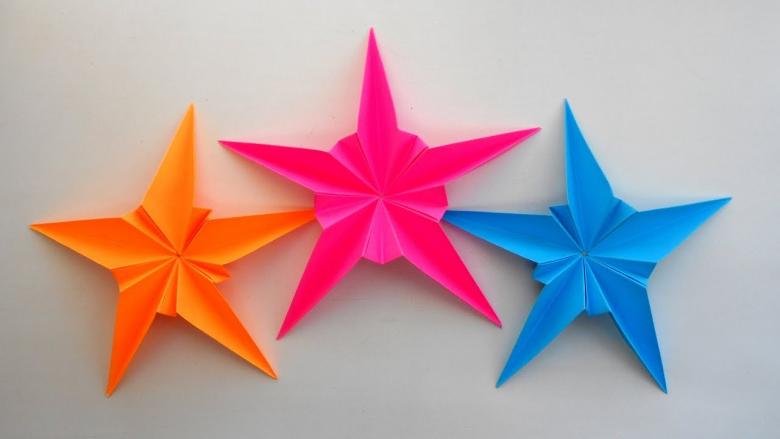
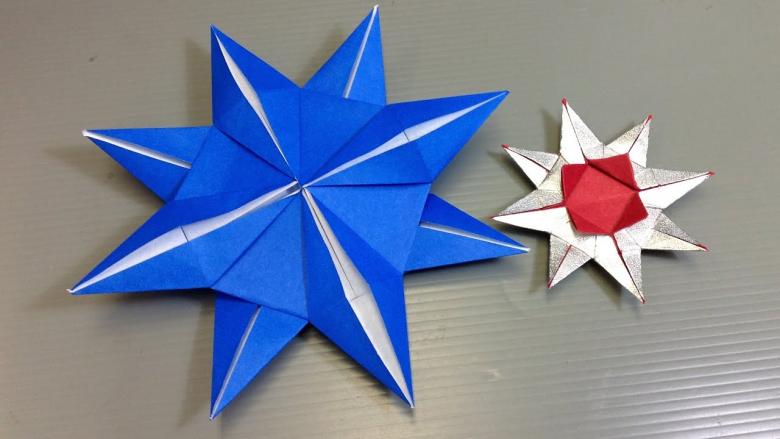
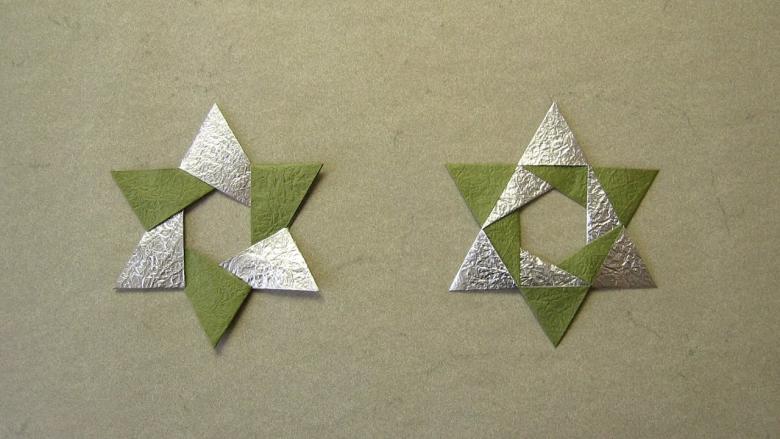
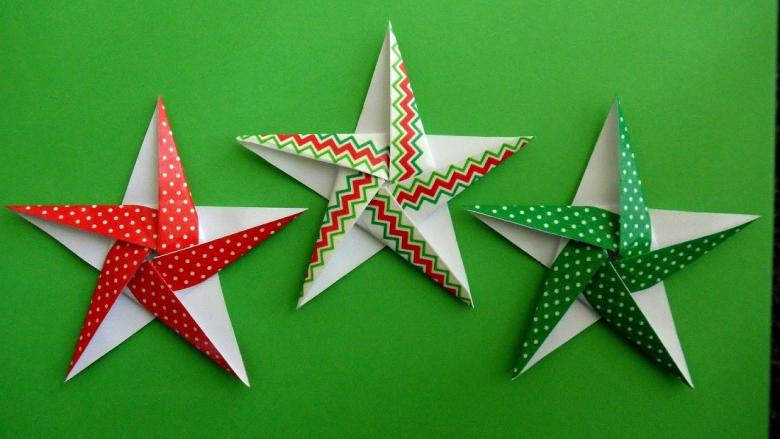
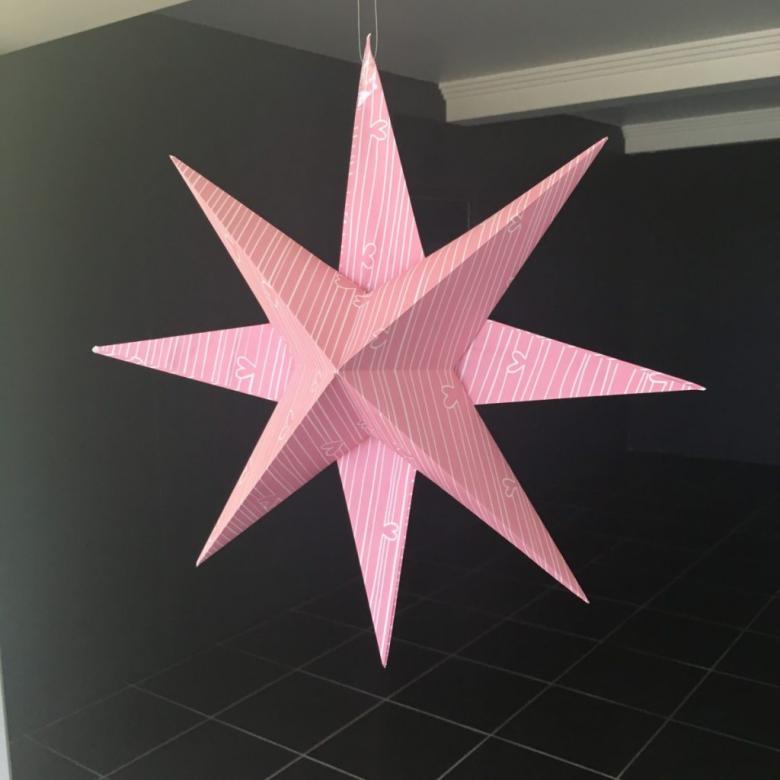
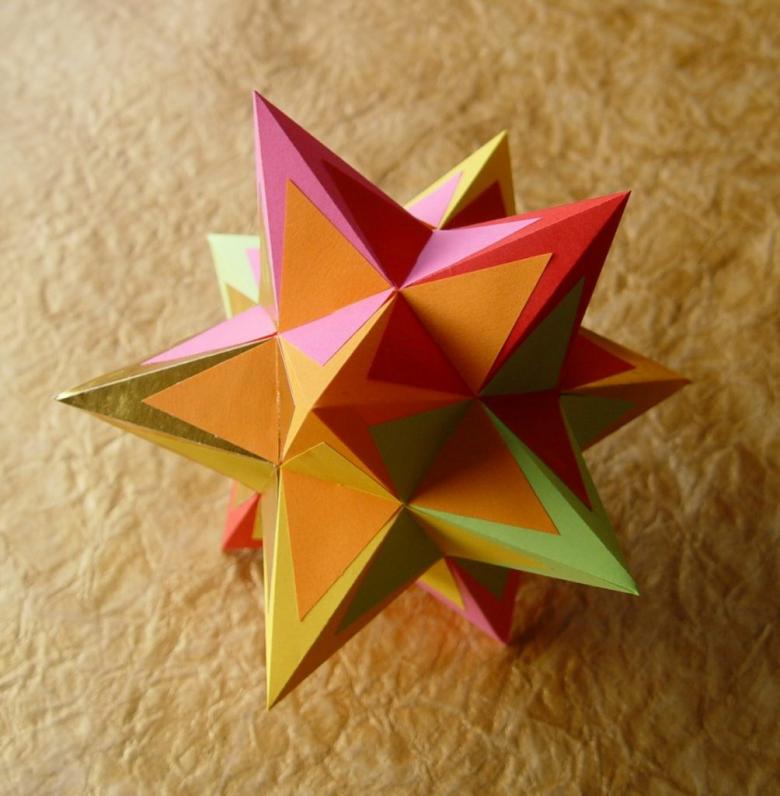
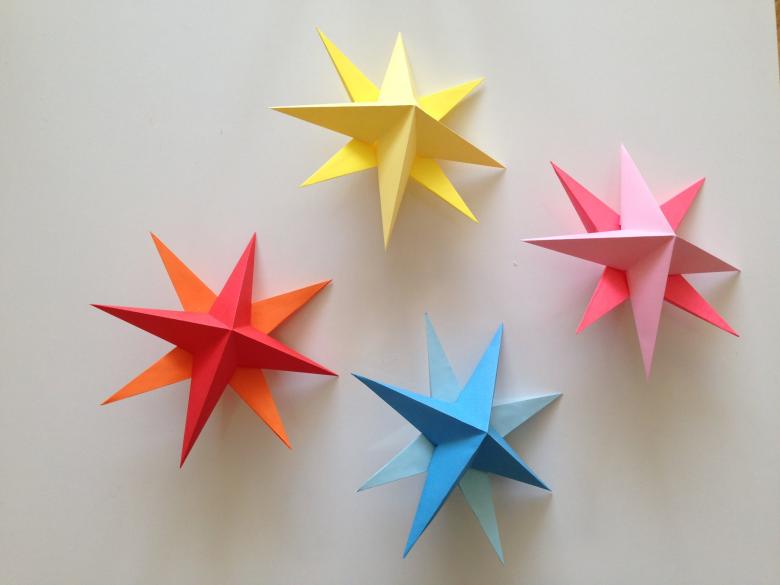
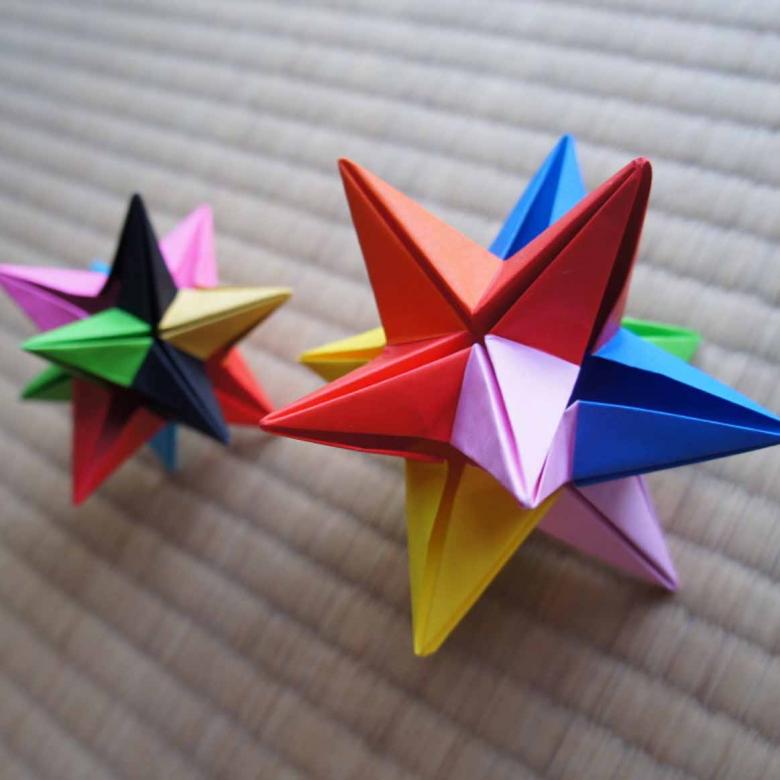
Origami star: a simple and modular technology of folding paper, an overview of beautiful crafts with photos
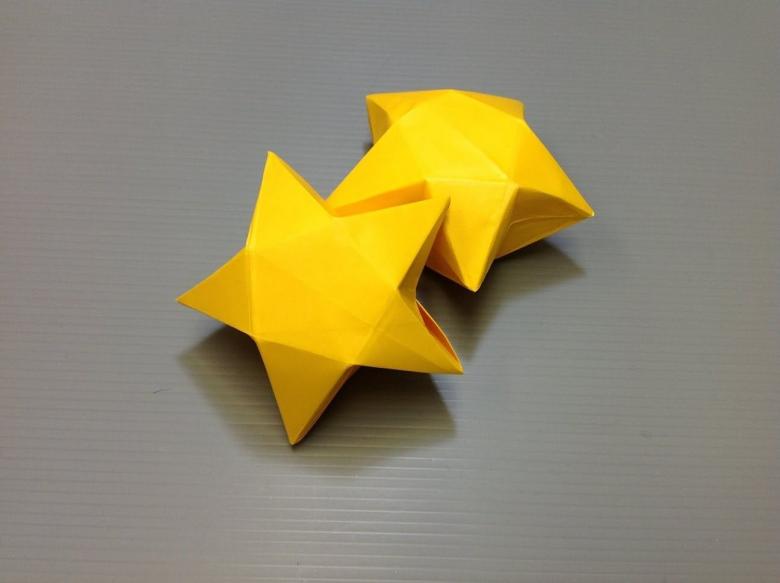
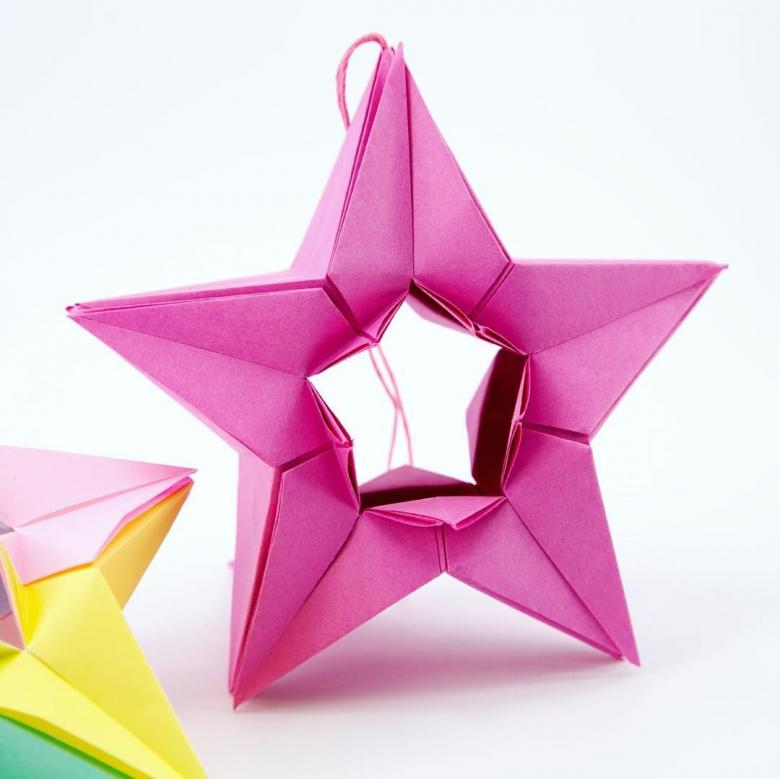
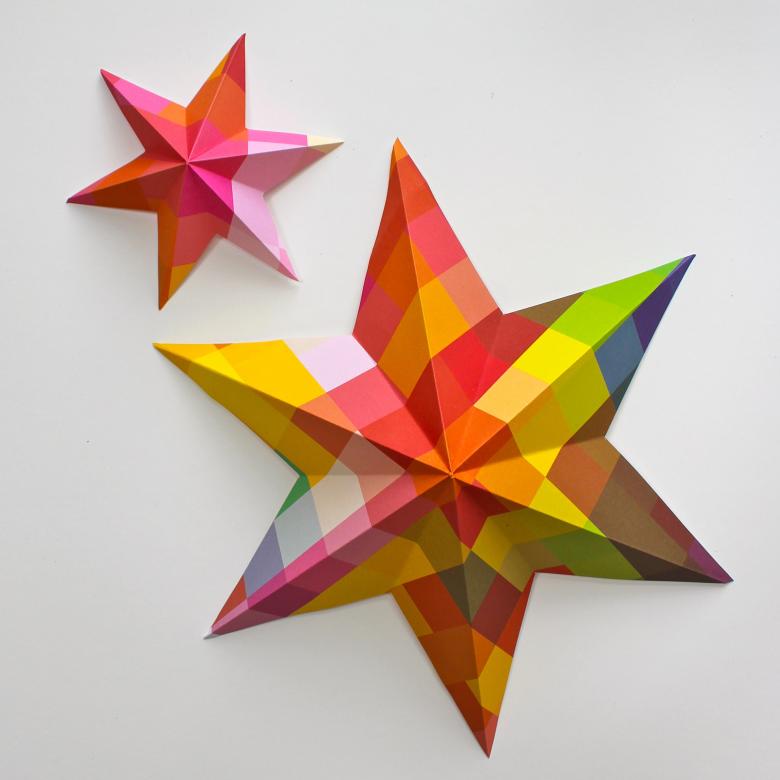
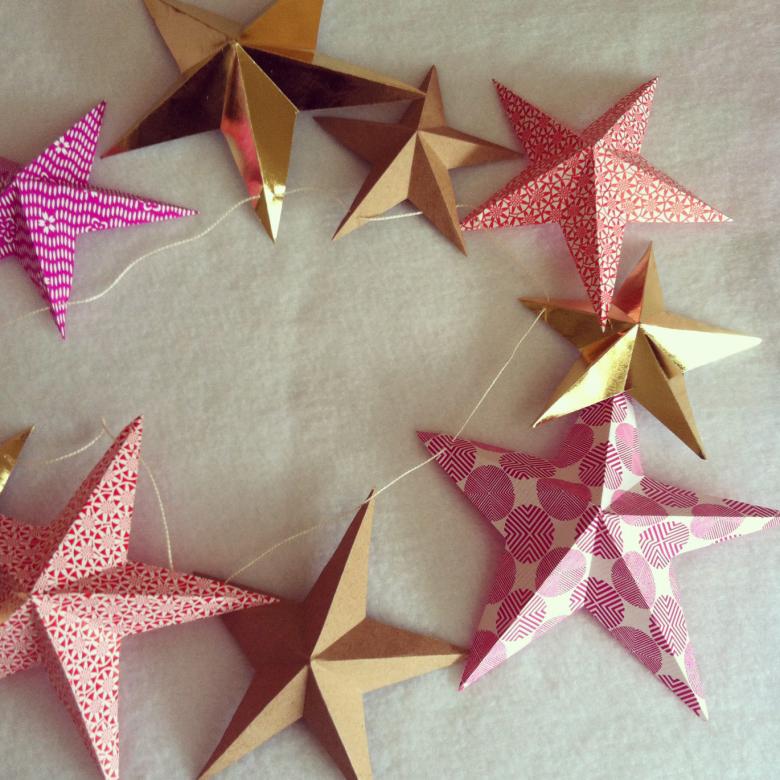
A beautiful, three-dimensional paper star is able to decorate the room, give the interior a fresher look, diversify the design. To make such a very simple, all the necessary items for its manufacture can be found at home. You will need:
- Scissors
- Glue
- Pva glue
- Colored paper
The color of the paper can be any color you like. Let's consider in detail the making of a volumetric star.
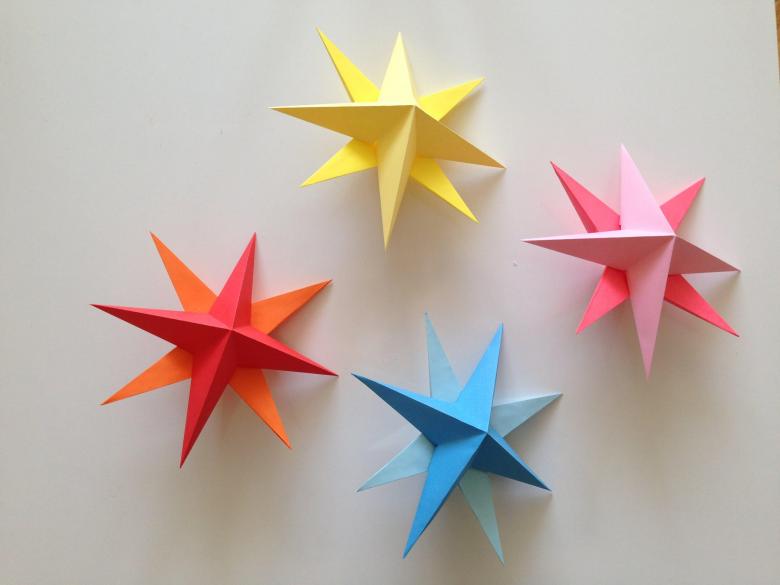
The process of manufacturing
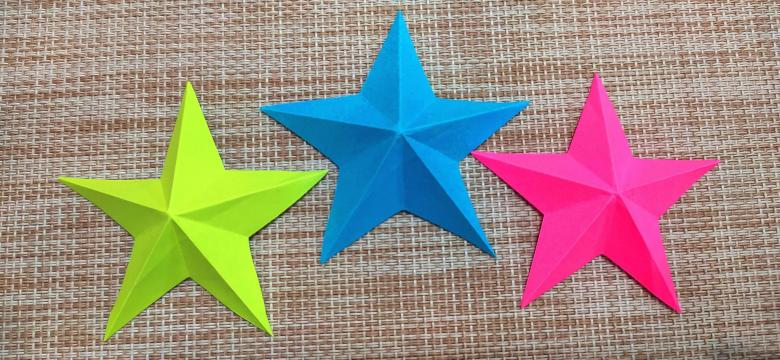
First you need to cut five equal squares of paper. In order for the squares to be equal, you need to use a ruler and pencil, pre-marking the sides.

Next, the squares should be carefully folded diagonally to get an even figure. After that, squares to unroll, bend to the middle, first the right corner, then the left. Thus, to do with the upper and lower sides. The end result should be an even cube.
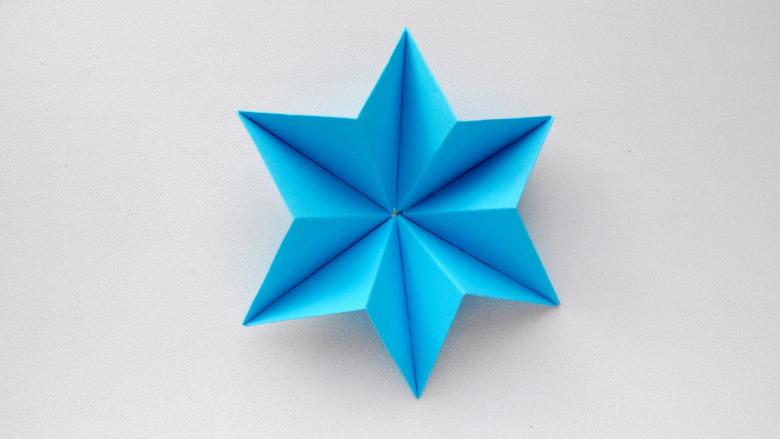
Obtained rhombus to bend in half to form a triangle. Next necessary to unroll the workpiece, smooth out all the folds as neatly as possible. Need to carefully straighten the inside of the star, repeat the previous step must be repeated several times.
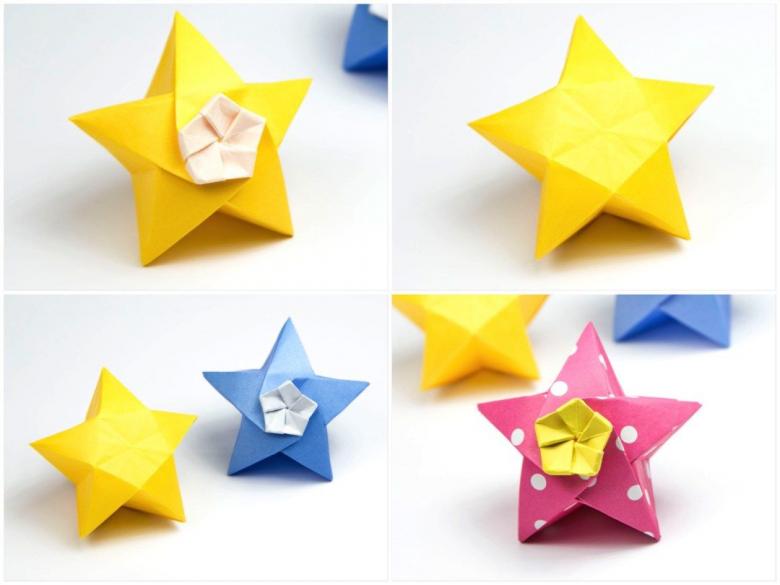
After that, you can proceed to the assembly of the star. The edges are glued with pva glue, the resulting modules should be connected together so that all together they take the form of a massive star.
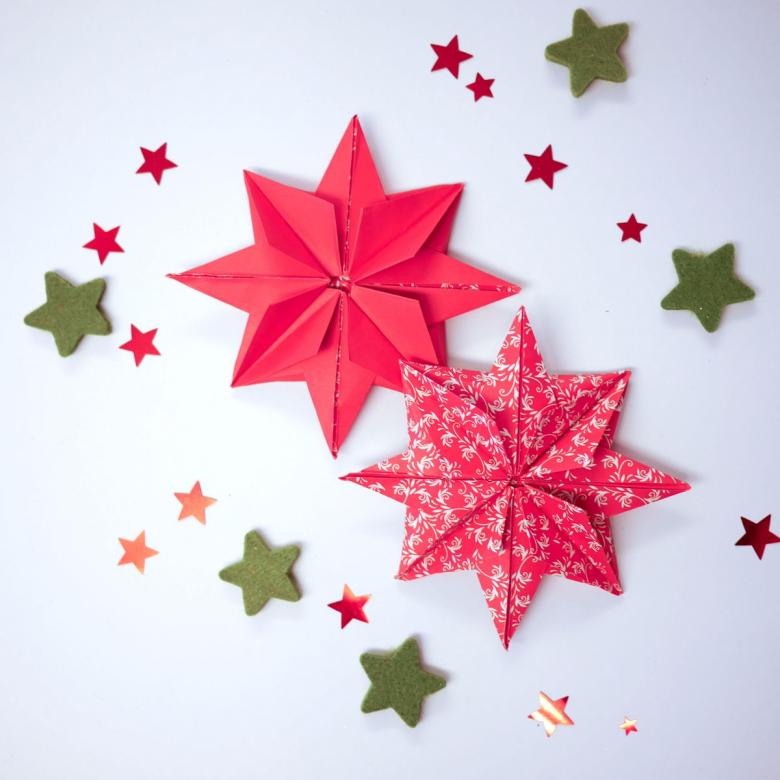
Easy star with their own hands
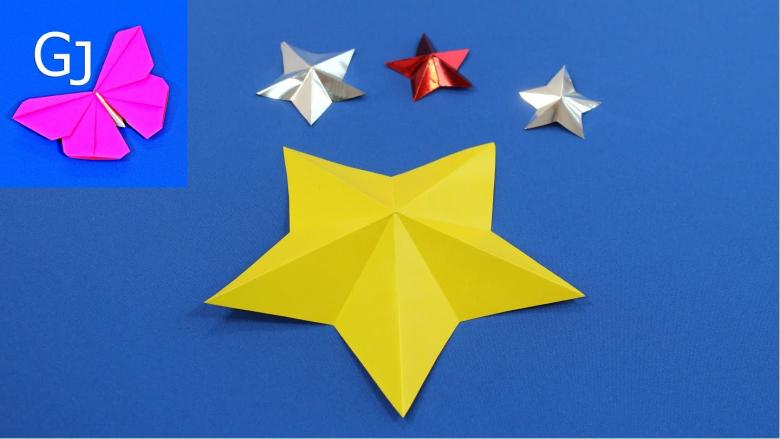
There are situations when you need to decorate an area of a room or an entire room in a short time with light, uncomplicated figures. Need something that can be done in 5 minutes from handicrafts. Consider a simple origami star of paper.
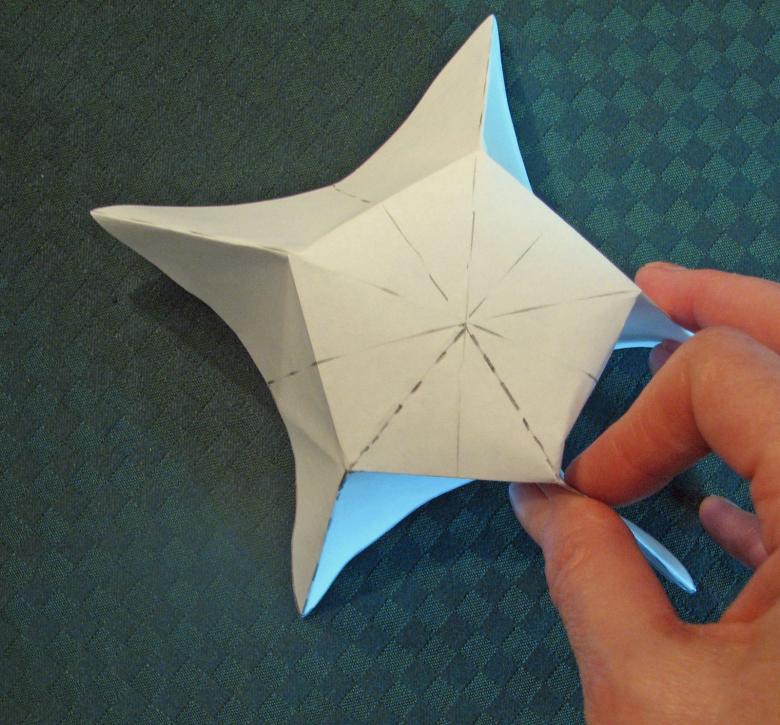
We will need colored paper or plain paper and pencils, felt-tip pens or colored pens to paint the future star. You will also need scissors.
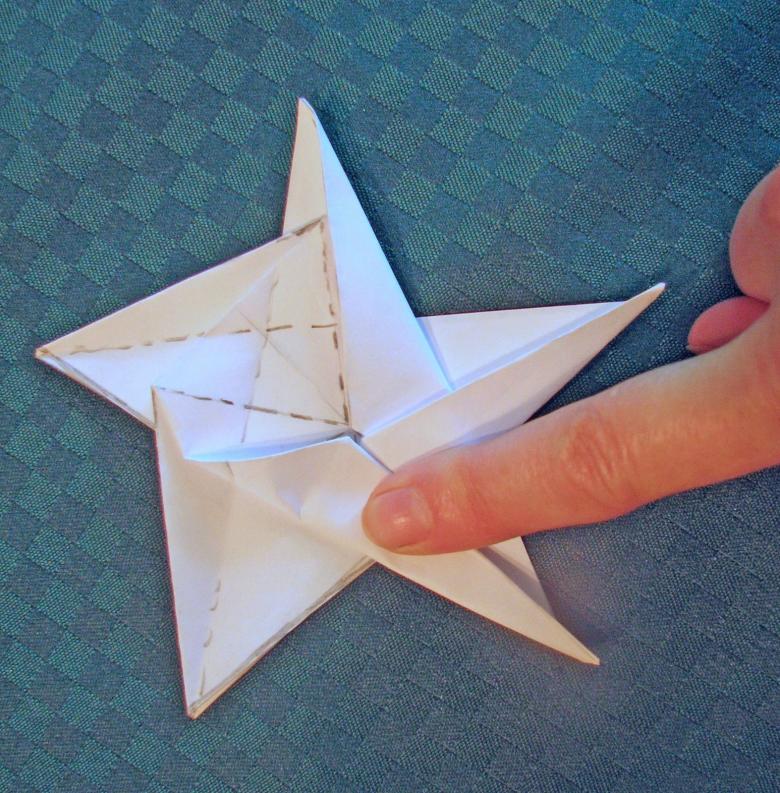
For making this star, A4 paper will do. First you have to cut a few strips, size 29x1.1 cm. Please note, the width of the strip can vary, but it depends on the width of the future stars, so too narrow strips to do is not necessary.
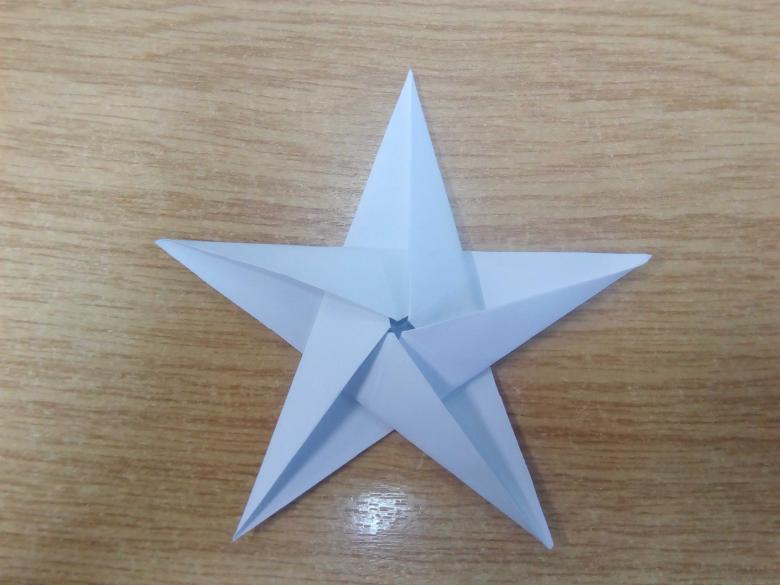
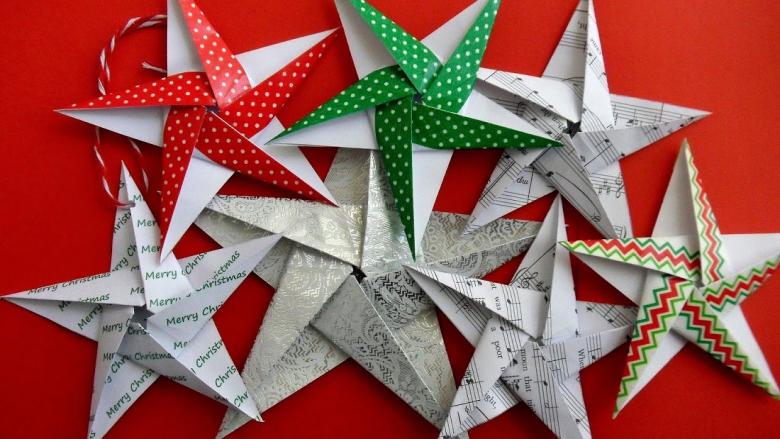
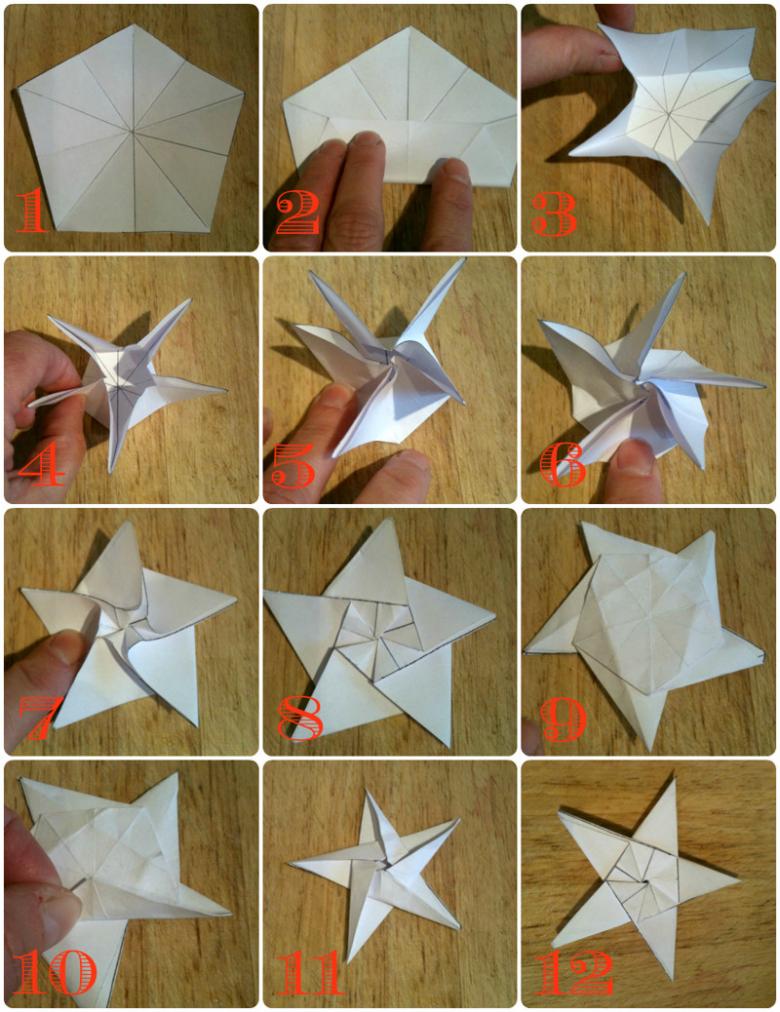
From the sliced strips you need to make a loop so that you end up with a small pentagon. The resulting loop should be pressed, turn the workpiece, and then start working with the long end of the part. Free end to wrap a pentagon at least 10 times so that each resulting edge has been worked at least twice (a total of 5 faces).
Free edge should be hidden down into the resulting figure. Then you need to lightly press on the center, so it got more natural star shape.
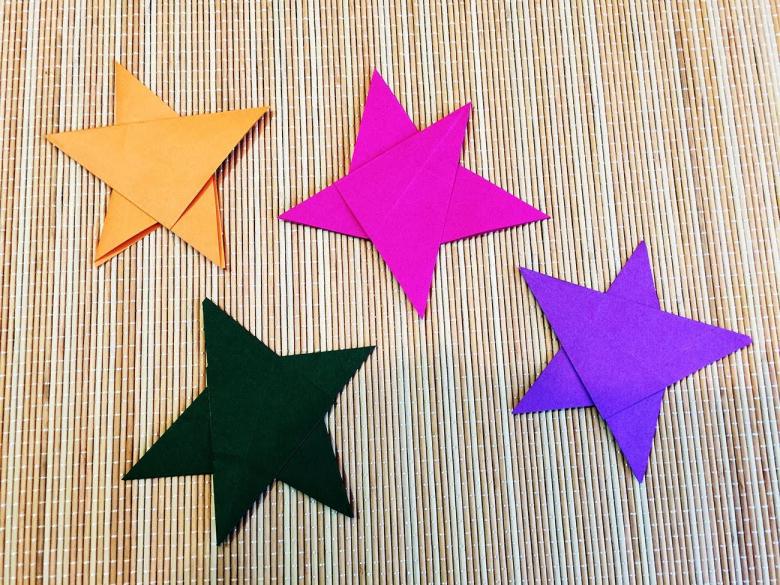
The whole process will take no more than 2 minutes for 1 star. If you wish, you can refine them using a needle and thread, threading them to create a semblance of hanging decorations, which can be placed virtually anywhere.

To diversify the interior or a separate area of the room, you can make several of these stars of different colors. They perfectly decorate a vase or a frame for photos.
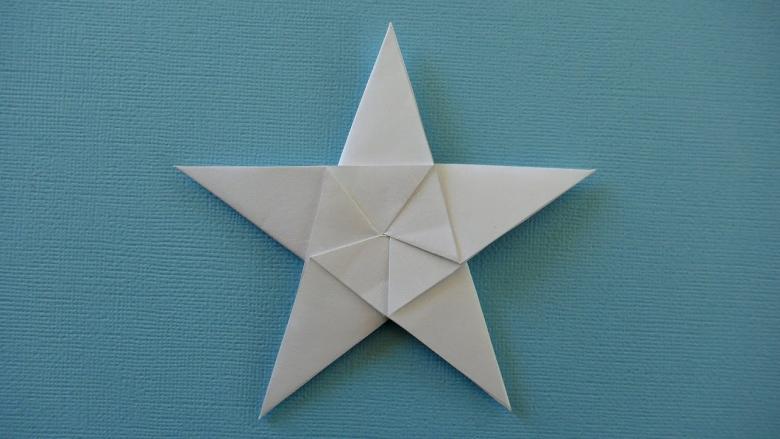
Also they can be further colored, using helium pens or felt-tip pens. But you should be careful, the construction is very fragile, it can easily be damaged by careless movement.
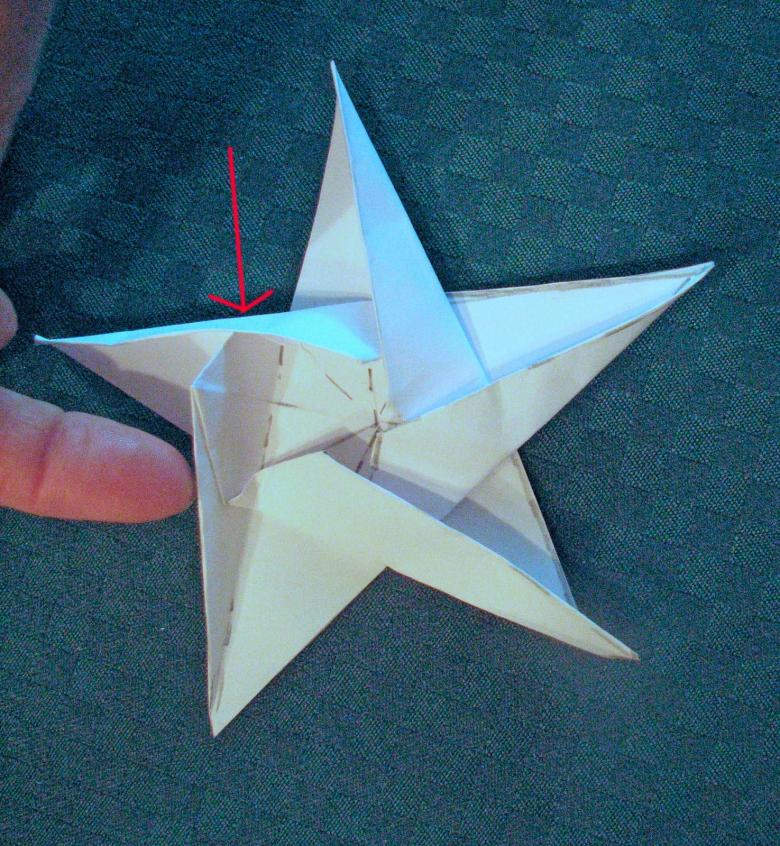
A simple star made of several A4 sheets
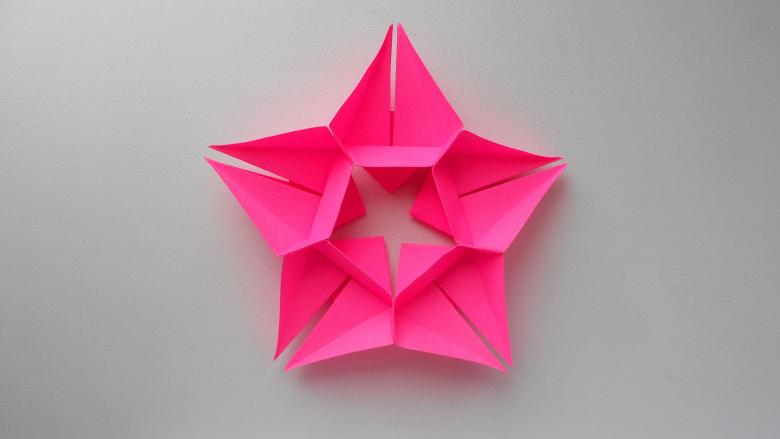
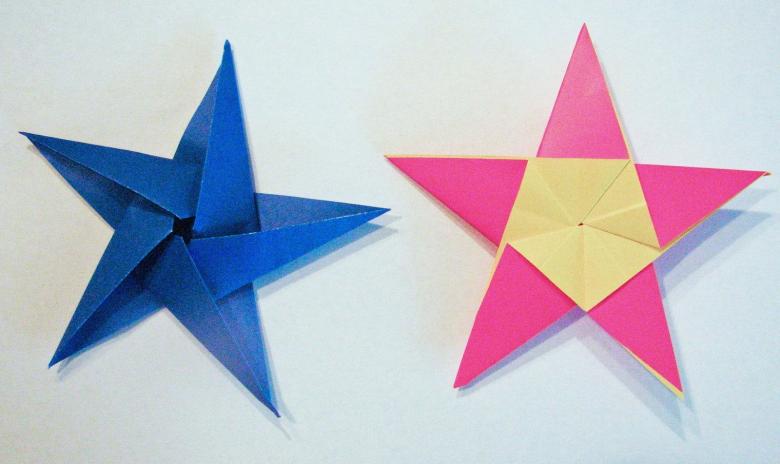
Another simple way to make a star. In this case, the final figure will be modular, but flat, which greatly simplifies the process of making it. For this method you will need colored paper and pva glue.
Initially you need to place the sheet in front of you in such a way that the top and bottom sides of the sheet are large. Next, the left and right edges, alternately need to bend toward the middle, so you get a triangle.
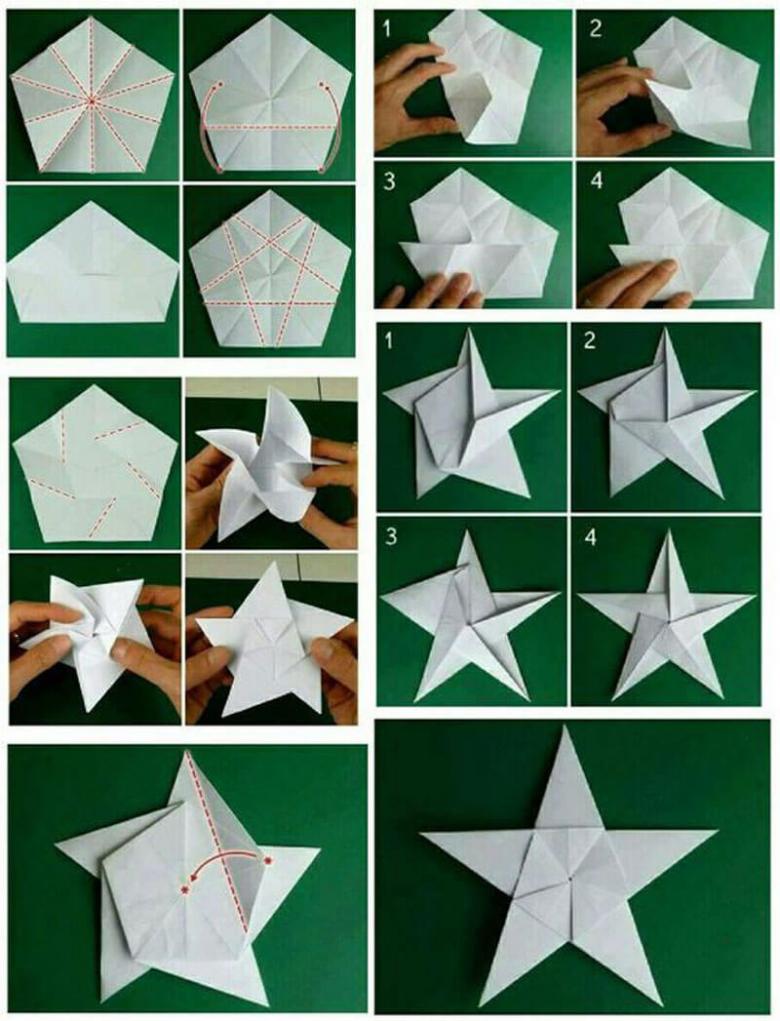
After this, you need to bend the lower part to the middle, so that it covered a small portion of the corners. Then you need to repeat the first step, once again bend the right and left side to the center, making the triangle more acute. Next, again you need to bend the center to the middle, to fix them.
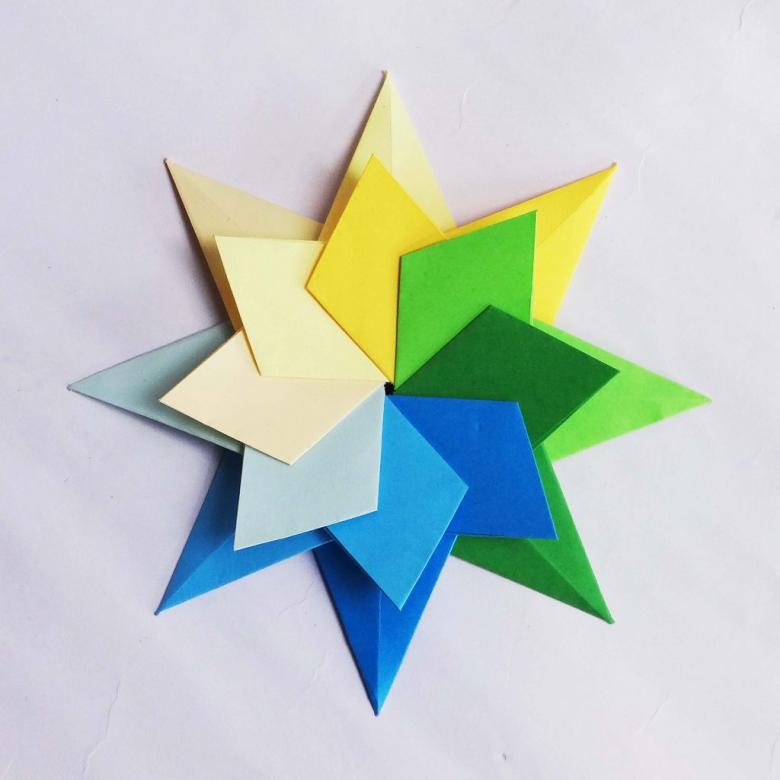
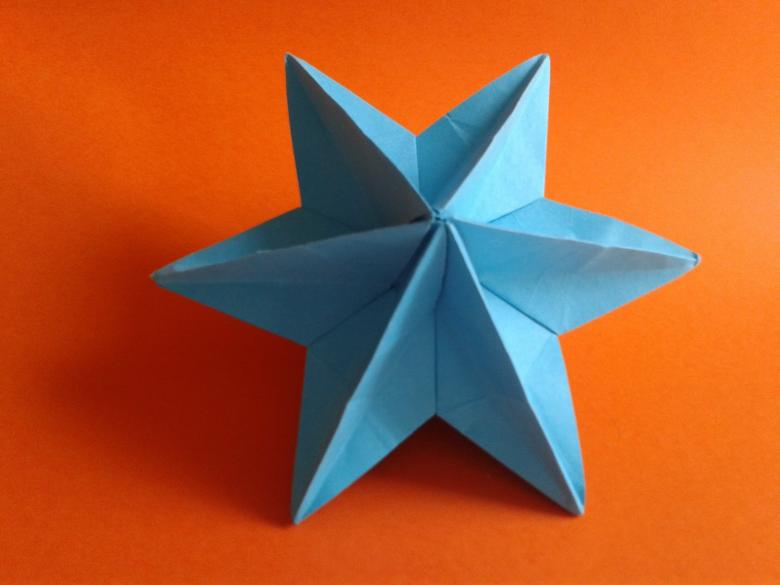
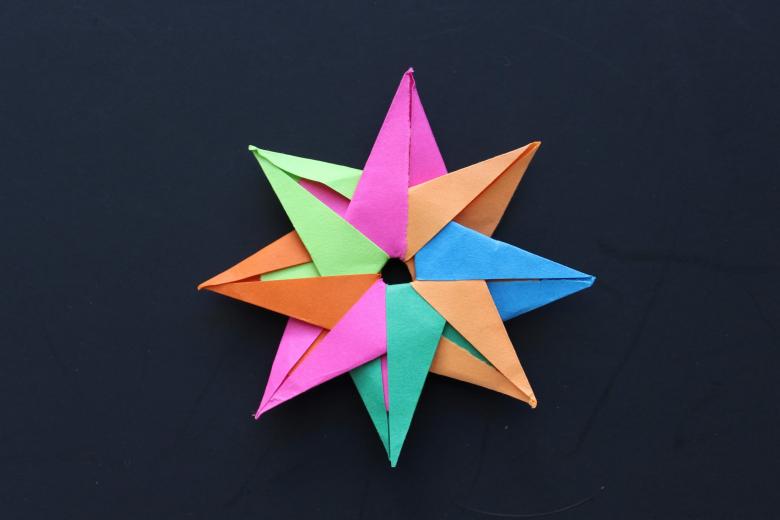
After that, you need the left and right bottom edges are slightly bend toward the center and fix it with glue. The end result is a blank, similar to the tip of a spear or an arrow. You need a few of these to form a star. The final figure may have 5 or more faces, so do not be limited to the classic 5 points of the star.
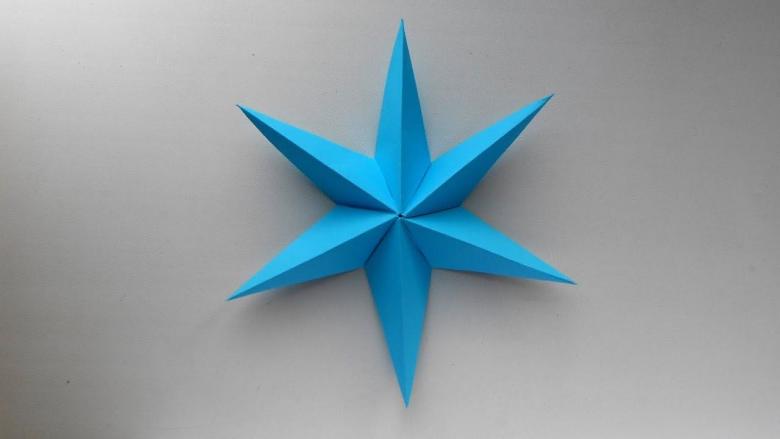
Putting blanks on top of each other, placing them in a circle, they need to glue each other. This process should be done so that exactly in the middle was formed a small round hole. It is necessary so that the star can be hung from a thread, creating a hanging decoration.
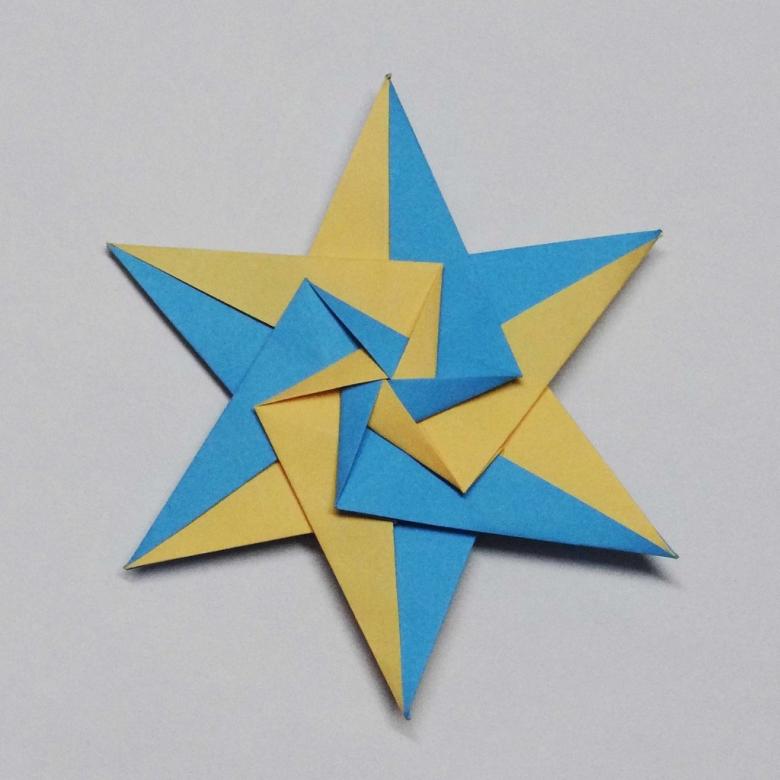
Victory Star
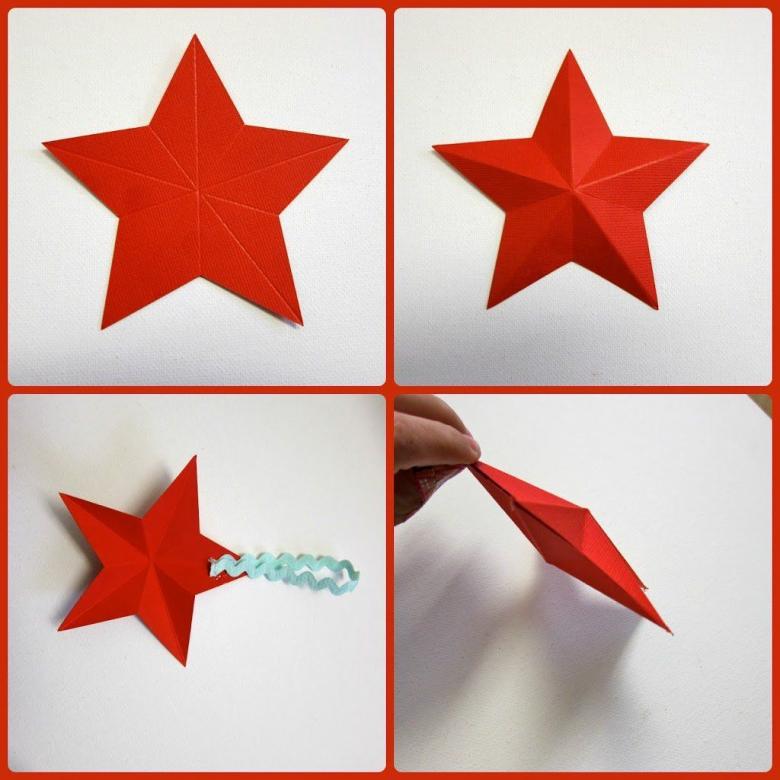
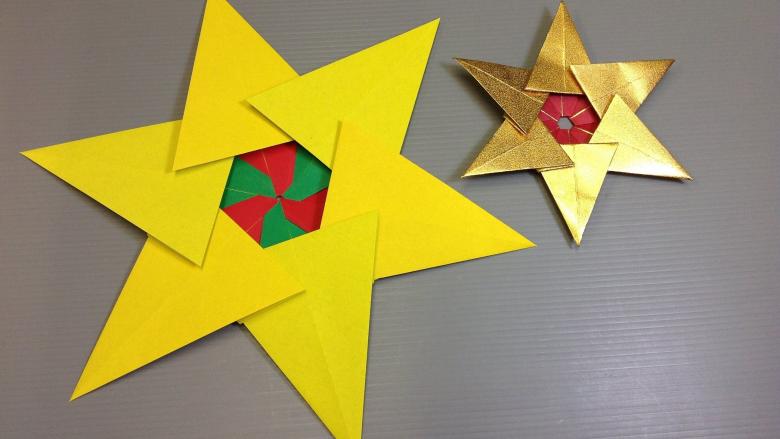
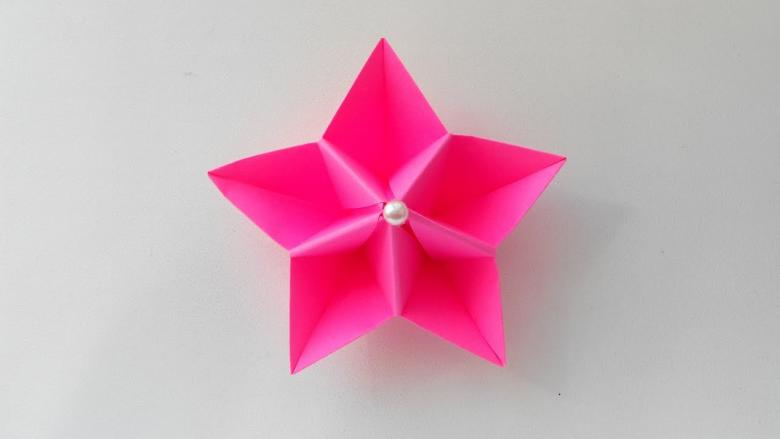
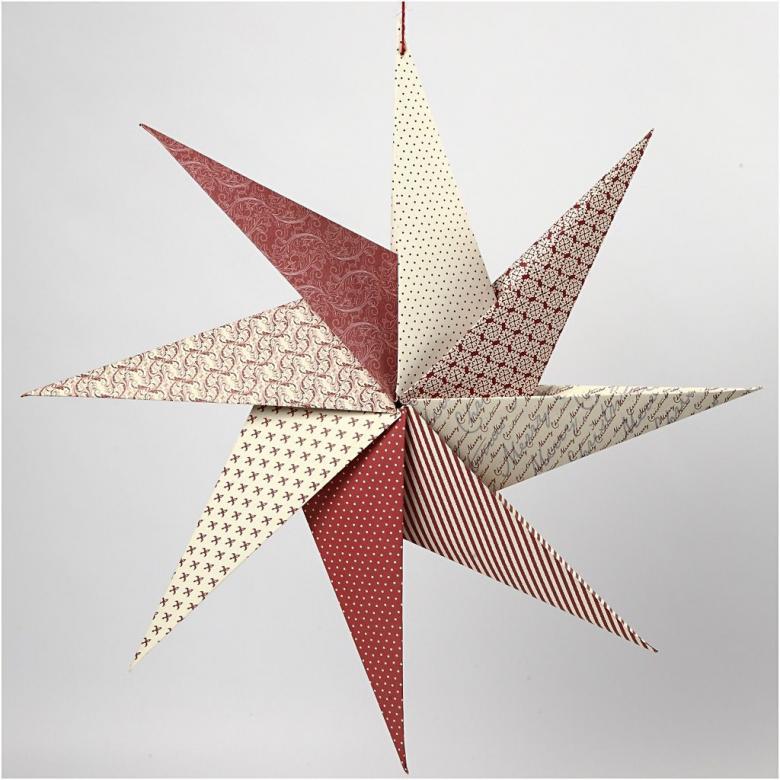
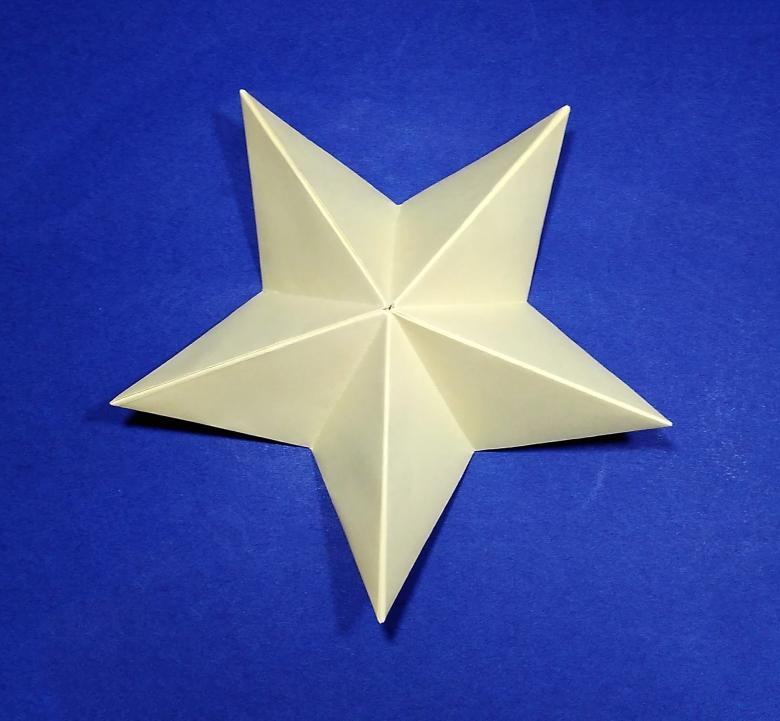
A classic five-pointed victory star is quite easy to make. You will need burgundy paper and glue. Modular origami victory star can be made in just 5 minutes, which is very convenient.
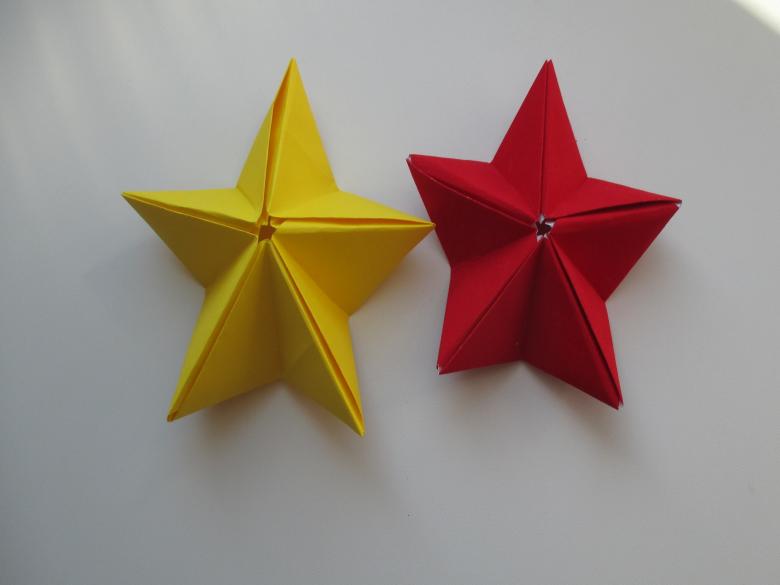
The principle of assembly is exactly the same, but in this case you need to make only 5 identical blanks, by folding the edges. First you need to fold the left and right edges to the middle, then fold the bottom to the center. Then repeat this step once again.
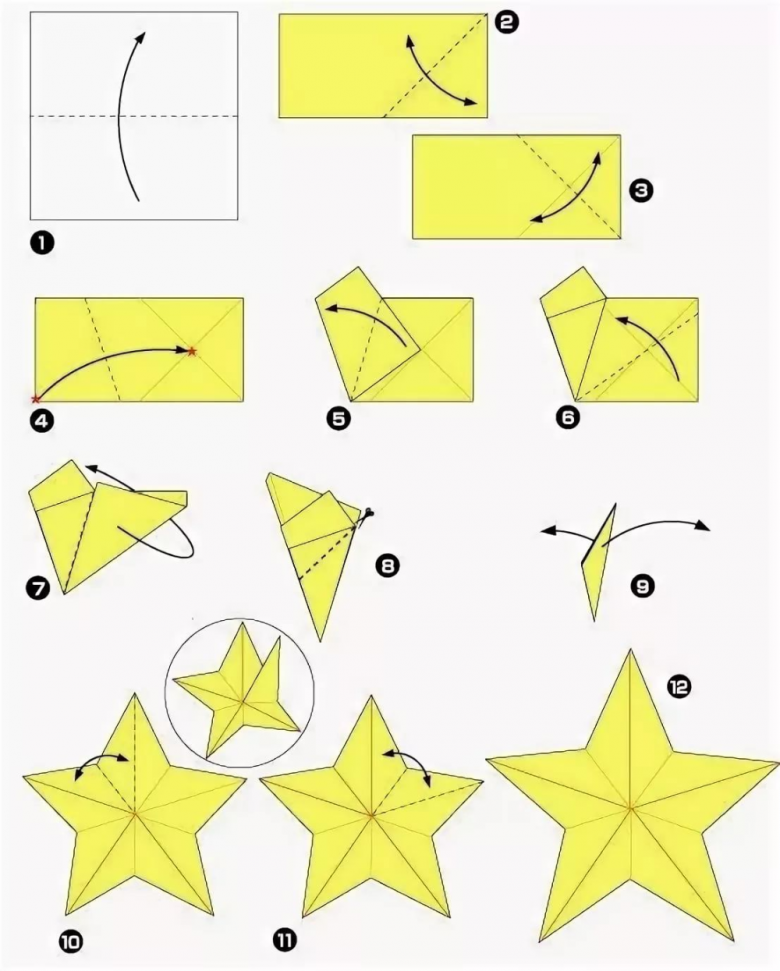
After that, the left and right edges of the bottoms should be slightly tucked to the middle and fasten them with glue. Place the workpieces also in a circle, but note, the front side should be without folds, you need to take this into account when attaching the parts to each other. Also, in this case it is not necessary to leave a small hole in the center.
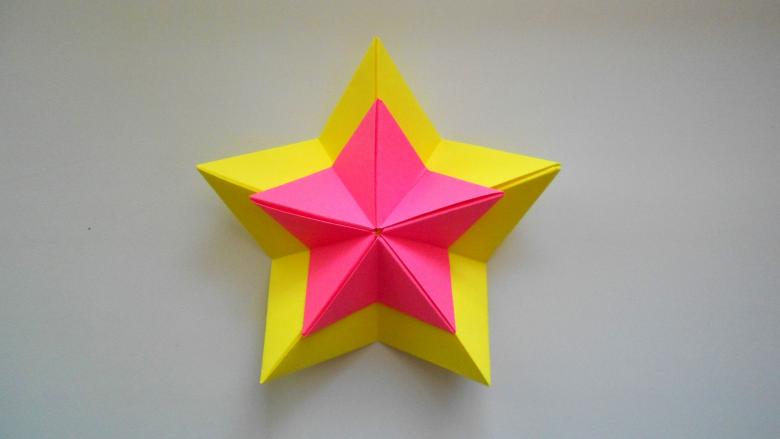
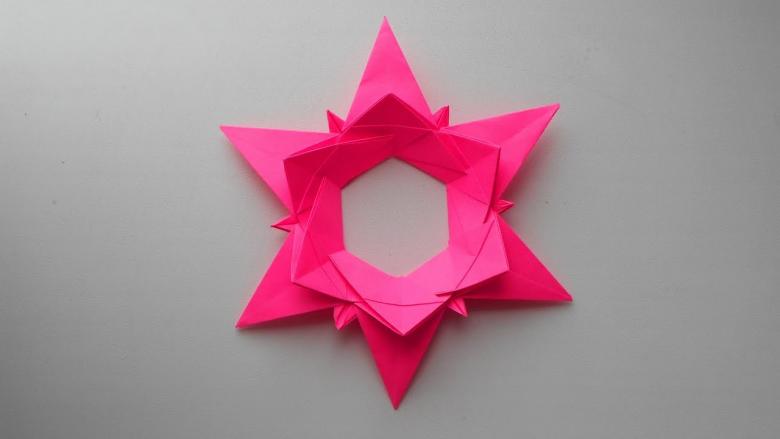
The victory star can be decorated with a golden crown, which can also be made of paper. There are several ways to make wreaths, you can use the easiest one. For it you need to cut two long and wide enough strips of yellow or gold paper.
After that, on the strips you need to draw a line in the middle on the back side, and from it begin to draw leaves. They should be arranged as much as possible, so it will be more beautiful. After that, you need to carefully cut out all the excess around the leaves, so you get a full wreath, which should be glued to the star.
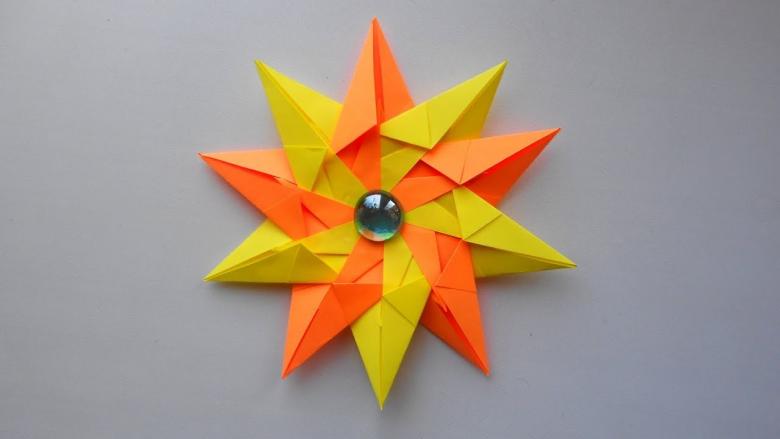
Modular two-tiered star
Looking at a simple scheme of origami stars for children, it is worth considering a simple way to make a modular, three-dimensional star of paper. This option not bad develops motor skills.
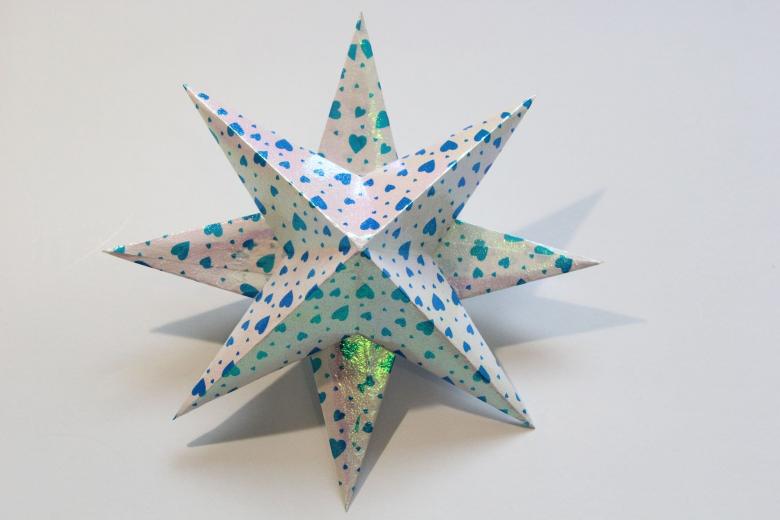
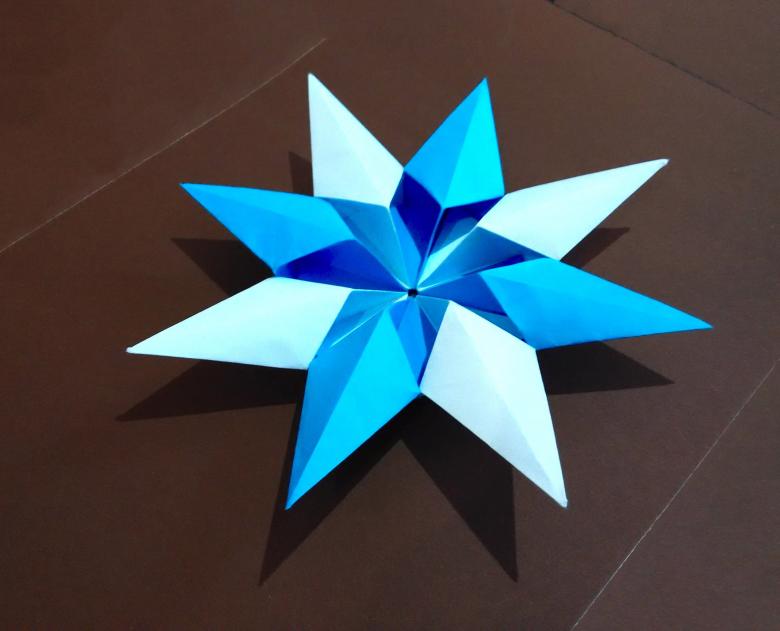
Need to make two types of blanks in the form of tips for a spear, some should be bigger, others smaller.
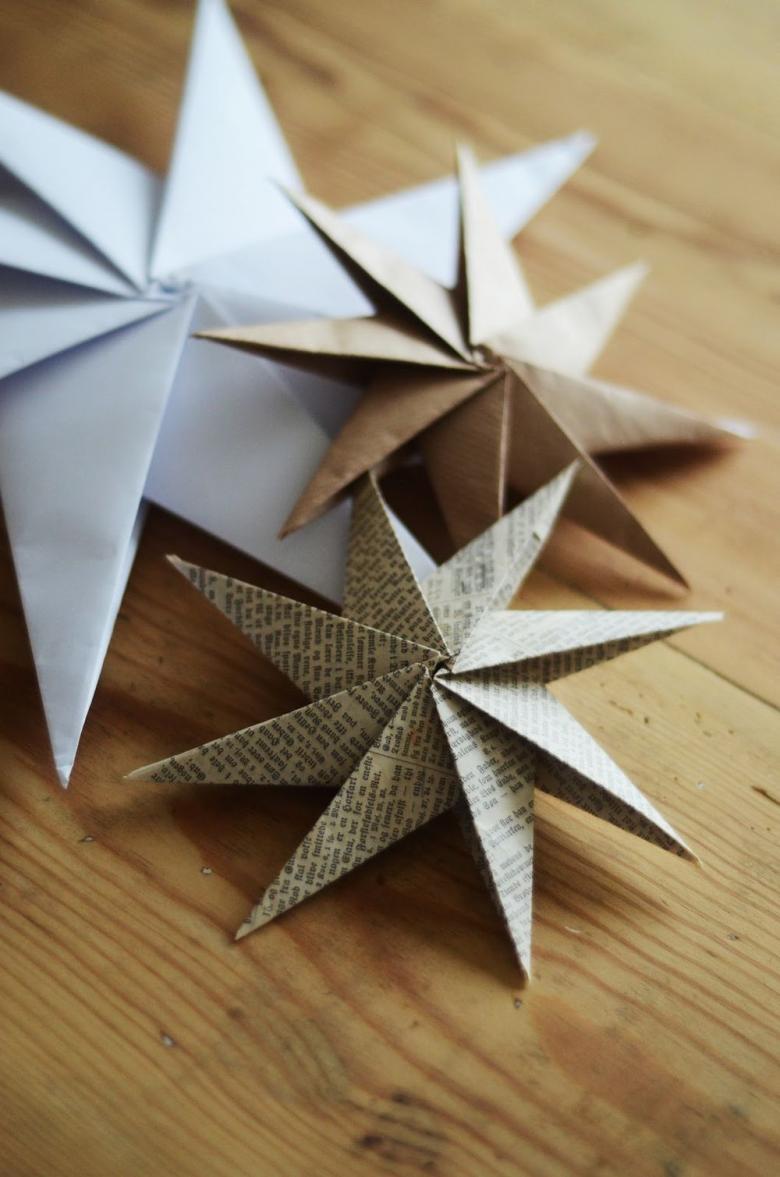
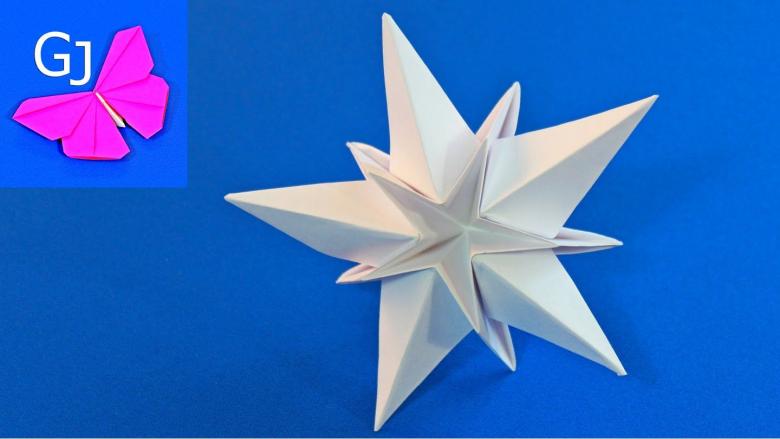
Allowed to use colored paper. Glued also to each other, forming 2 separate circles. After that, the small circle should be placed inside the big one, gluing it together. In the middle you can also leave a hole for attaching thread.


