Quilling crafts for beginners - a step by step description of ways of rotation, master classes, photo ideas
The idea of quilling emerged at the turn of the Middle Ages in Europe. Monks of that time trimmed the gilded edges of books, twisted them and attached them to the ends of feathers for writing. Then this feature of monks' entertainment was adopted by noble ladies, and developed into a new kind of art with the unusual name of "quilling.
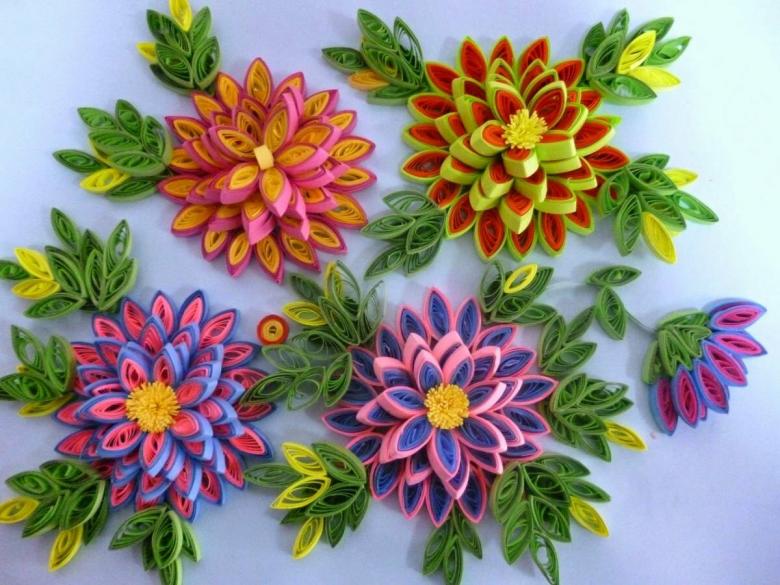
The origin of the word is simple: quill means "feather of a bird".
There was a period when, in the 20th century, this kind of craft has been forgotten. However, at the end of the century, craftswomen began to use it again as a hobby.

The result was the emergence of quilling schools around the world. Nowadays, quilling is a modern art form that uses narrow twisted paper strips to create handmade works.
Tools and materials used in quilling
Before you start mastering the technique of quilling, you should stock up on a set of tools and materials. It includes:
- A special machine for cutting even strips of colored paper. As a budget option, ordinary scissors will do. However, in this case, the cutting will take much more time, and the strips will not be perfect in evenness.
- A professional fork for twisting strips. You can also use manicure scissors, a toothpick or an awl to twist the spirals.
- Glue to bind the parts together and fix the ends of the strips.
- A special ruler for quilling lessons. It has a cork base for fixing small parts with a needle. If you do not have such a ruler, you can use a mathematical ruler.
- Tweezers. It will come in handy for gluing small parts of the rolls together.
- English pins. They are very convenient to fix the details of the work.
- Wooden toothpicks. They are used to apply glue in hard-to-reach areas of the quilling craft.
For convenience, you can also buy a mat with markings, a comb for spirals and a stationery knife.
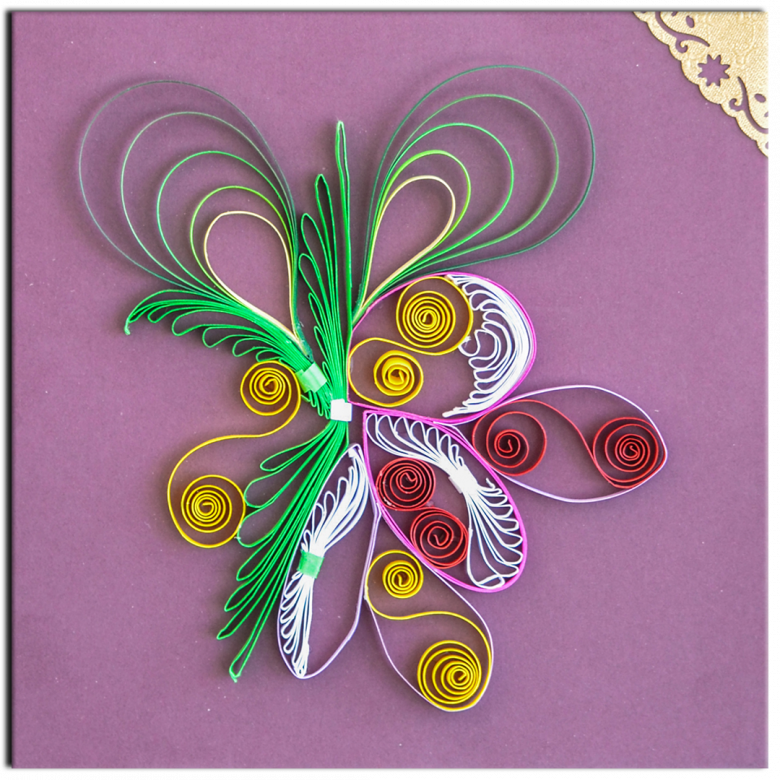
To obtain even and high-quality spirals, paper with a density of at least 140 g/sq. m. should be used when making paper strips. The length of colored strips in this case should be between 20 to 50 cm.
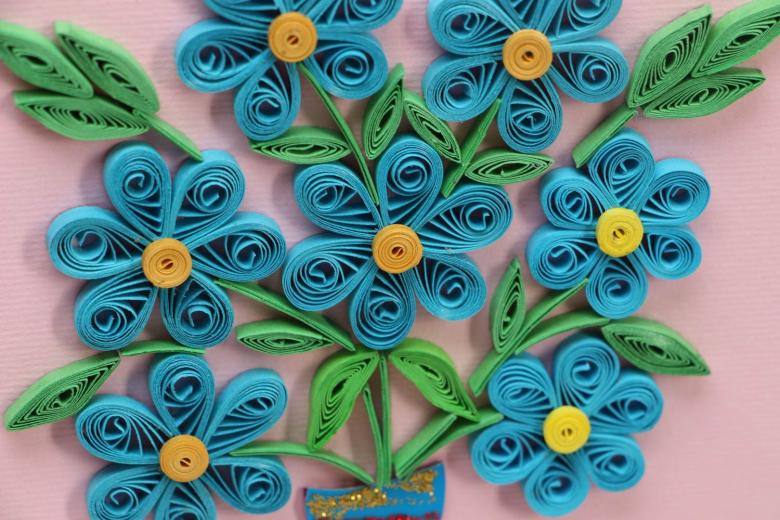
Basic elements
Start making a quilling craft by mastering the basic elements. "The spiral is the most common among them. Its main varieties are tightly twisted, loosely and loosely twisted rolls.
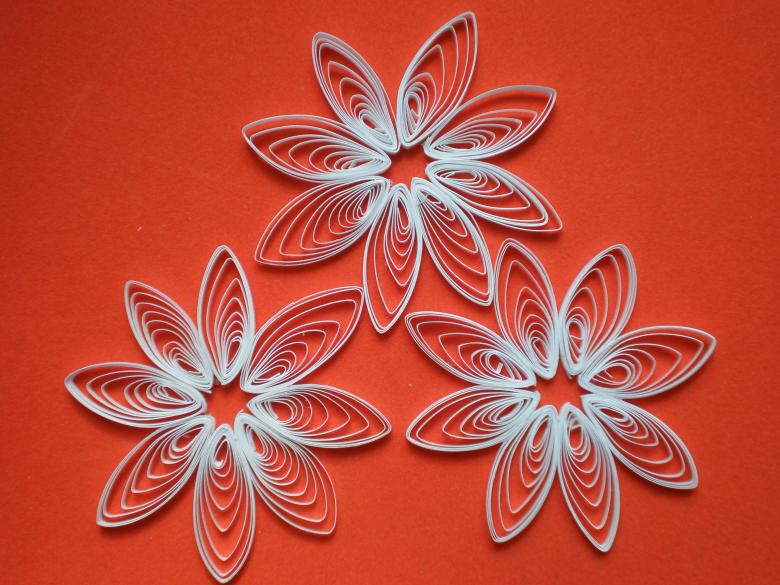
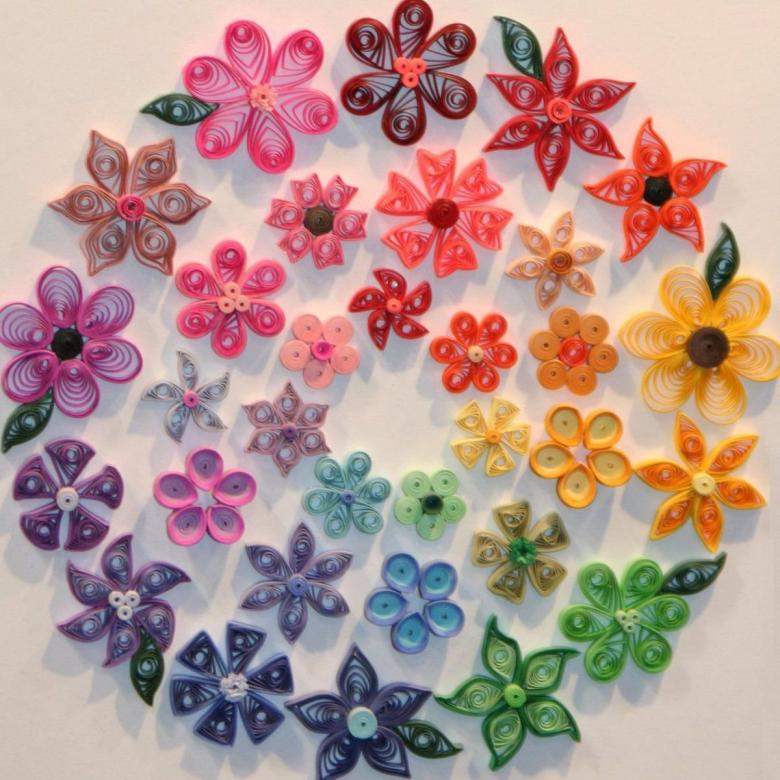
By transforming these parts by pulling or kneading, you can get other elements of quilling, such as a drop, an arrow, an eye, and others.
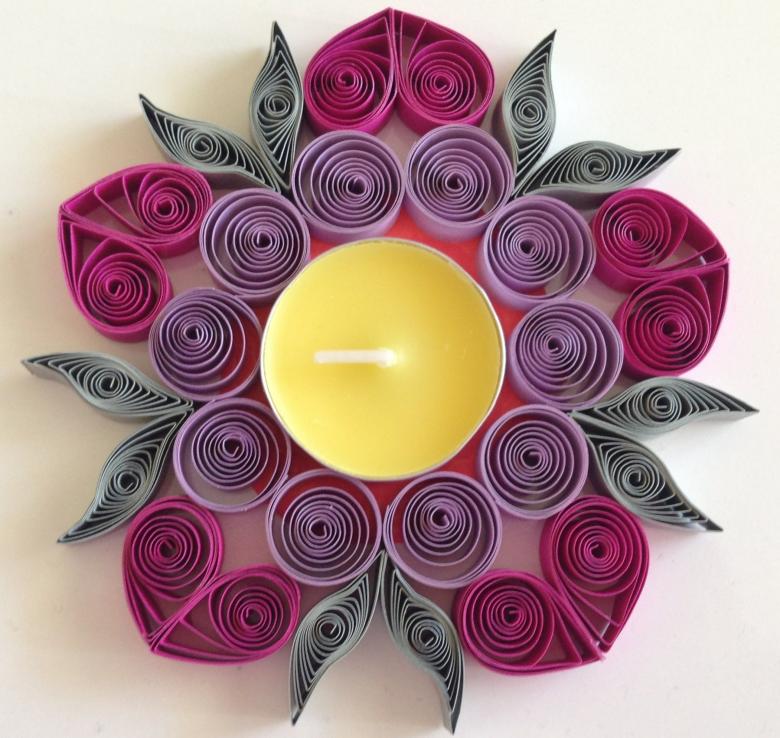
Methods of twisting in quilling
This technique uses four basic ways of twisting colored strips:
- Classic. It is used when creating a large number of quilling products. This method refers to the basic.
- Looped. As their name suggests, with this method of making loops, which are used in the laying of flower petals and leaves.
- Contour. This method is used not so often. Basically, the contour method is used by experienced craftsmen for decorating complex paintings.
- Beehive. This method is different from others in that before the work all the strips of paper are glued together in a continuous band, which then create openwork masterpieces.
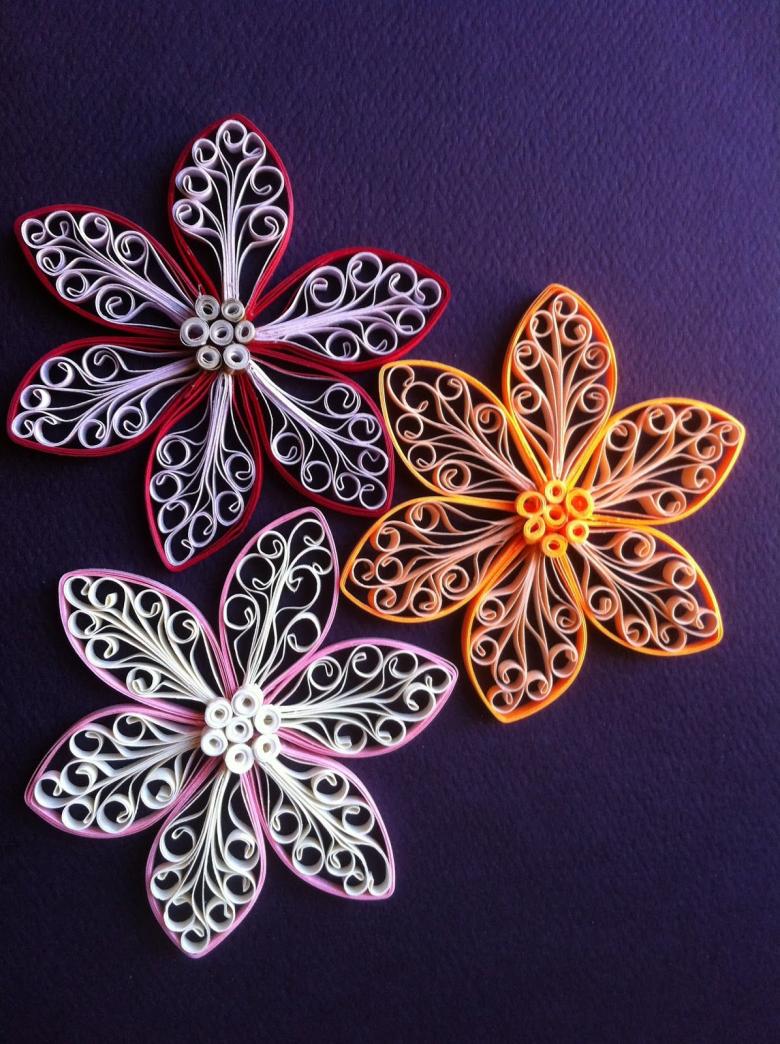
Quilling crafts schemes
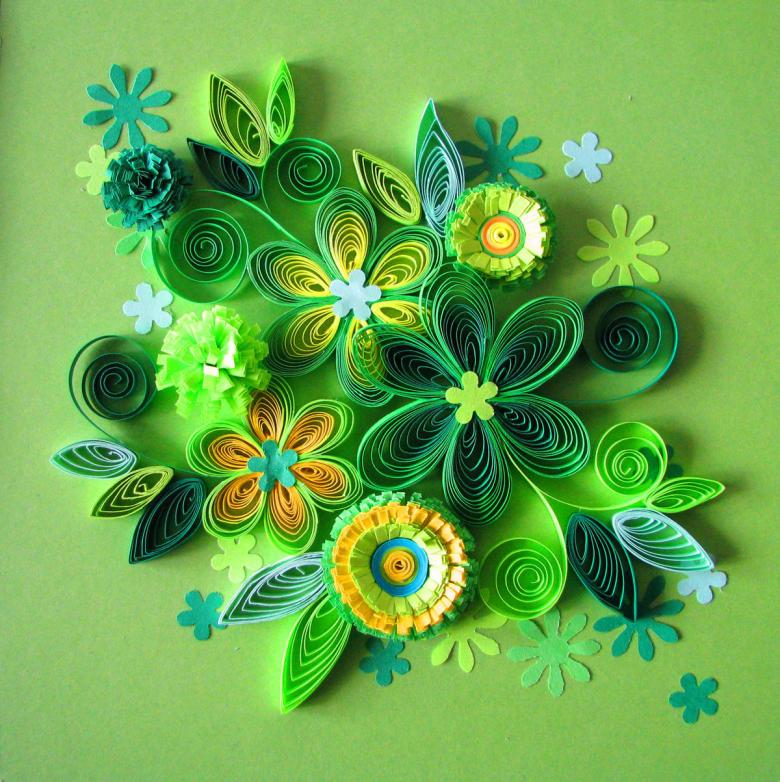
Inexperienced in the art of quilling, the master must begin his work with the creation of schemes. They will help to harmoniously arrange the small elements in the composition.
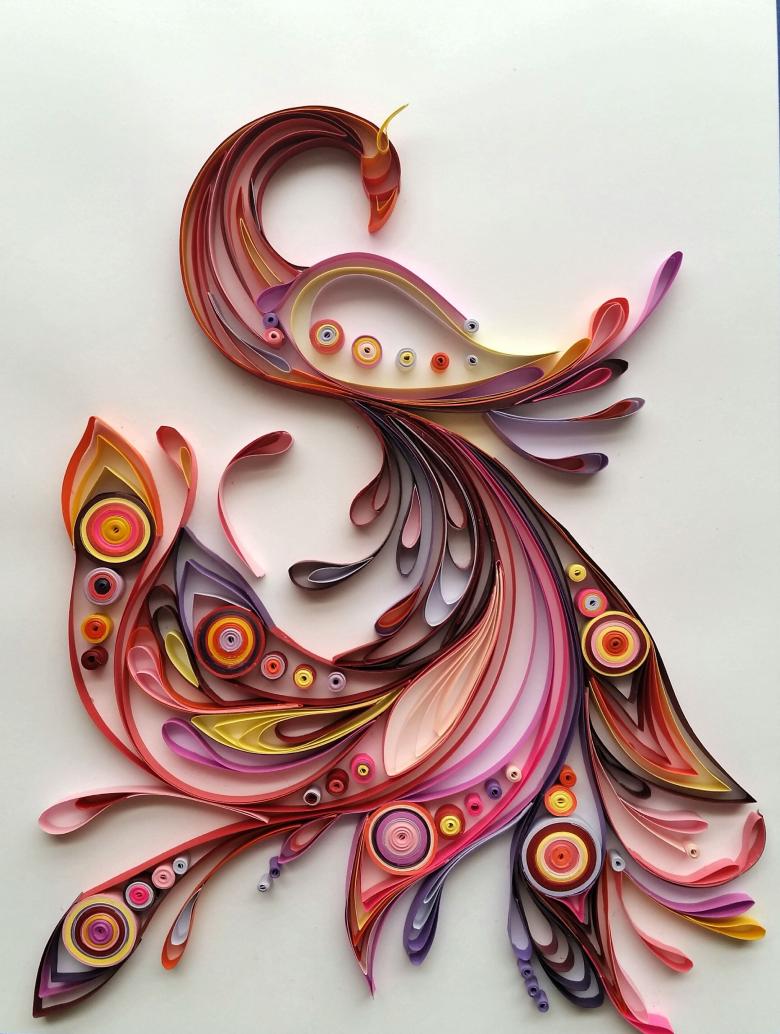
For this purpose, one should draw an image on a piece of paper, which should eventually turn out. Then the necessary number of quilling parts is prepared, which are placed on the scheme. After obtaining a perfect picture, all elements are fixed for reliability with English pins and glued to each other.
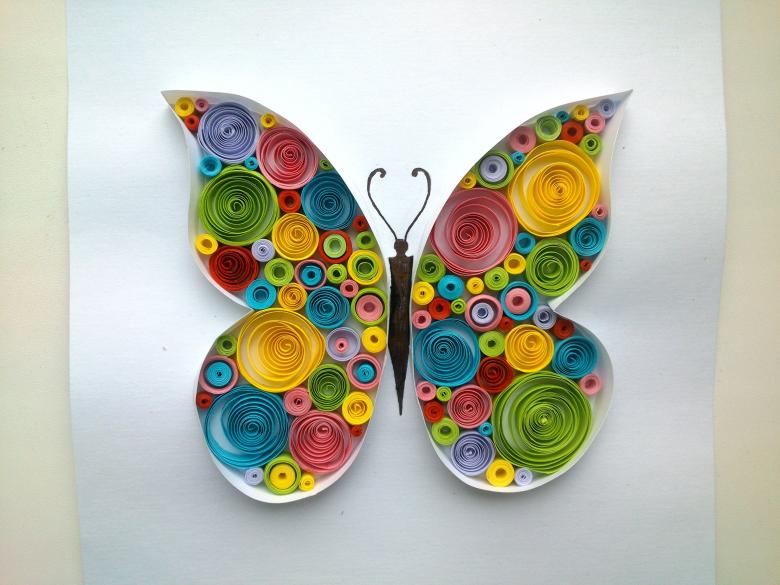
You can use ready-made blanks schemes. They are copied from children's coloring books and magazines. You can also download schemes from the Internet and print.
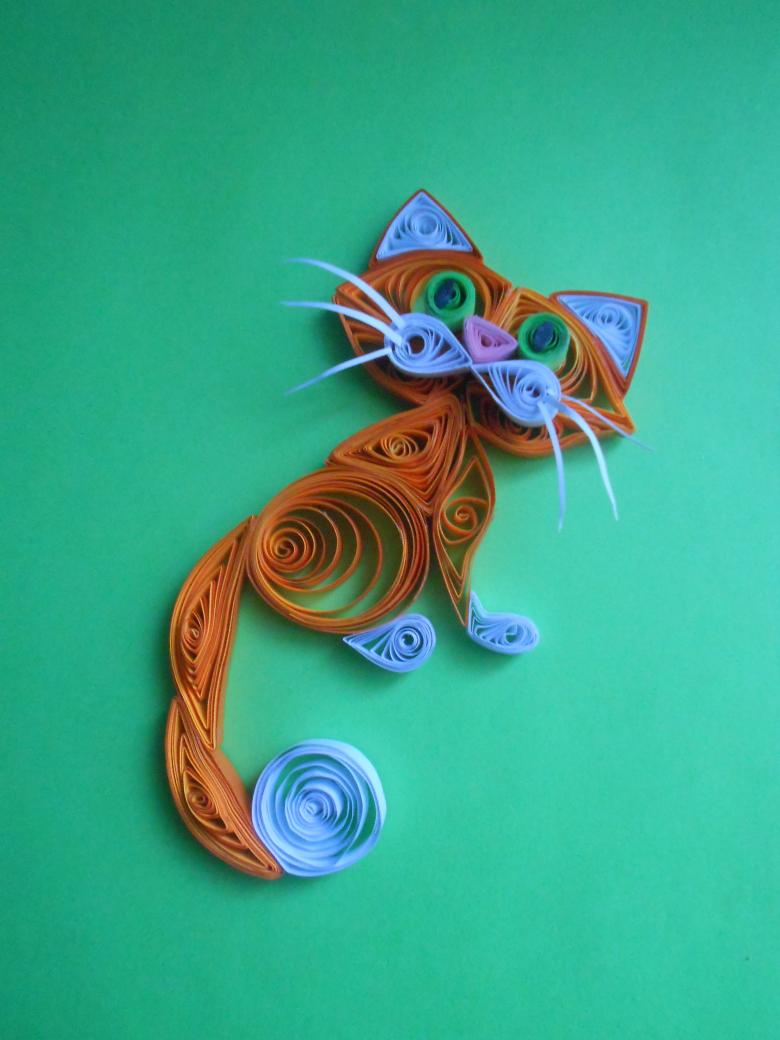
A more detailed description of the use of schemes in quilling is considered in various master classes.
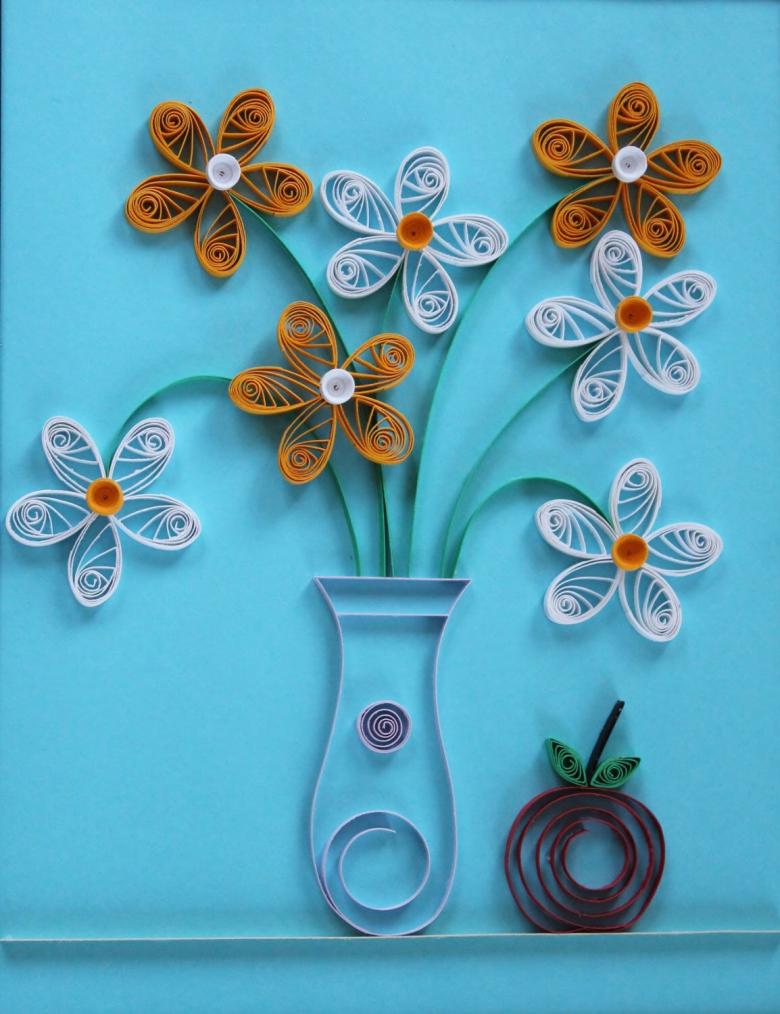
Flower in the quilling technique
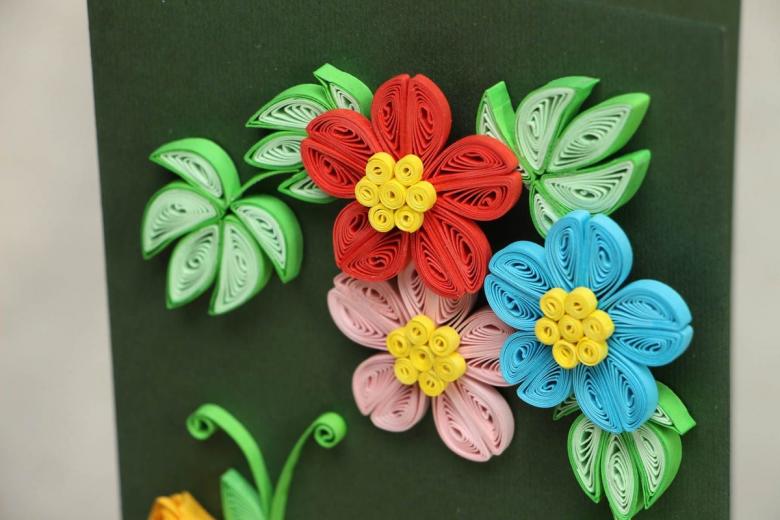
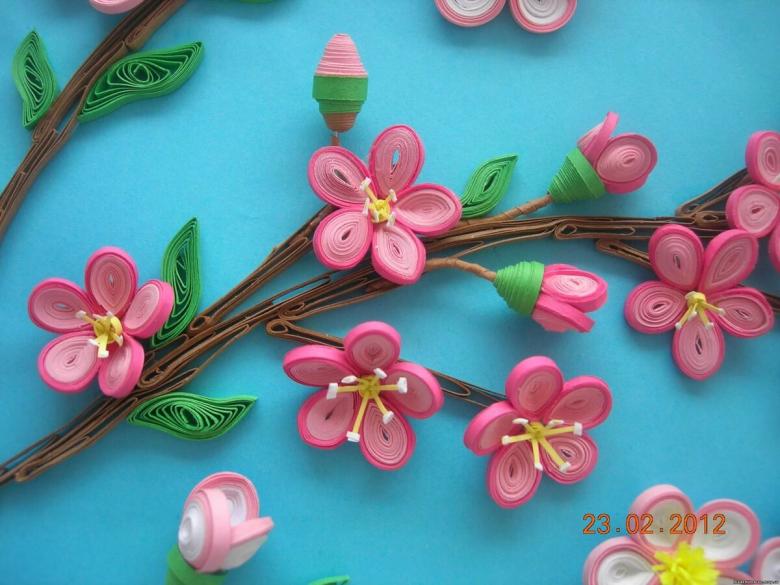
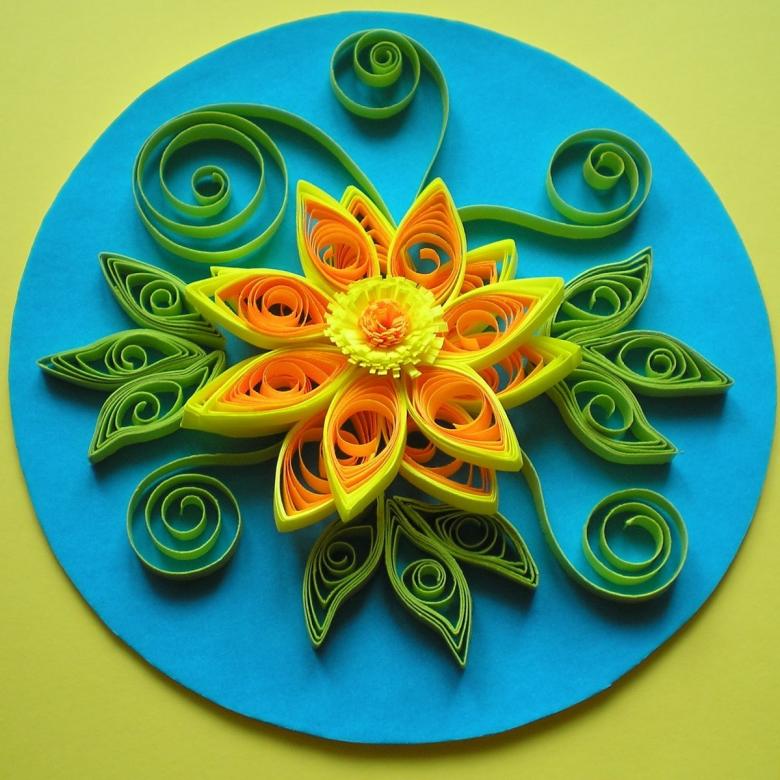
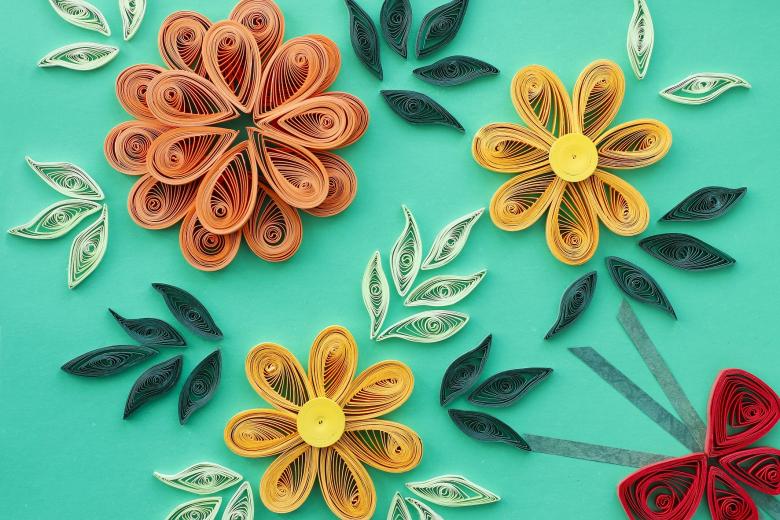
To begin with, let's try to make a simple flower consisting of five petals in the technique of quilling. Having mastered this easy craft, you can proceed to the creation of more complex floral compositions, which will easily become a unique highlight of any design.

For the work will be required:
- Strips of colored paper, cut to a width of 0.6 cm;
- a wooden stick, glue;
- tweezers, ruler;
- half a bead.
Let's get to work.
- Prepare five spirals and pull them in a boat.
- With a toothpick and glue fasten the petals together in a circle.
- In the center of the flower glue a half bead.
Postcard "Cats in love".
This simple and unusual work can be made with your own hands in half an hour.
Prepare the materials:
- paper strips of white, black and red;
- An openwork paper napkin;
- a base for a card of heavy paper;
- glue, a toothpick, tweezers and a ruler;
- double-sided tape.
A step-by-step description of how to make a postcard.
- From a strip of white paper we twist a loosened spiral and fix it with glue.
- From the resulting roll by pulling a detail in the form of an eye. This is the body of the future cat.
- From the second white strip make a loosened spiral of smaller size. This is the head of the cat.
- Proceed to the manufacture of paws. For them we prepare two white strips, the width of which is two times less than the previous. Twist out of them loosened rolls and give them the form of a drop. To do this, the center of the spirals is shifted to one end with a stick.
- Make cat ears. From narrow white strips of length 15 cm twist loosened spirals and use a stick to give them the shape of arrows.
- For the tail of a white strip of 10-15 cm curl.
- Assemble the kitty from the details. Glue together all the figures, tilting the head slightly to the side. This is to ensure that eventually the cat and cat could touch each other with their heads.
- Similarly, make a black cat. He should be slightly larger than the cat, and his head is tilted toward the cat.
- For the hearts, prepare three red strips, bend them in half and make curls at each end toward the center. Fix the shapes with glue.
- Start decorating the card. On the bottom of the cardboard base glue a piece of round paper napkin. Then use double-sided tape on top of the napkin to fasten the cats, connecting their heads. On top of the heads we make a path of hearts, attaching them with scotch tape.

How the technique of quilling is used in life
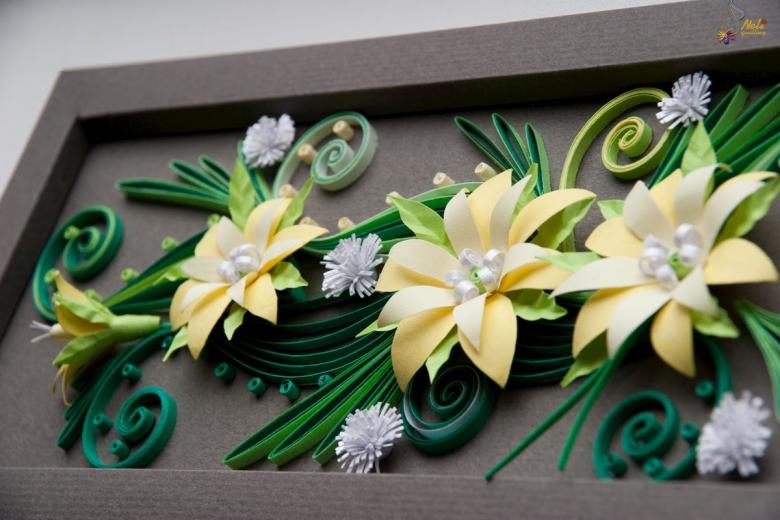
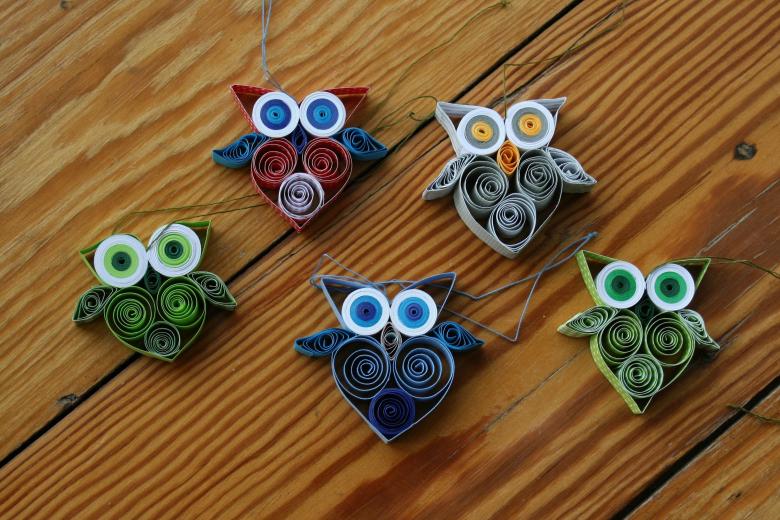
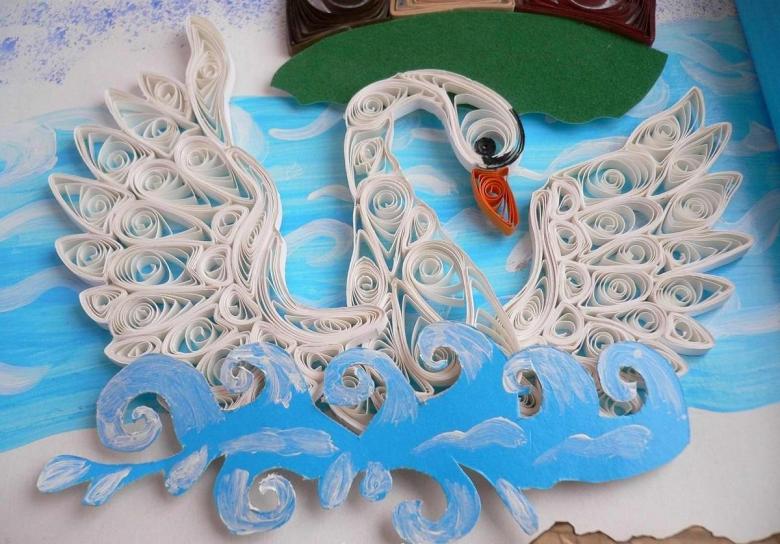
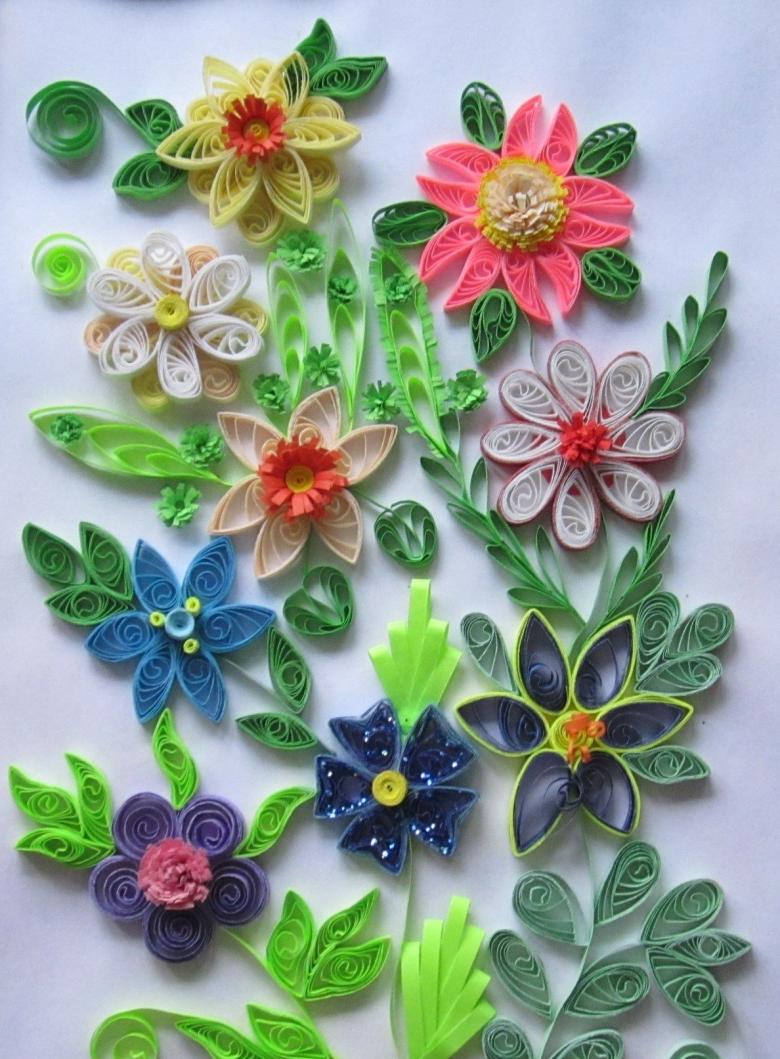
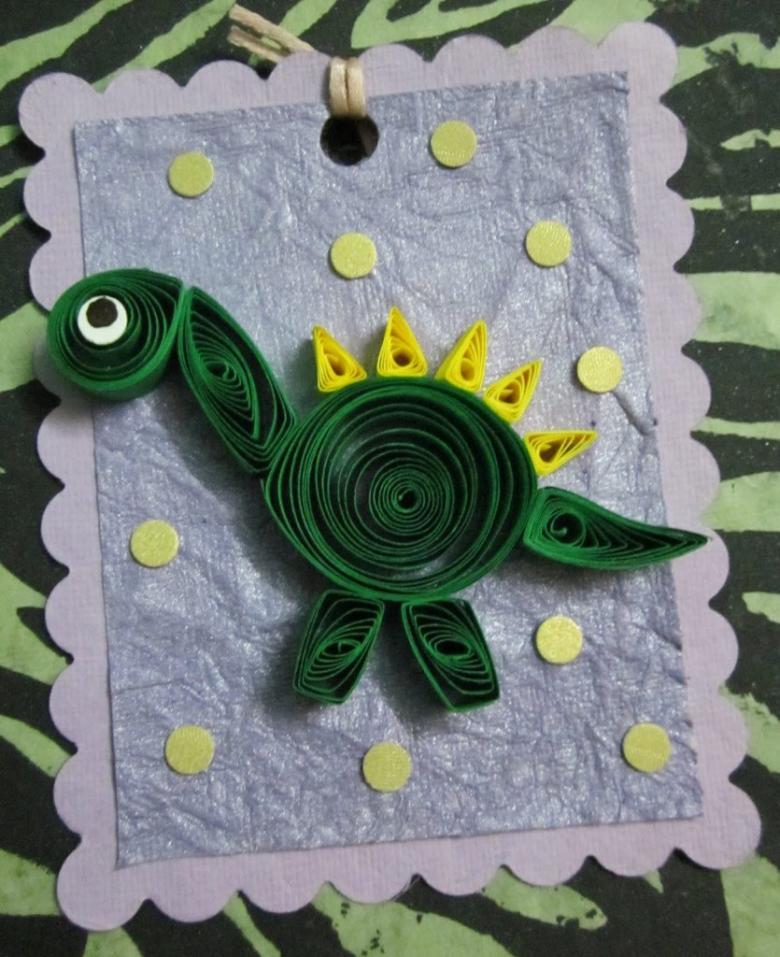
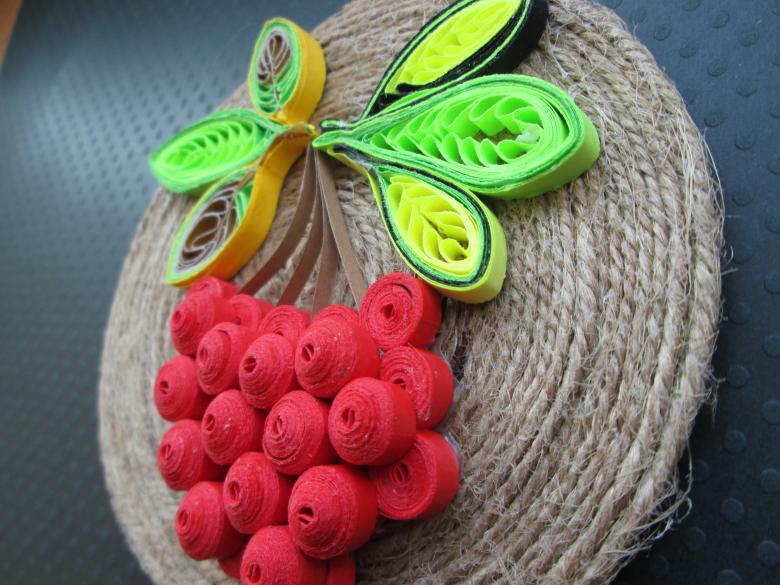
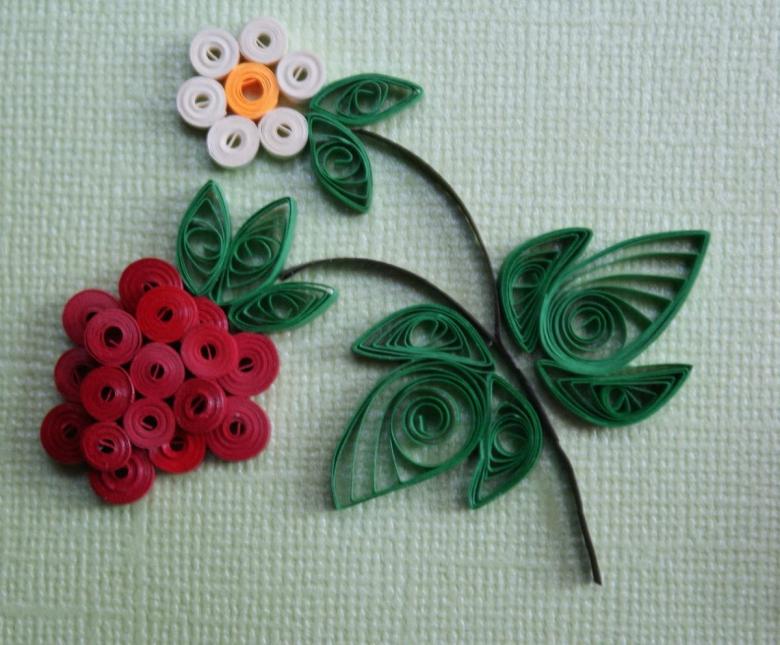
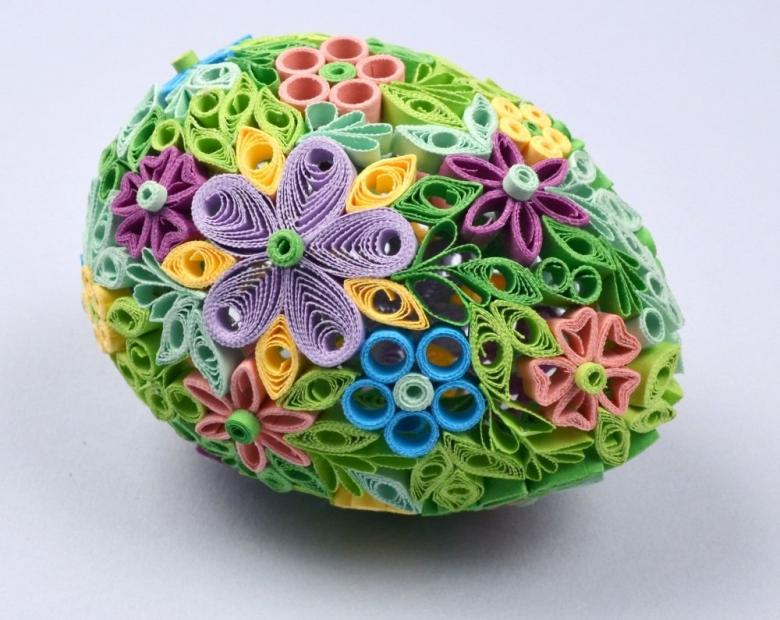
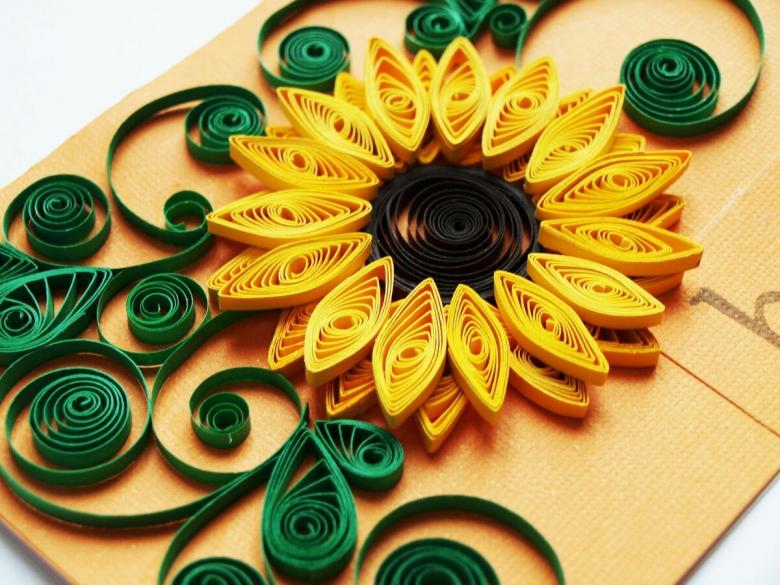
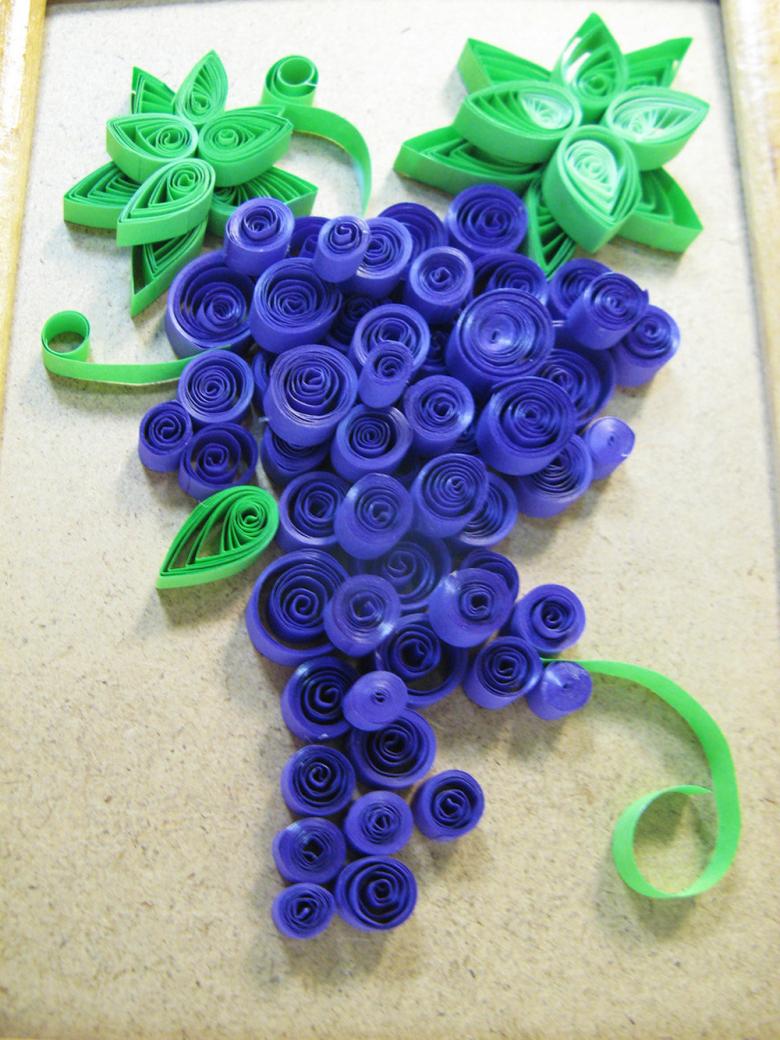
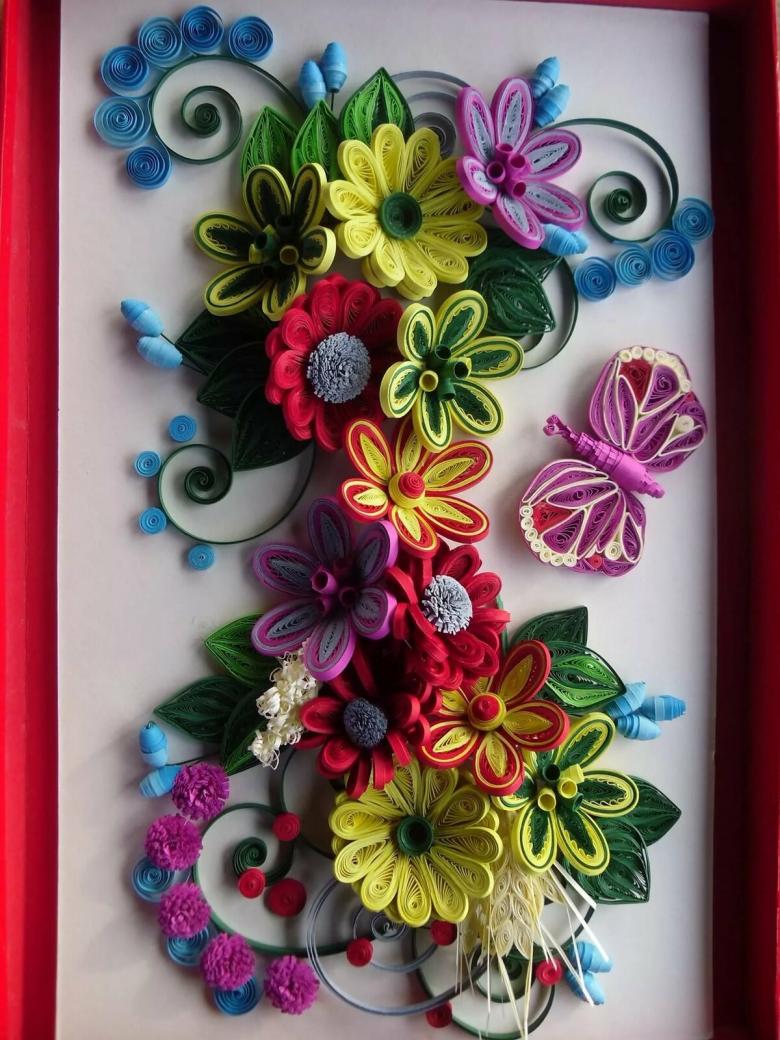
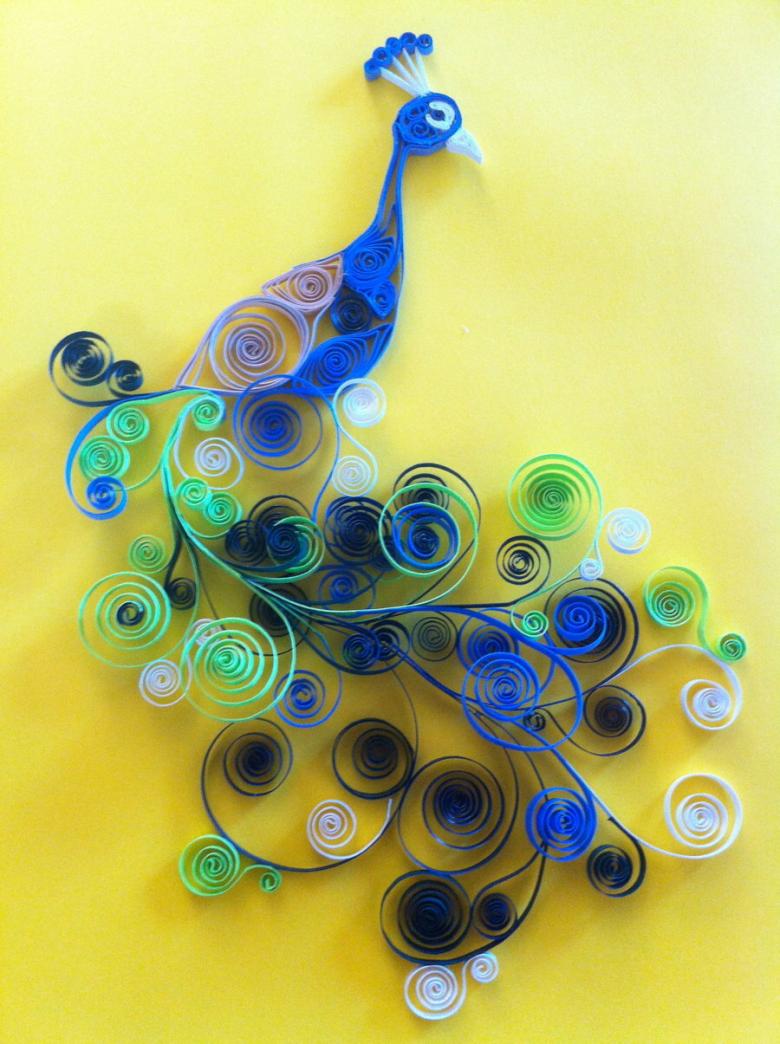
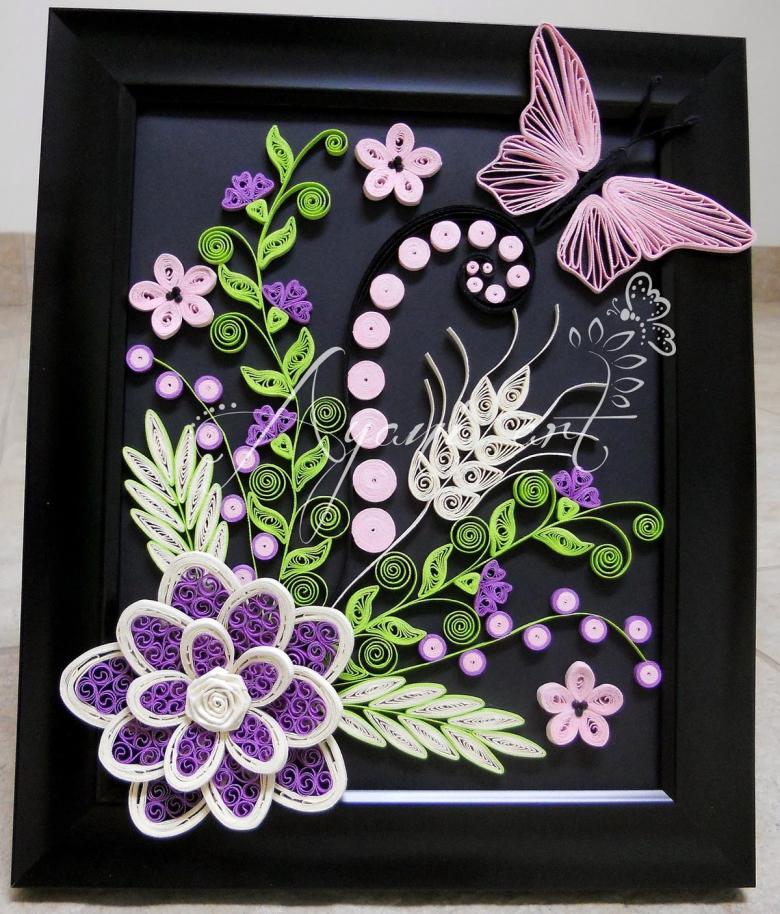
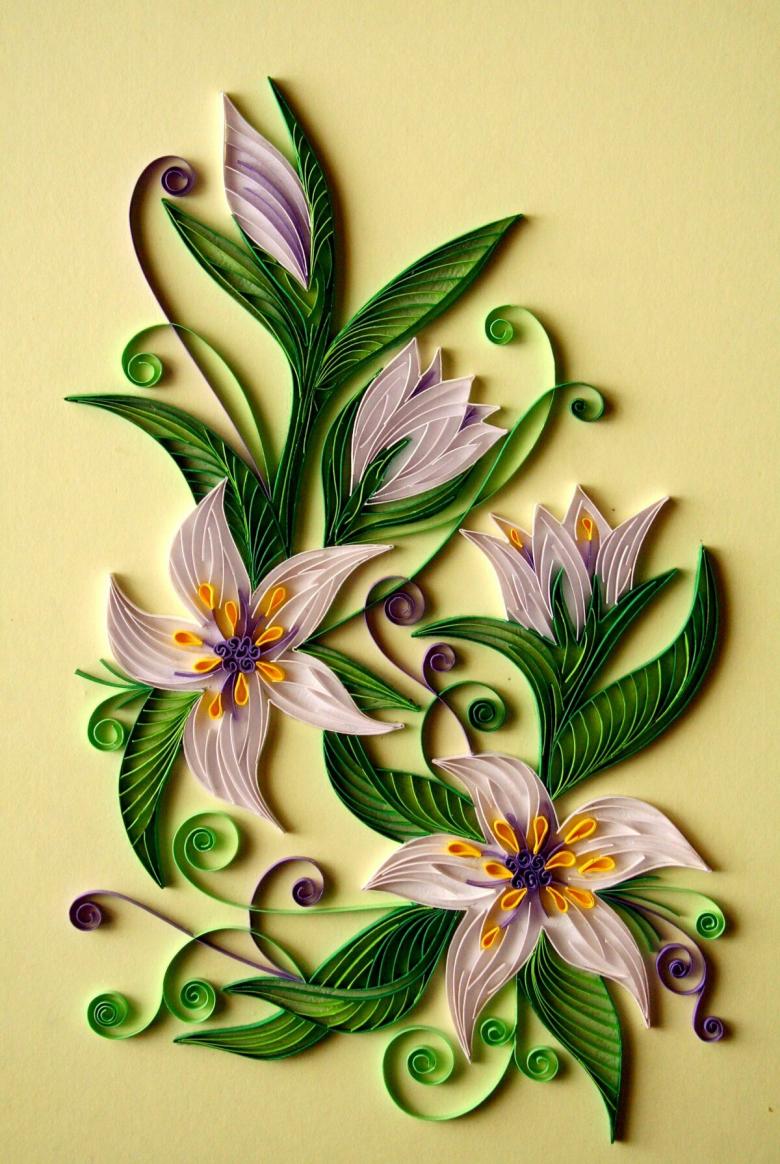
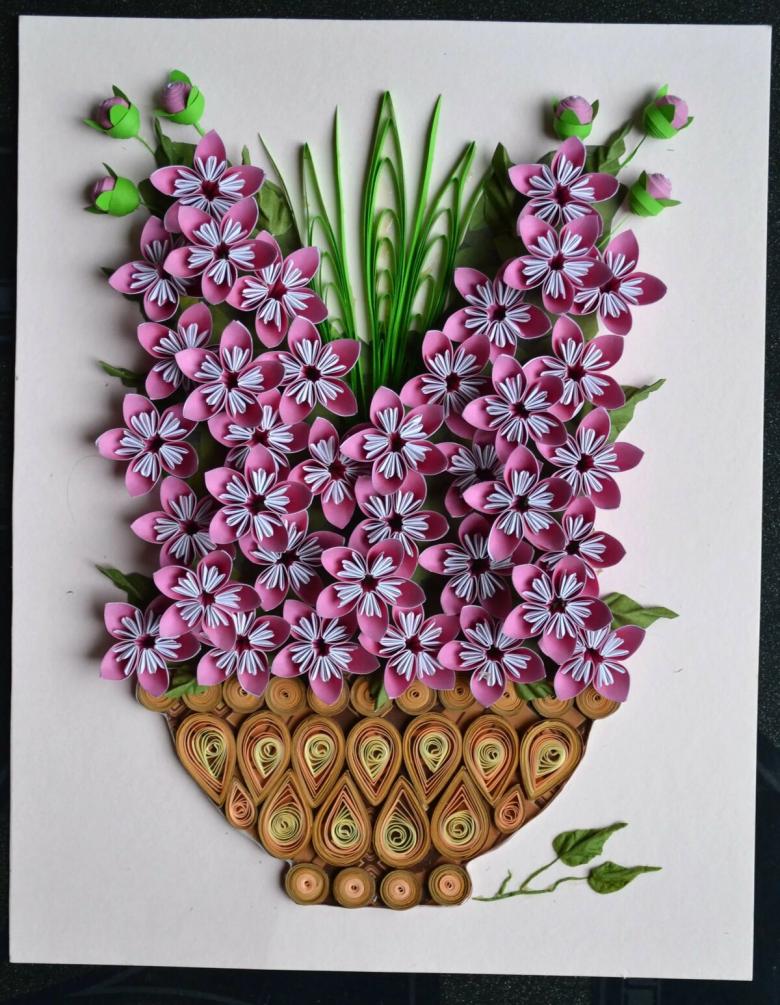
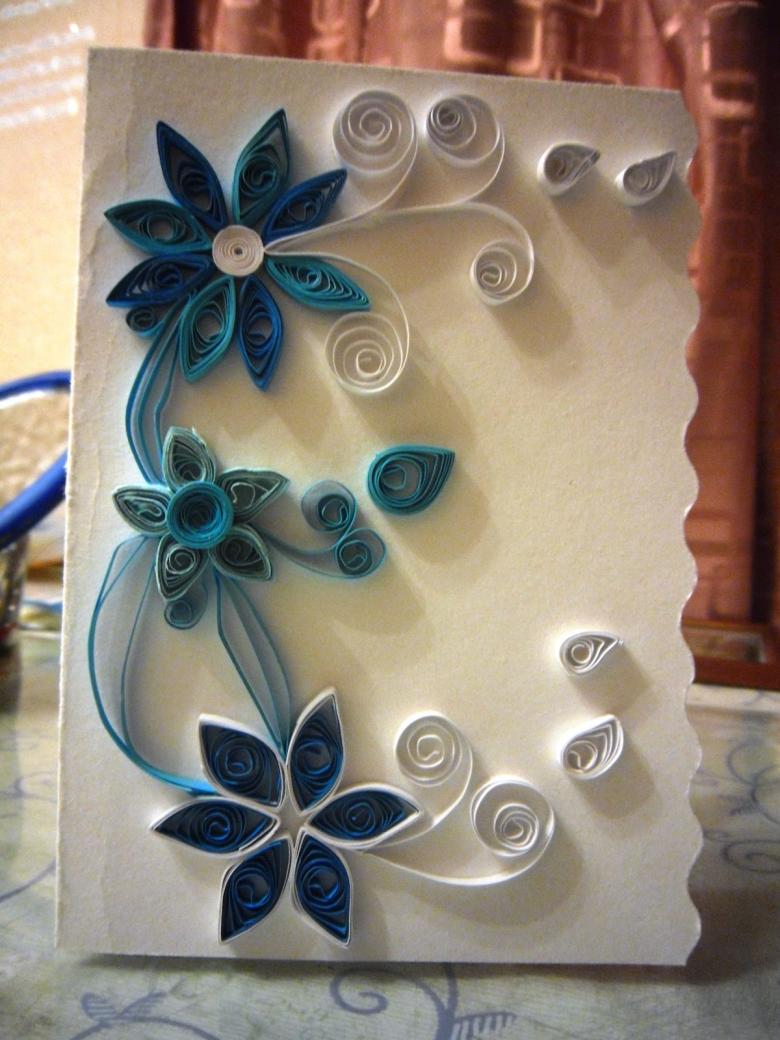
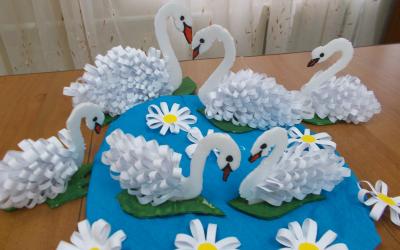
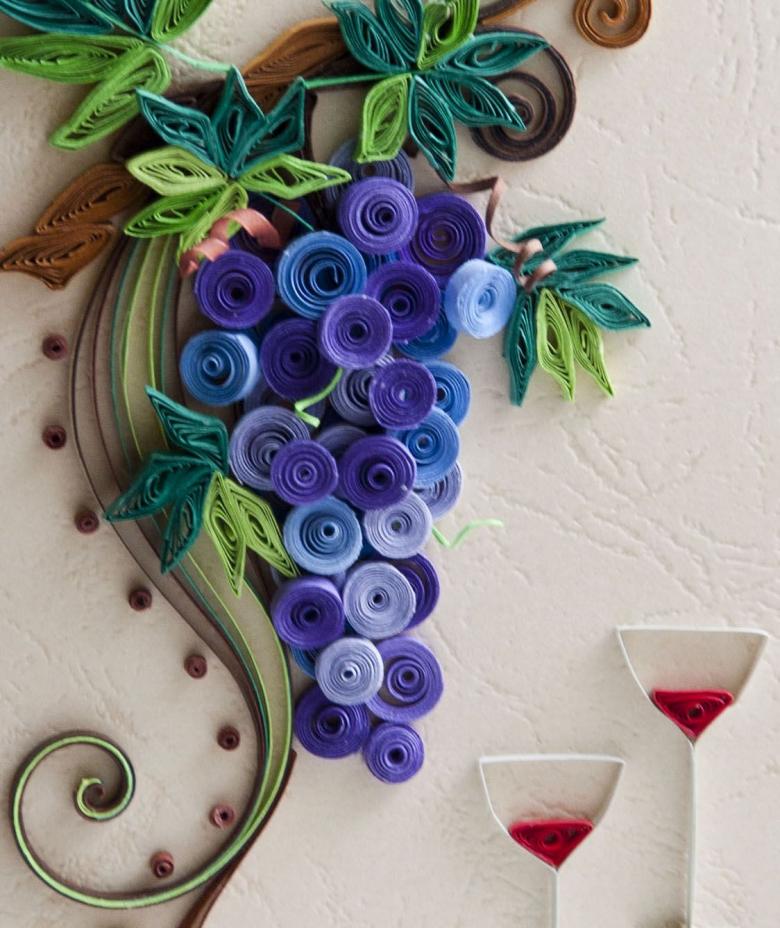
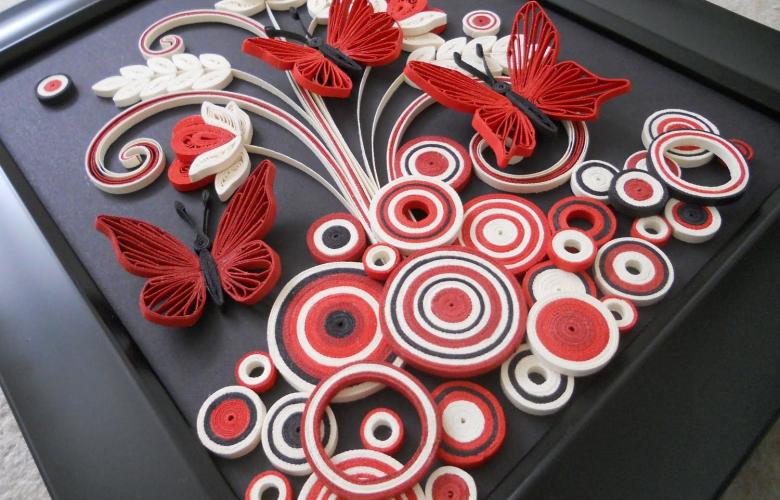
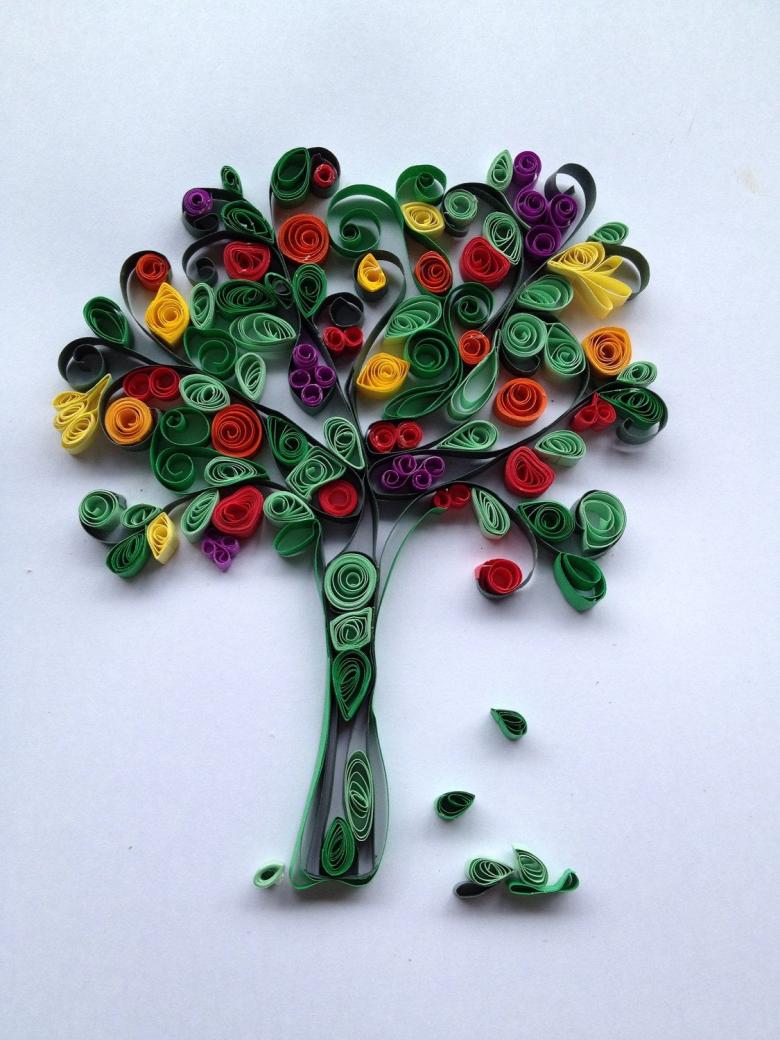
Looking at photos of finished products made by quilling, you can see how this technique is used in everyday life. Quilling inscriptions can be found in the decoration of various celebrations, designers create unusual figurines using paper spirals.

The practice of quilling does not require financial expenditures. Even a small child can twist spirals and give his mother a scarlet quilling flower for March 8.Passion for this kind of art will help to decorate the house and fill it with the warmth of the finished compositions.


