How to draw a sunset - step-by-step description for beginners and ideas for masters
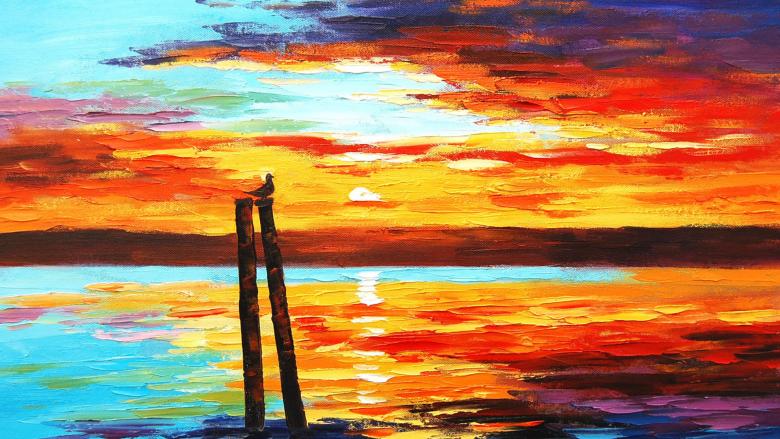
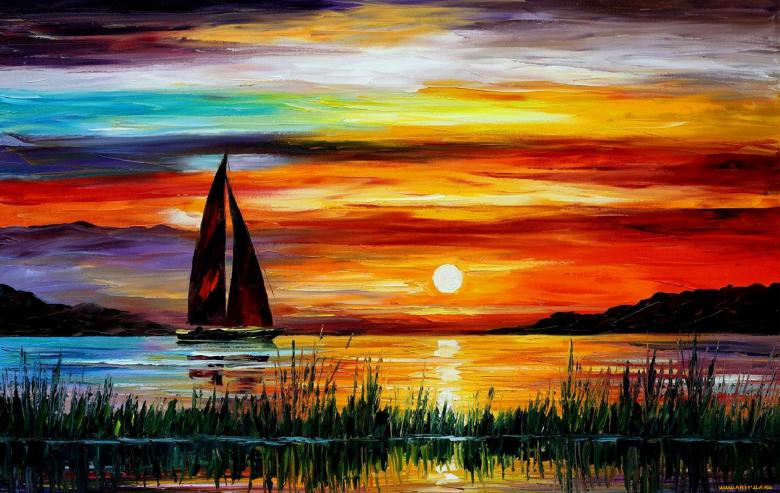
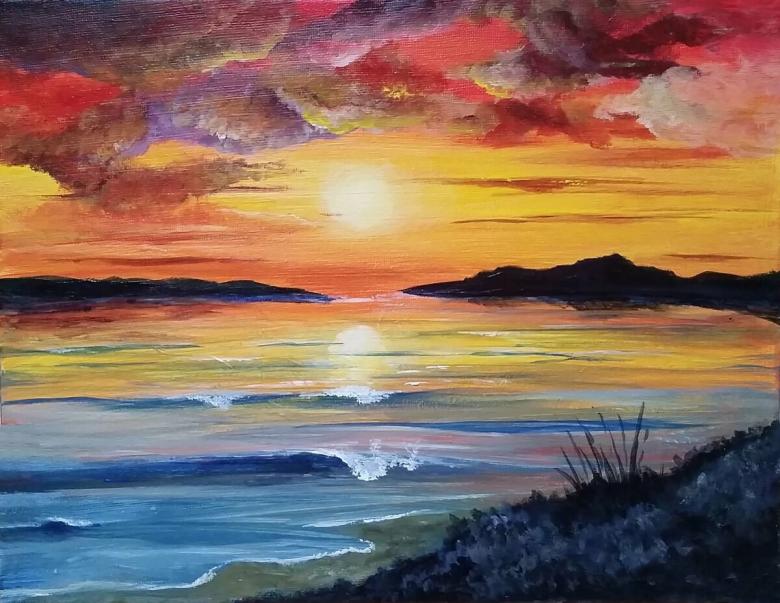
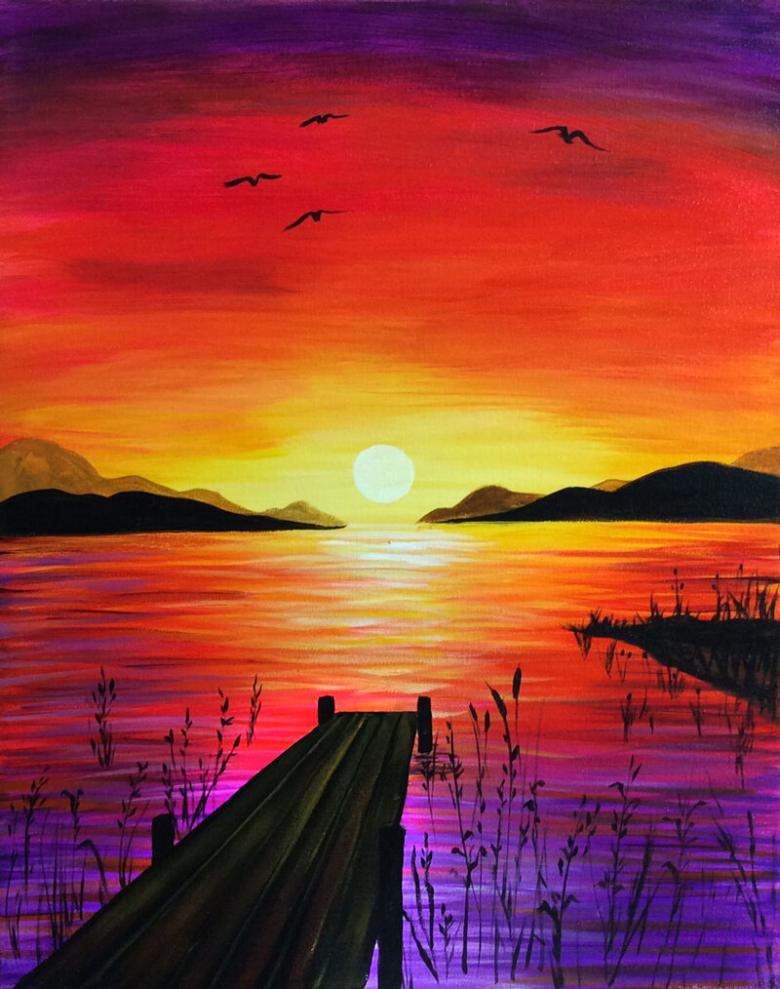
Sunset is a mysterious and inspired time of day when the sun is slowly retreating below the horizon and night is quietly coming into its own. It's easy to picture it in your mind - a tropical beach, the first stars and the last reflections of the bright light. What if drawing a sunset on paper is no more difficult than imagining it in your mind? Today's master class will tell you how to create a sunset step by step.
Preparing for the drawing
Begin the lesson by preparing the necessary materials. While you are thinking through the details of your future painting in your mind, make sure you have the following items on hand:
- Watercolor paper
- An outline pencil (of medium hardness)
- Palette
- A cup of water
- Cloth
- Towel
- Water colors.
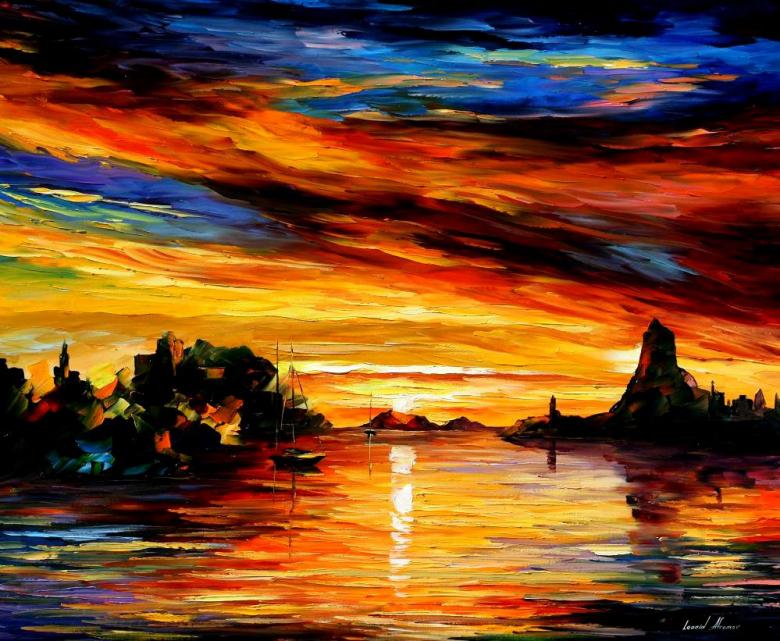
Gouache to paint the sunset will be less suitable, as its consistency will not allow you to work with the transition of shades. In addition, drawing with watercolors for novice artists is much easier.
The first stage
To draw a good picture depicting a sunset, it is not necessary to copy it from photographs on the Internet. Leave your imagination free, follow a few basic tips and get a unique author's drawing.
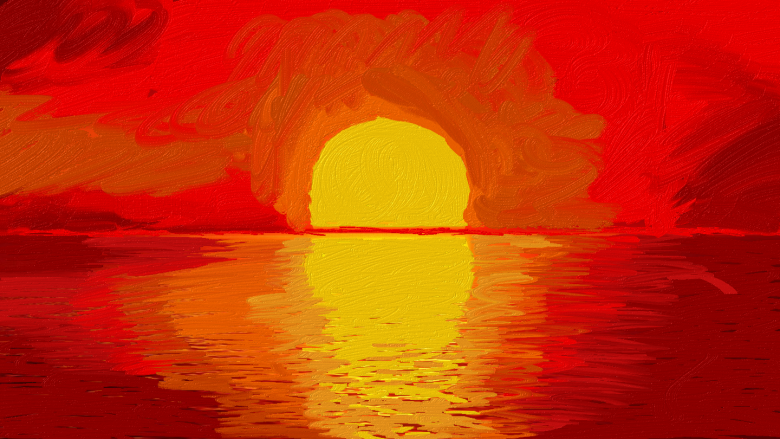
Decide in advance on the shades - blue, purple, red, orange, yellow, brown, black and white.

First of all, you should mark the border of the drawing to create a frame. Tape the edges of the paper with painter's tape, which is easy to remove when you are finished. You'll get straight edges and won't stain the paper.
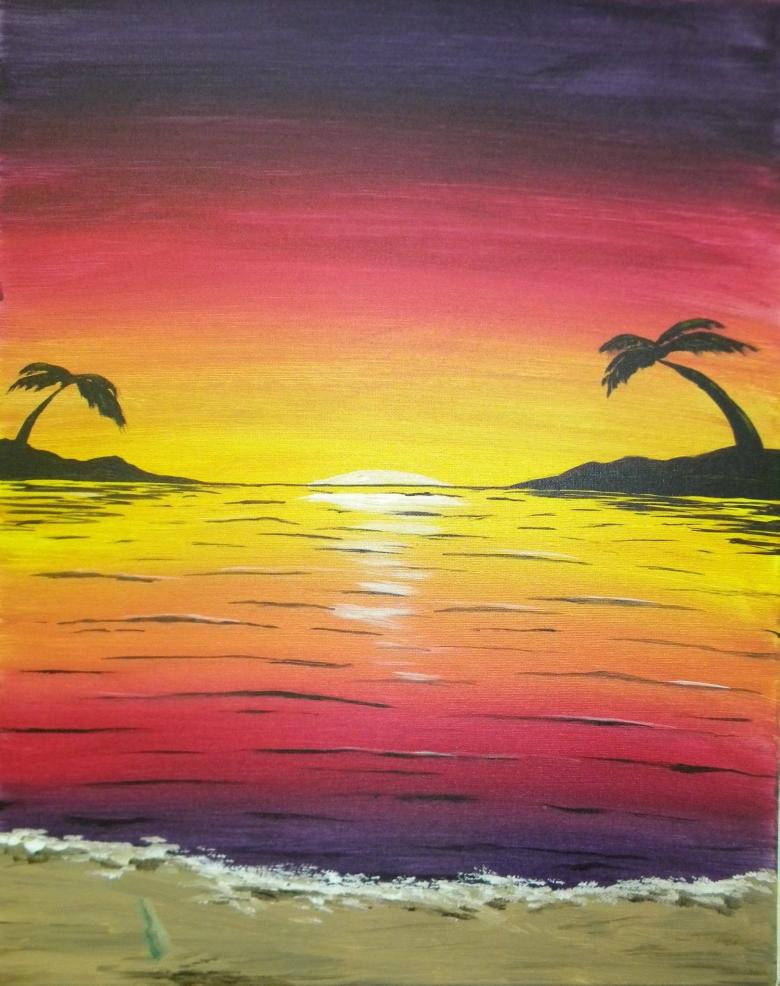
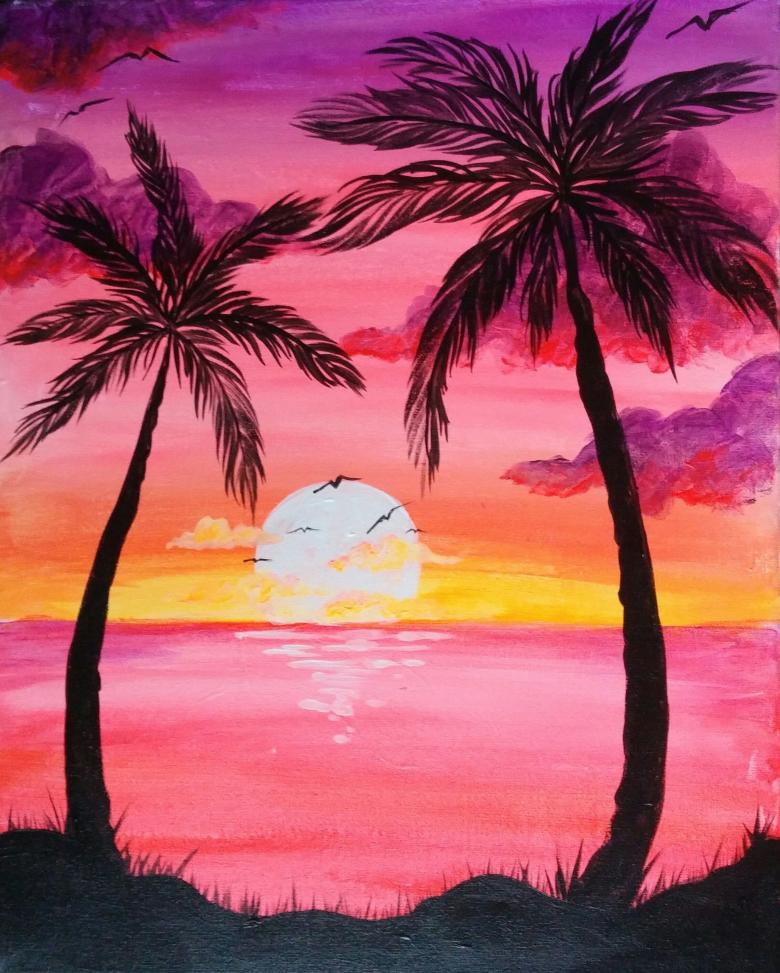
Draw the horizon line just below the middle - this will be the dividing line between the sky and the sea. Determine the location and size of the sun, the phase of the sunset. Subtle pencil outline the additional details at your discretion - palm trees, houses, people.
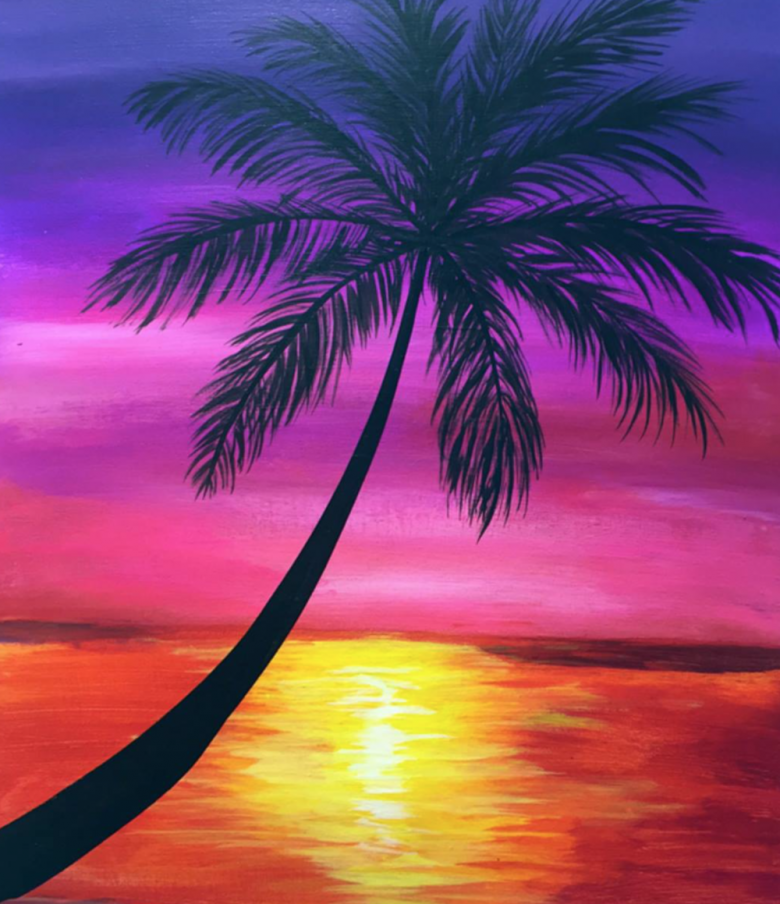
Work on the sky.
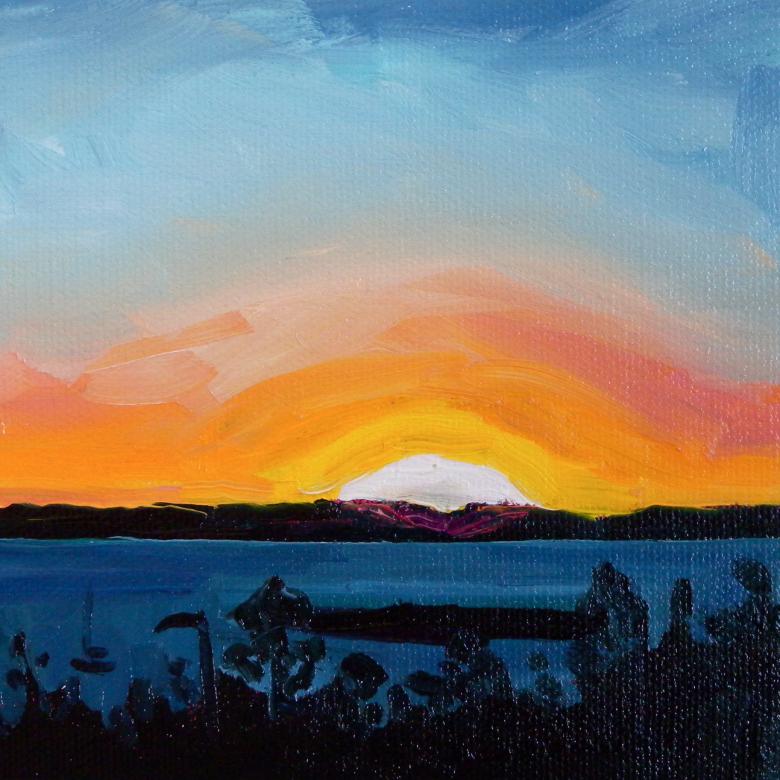
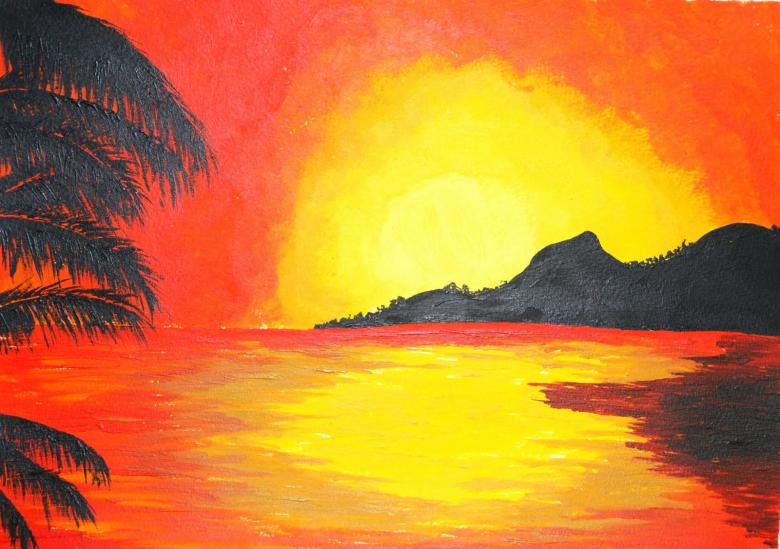
Wet your brush and cover the entire space of the paper to the top of the split line. Do not paint over the sun - it should stay in the dry part of the paper. Mix the yellow shades and paint the space near the border with the sea and around the sun. Stroke freely and smoothly.
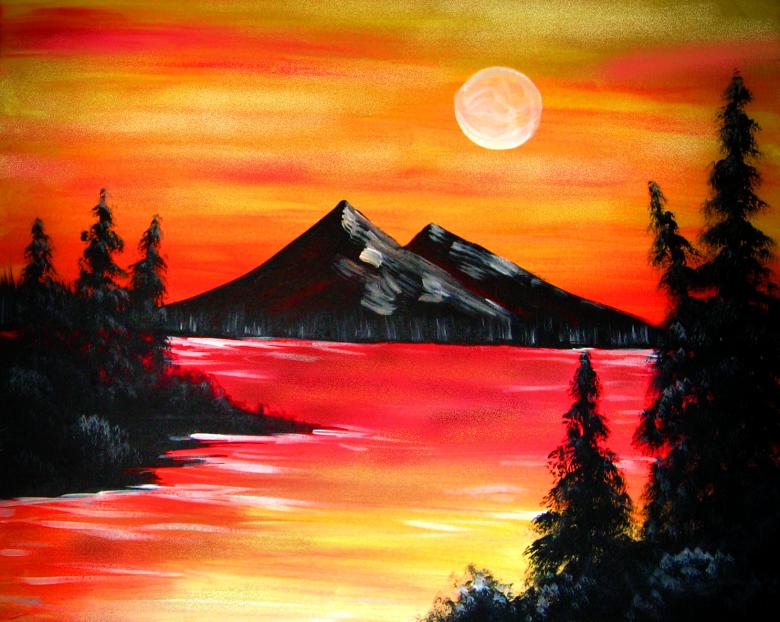
Next, add orange to the yellow and gently work your way up, taking care to mix the colors naturally on water-soaked paper.
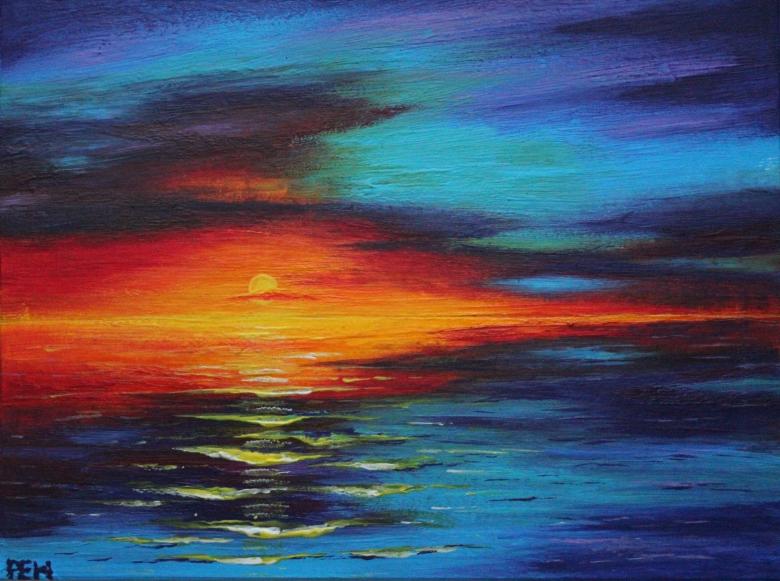
Gradually change shades from yellow to blue. After the orange, make a line of red, then move to pink. By this point you should have painted about half of the sky.
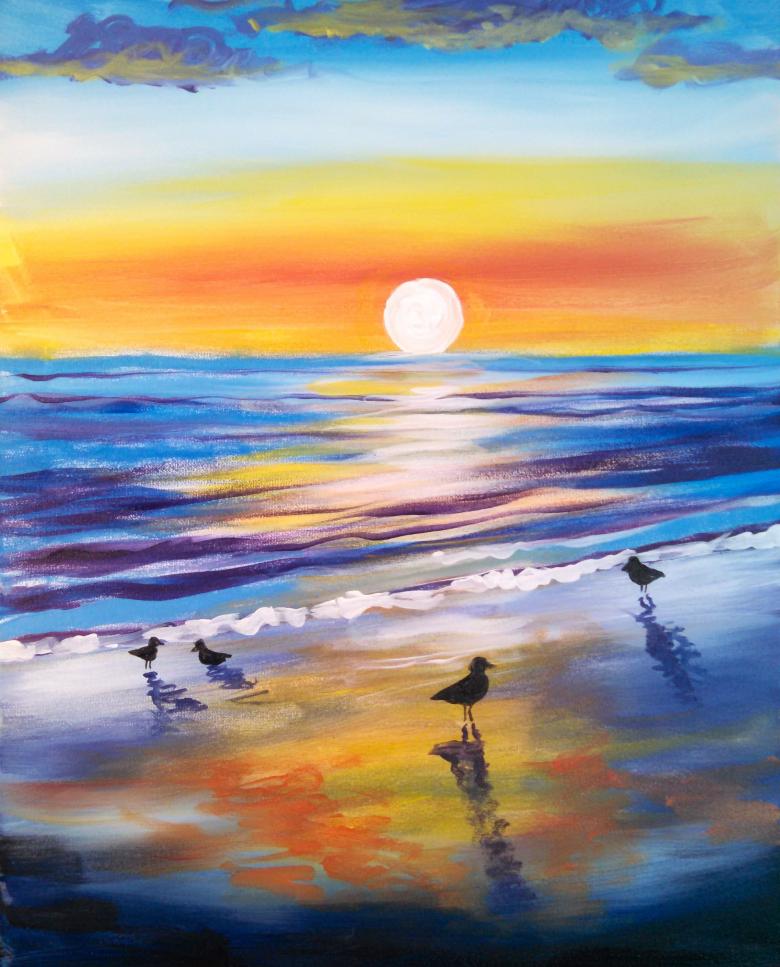
The next step is more difficult: you need to go from warm tones to cool tones. The best way to handle this is to use a mix of dark red and pink. While mixing over the pink, there should be no orange, because adding purple - the next layer - will reflect a dirty gray hue on the paper.
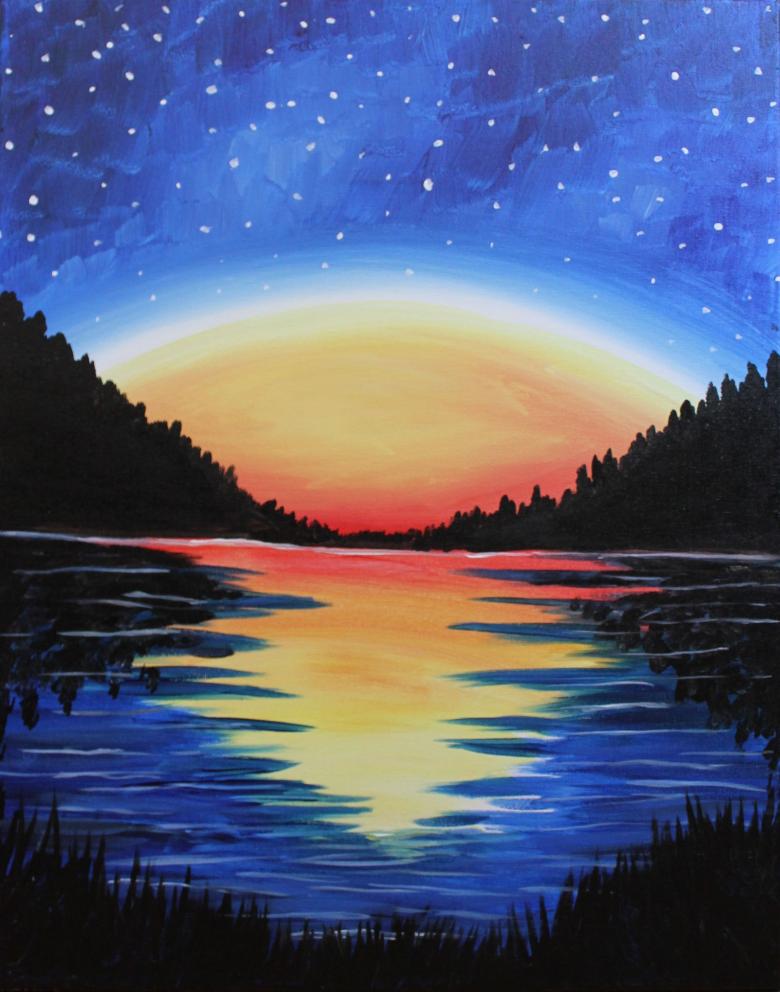
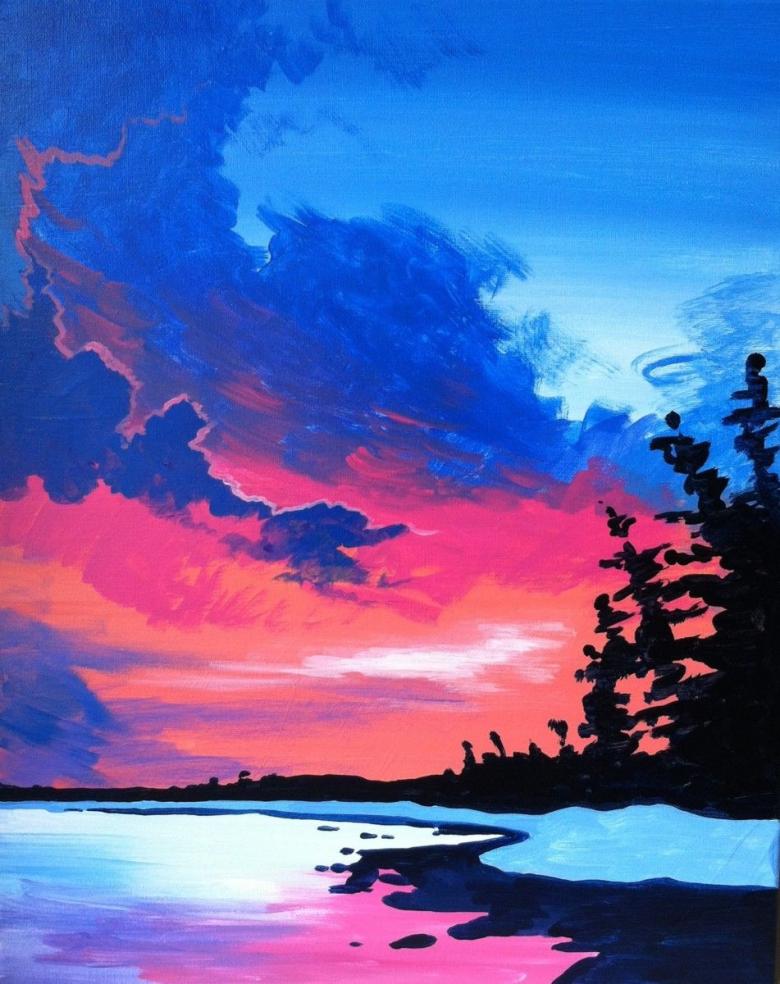
After laying the purple layer, place the blue and black respectively, applying smoothly to the top edge of the paper. Use water to soften the transitions between the color borders. The sky should appear "soft" and iridescent. After the drawing has dried a bit, add some blue and pink around the edges, but avoid the yellow and orange areas. Purple can be diluted with cobalt.
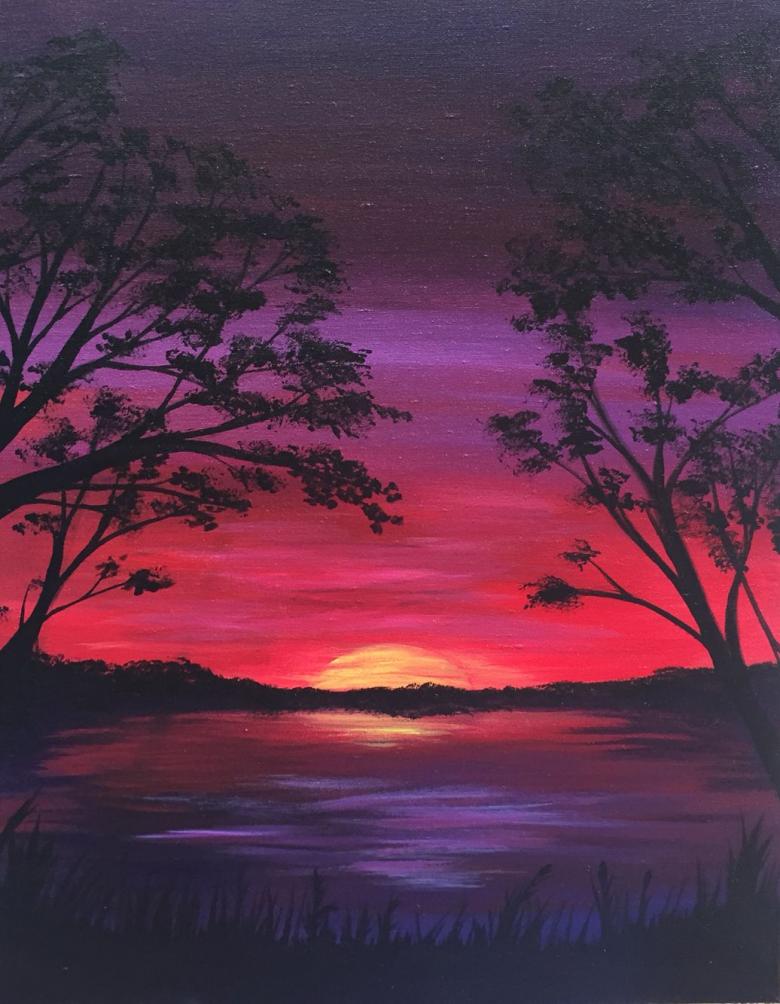
Remember that the border between the bright yellow and the white sun semi-circle should not be sharp. You should try to make the landscape as realistic as possible, and sharp lines won't help.
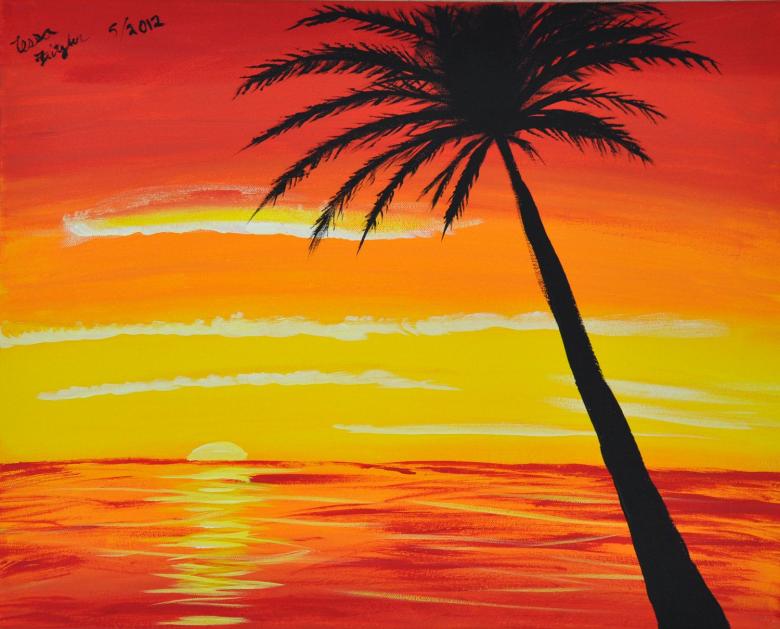
Sea
Turn your drawing horizontally - now you have to act on the "mirror" effect, because the water reflects the colors, only in a different order. It's better to work on the right side of the image after the sky has dried.

This time it is better to use zigzags rather than straight lines, because the reflection cannot be perfectly straight. Do not forget that the sun is also reflected in the water, and its white hue must be present on the sea surface.
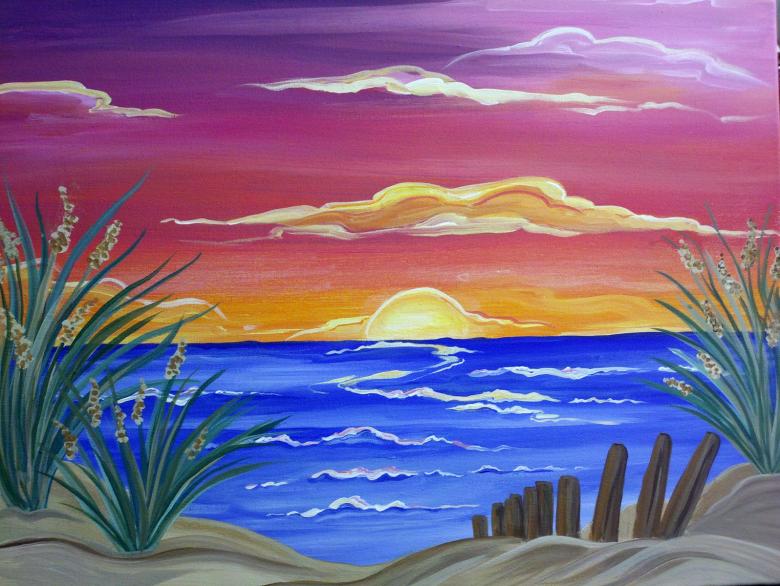
Acting in reverse order, mix carefully:
- yellow,
- orange,
- red,
- pink,
- purple,
- blue.
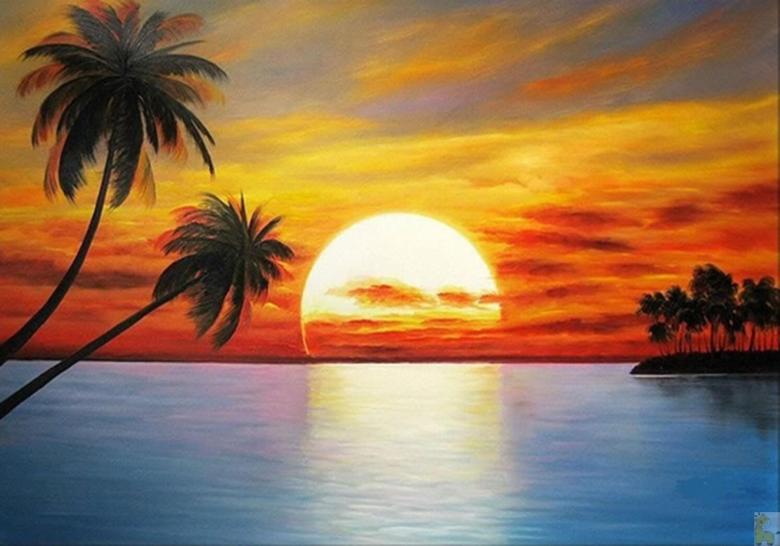
The lines of colors on the water will be much narrower than in the sky.
Colors in water should be made more saturated and bright, unlike shades of the sky. Add white highlights, thin white stripes that will indicate waves. If you have special skills, try to create a perspective, then the details in the foreground will look more realistic.
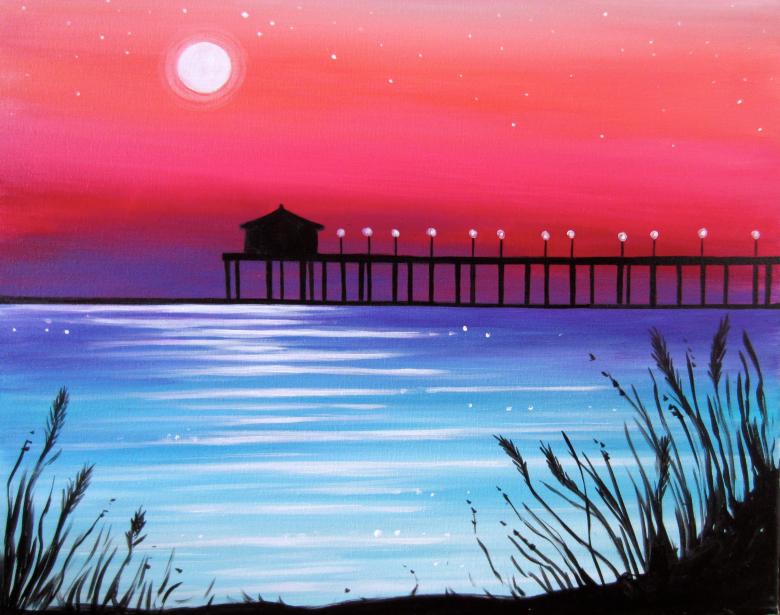
Working out the details
Make sure your drawing is dry before you start working on details. Think ahead of time about what you want to draw - trees, people, houses, a bridge, beach accessories.
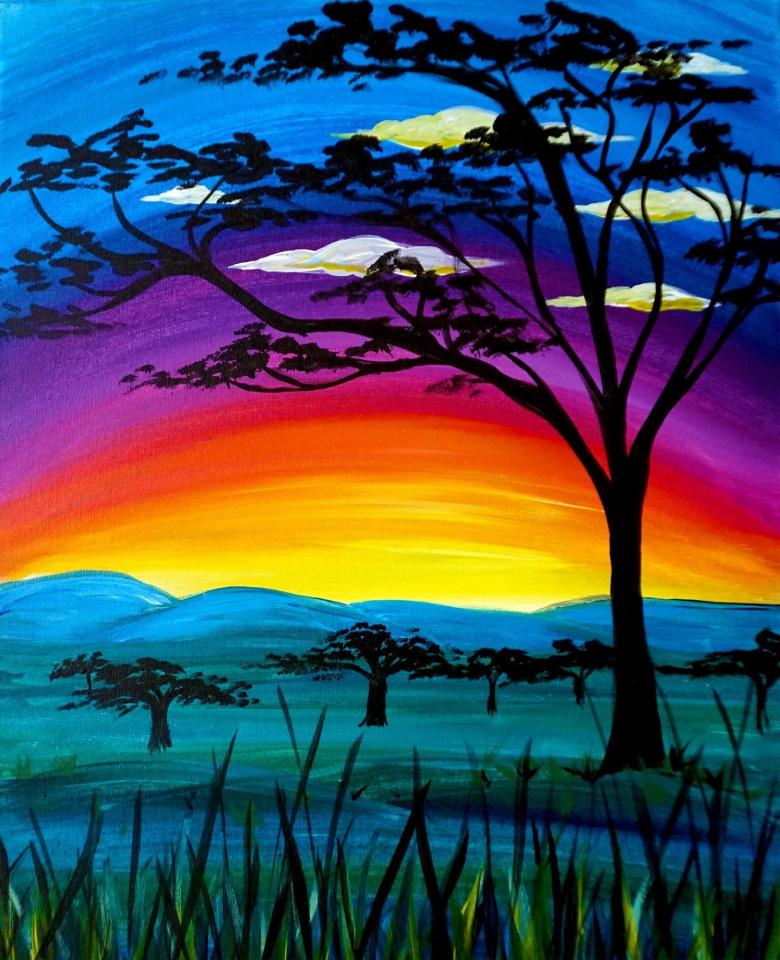
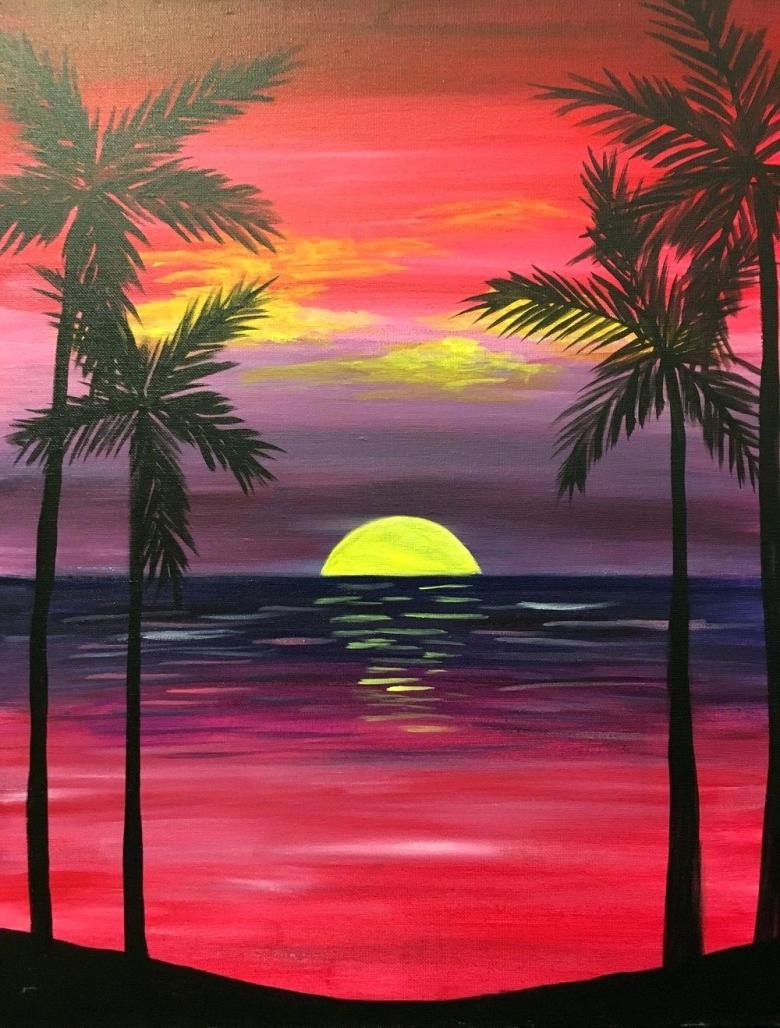
Since the sun is shining on you, not against you, all objects should be dark, showing only silhouettes. Use dark blue and dark purple.
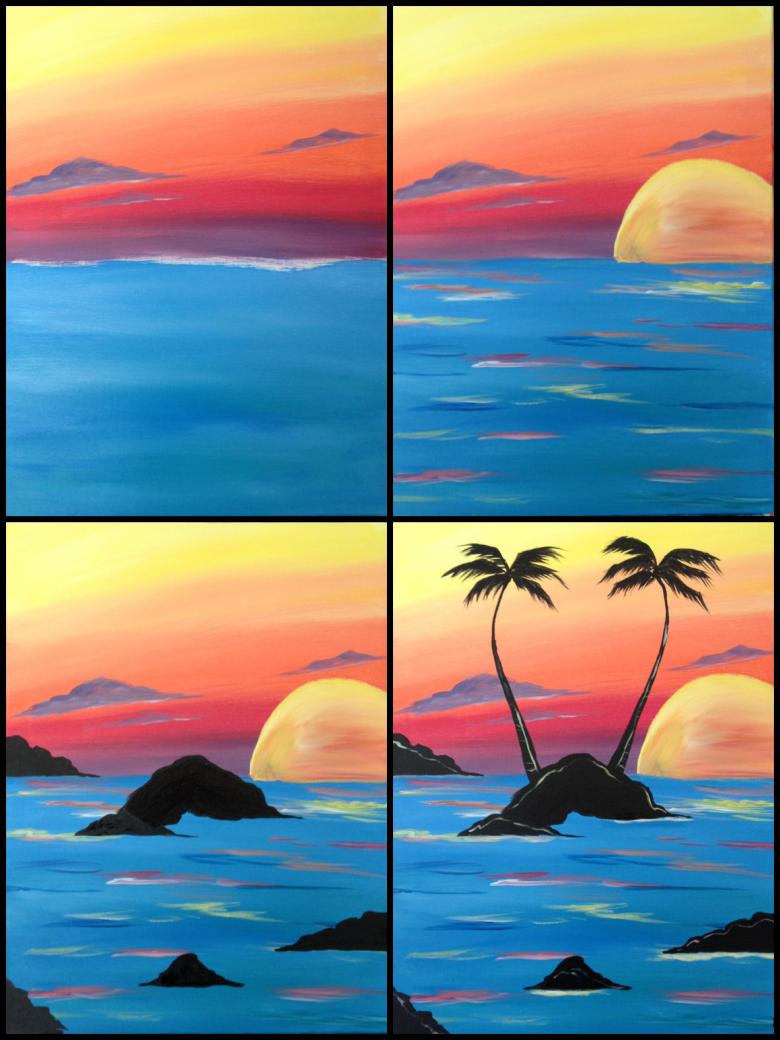
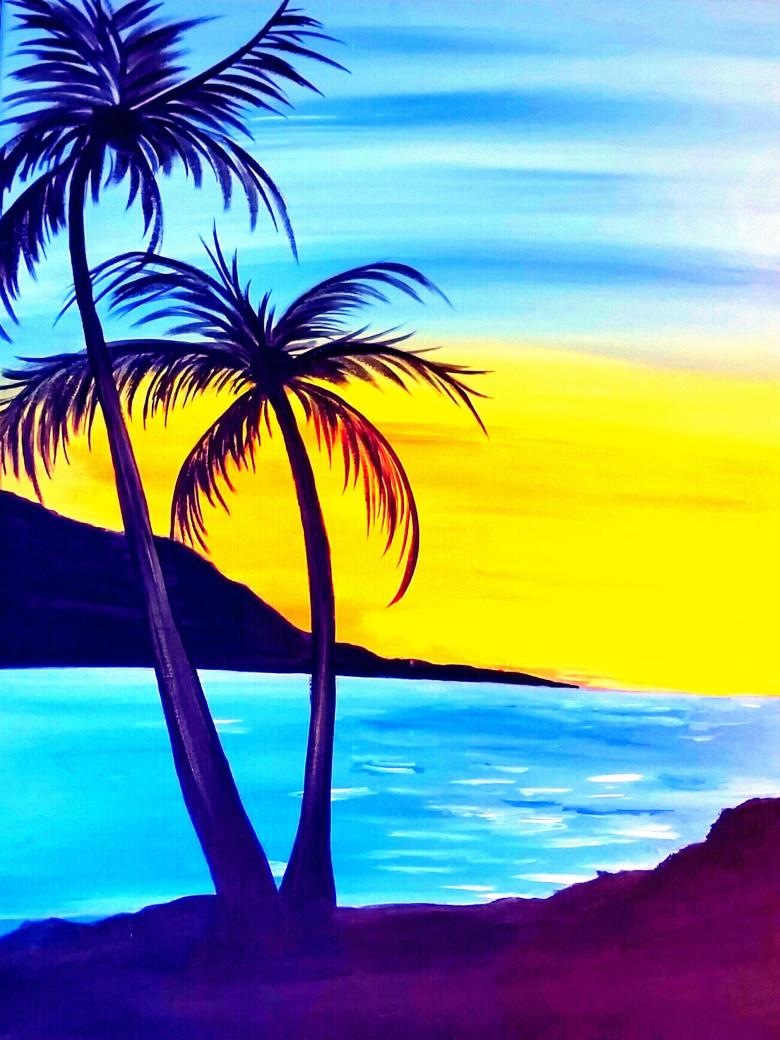
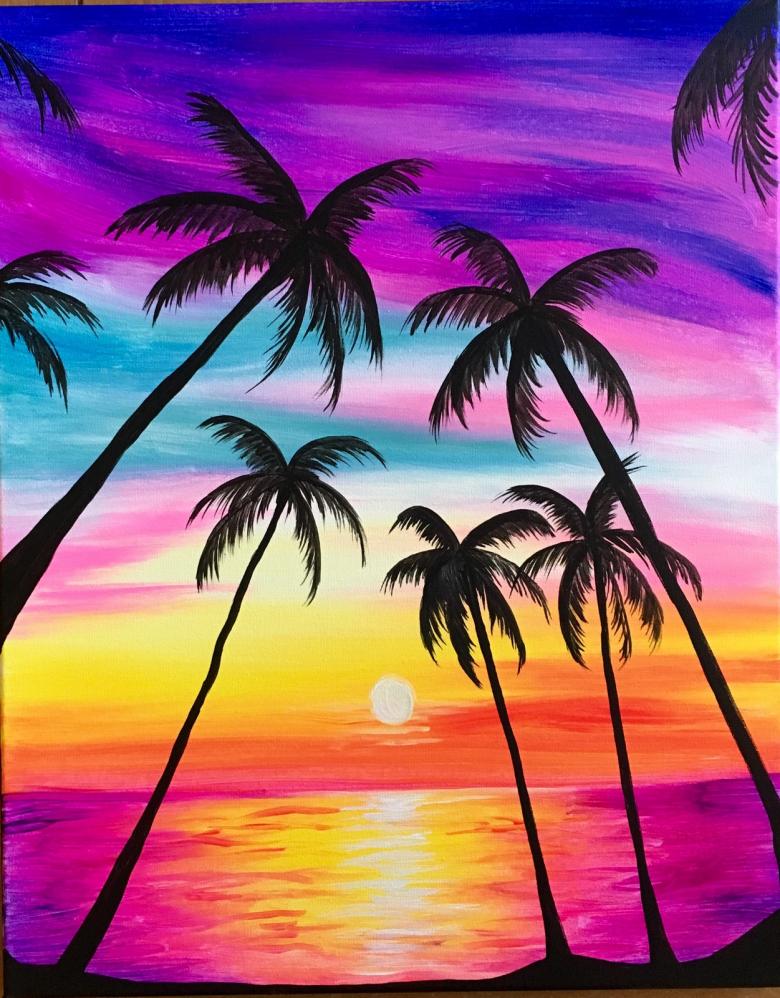
To depict palm trees, draw two or three indirect vertical lines. They should be slightly thicker towards the bottom. To draw the palm leaves, draw two three curved lines sideways from the top point - this is the base for the palm leaves. Next, in sharp short strokes, sketch the leaves themselves, which are usually thin and hanging. Compare the palm leaves to drawing the eyelashes of an eye, only in the other direction.
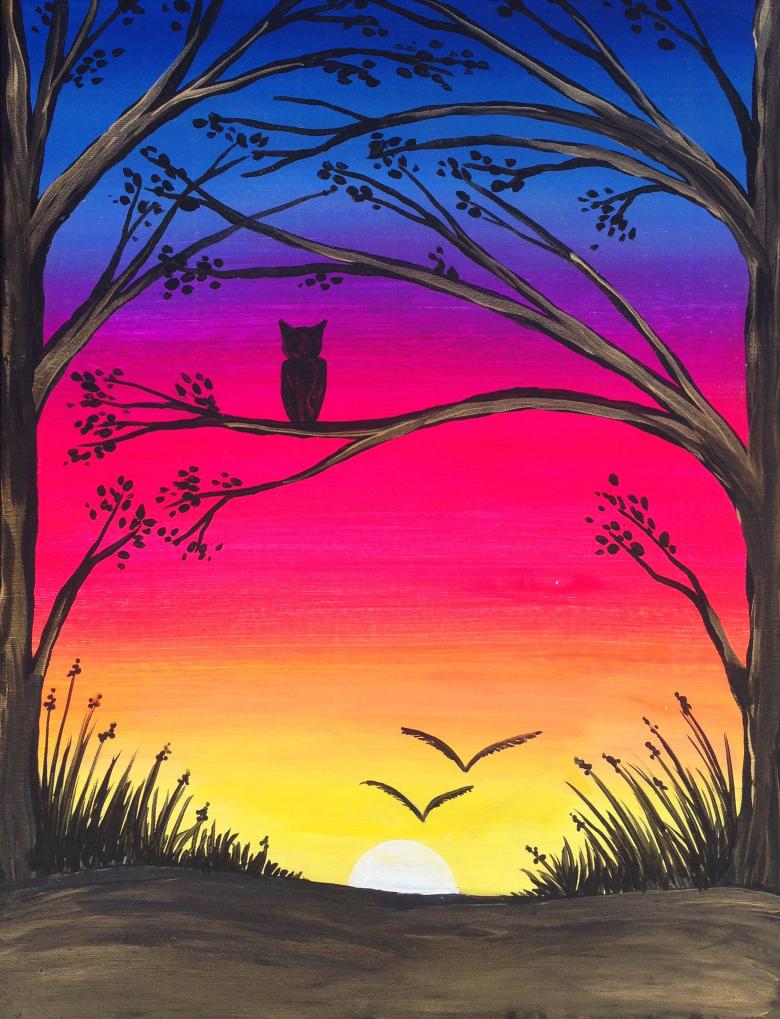
It is best to place the trees in the foreground on the left. A little further to the right can be a small house or bridge. These are easy to draw and usually don't pose a problem for artists.
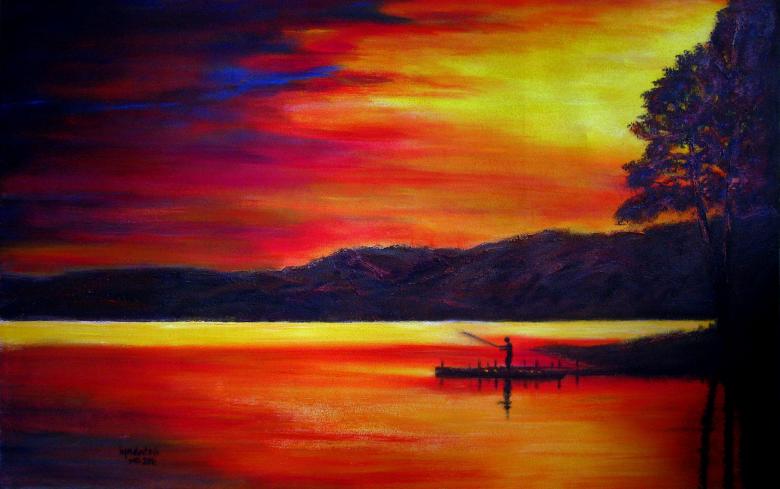
Think back to your drawing class at school: when you've finished your drawing, leave it to dry immediately and take away all the art supplies so as not to get your hands dirty. When the image is dry, peel off the strips of painter's tape if you used it, or use an eraser and wipe off unnecessary watercolor stains to make even borders.
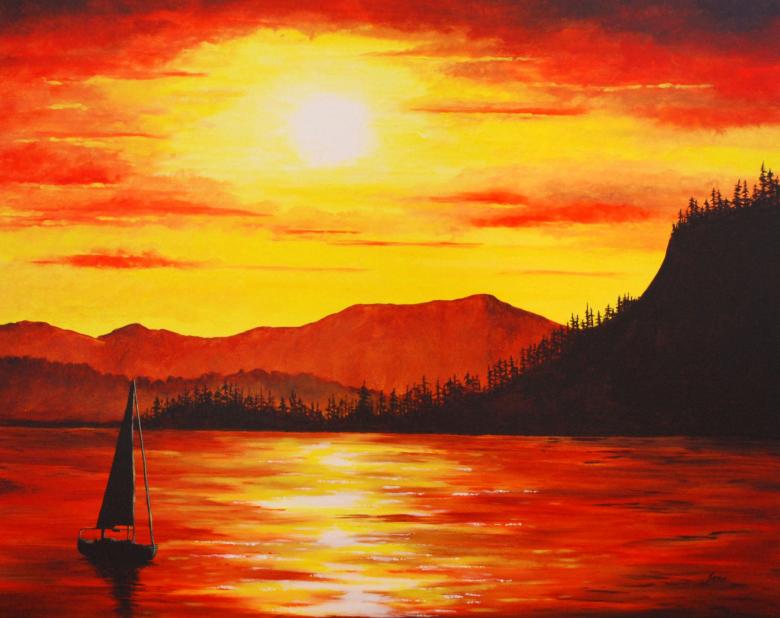
If you want to paint a winter sunset, just add more white on the water and on the tree leaves. Don't draw snowflakes or driftwood if you're drawing a tropical landscape.

