How to Draw the Sun - Easy Master Classes for Beginners (57 photos)
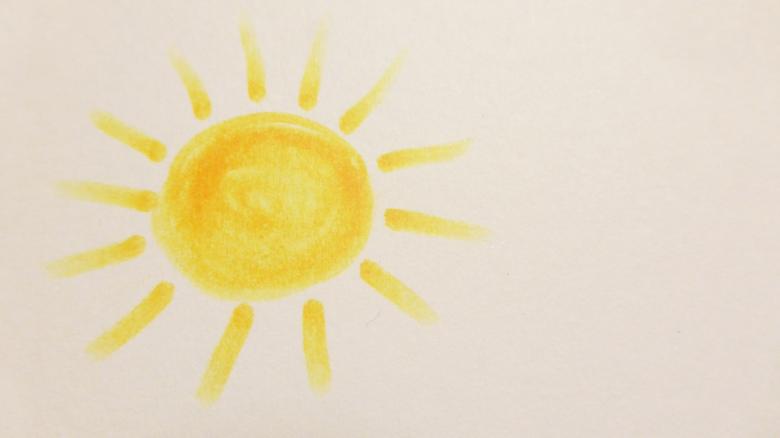
Almost every child loves to draw the sun. They begin a picture with a yellow color painted in the corner of a paper sheet, in the form of an incomplete circle, with the rays departing from it.

The following master classes will help to understand how to draw the sun, which will decorate the picture as a whole.
Accessories
To depict the sun, you can use yellow, red and orange colors. It is desirable to make the object itself bright yellow, and to form rays use red and orange shades.

Materials needed for the work:
- paints (oil, honey, watercolor, gouache);
- colored crayons, pencils;
- felt-tip pens.
Artists who like to experiment will like to work with make-up, various dyes and the most unusual for the fine arts materials. As a basis for a drawing, you can take: a sheet of paper, tiles, glass, etc., even draw on the face. It is very important to choose the right material and brushes of proper quality.
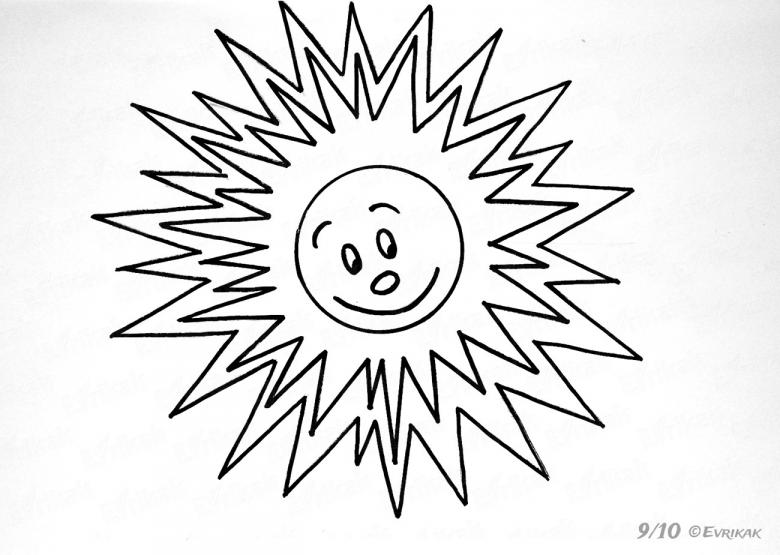
Cute Face
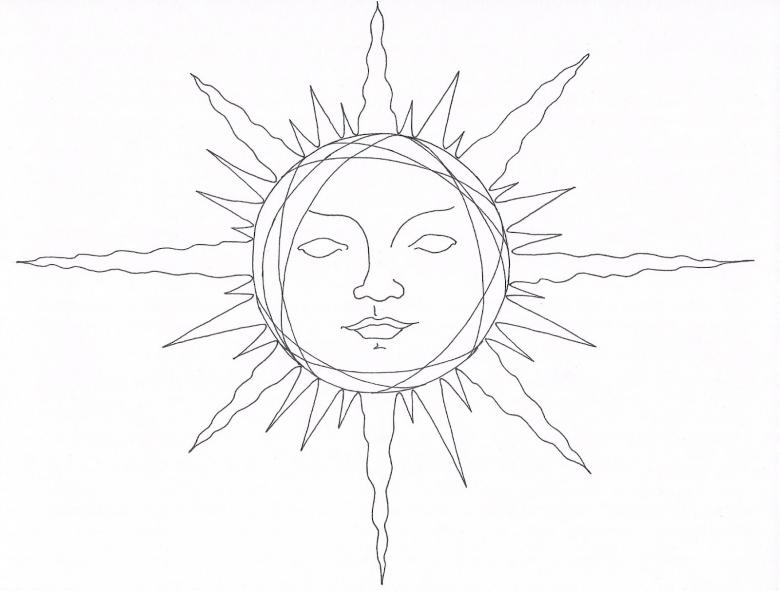
A sun star drawn by children with a cute face, caressing the Earth with its rays, will decorate any drawing. To perform this task, you need to draw a circle with a circular or draw it by hand. It is possible to use any, suitable in diameter, and outline it. The latter option greatly simplifies a child's work. Also, to facilitate the work can be a photo with the sun as a sample.

For this lesson, the following materials will be needed:
- sheet of paper;
- A compass or a pencil;
- eraser;
- felt-tip pens.

To trace the basic outlines, you can use a thin black felt-tip pen. Step by step to depict the sun with a pretty face is simple enough if you follow the following instructions:
- On a positioned piece of paper, draw a circle of suitable diameter.
- Yellow outline with dotted or solid lines, the outgoing sun rays. It is necessary to try to maintain an equal distance between the rays, this can be done with a ruler, although such a tool is not welcome in drawing.
- To depict the eyes of the sun with slightly elongated circles, to do this, use a simple pencil. In their right sides to indicate the glare, smaller ovals.
- Draw a mouth in the form of a short arc, forming a smile. The closer the mouth is placed to the eyes, the grimaced face.
- A little below the eyes add ruddy cheeks. Leave unpainted areas on them as highlights.
- Carefully color the sun circle.
- Outline the contours in black.
- Fill in the ovals of the eyes with black felt-tip pen, leaving the highlights uncolored. Eyelashes to draw.
- Put a pink tone on the mouth.
You can draw the sides of the sun handles, so it will be more fun and good-natured. Fun to look sun with freckles.

Variety of Rays
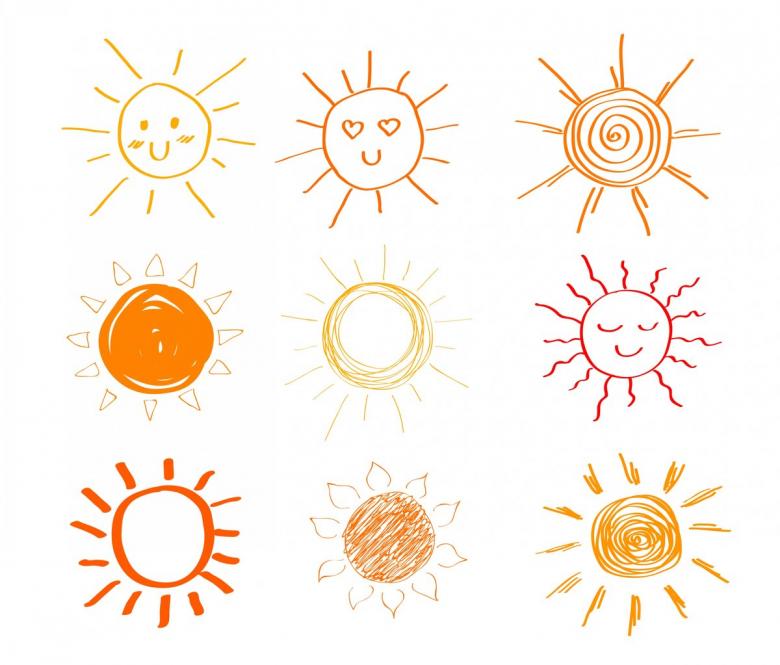
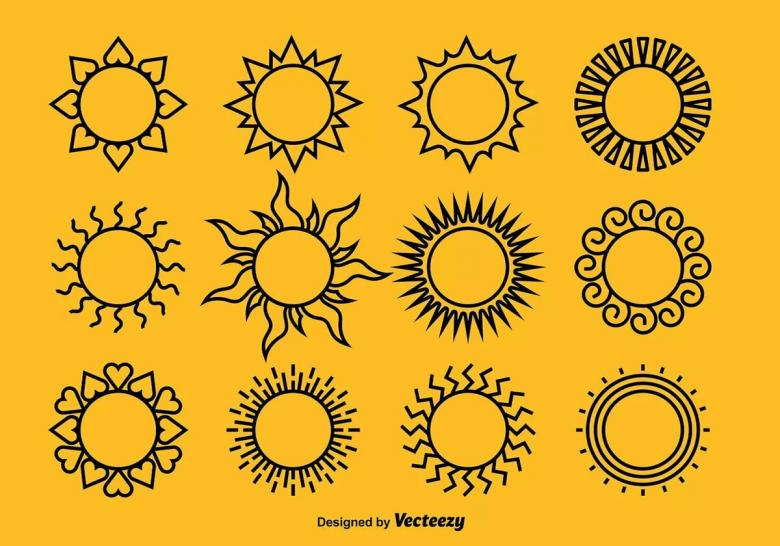
The sun's rays can be depicted in a variety of ways. They can be in the form of:
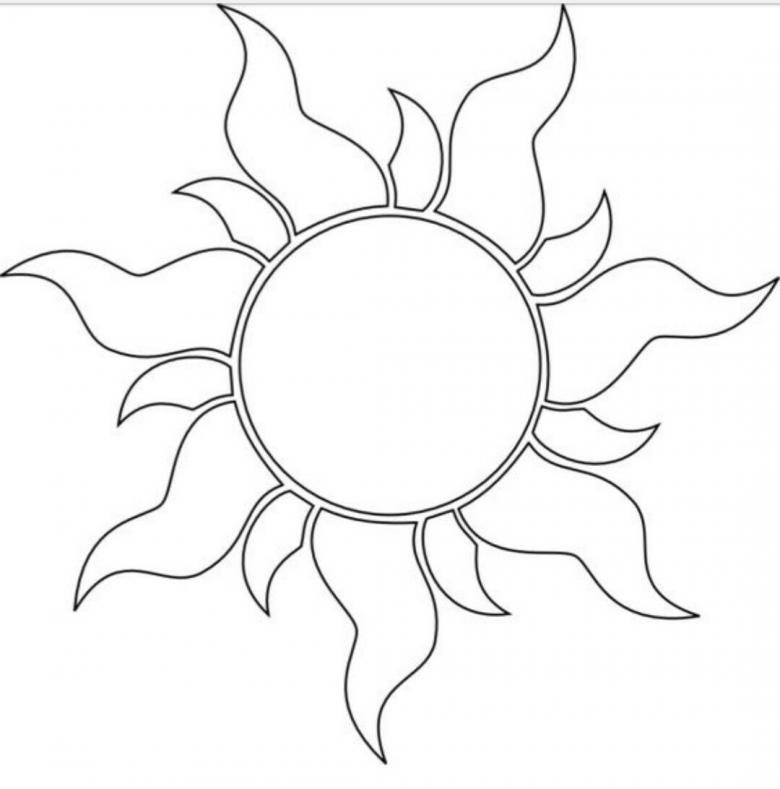
- tongues of flame;
- trapezoids;
- droplets;
- serrations, like a star;
- zigzags, like a cardiogram;
- triangles;
- pigtails with bows at the ends;
- sunflower petals;
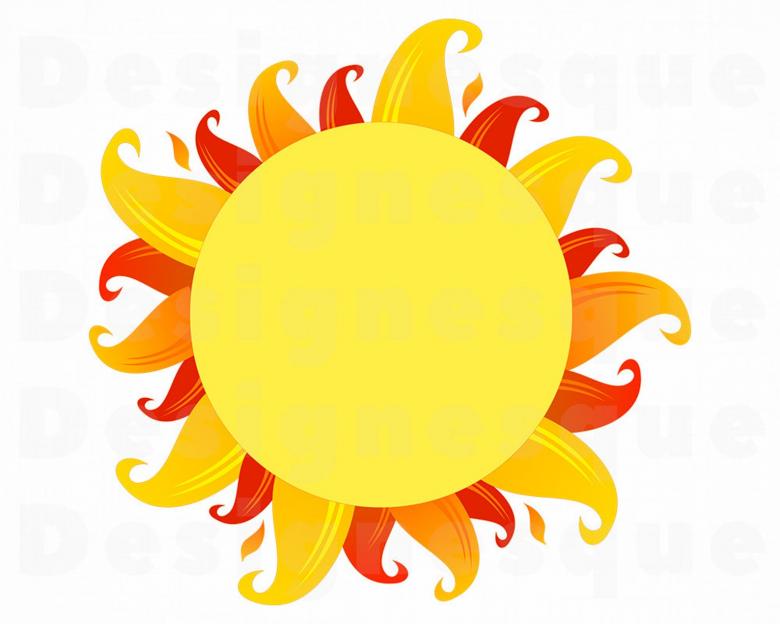
- curved arrows, etc.
As you can see the variety of rays is very large, in addition, all elements are often drawn in different sizes, configurations and shades.
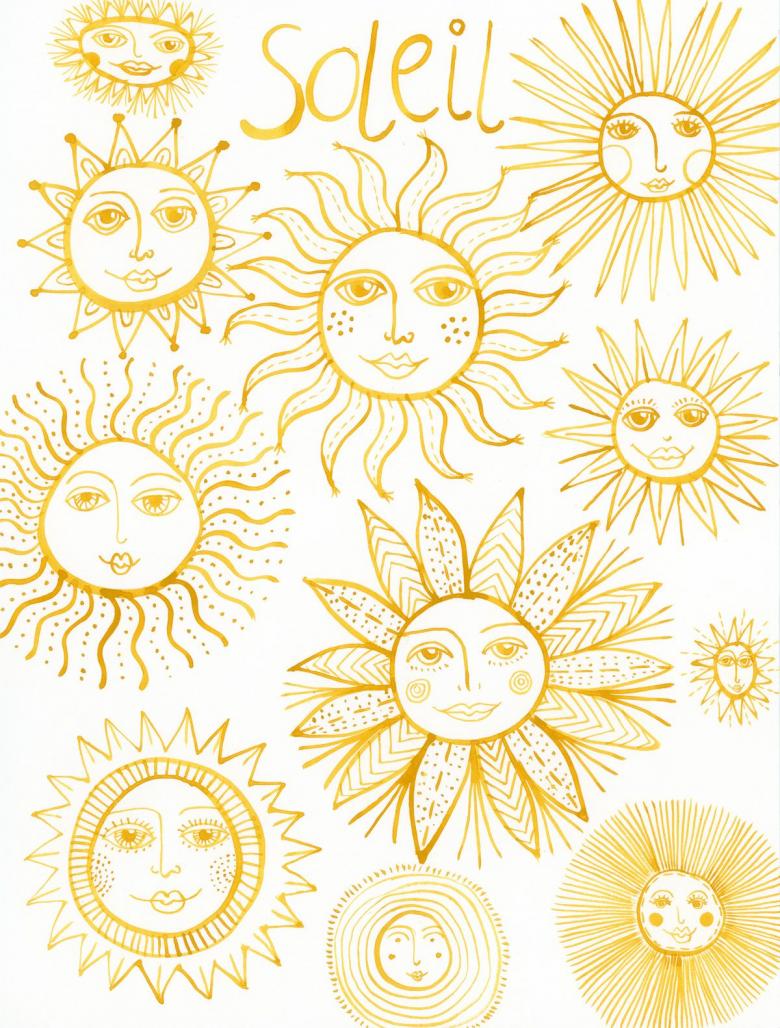
Zigzag design.
Rays in the form of a cardiogram look unique. To represent the sun in this way, you will need the following:
- A scrapbook piece of paper;
- a simple pencil;
- eraser;
- A set of felt-tip pens.

Start the work by placing a sheet of paper in front of you. The next steps are as follows:
- Draw and color a circle in yellow, add a sunshine face and handles if desired.
- Clearly draw the contours.
- Orange-yellow shades make the outlines of the rays in the form of cardiogram jumps. The jumps should be of different lengths and with different frequencies. Colors for coloring can be used from bright yellow to dark red.

Triangular rays.
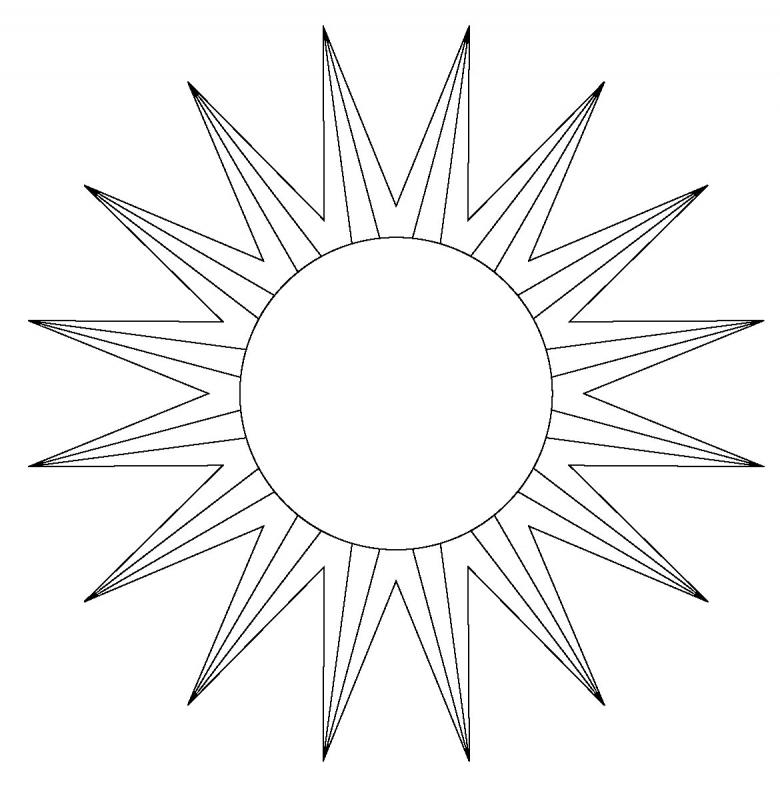
One of the most common options among children for drawing the sun is a luminary with neat, sharp rays. Isosceles triangles with long sides and a short base act as rays. To draw such a sun is possible, using any materials, the necessary accessories will only be a simple pencil and ruler.
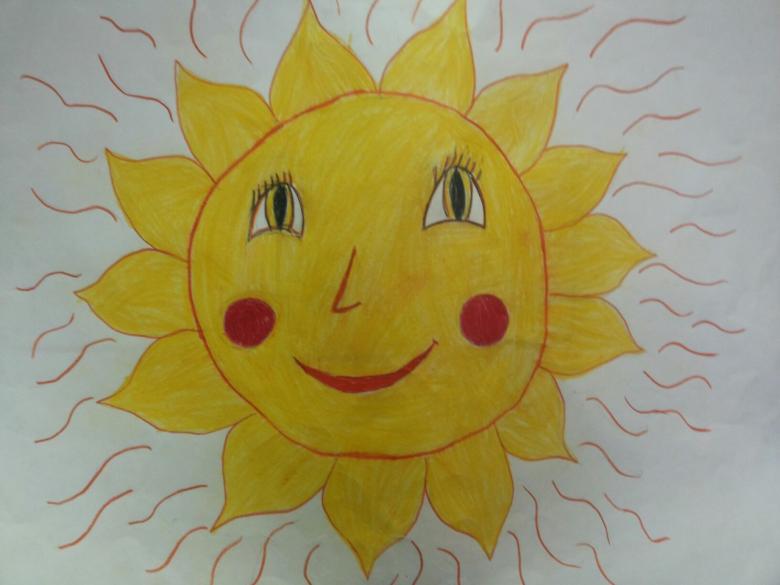
The work process is as follows:
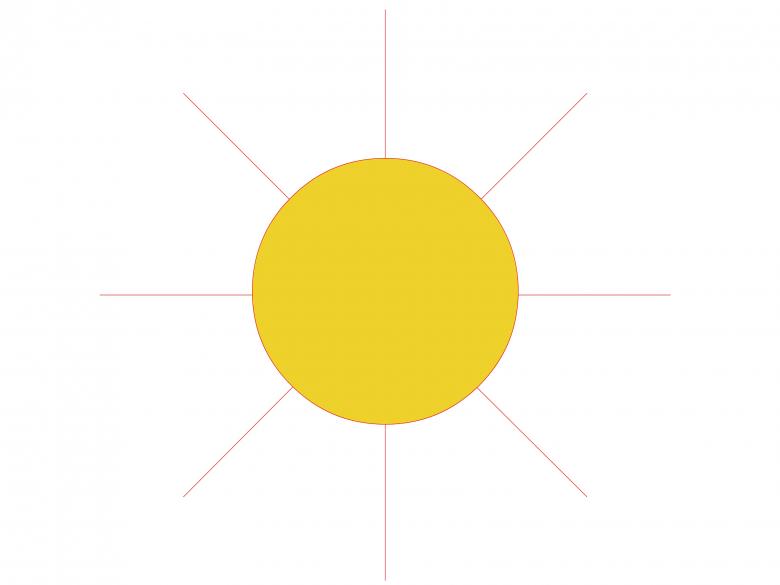
- On a sheet of paper located in a comfortable position, outline a circle with a pencil, which will be the basis of the sun.
- On the contour of the circle-foundation to mark four points at regular distances from each other.
- Using a ruler to draw the rays originating from the marked points. To the resulting lines on both sides add segments that form triangles. Should get a figure similar to a compass. Such action makes it possible to make the sun symmetrical and neat to the maximum.
- Between the triangles to draw more similar rays, filling the entire space around the base.
- Design and color the drawing as desired.

Drawing the sun is interesting because you can depict the rays in different ways, use a variety of materials, add peculiar elements, make an original design. And the most interesting thing is that using any option, you get a bright and beautiful drawing.


