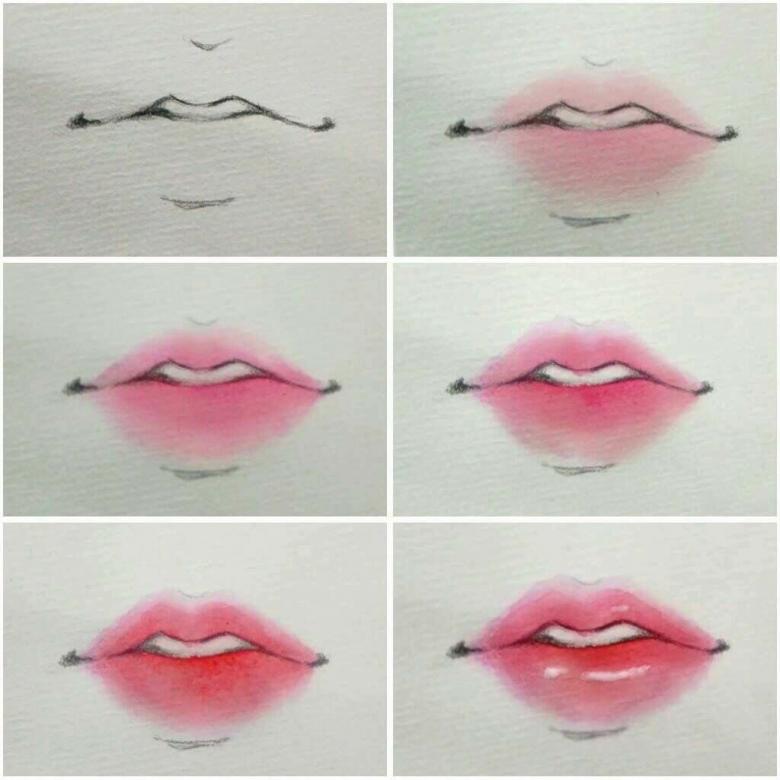
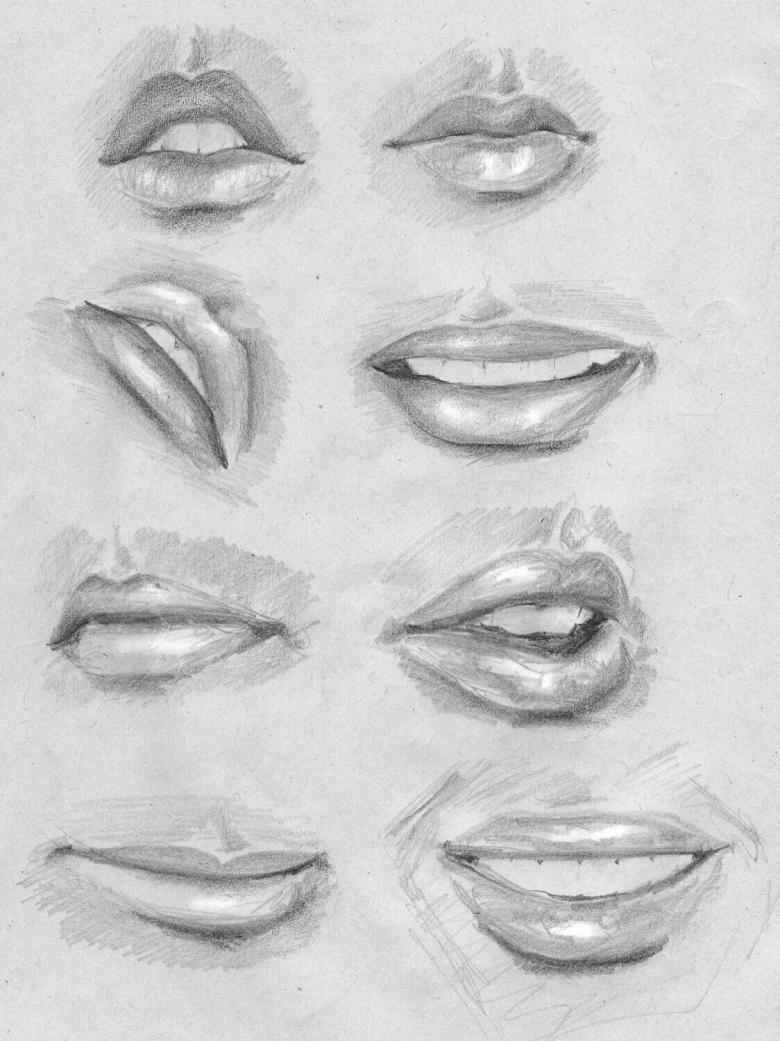
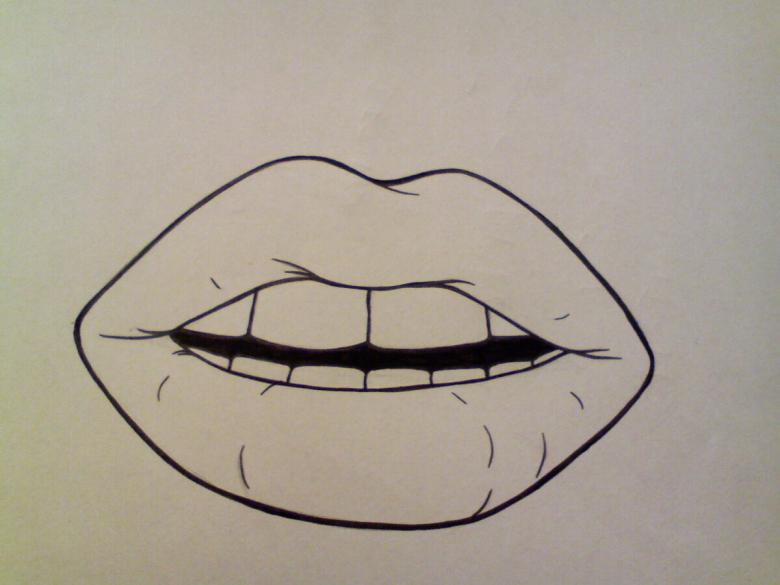
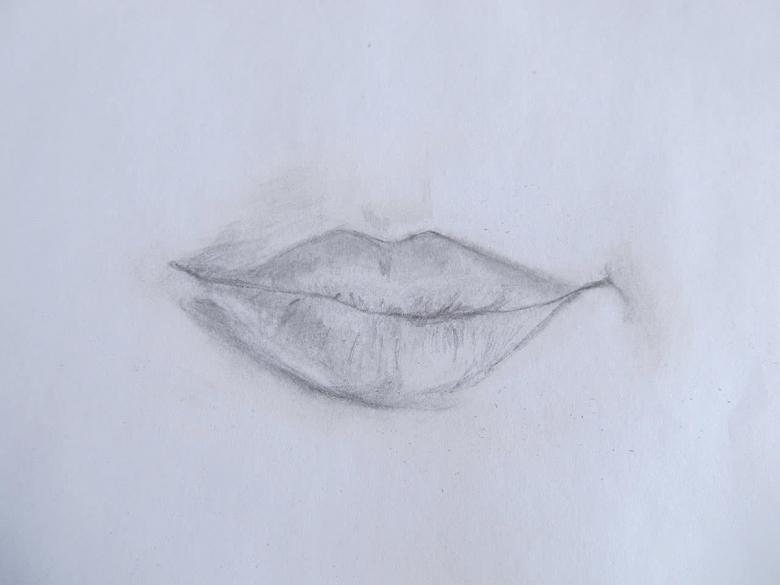
How to draw lips: a detailed guide for beginners how to draw correctly
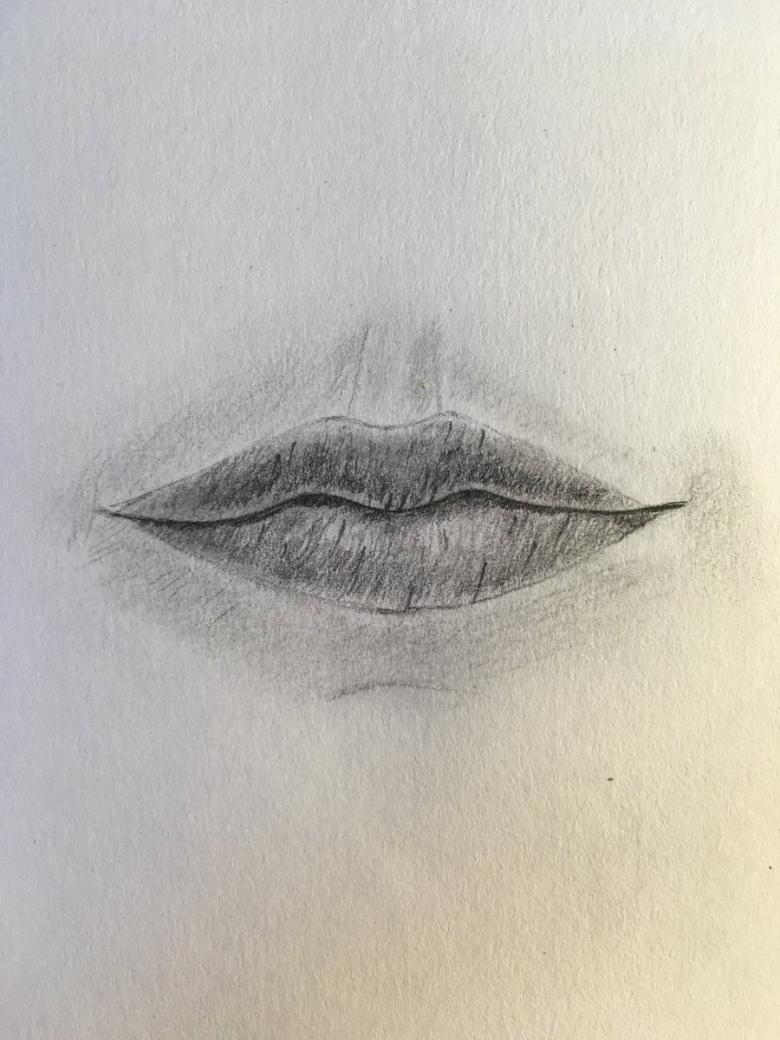
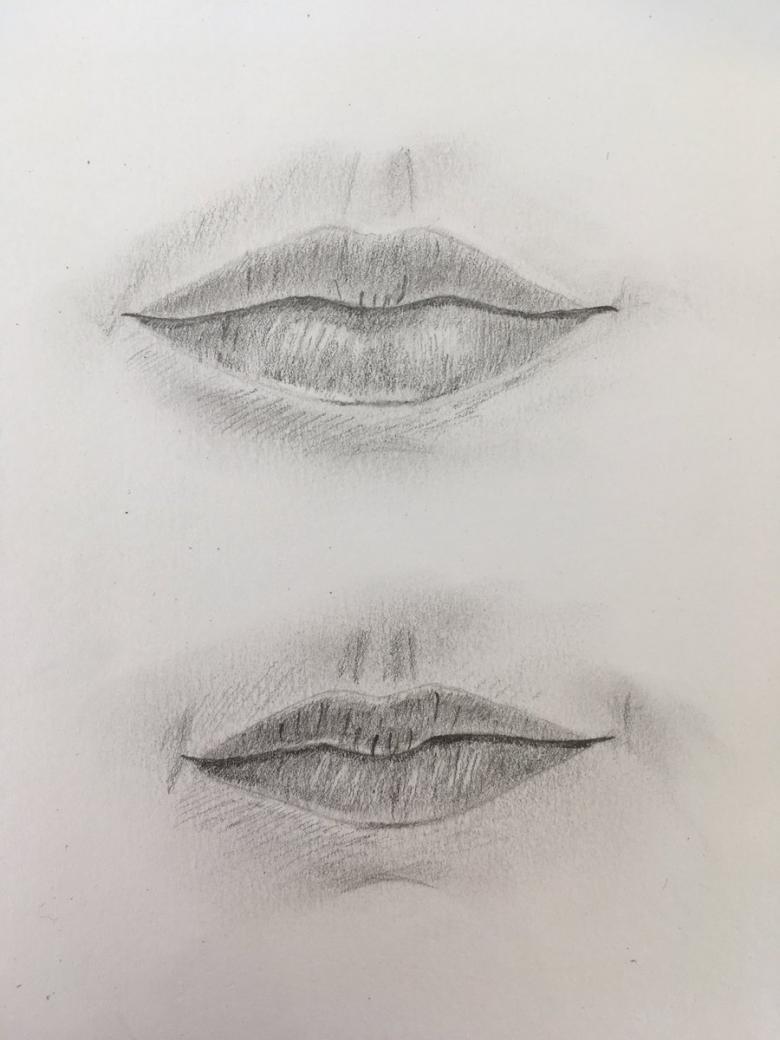
In order to draw a human face correctly, you need to carefully study the references of the individual parts. You can start with the images of the lips. Doing the work step by step, you can draw them beautifully with one simple pencil. The work is simple enough if you produce it leisurely and follow the rules of light and shade.
The simple way
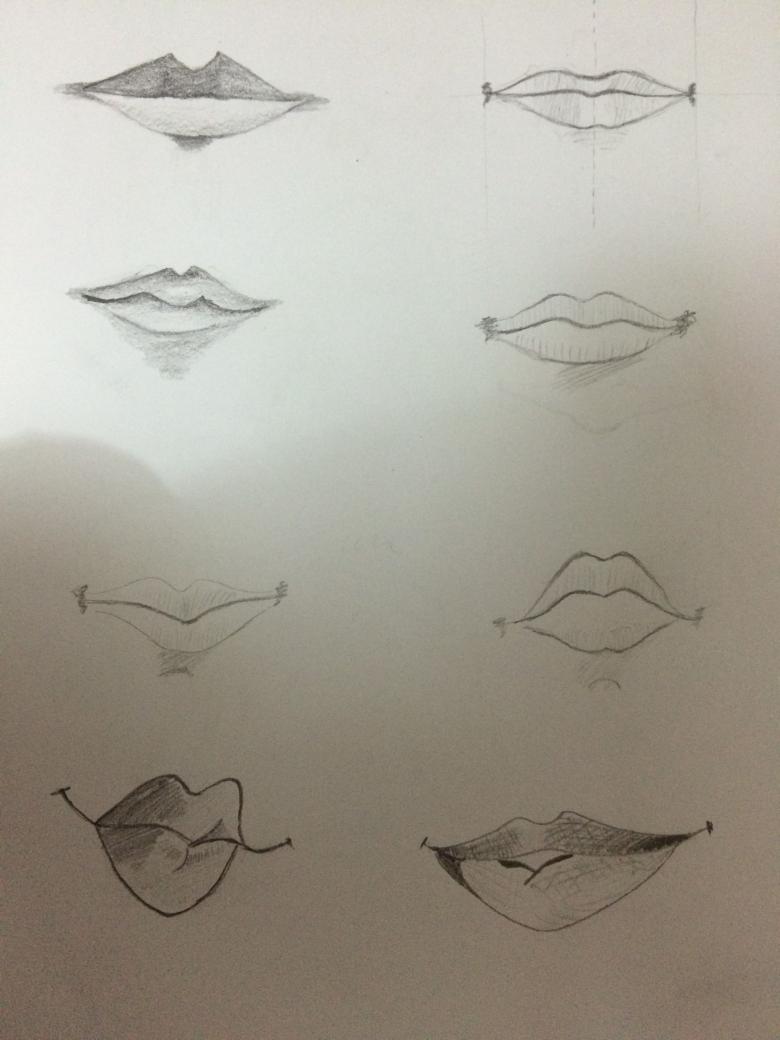
Before you start drawing the mouth, you need to understand that the final result of the drawing may be different from the sample and other variants of execution. However, the technique will be the same in execution.
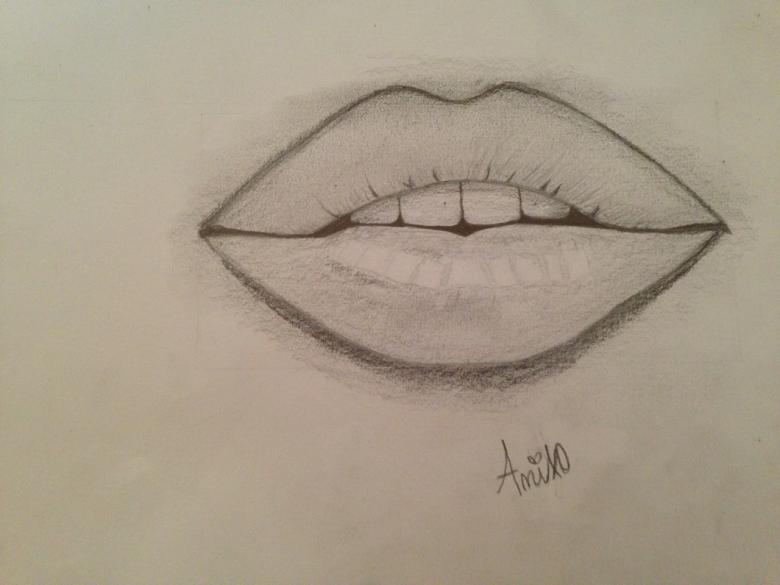
To work you will need:
- paper;
- TM (HB) pencil;
- eraser.
For convenience, you can put a flat board under the paper.
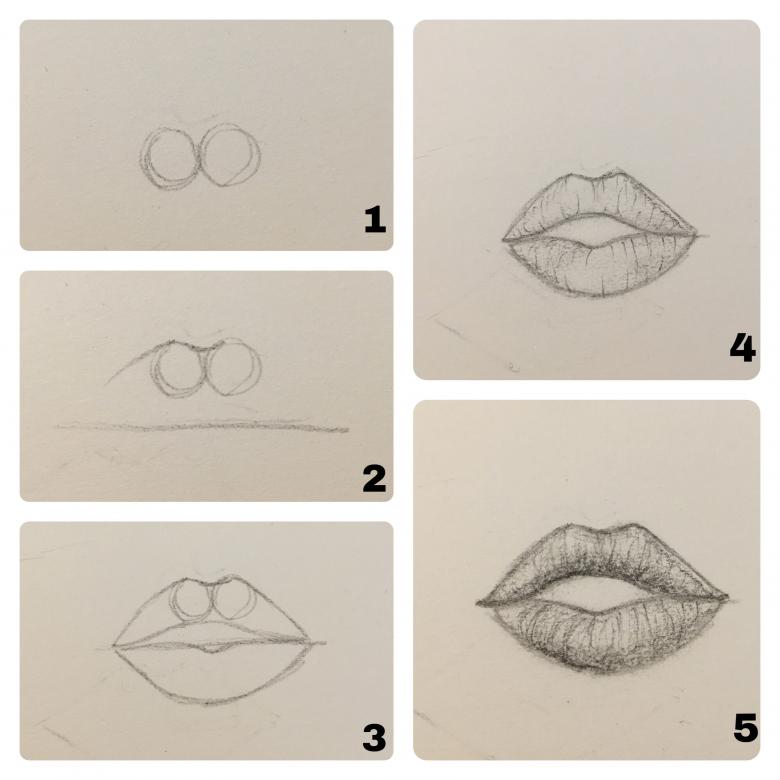
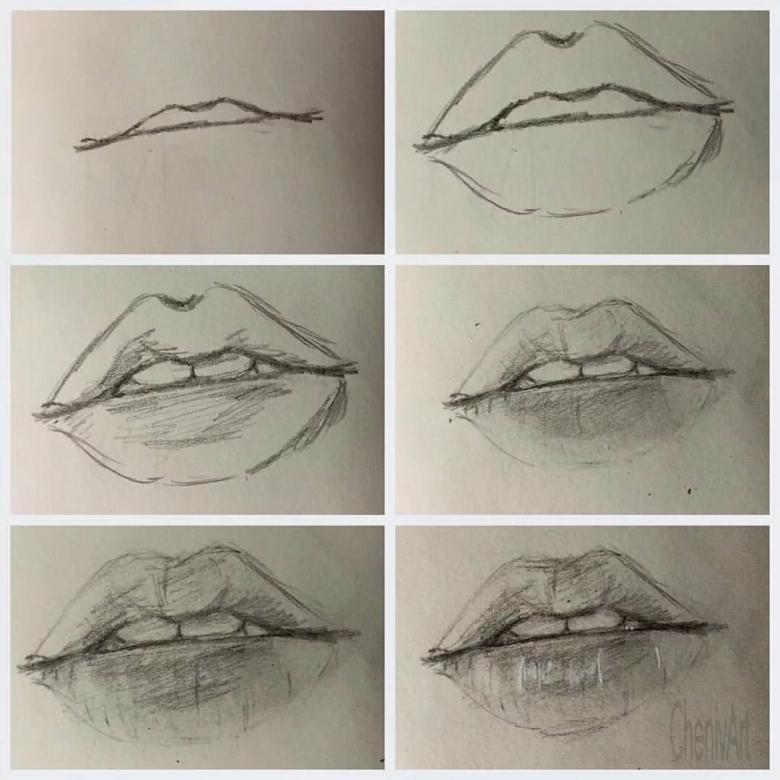
The step-by-step process of drawing human lips with a pencil is as follows:
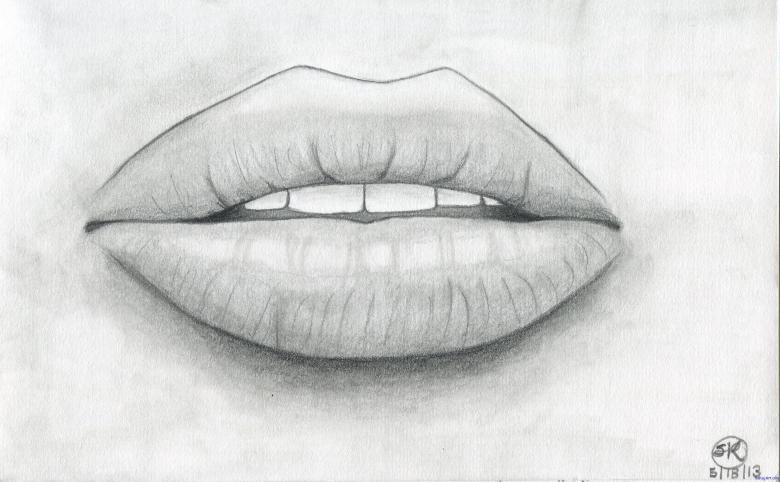
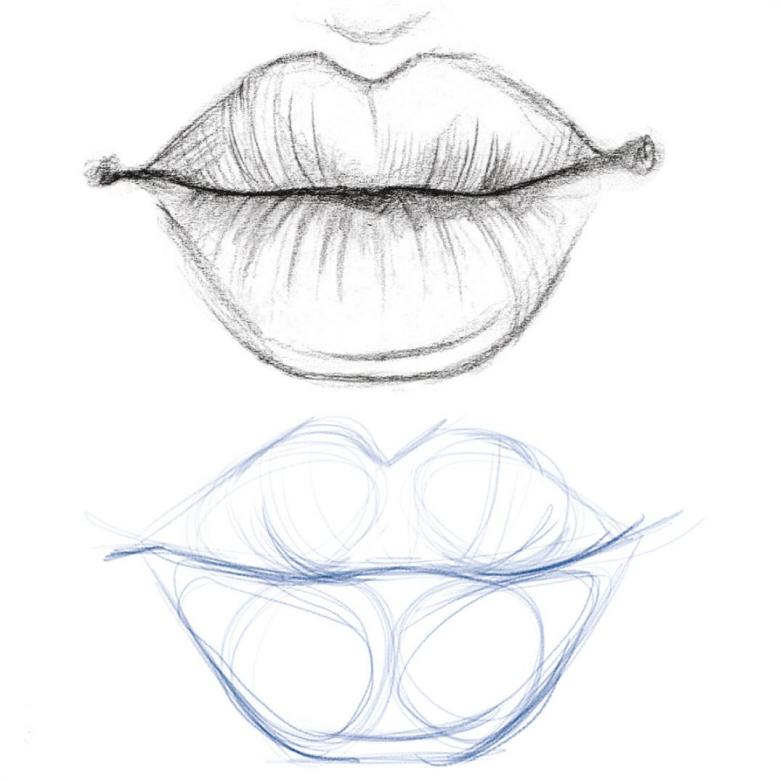
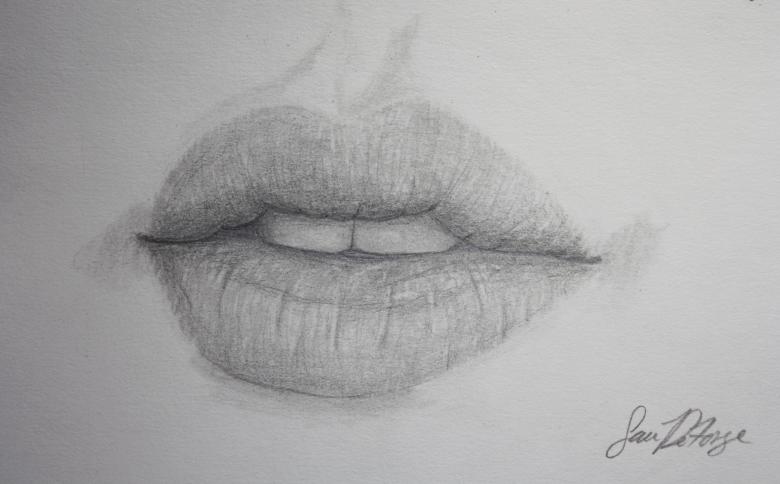
- Initially, it is necessary to draw two trapezoids on top of each other in mirror image. The figure at the top will be the blanks of the upper lip, respectively - the lower part of the mouth.
- In the middle of the top make a small notch, forming an arc of cupid. From the central line of contact trapezes draw a sphere curved upward. Here add one more sphere, but curved to the bottom, so it is formed semi-open mouth. Unnecessary lines should be removed with an eraser, and the sharp corners to make rounded (smooth).
- Make strokes that will act as small folds. On the lower lip, they are made longer. Designate areas of glare, they should be placed in the center and on the left side, but it is not necessary to highlight them strongly.
- Shading. Start with the darkest places: the corners and the center of the mouth. Make a light shadow near the tops of the teeth. Leave the central area of the drawing for last. Shadows can be applied from below the lips, with a light shading on top.
- Creating highlights. With the help of an eraser, make thin strips on top and on top of the drawing. Use a rubbed pencil lead to give volume to the image, due to the contrast.
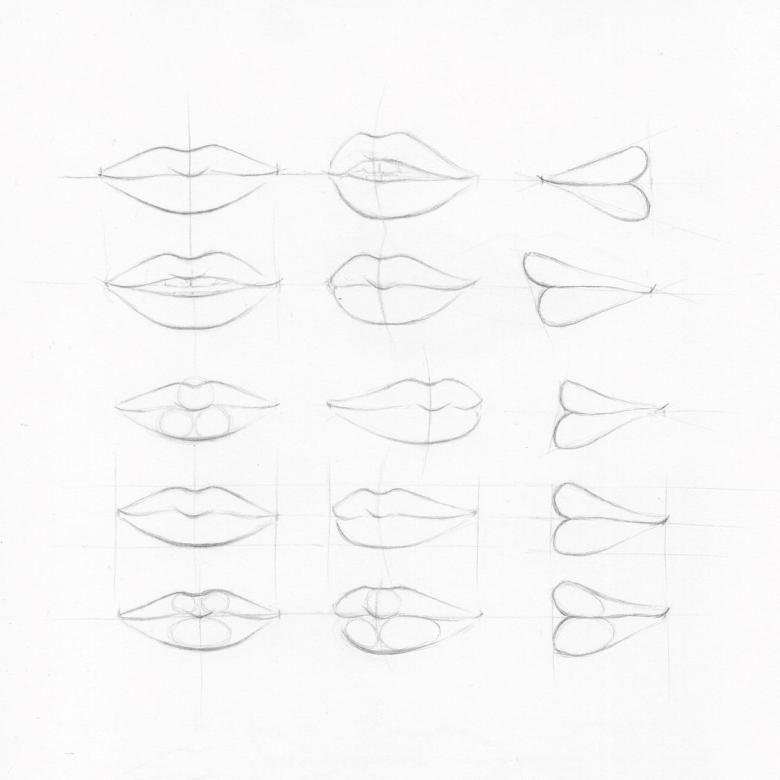
The second way
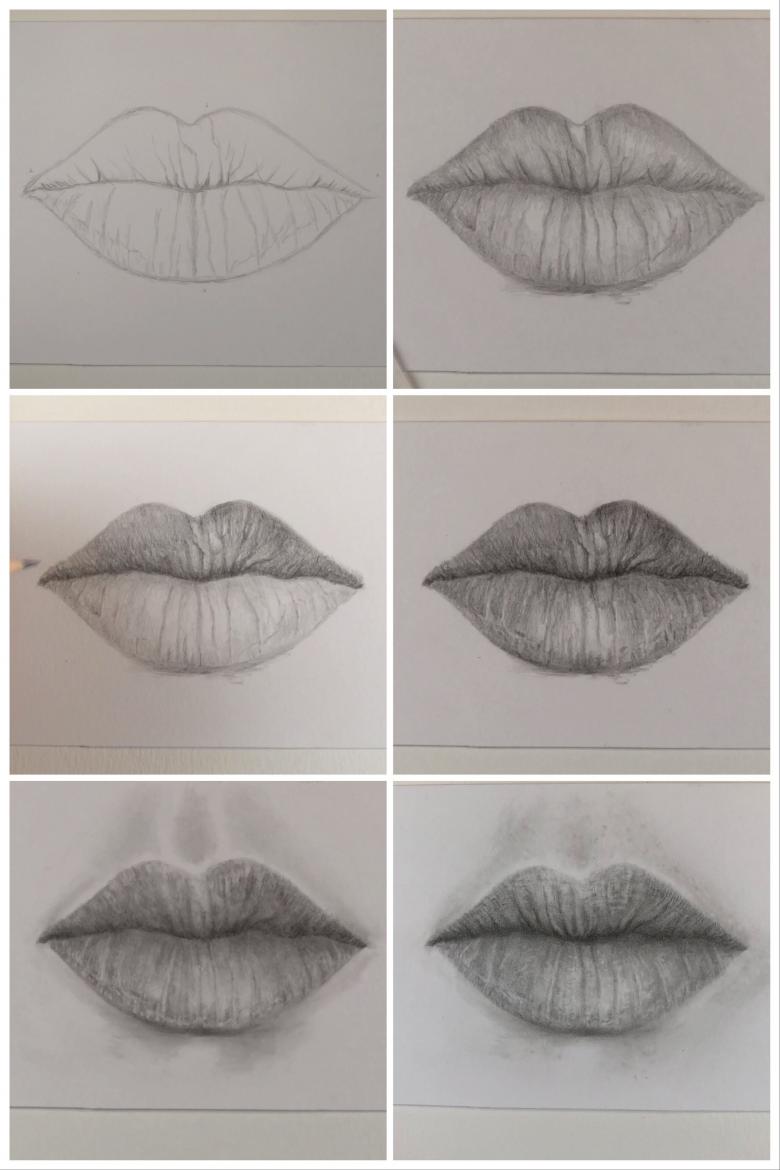
Consider the following instructions for drawing lips step by step. Like the previous one, the image will not be difficult to perform, but the result will be more realistic lips. For this you will need: a scrapbook sheet of paper, a ruler, a simple pencil, an eraser. Stages of work:
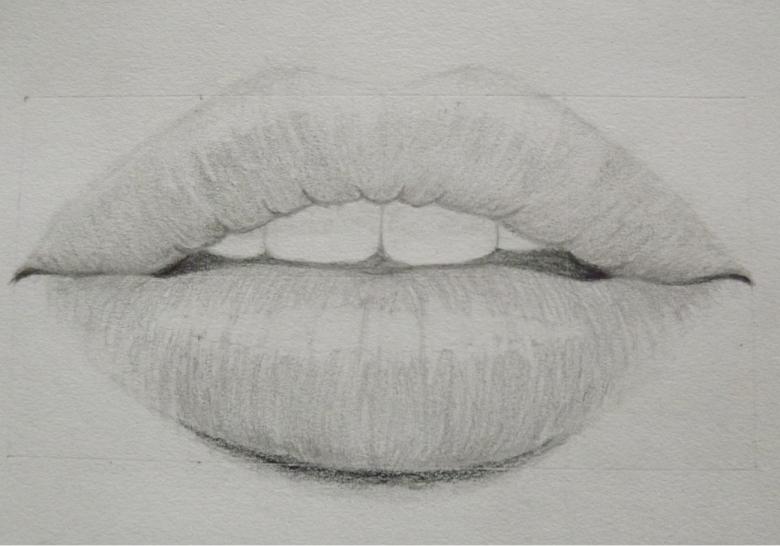
- First you need to draw a rectangle with dimensions of 8x16 cm. Divide it into eight squares of 4x4 cm. The basic outline consists of symmetrical lines. In the resulting grid, symmetry will be reflected in the upper and lower parts.
- On the edges of the grid, the corners of the lips must be outlined. From them draw curved lines, marking the upper and lower lip.
- The bottom line should pass, touching in the middle of the border of the table. The upper line, on the other hand, should extend slightly beyond.
- In the central area, form a cavity for the teeth. It is not necessary to trace the entire space with teeth, only slightly mark some elements.
- Eliminating all unnecessary lines with the eraser, you can draw the details and give the image volume.
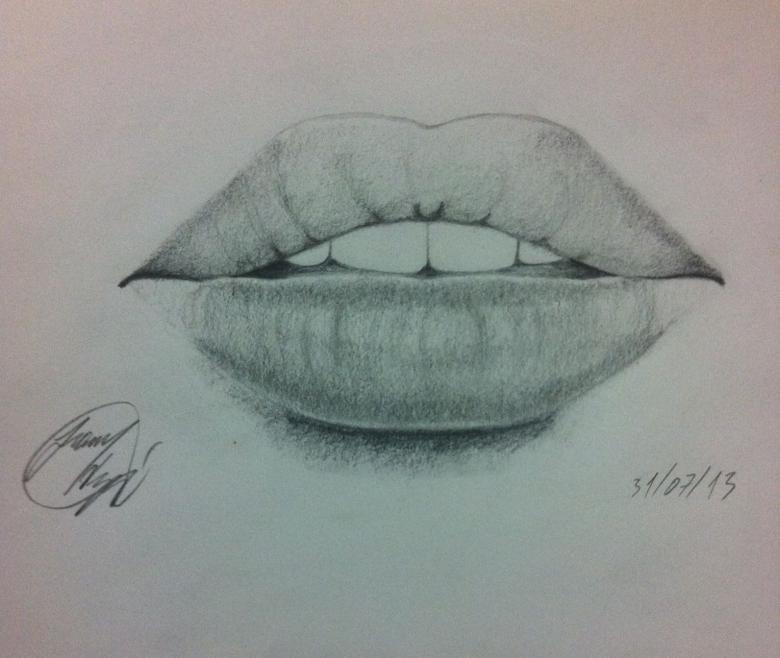
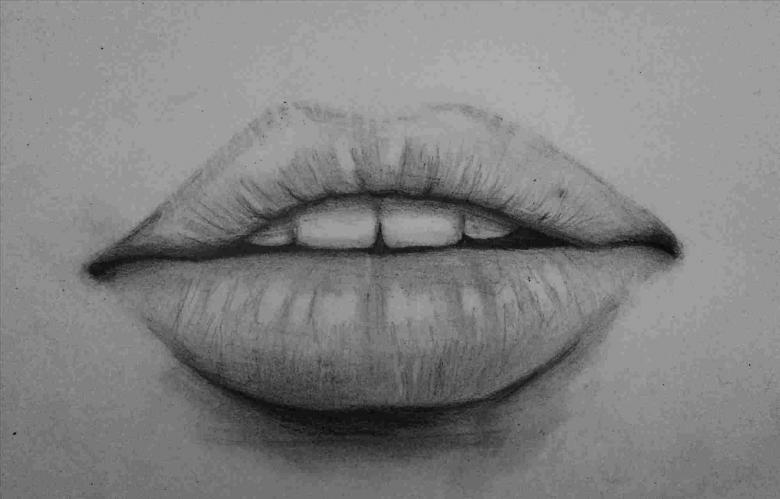
- Draw lines that show the texture of the lips. To make the drawing realistic, they should not be made strictly straight, they should go in the direction from top to bottom on the lower part, and in the opposite direction when drawing the upper part.
- In the case where the light falls from the top, it is necessary to make the area near the teeth of the upper lip darker. The darkest area will be the area behind the teeth. Light shading should be applied to the ends, so that they do not stand out too much and look more natural.
- Use the same procedure for the lower lip (the bottom should be shaded more). Use the eraser to make highlights by erasing the center areas on both lips.
The third variant
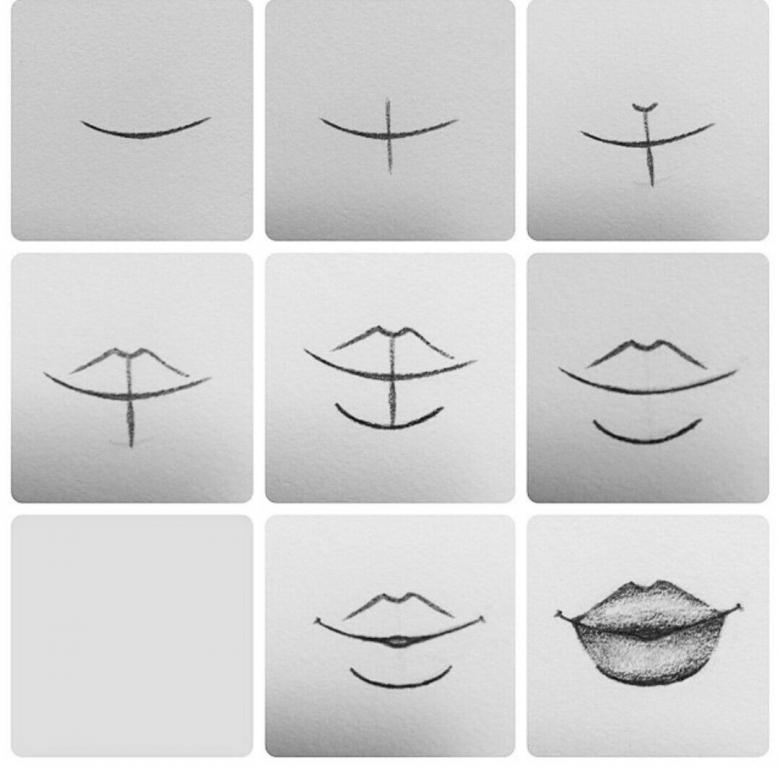
This way of drawing differs in the absence of a grid, which will complicate the task, and teeth. The work will consist of the following:
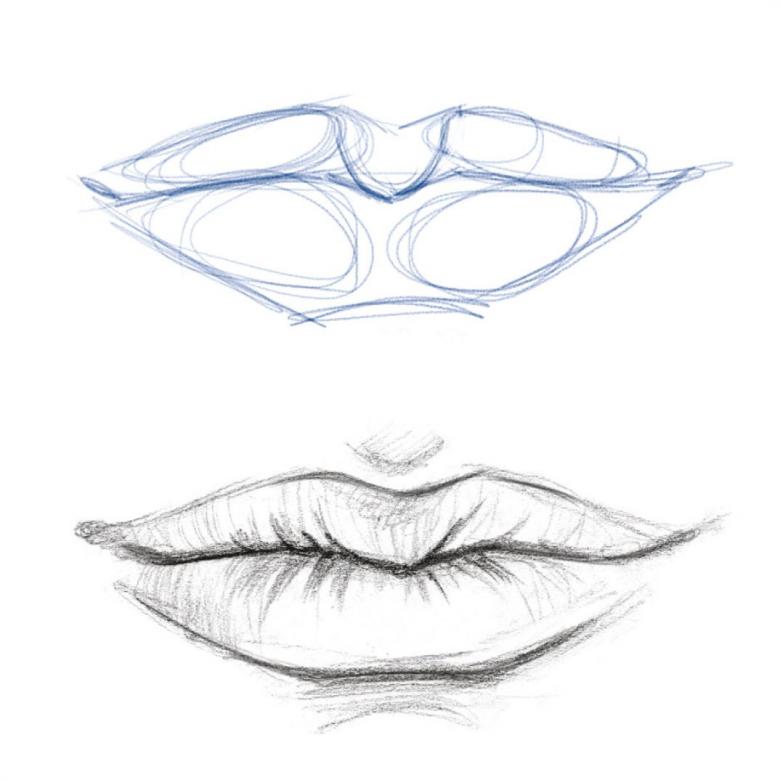
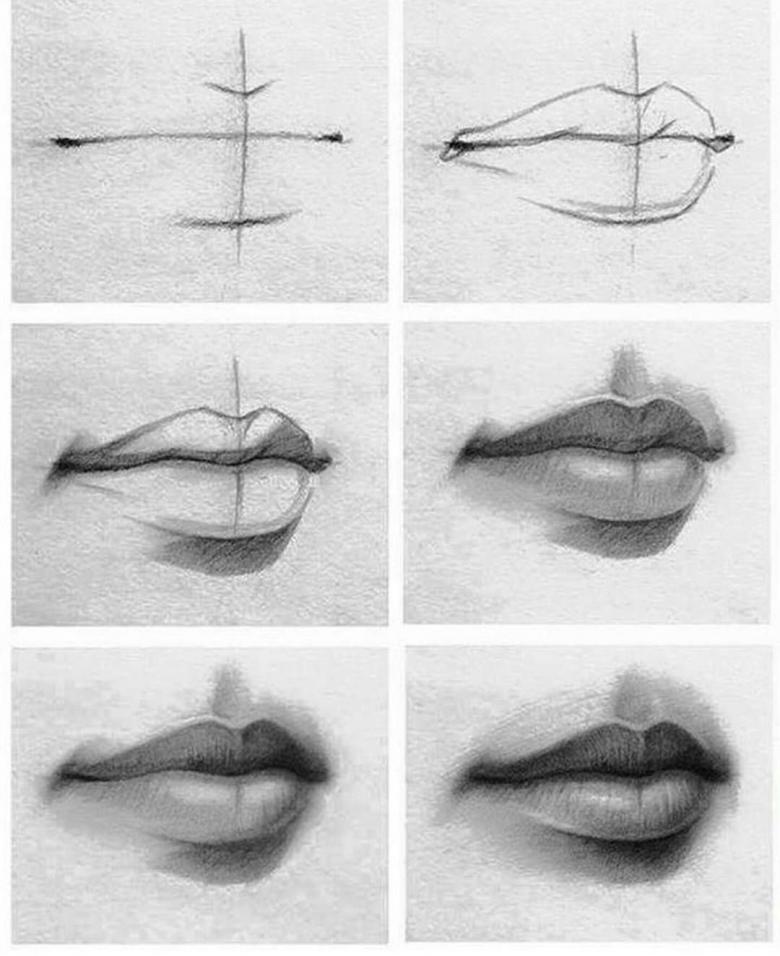
- Draw a long arc, with a slight, smooth curve. Mark the center and draw a vertical segment through it. On the segment dashes mark the boundaries of the upper and lower lip.
- Across the top border, draw a curved line, connecting the ends of the original arc. An outline of the upper lip will appear. Also draw a line across the bottom border. Erase the auxiliary segment and the dashes.
- In the center of his mouth with the top down to draw a corner, above him, the top of the lip, depict a similar and smooth out all the resulting acute angles, as well as blur the ends of the segments.
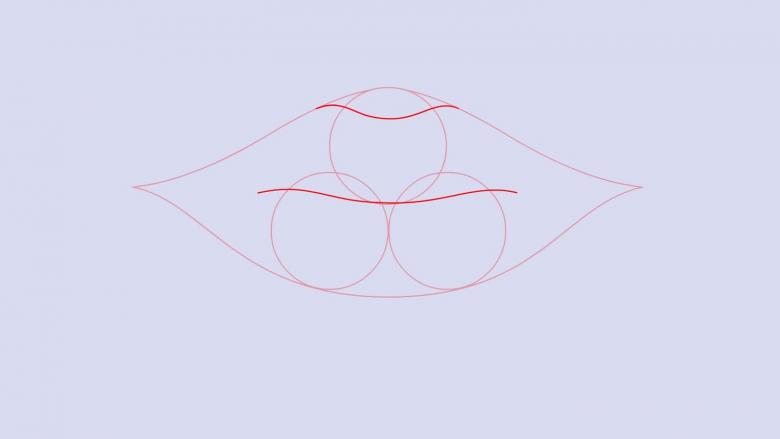
- Within the limits of the lower lip to inscribe two egg-shaped shapes, in the center they must touch the blunt ends. The tops of which should coincide with the lines, drawn in the wound angle. These ovals will contribute to the distribution of light and shade.
- Make the corners of the mouth expressive and darken its center.
- Above all, use thin lines to mark the dimple under the nose.
- Hatching. Apply strokes as in the previous examples, trying to achieve naturalness. The areas to do darker, as they approach the center. On the lower lip, apply lighter strokes. Where there are ovals, make the lightest areas.
Different angles.
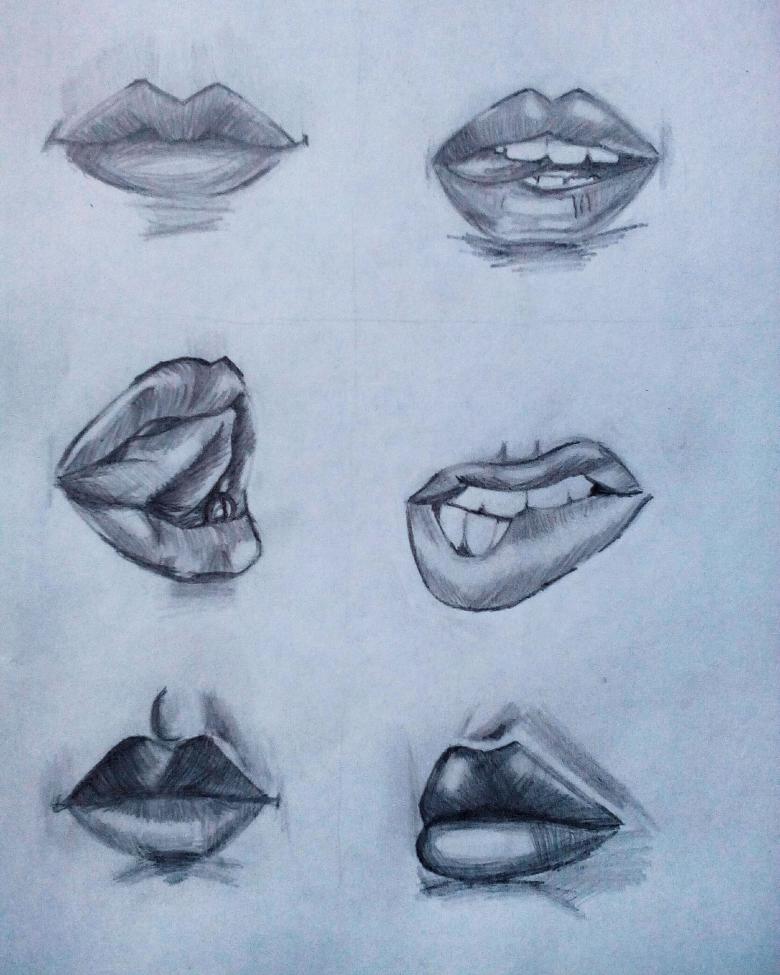
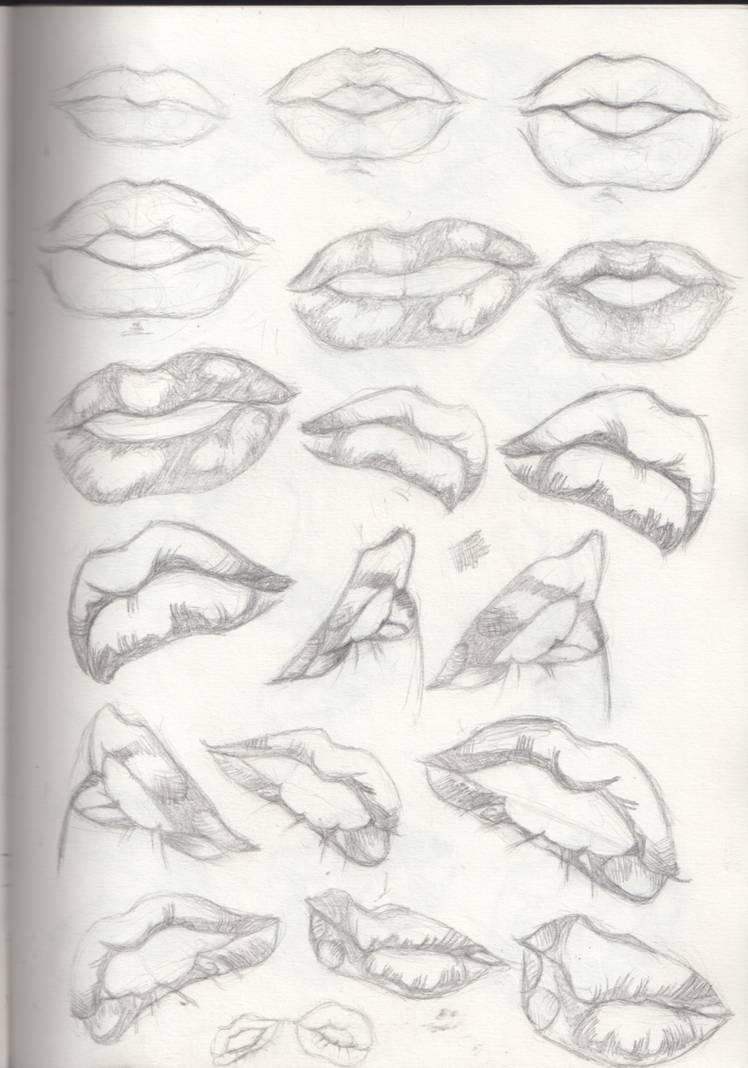
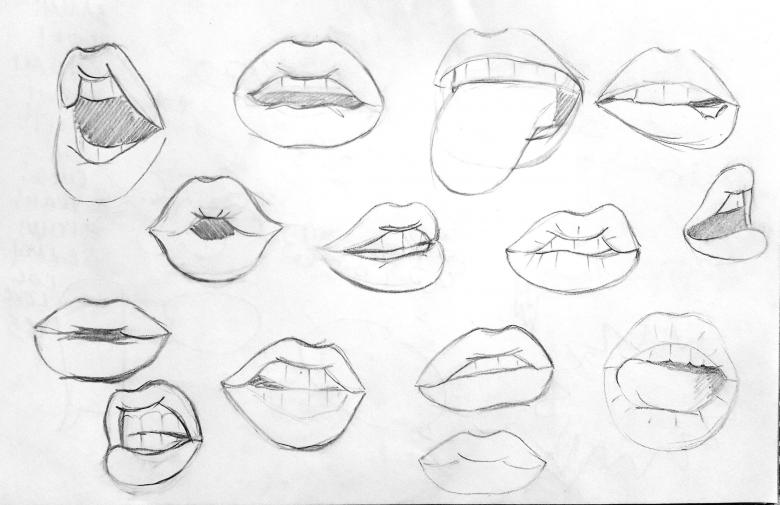
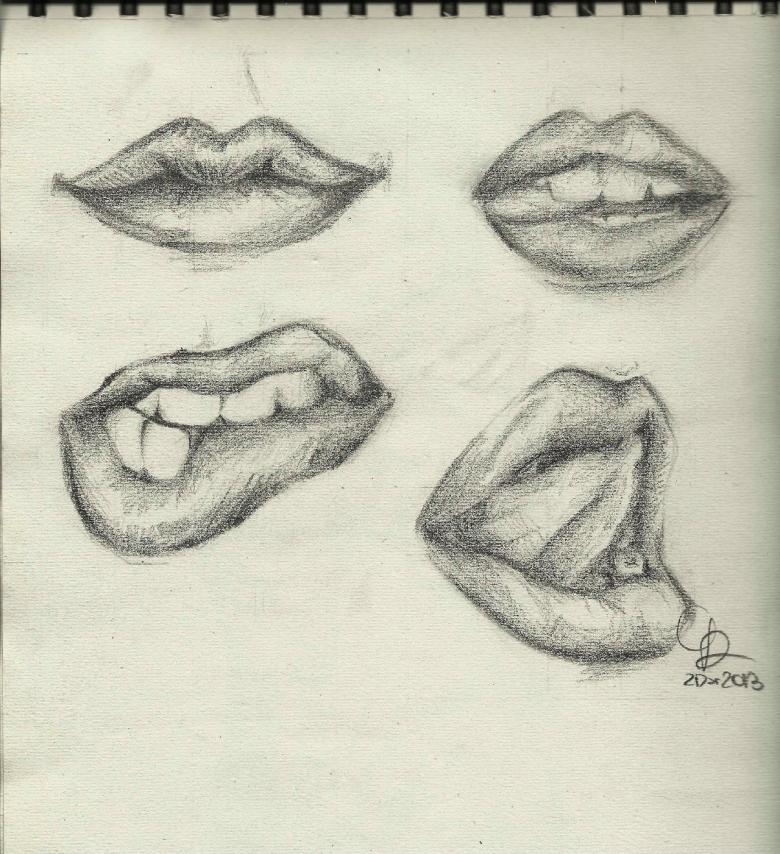
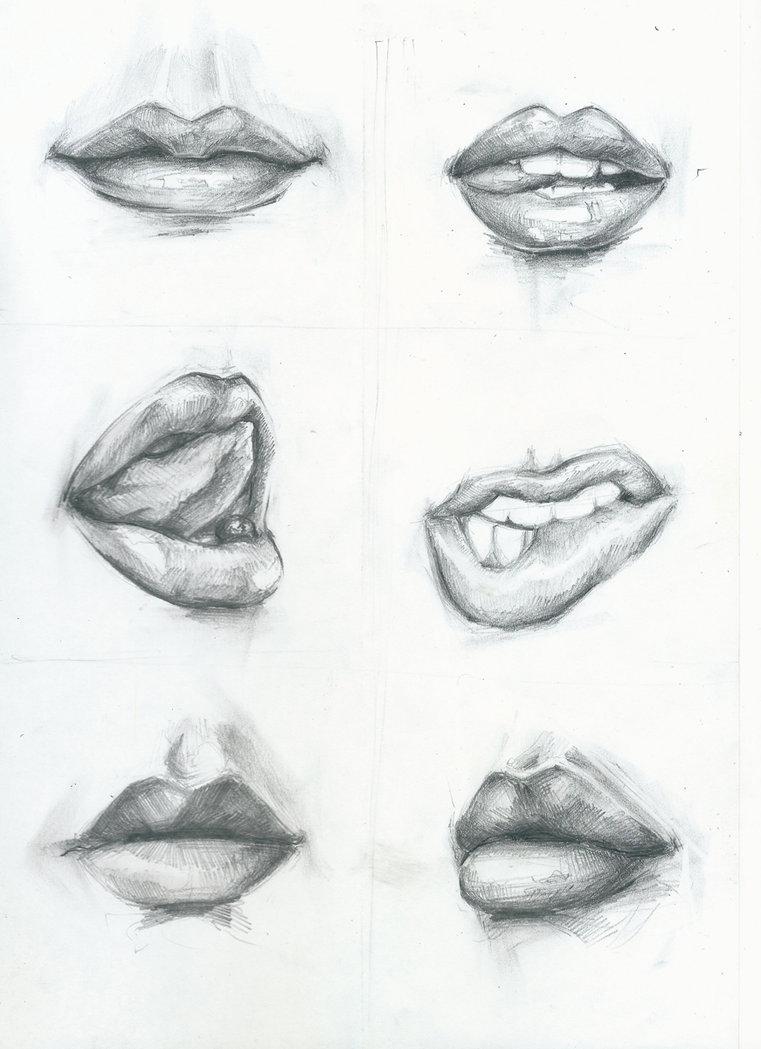
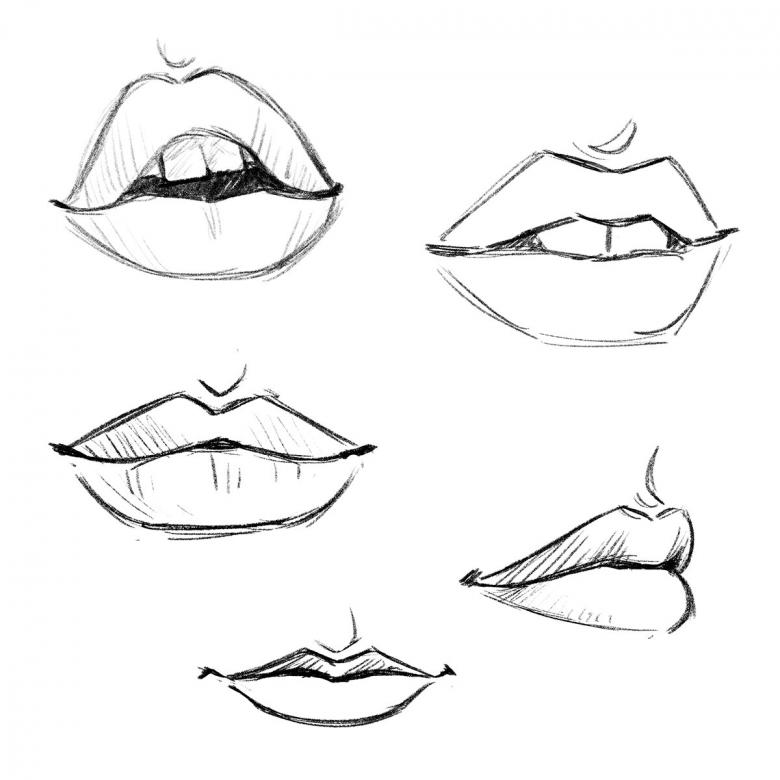
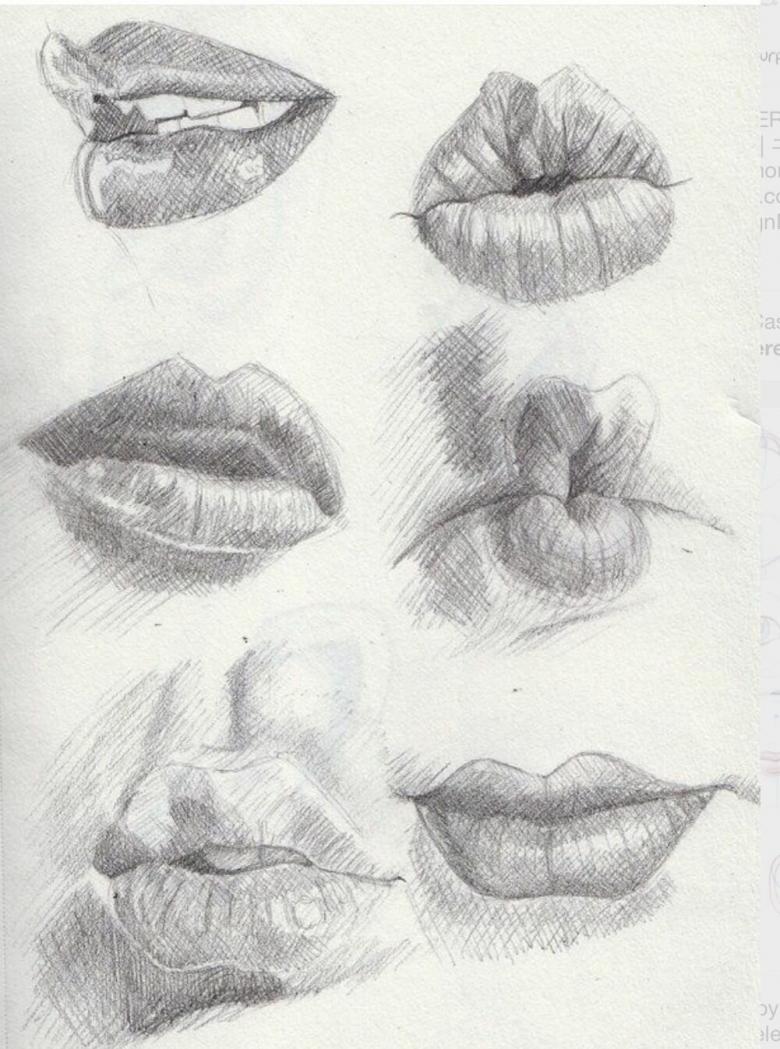
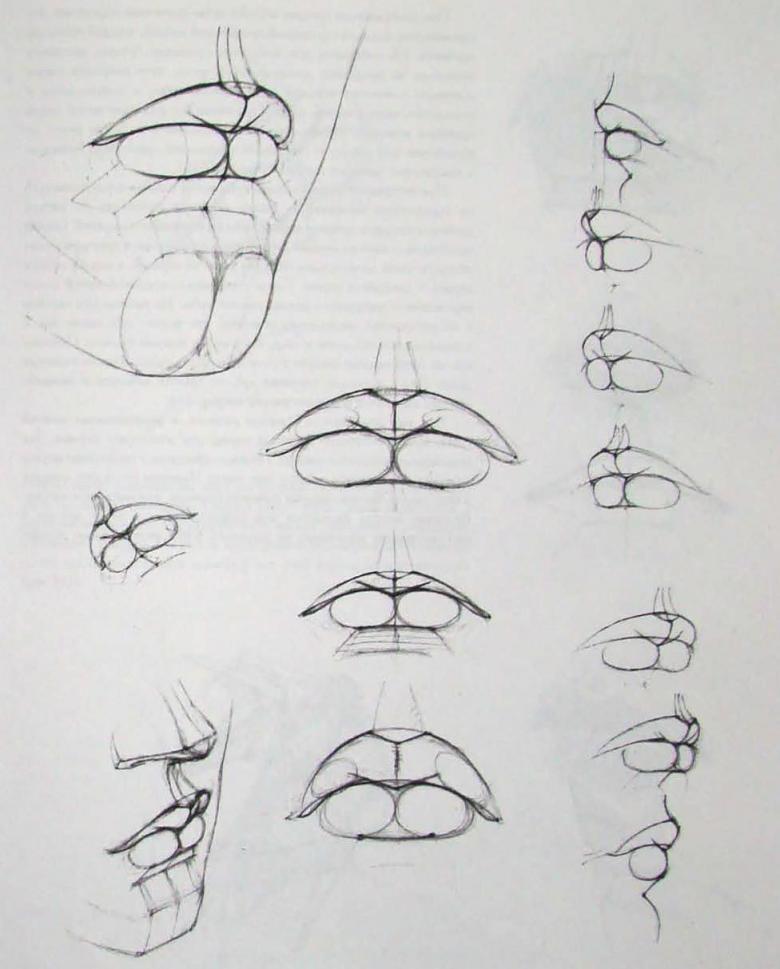
The ways described above were with the depiction of the lips ajar in full-face. Now you can take lessons on drawing them in other positions. It is quite easy for Internet users to find different samples and choose the right option. For each option, you need to use: a piece of paper, a simple pencil, an eraser and, in extreme cases, a sharpener.
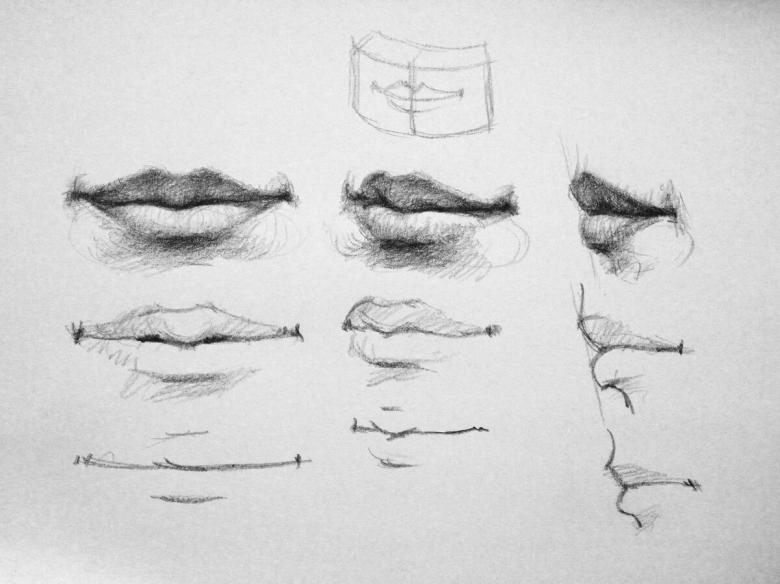
Lips in profile
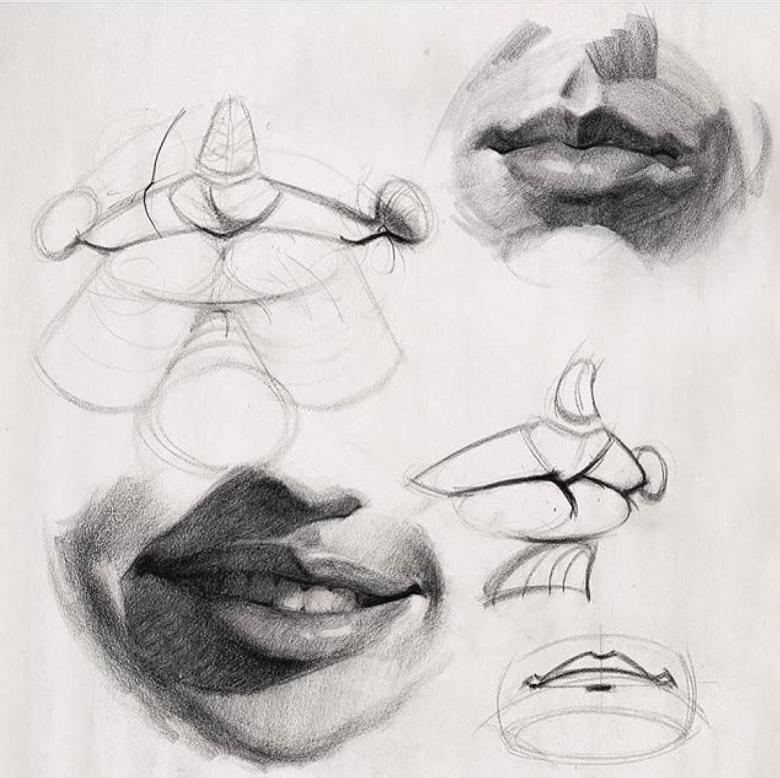
Drawing the lips in this position should also be performed step by step:
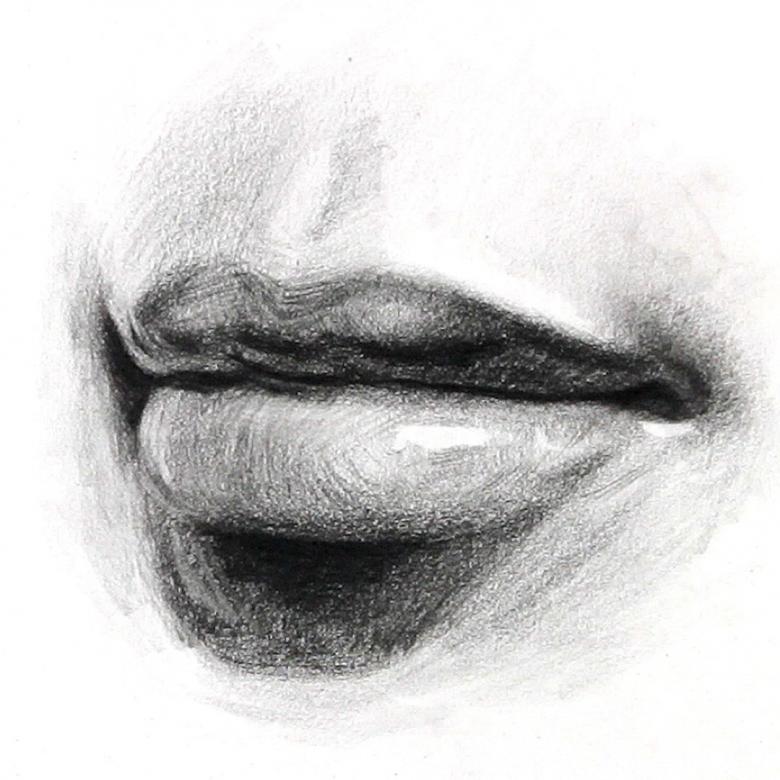
- Start by drawing a slanted segment. On top of this segment from one end, draw a line rounded at the other end. You should get a figure like a petal.
- The bottom of the segment to draw the same line, but wider and shorter a few millimeters from the rounded side. Thus obtained the outline of the profile of the lips.
- Under the lower lip to draw an S-shaped line that forms submouth and chin. Above the upper part of the mouth, draw a narrow triangle, nasal cavity, if desired, and the nose itself with a light line.
- Mark the light areas: on the lower part of the mouth, closer to the rounding of the circle and a band at the top of it, at the end of the upper part - two vertical dashes.
- Paint the upper lip, smoothly making the transition to the light area bounded by dashes. Highlight the corner and the bottom edge of the lip. Carefully shade all areas of the lower lip, leaving the top of the circle (glare) untouched. Add a shadow on the hollow above the chin.
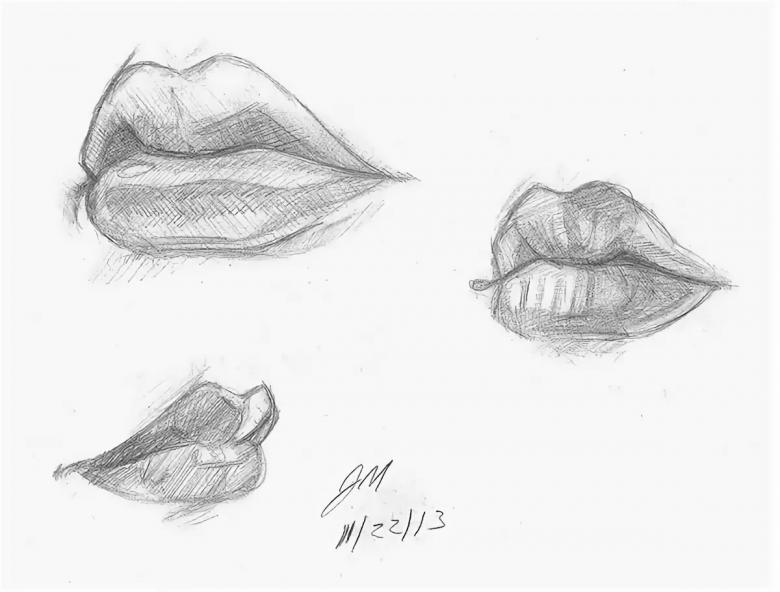
Lips in a half-turn
Now we will learn to depict the lips, arranged in a half-turn. All steps are carried out according to the third way of drawing in full-face. Only in the final stages need to shorten one side of the mouth with an eraser. The ends of the shortened lips is more natural rounded. In the center of the mouth to make a half-turn, correcting the configuration and playing with light and shadows.

In addition to the lips, you can learn to draw other parts: the nose, eyes, ears. This will help to draw the head as a whole or a portrait. Just all of these examples can be used in drawing techniques in the style of PIN-AP.

