Photobook with their own hands - an overview of the types, features technique, step by step master classes
Posts on instagram will not replace a photo album, decorated with their own hands. Not for nothing handmade products, be it homemade cakes, candy bouquets, jewelry and memorable souvenirs, today at the peak of popularity. However, the fashion for creativity never goes away.

The whole secret is that homemade things are unique, they are a reflection of the maker's feelings, and therefore full of positive energy. It is impossible to repeat such a product exactly.

A photo album made by your own hands, together with children, family members will be a great gift, will keep the memory of a significant event for a long time. The process of working on it and the subsequent storage will prolong the joy of the past and will be a very long reminder of the emotions experienced.
Scrapbooking
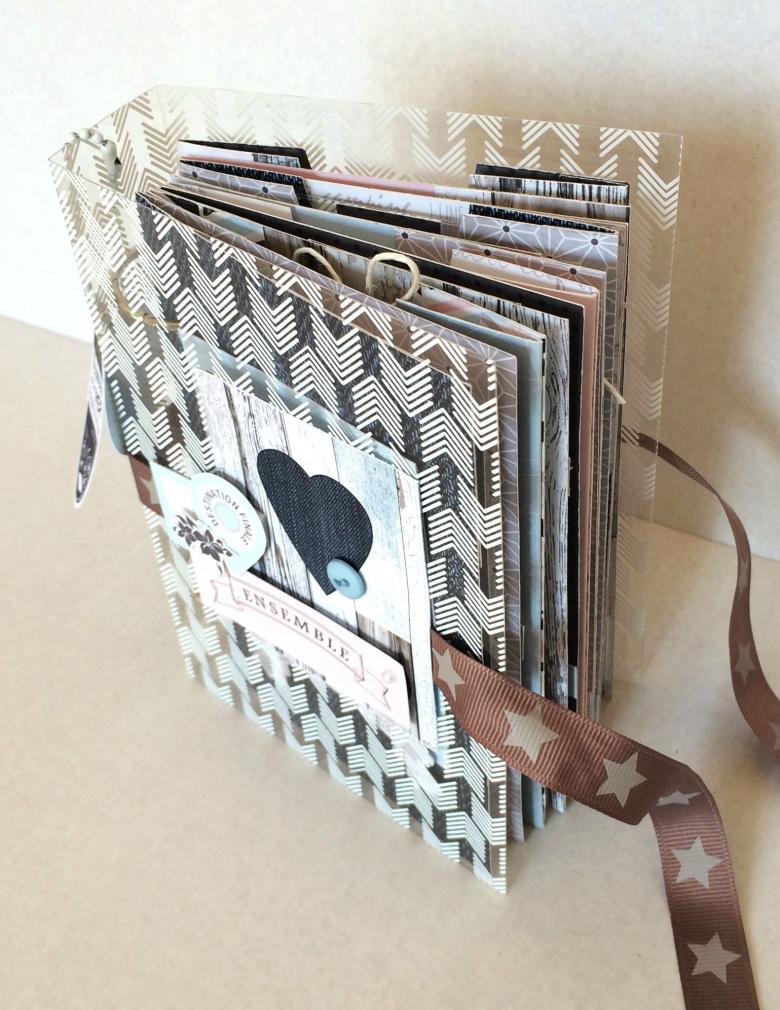
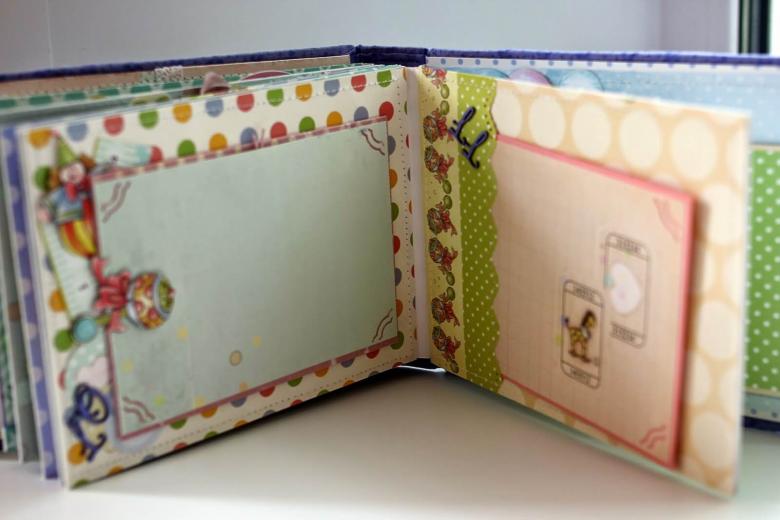
Scrapbooking is an arts and crafts. At the time of its greatest popularity - with the advent of photography - it was the composition of photo albums from sheets of paper. Now the fashion is back. and scrapbooking is interpreted somewhat more broadly. In this technique make cards, notebooks, notebooks, albums for collecting.

Types of photo albums
The key to success in creativity is a successful idea. The reason for creating a handmade photo album can be any important event or its anticipation. Suffice it to remember a huge variety of albums, which are prepared for demobilization by all conscripts.

A homemade gift is good to make to a relative or close friend. Such efforts and your sincere feelings will be appreciated. And the pleasure of the gift will be received by both the receiving and the gifting party.

Wedding
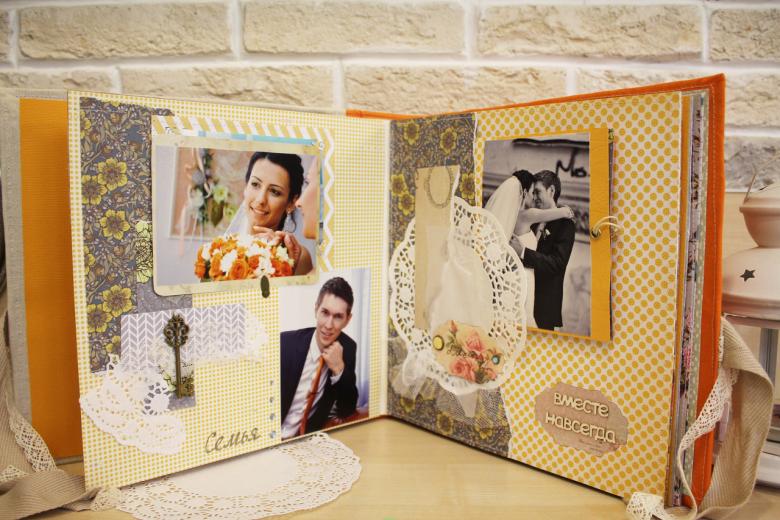
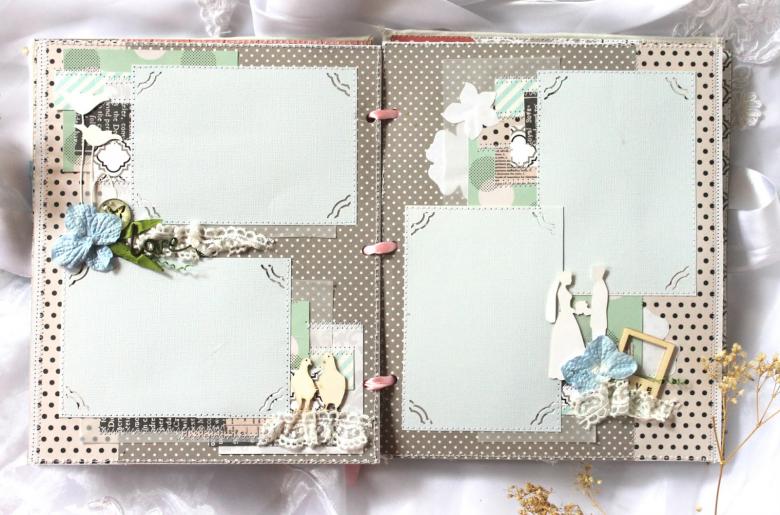
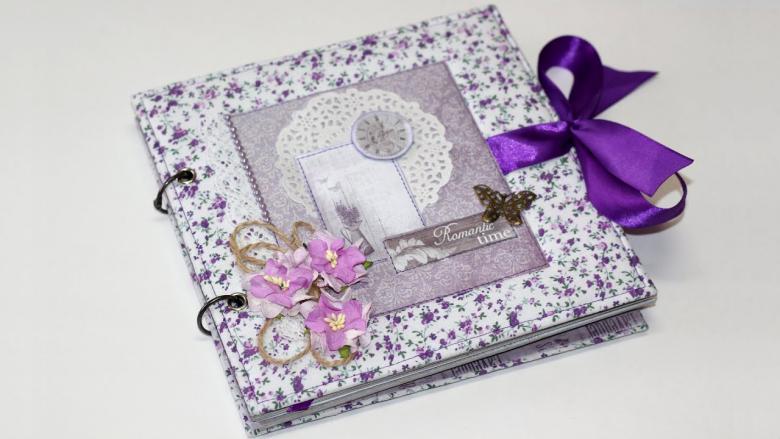
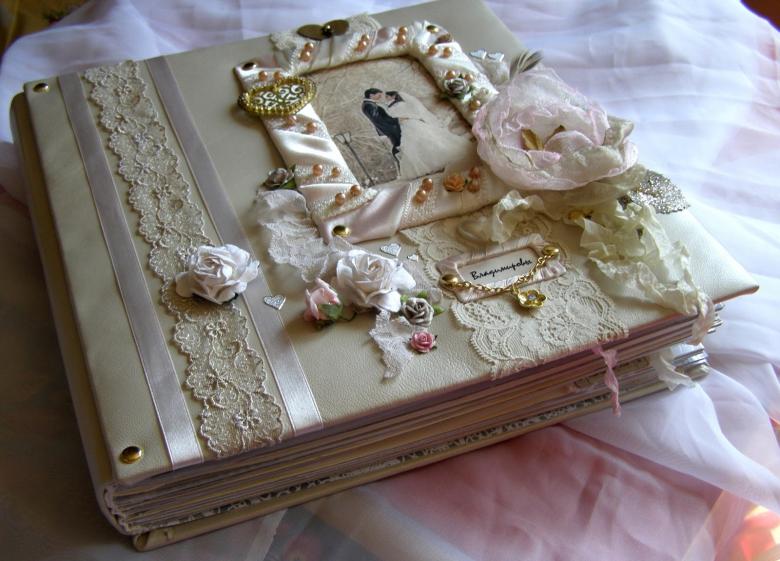
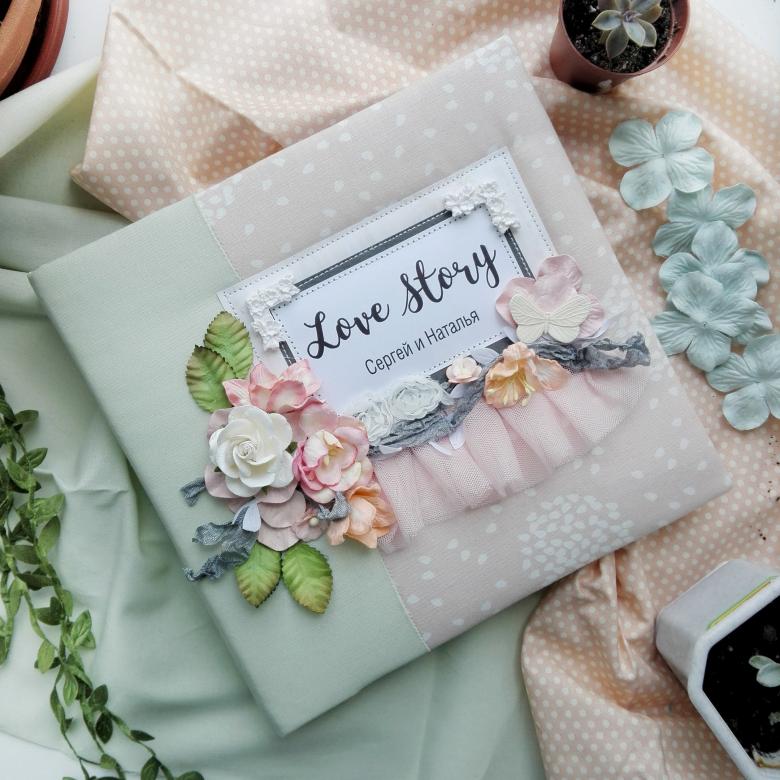
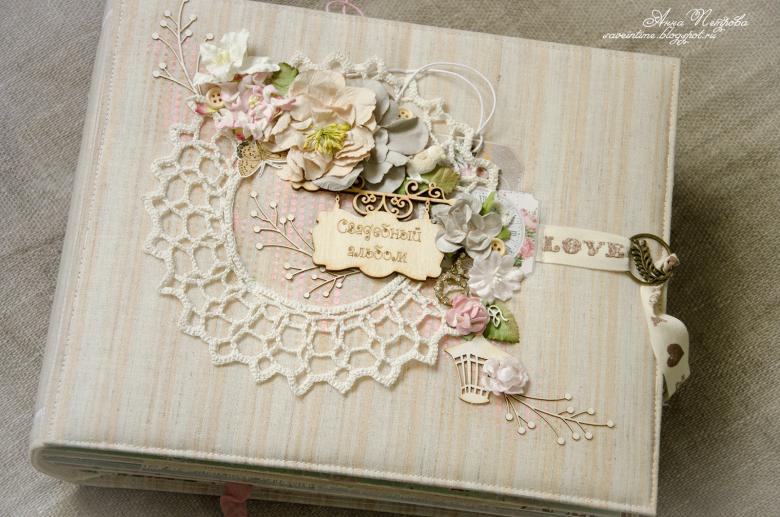
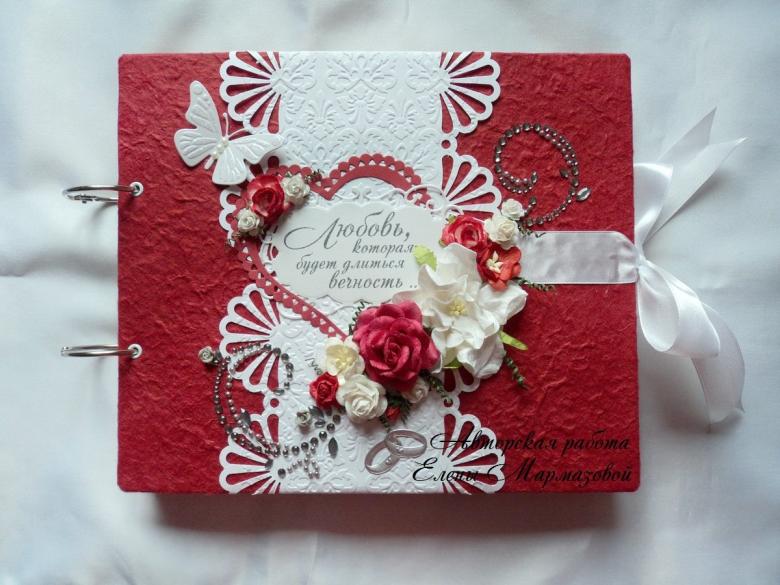
Decorating wedding albums is at the top of the top popular scrapbooking ideas. The family birth event will be immortalized for the couple, and they will return to the touching, treasured moments more than once or twice as they leaf through the wedding album.

For the newborn.
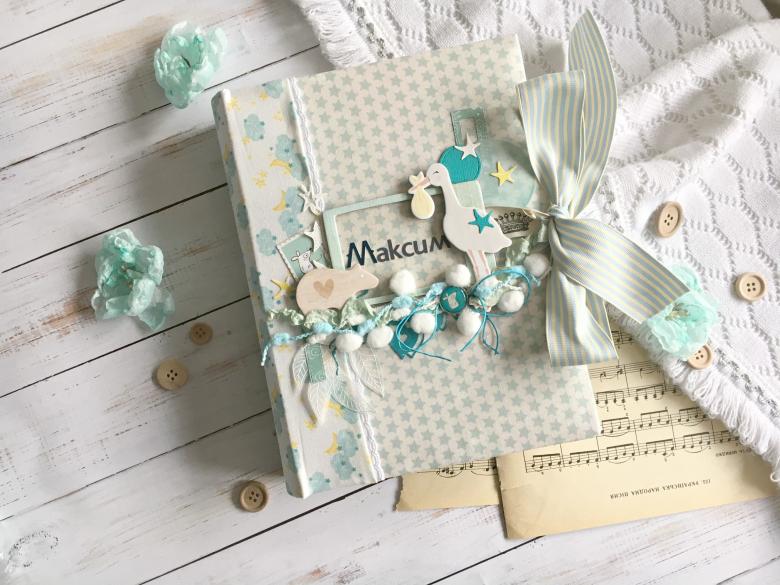
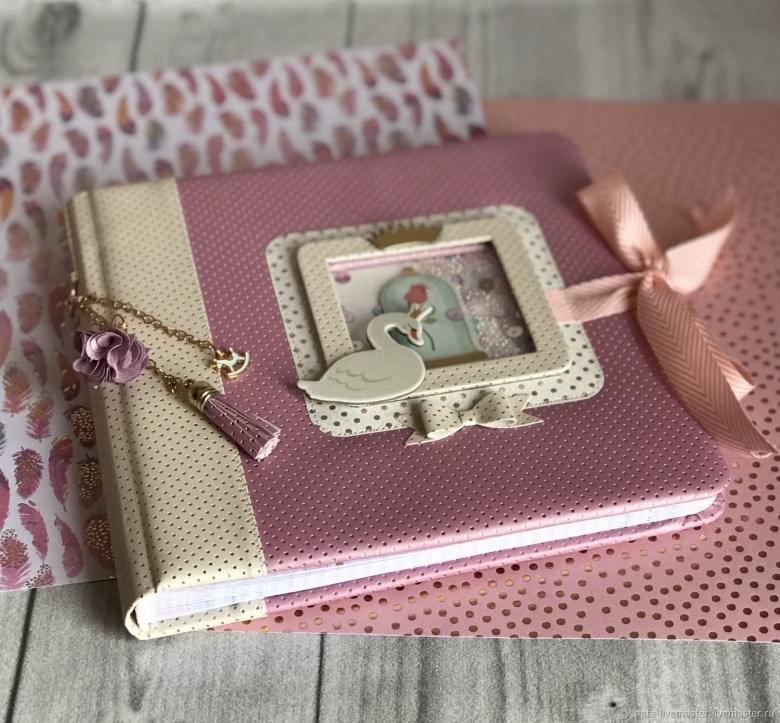
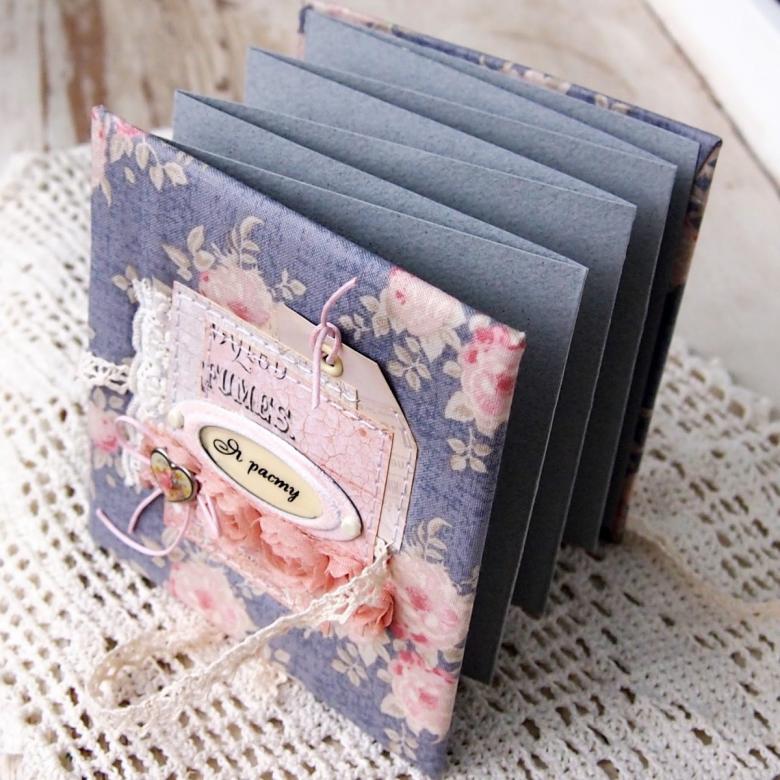
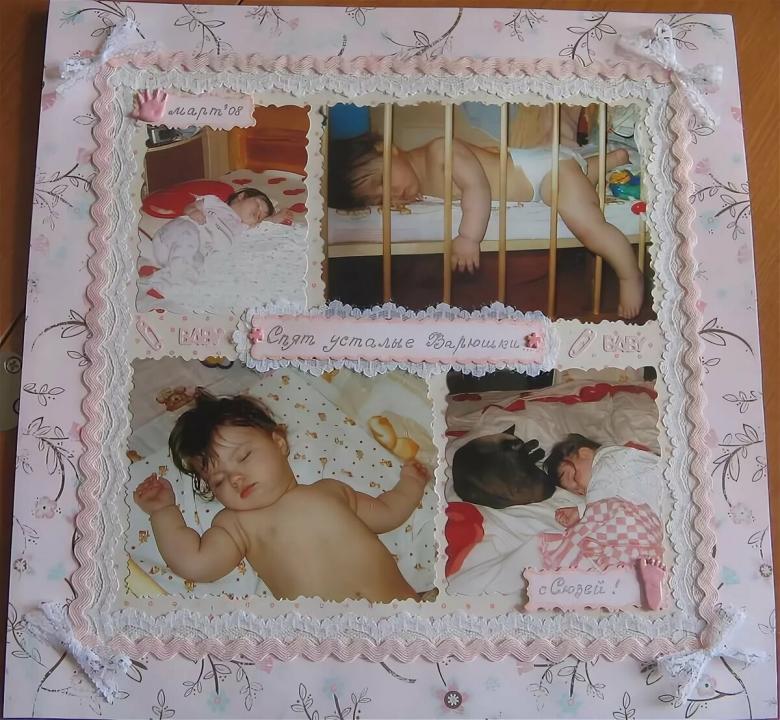
Such an event is not forgotten. And here to save the smallest details will help the album with images of the first minutes of life of a baby, his smile, the first steps.
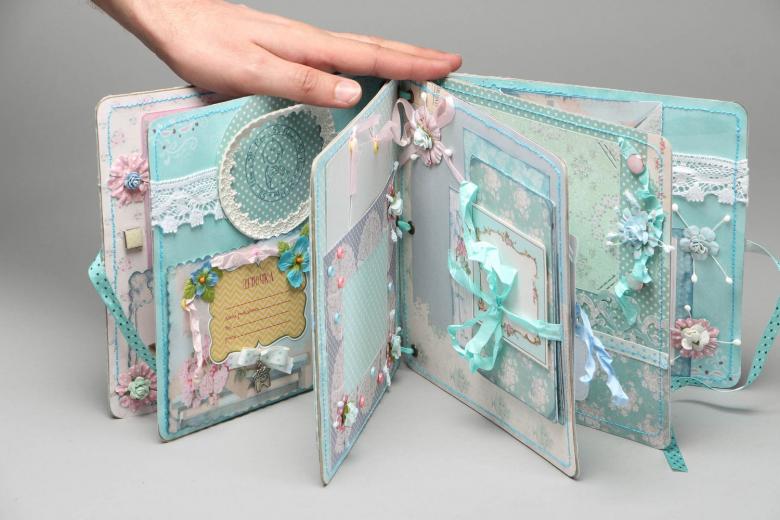
In such an album also put a tag from the hospital, a lock of hair, a cast of feet, a handprint, record the first size, stages of growth and maturation of the baby, his winged sayings, humorous incidents.
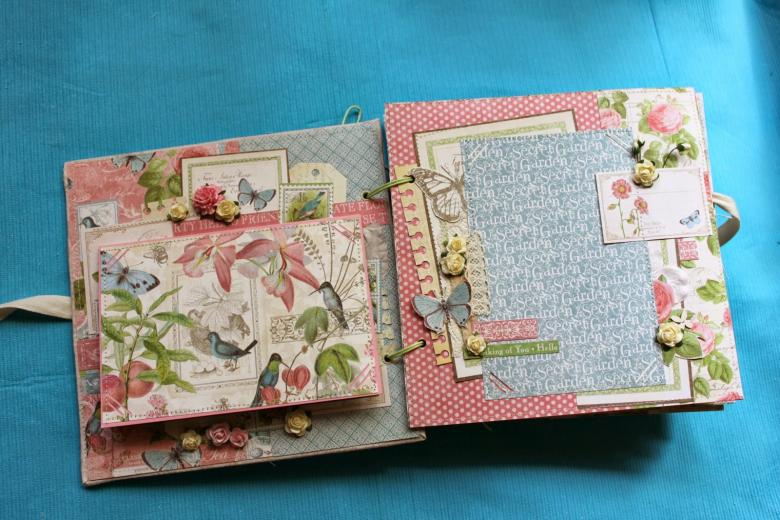
It's best to make an album so that you can add new pages over time. In this way, you can prolong its creation over several years.
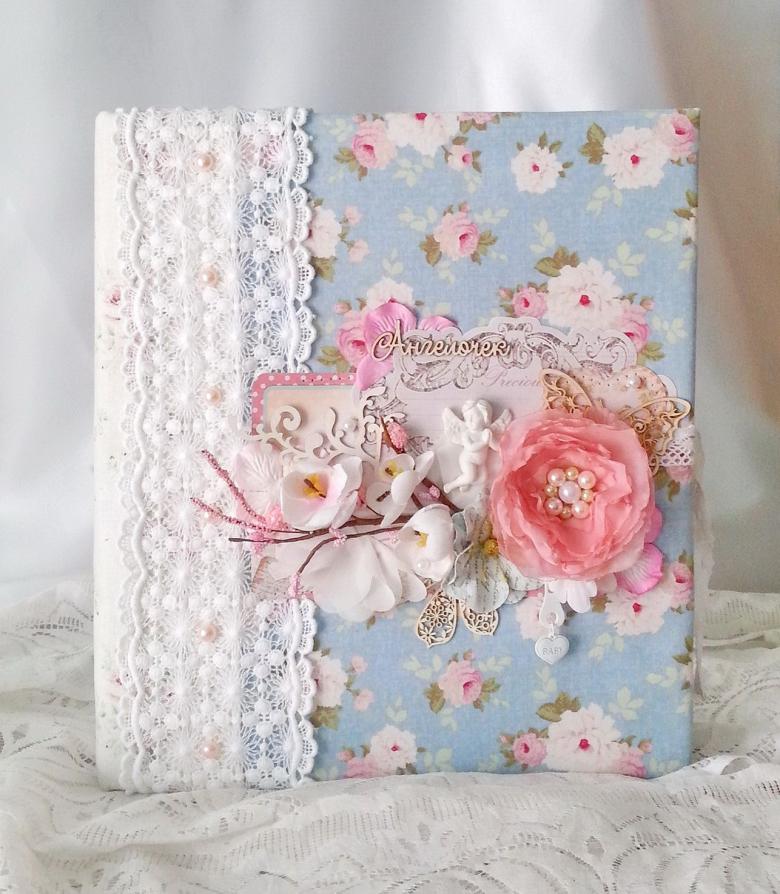
Children's
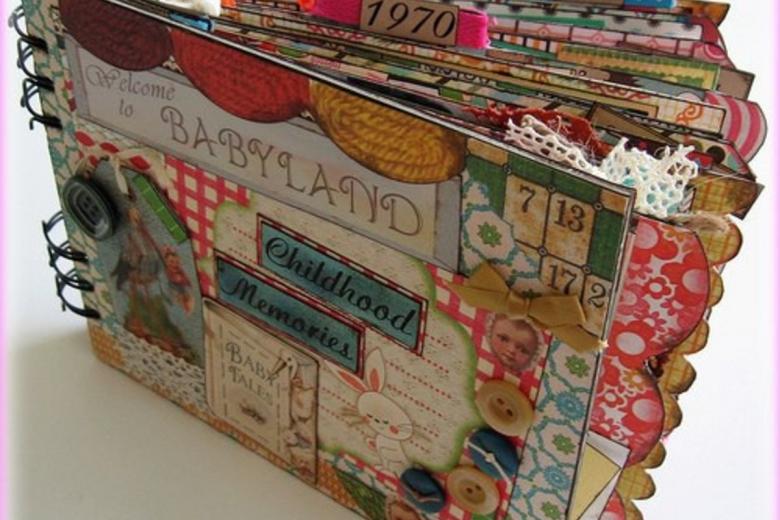
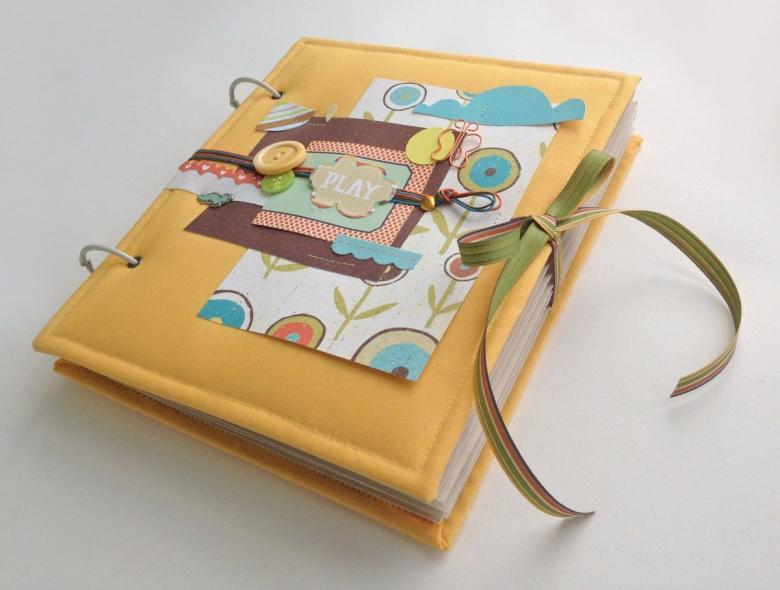
Children's albums continue the theme of growing up. They reflect certain periods of life - preschool in kindergarten, elementary school. As the child grows up, he or she will be able to take part in the creation of a personal album.
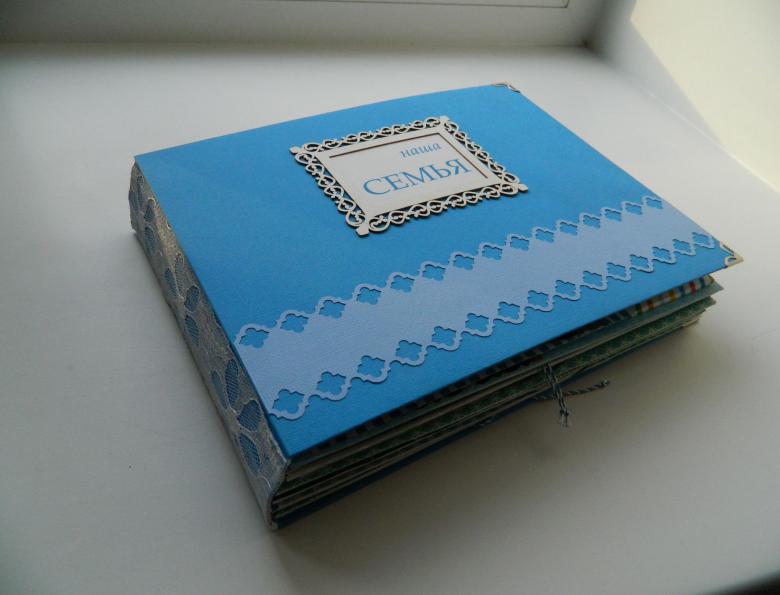
It will have a place for drawings, applications, funny notes and other creative work of children. And of course, photos of various important and everyday moments.
It will take many years to truly understand how important all this is.
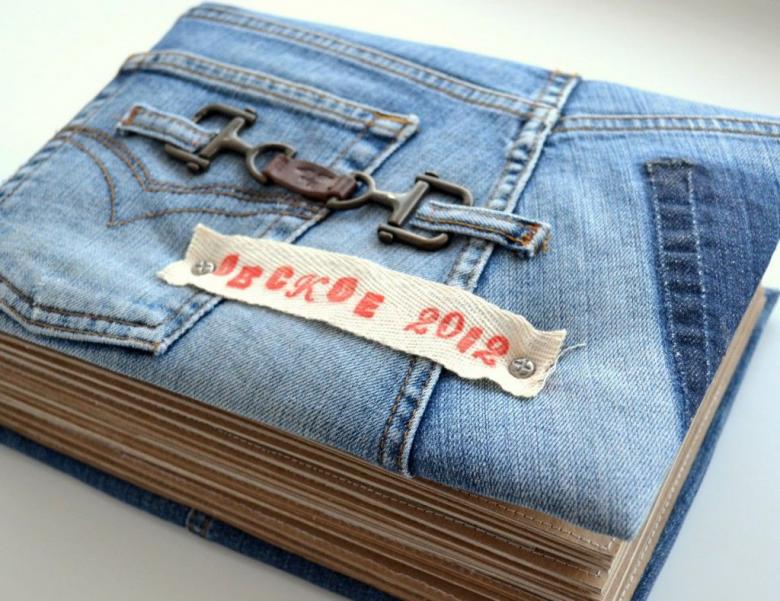
From the journey
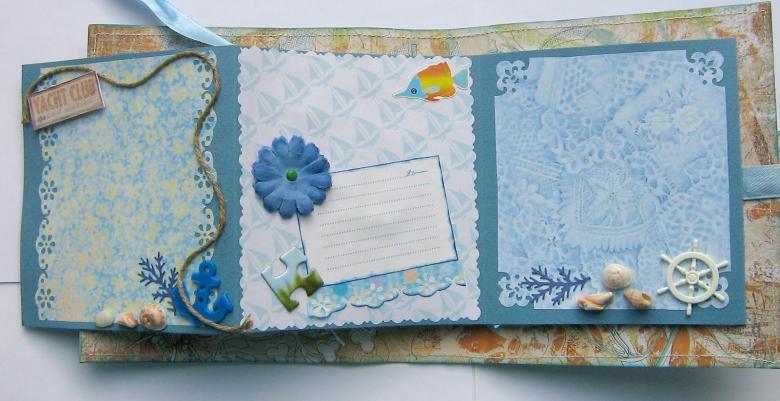
A good set of photos we bring from vacations and travels. They can be used to create collages or chronicles of experiences and new places explored.
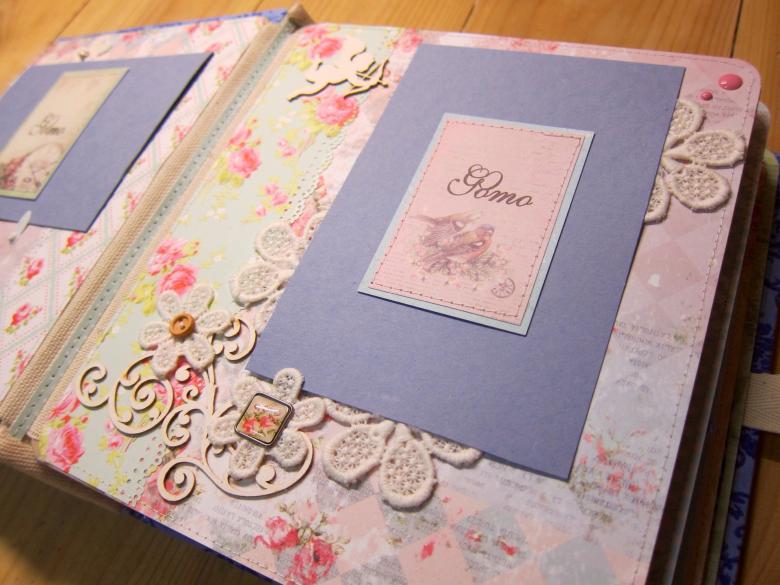
If you bring back from vacation a few seashells, dried flowers, branches of strange plants, small flat souvenirs, they will all be useful for decoration.
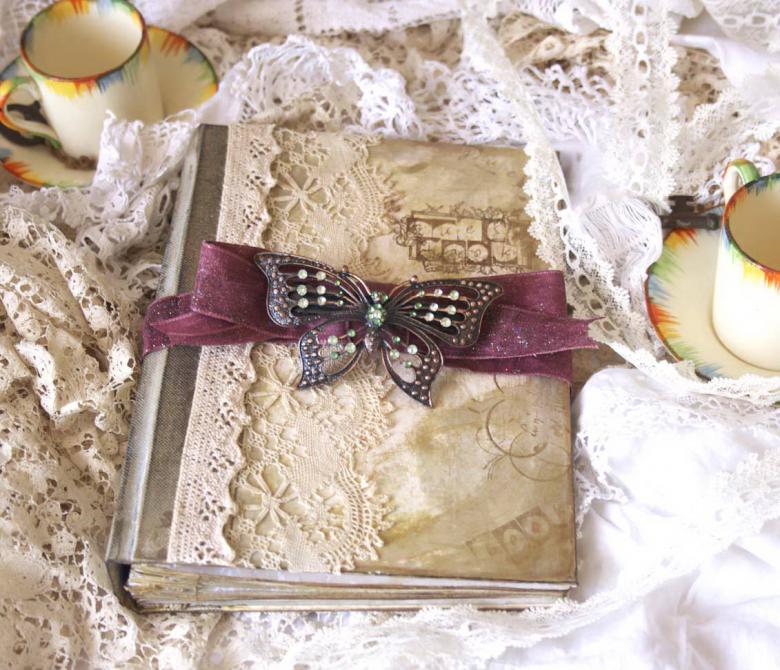
For anniversary
You can make an original gift for the anniversary of a relative with your own hands. The main idea of the project will be the warm memories that bind you and the birthday boy for many years.
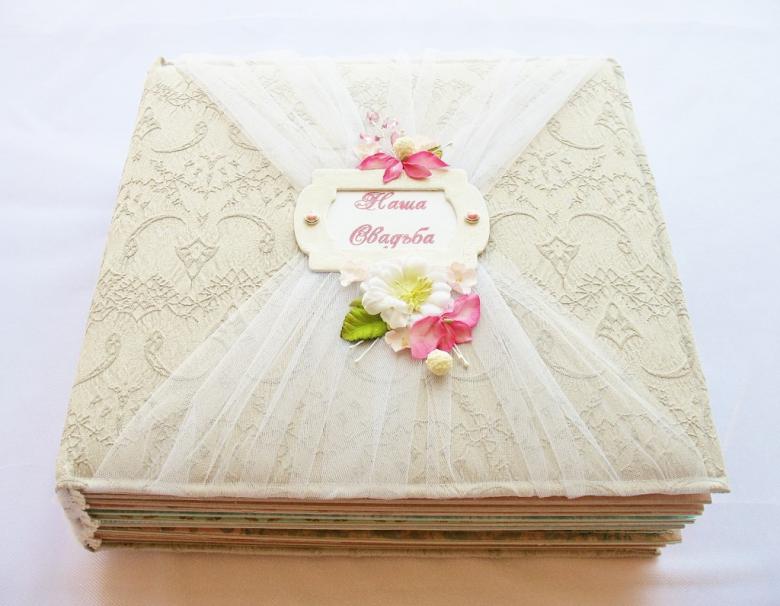
The gift will emphasize your attention, diligence, and devoted feelings. Be sure the birthday boy will be moved to tears.

Family
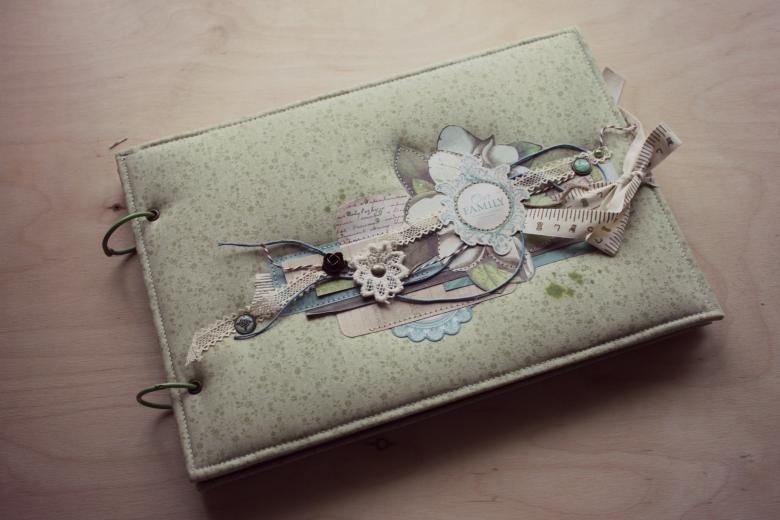
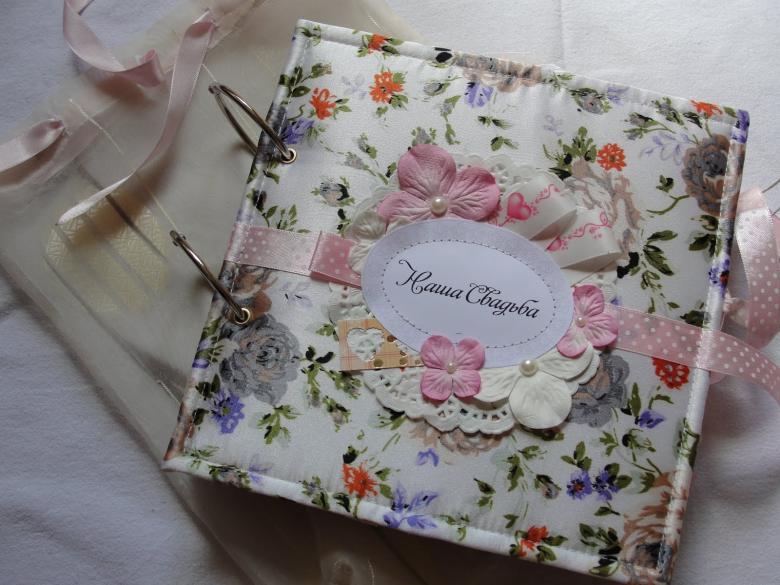
Everyone probably has a family photo album. If you think it's time to update it, get to work. For old photos from years gone by, add old greeting cards, clippings, letters, make a list of significant dates, write your family motto or mission statement. The result is a true generational chronicle.
Other events
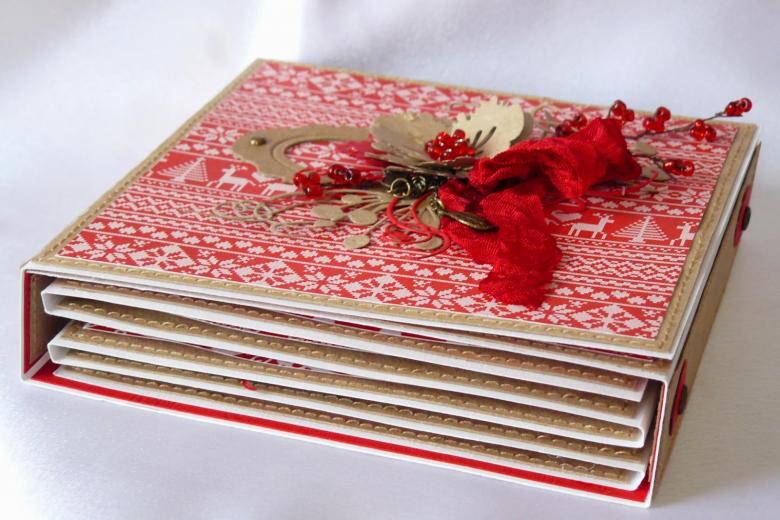
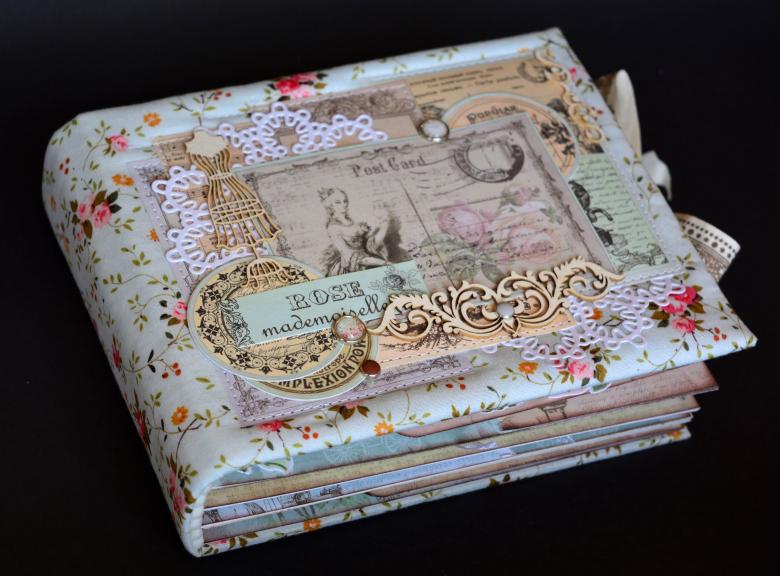
To other ideas include a demob album, themed albums of an athlete, student, cook, handicrafts. An interesting idea is to make a New Year's chronicle of different years and see how you and the New Year's entourage around you have changed.
Performance Technique
Everyone can make a simple, beautiful and original handicraft. You can find a ready-made scrapbook or art kit on sale. But in its design, there is also room for imagination, a sense of humor, and taste.
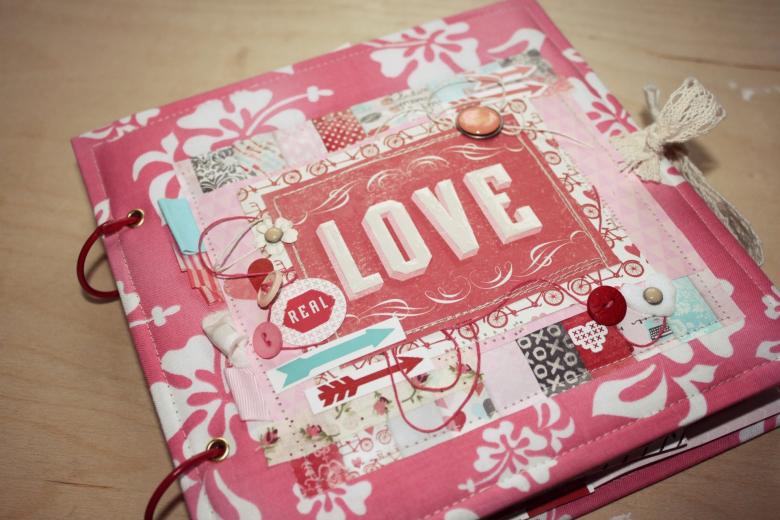
Before you start, it is a good idea to draw a layout by hand, plan the pages, and sketch the design. This will help save money without buying unnecessary materials, which are quite expensive. And the time for the labor-intensive process will not be wasted.
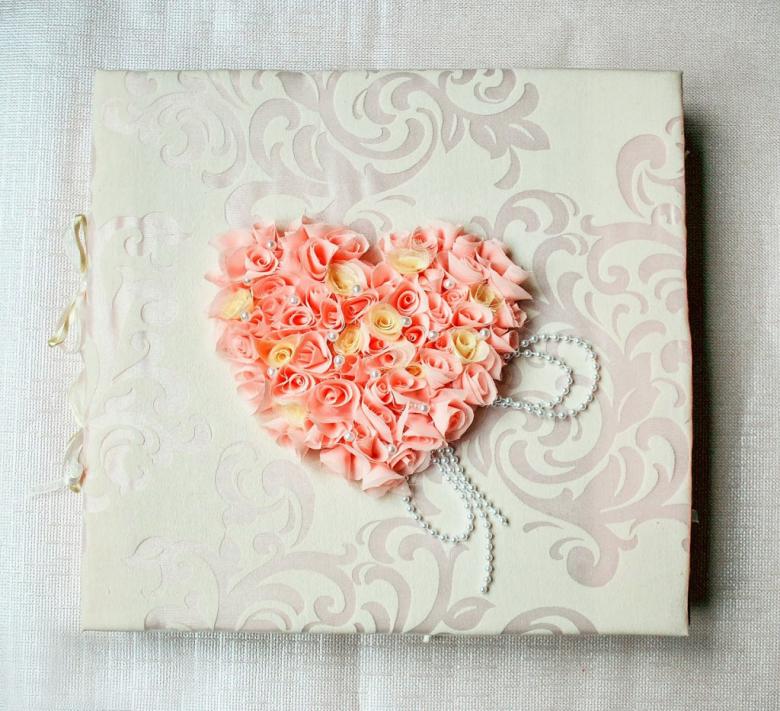
When creating an album it is better to design each page separately, and only then staple them into a whole. It is more convenient to work.

The simplest album with their own hands
To acquire the first experience we offer the simplest master class. It describes the standard algorithm of actions. Make your own adjustments you can, replacing materials, applying different decorations.
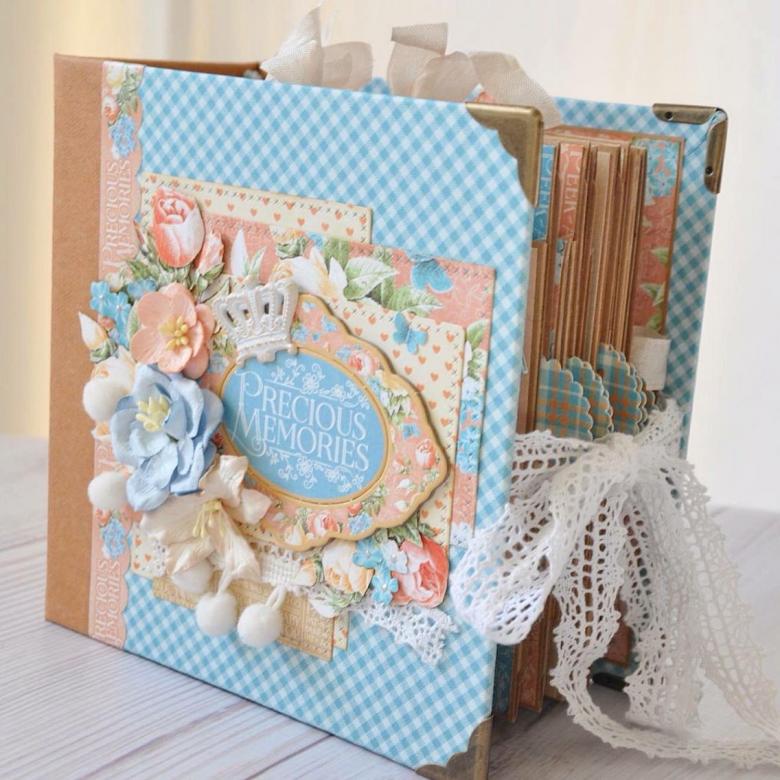
Materials and tools
For a simple homemade album we may need:
- thick cardboard;
- paper;
- material for the cover;
- a soft lining material;
- ribbon or cord;
- scissors;
- puncher;
- stapler;
- paper cutter;
- ruler;
- duct tape;
- glue stick or PVA;
- pencils, felt-tip pens, paints.
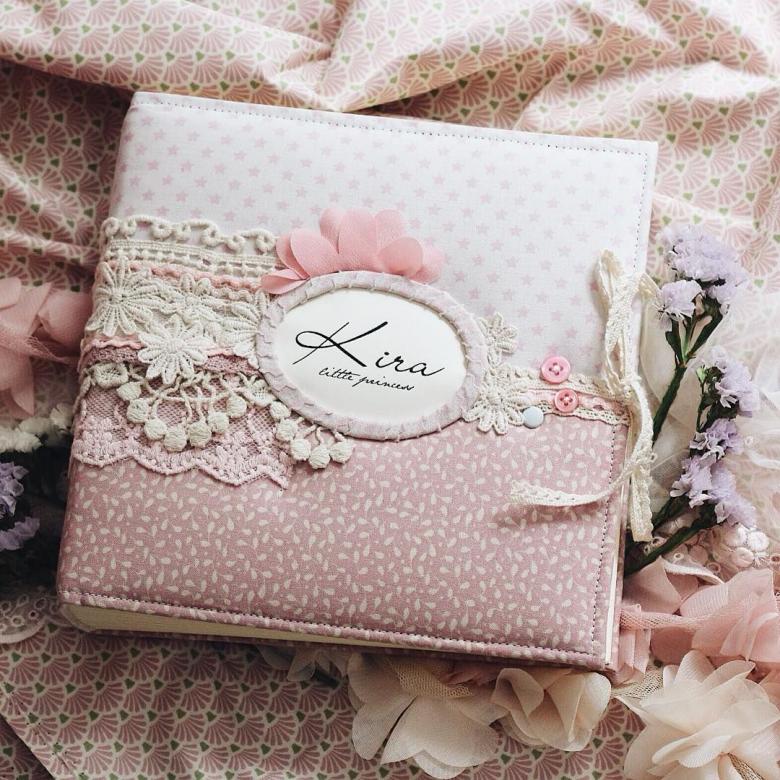
Cover design
- The basis of the cover takes pieces of cardboard the size of the pages of the album or a few millimeters larger.
- The same size cut a soft lining material.
- Glue it to the cover.
- The top layer of the photo album is cut with an allowance for bending 0.5 cm or more.
- Around the perimeter of the cover on the inside, glue the finishing material of the cover. The cuts are sealed with a sheet of cardboard or thick paper.
- The second part of the cover is done in the same way.
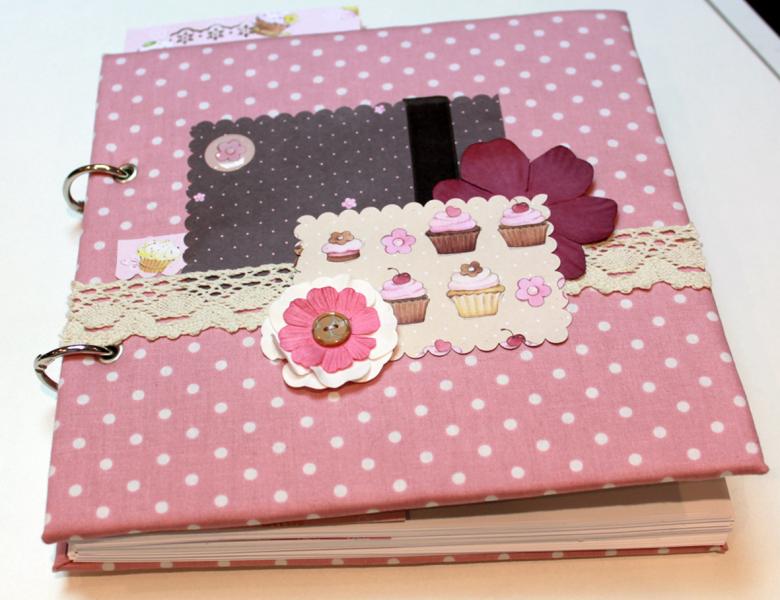
The basis is covered with decorative fabric, faux leather or suede, design paper. Decorate to your liking.
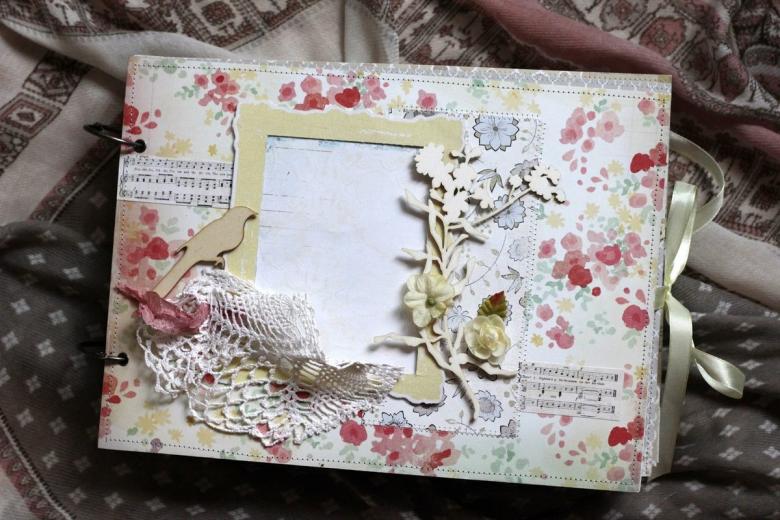
Binding .
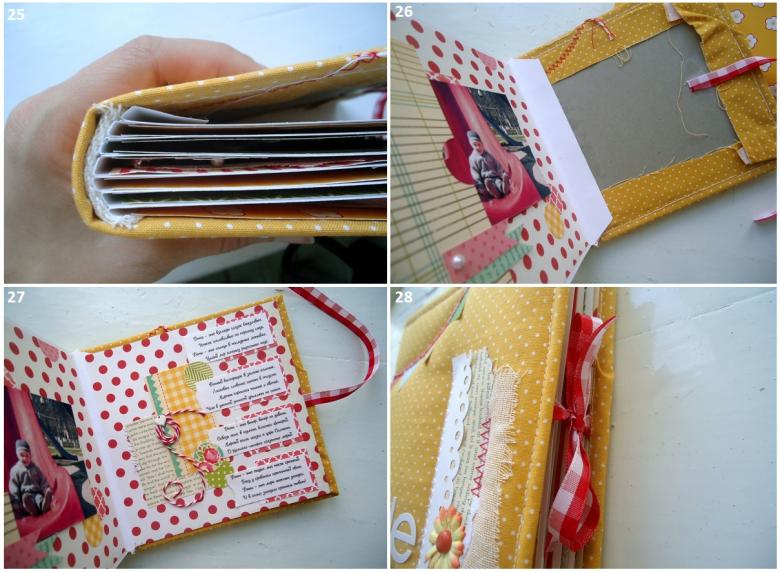
You can connect the sheets of the album with or without a binding. The first option is more labor-intensive, the second is very simple.
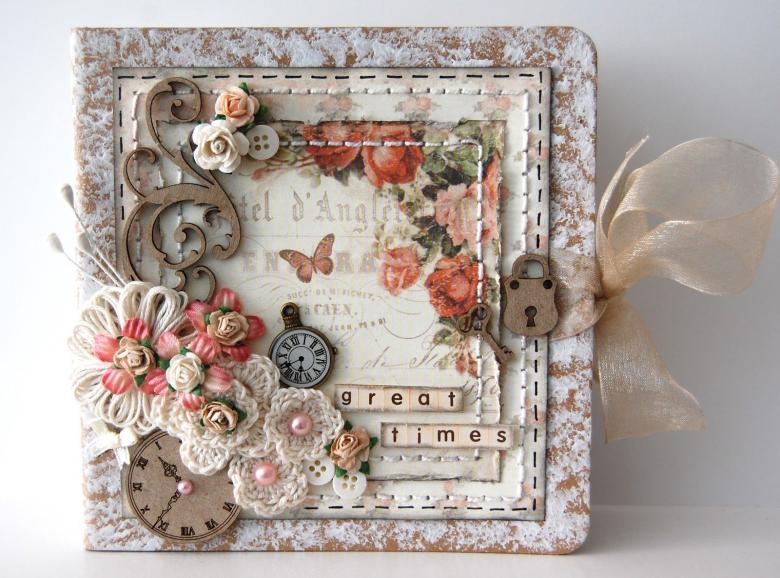
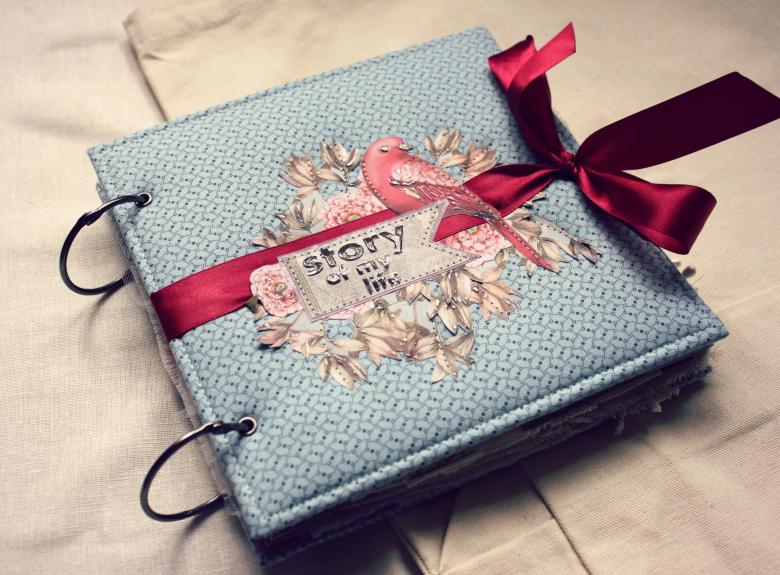
Holes are made in the scrapbook sheets at the same distance with a hole punch. Ribbon or cord is threaded through the holes and the ends are tied together. You can use special split rings of the right size. For a homemade album two or three of these staples are enough, but you can make more.
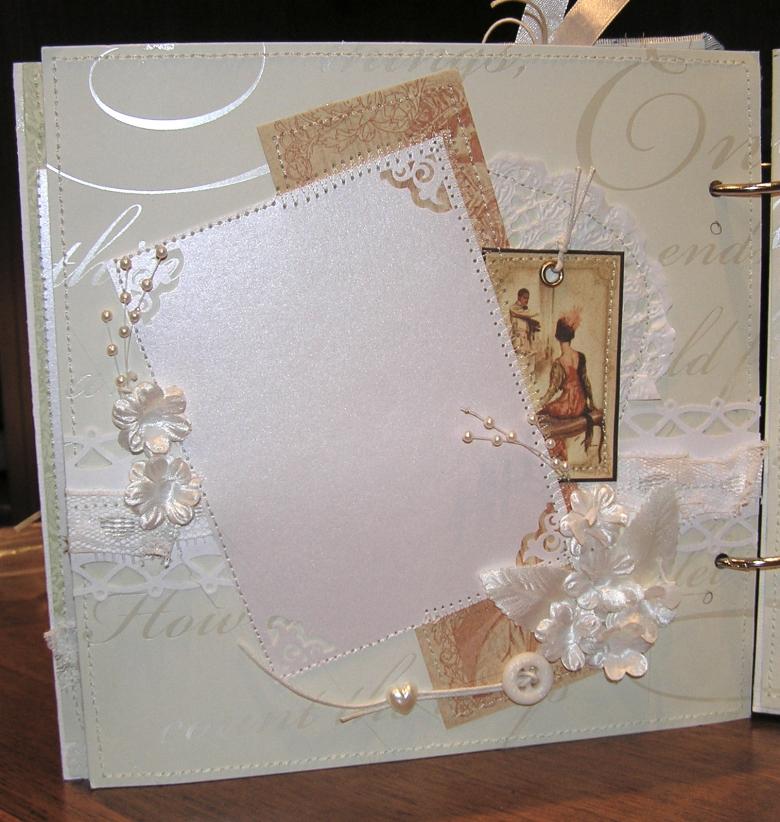
If you want to make a scrapbook with a classic binding.
- To bind the sheets use narrow strips (3 cm) thicker than the main pages, texture. They are folded lengthwise in half. Carefully, as evenly as possible glued to the edges of the strips of pages.
- You get the book, the number of sheets in it is limited only by your desires. If you take strips of contrasting colors, you get a very effective design.
- For binding places glued folds of thin cloth or gauze.
- On the top and bottom edge of the considerations of aesthetics lay a piece of braid or narrow tape. It will cover the sloppy bends.
- Glued on top of a strip of dermantin or thick fabric. This will be the spine of the album. The cover is glued to the edges of the spine.
- The whole assembled construction is put under the press until the glue dries completely. It is necessary to do this to prevent the product from warping.
- The photo album is ready. Now you just need to decorate it, glue the photos, decorate it and think up funny captions.
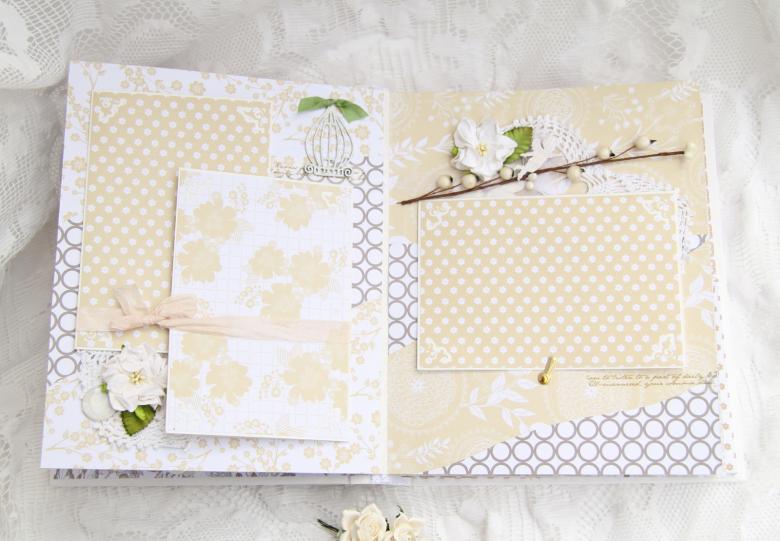
Decorating
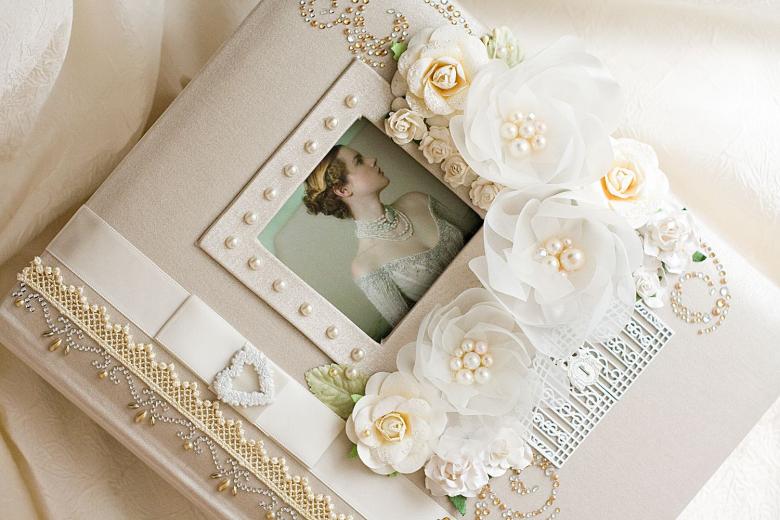
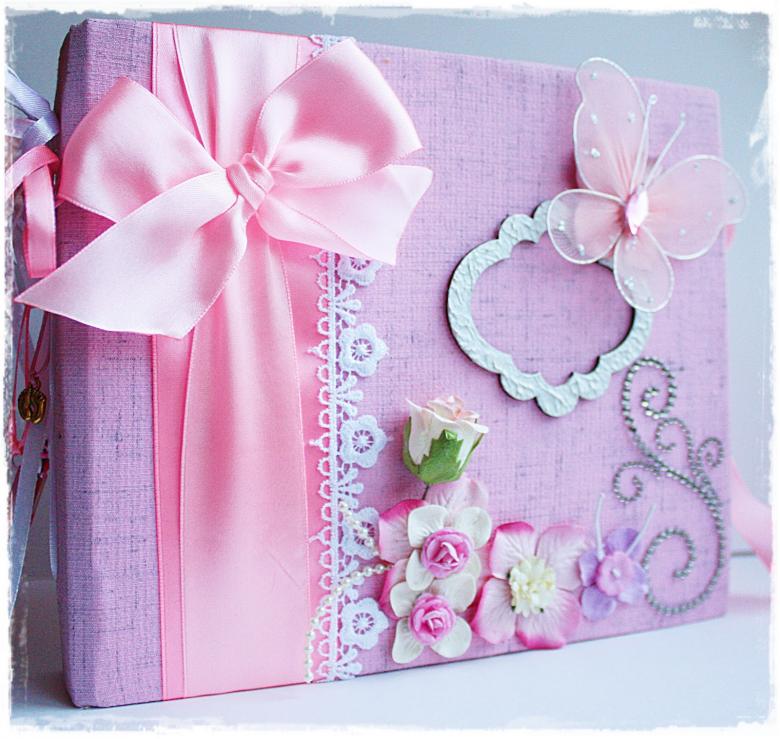
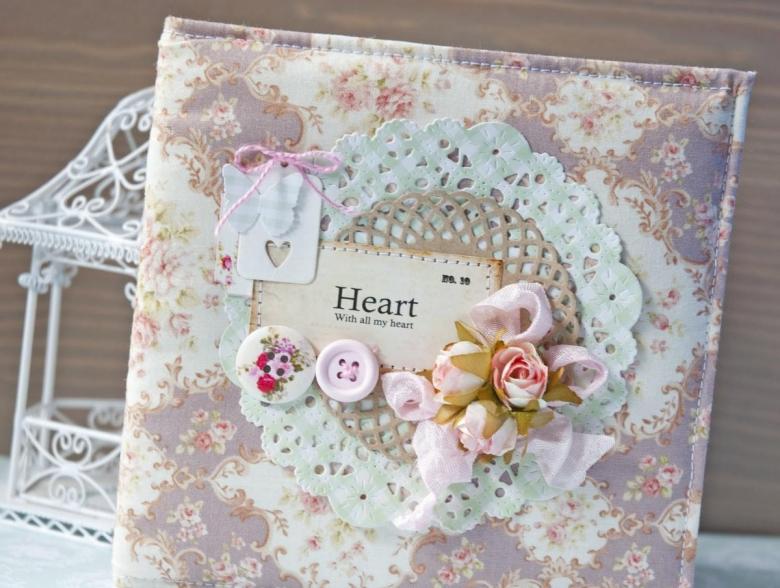
For decorating, you can use all kinds of decorative elements: beads, rhinestones, lace, fur, artificial flowers, pieces of leather, decorative pendants, decorative tape and much more.
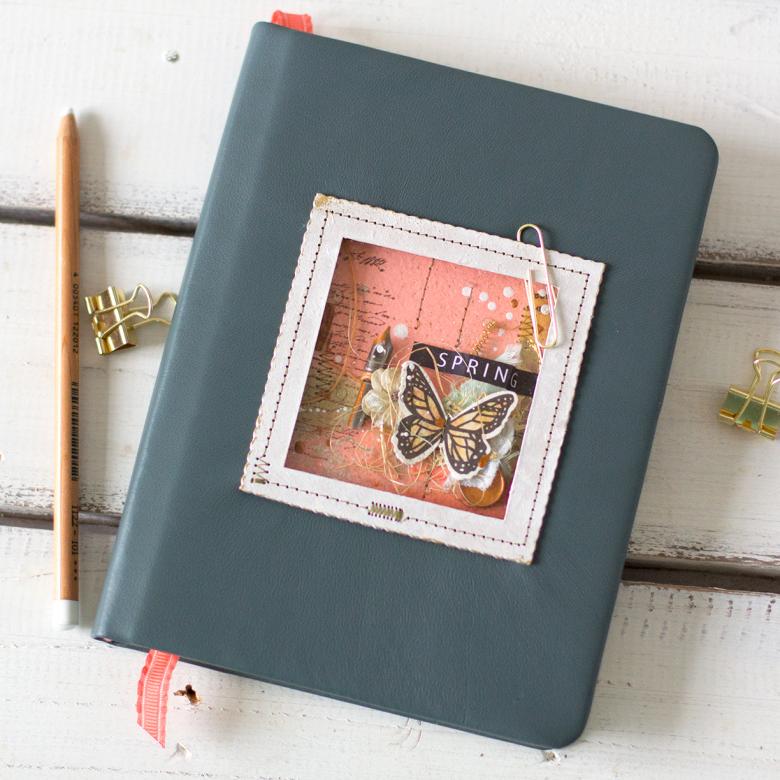
For beginners we recommend ready-made page templates - sketches with a ready scheme of pictures, recommendations for colors, materials and decorations. With experience you will develop your own taste and style and create not by prompting, but by personal inspiration.
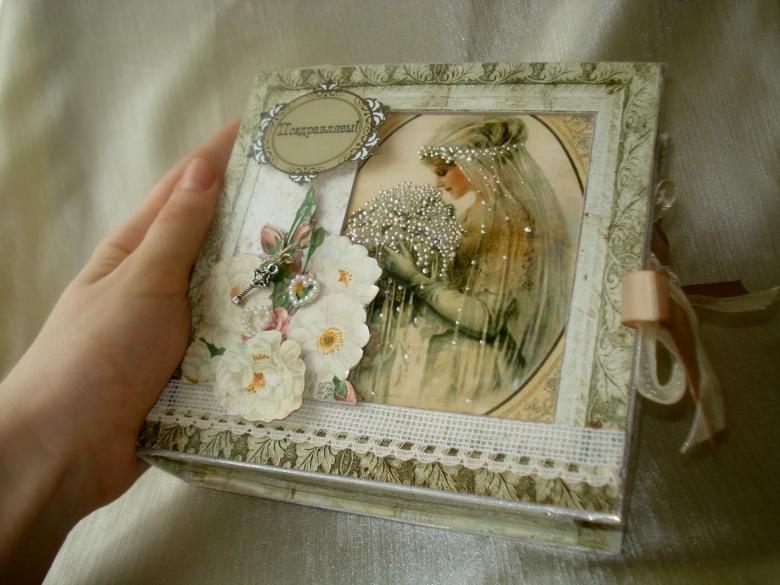
Try this unusual type of creativity, and you'll understand how nice it is: a quiet cozy evening to get comfortable on the couch, unwrap the album of photos and immerse yourself in a magical world of memories.

