How to decoupage a cabinet with your own hands - a detailed step by step master class for beginners
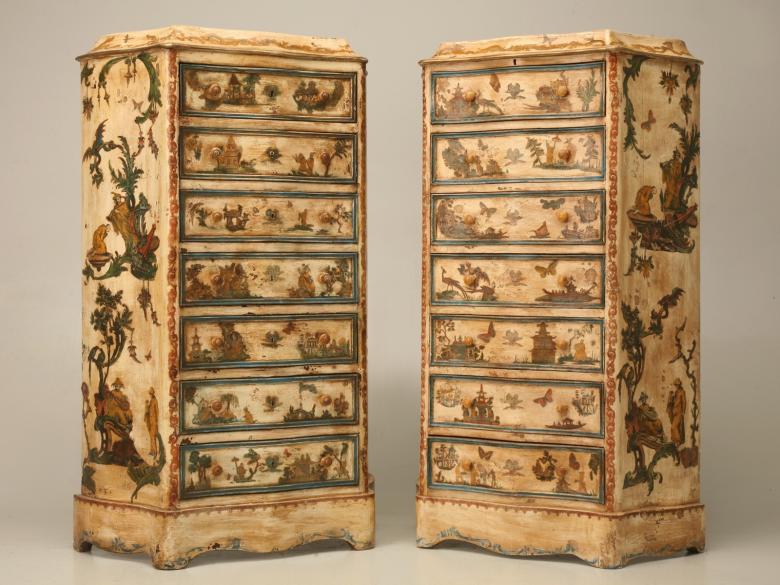
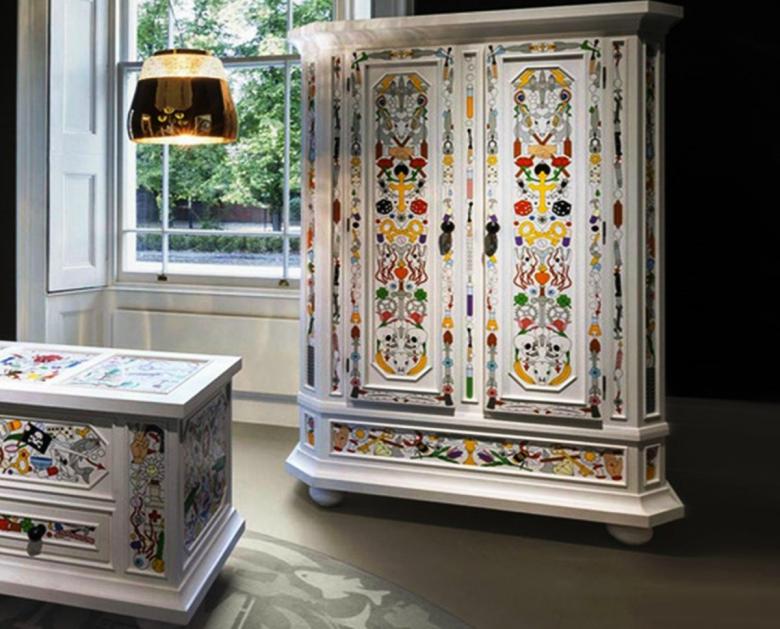
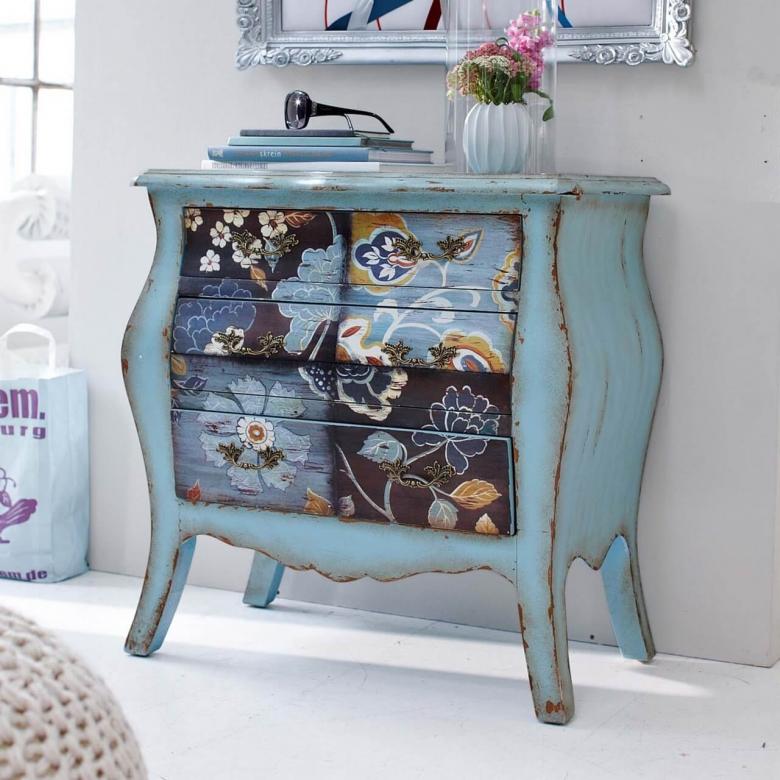
To revive an outdated cupboard or chest of drawers with your own hands, to fit into the interior a prominent element of the furnishings is possible through the art of decoupage.
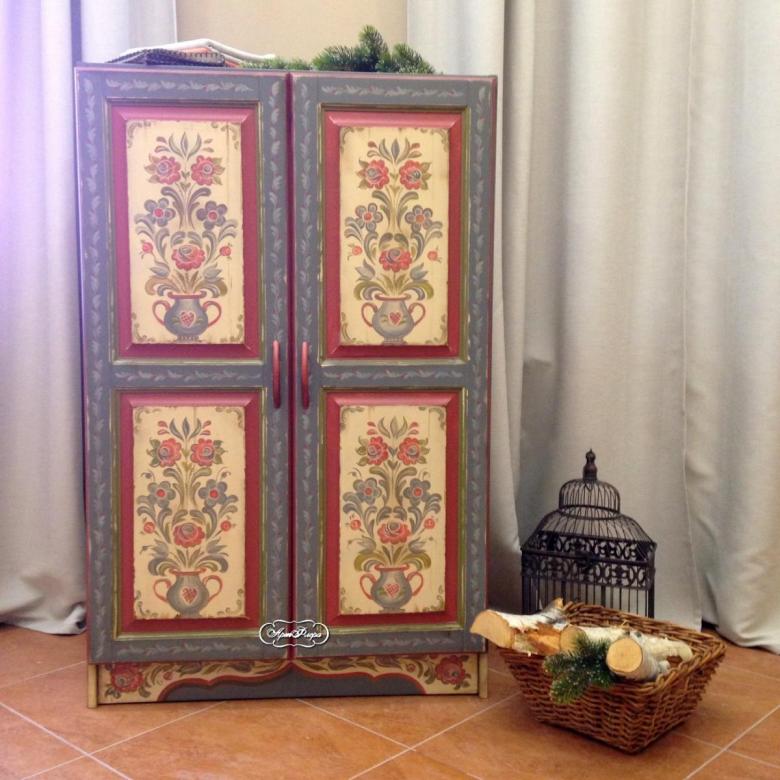
The principle of such restoration is to attach drawings to a variety of household items and furniture to create a particular style. Decoupage refers to upcycling - the idea of a new look at an outdated object.
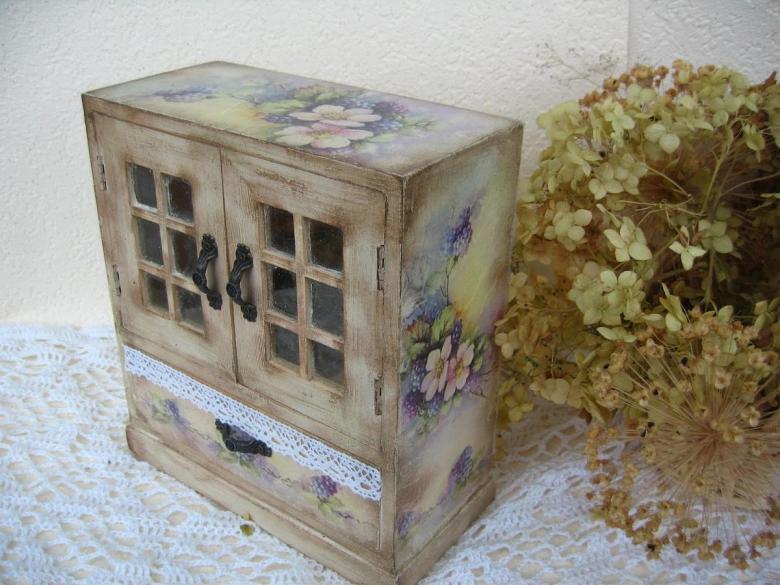
Buying modern furniture today is not difficult, but is it worth it if you can update the old one? Especially since the old closet is always more comfortable and familiar, and can be a memory or legacy.

It is possible to revive not only a long-standing, but also a new closet that just does not match the interior. To do it is much easier than it may seem. Anyone who has never tried to repair furniture on their own can do it, just decide on the style, choose the raw materials and run the flight of fancy.
A noticeable advantage becomes the saving of resources, both time and financial.
Types of decoupage
- Classic;
- Artistic;
- Reverse;
- Volumetric;
- Decopatch.

Classic
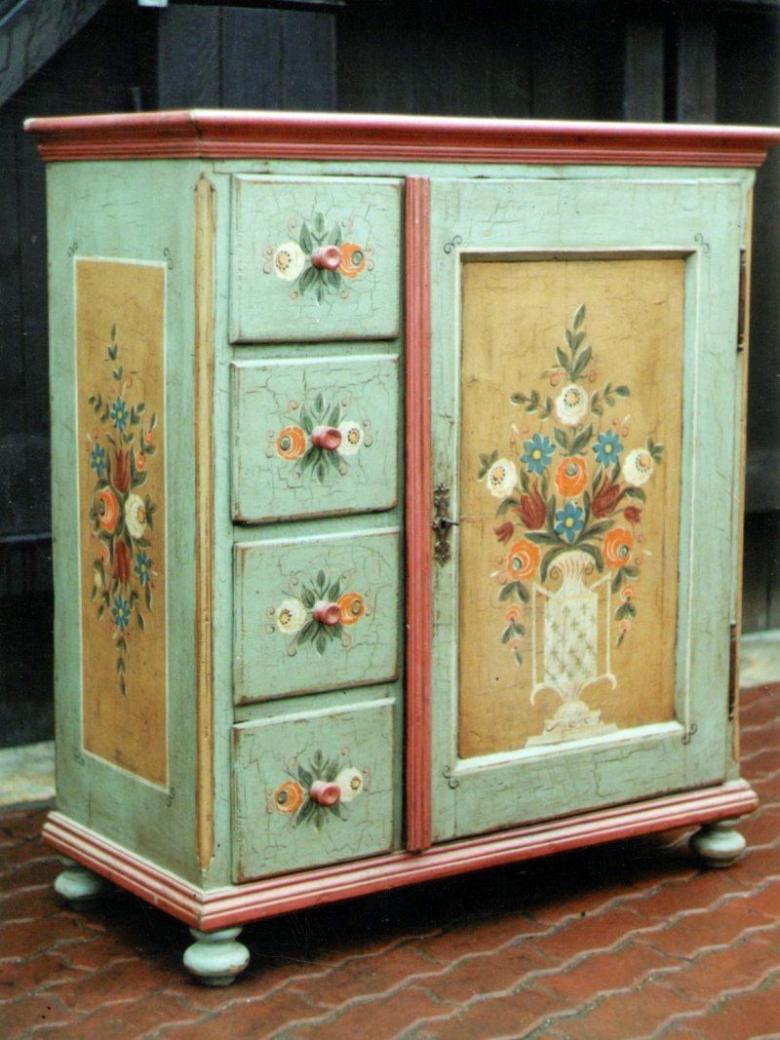
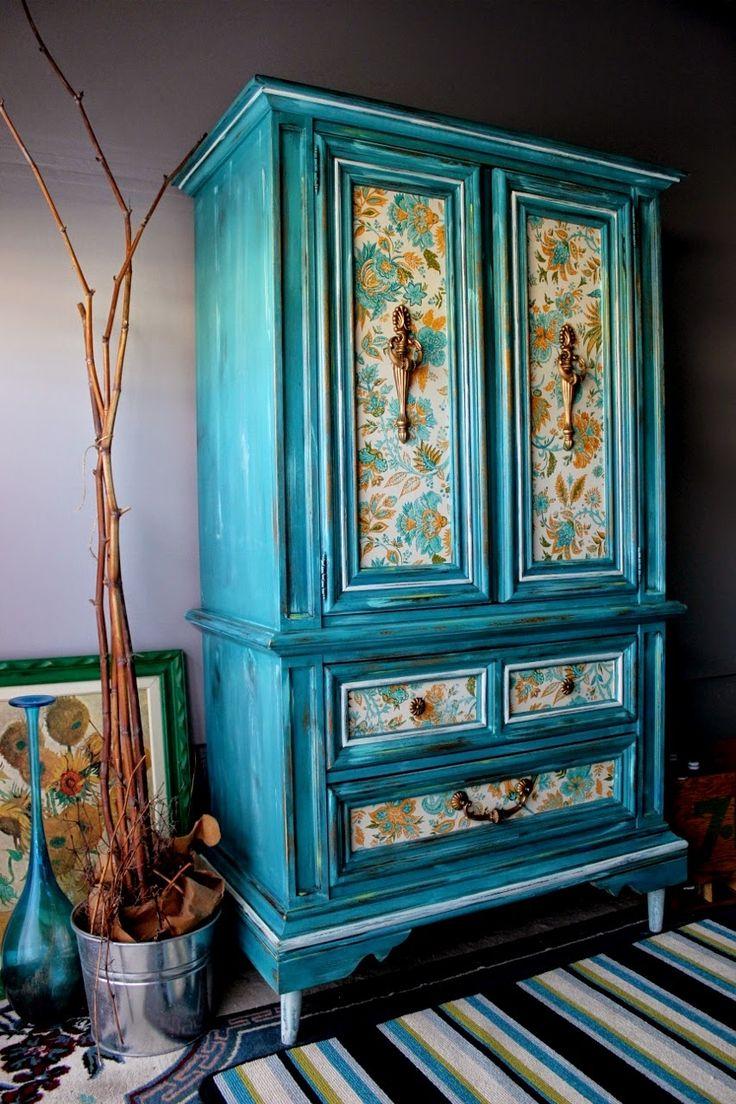
The classic or straight form is considered fundamental, on the basis of which other forms of decor are made. It is an application of pictures on a primed area and then covered with an optional two-component krakelure varnish.
Artistic
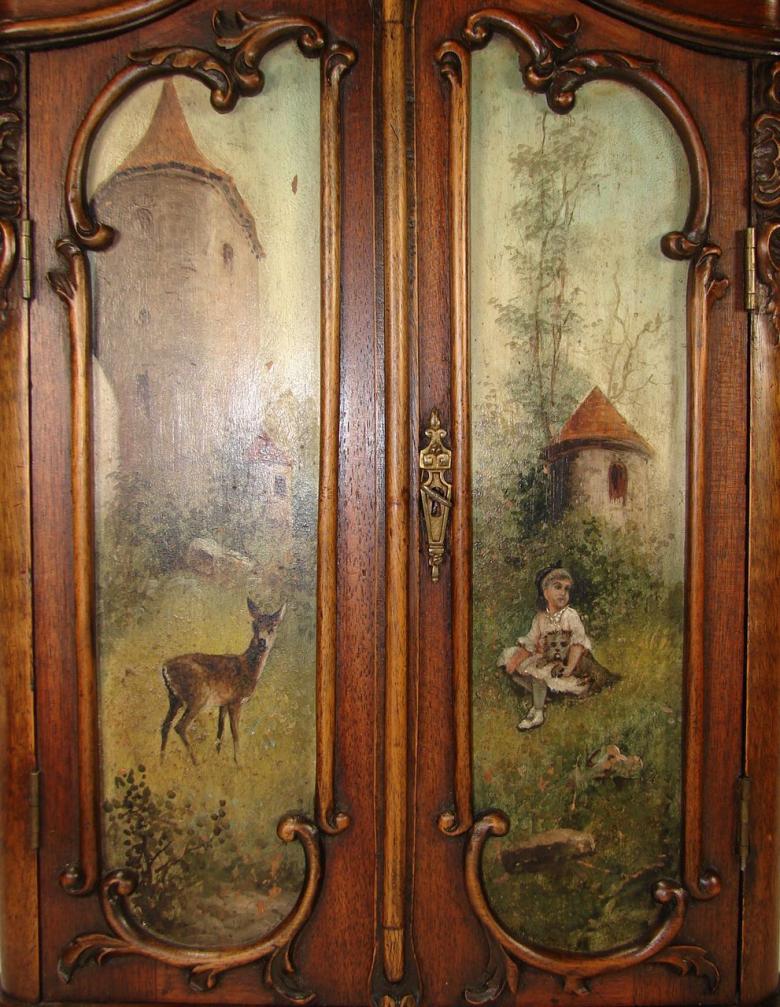
This technique makes it possible to achieve an almost imperceptible transition from background to picture, creating the effect of a single composition.
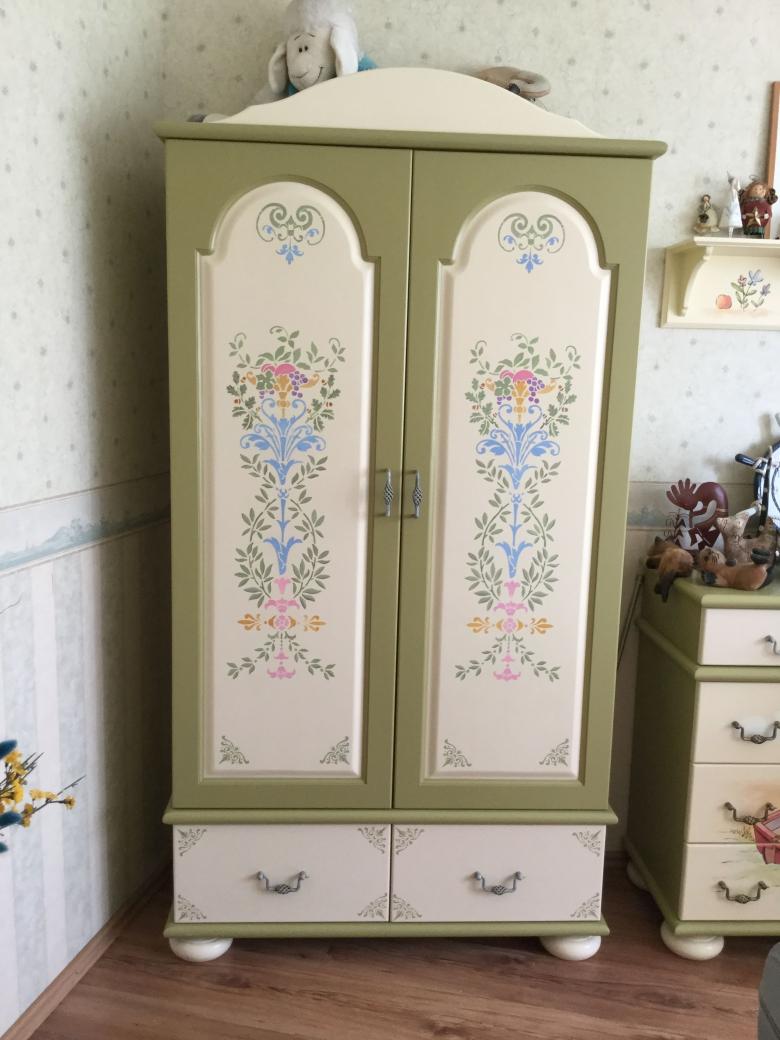
There are three types of artistic decoupage:
- Smoky - completely imitates an art brush and involves a transparent haze around the pattern.
- Classic (underpainting) - the feature is a thorough selection of colors, so that the colors do not conflict and unite the different fragments into a whole. Because of this selection of palette applications look like paintings.
- Landscape - first the landscape background is applied in accordance with the idea and pattern of the application. Colors must be harmonious.
Reverse .
This type is used to decorate glass or plastic translucent objects.
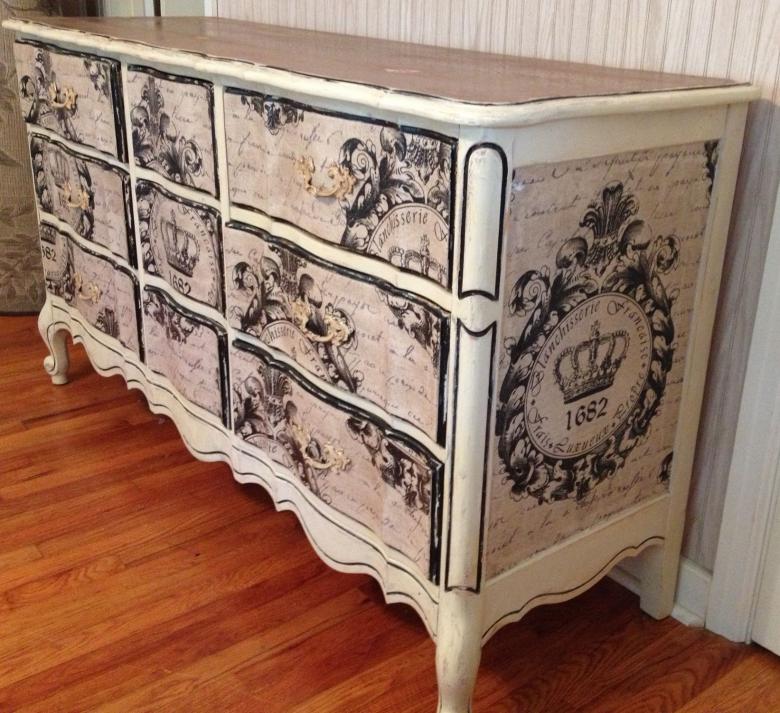
The technology differs in the reverse sequence of actions. The picture is glued with the front side on the glass, so that it can be seen through the surface. Then the craquelure, background and finish coating are done.
Volumetric
The volumetric method of decorating can include the use of scraps of fabric, special paste or natural materials in the work.
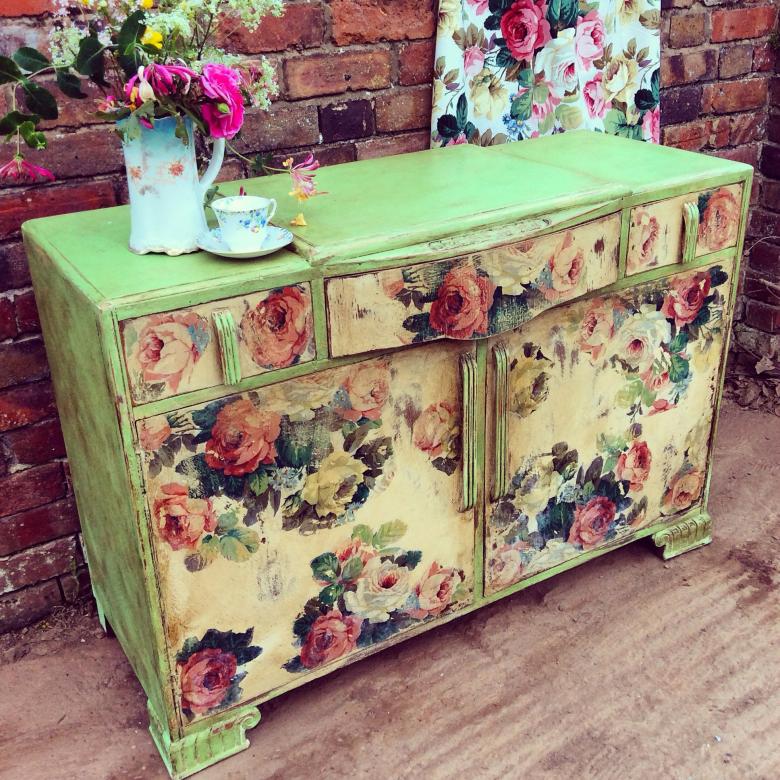
The details that need to be highlighted are lifted and gained volume through modeling mass or multilayer gluing.

The main layer will be the first copy, and only the highlighted fragments will be used from the rest of the copies. In this direction it is better to use silicone adhesive. It is important to feel the measure and not to overdo with the volume, so as not to spoil the perception of the composition.
Decompatch
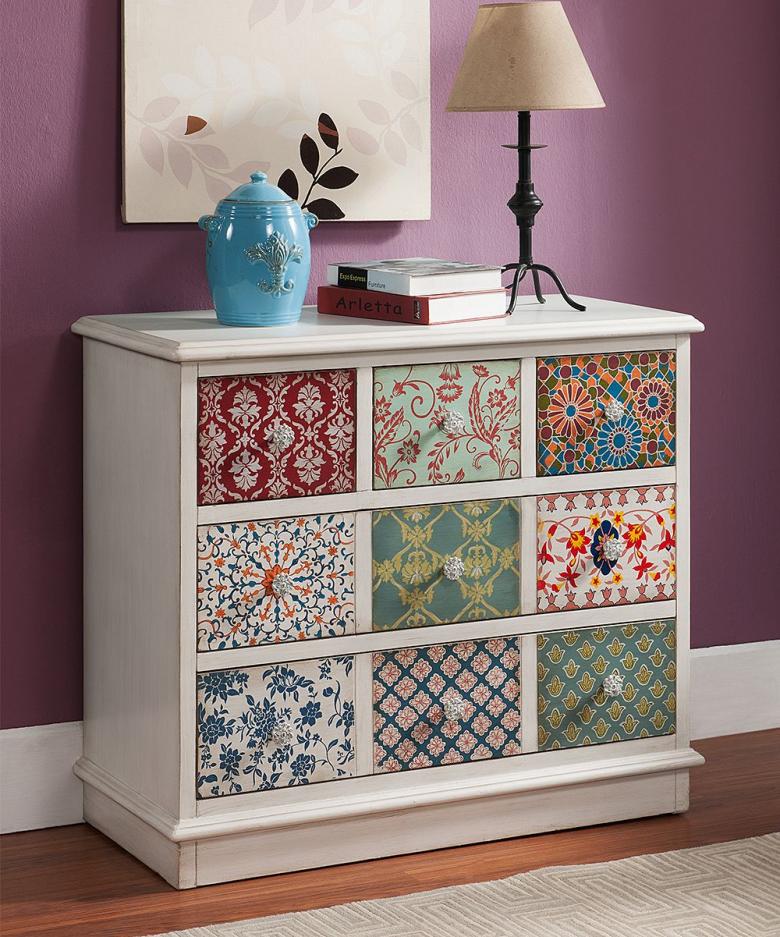
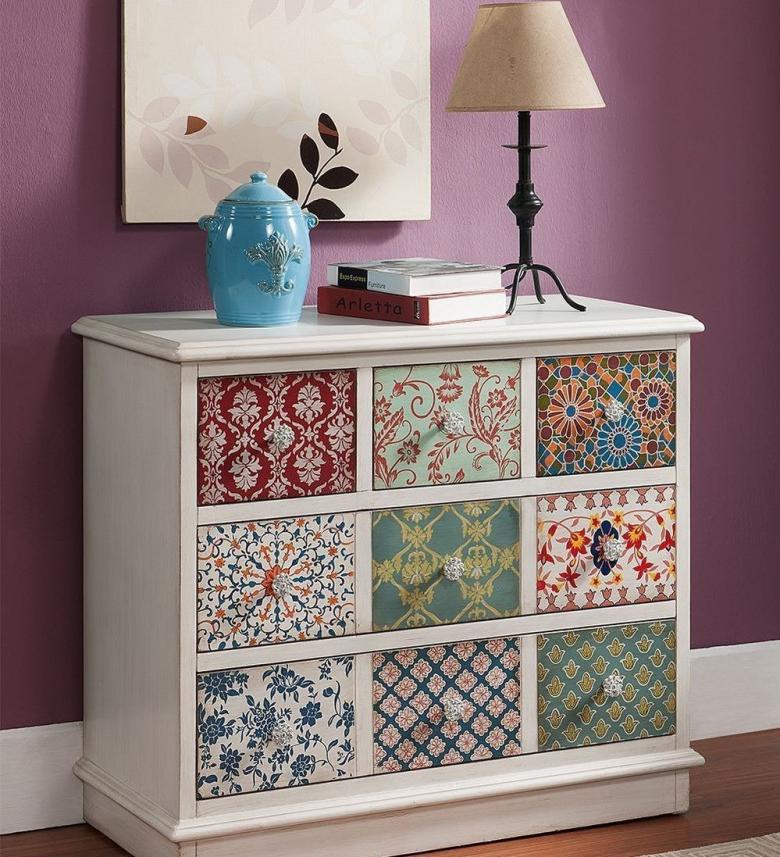
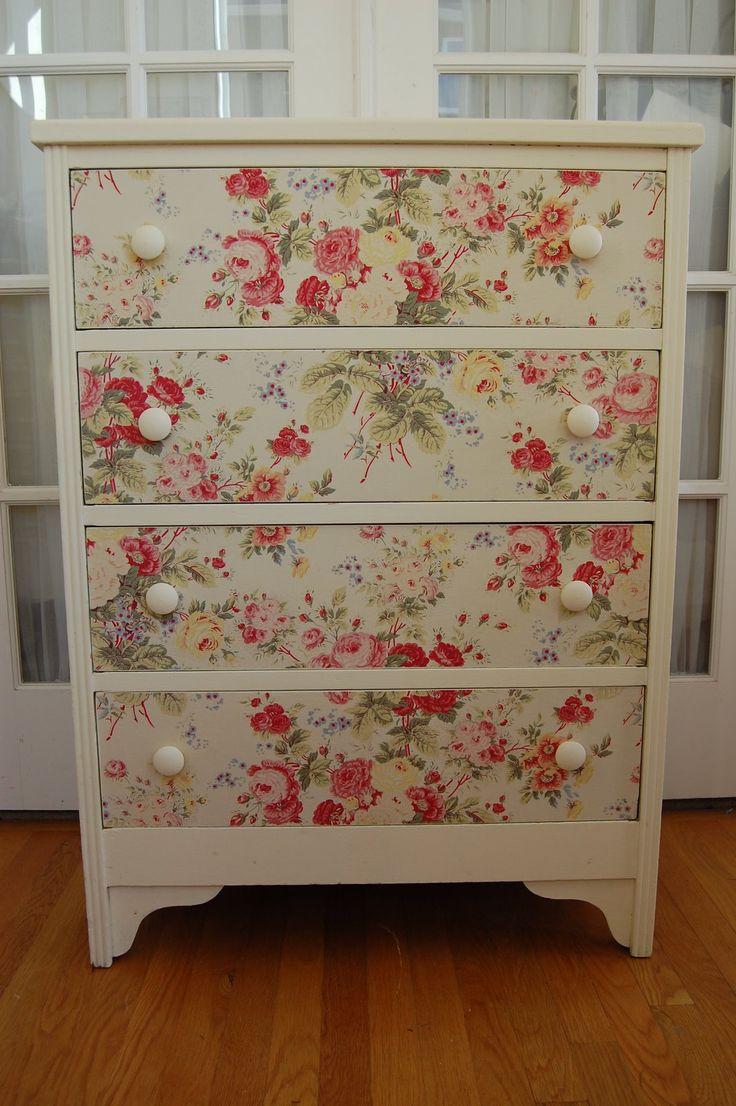
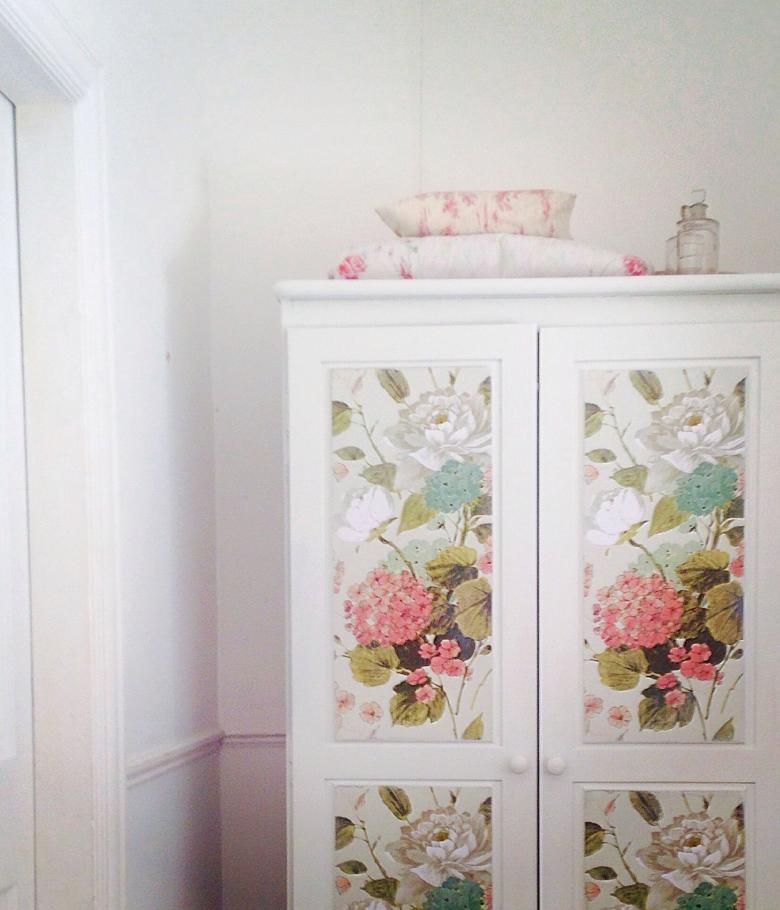
Decopatch is a kind of patchwork made of paper. A lot of small scraps of tissues are used, which are used to cover the whole surface of the object to create the illusion of a patchwork quilt.
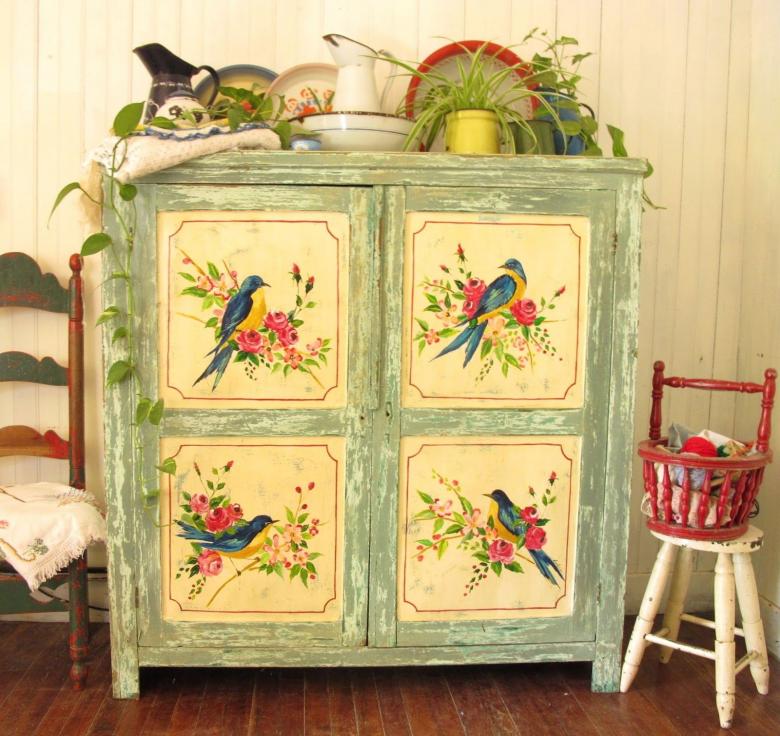
Decoupage Styles
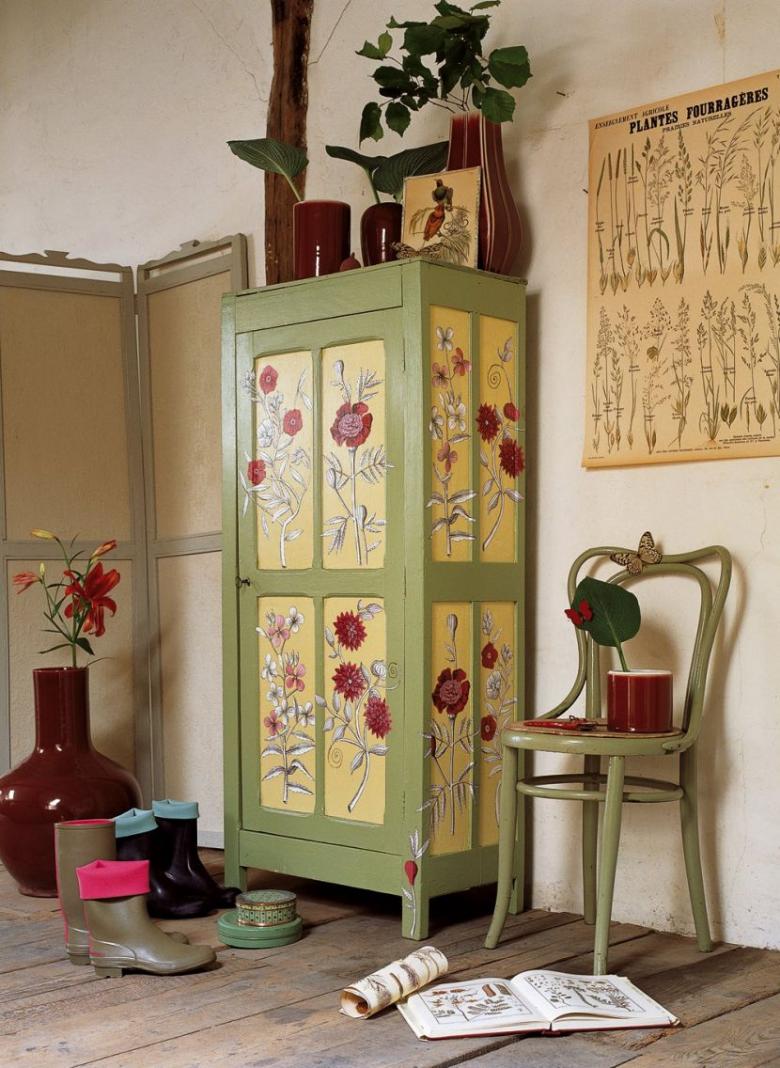
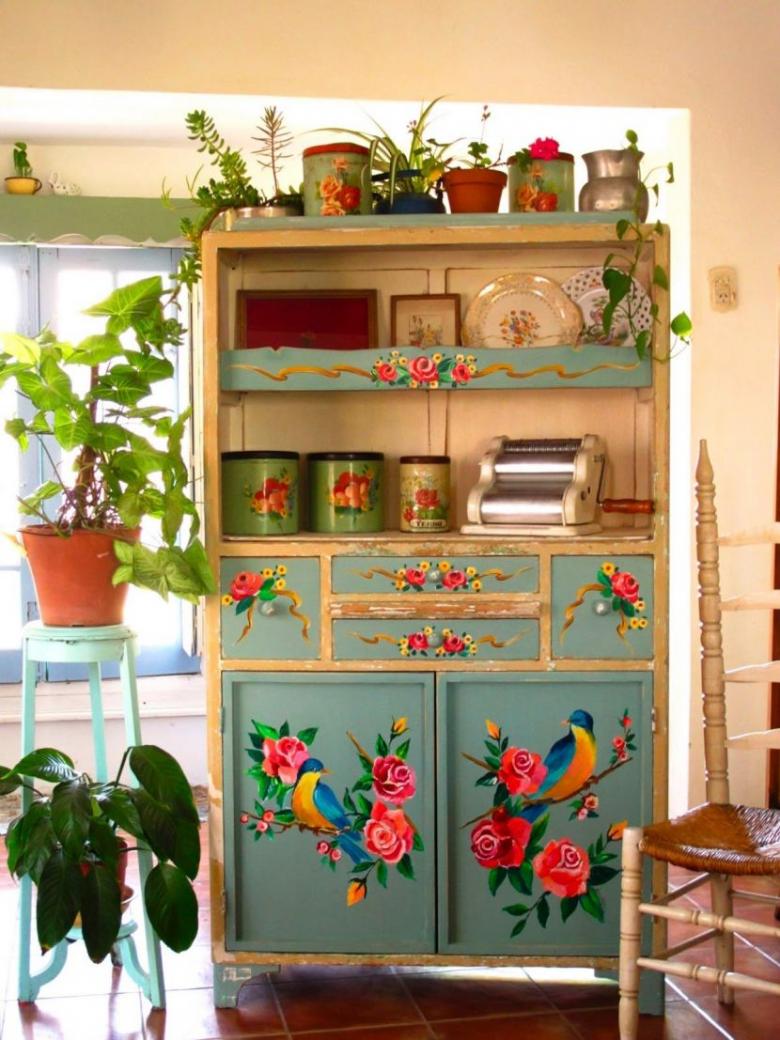
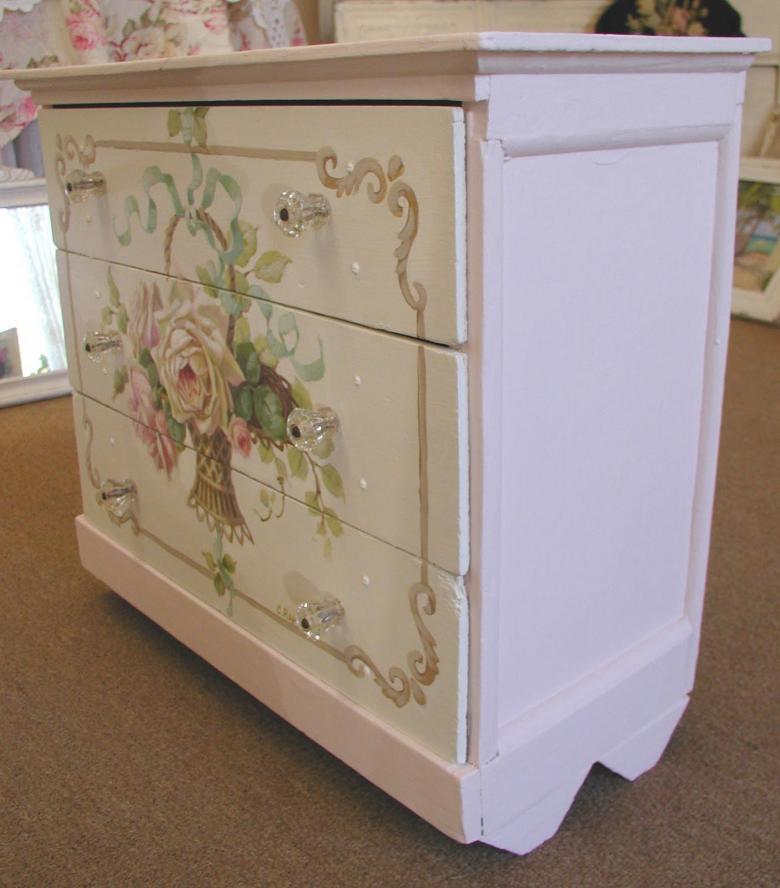
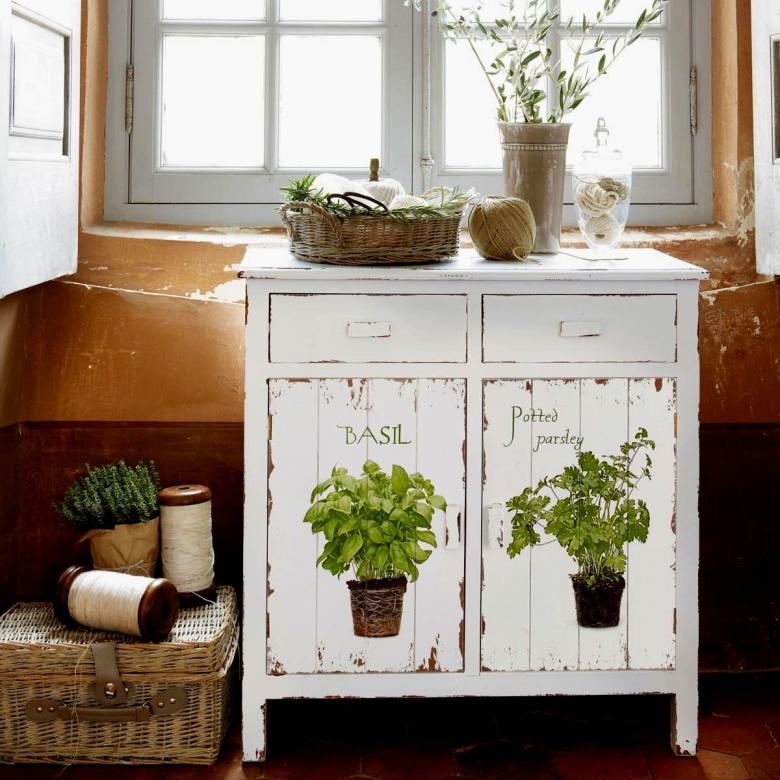
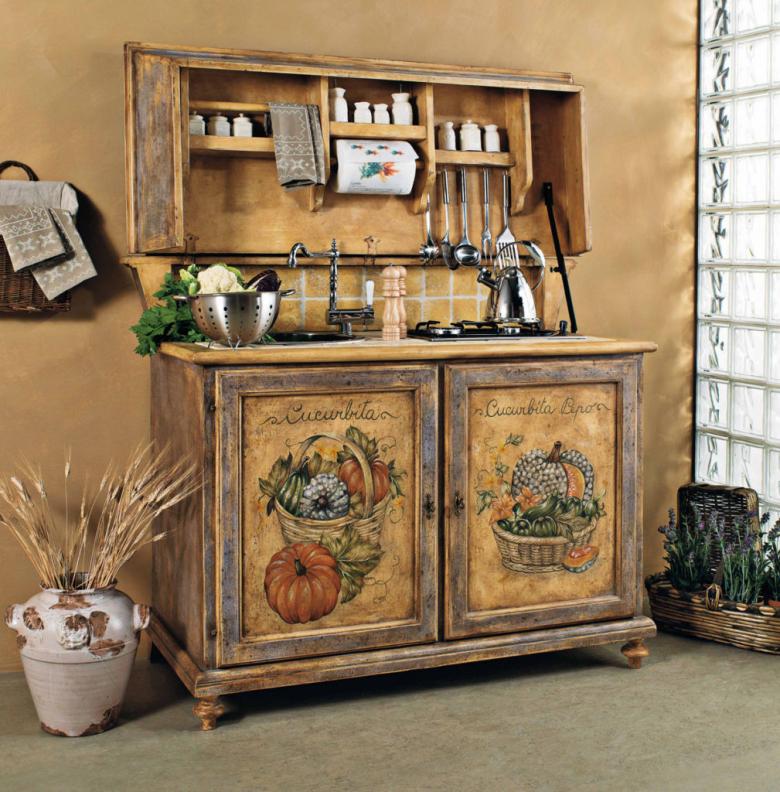
Provence - A French style that features folkloric motifs and delicate finishes. A typical pattern for this style is baskets of fruit or wildflowers. The drawing should not conflict with the background.
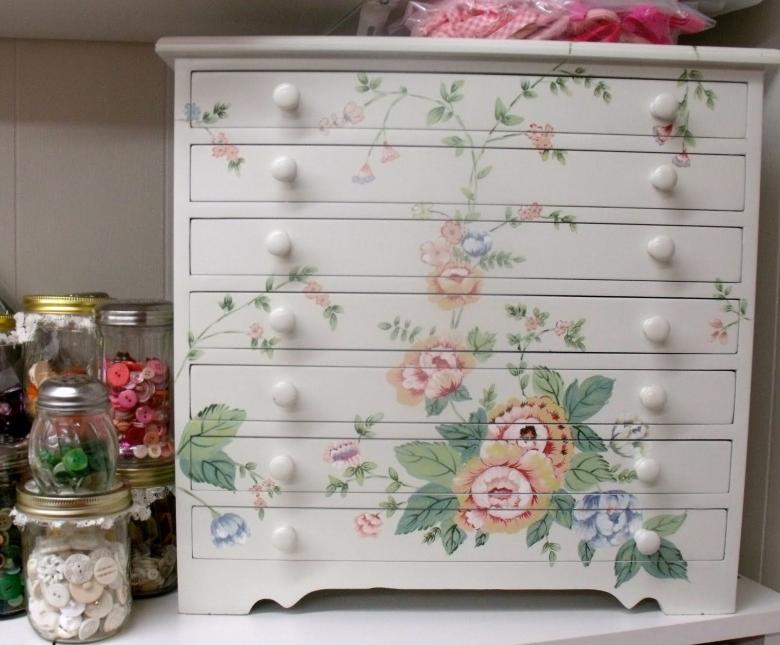
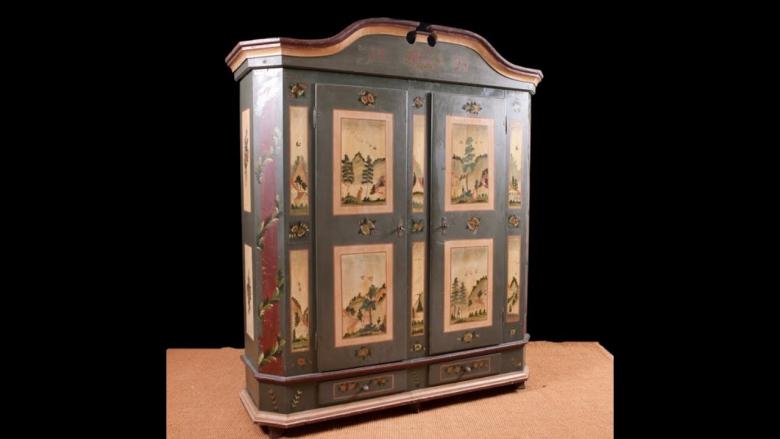
Ethnic. Images filled with the national spirit of a certain country: nature, sauna, traditional cultural ideas.
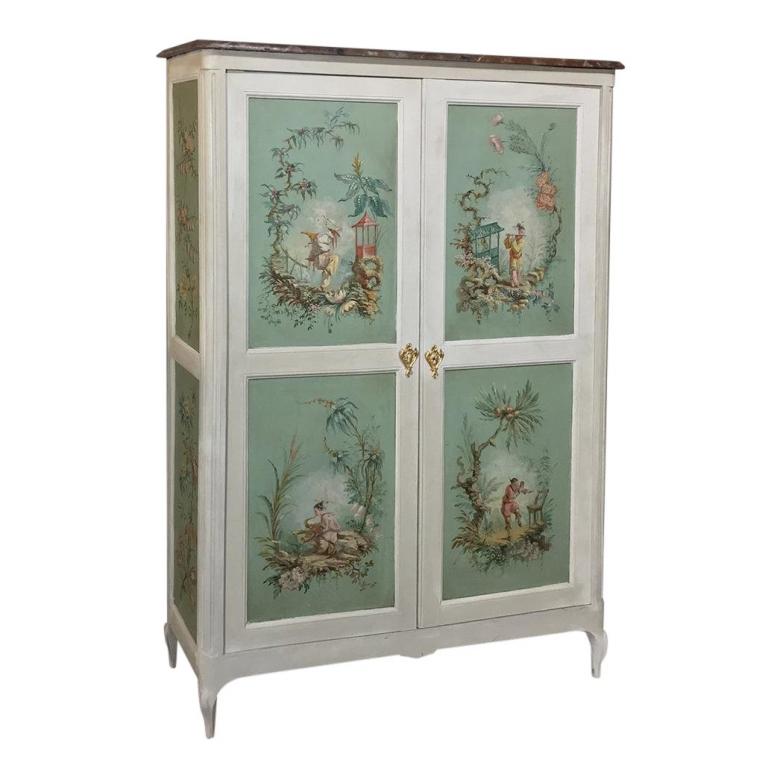
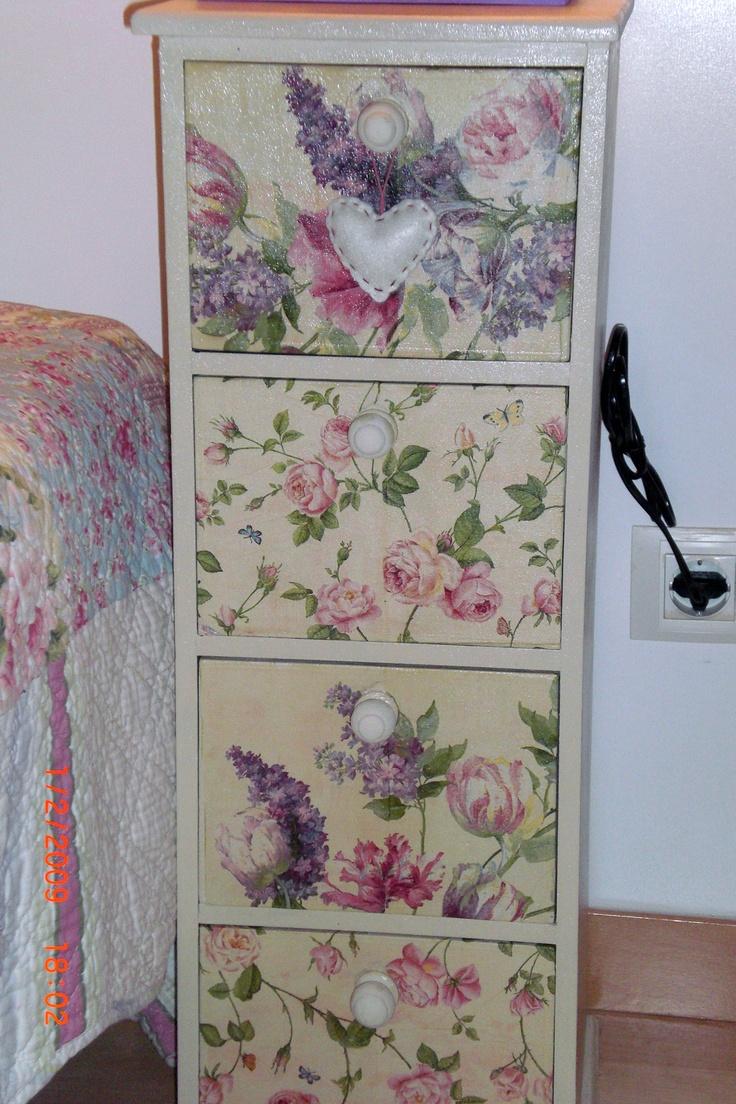
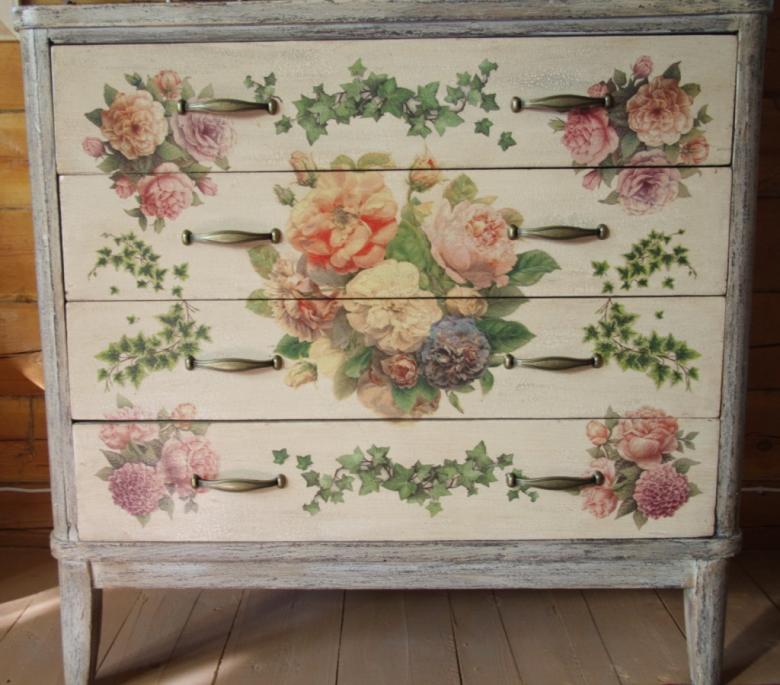
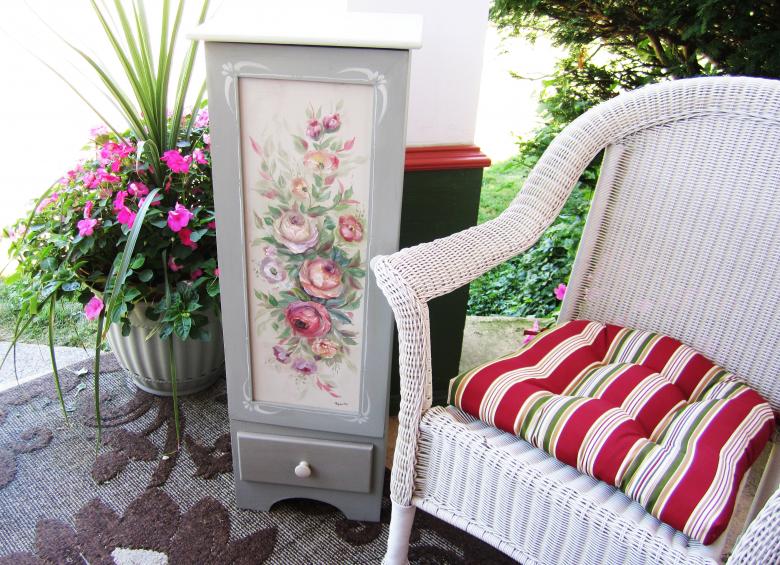
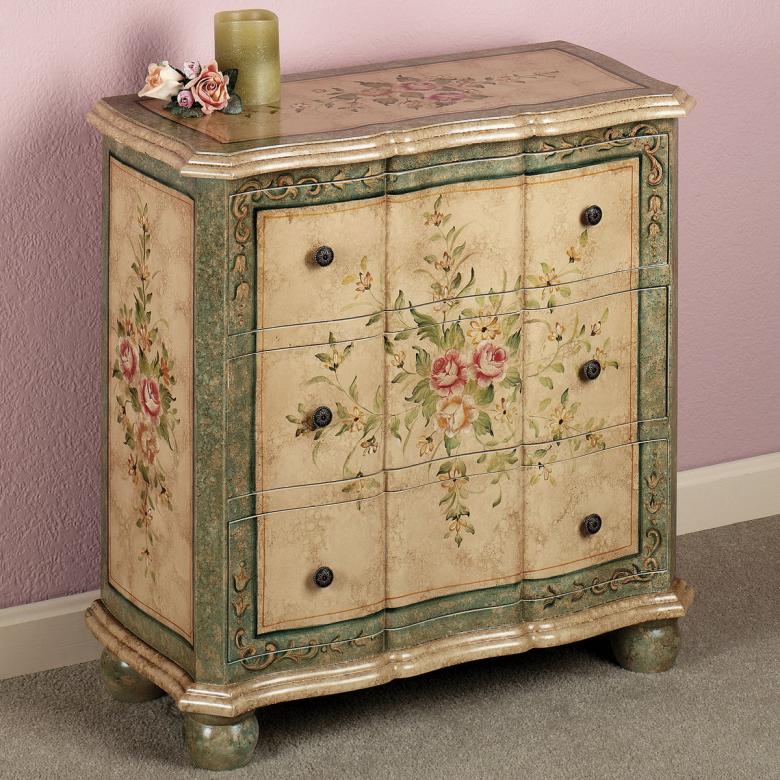
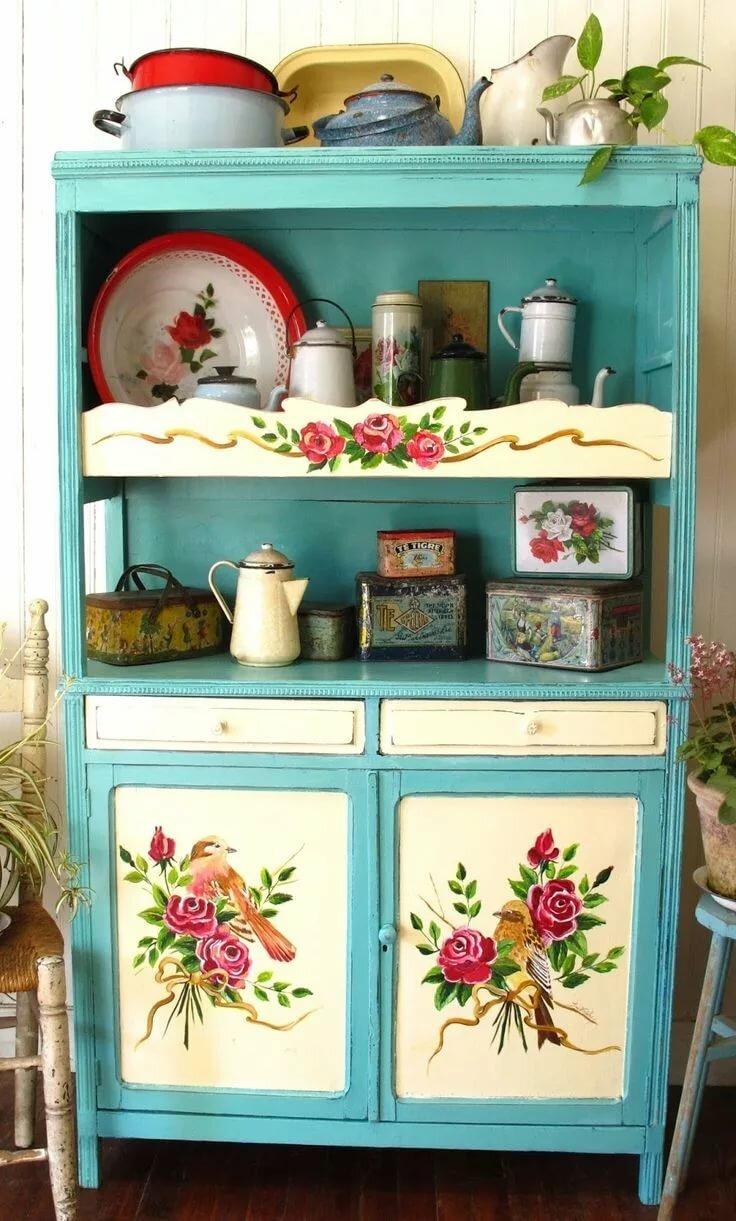
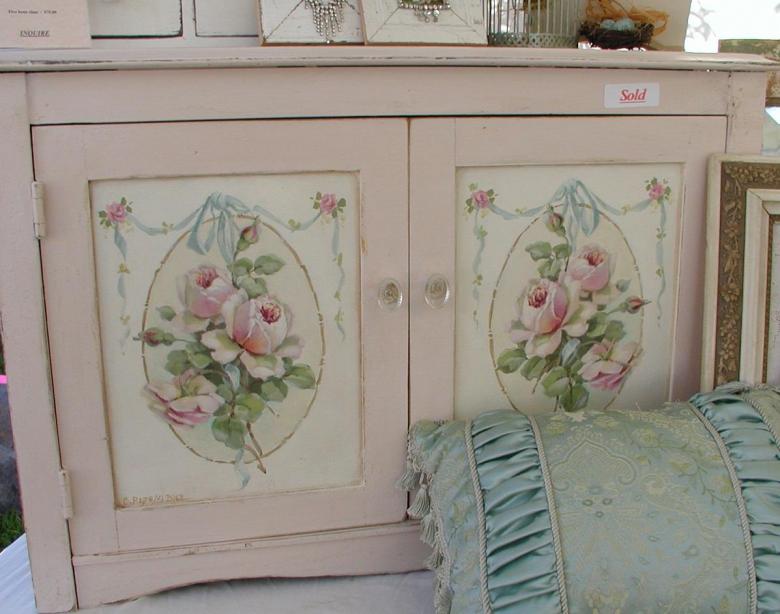
Shabby-chic refers to "folkloric", but features delicate colors, images with roses, wings, castles.
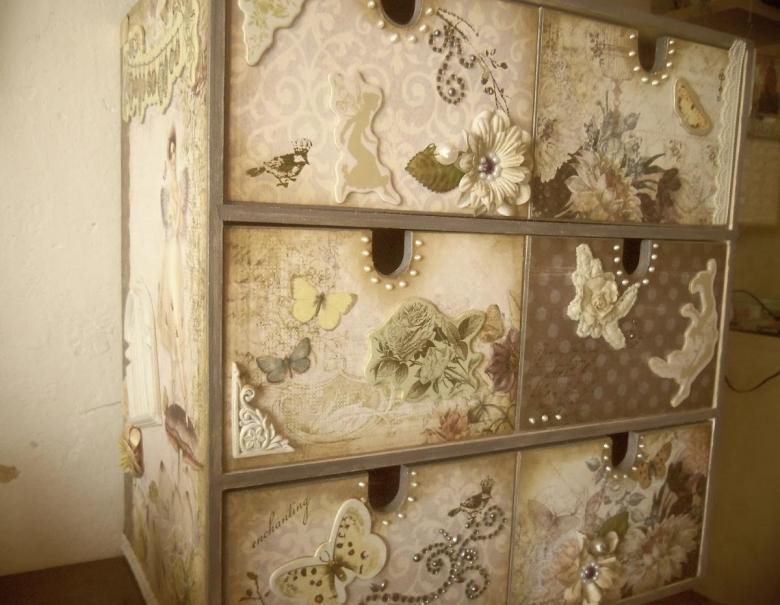
Victorian style. Characterized by rich, deep shades of gold, red and green and the frequent use of checks and stripes.
Simplicity is the style of the usual democratic city. You can use press clippings, clippings, torn pieces of paper.
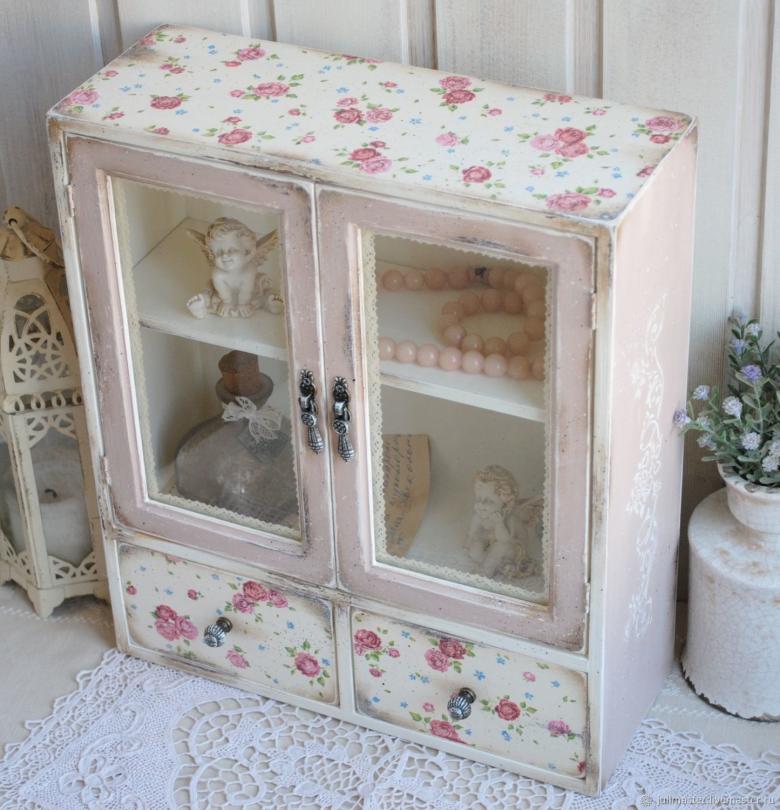
Paper base.
- napkins;
- colored clippings;
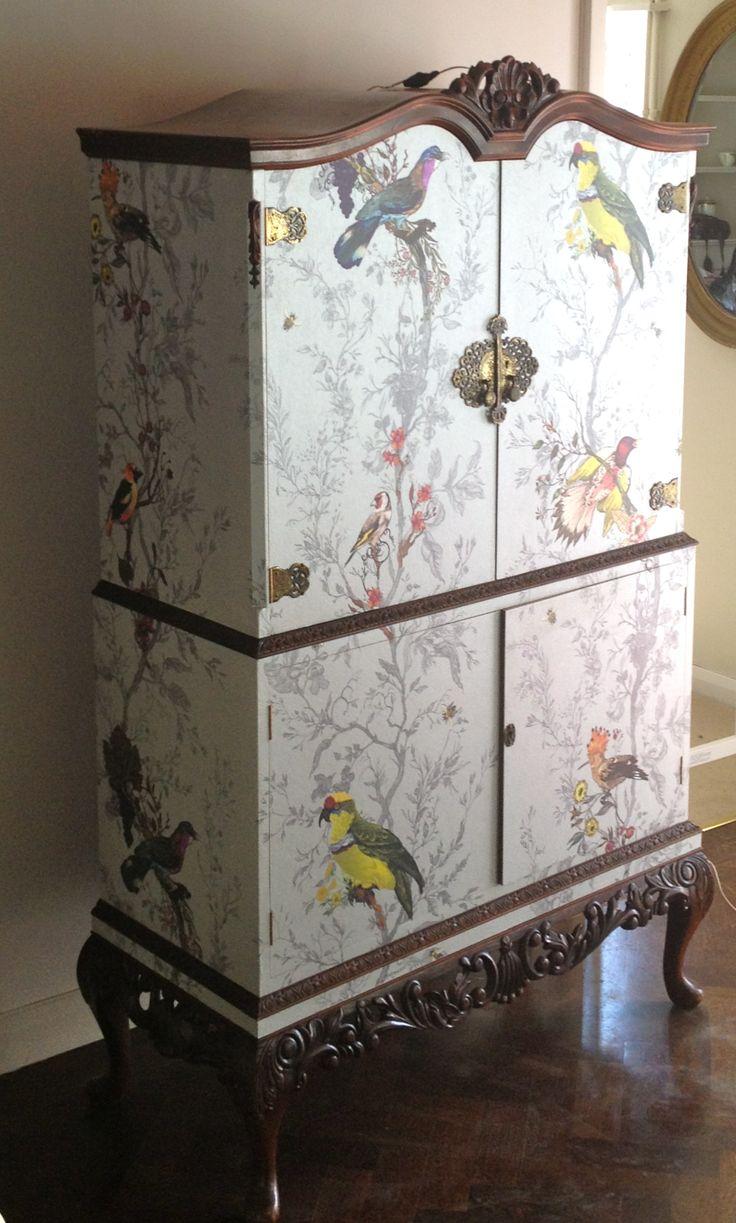
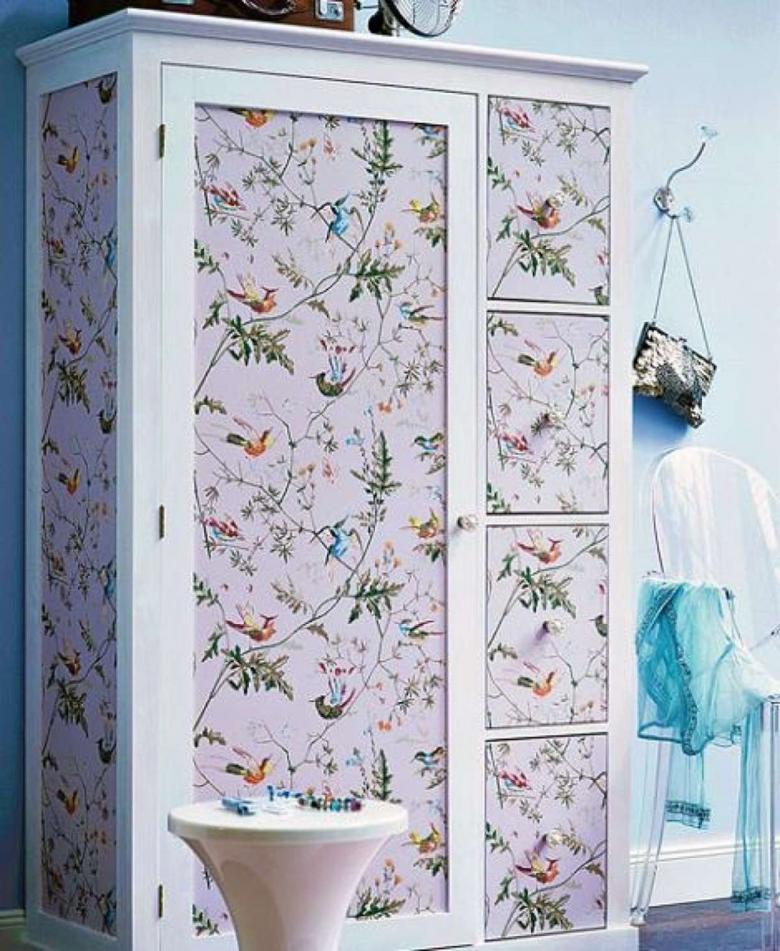
- wallpaper;
- brightly colored photo printouts.
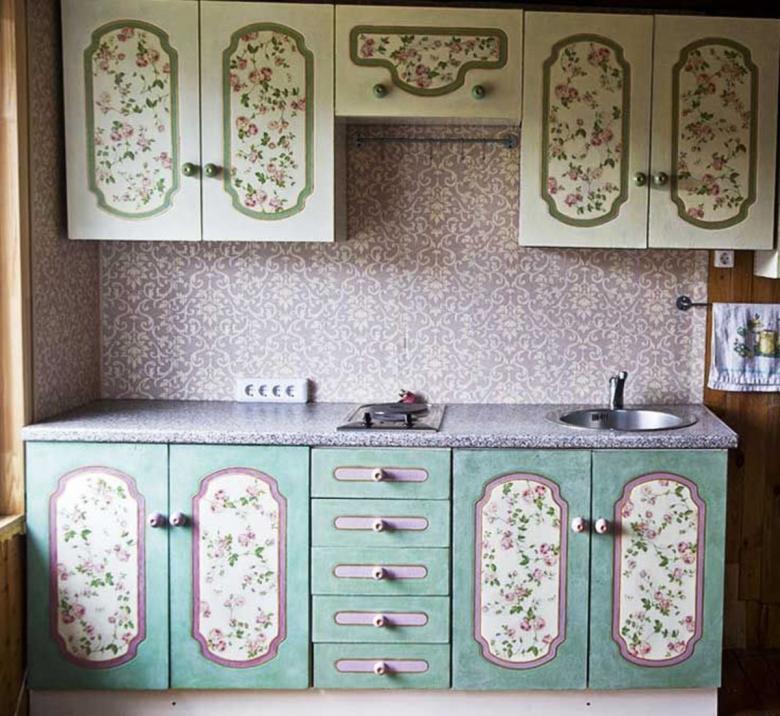
Napkins are the most popular, because they are soft and thin, which gives a better result, creating an imperceptible transition.
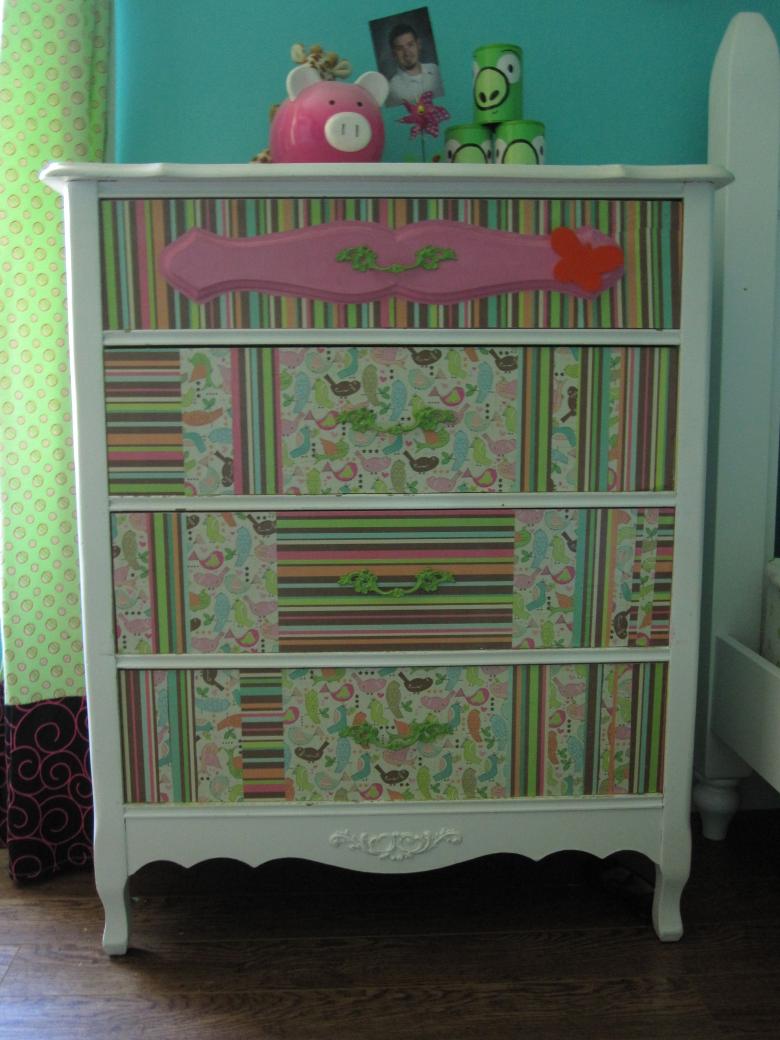
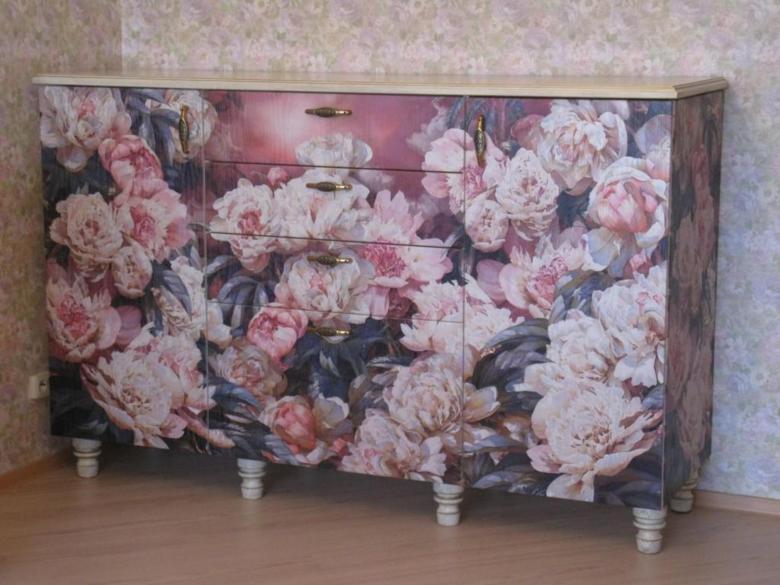
Wallpaper is chosen by beginners in decoupage of furniture. With such a wall covering, it is quite possible to make a successful decor you can, combining different types and options.
Finish the composition can be beads or, for example, with sequins.

Preparing the cabinet
For machining you need:
- Sanding nets of different grit sizes;
- Not wet rag, brush;
- Putty;
- Spatula rubber;
- Roller;
- Acrylic primer;
- Respirator;
- Acrylic paint;
- Brushes.

The process of furniture preparation:
- Remove removable frame parts.
- Brush off previous paint and varnish and dust. Do not forget a respirator.
- Treat with alcohol.
- Caulk and smooth with a sanding pad.
- Apply primer to increase the adhesion of materials to the surface and to even out the color.
- Apply paint with a roller in main areas and a brush in the corners.
- To give a retro effect, rub selected areas with a wax candle over the initial coat of paint, primer and sand the waxed areas with sandpaper.

The process of decoupage of the cabinet
Necessary materials and tools:
- PVA glue;
- water;
- brushes;
- napkins;
- acrylic varnish;
- acrylic white paint;
- tints for paint.
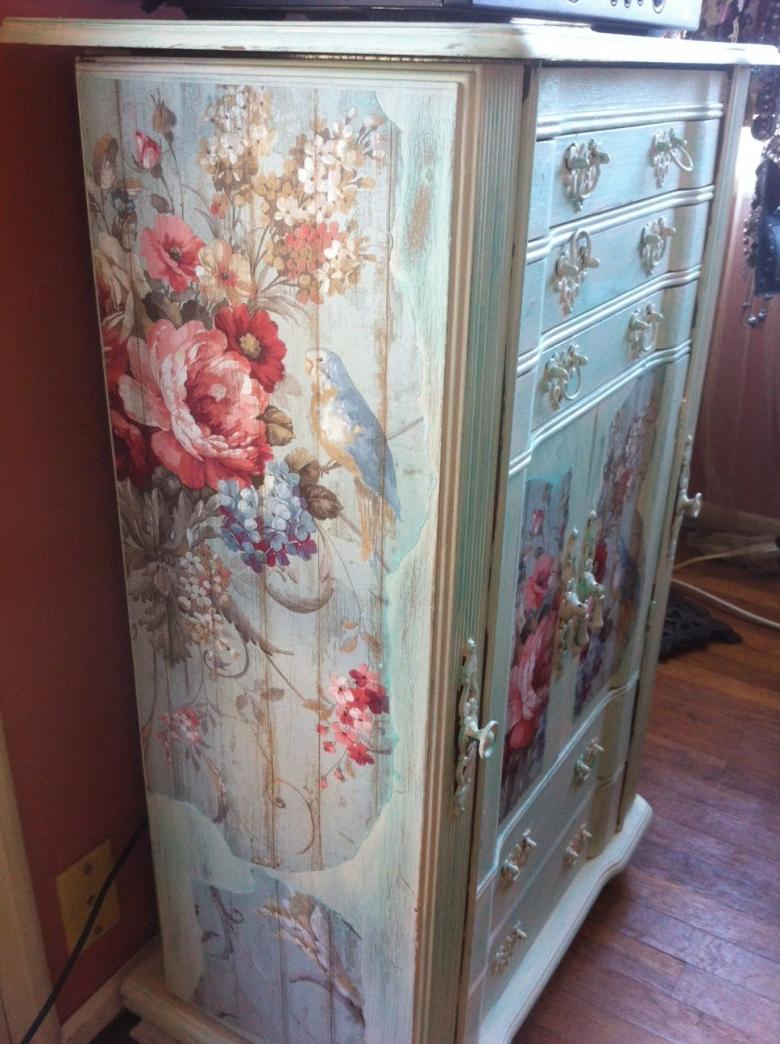
Master class:
- Put some watery PVA glue on the cabinet ready to decorate where the designs will be located.
- If you choose to use doilies, tear off the pattern. Ripped edges are easier to hide on the background. Smoothness can be achieved by multiple coatings.
- Before you glue wallpaper, if your choice falls on them, it is necessary to separate the back layer to reduce the thickness and save varnish later.
- Moving from the middle of the picture smooth out the paper with a brush. Do not let it wrinkle or get wet. Occasionally wet the paper with glue.
- There is a way not to tear the picture: you need to put it on a transparent file with the right side and apply glue on top. Then the sheet is placed on the surface, the file is removed and the drawing is smeared with glue again.
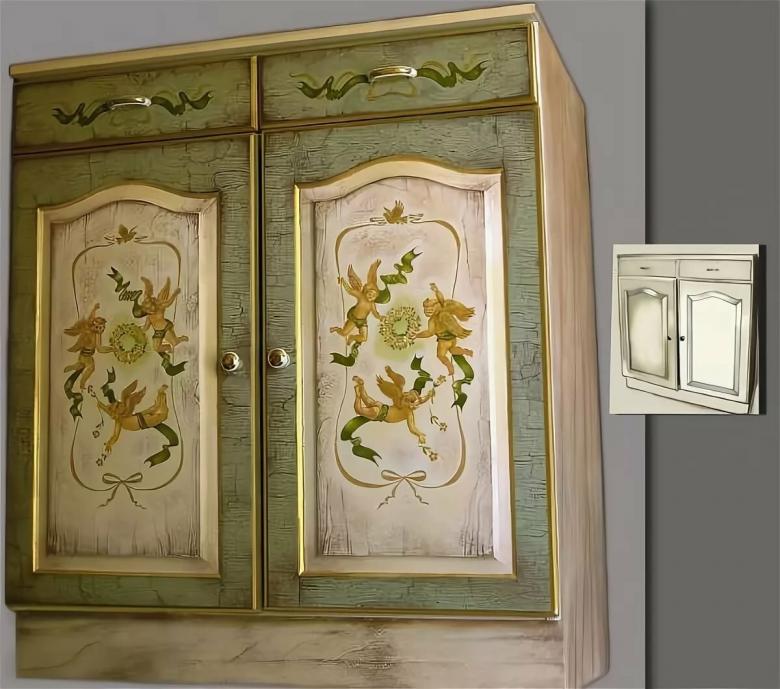
- Glue the paper twice in the case of a napkin and three times in the case of wallpaper. The impression of rarity can be achieved with a craquelure varnish. After applying the varnish, it is necessary to make a filling of cracks with oil paints or to apply two contrasting layers of paint at once, and between them this varnish, which dries and thus creates cracks in the paint.
- If you intend to underpaint details or add volumetric decorations, it should be done after the glue dries.
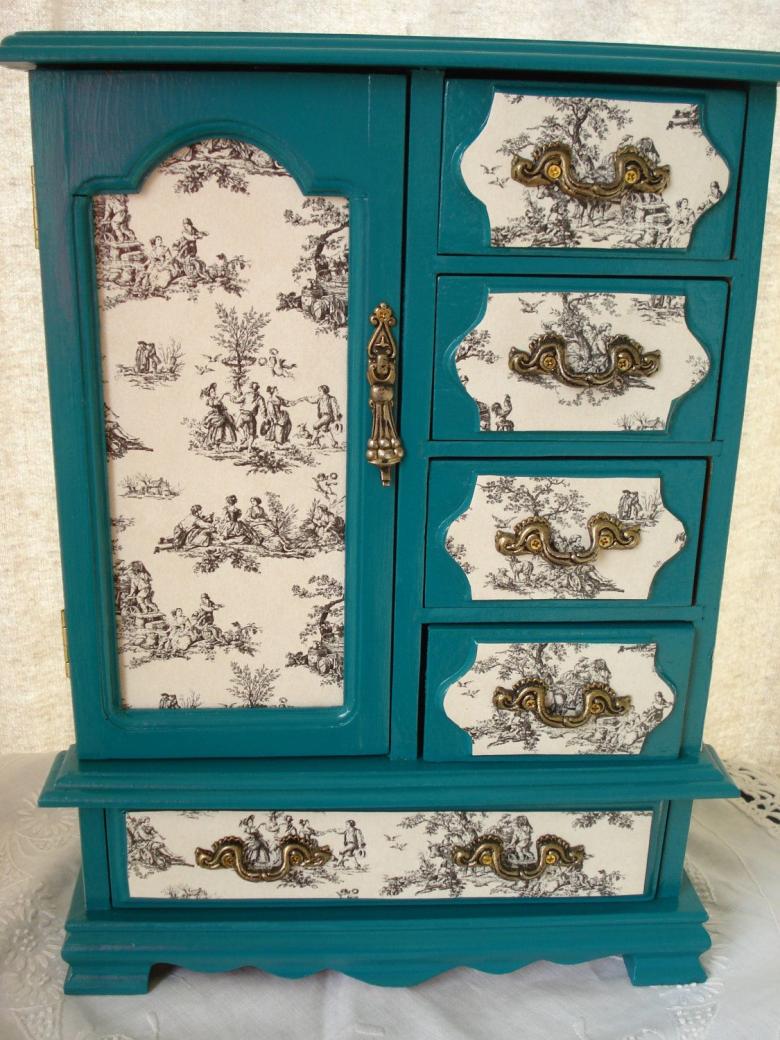
Photographs can be "embedded" by the following method:
- Paint the cabinet twice, drying each layer;
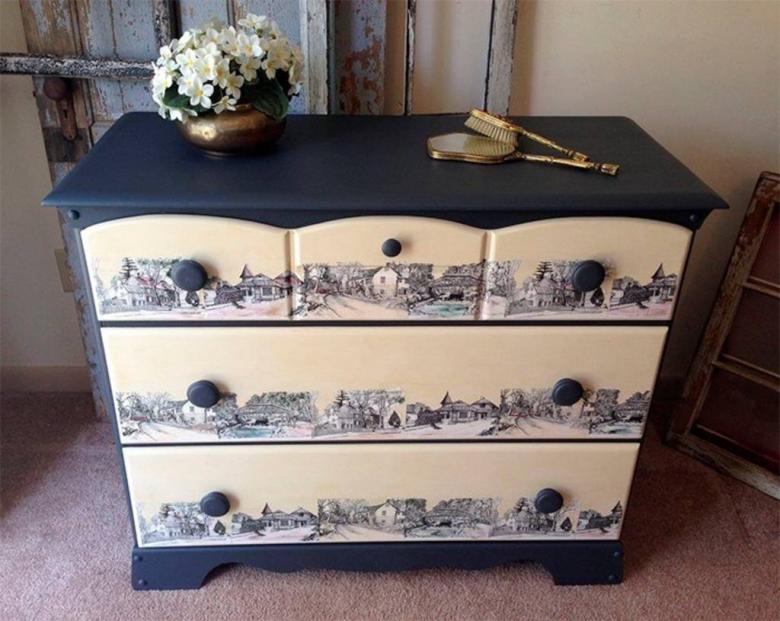
- Apply a new coat, and apply the paper;
- Using a rubber spatula, press the image into the surface;
- wait for the image to dry and lacquer it again.
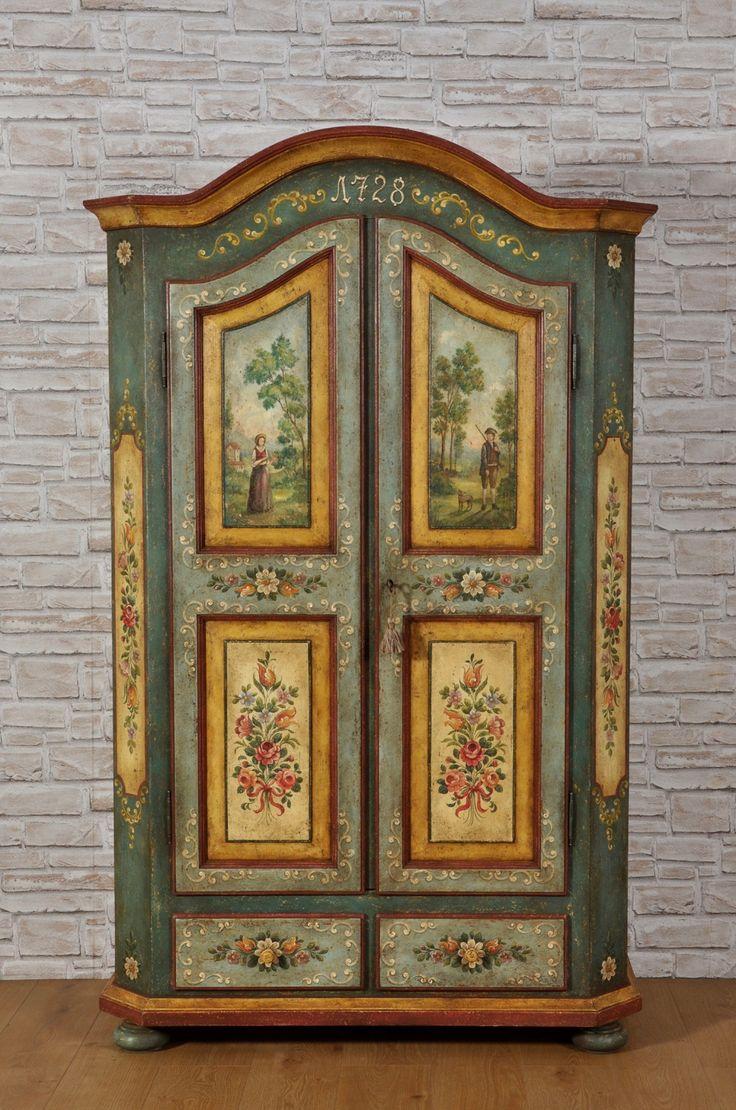
Choosing good materials, you can not just save an old cabinet from disposal, but also make it the accent of the interior. Involve kitchen cabinets, hutch, closet, dresser, chest of drawers can be involved in the restoration.


