Wood burning for beginners - features of work, useful recommendations, photo ideas
Wood burning is one of the favorite hobbies of children. If in the past guys had to be inventive and burn pictures with a magnifying glass and sunlight, now it is much easier.
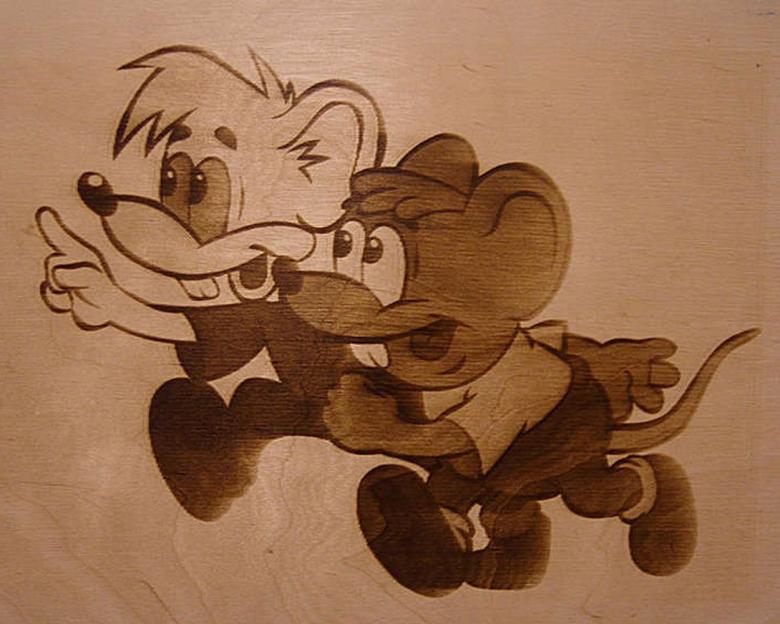
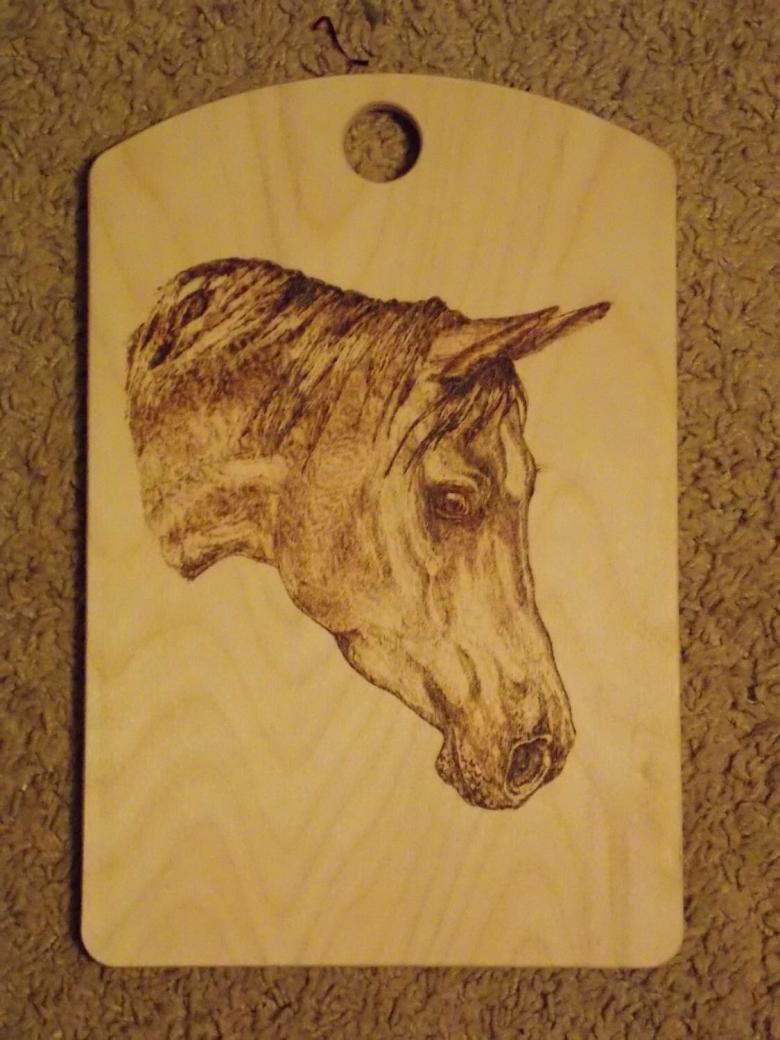
Currently, the activity associated with burning pictures, has a certain name - pyrography, and it is carried out with a special tool, which turns it into a really fun activity for people of all ages. Let's break down this topic in more detail.
What do I need for pyrography?
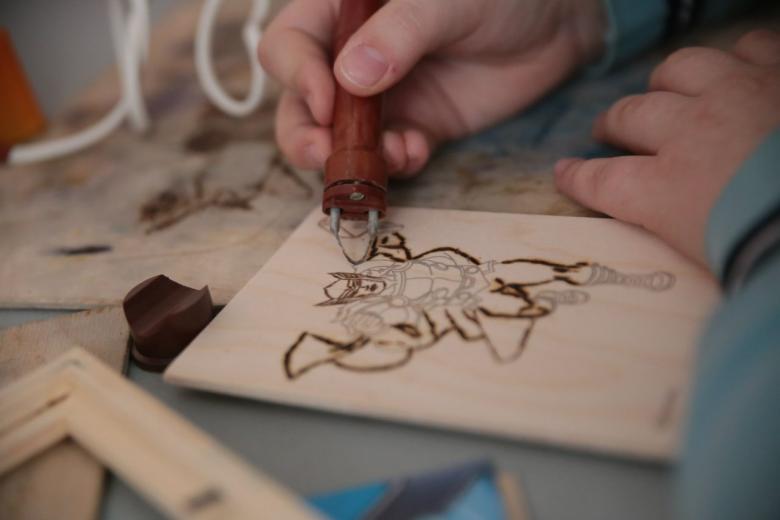
The main attribute that should be in the arsenal of a person who decides to try his or her hand at pyrography is a pyrographic apparatus called a pyrograph.
The first devices were small blowtorches with a pen similar to a paper clip. Modern pyrographs are most often equipped with stronger, harder pens, which are much easier to use and more practical. Let us note right away that modern devices have a number of drawbacks:
- A long heating and cooling time.
- If you burn a painting for a long time, the handle of the device can get hot and the master will have to take a forced break.
- The device can not withstand too long work and burn out.
There are also disadvantages to the old pyroraphs and in particular these are:
- High price;
- Costly repairs;
- The need for frequent replacement of the tip;
- Difficulties in selecting spare parts.
The choice of the device is a voluntary and individual matter and every craftsman can choose the pyrographer that meets his requirements and expectations. The most attention should be paid to modern devices equipped with a variety of nozzles of different thicknesses and positively proven among users. Note that most modern devices can be used for burning wood of any species.
When choosing a device pay attention to its equipment. Quality pyrographers are most often sold in special cases, which makes them easy to store and transport. The set usually includes nozzles and a stand. A quality device will be a great gift for both a beginner and an experienced master.
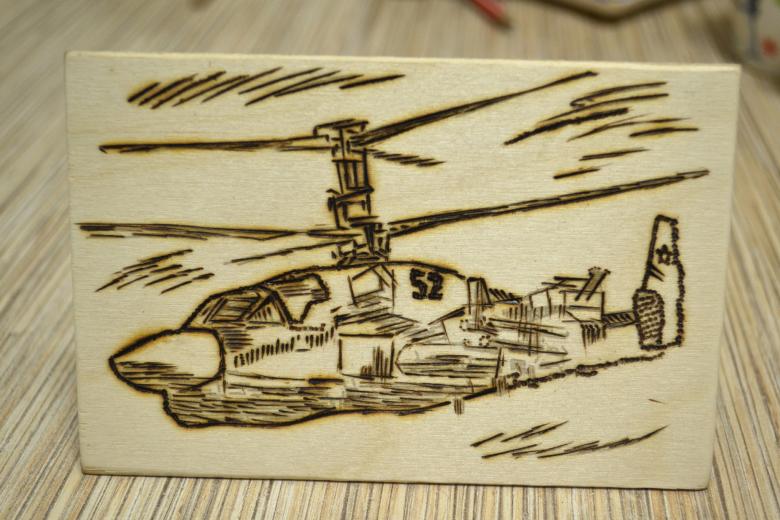
Having decided on the purchase of a pyrograph, you can move on to the selection of a set for burning. On store shelves nowadays you can find a wide range of goods of this kind. Note that it is much easier and cheaper to buy a ready-made set than to search for materials yourself.
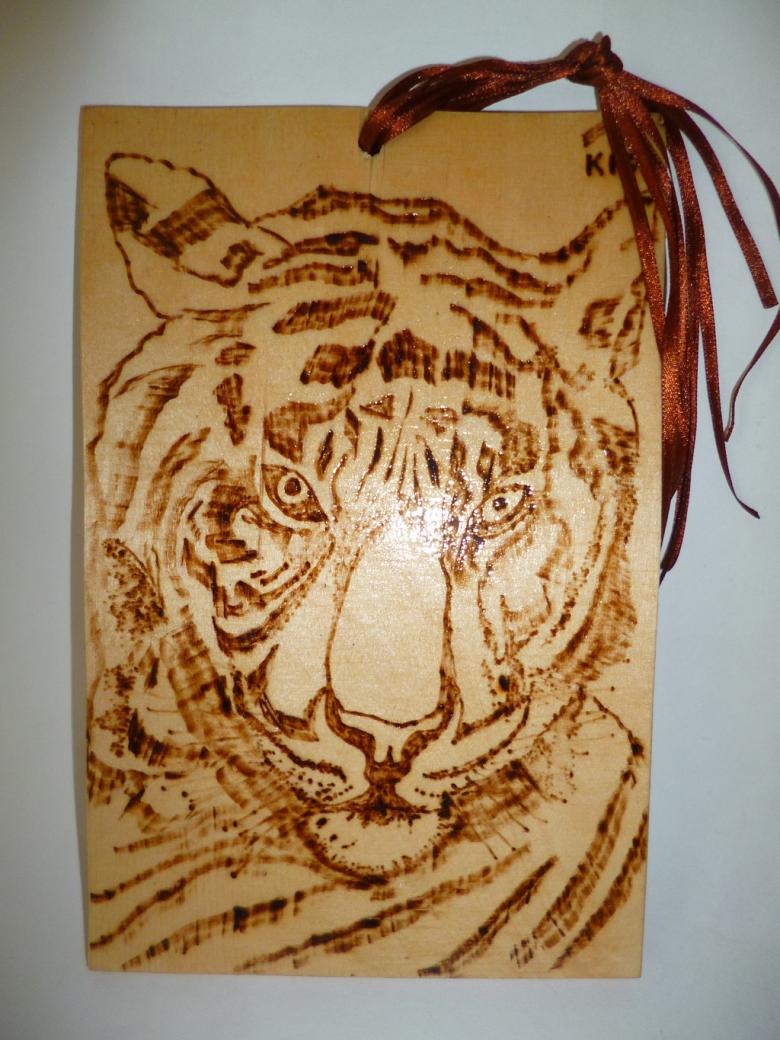
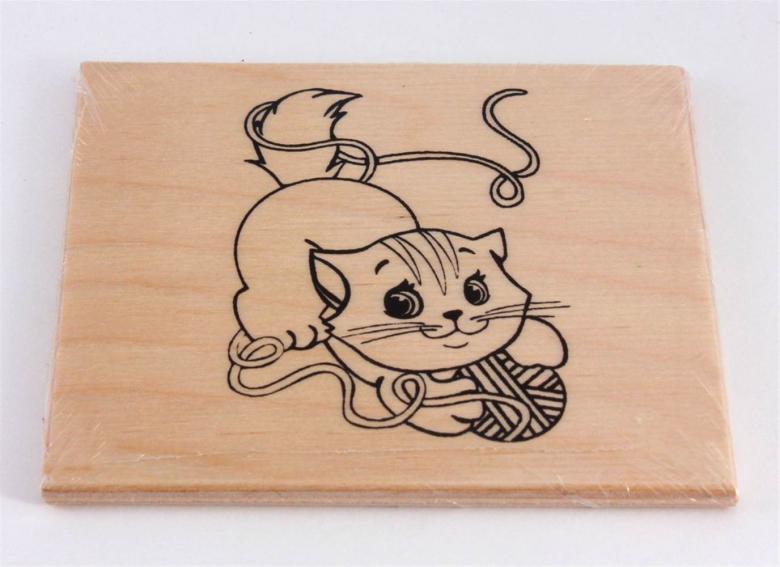
Prefabricated kits for burning are wooden boards with a sketch of the drawing, which needs to be burned.
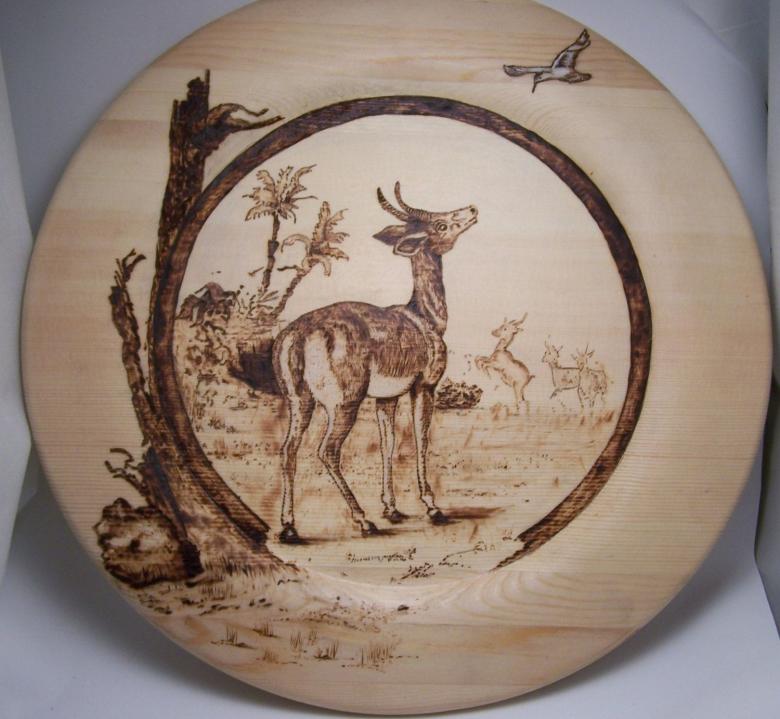
Preparing for work
If you decided to pick up the material yourself, then note that the best for creating works of art with pyrography are pine, linden, birch or ash.
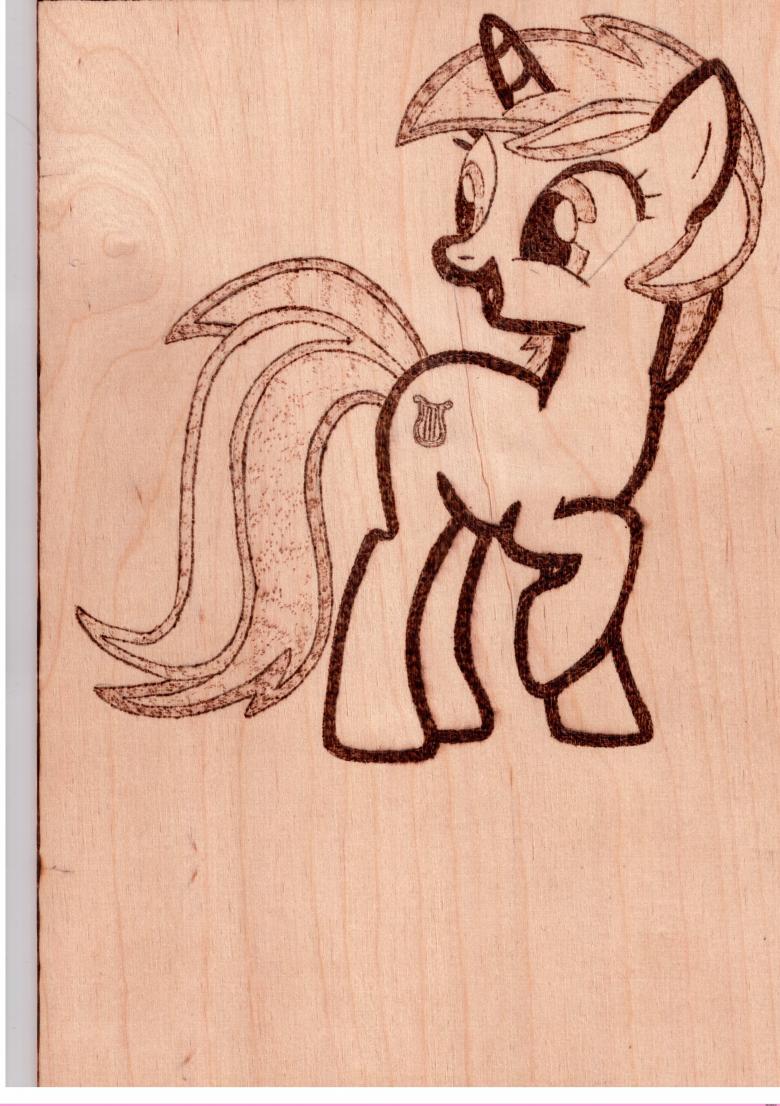
The wood must be sanded before you begin the work. By following the recommendations below, you will get a neat, even canvas to work with:
- To get rid of irregularities on the surface of the wood, sand it along the fibers.
- After a quality sanding, the wood should be wiped down with a damp, soft cloth.
- After the surface is completely dry, it is necessary to carefully draw a sketch of the drawing on it with a simple pencil.
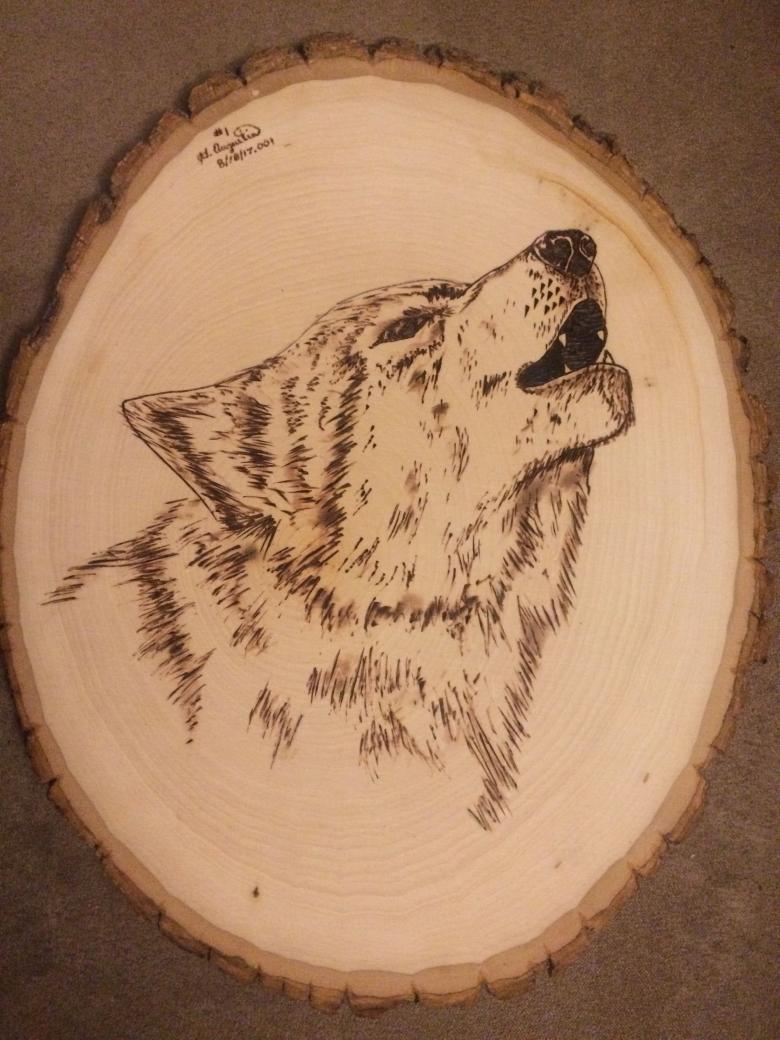
Pyrography is an art that does not tolerate haste. To really enjoy the process, you need to immerse yourself in it, thinking carefully about each step.
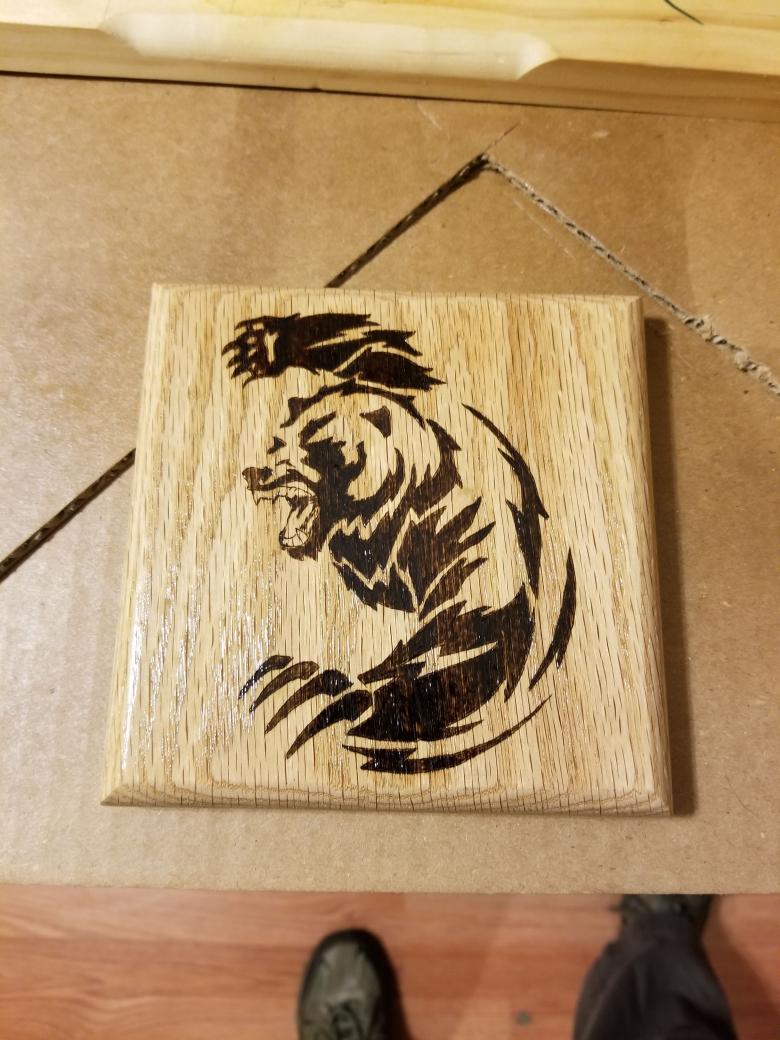
Tips for Doing the Job
- If you do not have drawing skills, use a template or tracing paper to create a sketch.
- Try to make lines with the same pressure on the soldering iron so that they are flat, of equal thickness and without gaps.
- Calculate the time to burn one element. If you overhold the hot nozzle in one point, it will be darker than the others and this will have a negative effect on the finished work.
- Position the board so that the fibers are facing downward. This way the nozzle will move freely along the lines of the sketch, and the finished drawing will be even and neat.
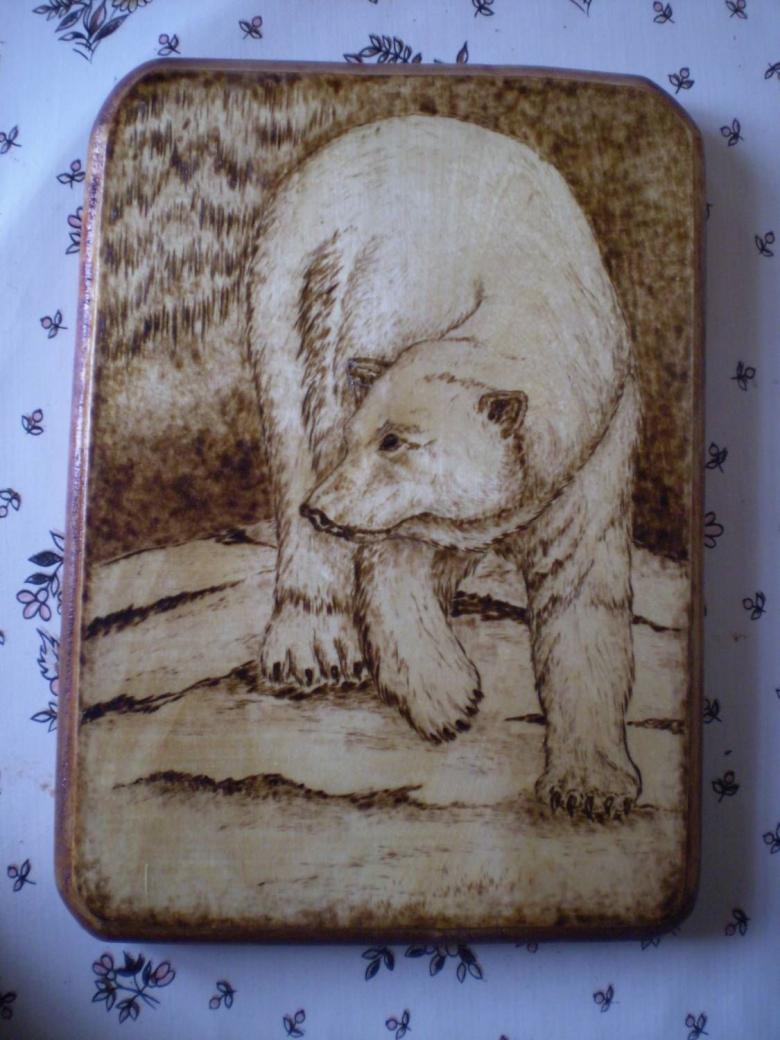
Burnout on plywood
The plywood burning procedure does not differ fundamentally from the wood burning procedure. The advantage of this method of burning can be called the availability of materials. Plywood can be purchased at any building supply store at an affordable price. In addition, the material will be divided into sheets of suitable size by the customer's order.
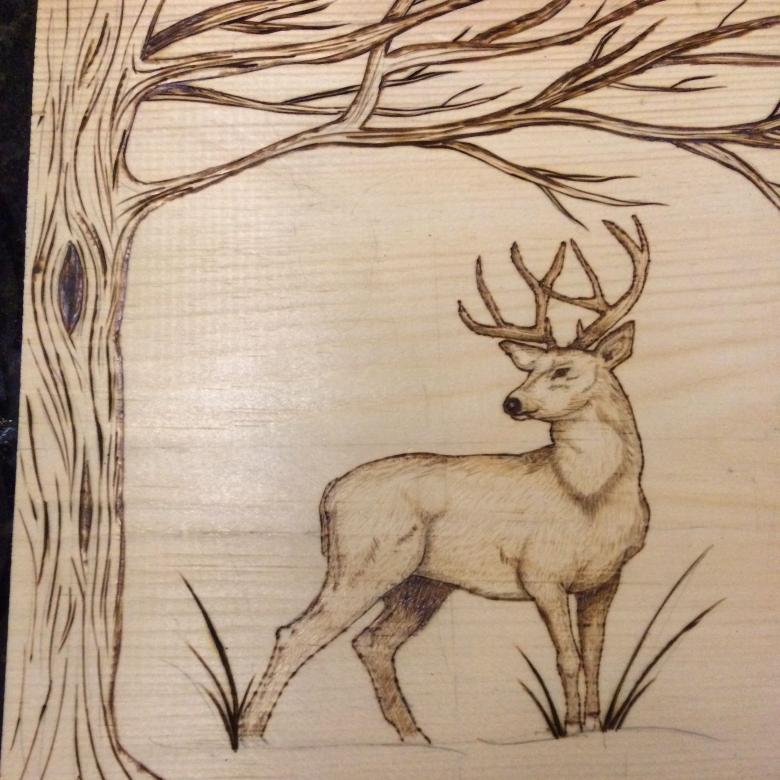
The step-by-step algorithm for burning a pattern on plywood is as follows:
- Place a sheet of plywood on a work surface and carefully clean it from nicks and irregularities with fine sandpaper.
- Dissolve the chalk in water at room temperature and soak the sheet in the resulting liquid.
- After the material has dried completely, draw a sketch on it with a simple pencil.
- Place the pyrograph on a special stand and plug it in. Wait for it to heat up.
- After the device is sufficiently heated and the sketch is ready, you can start the main work - burning.
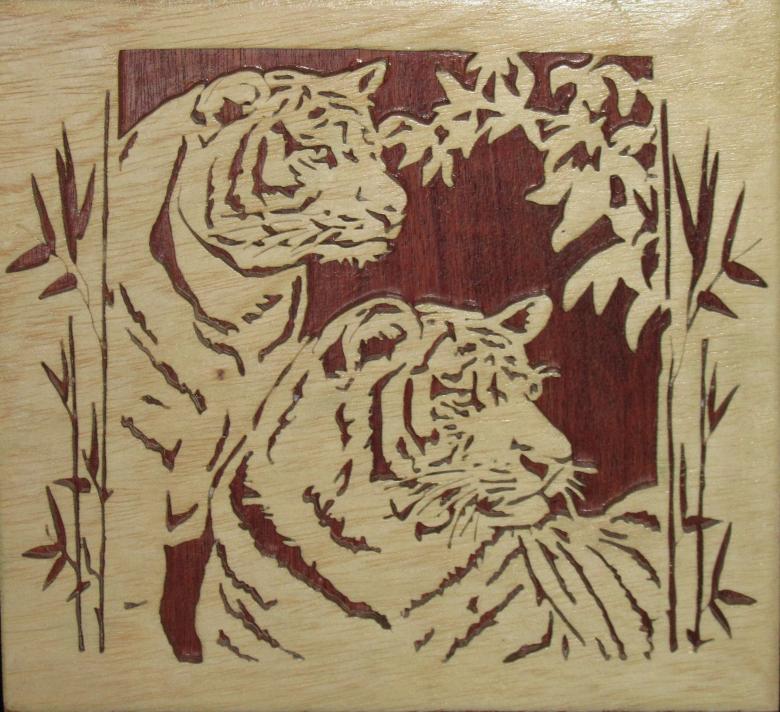
When working with the pyrograph, remember the elementary rules of safety when working with electric heating devices.
Recommendations
- Do not skimp on the purchase of the pyrograph. Remember that in this matter the quality of the product depends on the safety of its use.
- If you buy the device as a present for your child, never give it to him/her until you have tried to work with it yourself. Do not leave your child alone with the pyrograph turned on.
- Don't rush to buy all kinds of nozzles for the device at once. In the course of work it will be easier for you to decide on the choice and necessity of this or that pen.
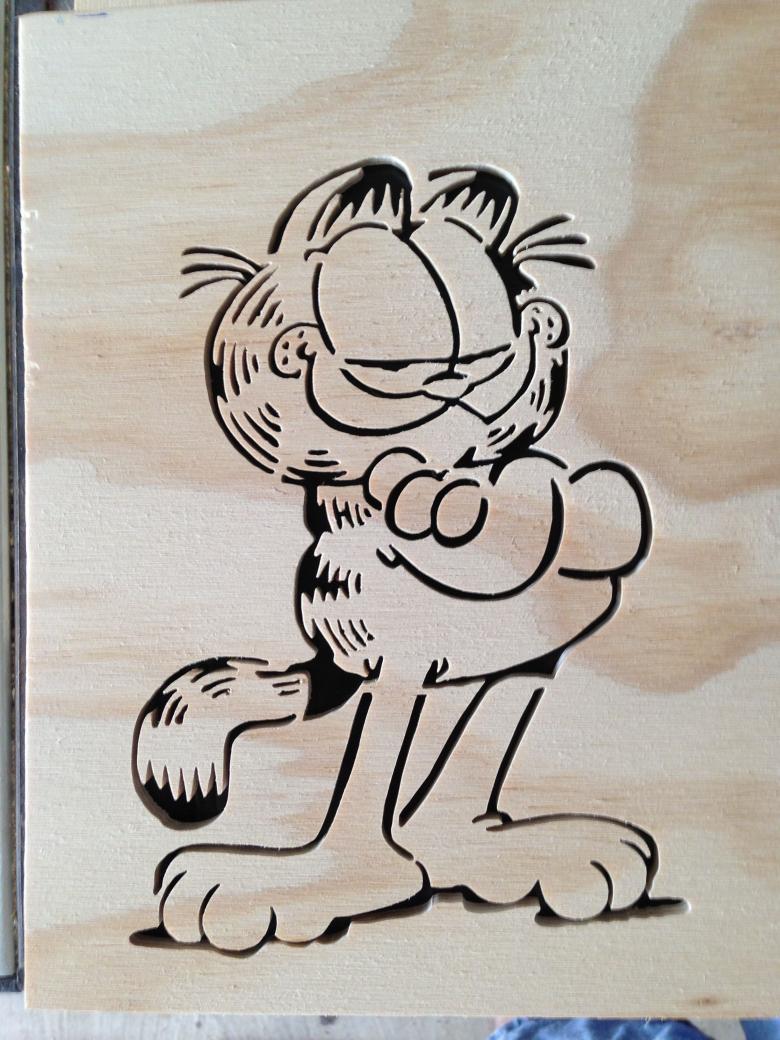
Wood burning is an art that is available to anyone. Buying pyrography you have a unique opportunity to discover the world of beauty in art and introduce it to your children. Paintings made in this way, will be an excellent gift or interior decoration, and work with a safe and environmentally friendly material - wood will bring enormous pleasure to your family.

