Knitting a snood with scythes - description of knitting schemes for beginners
Handmade products are always at the peak of popularity. The novelty, today referred to by the fashionable word "snood", and previously known as "clamp," does not go out of fashion for several seasons. Especially in Russia, where nine months of the year it is cold outside. In our climatic conditions this scarf, covering your head and neck at the same time, is simply indispensable.
Handmade turns it from a simple, though certainly useful accessory into a high-class gift: the craftswoman individually selects the pattern, colors, model, type of yarn and even the size of the product for the person.
Let's understand the terms: what is a snood
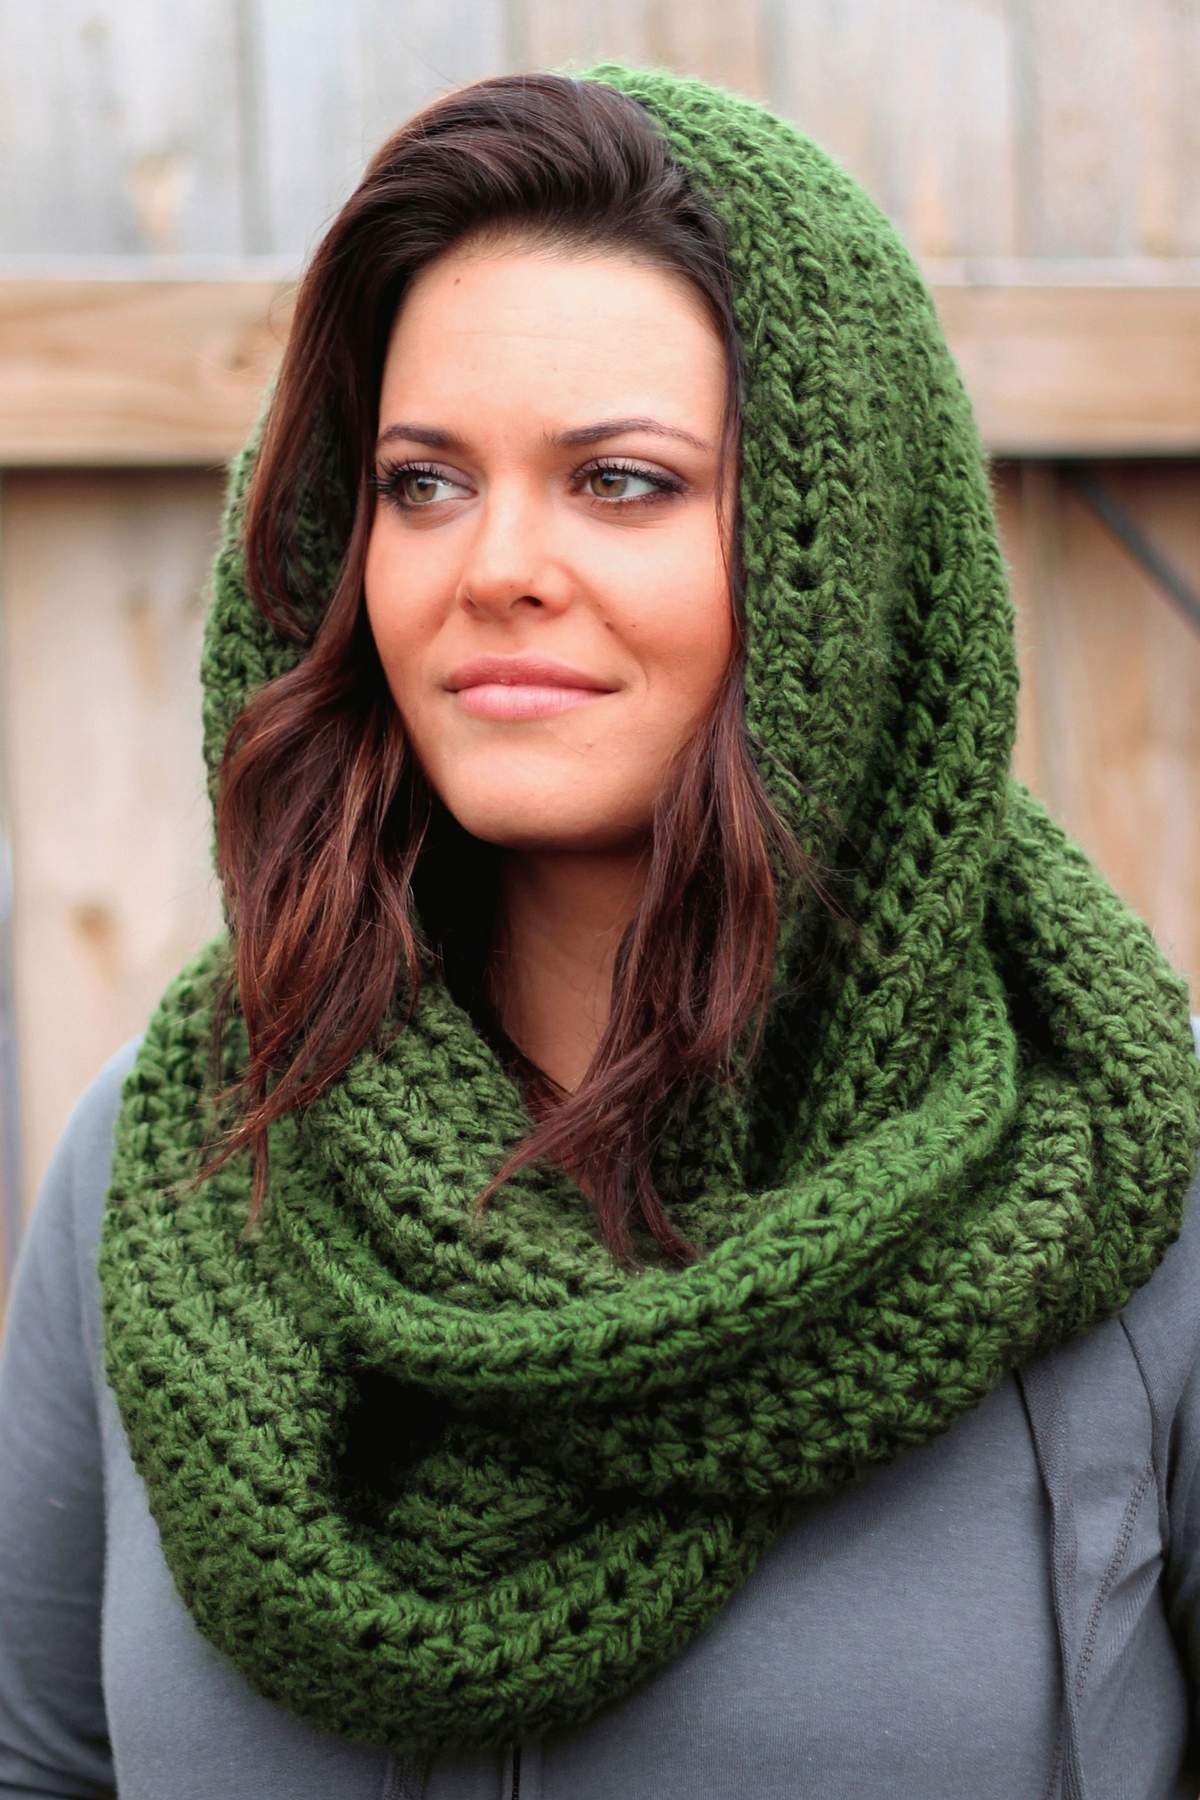
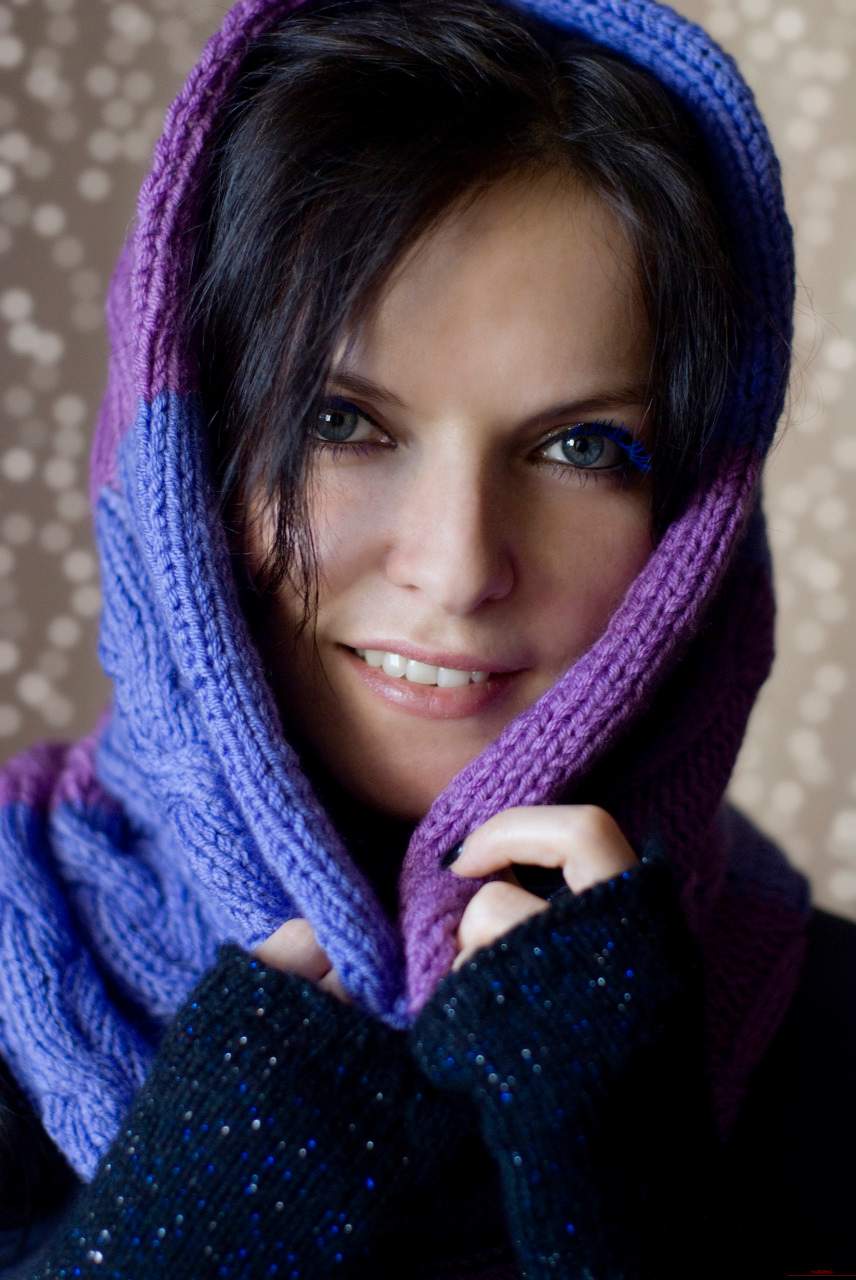
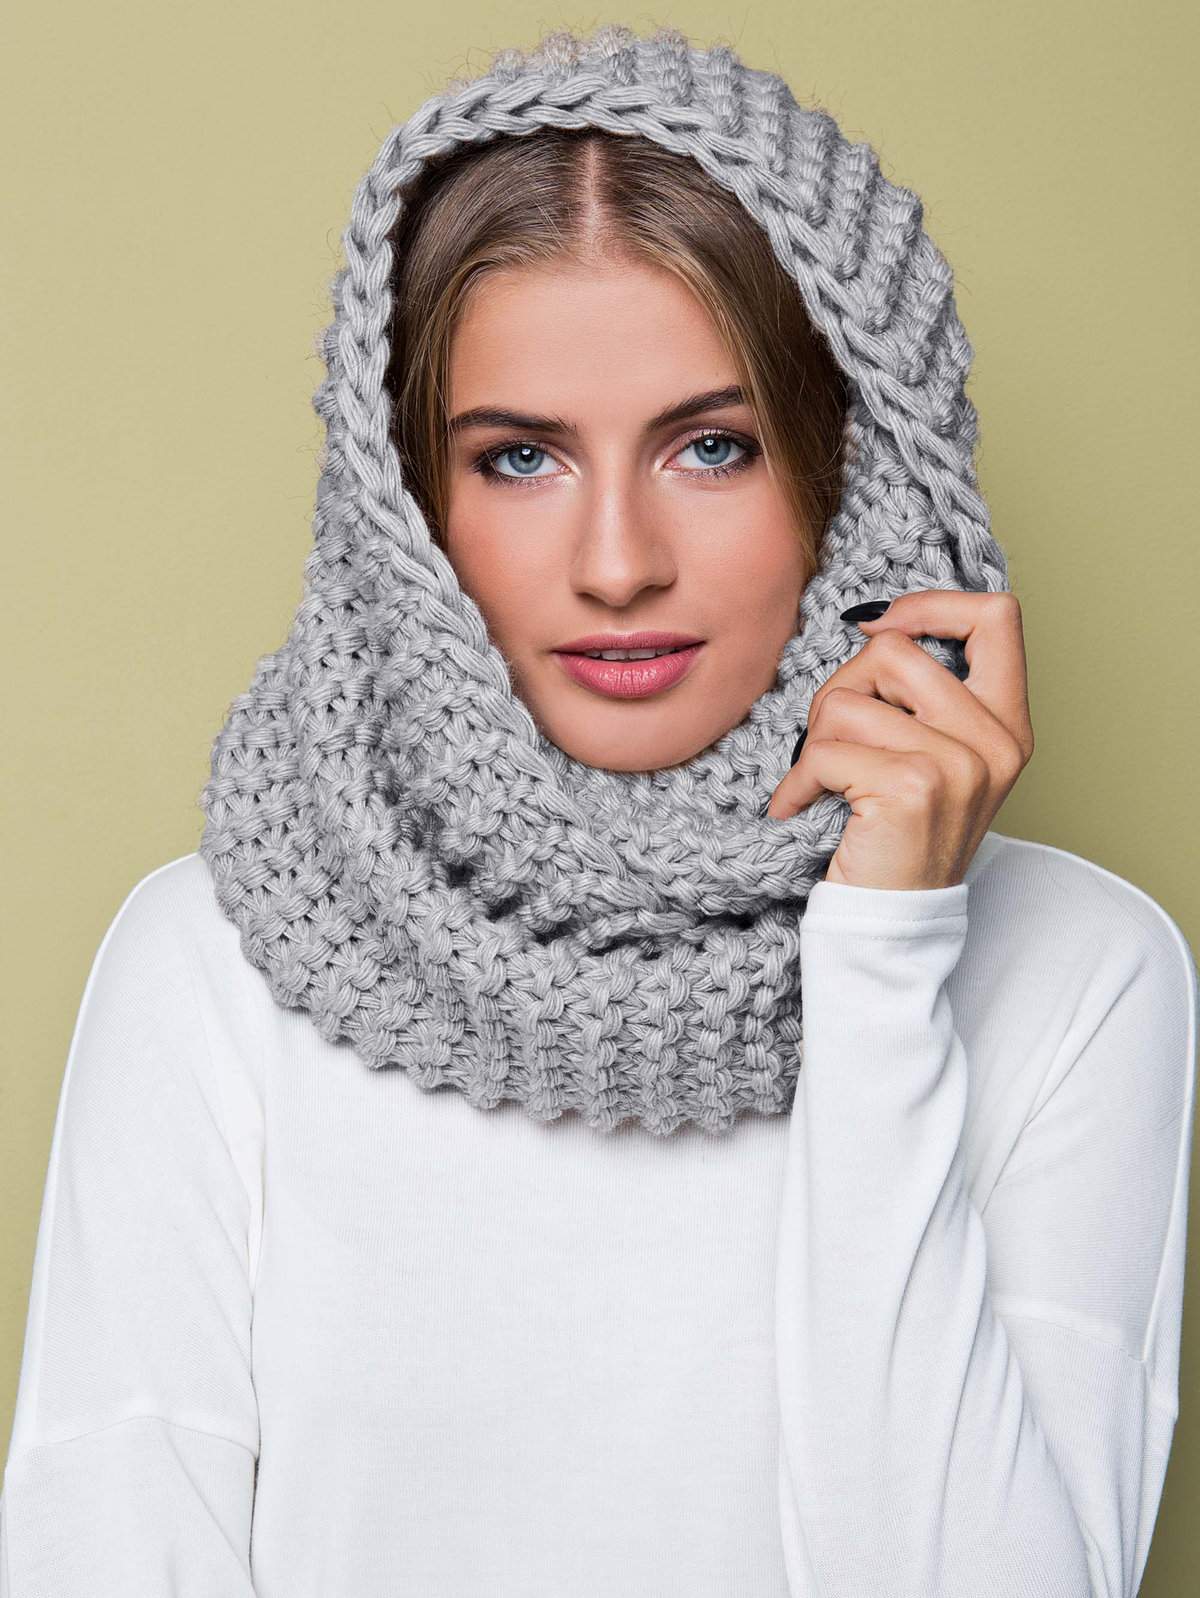
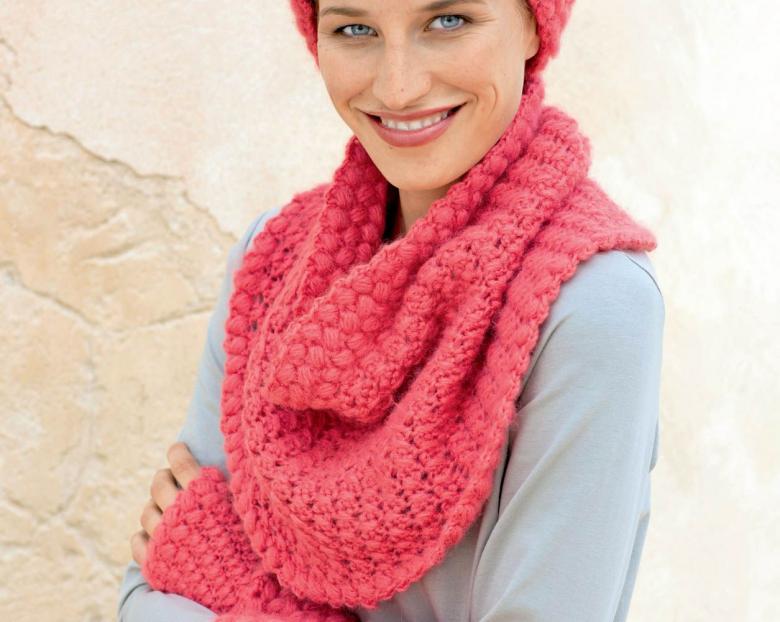
It is a scarf without beginning or end. It is sewn in a ring, and depending on the size it can be worn in one or two turns. Today there are hundreds of models, and just as great are the number of images that fashionistas (and fashionistas - in men snoods are also in demand) create with the help of these winter accessories.

Snoods in general fall into two categories:
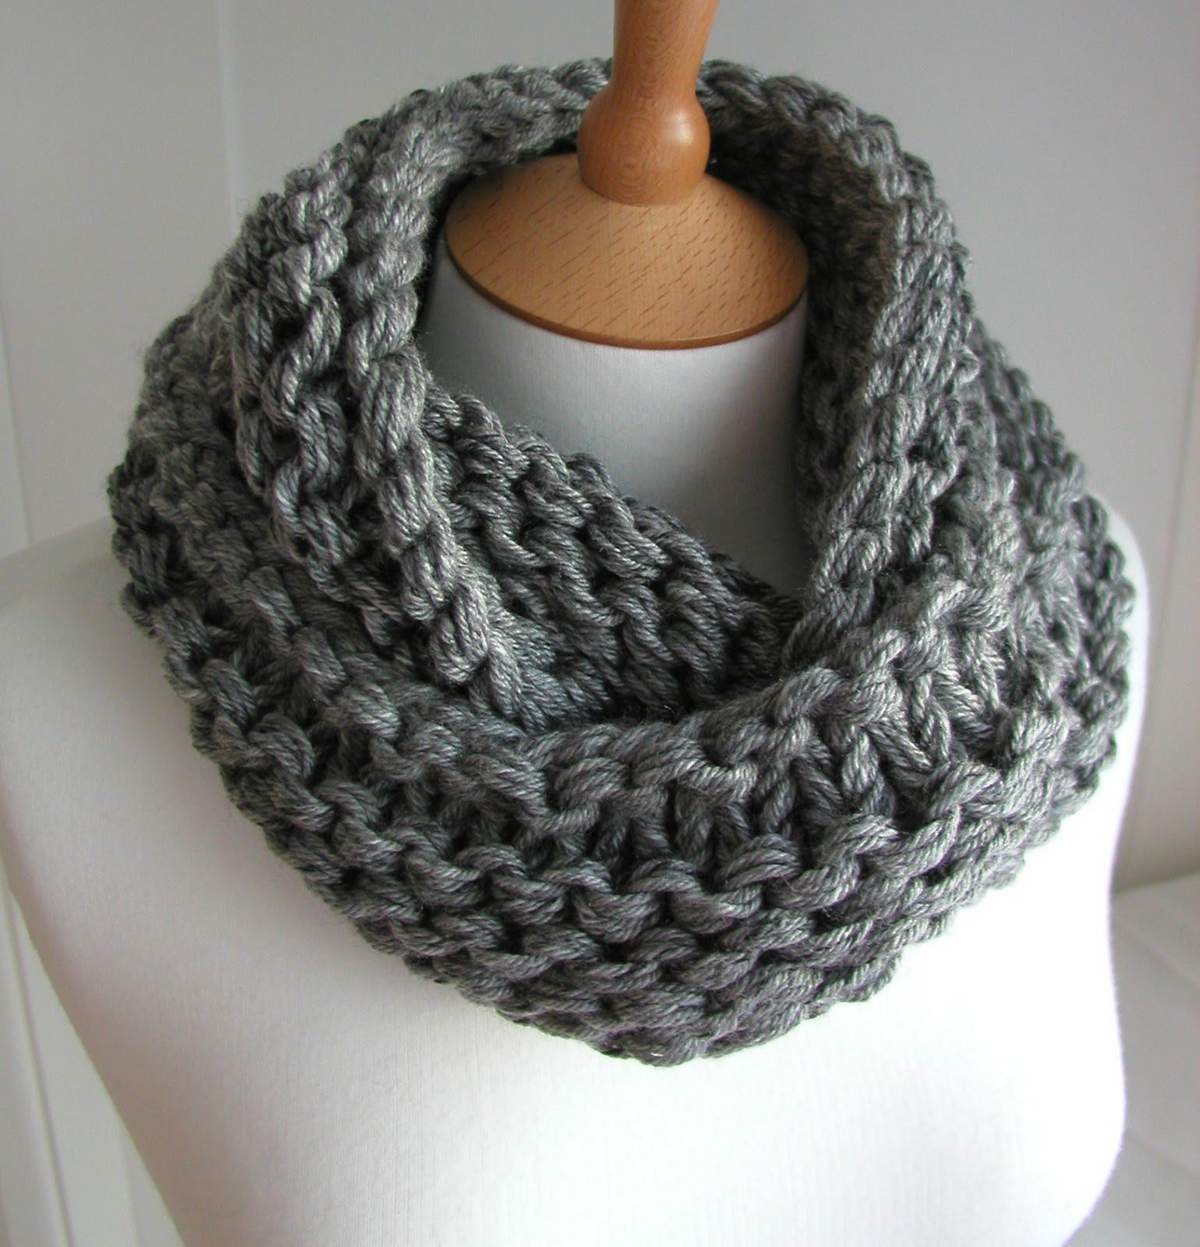
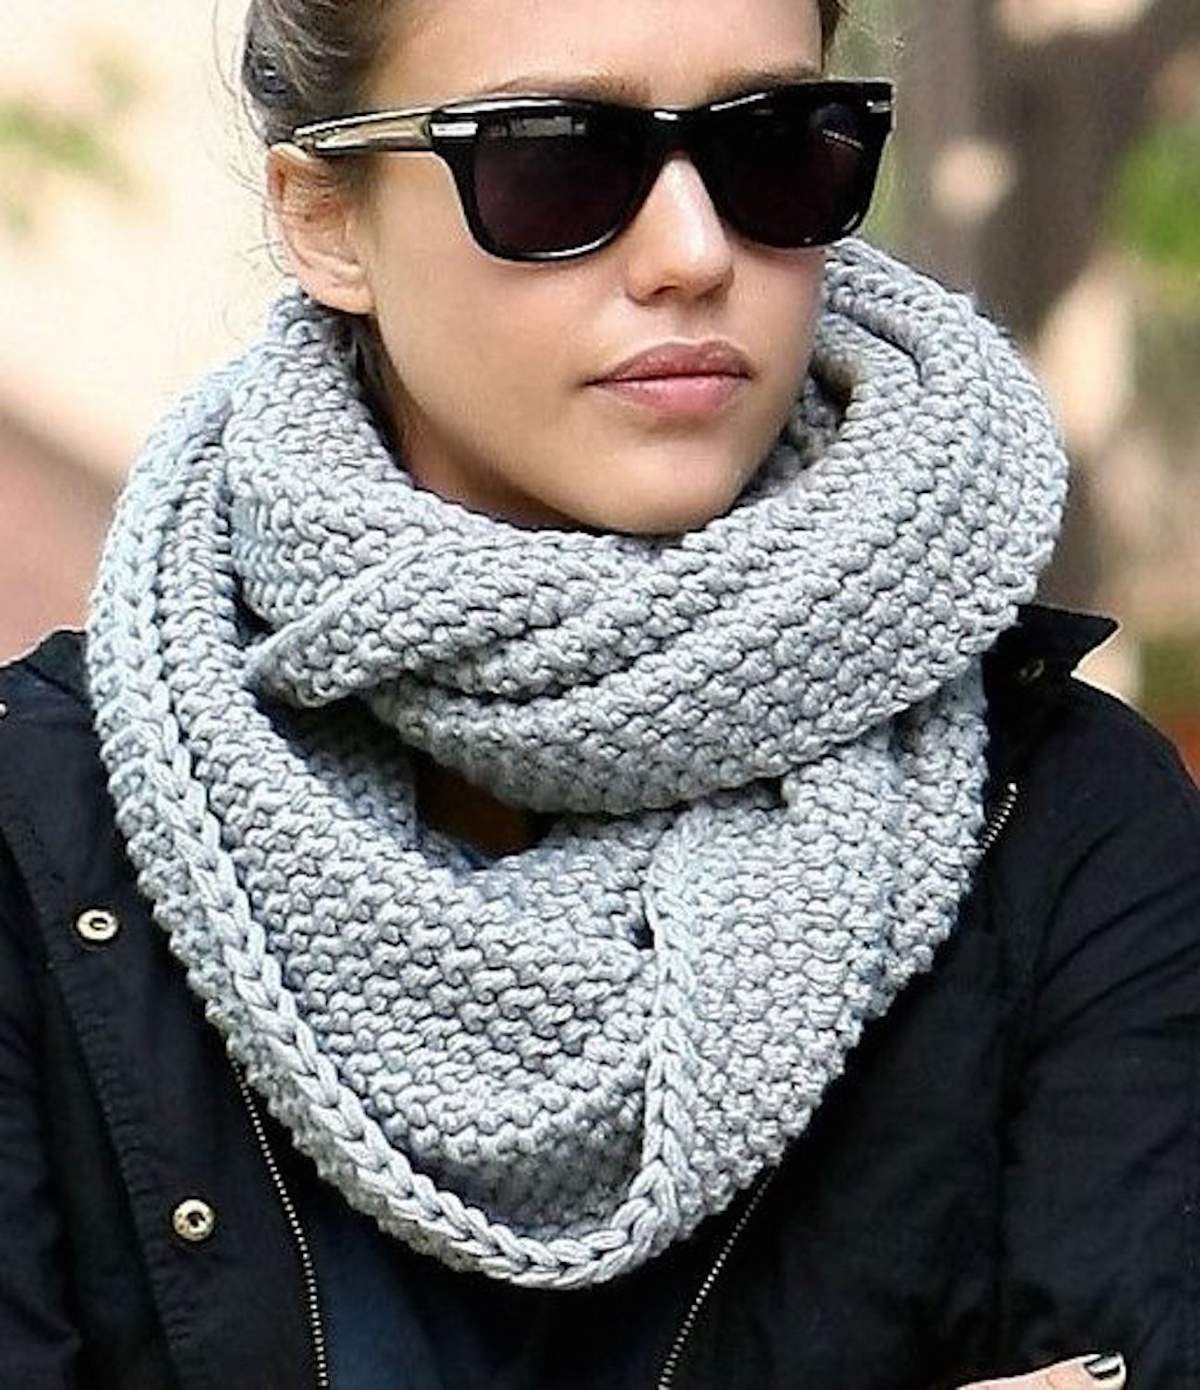
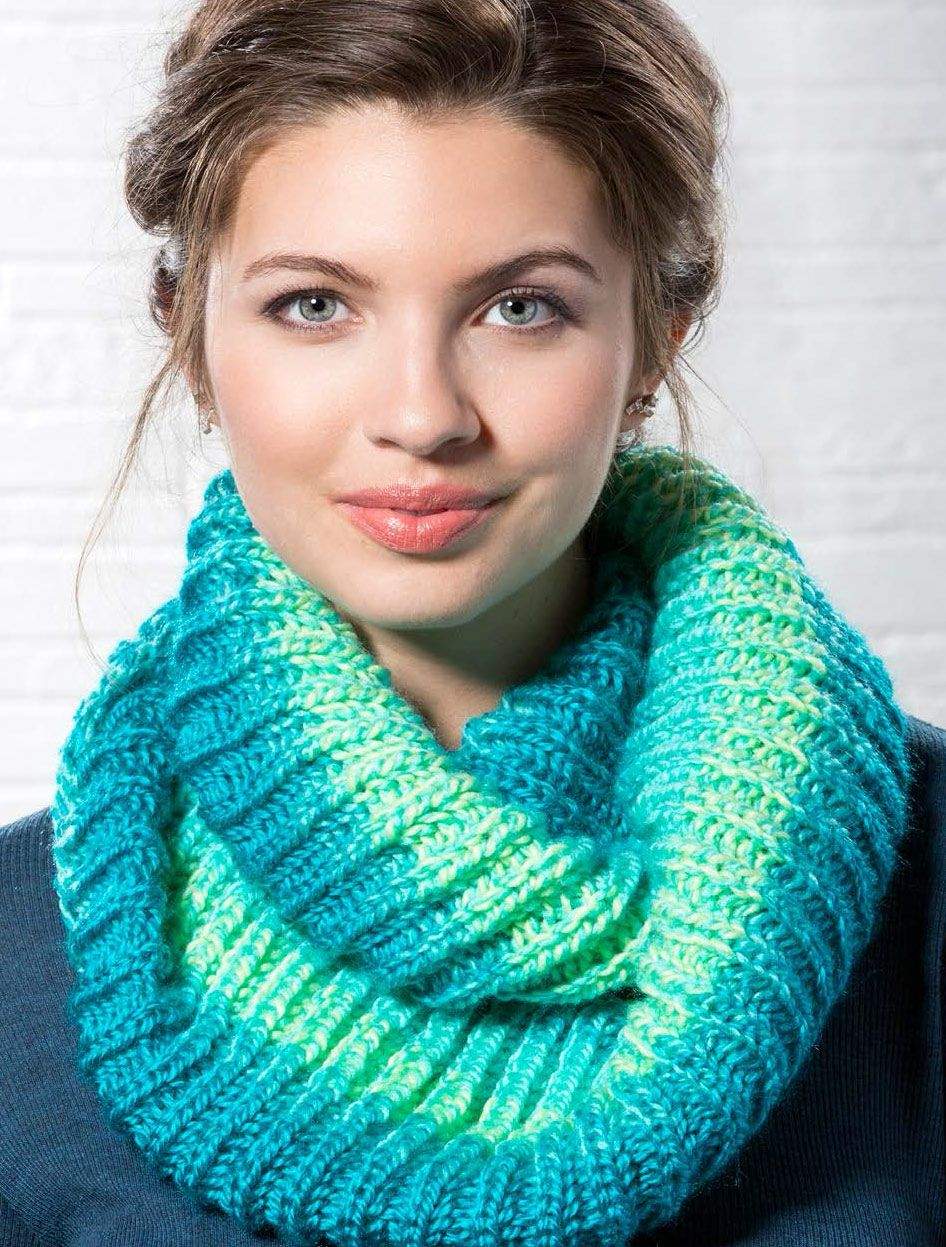
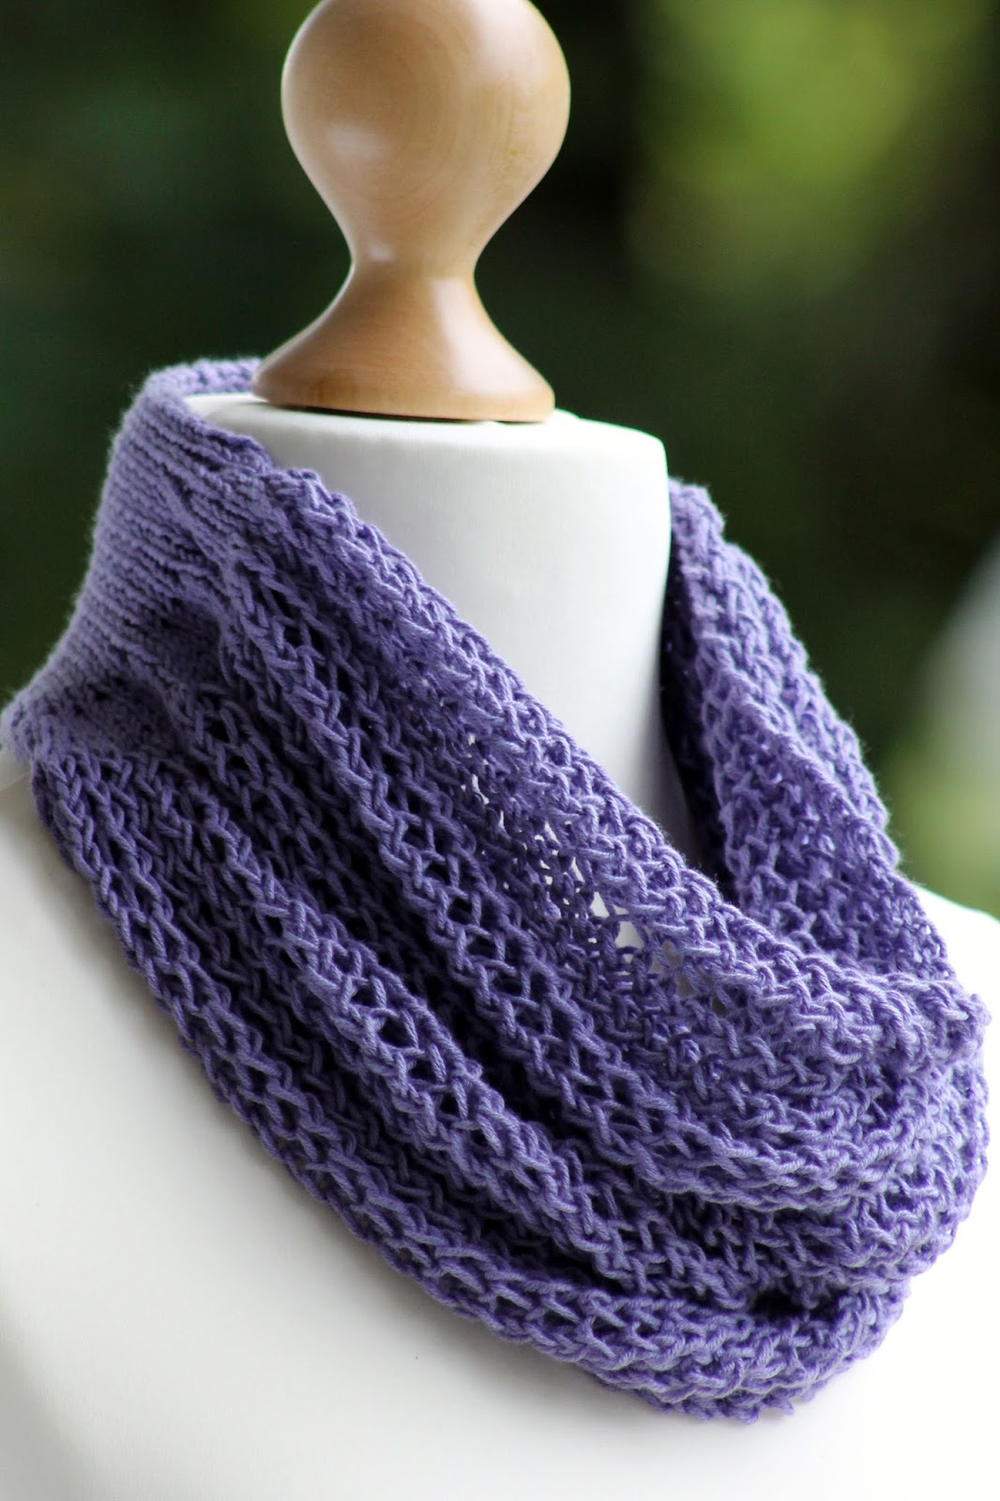
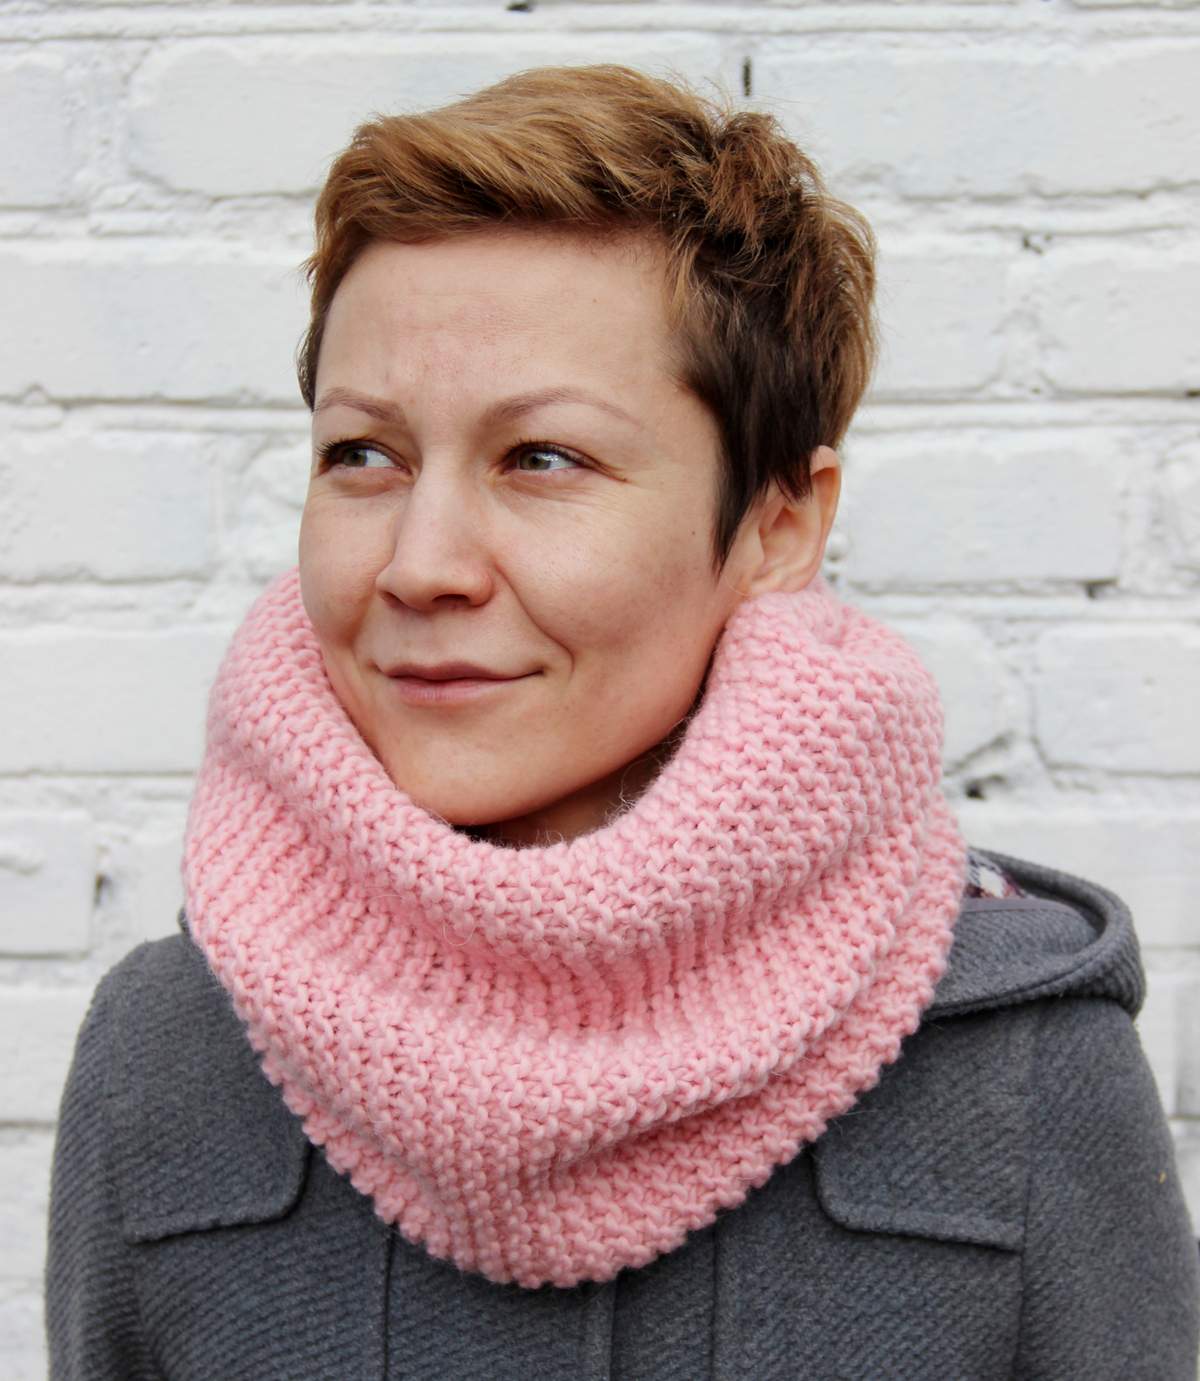
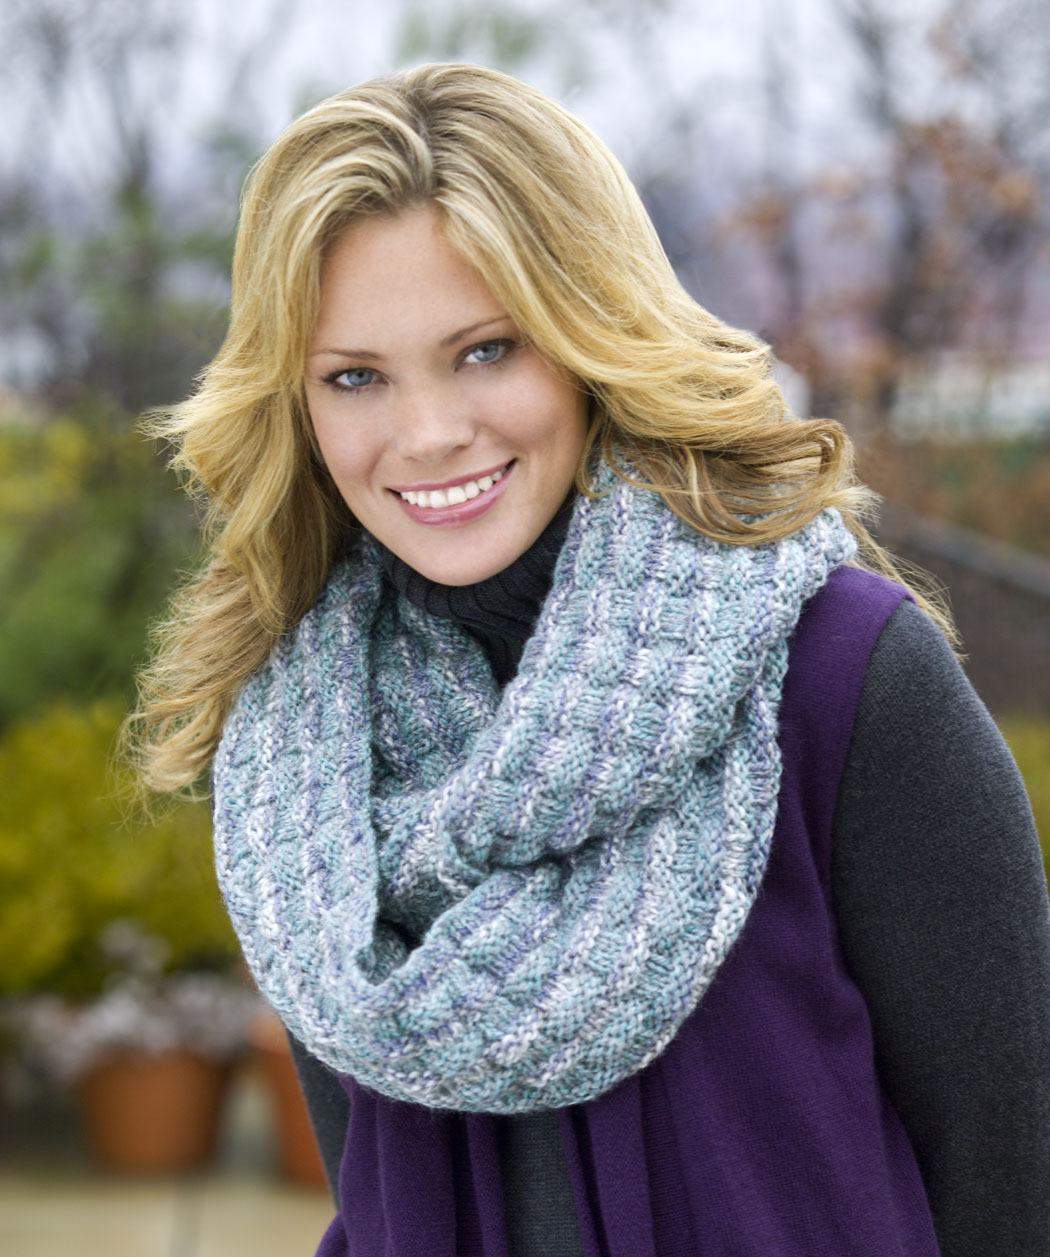
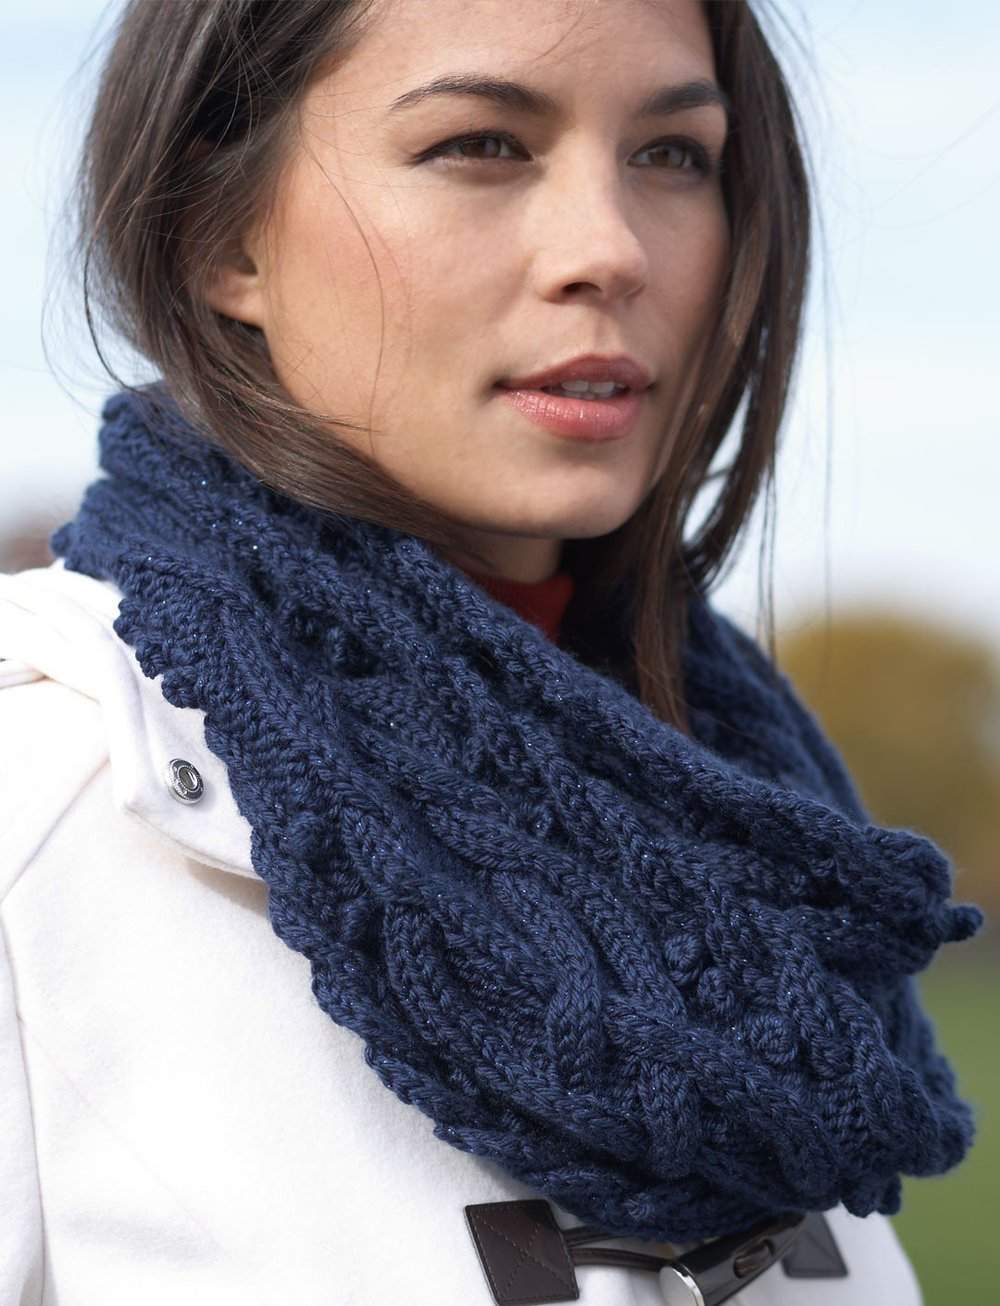
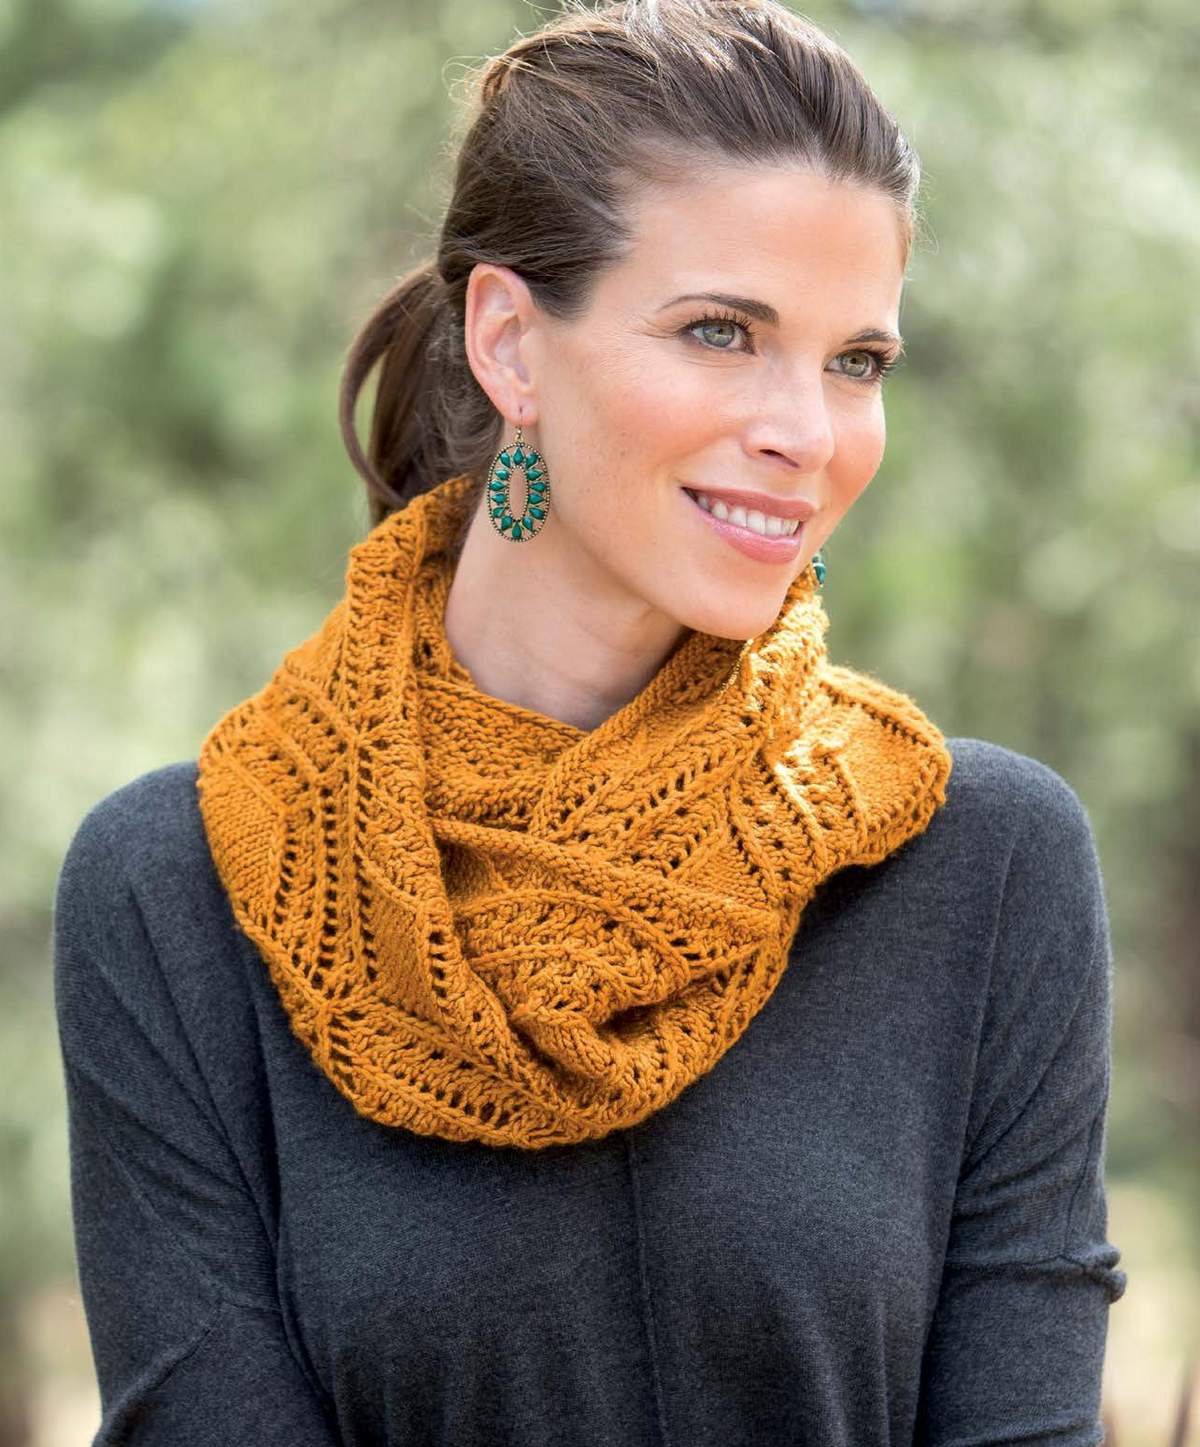
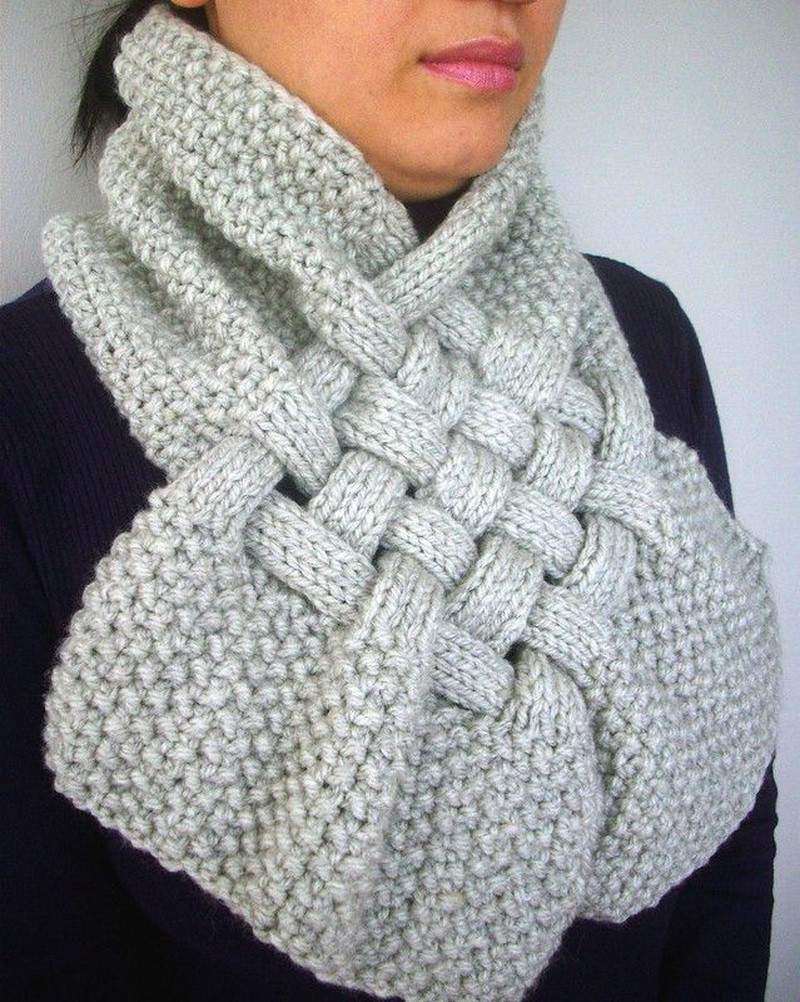
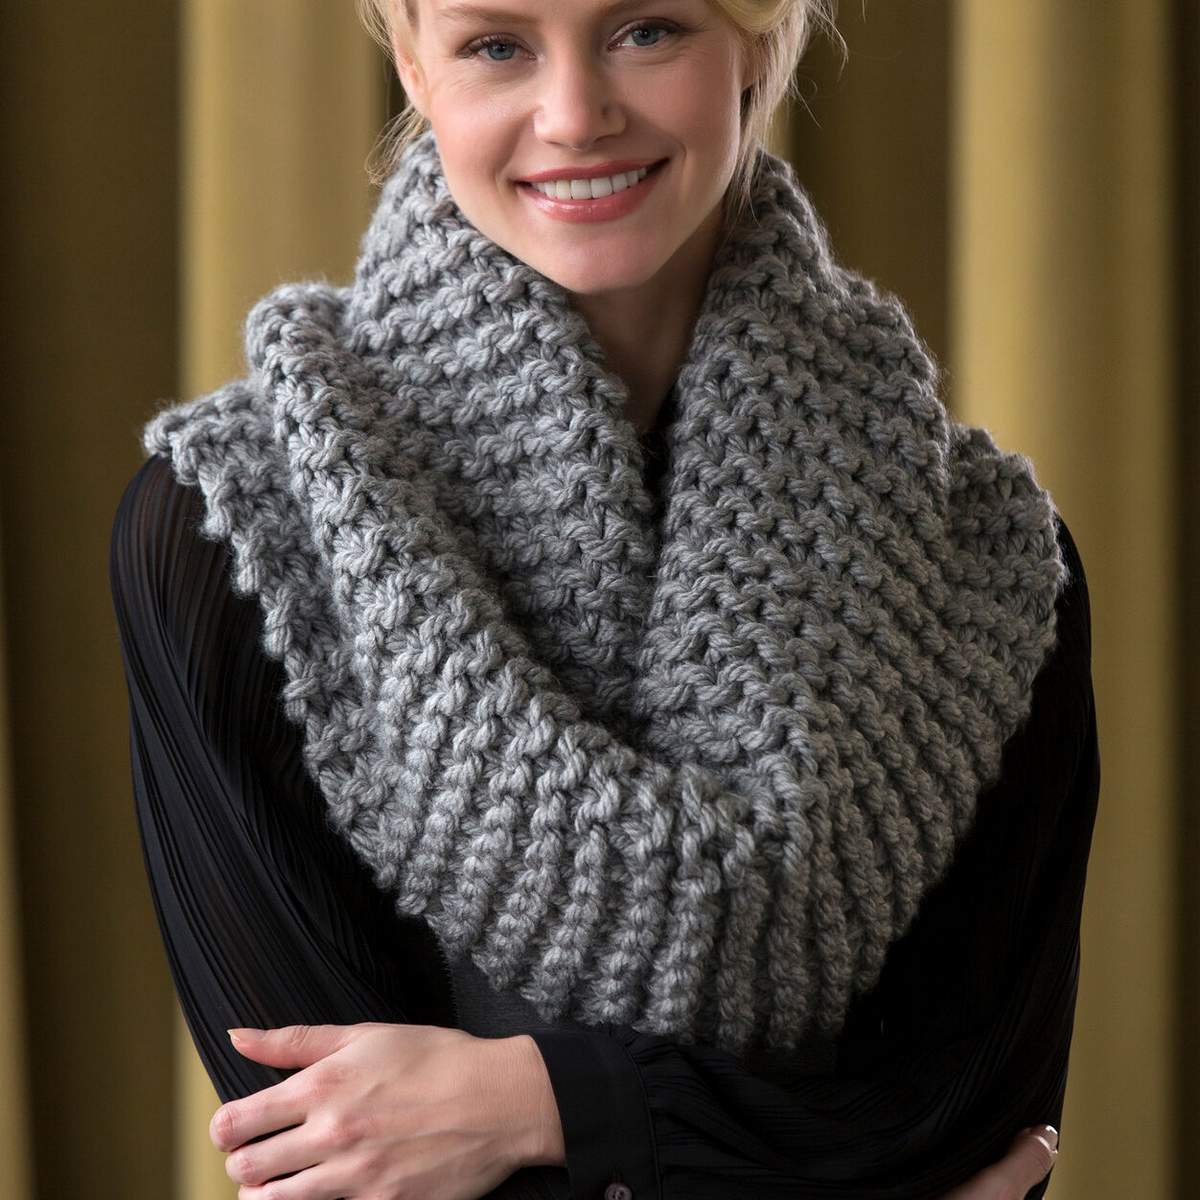
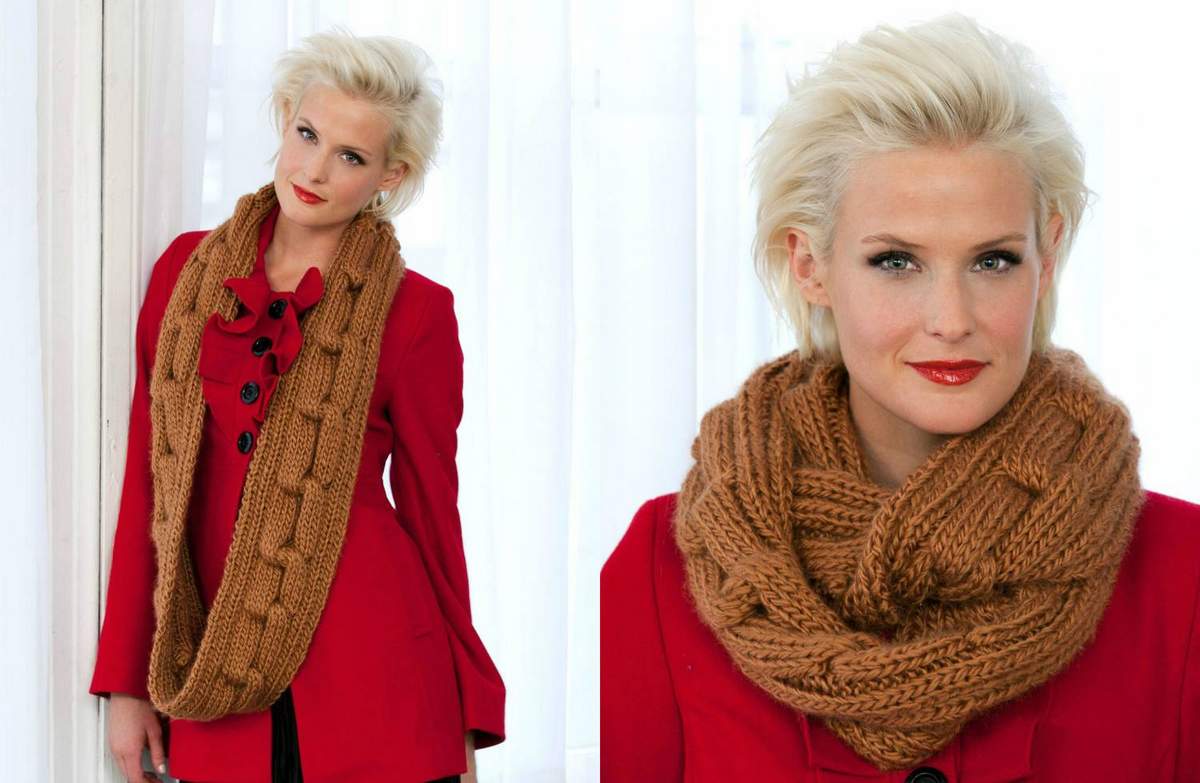
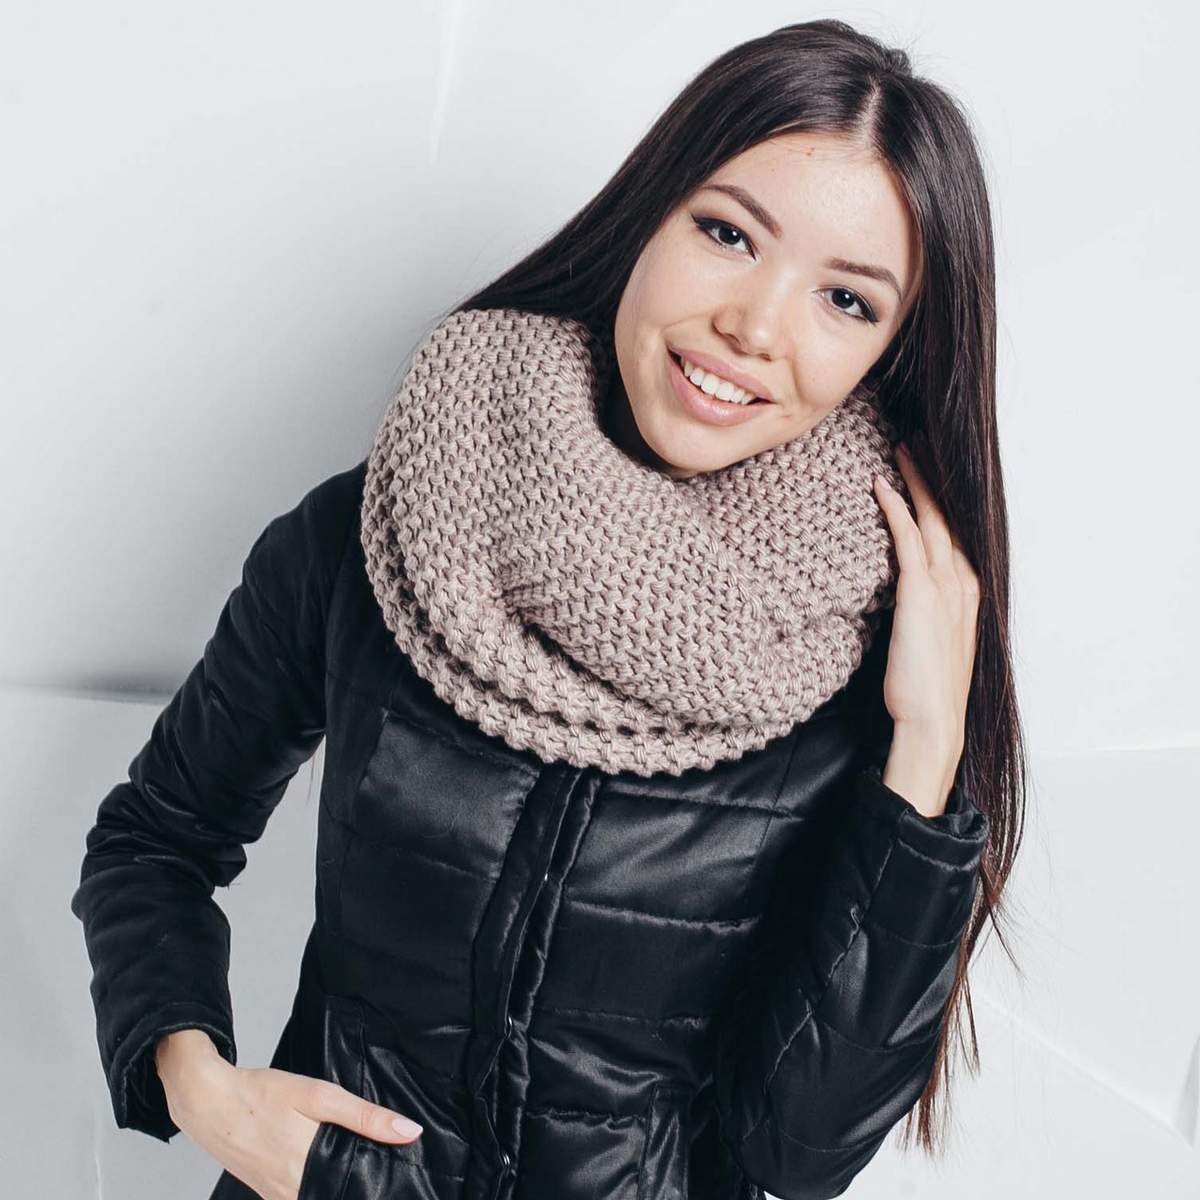
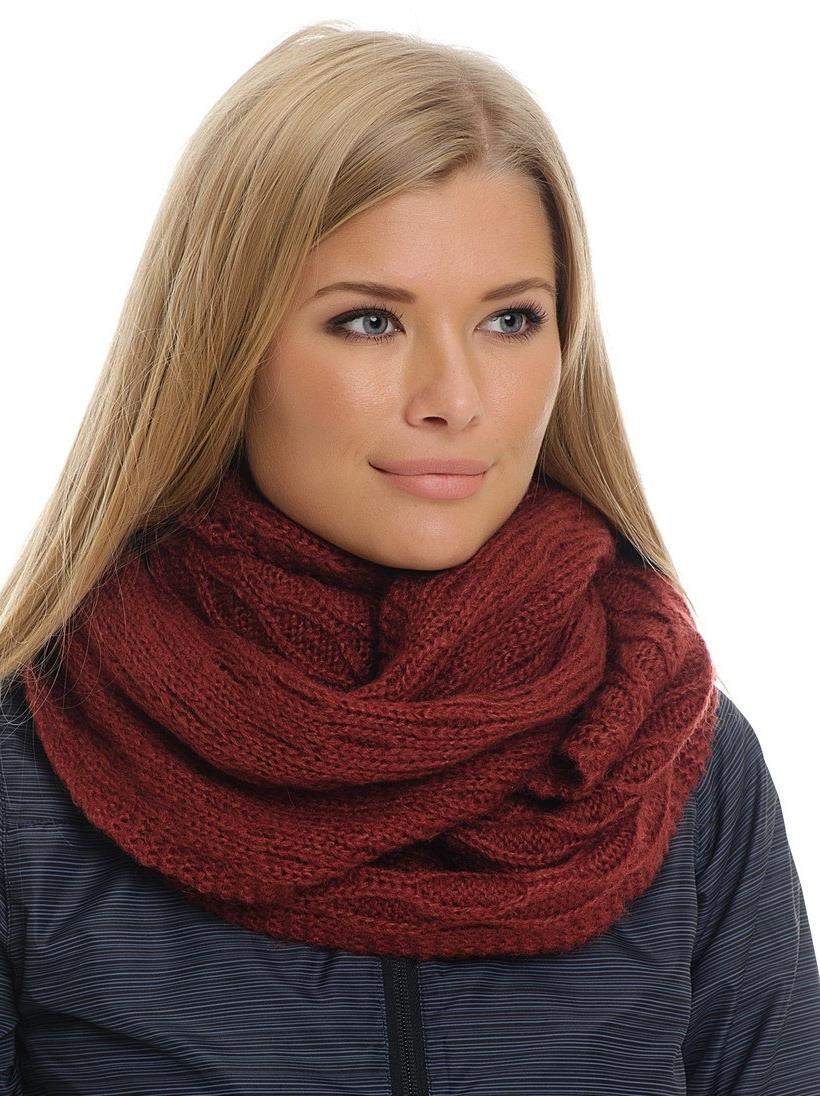
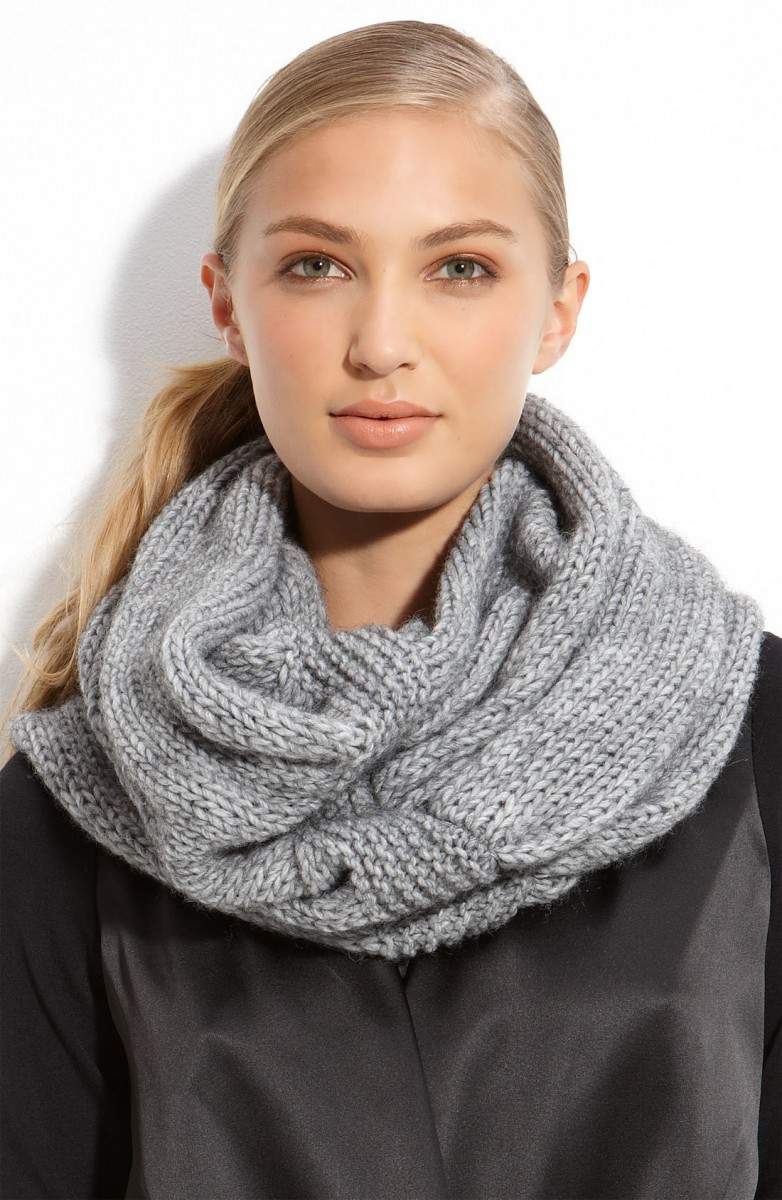
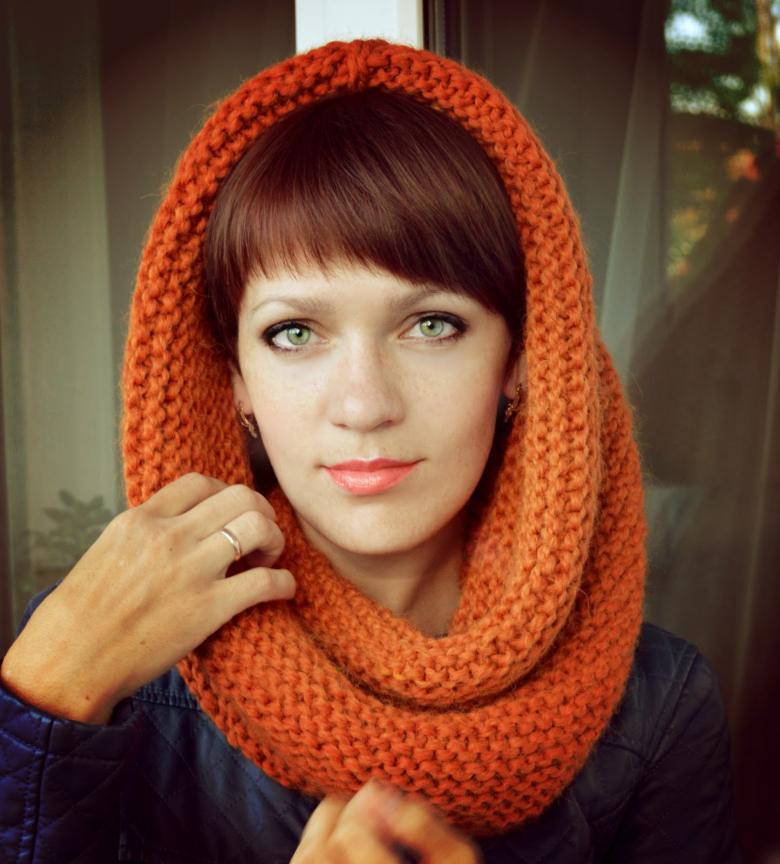
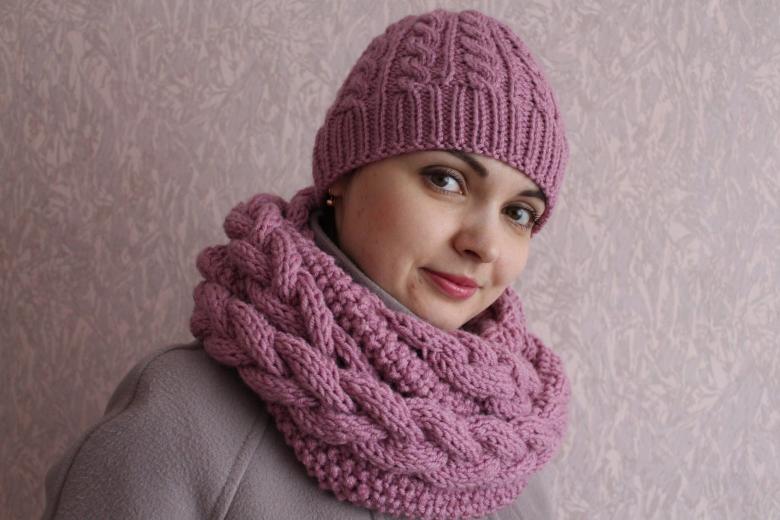
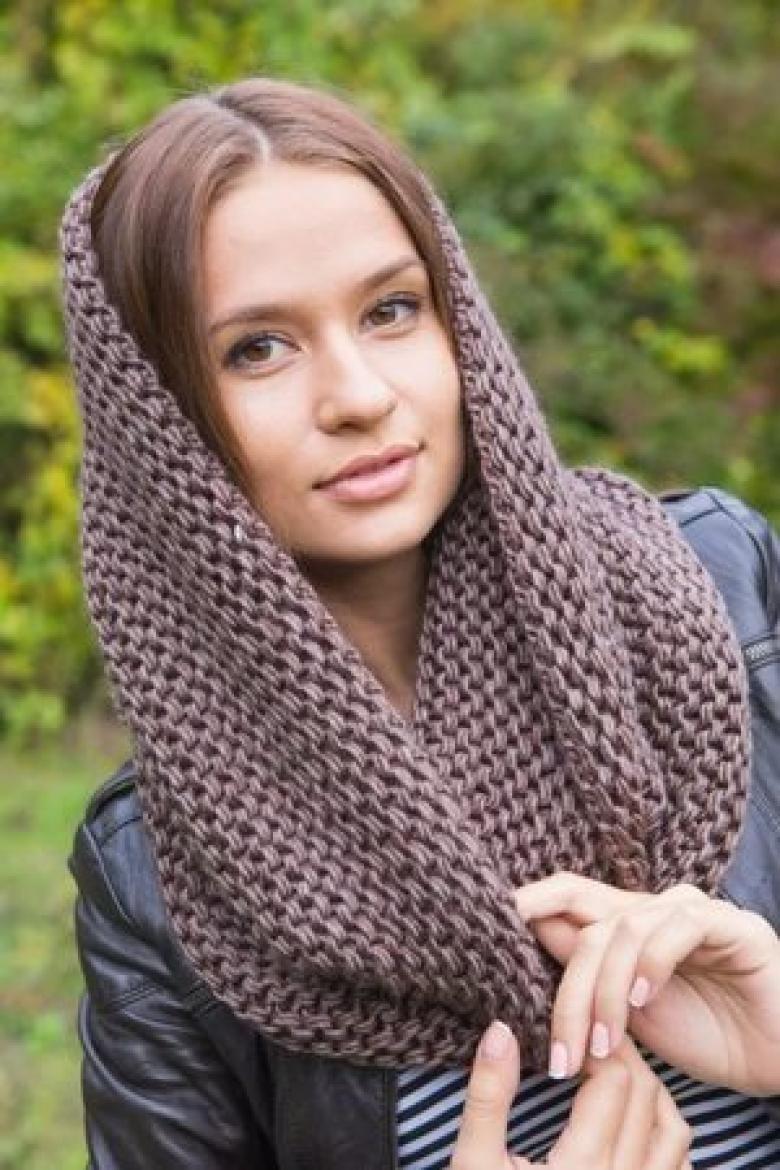
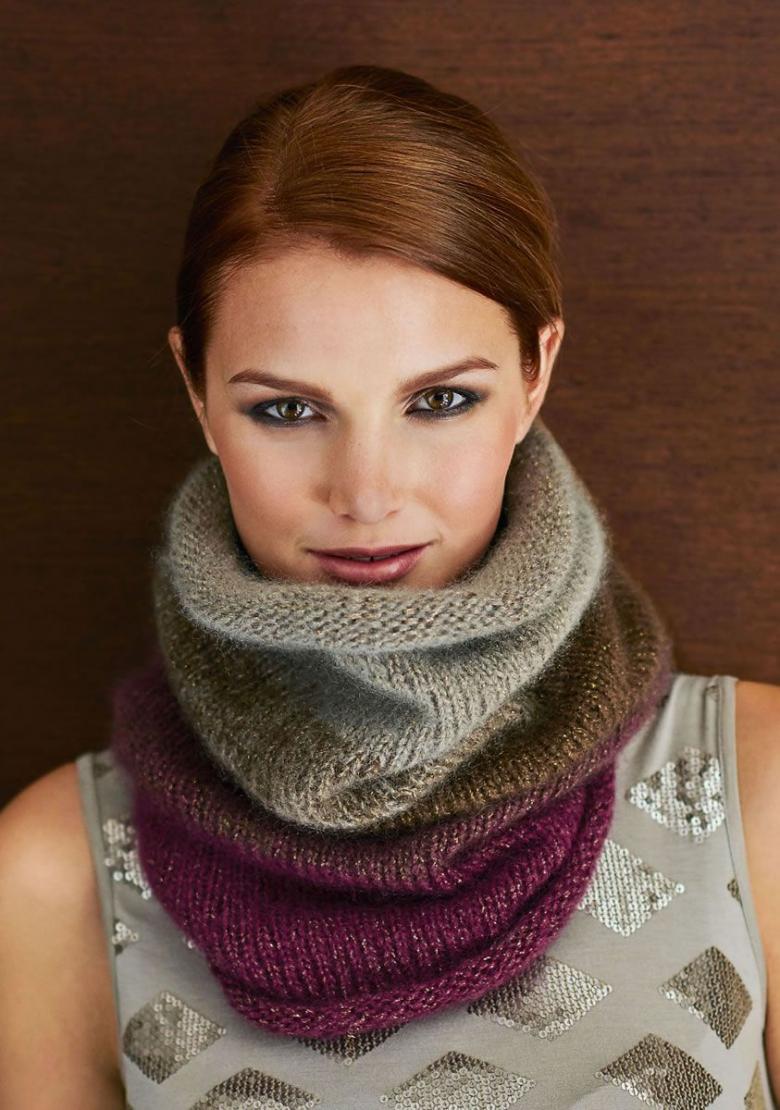
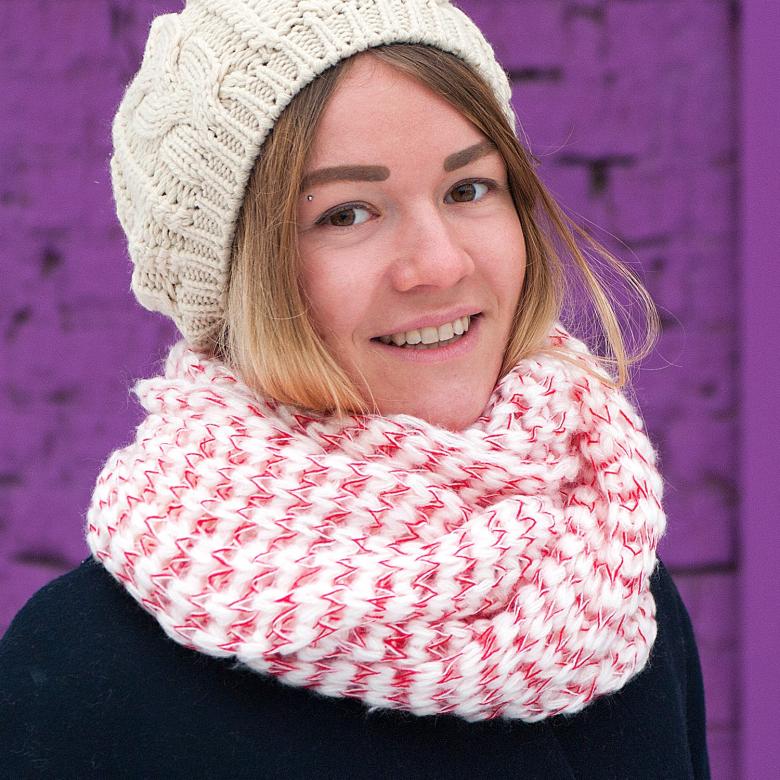
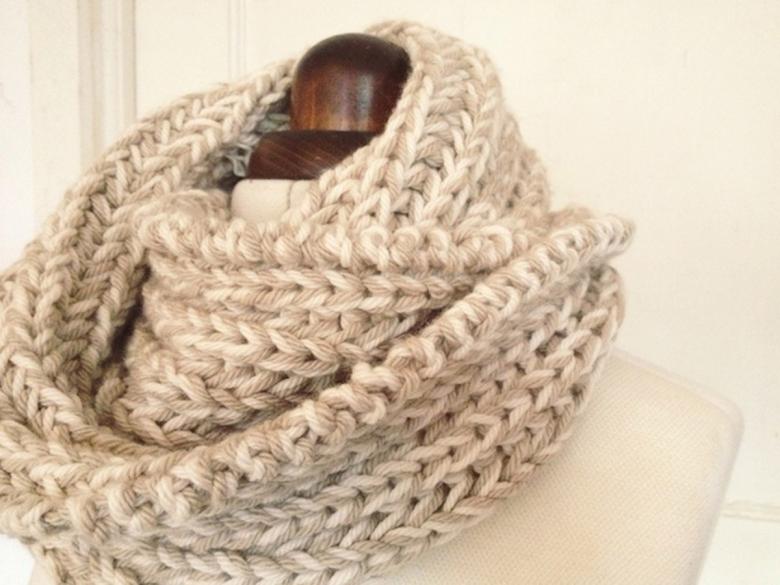
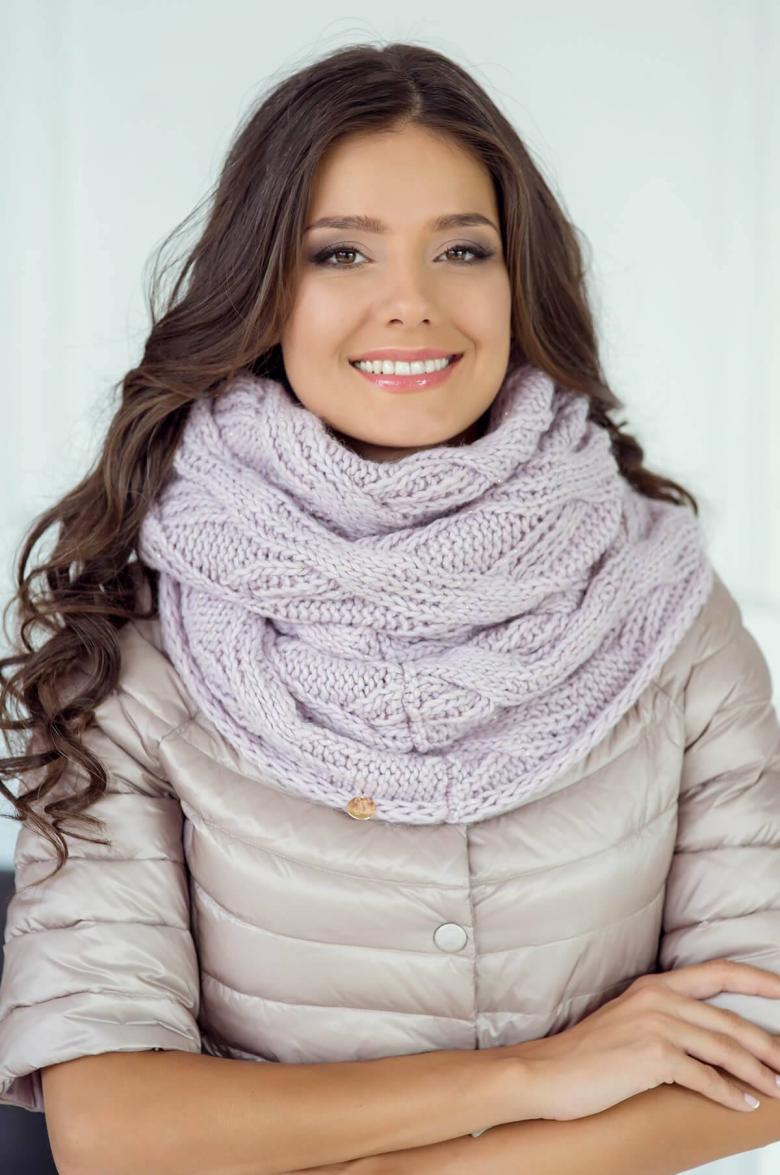
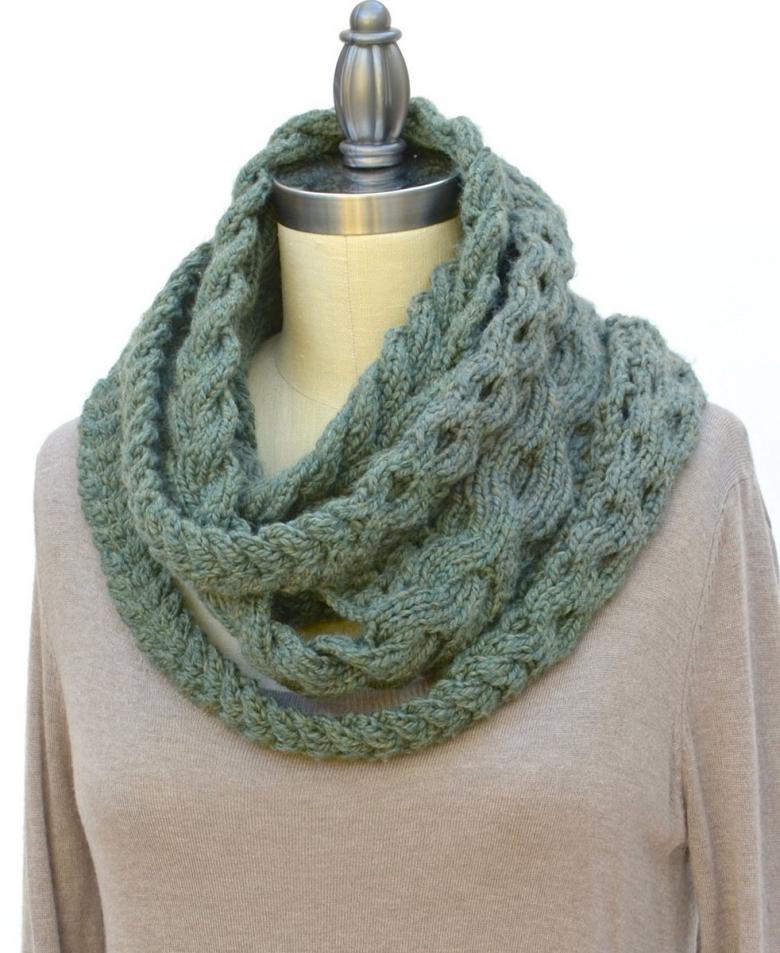
- Pipe. The scarf is similar to a wide sweater collar. Wear it by wrapping it once. The main feature of the knitting - the snood does not need to be stitched, circular needles are used in the production.
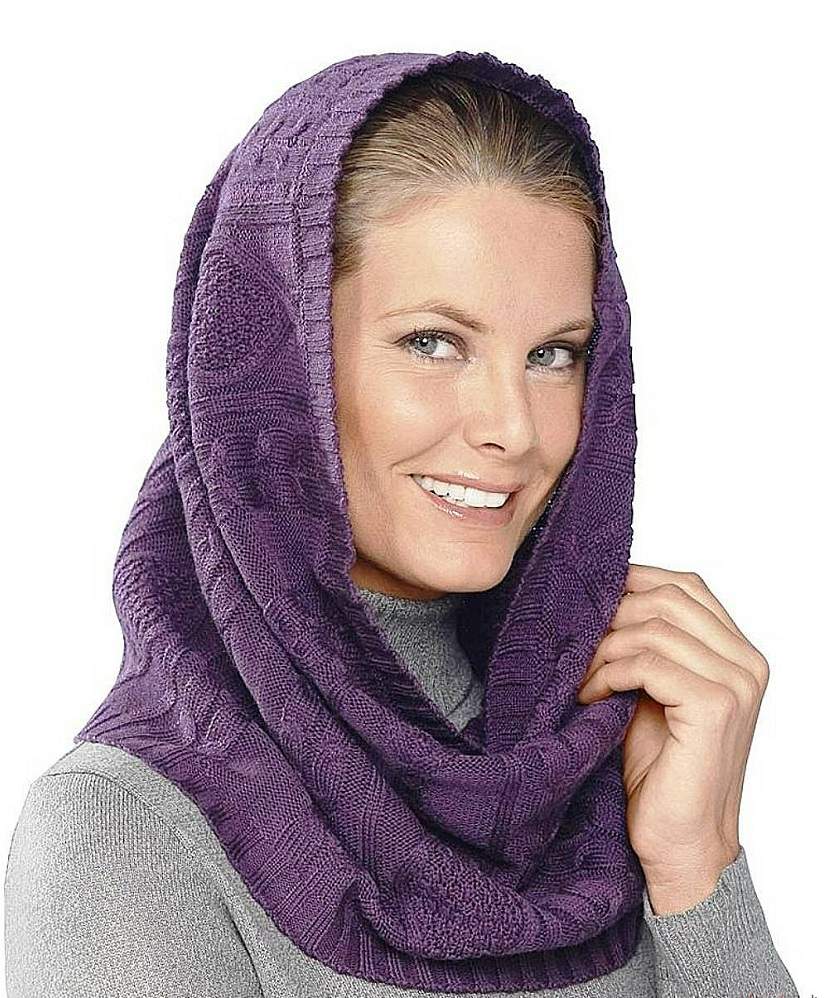
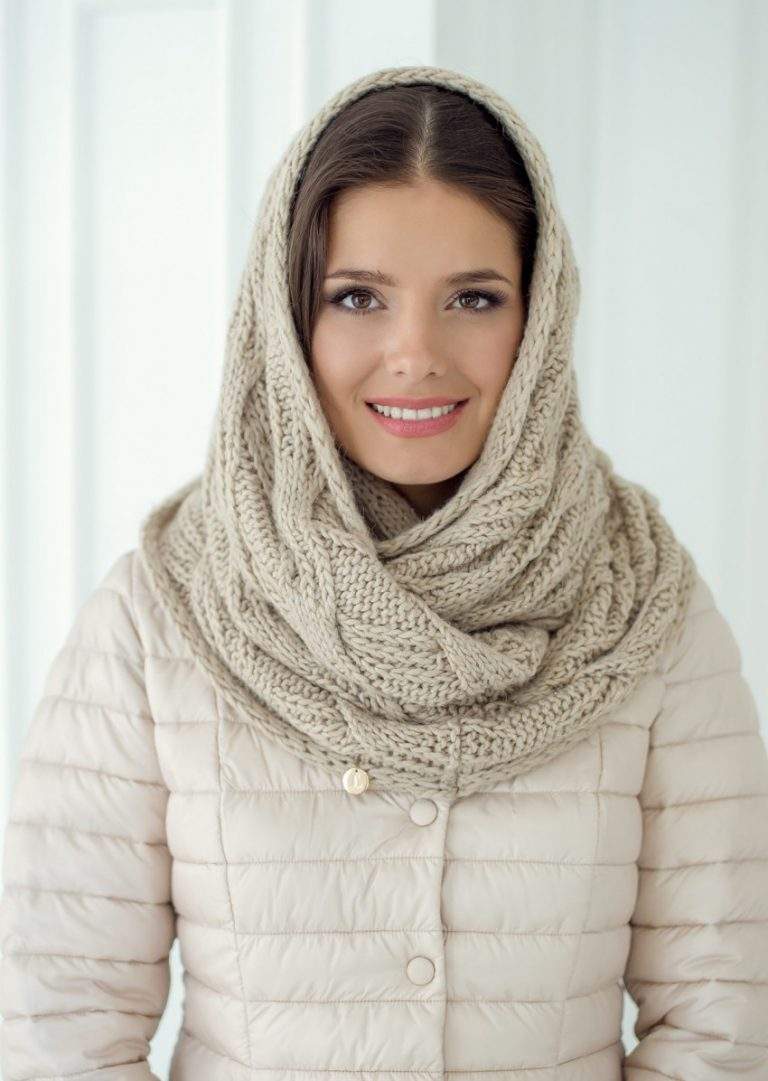
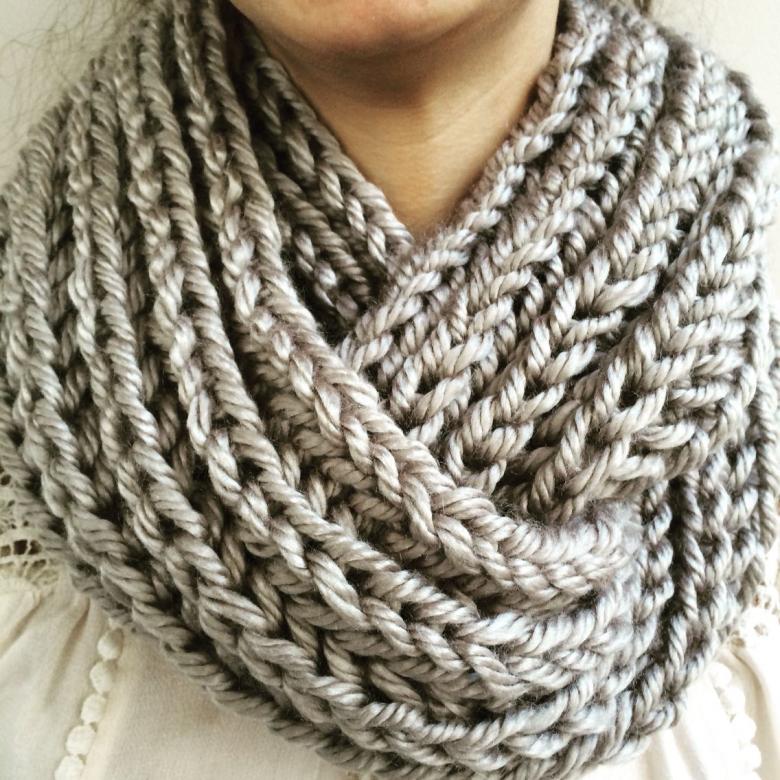
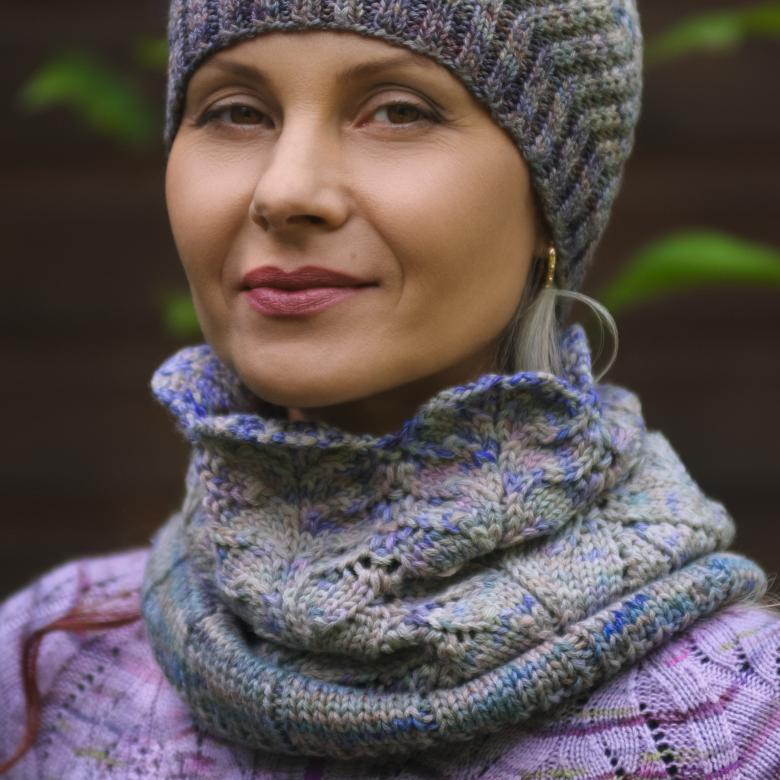
- Long scarf. It can be wrapped around the neck two or even three times. Knit it as a classic product, and at the end of the work the ends are sewn.
Getting ready for work
Knitting snoods is simple, even a novice needlewoman can cope with the task. It is necessary to master only two types of loops - the front and the back. The seeming simplicity, if you are imaginative with the details, will result in a unique product.
The preparatory stage plays a huge role. Half of your success depends on how thoughtfully you do it.
Stock up on tools.
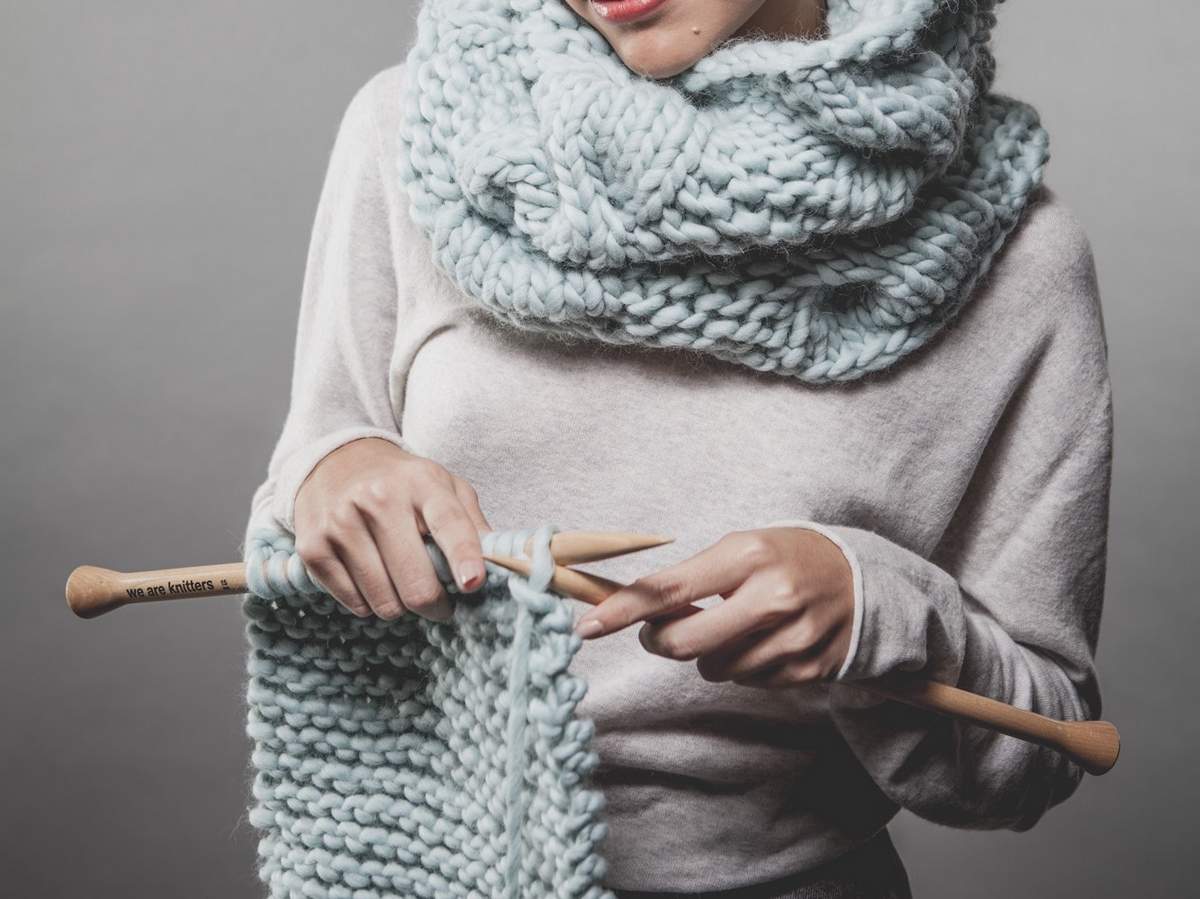
- Circular spokes. They are connected by a long fishing line. Why are they convenient in this case? The design of the needles allows you to remove the main weight of the product (it can be quite heavy) from the ends of the needles and transfer it to the fishing line. If you don't like circular needles, use a regular size 3-5.
- Markers (small rings of bright colors). You need them if you want not a smooth snood, but decorated with patterns. Markers are fixed on the needle in front of the loop.
- Additional spoke. Needed if you plan to knit patterns with intertwining. It can be a special shape - for example, curved will hold the stitches during the transfer.
- A needle or crochet hook. You will use them to finish the work - you will tie the ends of the piece.
Choosing the material
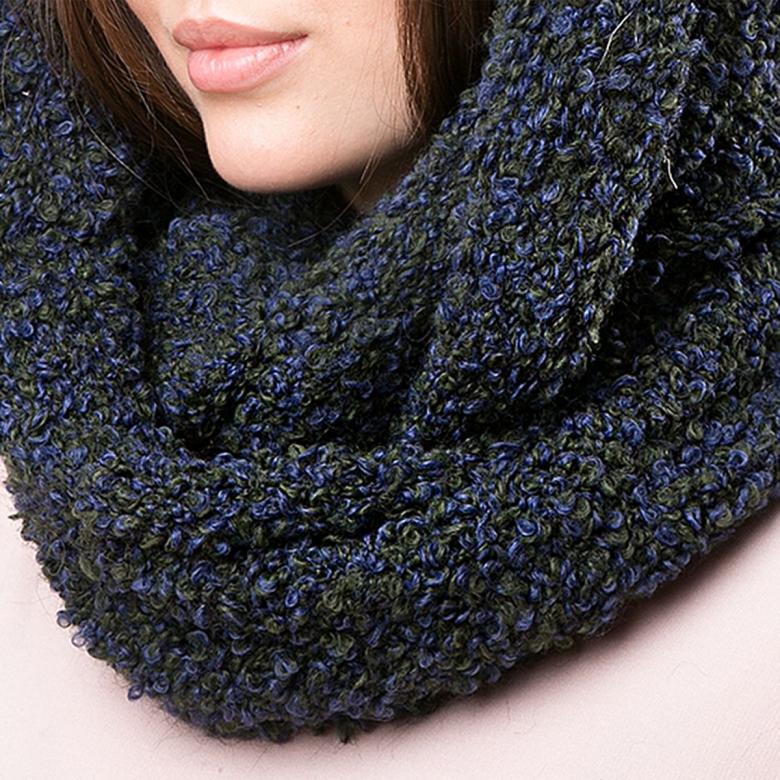
Choose a yarn depending on the season when you plan to wear a scarf. If you want an autumn version, choose cotton with acrylic, but for winter choose a half-wool one.
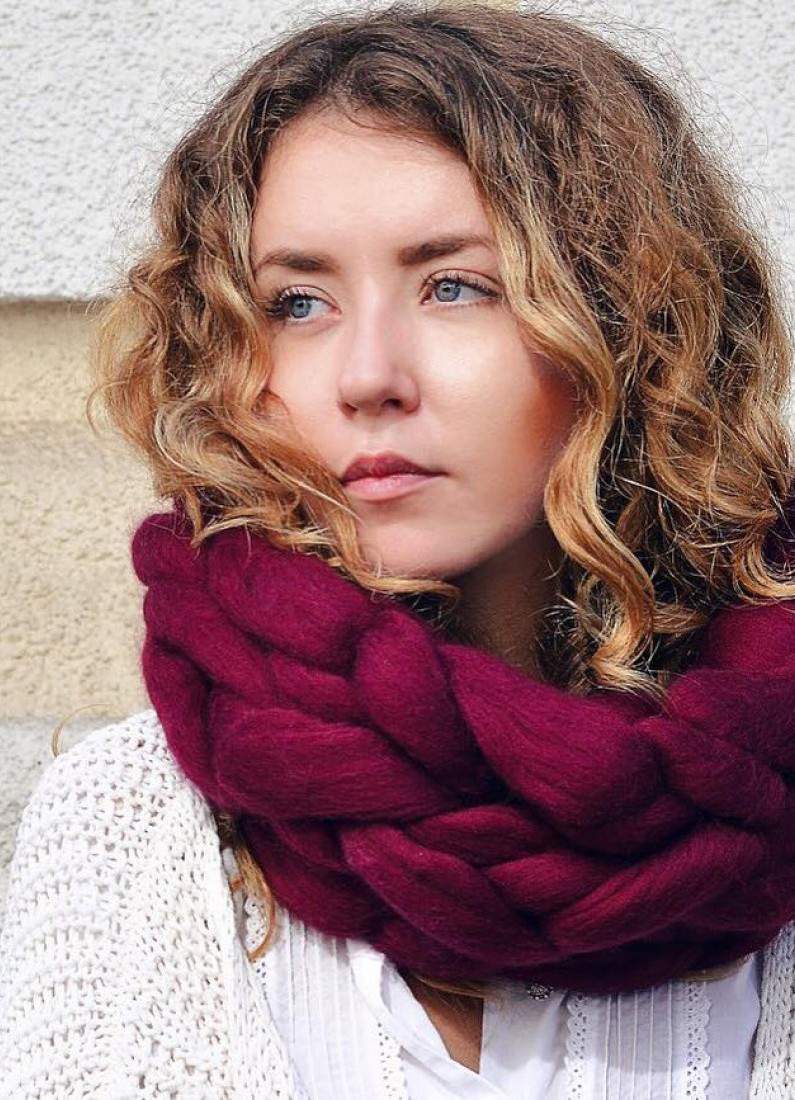
Decide how many strands you are going to knit - in one or two. This determines the amount of yarn on the piece. If you knit in one yarn the scarf will be elegant and openwork, two yarns are more suitable for thick winter variants. They might not look as airy, but they hold their shape better and knit faster.
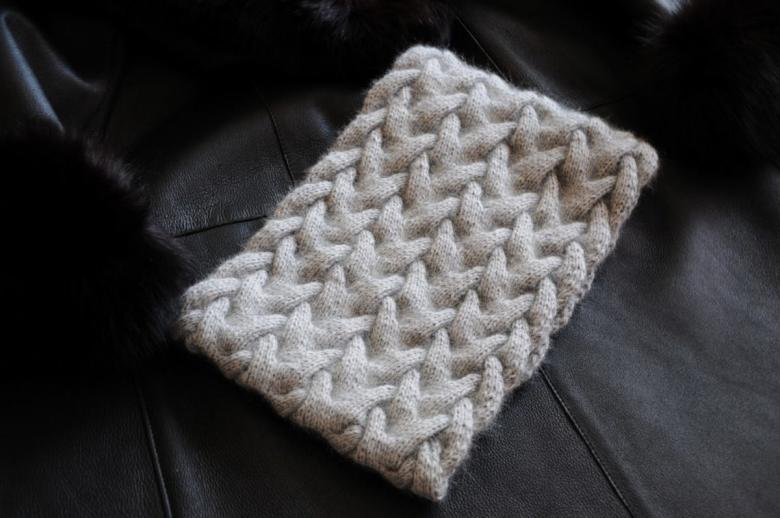
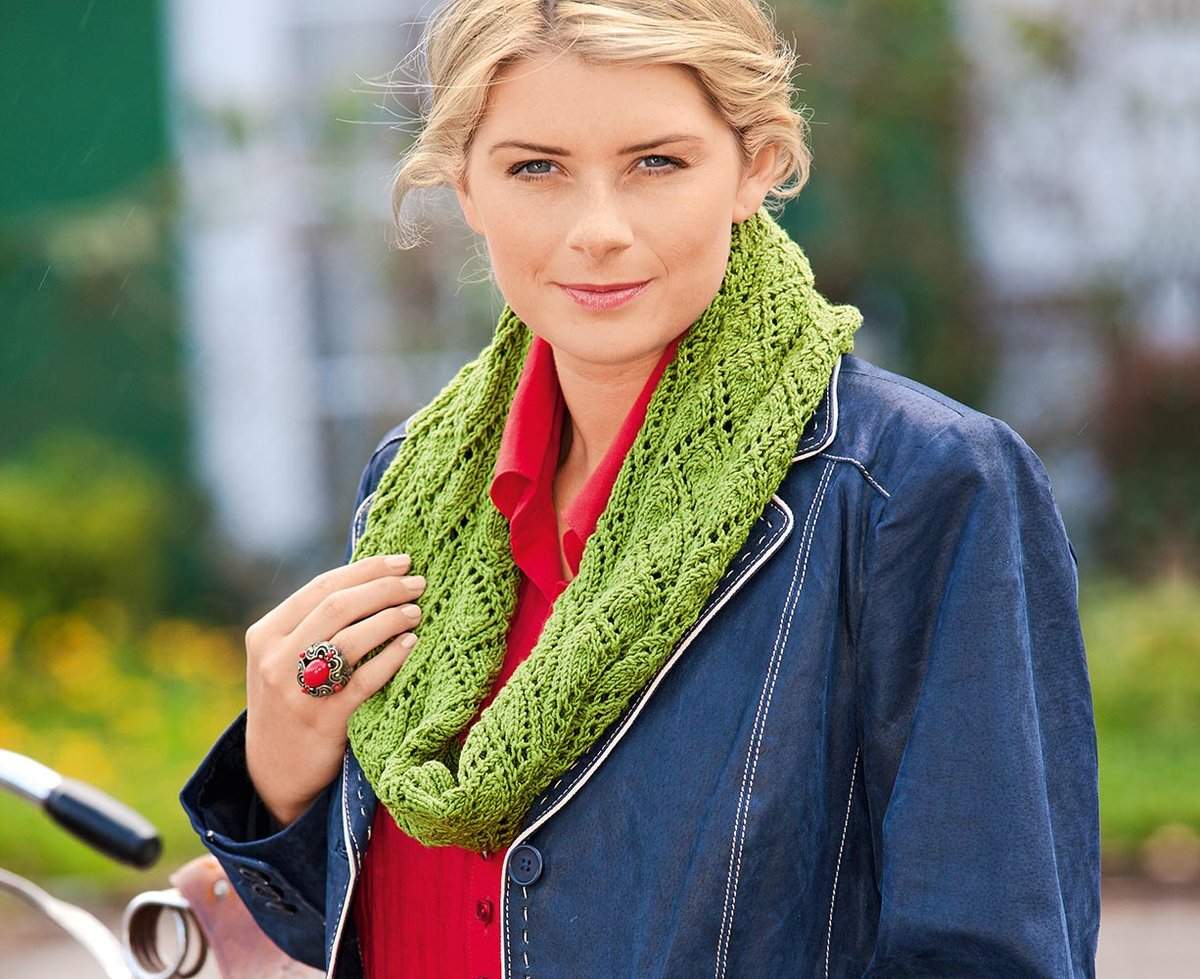
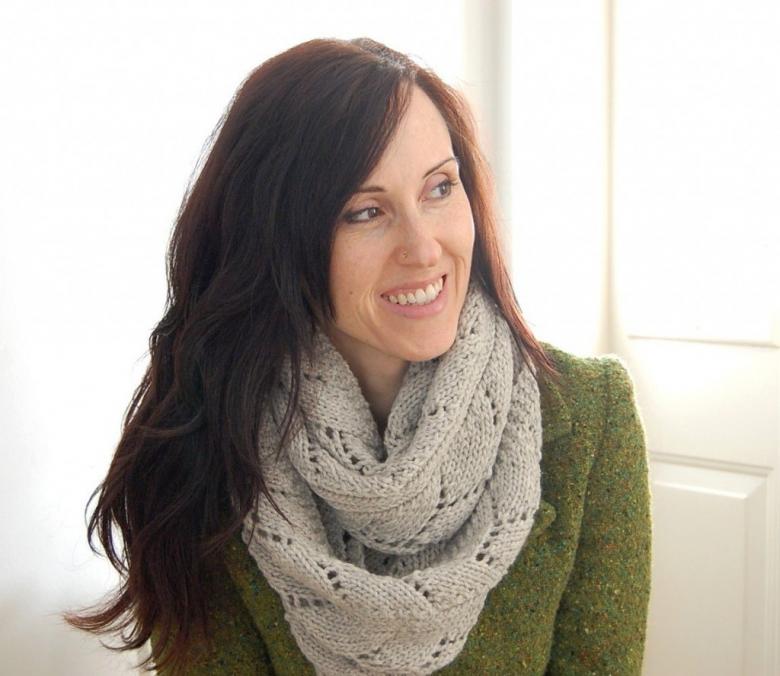
Decide whether you want to make a pattern. You can do without it, if you buy a yarn with colored fibers or irregular color. The product will look great because of the threads, and it does not need additional embellishments. If, however, in your opinion, the snood is boring without patterns, look at the photos on the Internet. Today there are many ideas for decorating scarves.
Deciding on the size
The average dimensions for the male and female versions do not differ. "Pipe" should be about 20-30 cm in width when folded and 60 cm when unfolded. Since the snood is designed to be worn in the cold season, it should tightly embrace the throat, which means that the wider it is, the greater the height should be. A good option is 40 cm.
Long snoods usually are not wider than 50 cm and longer than a meter and a half.
Proceed to the knitting.
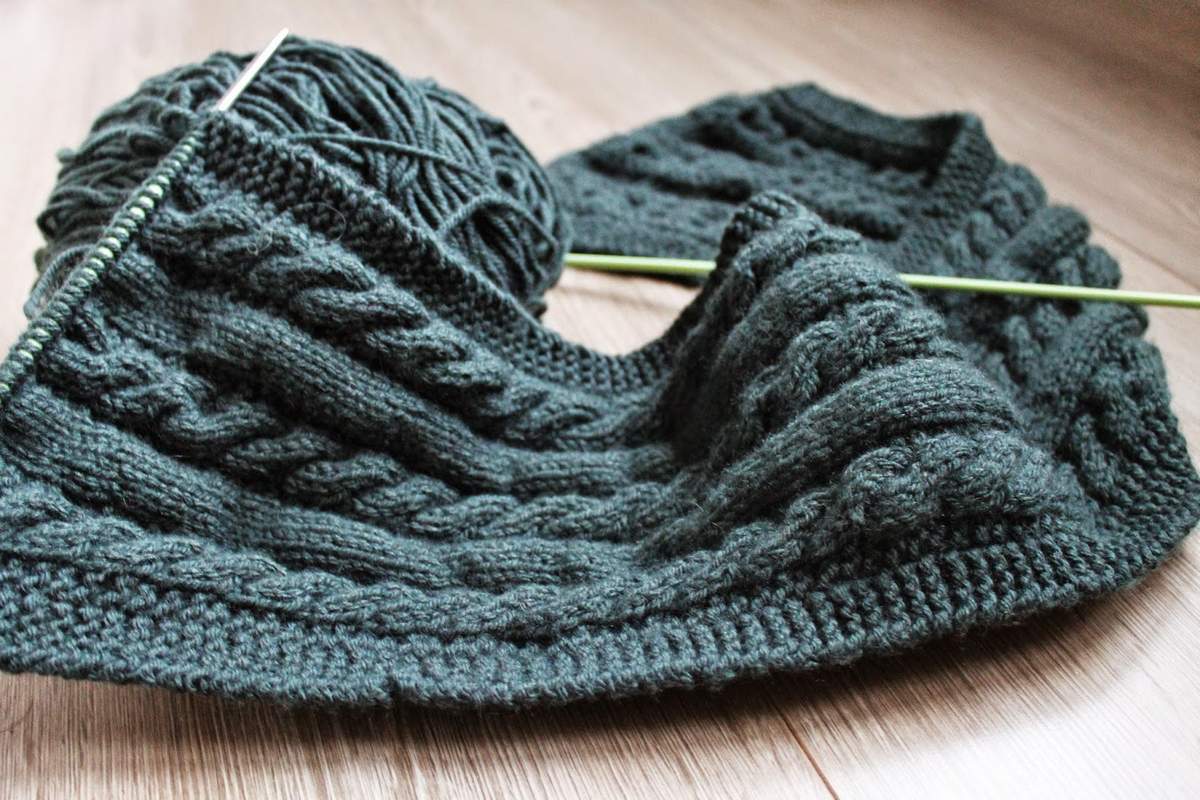
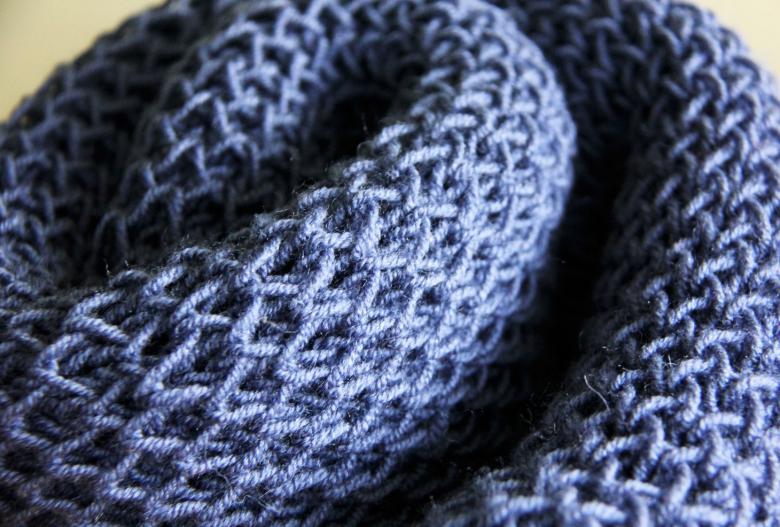
Do not complicate it, resort to the classic scheme for scarves "English rubber band". Recall: front and back loops can alternate one through one, two through two or three through three.
To understand which option is preferable, be sure to knit samples of about 10 by 15 cm. This is one of the golden rules of knitting: don't start a large piece without checking how it will look. With the sample, you'll know how visually you like the piece, and you'll also know your preferred density - how many stitches and rows per inch you'll be able to find out how many stitches you'll need to start the piece and how many you'll need to knit.
Do not forget to wash the knitted sample. Then you will know in advance whether the yarn retains its shape after washing.
The process of knitting a snood "tube"
Use circular needles with a length of fishing line less than the width of the product.
Collect stitches
- Calculation of the required number of loops. With a product width of 60 cm and two loops in one centimeter (this is what you determined from the sample), 120 loops will be needed.
- Adjustment of the quantity. Adjust the numbers obtained depending on the type of rubber band. If the pattern is 1 to 1, the number of loops will be even. If you choose 2 for 2 - divide the number by 4, if 3 for 3 - by 6. If you are using a non-traditional pattern (for example, 3 by 2), divide the number of loops by the sum of these numbers. In this case it is 5.
Knit the fabric
Having recruited the loops, place them evenly along the length of the fishing line and close in a ring. Important: at this stage, the main thing is not to make a mistake and not to turn the row, otherwise the product will "grow" spirally.

Move in a circle from the first loop, alternating the front and back loops, depending on the chosen scheme. Especially carefully knit the first row - he will be guided throughout the further work. The left and right buttonholes must be strictly placed over the previous left and right buttonholes respectively.

Finish off the stitches
Here is the canvas scarf is ready, now should close the loops. Use the traditional pattern. The first two stitches are tied together, the resulting loop goes to the left needle and is tied again. The rest are done in the same way. Knit loosely so that the edge of the piece does not pull down. When you reach the last stitch, pull a piece of yarn through it and secure it.

Check the snood for any tails that are sticking out. If found, tuck them inside the fabric, and trim what is still in the way.
The fashion accessory is ready, congratulations!
Some tips on knitting a long scarf
The snood, which is worn in several turns, is knitted on ordinary knitting needles. Description and details of the process:
- The calculation of the loops is done differently. Apply the same scheme, but do not forget to add two loops - on the edge.
- The first stitch is not finished. It should be removed, and then take turns to do the right and wrong stitches. End with a right, then turn the product and knit in the same pattern. Finish again with a right.
- When closing the loops, leave a large piece of thread. It will be used to sew the edges of the product.
- Join the snood. It should be folded in half, align the edges, hook (or needle with a large eye) to pick up the two outermost loops and run the remaining piece of thread through them. Then unwrap the scarf, do the same operation and flip again. And so - across the entire width of the product. When you finish, hide the remaining tail of thread inside the fabric.

To knit a warm snood, you do not need a lot of time and great skill. The main thing is to be diligent and attentive. Then our own knitted accessory will keep you warm even in the harshest of frosts, and you will always look fashionable and impressive.
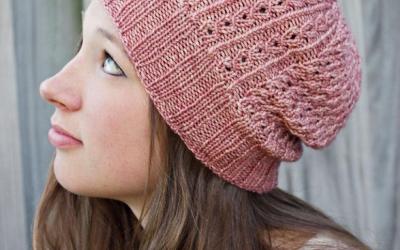
Photo novelties of homemade snoods with needles